A custom build-in fridge and freezer box with plywood, epoxy and polyurethane foam – episode 1
Tips, tricks and stories about living aboard and sailing around the world
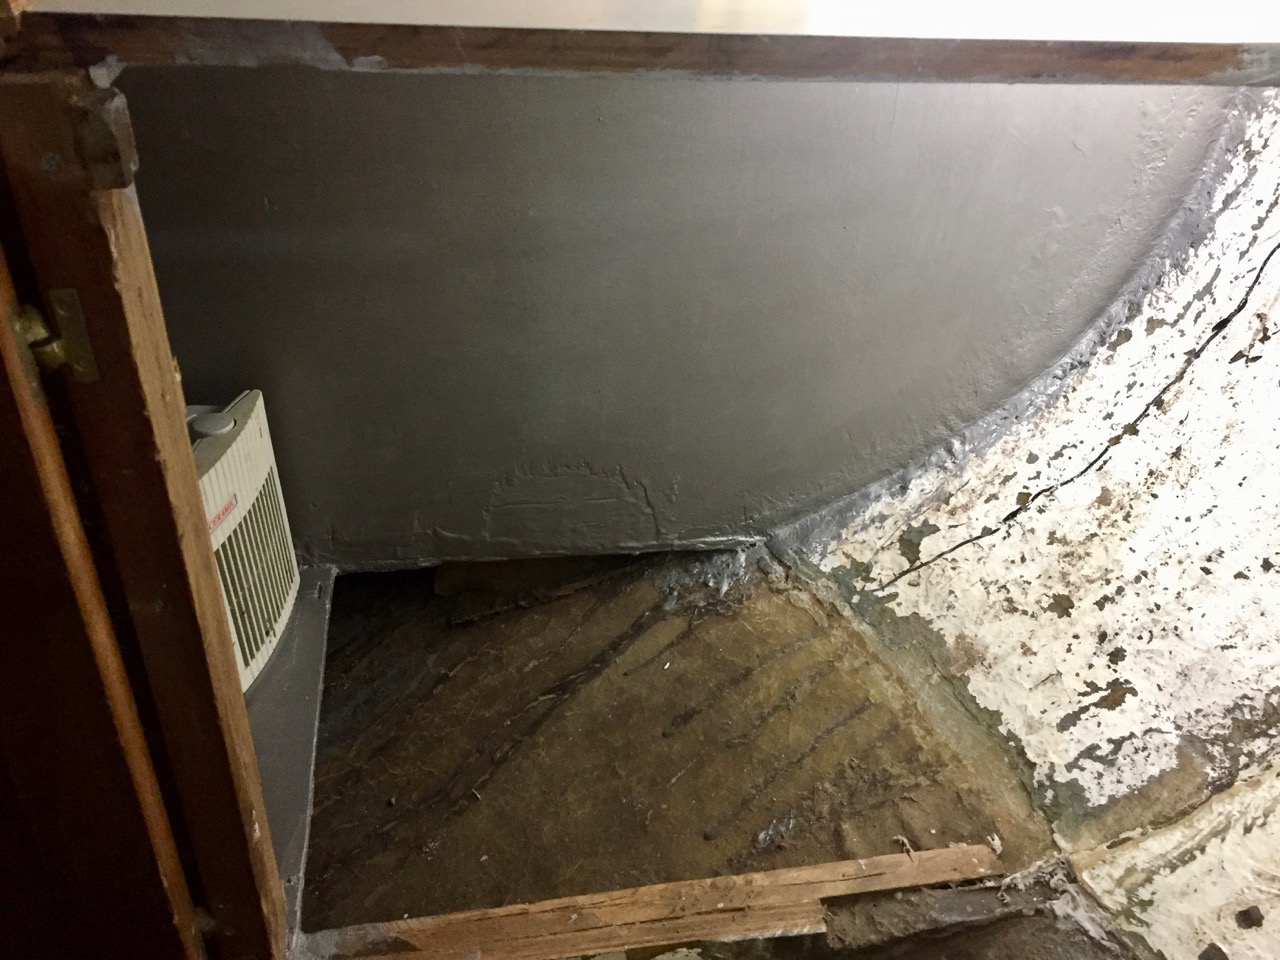
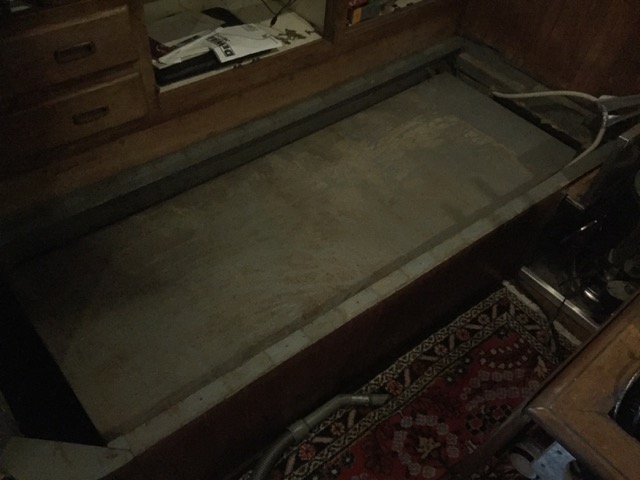
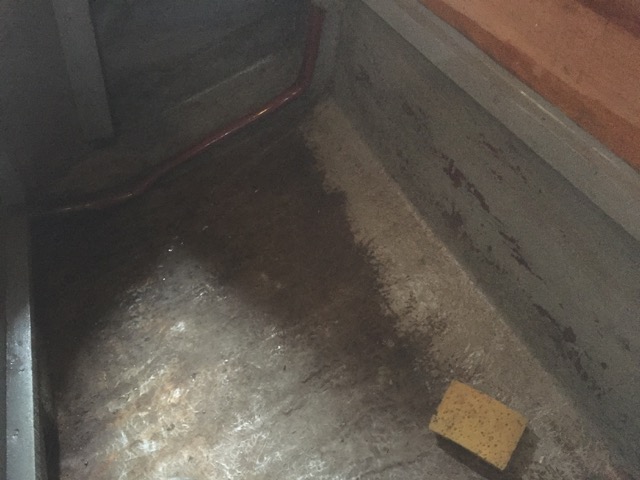
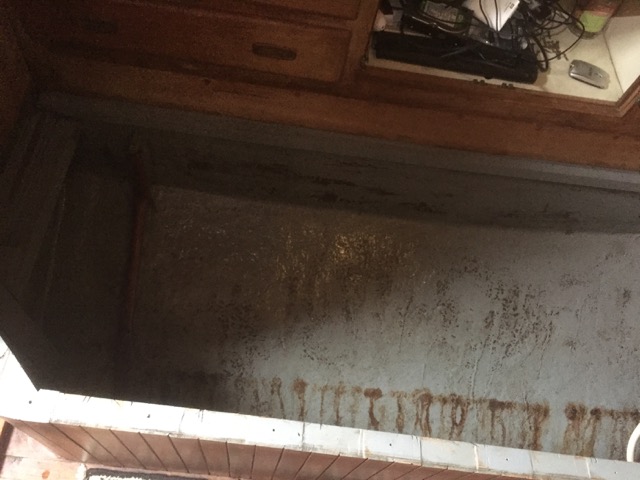
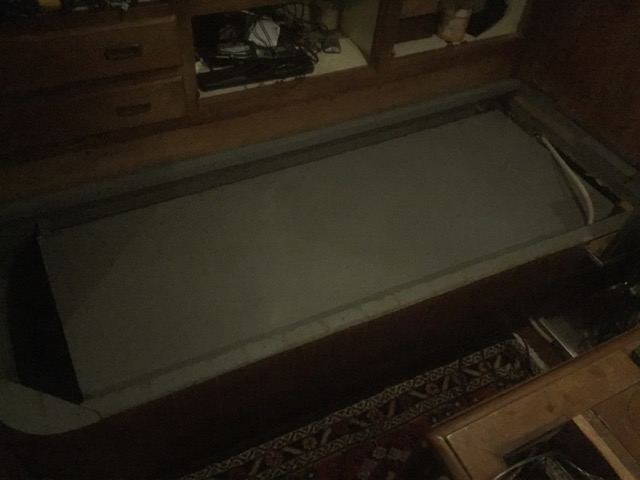
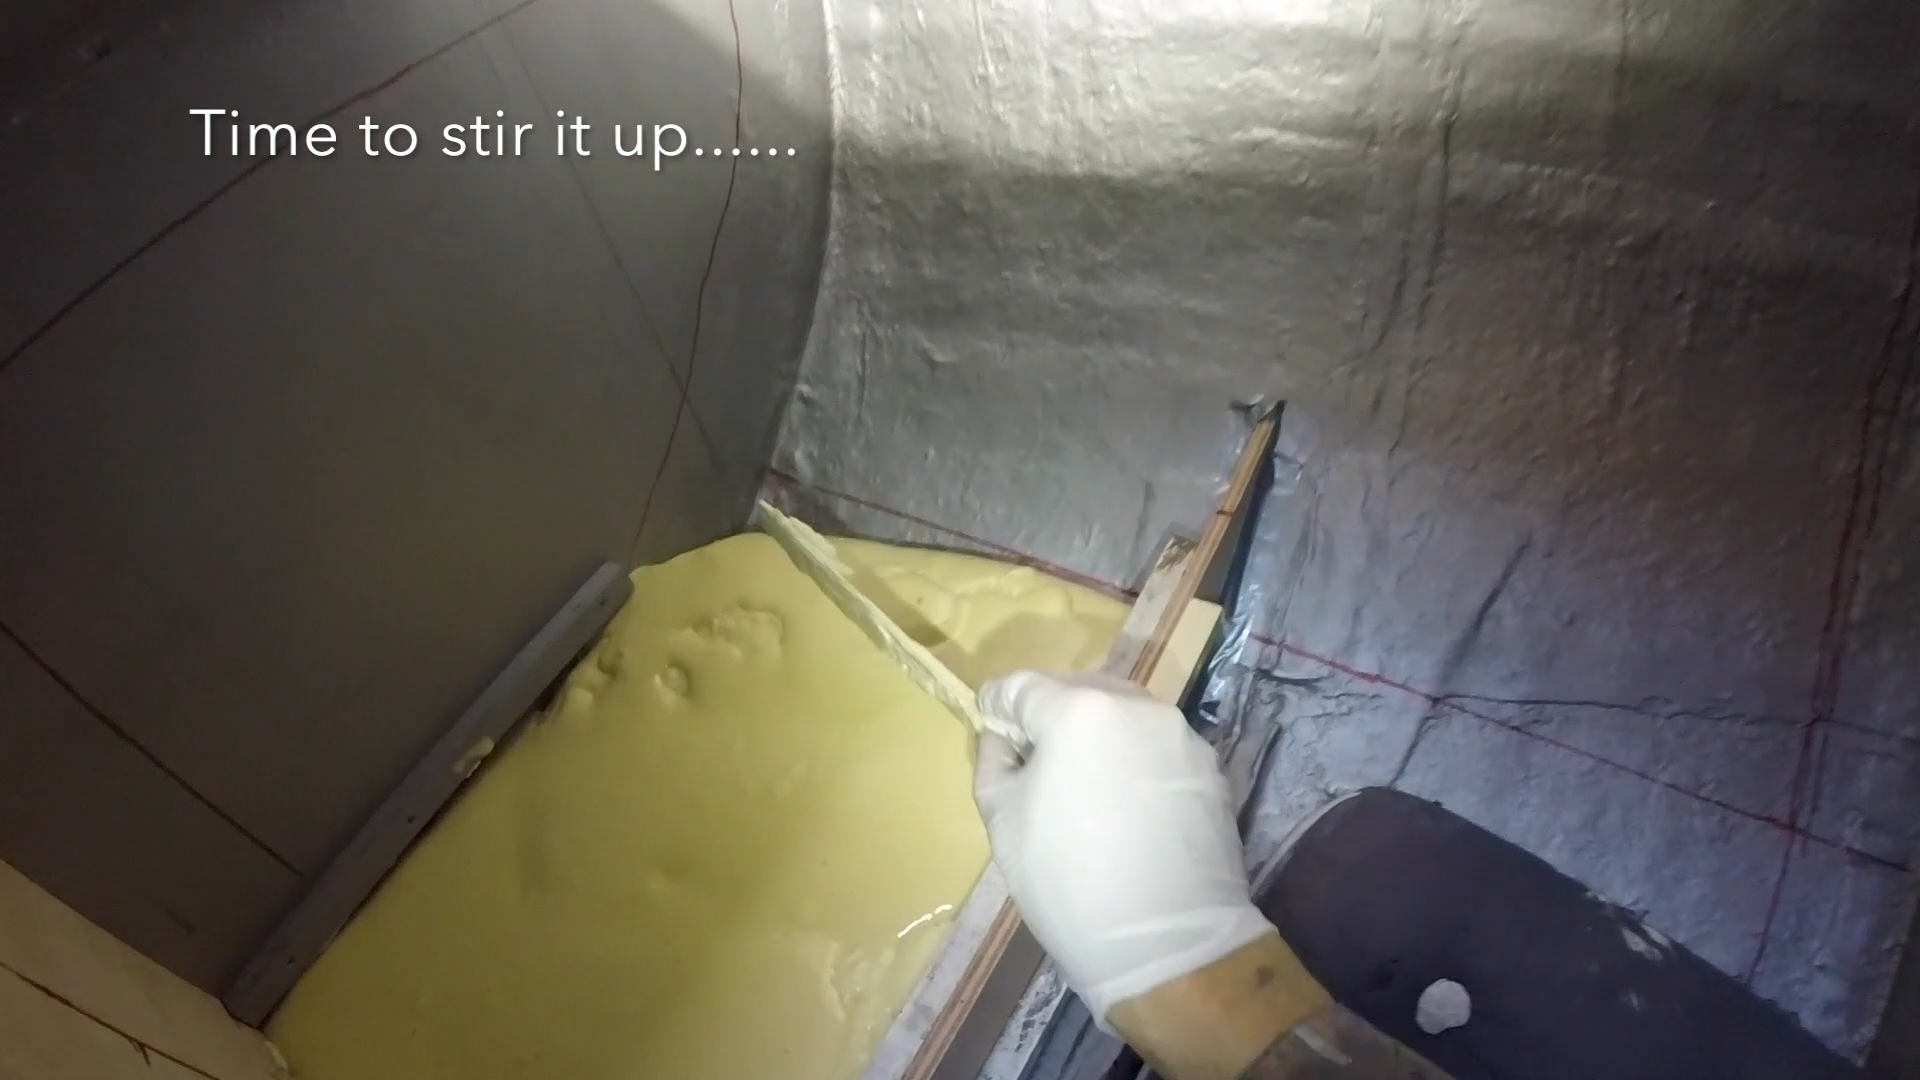
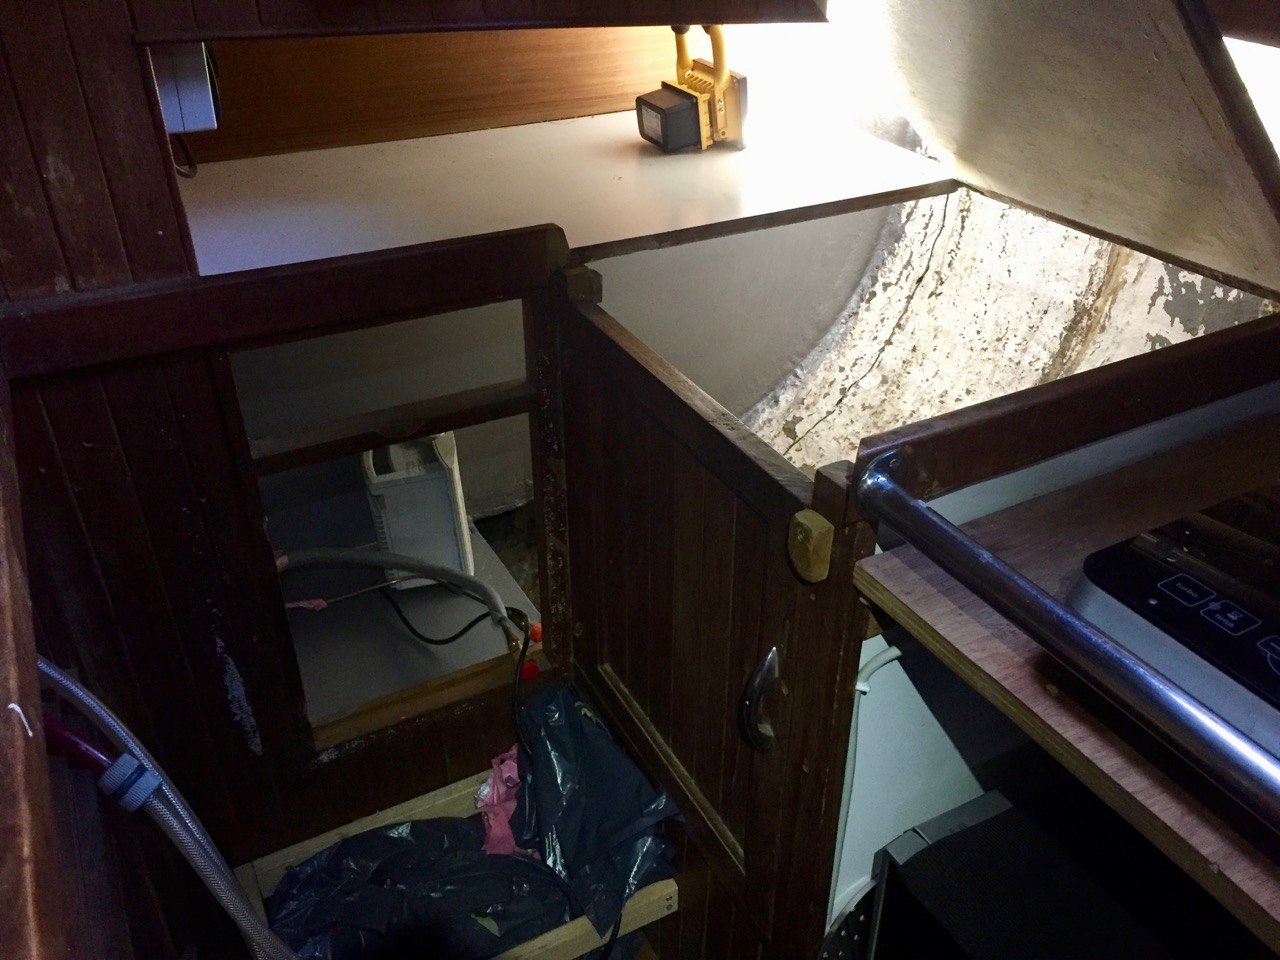
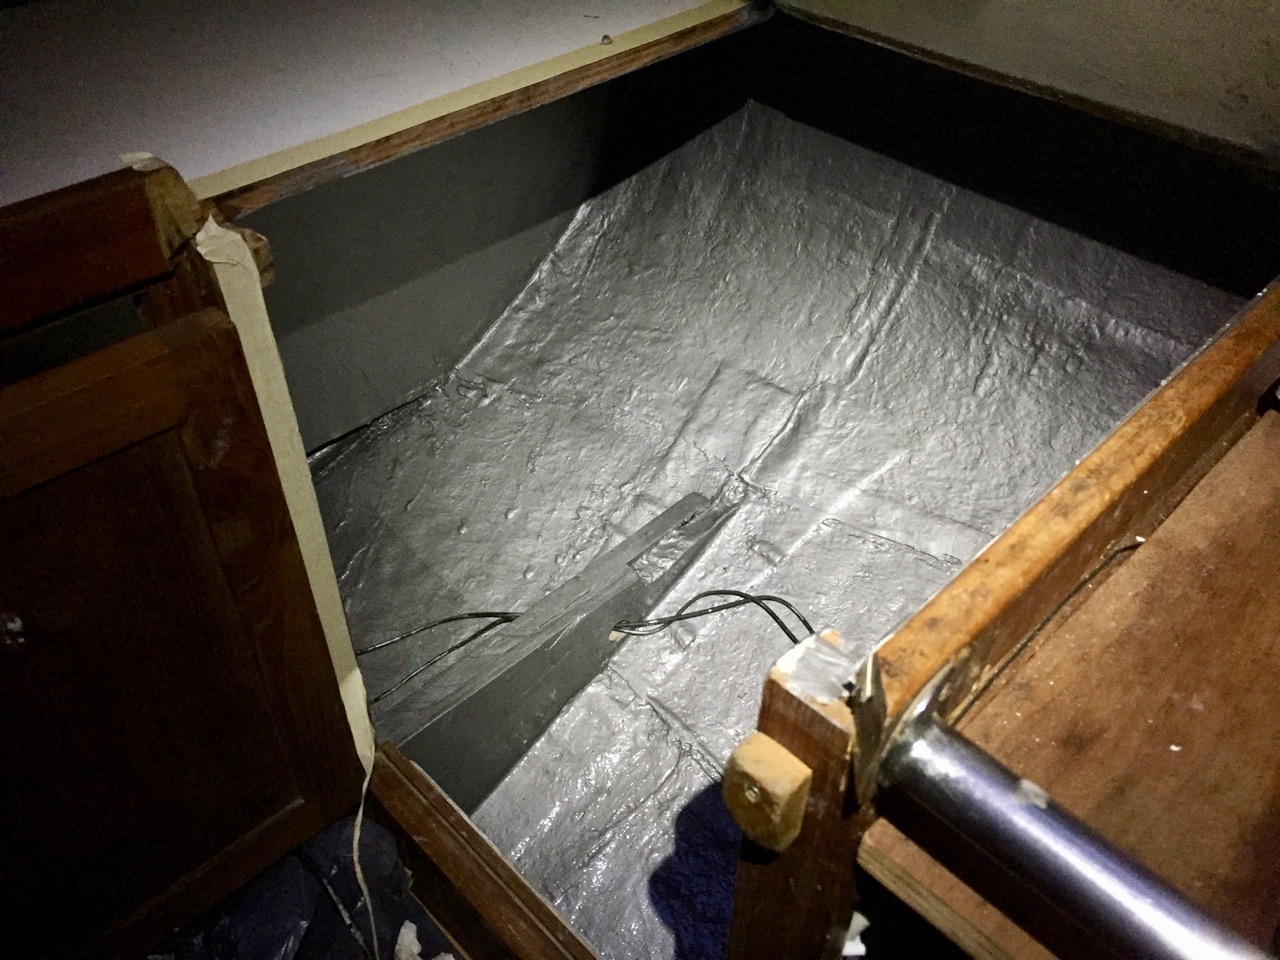
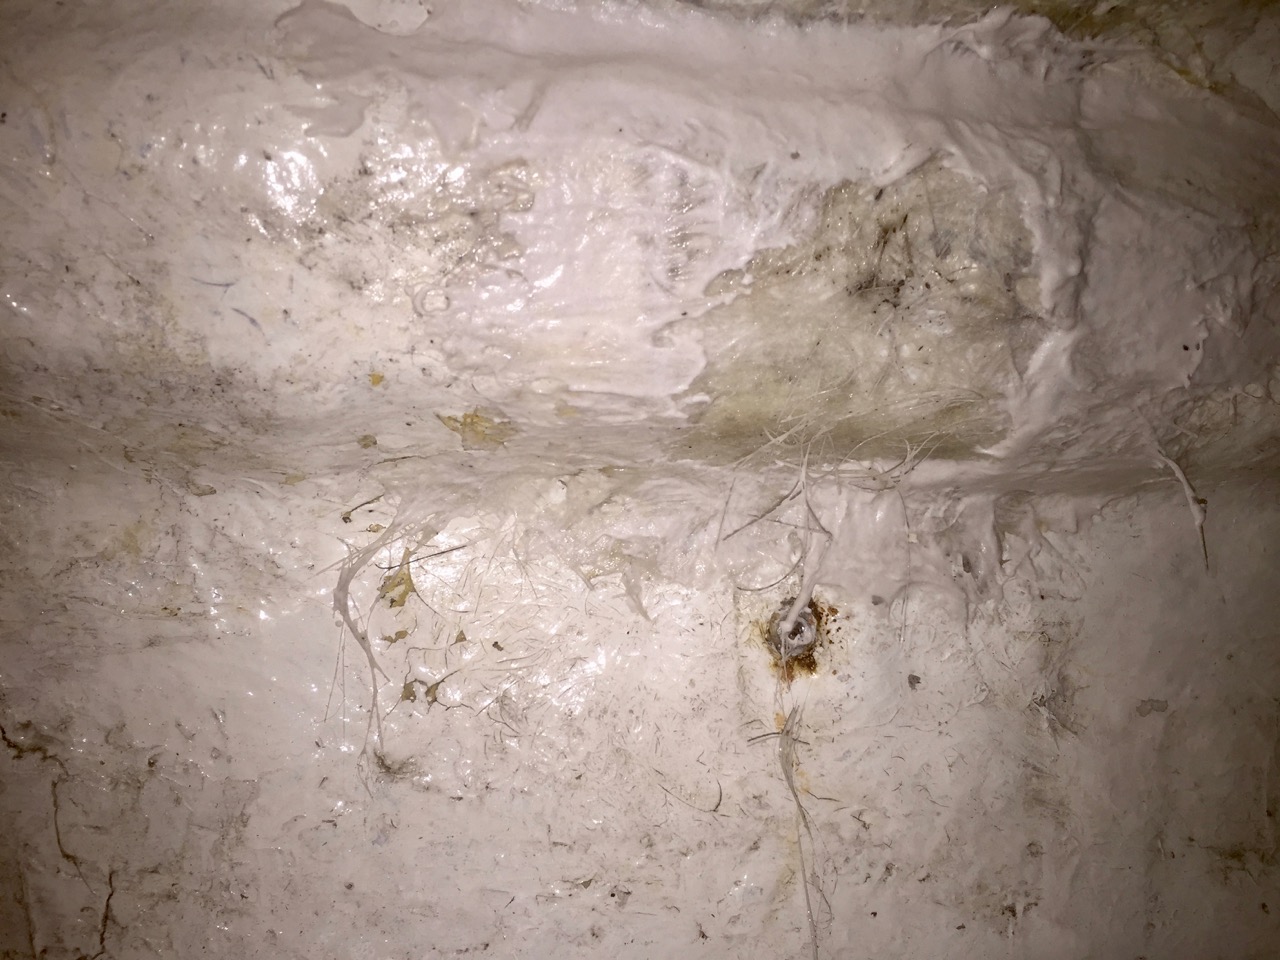
This past week preparations were made for building a new fridge box inside the boat. There has always been a big empty space beneath the kitchen counter that has been hard to reach ever since the stairs were moved there. The fridge box will be placed in that empty space and will be accessible from the top. Although in this case there really was no other option, it actually always a good idea to have the fridge opening at the top. This way the cool air inside the box will not fall out when you open the door. The plan is to insulate the fridge with a minimum of 10 cm insulation to further increase the efficiency of the fridge box. In some places even more insulation will be used, especially in the small space where the freezing section will be.
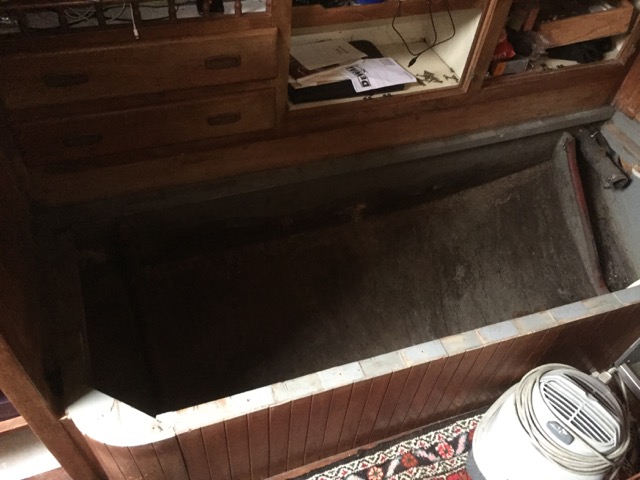
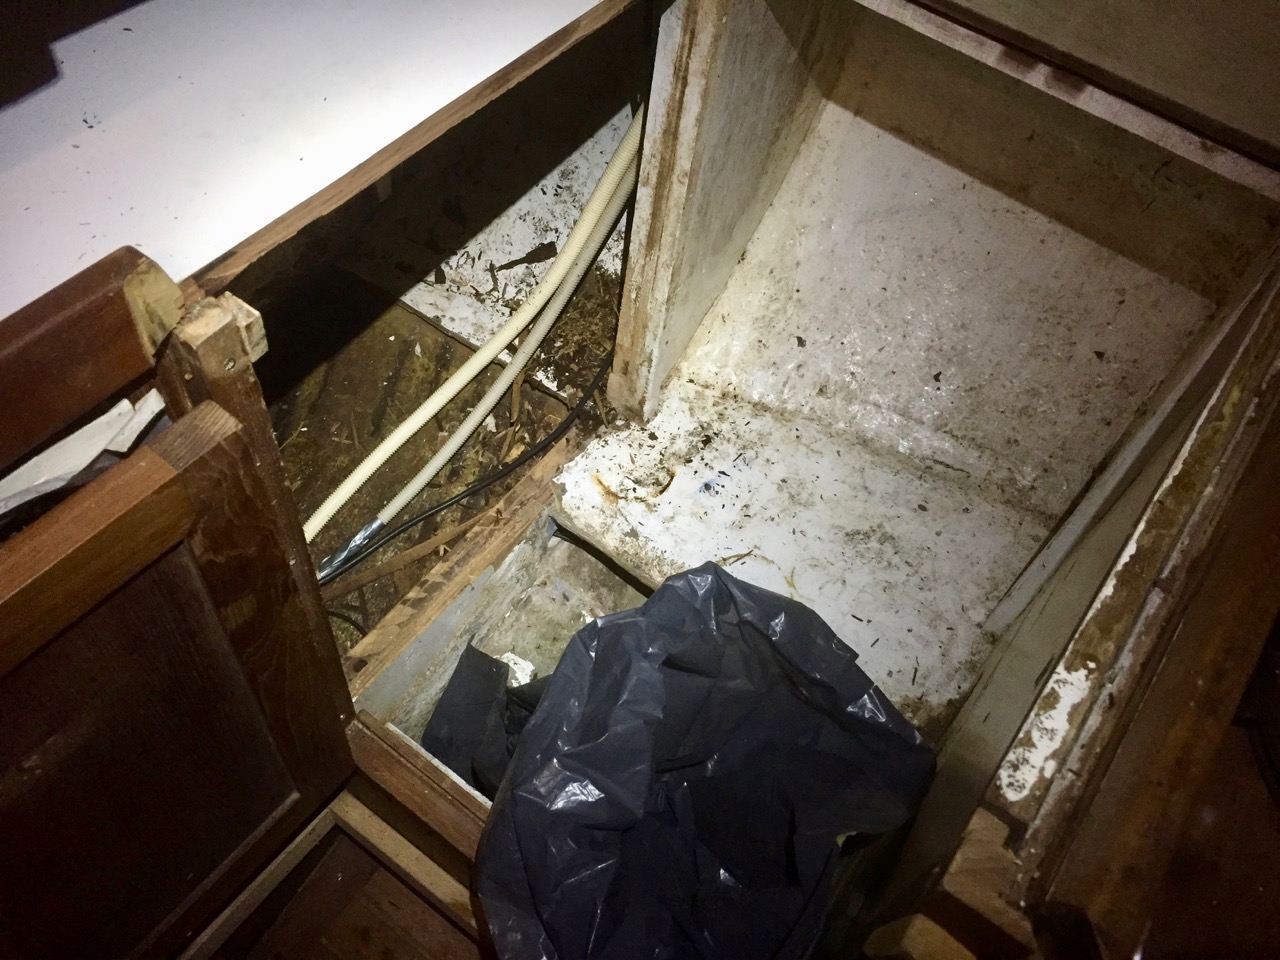
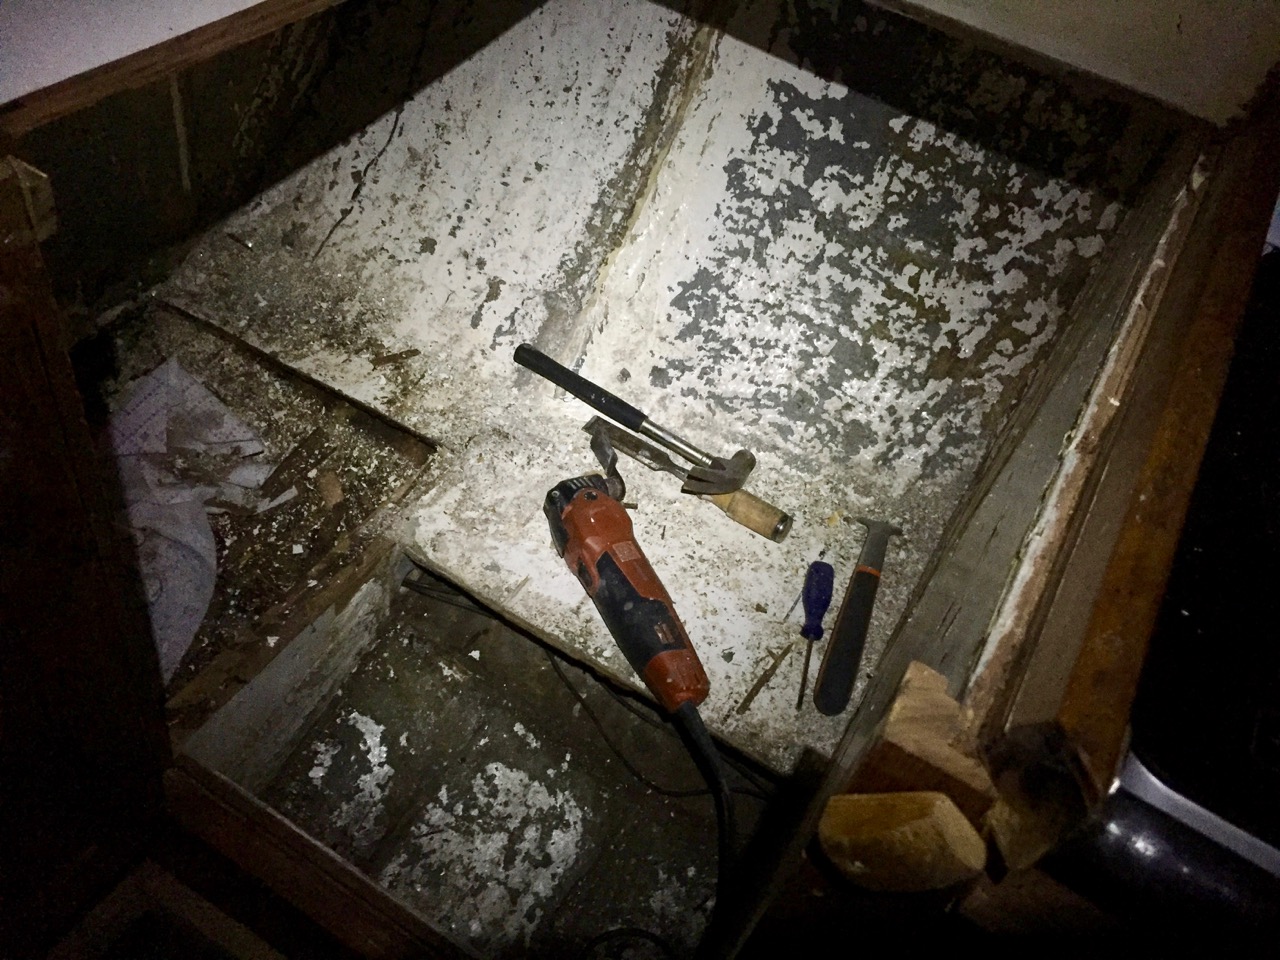
To compensate for the immense thickness of insulation there will need to be a lot of empty space available underneath the kitchen counter. Therefor all unneeded planks and beams were removed and some much-needed cleaning and painting was done to prepare this space for the placement of the new fridge box.
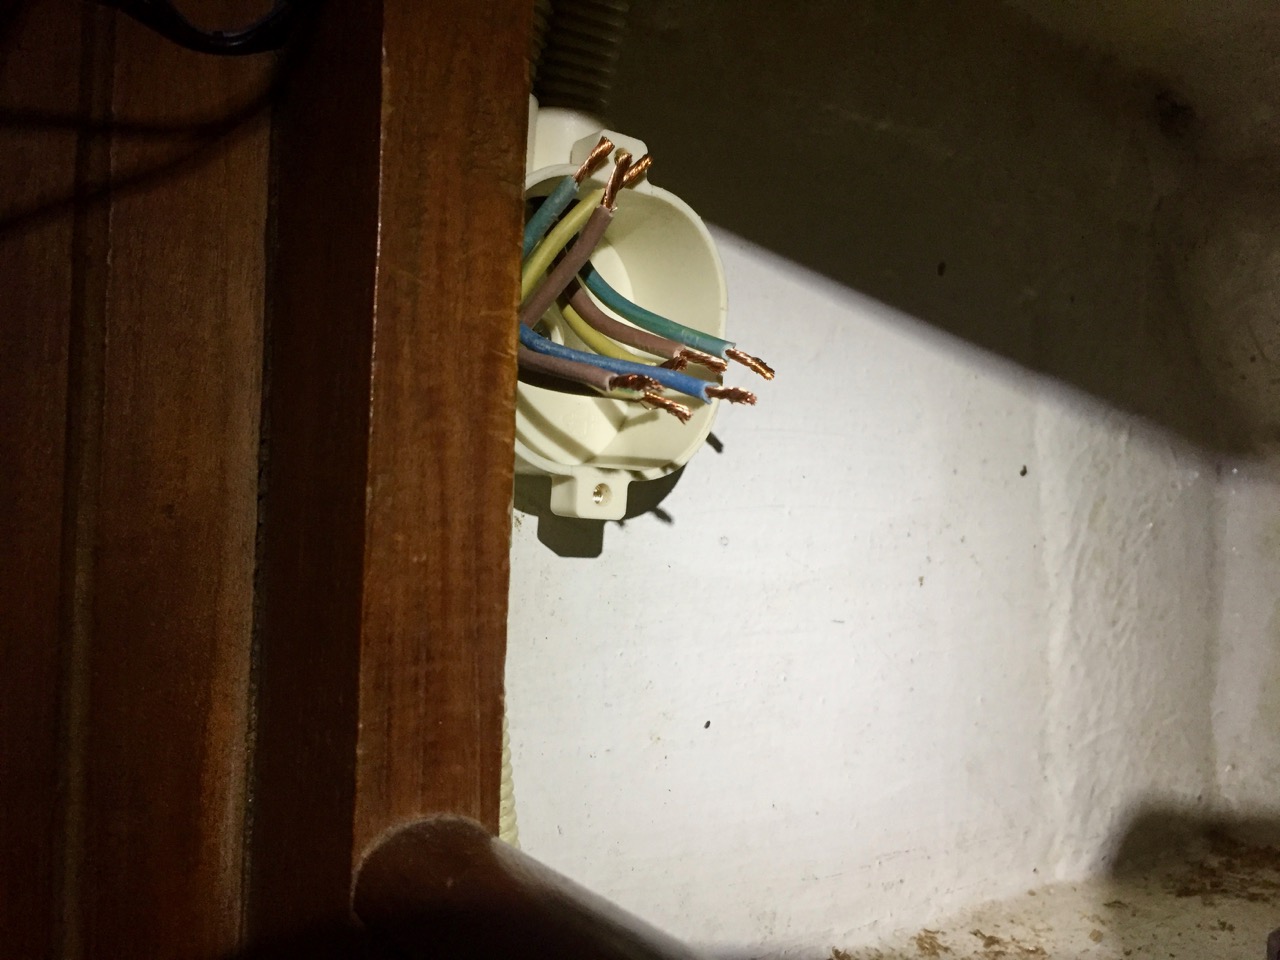
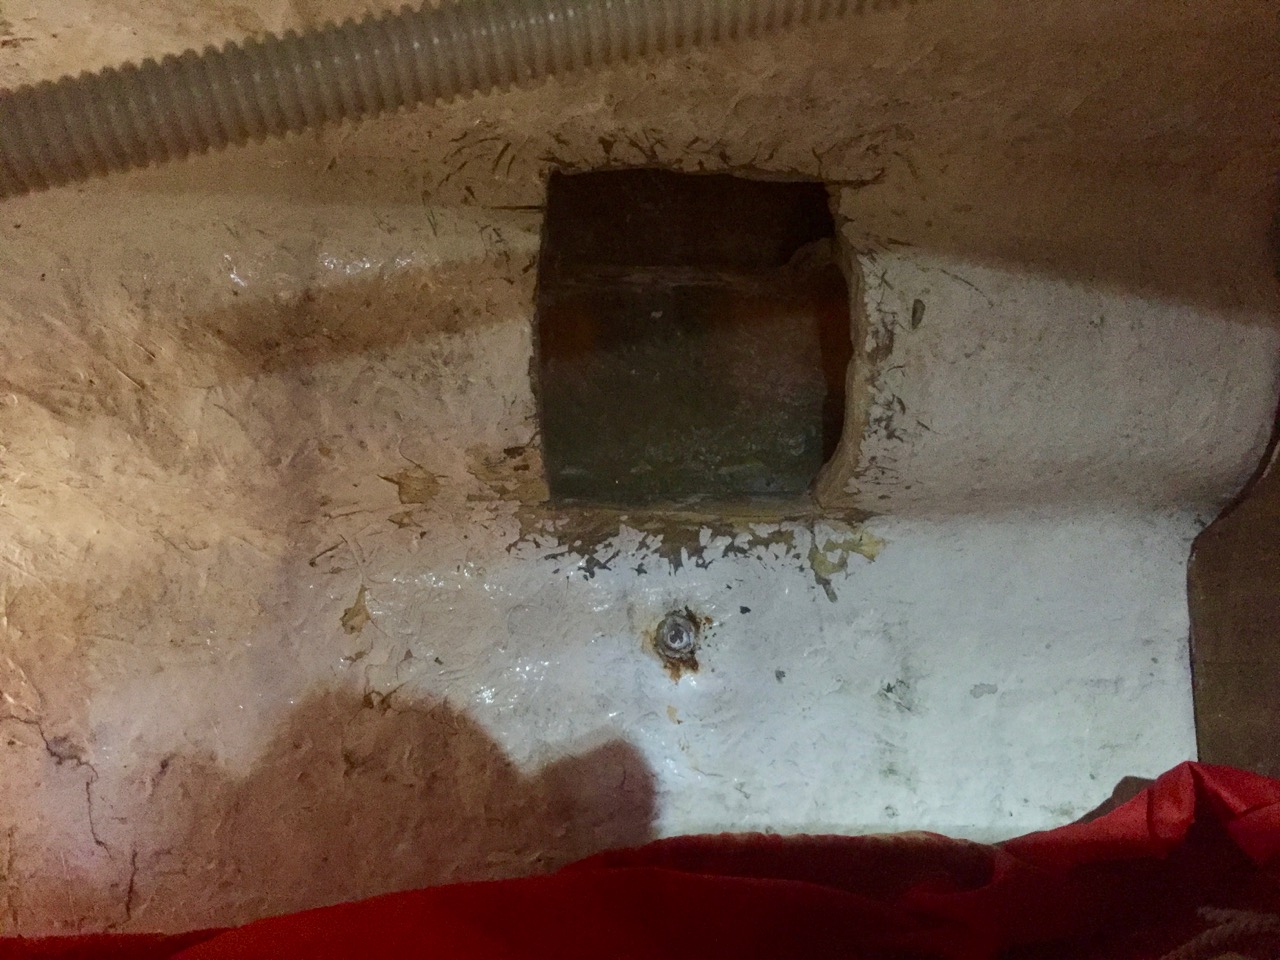
The holes that were made to access some of the bolts that go through the hull of the boat were also closed off again. Plus some of the 230 volt wiring was redone now that those parts were easy to access.

The building of the actual fridge box will follow in an upcoming post. Till then, fair winds and following seas…
A washing machine is a luxury item and thus not a “must have” onboard a sailing vessel.
Most people just take it for granted at home, but aboard it’s definitely not standard.
Despite that fact, to make life as easy as possible I decided that the Seadog could have one.
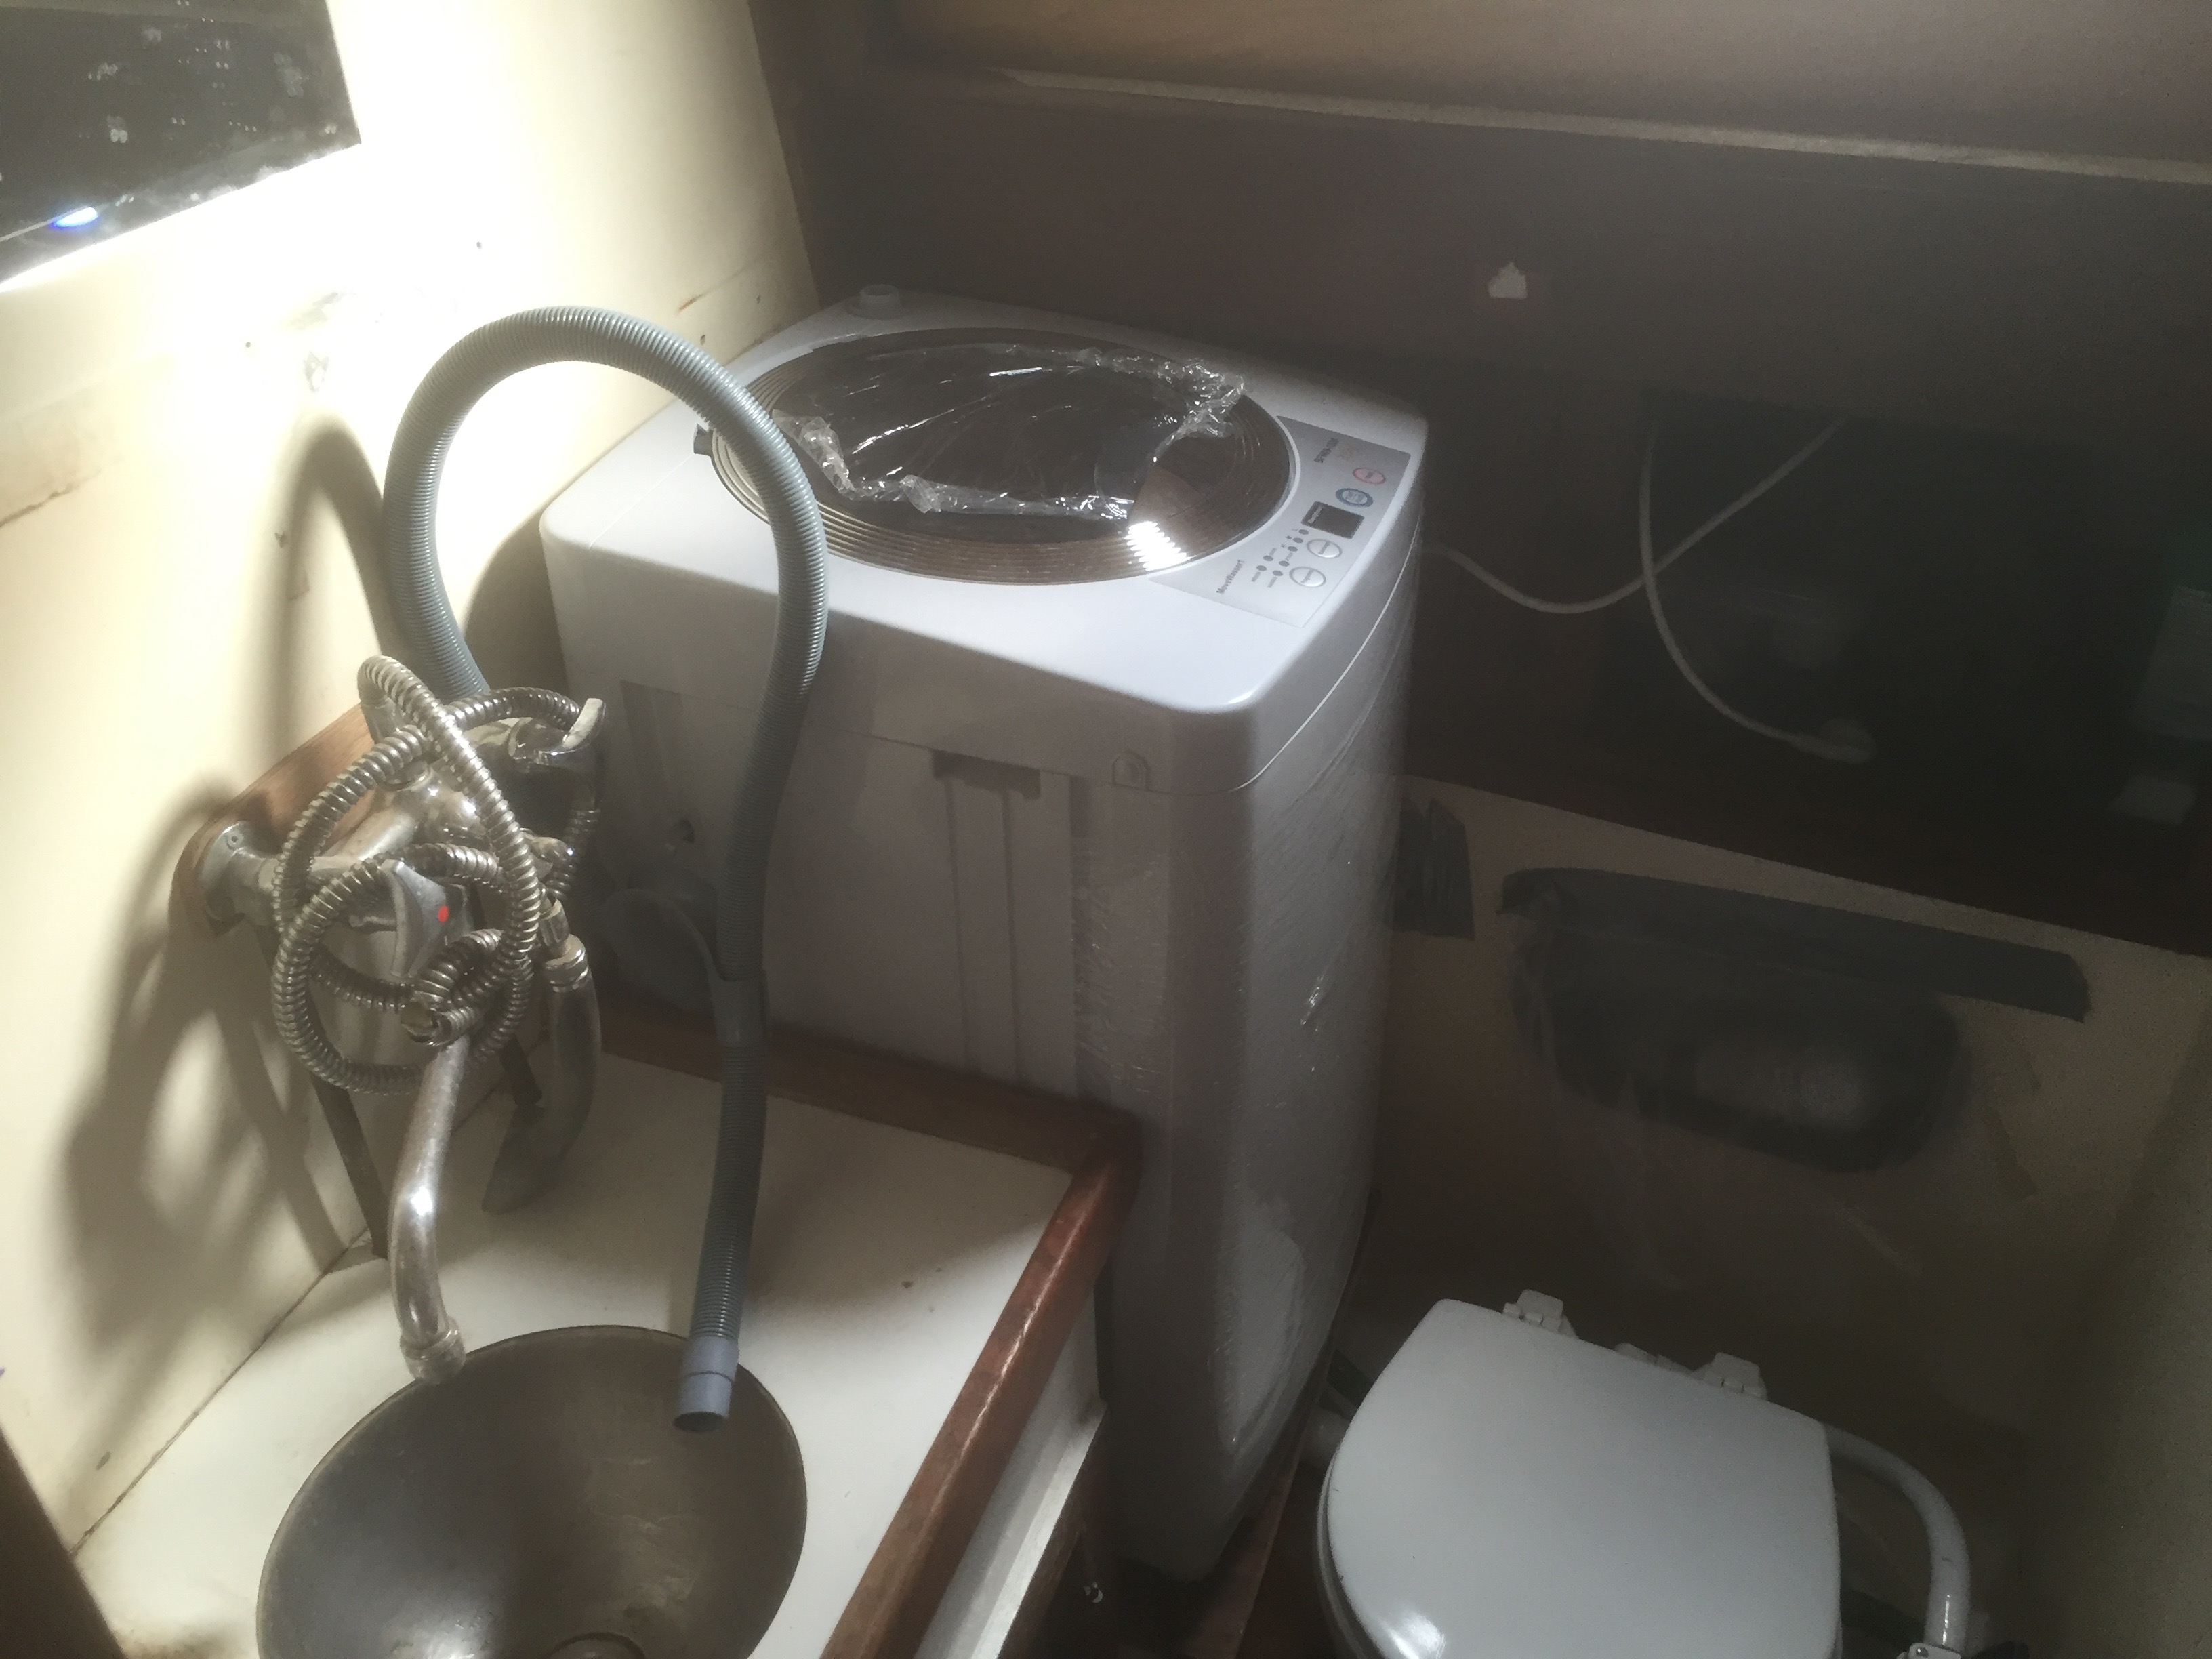
I already had the perfect spot figured out. Only problem was that it really needed to be an extremely small machine to fit it in there.
If I could get a machine with the right dimensions, then it should fit inside the bathroom, replacing the laundry basket.
Dirty laundry could then be put directly in the washing machine and when it’s time to wash, just add detergent and startup the machine.
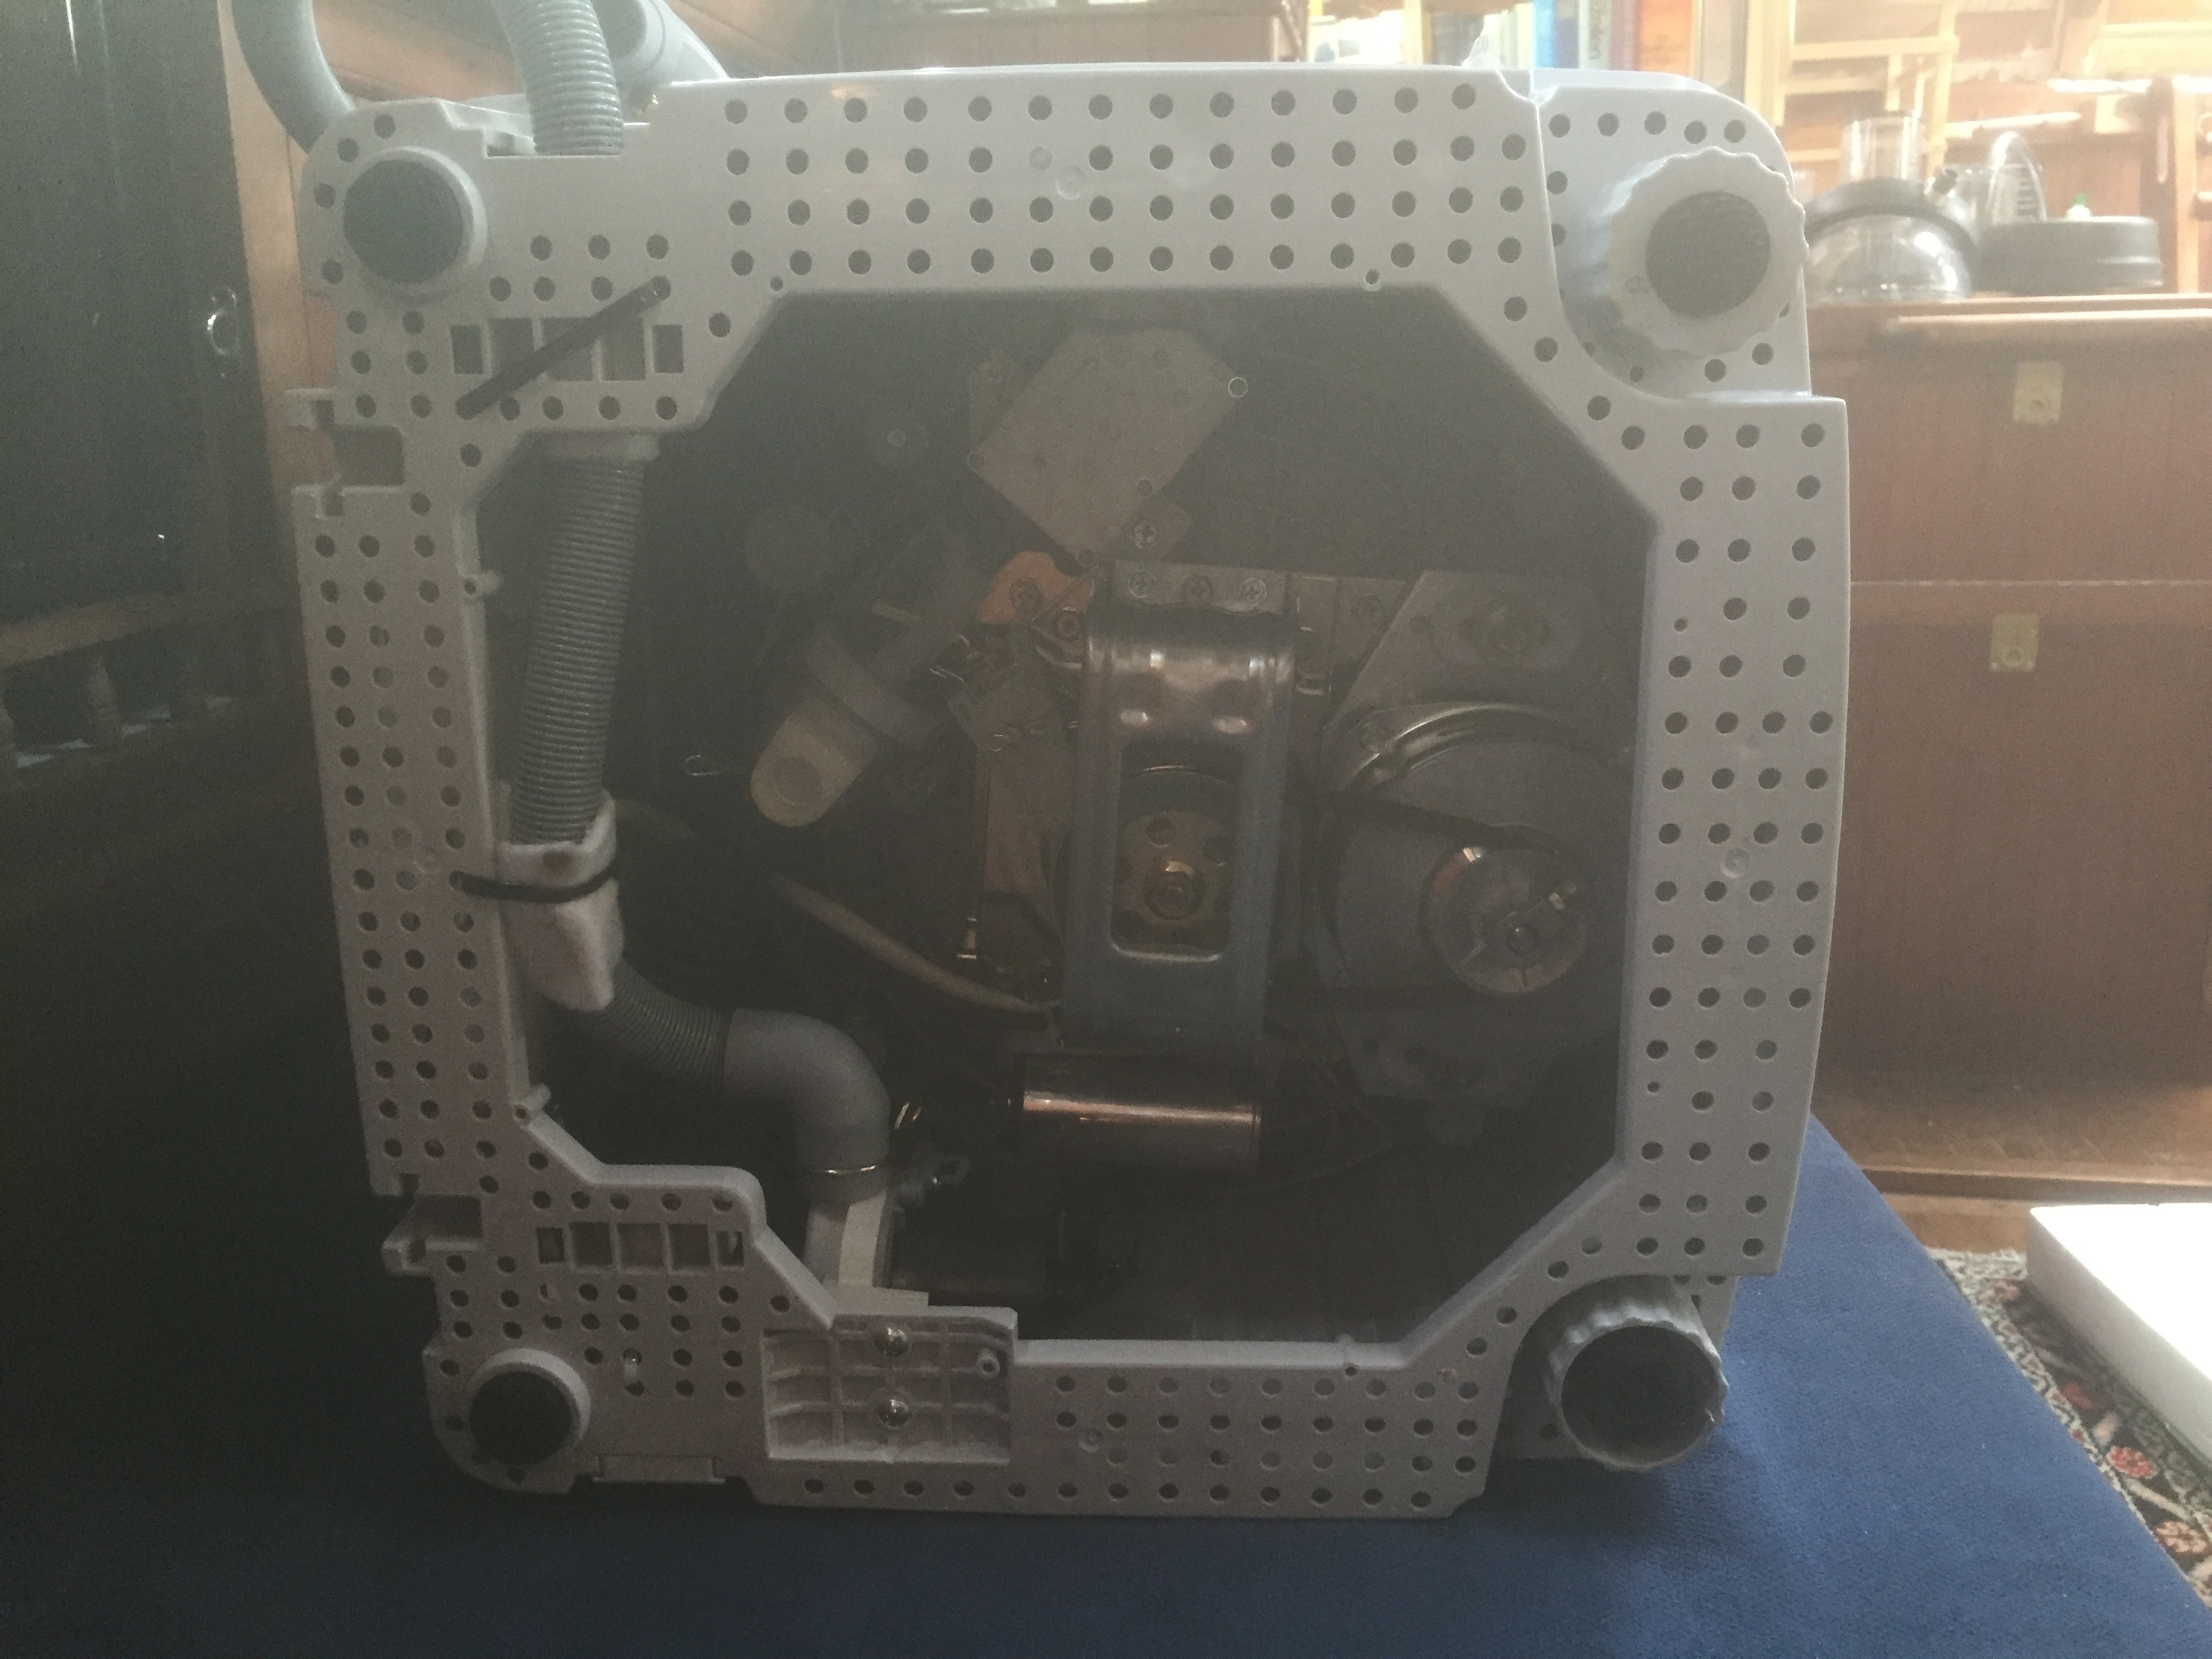
Well, after some research I found the perfect fit. This machine does it all. It washes, it dries the cloths, has multiple programs, and has the door on top of the machine. Only 180 euro,- and exactly what I needed.
The bathroom did need some minor remodelling and a sturdy wooden frame to support the machine, but in one day after receiving the machine it was ready to spin.
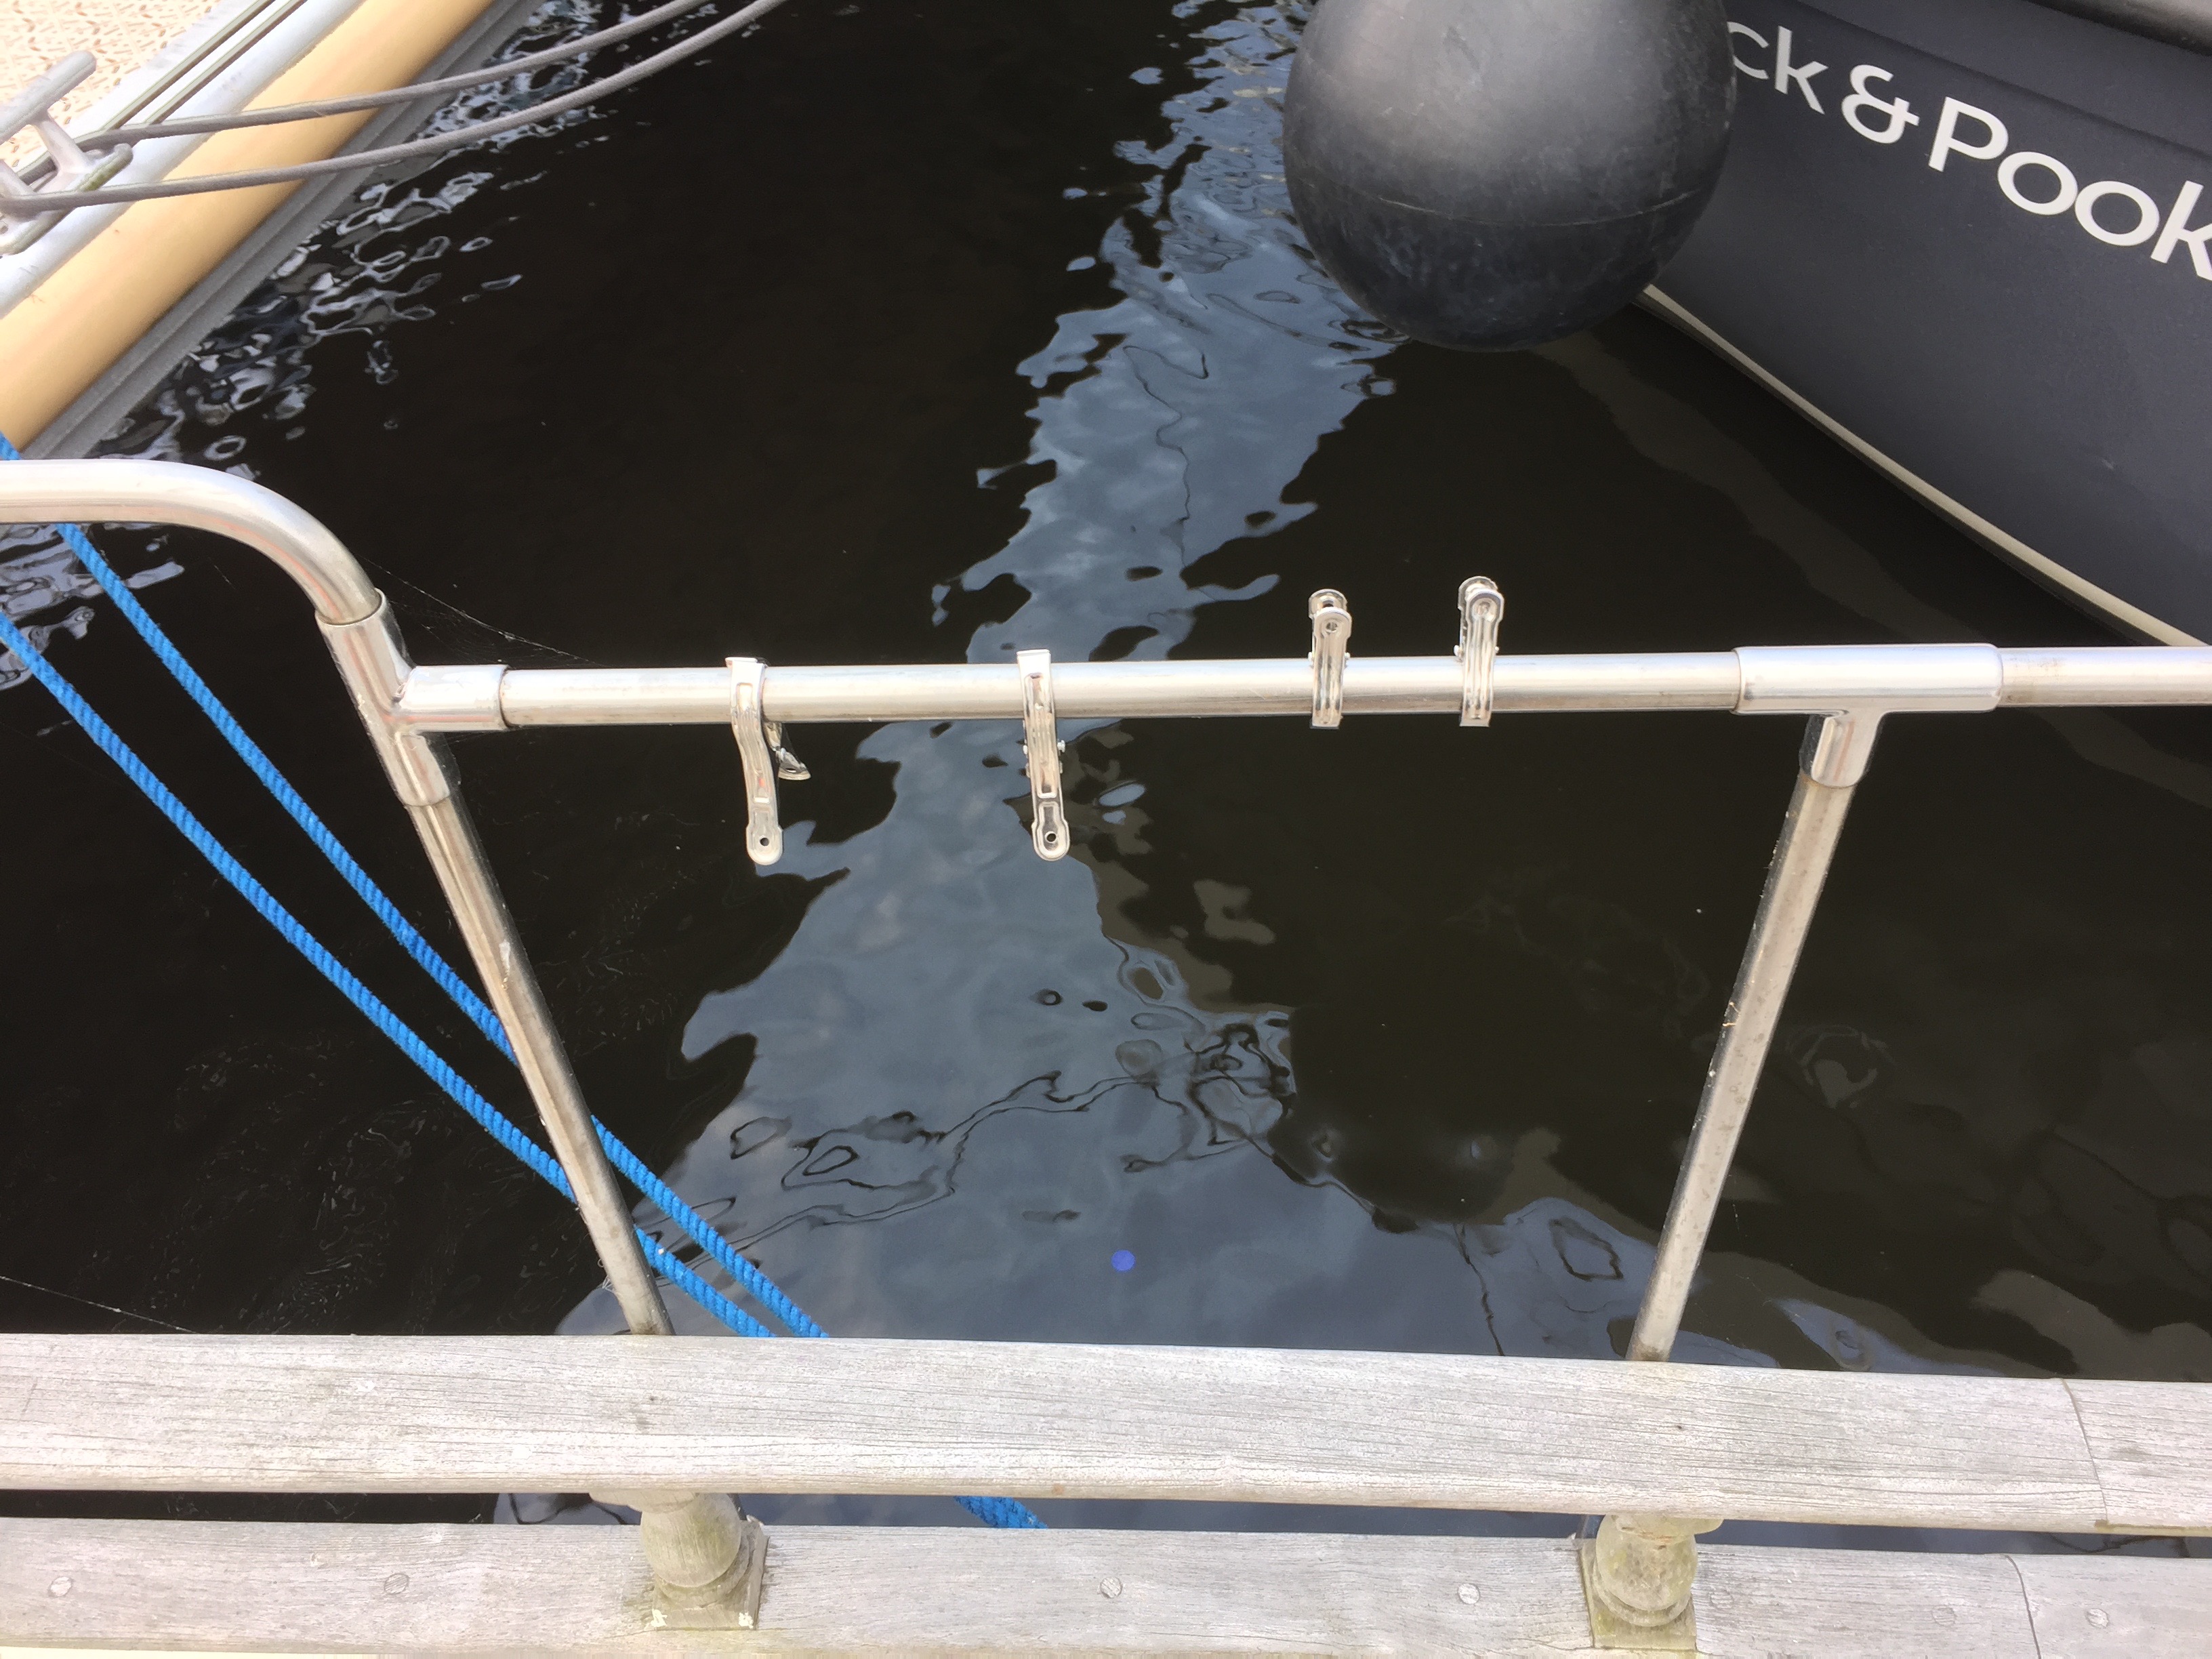
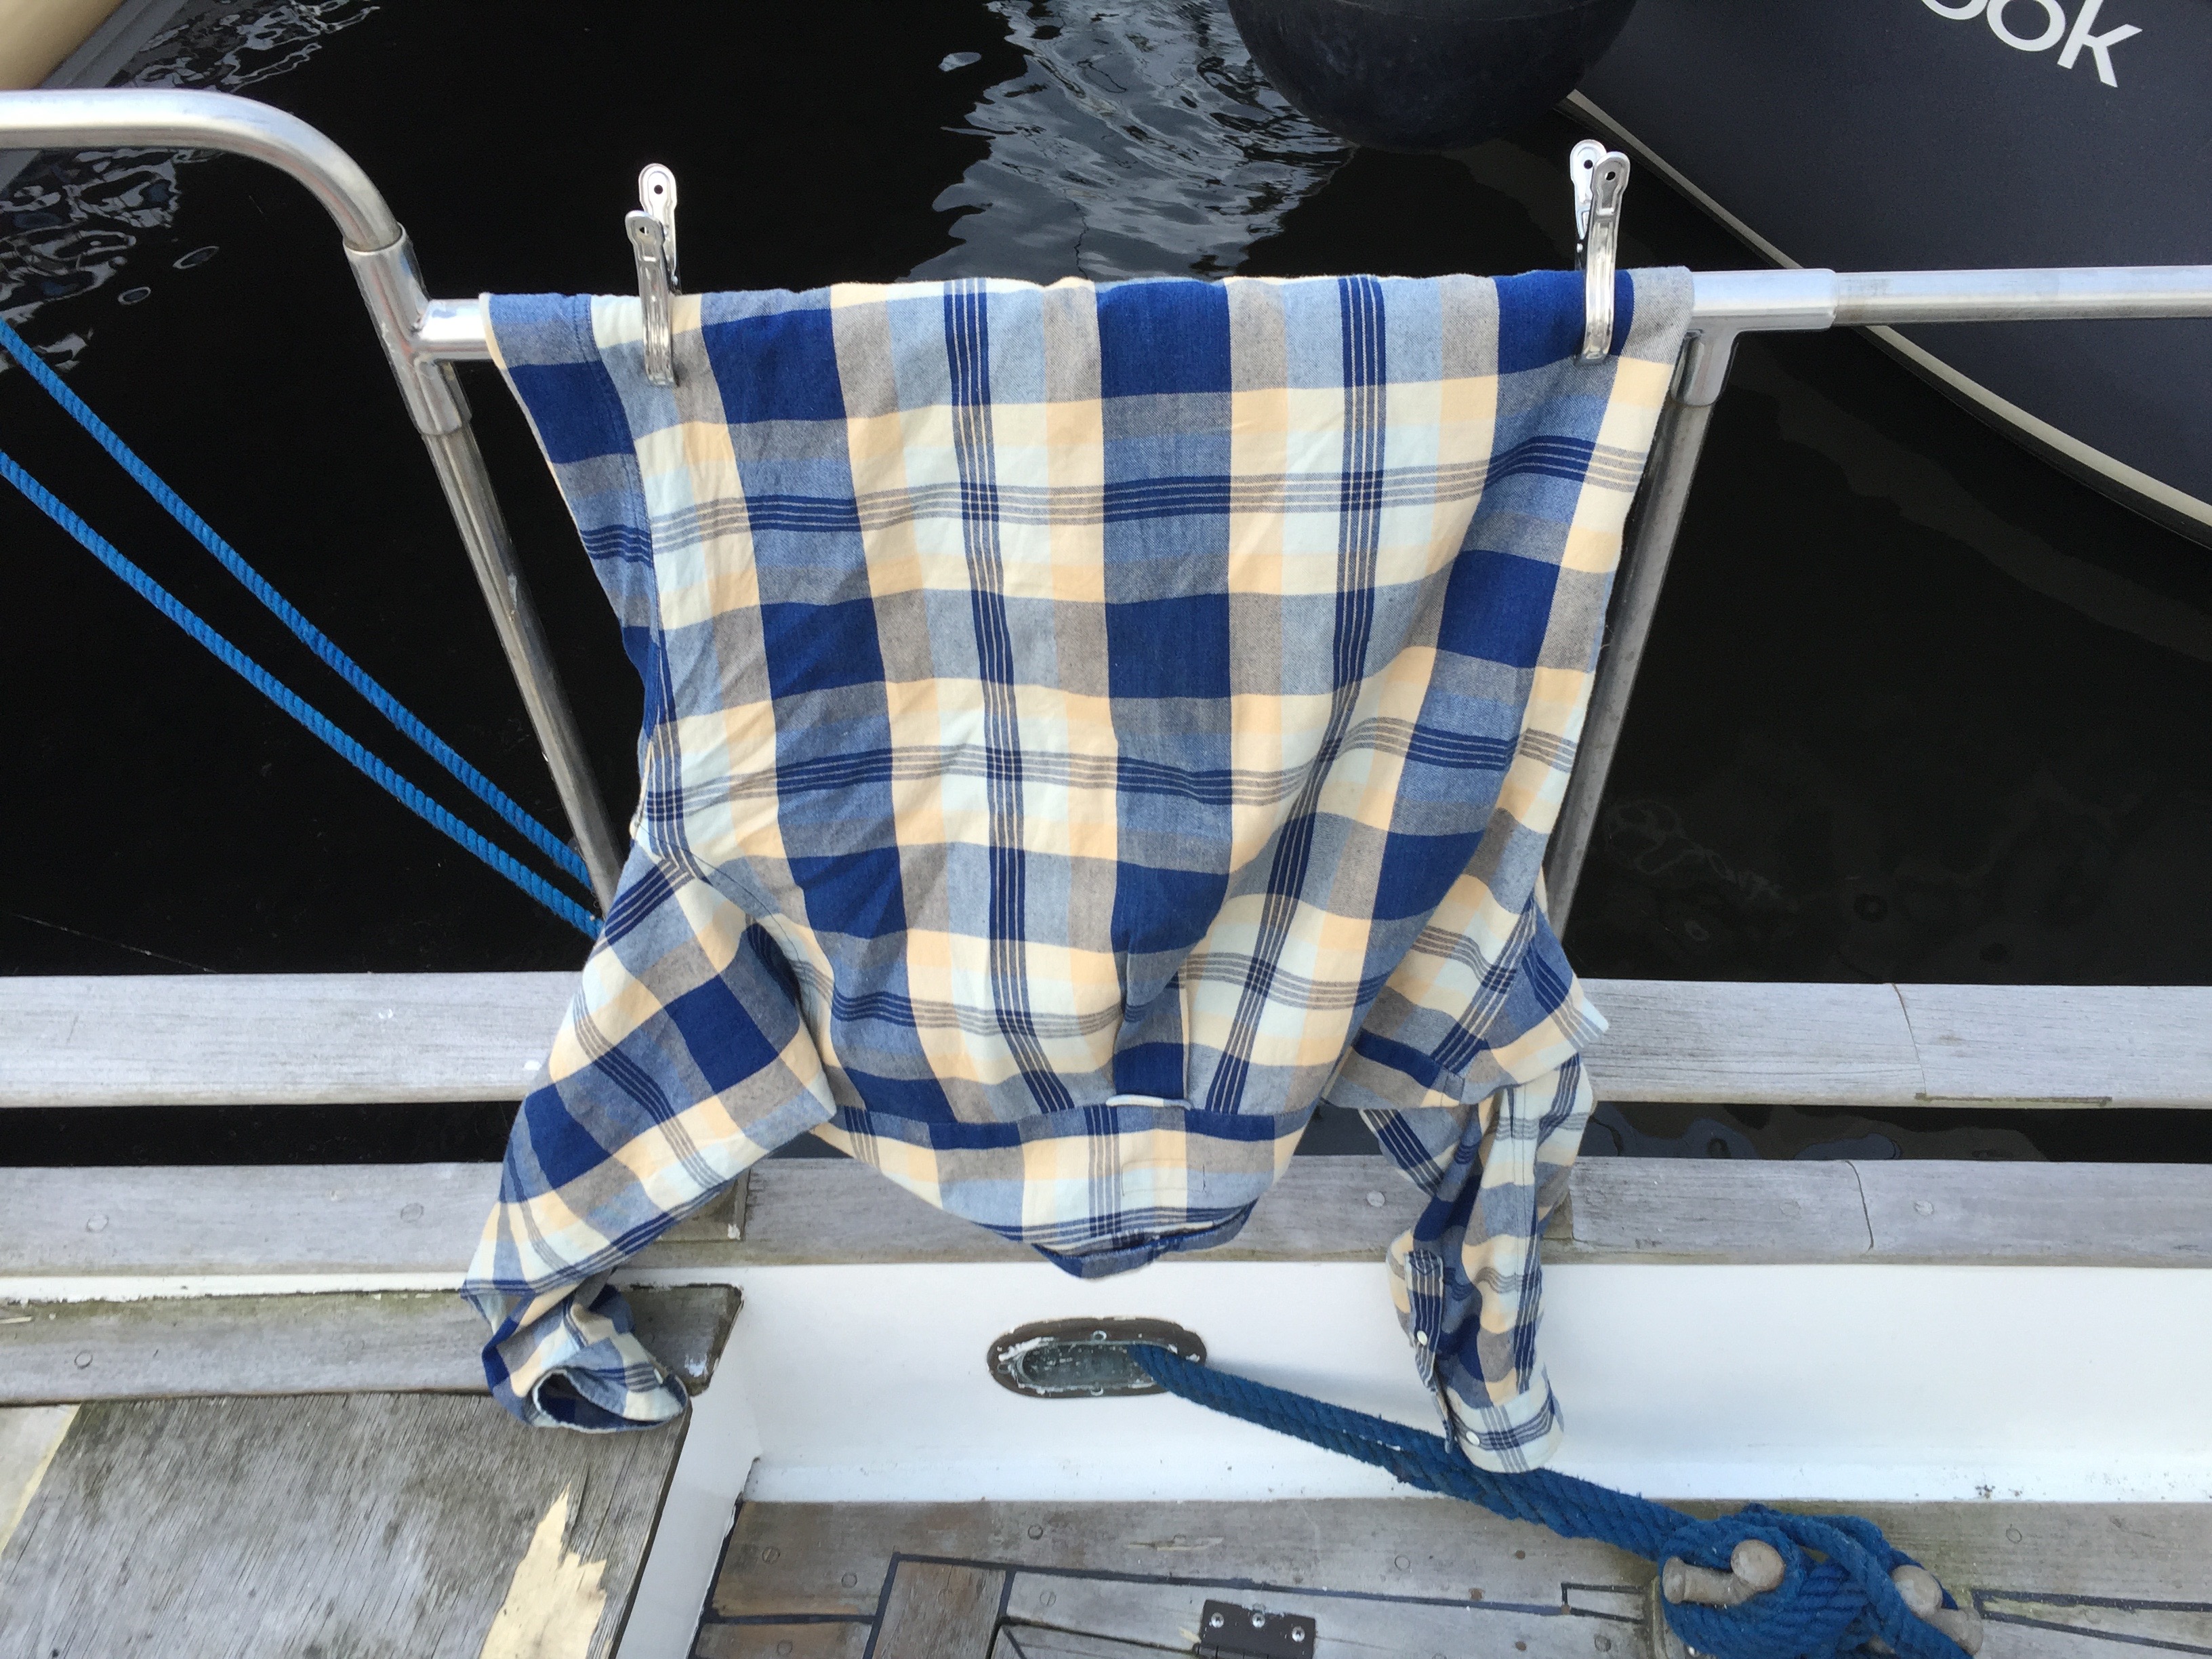
Drying your cloths aboard a boat can be petty tricky because of the fact that if they drop they might fall into the water, sink, and drown.
So I also ordered some special stainless steel clothes pins that are perfect to hang cloths on the guard rail of a boat. Check out all the photo’s below.


The two most important things aboard a ship (especially if one lives aboard) is the galley and the sleeping area. The sleeping ares should be as comfortable as possible and of course always stay dry and free from molt etc. which by itself can be quite a challenge aboard a ship, but more on that subject in an other post.
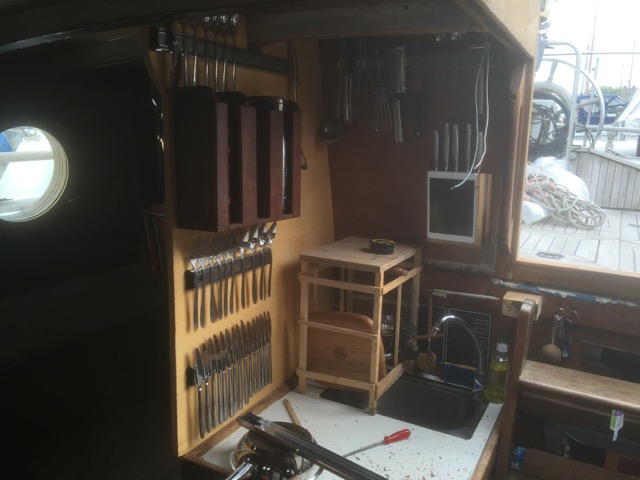
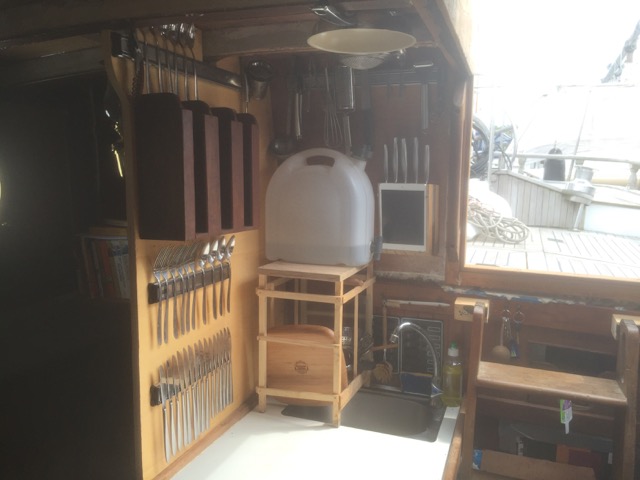
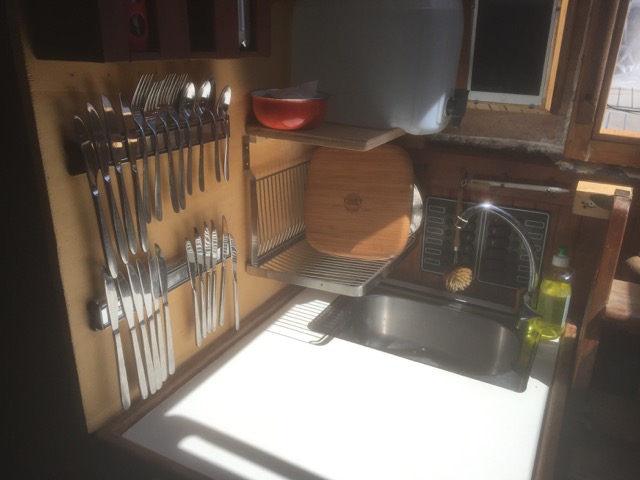
The galley needs to be a well-organized area where all necessities are close at hand. It should be easy to keep clean and have plenty of storage for fresh food and kitchen supplies.
One thing I’m particularly fond of in my galley are the magnet strips on which I hang all the forks, knifes, spoons etc.. But recently I also found an other use for them. When one mounts those strips to the ceiling of the cabin, then you are able to hang pans and the like to the ceiling!
Of course this safes space, but also has two other benefits. For one, the pans are easily accessible and two they stay in their place instead of bouncing around when under sail.
There is one prerequisite though. This trick only work for pans that have been made to work with induction cook plates. Those pans have a special kind of thick bottom plate that sticks to these magnet strips like glue.
Another new addition to the galley abroad the Seadog is a new drainer rack for the dishes. I did already build one a few years ago from wood, but never really finished up on that project and did’t varnish the wood. Bad mistake, because with all that water splashing around in the galley that rack soon began to get infected with all sorts of molt. So I decided the new rack should be made from stainless steel. After some searching on the internet for the correct measurements that I needed I ended up ordering a small, quite cheap stainless steel rack from IKEA. It was not a perfect fit at first, so I did have to use the angle grinder here and there and drill some hole in the rack to hang the thing onto the galley wall, but all in all, the end result is near to perfect.
The beauty about this solution is besides the fact that the molt infection problem has been solved, this drainer rack also has two new functions that it did’t have before. Namely it can now also support smaller kitchen items (because of the stainless steel bars) and it has the ability to be folded onto the galley wall when not in use. Sublime!
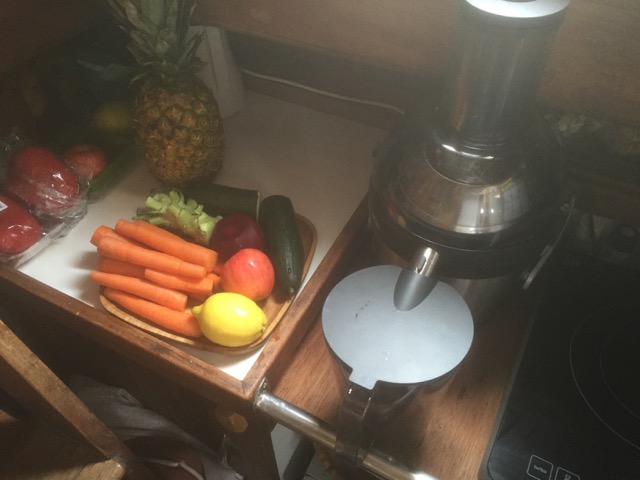
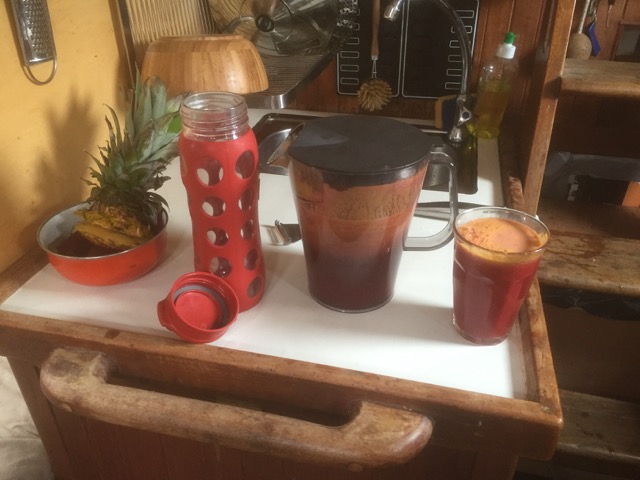
Also one more new item that was added to the galley this month. A new juicer! Very happy with this (rather big) guy. I use it almost every day now. I already had a slow juicer aboard, but it was a real pain to clean that thing. So I decided to buy myself the most easily cleanable juicer on the market and found it in the Philips Juicer HR1871. My god, what a wonderful machine. You can also just through about anything you want in there. Hole apples, or pineapple (with skin and all), carrots, zucchini, hole beetroot, everything. And indeed very easy to clean. So now my breakfast usually consists of two plates full of beautiful fruits and vegetables. Pure heaven!


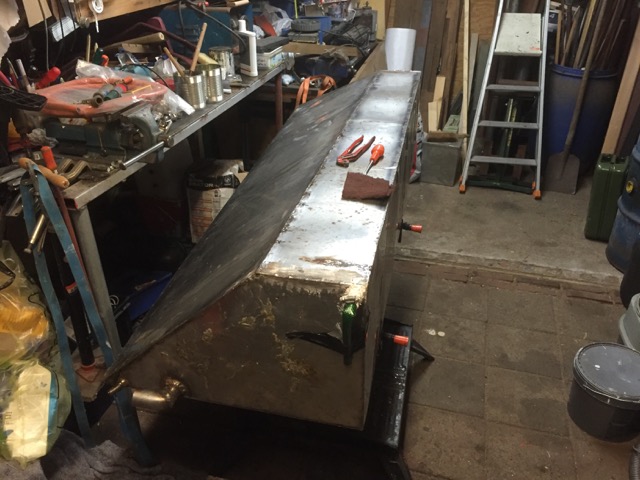
The Seadog has two 150 liter water tanks. One on the starboard side and on the port side. Now almost one year ago the water tank on the port side started to leak its precious water into the bilge of the ship. So that tank was drained of it’s contents and was put out of commission for a while.
In wintertime all of the water taps on the pier are disconnected from the main water supply to ensure that they don’t freeze and get damaged. The Seadog is still disabled and can’t go anywhere (because the engine is still not in working order) so we can’t go to the main tap to fill up the water tank(s).
This means water usages aboard the Seadog in wintertime is restricted to as little use as possible. A mobile water tank is used to get drinking water from the main water supply, so that’s not really an issue. But for doing the dishes etc. it’s nice to have a full water tank, and of course in the ideal situation this should be both water tanks.
So I had kind of a deadline on which the leaking water tank should be repaired and operational again, because I needed to fill both tanks before the taps on the pier got disconnected.
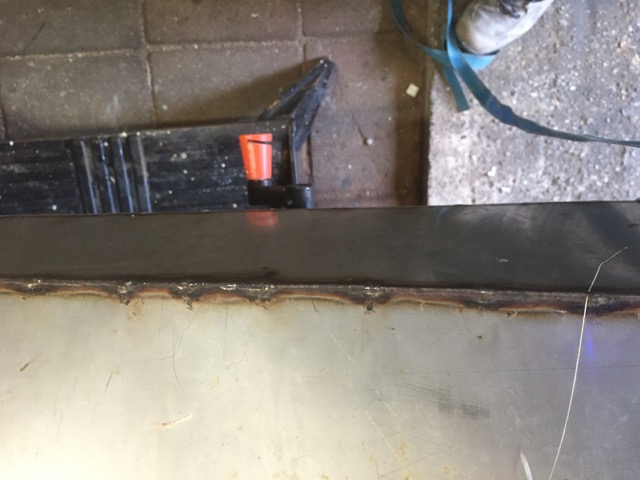
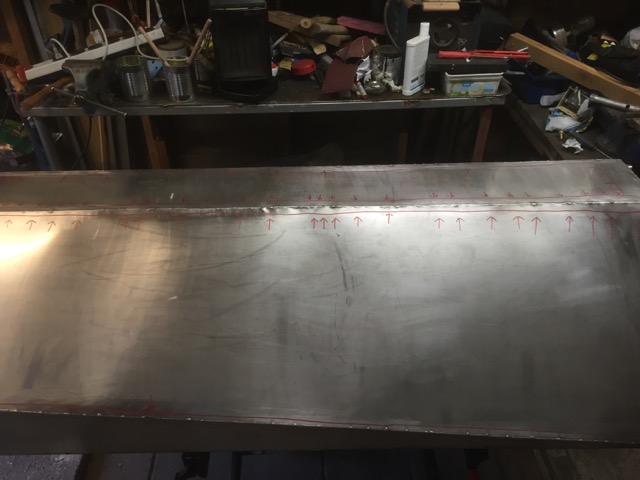
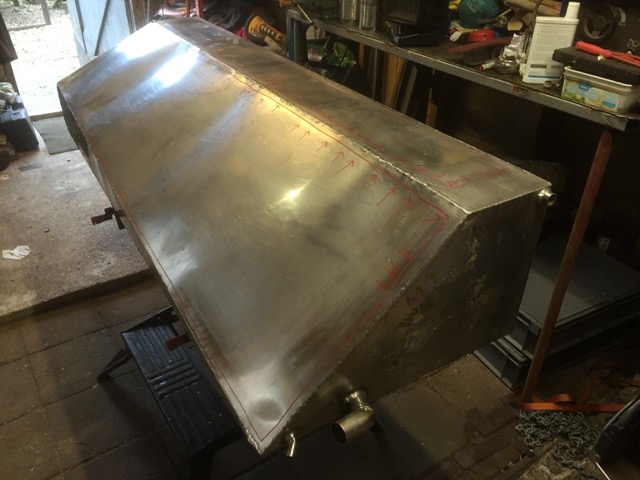
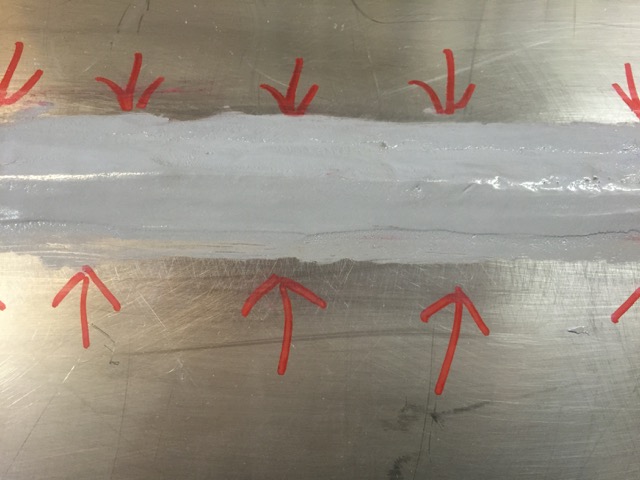
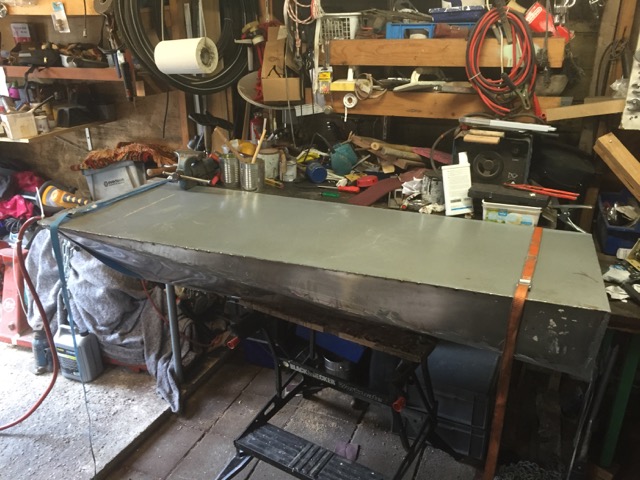
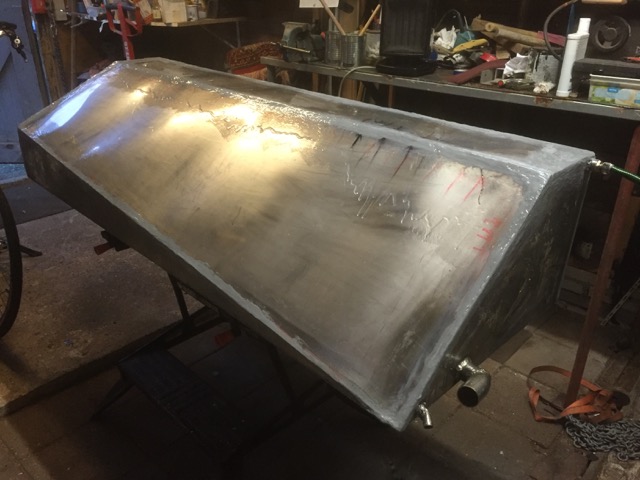
First we (my dad) tried to weld the leaks (there seem to be more than one), but that did’t work out to well and after a few attempts it almost looked like the tank was leaking even more.
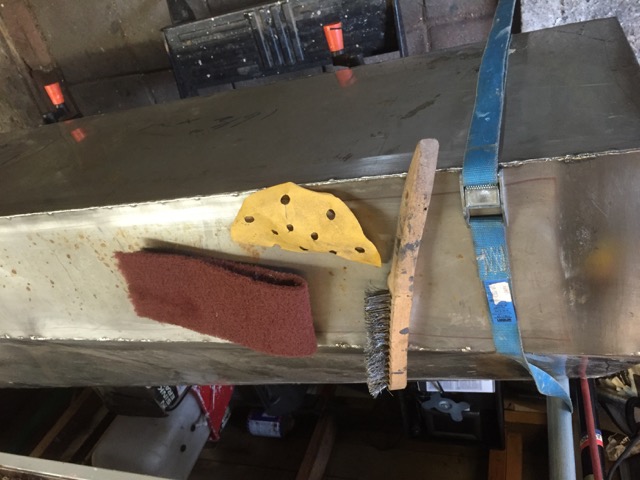
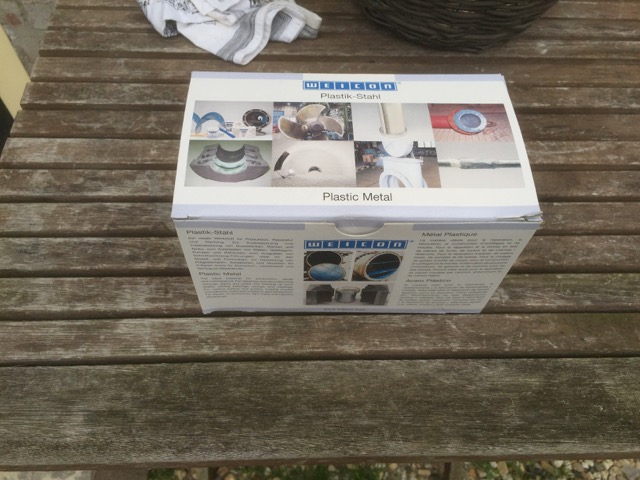
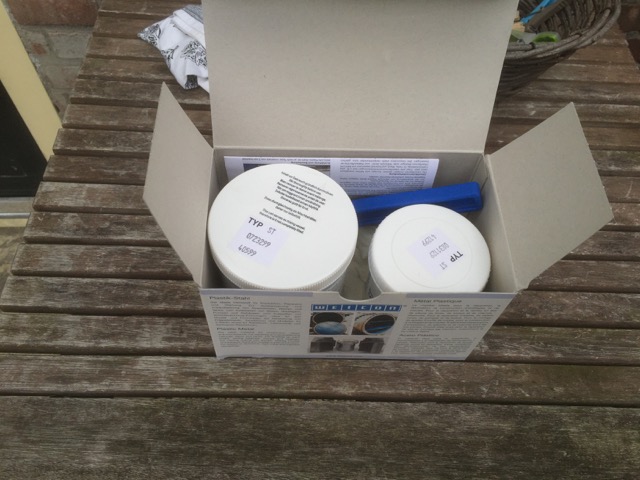
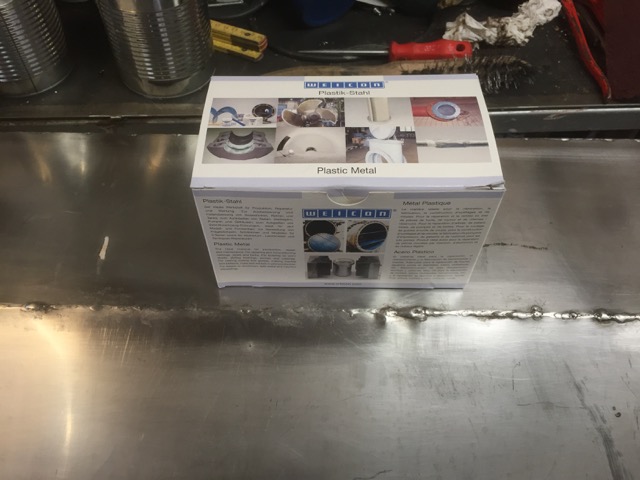
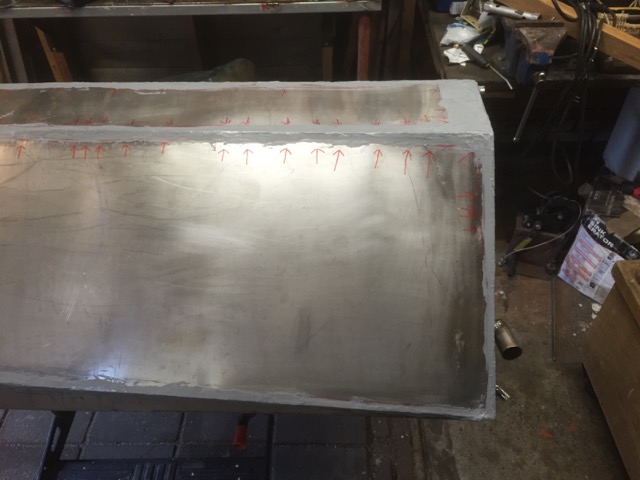
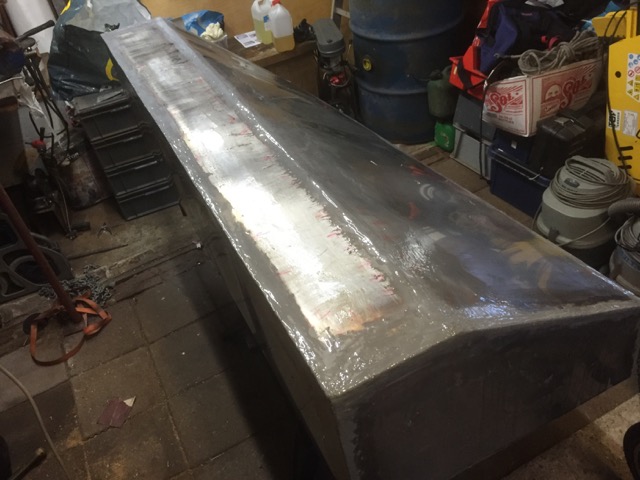
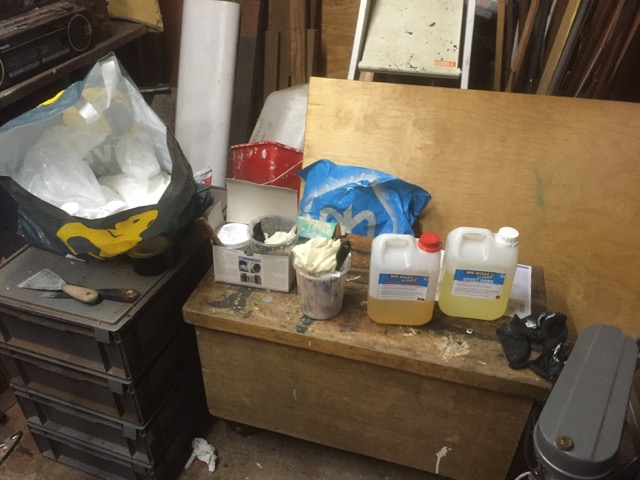
So I turned to my trusted ally; epoxy resin. This time a special kind of epoxy was used, one that was purposely created to repair industrial metal objects. This stuff can even be used to repair objects that need to withstand tremendous pressures like propellers, pumps, pipes, and of course tanks. It’s called WEICON Plastic Metal (http://www.weicon.com/pages/en/products/adhesive/2c-adhesive/plastic-metal.php) and can even be used to repair broken tools etc. and after correct application can be drilled, milled, ground and or filed.
It’s quite expensive, but then you do know for sure you got the right stuff.
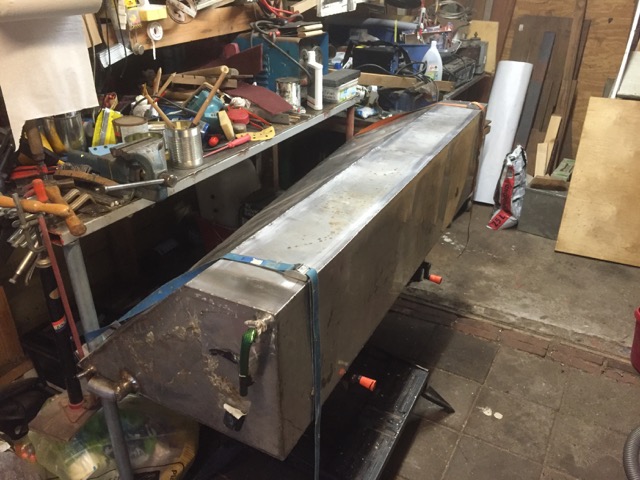
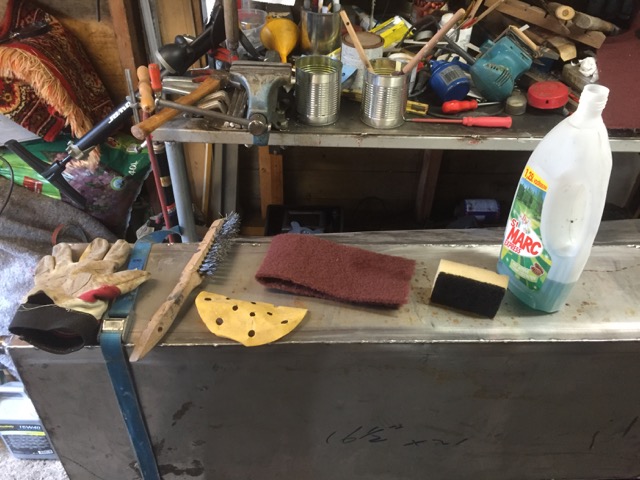
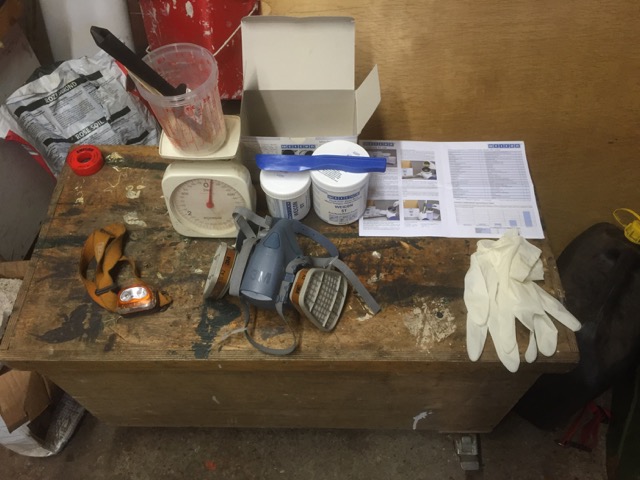
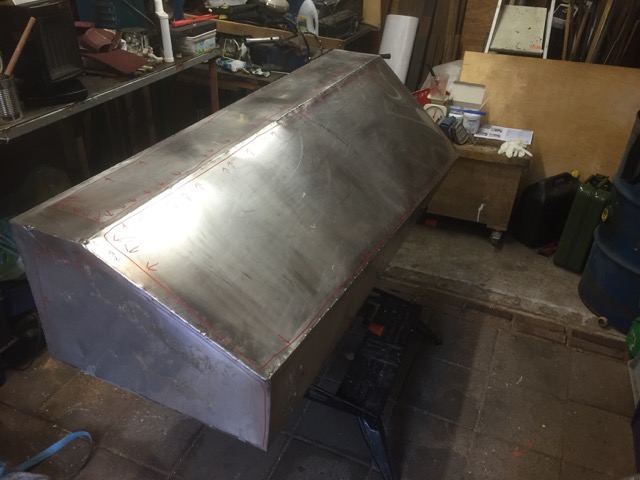
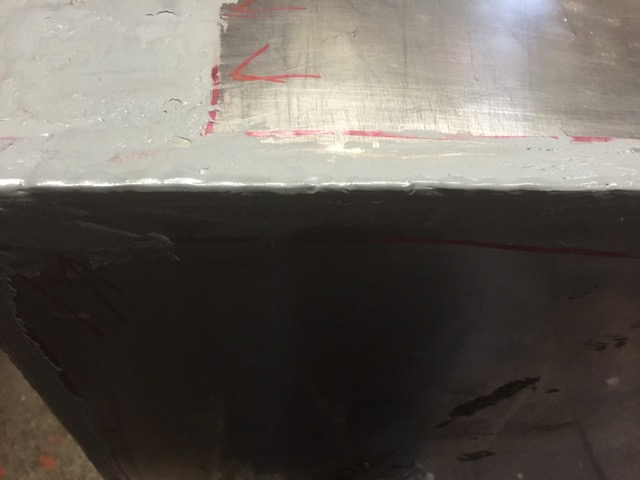
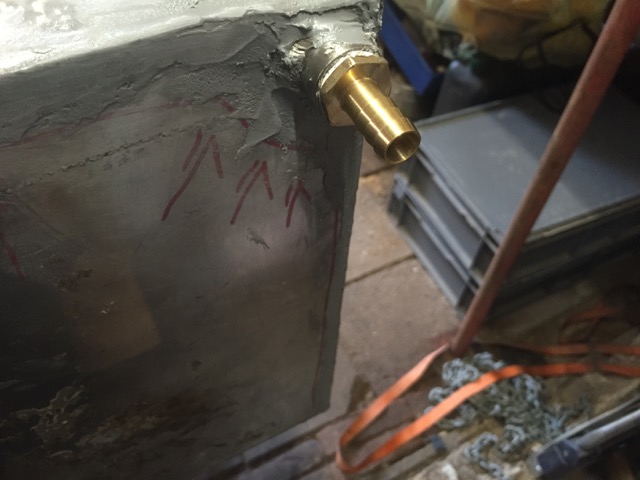
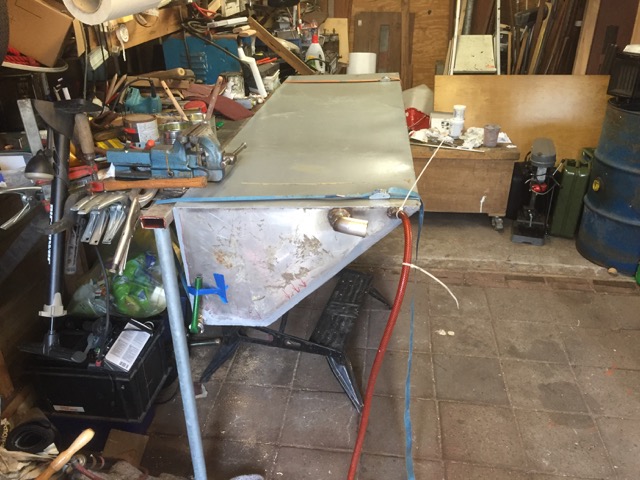
Of course I first needed to disconnect and remove the tank and transport it to my parents shed where I could clean and prepare the surface before applying this “plastic metal”.
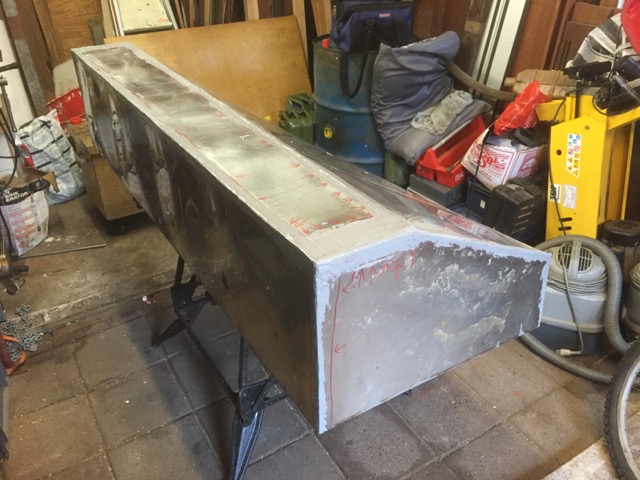
It did take a few tries before all the leaks where properly sealed and in total I might have been working on this “little” project for three to four weeks before the tank could be put back in it’s place. But lucky for me that was just in time before the water taps were disconnected, so all in all it turned out very well. The tank has been in use for almost three months now, without any leakage so I guess it was a great success indeed.