Repairing a leaking watertank

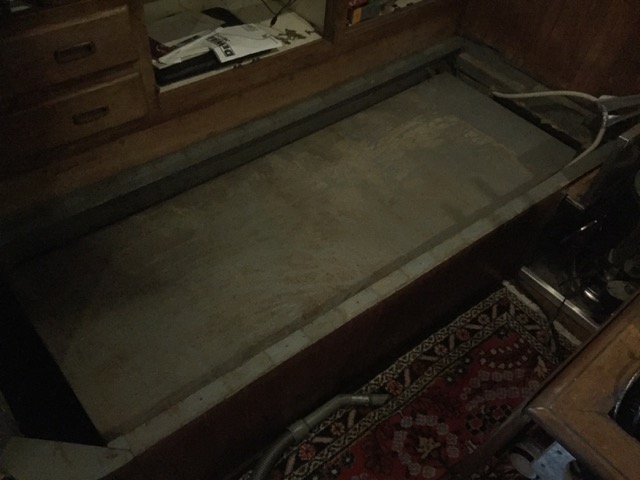
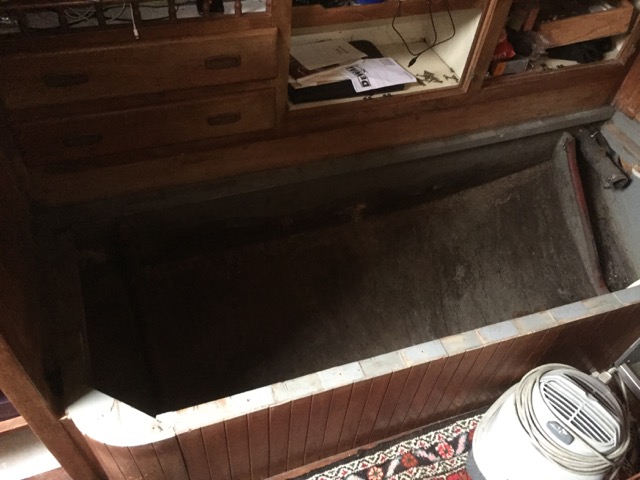
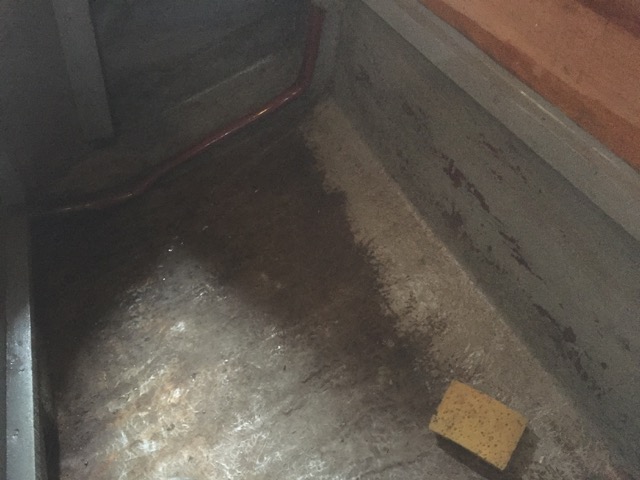
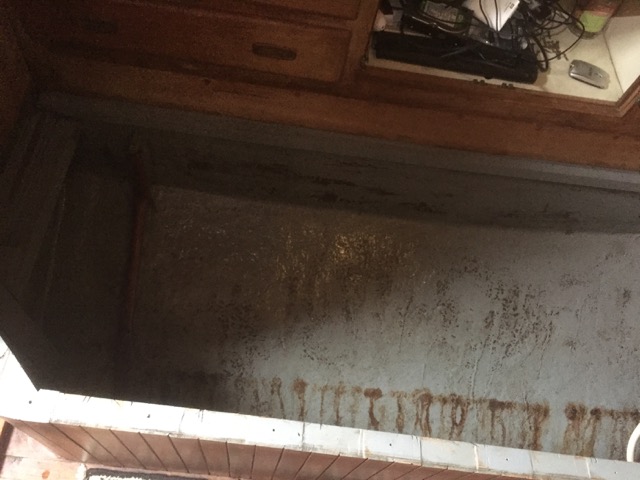
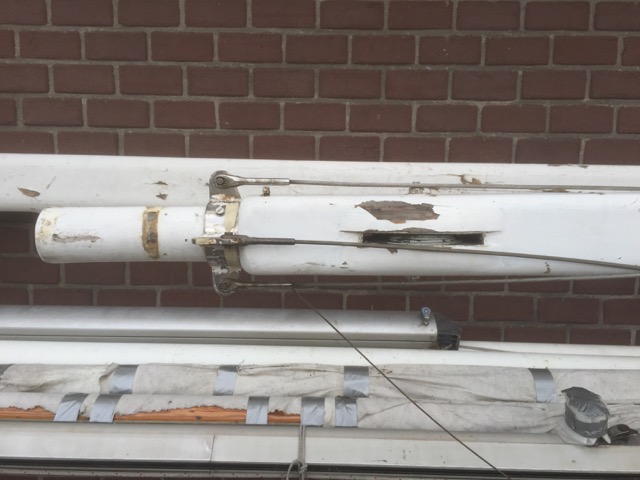
The Seadog has two 150 liter water tanks. One on the starboard side and on the port side. Now almost one year ago the water tank on the port side started to leak its precious water into the bilge of the ship. So that tank was drained of it’s contents and was put out of commission for a while.
In wintertime all of the water taps on the pier are disconnected from the main water supply to ensure that they don’t freeze and get damaged. The Seadog is still disabled and can’t go anywhere (because the engine is still not in working order) so we can’t go to the main tap to fill up the water tank(s).
This means water usages aboard the Seadog in wintertime is restricted to as little use as possible. A mobile water tank is used to get drinking water from the main water supply, so that’s not really an issue. But for doing the dishes etc. it’s nice to have a full water tank, and of course in the ideal situation this should be both water tanks.
So I had kind of a deadline on which the leaking water tank should be repaired and operational again, because I needed to fill both tanks before the taps on the pier got disconnected.
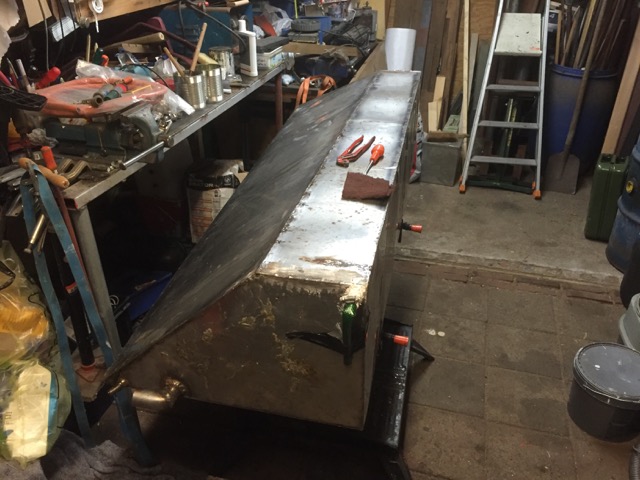
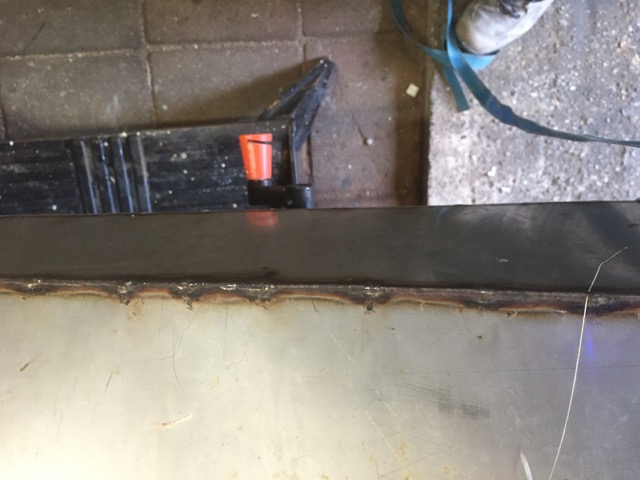
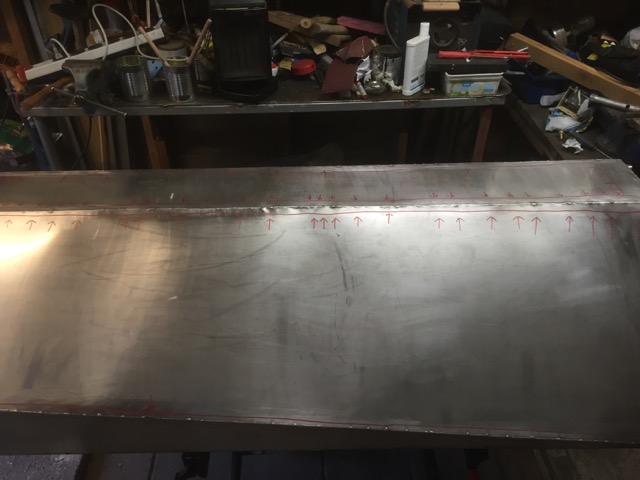
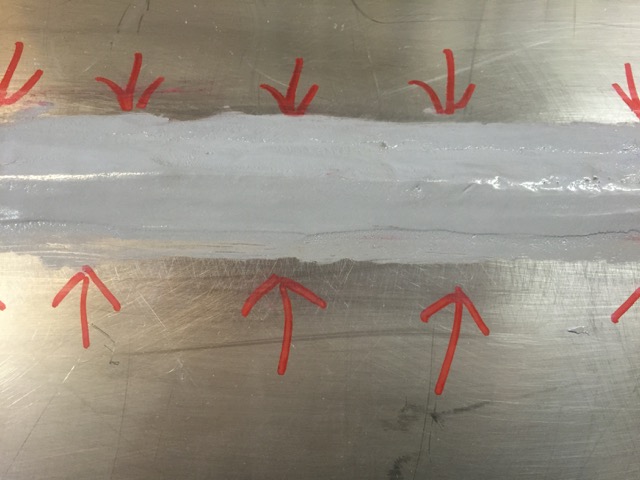
First we (my dad) tried to weld the leaks (there seem to be more than one), but that did’t work out to well and after a few attempts it almost looked like the tank was leaking even more.
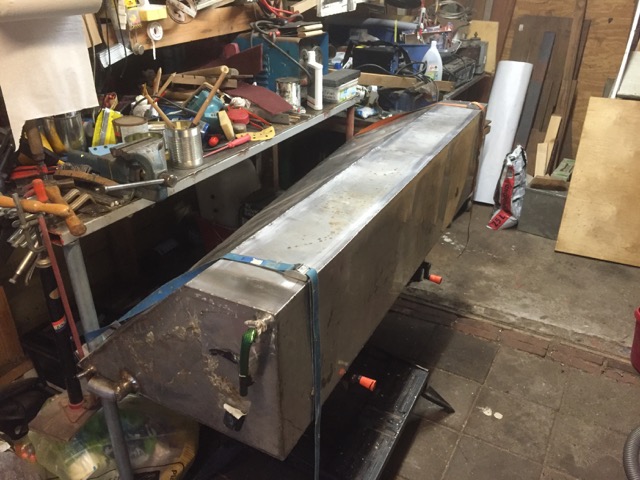
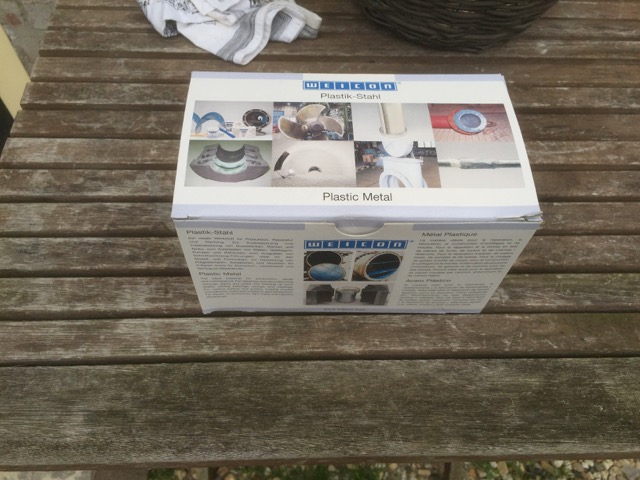
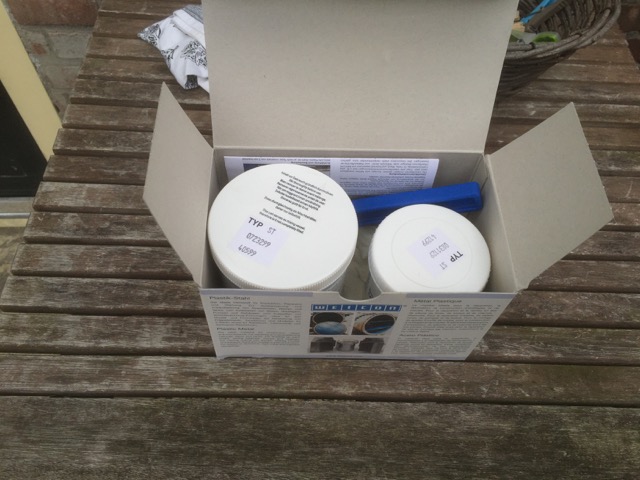
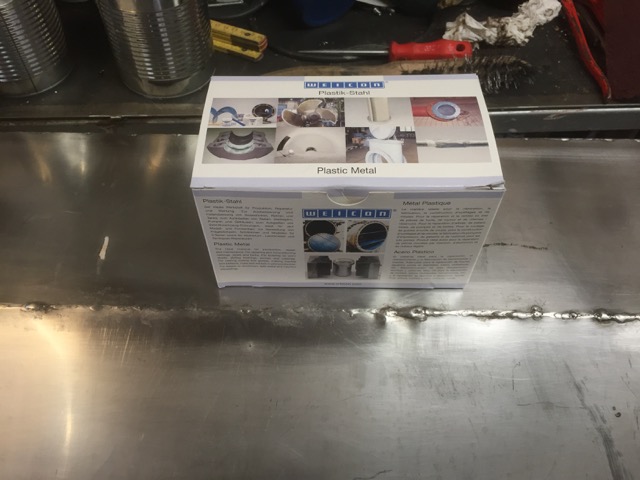
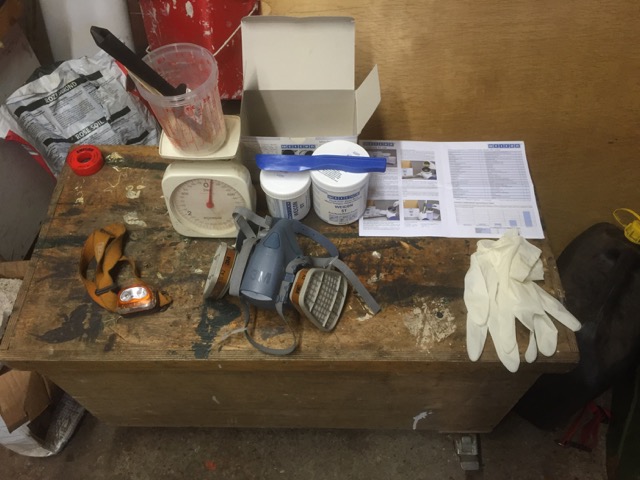
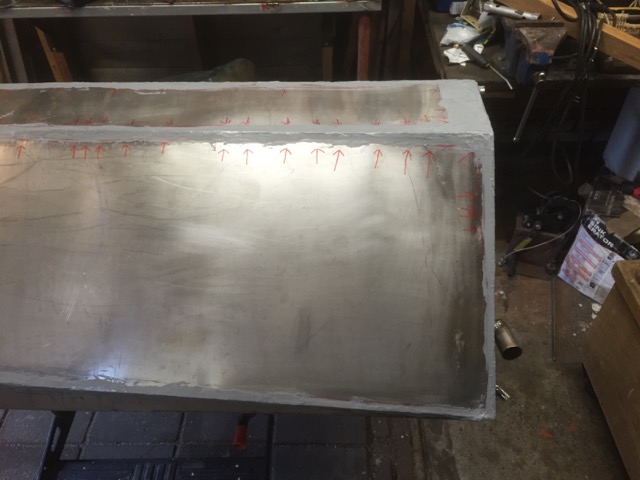
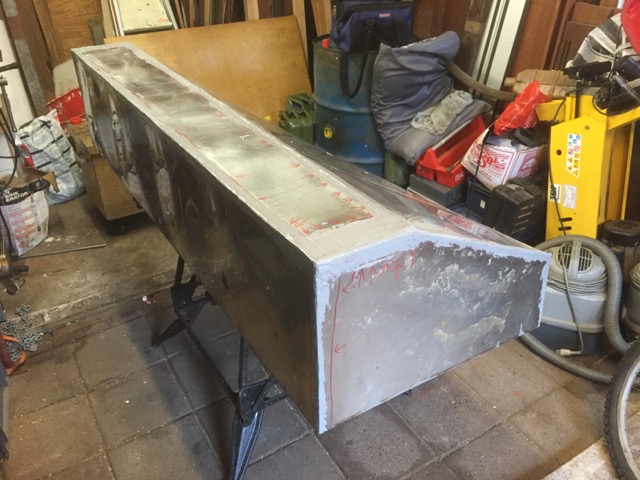
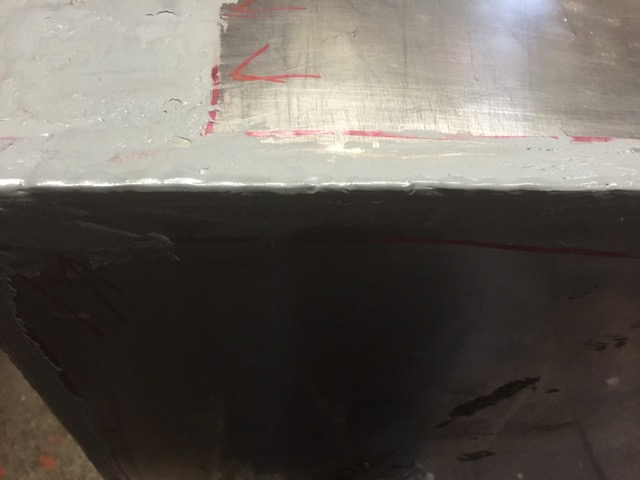
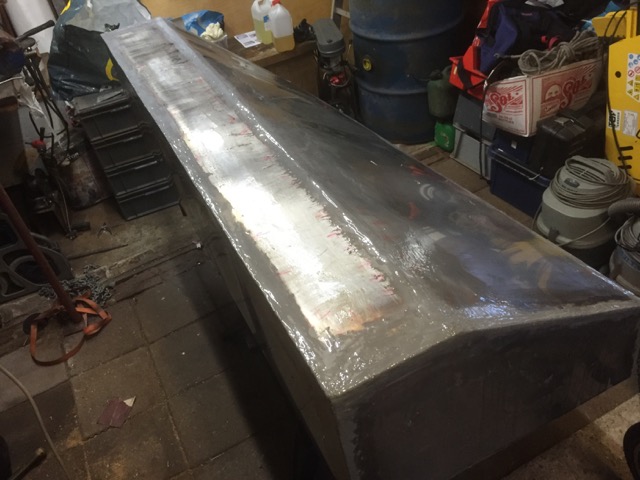
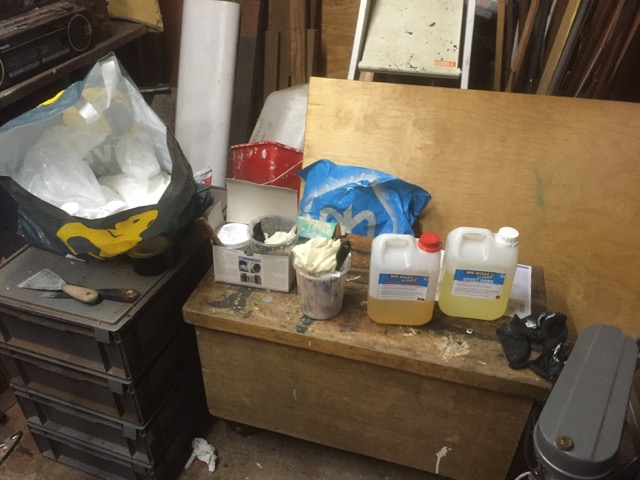
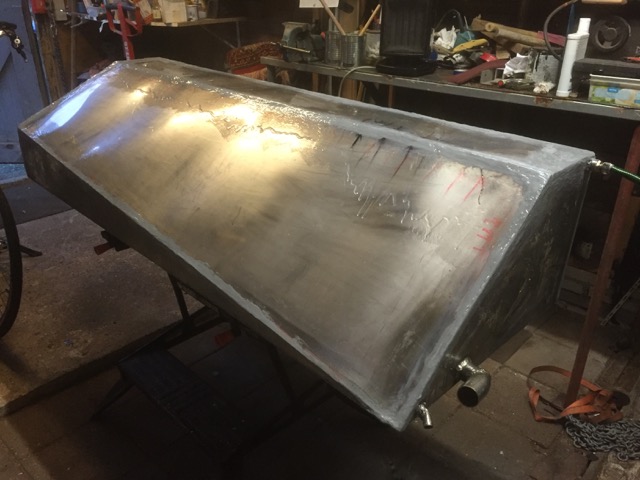
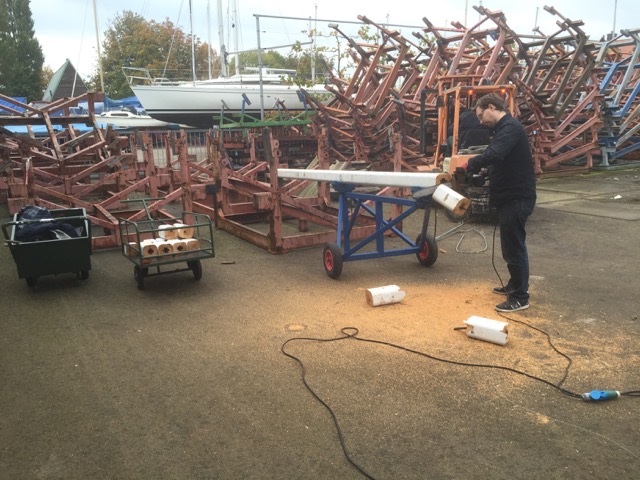
So I turned to my trusted ally; epoxy resin. This time a special kind of epoxy was used, one that was purposely created to repair industrial metal objects. This stuff can even be used to repair objects that need to withstand tremendous pressures like propellers, pumps, pipes, and of course tanks. It’s called WEICON Plastic Metal (http://www.weicon.com/pages/en/products/adhesive/2c-adhesive/plastic-metal.php) and can even be used to repair broken tools etc. and after correct application can be drilled, milled, ground and or filed.
It’s quite expensive, but then you do know for sure you got the right stuff.
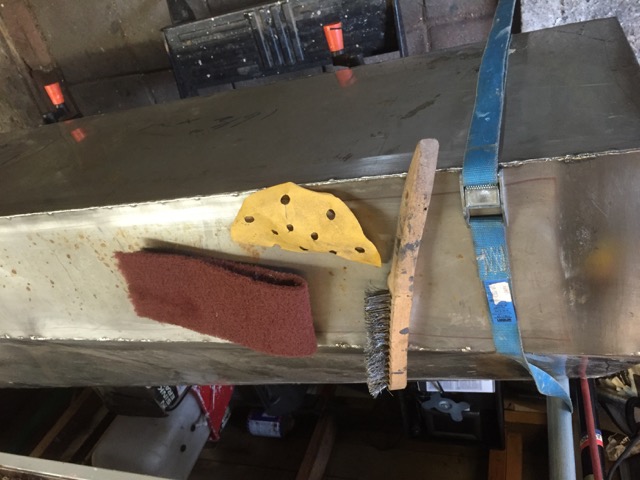
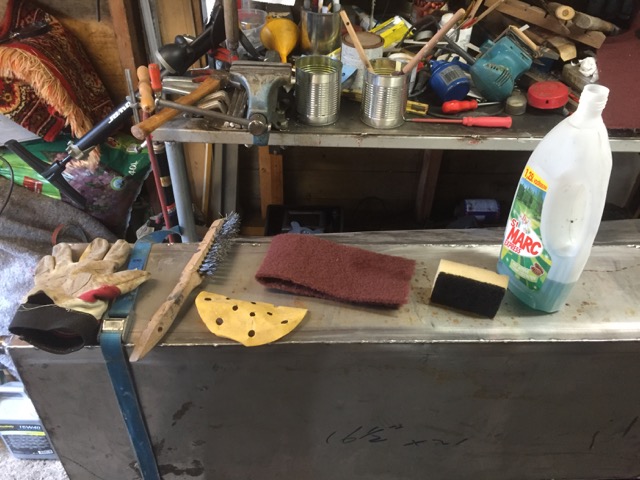
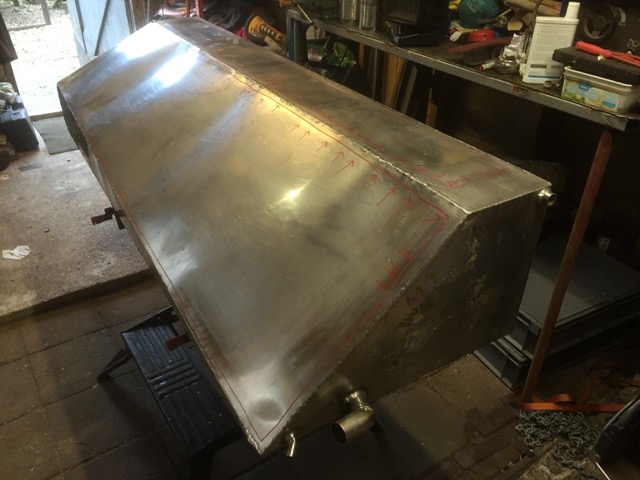
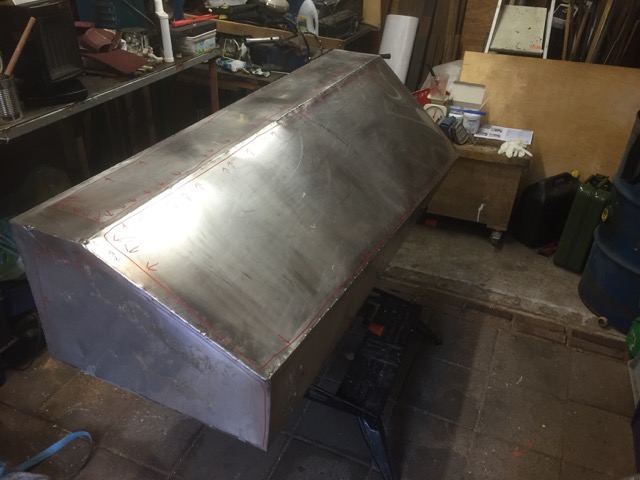
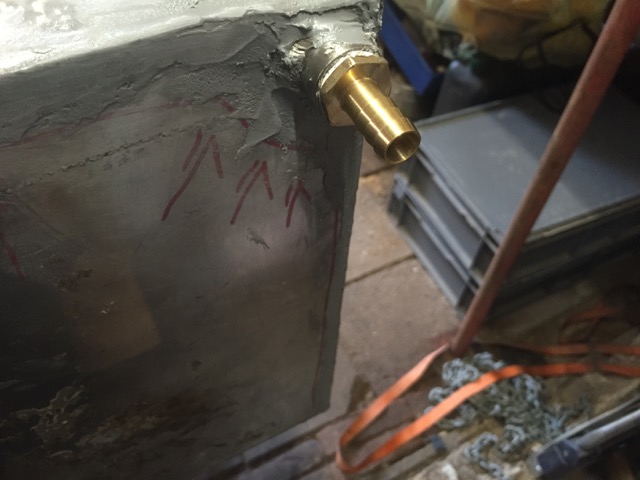
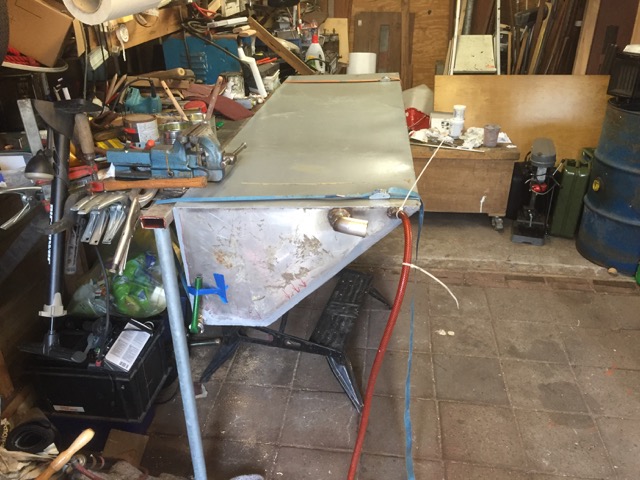
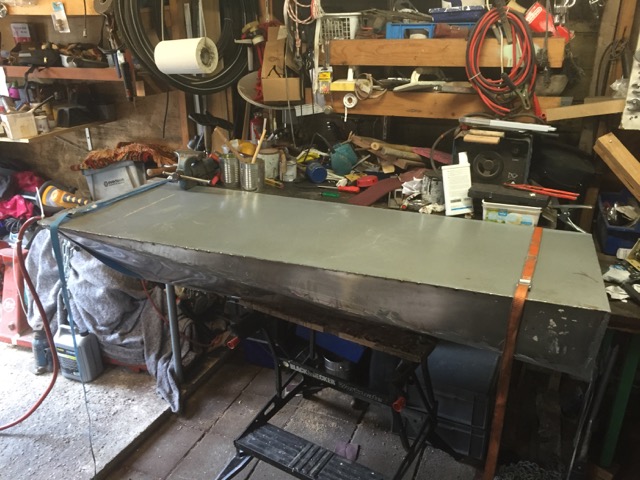
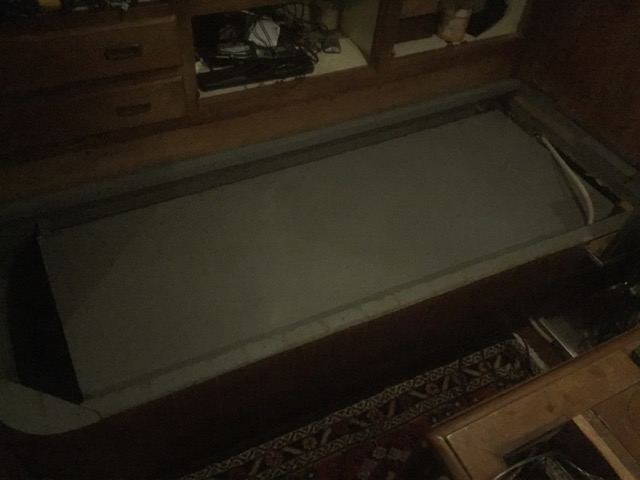
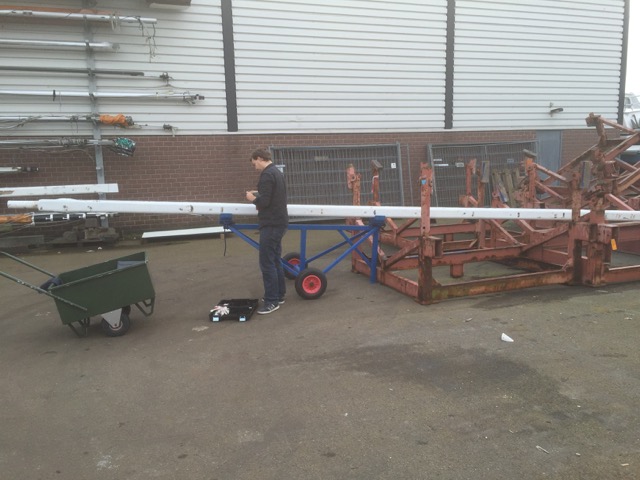
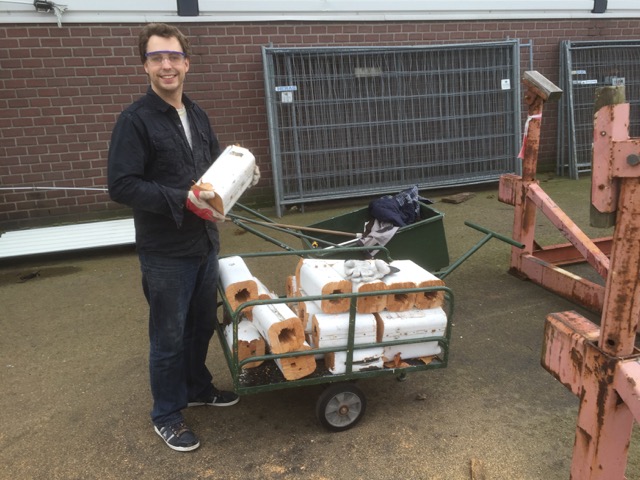
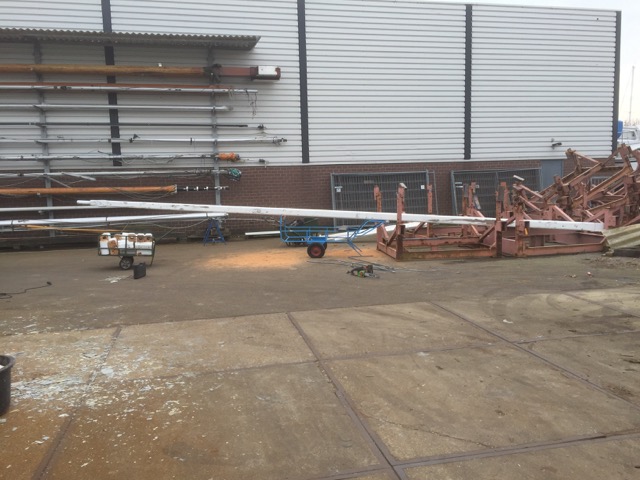
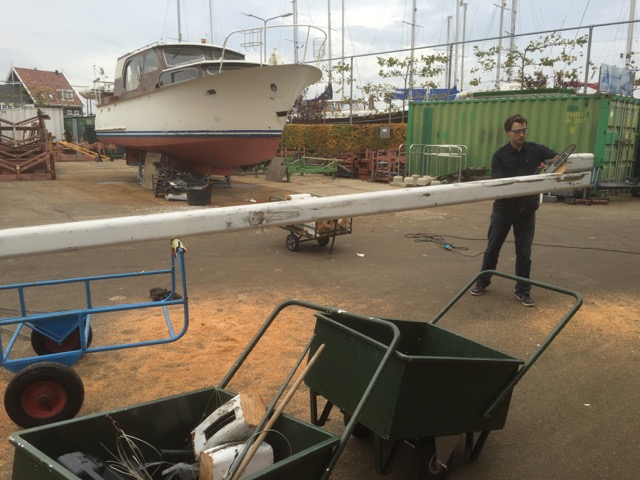
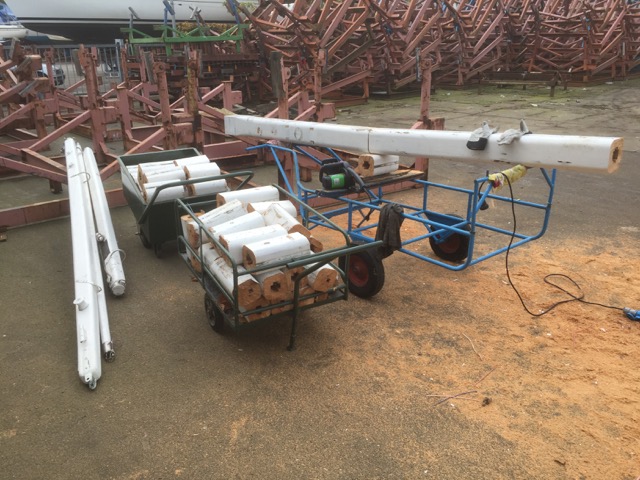
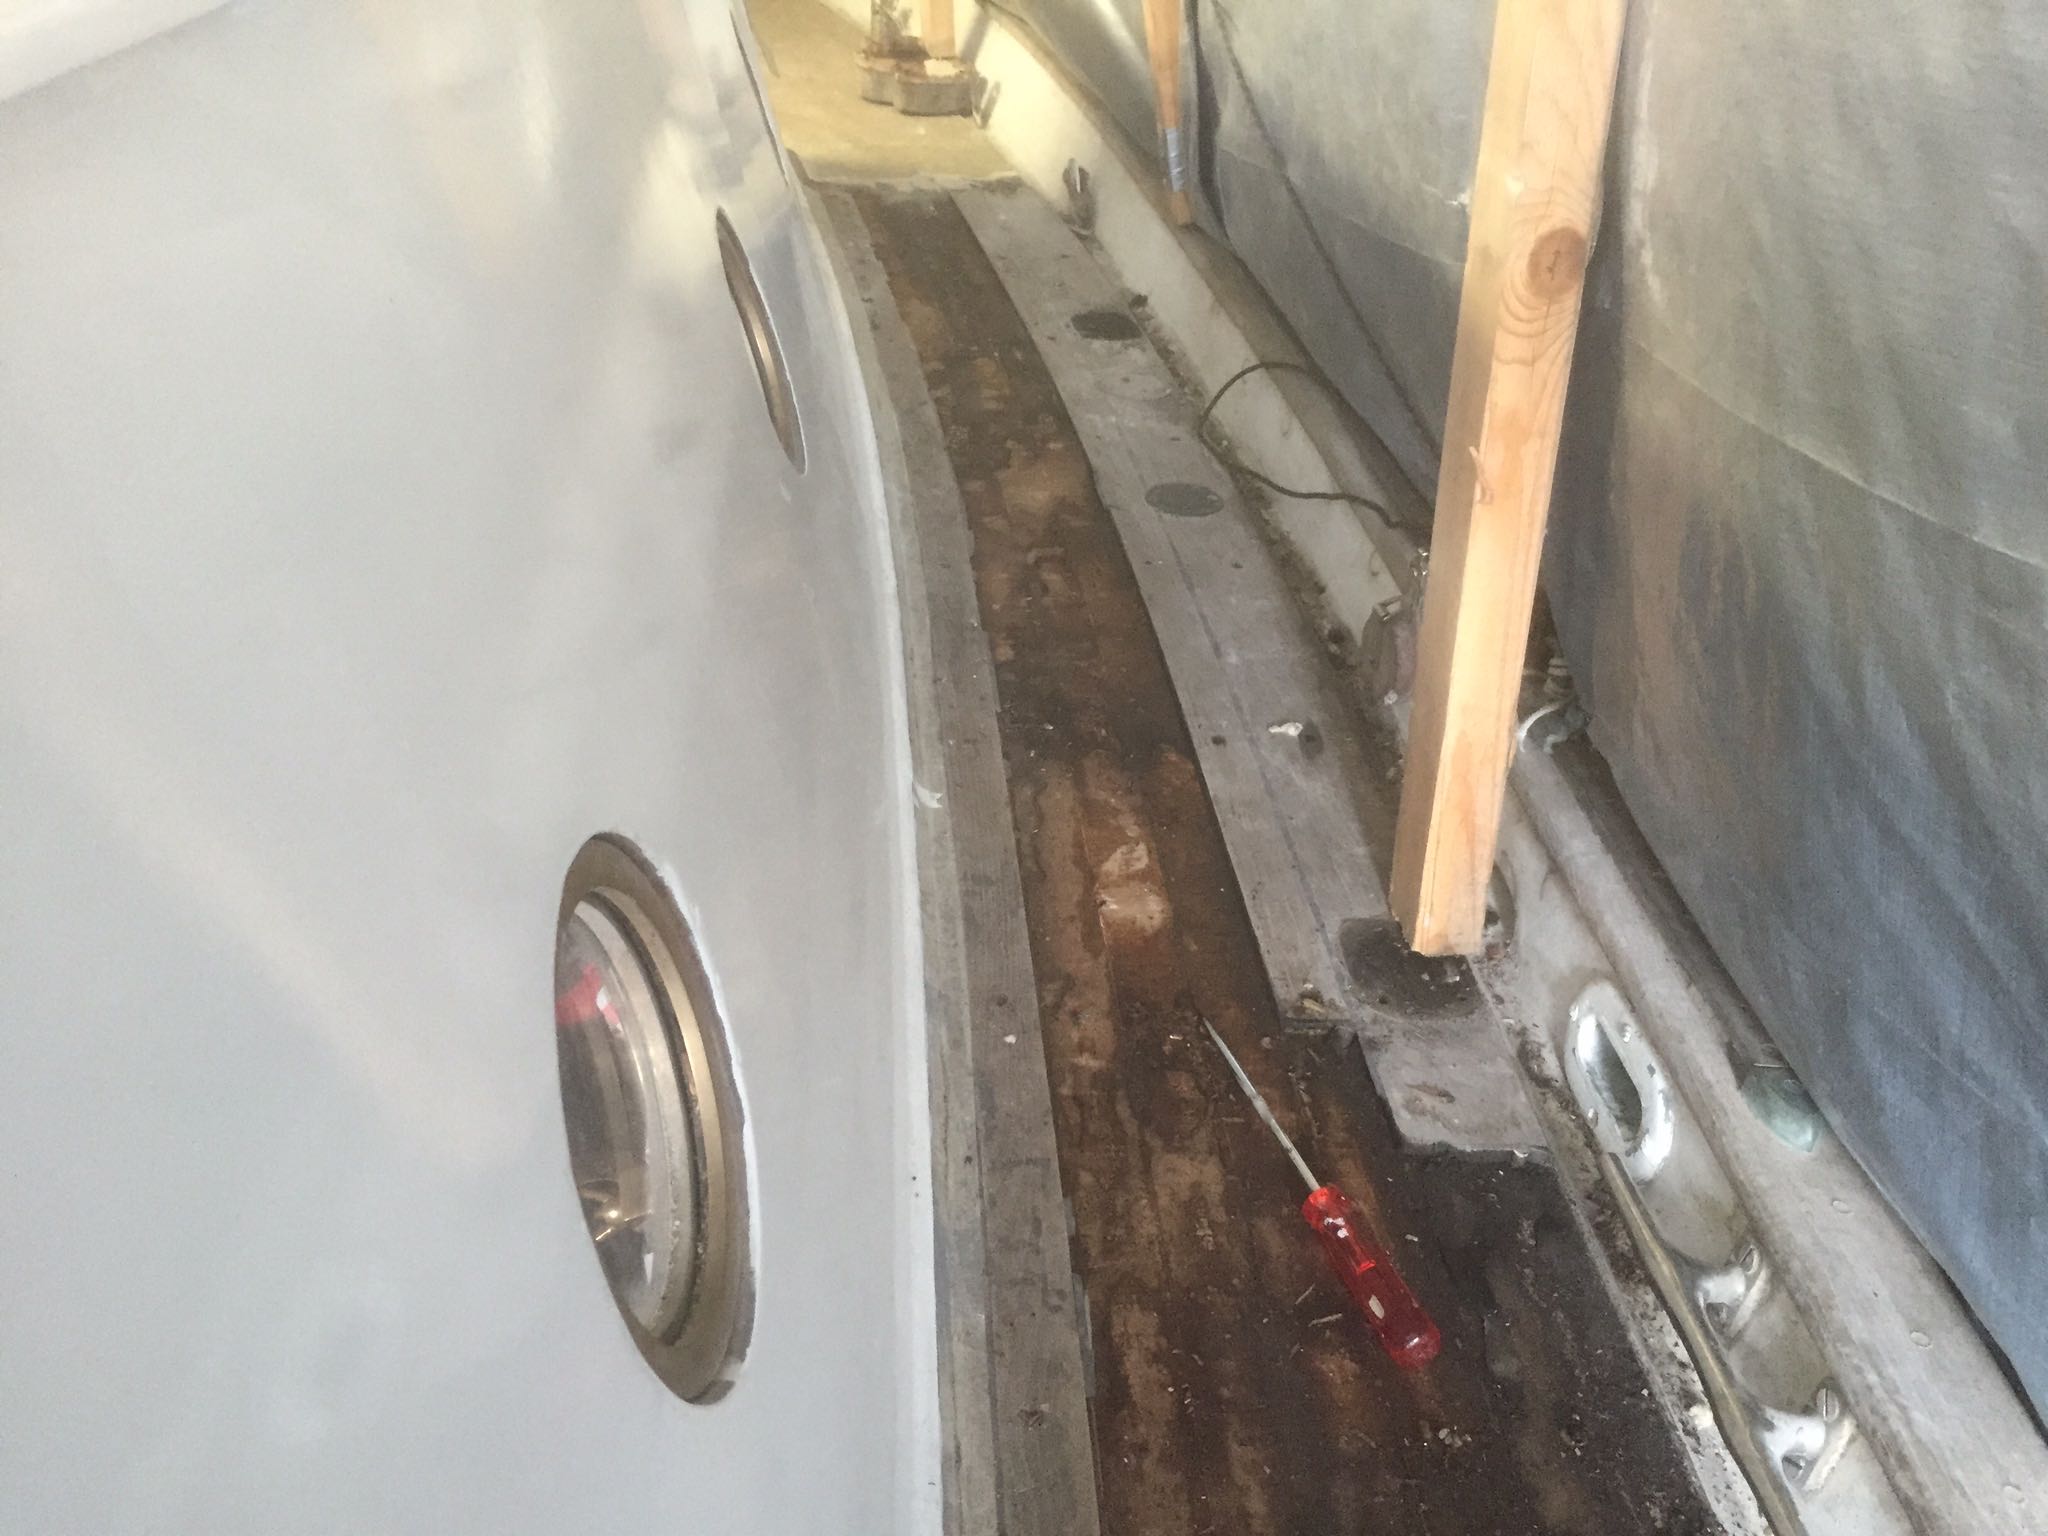
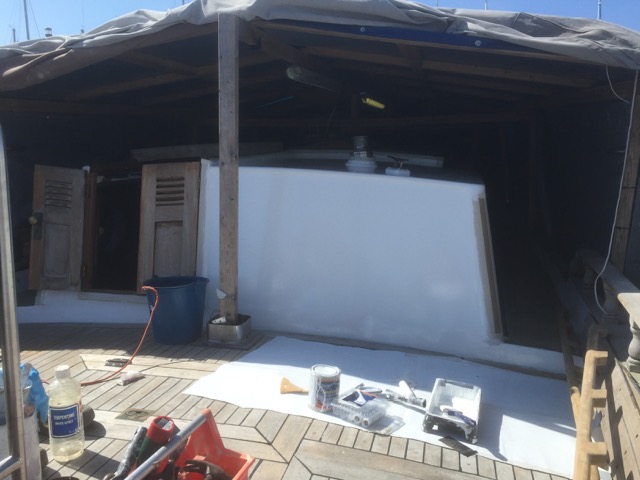
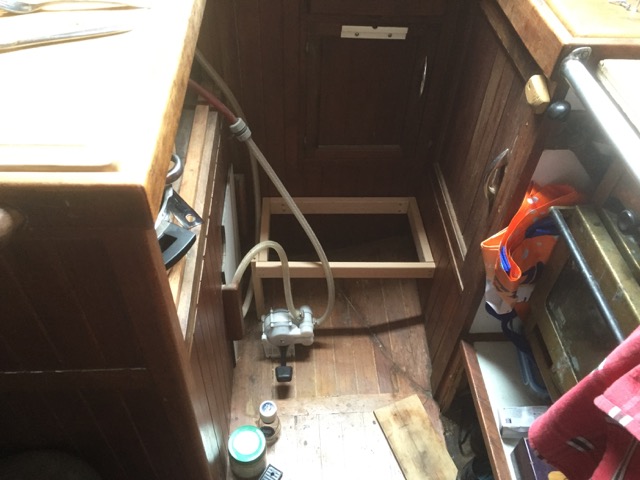
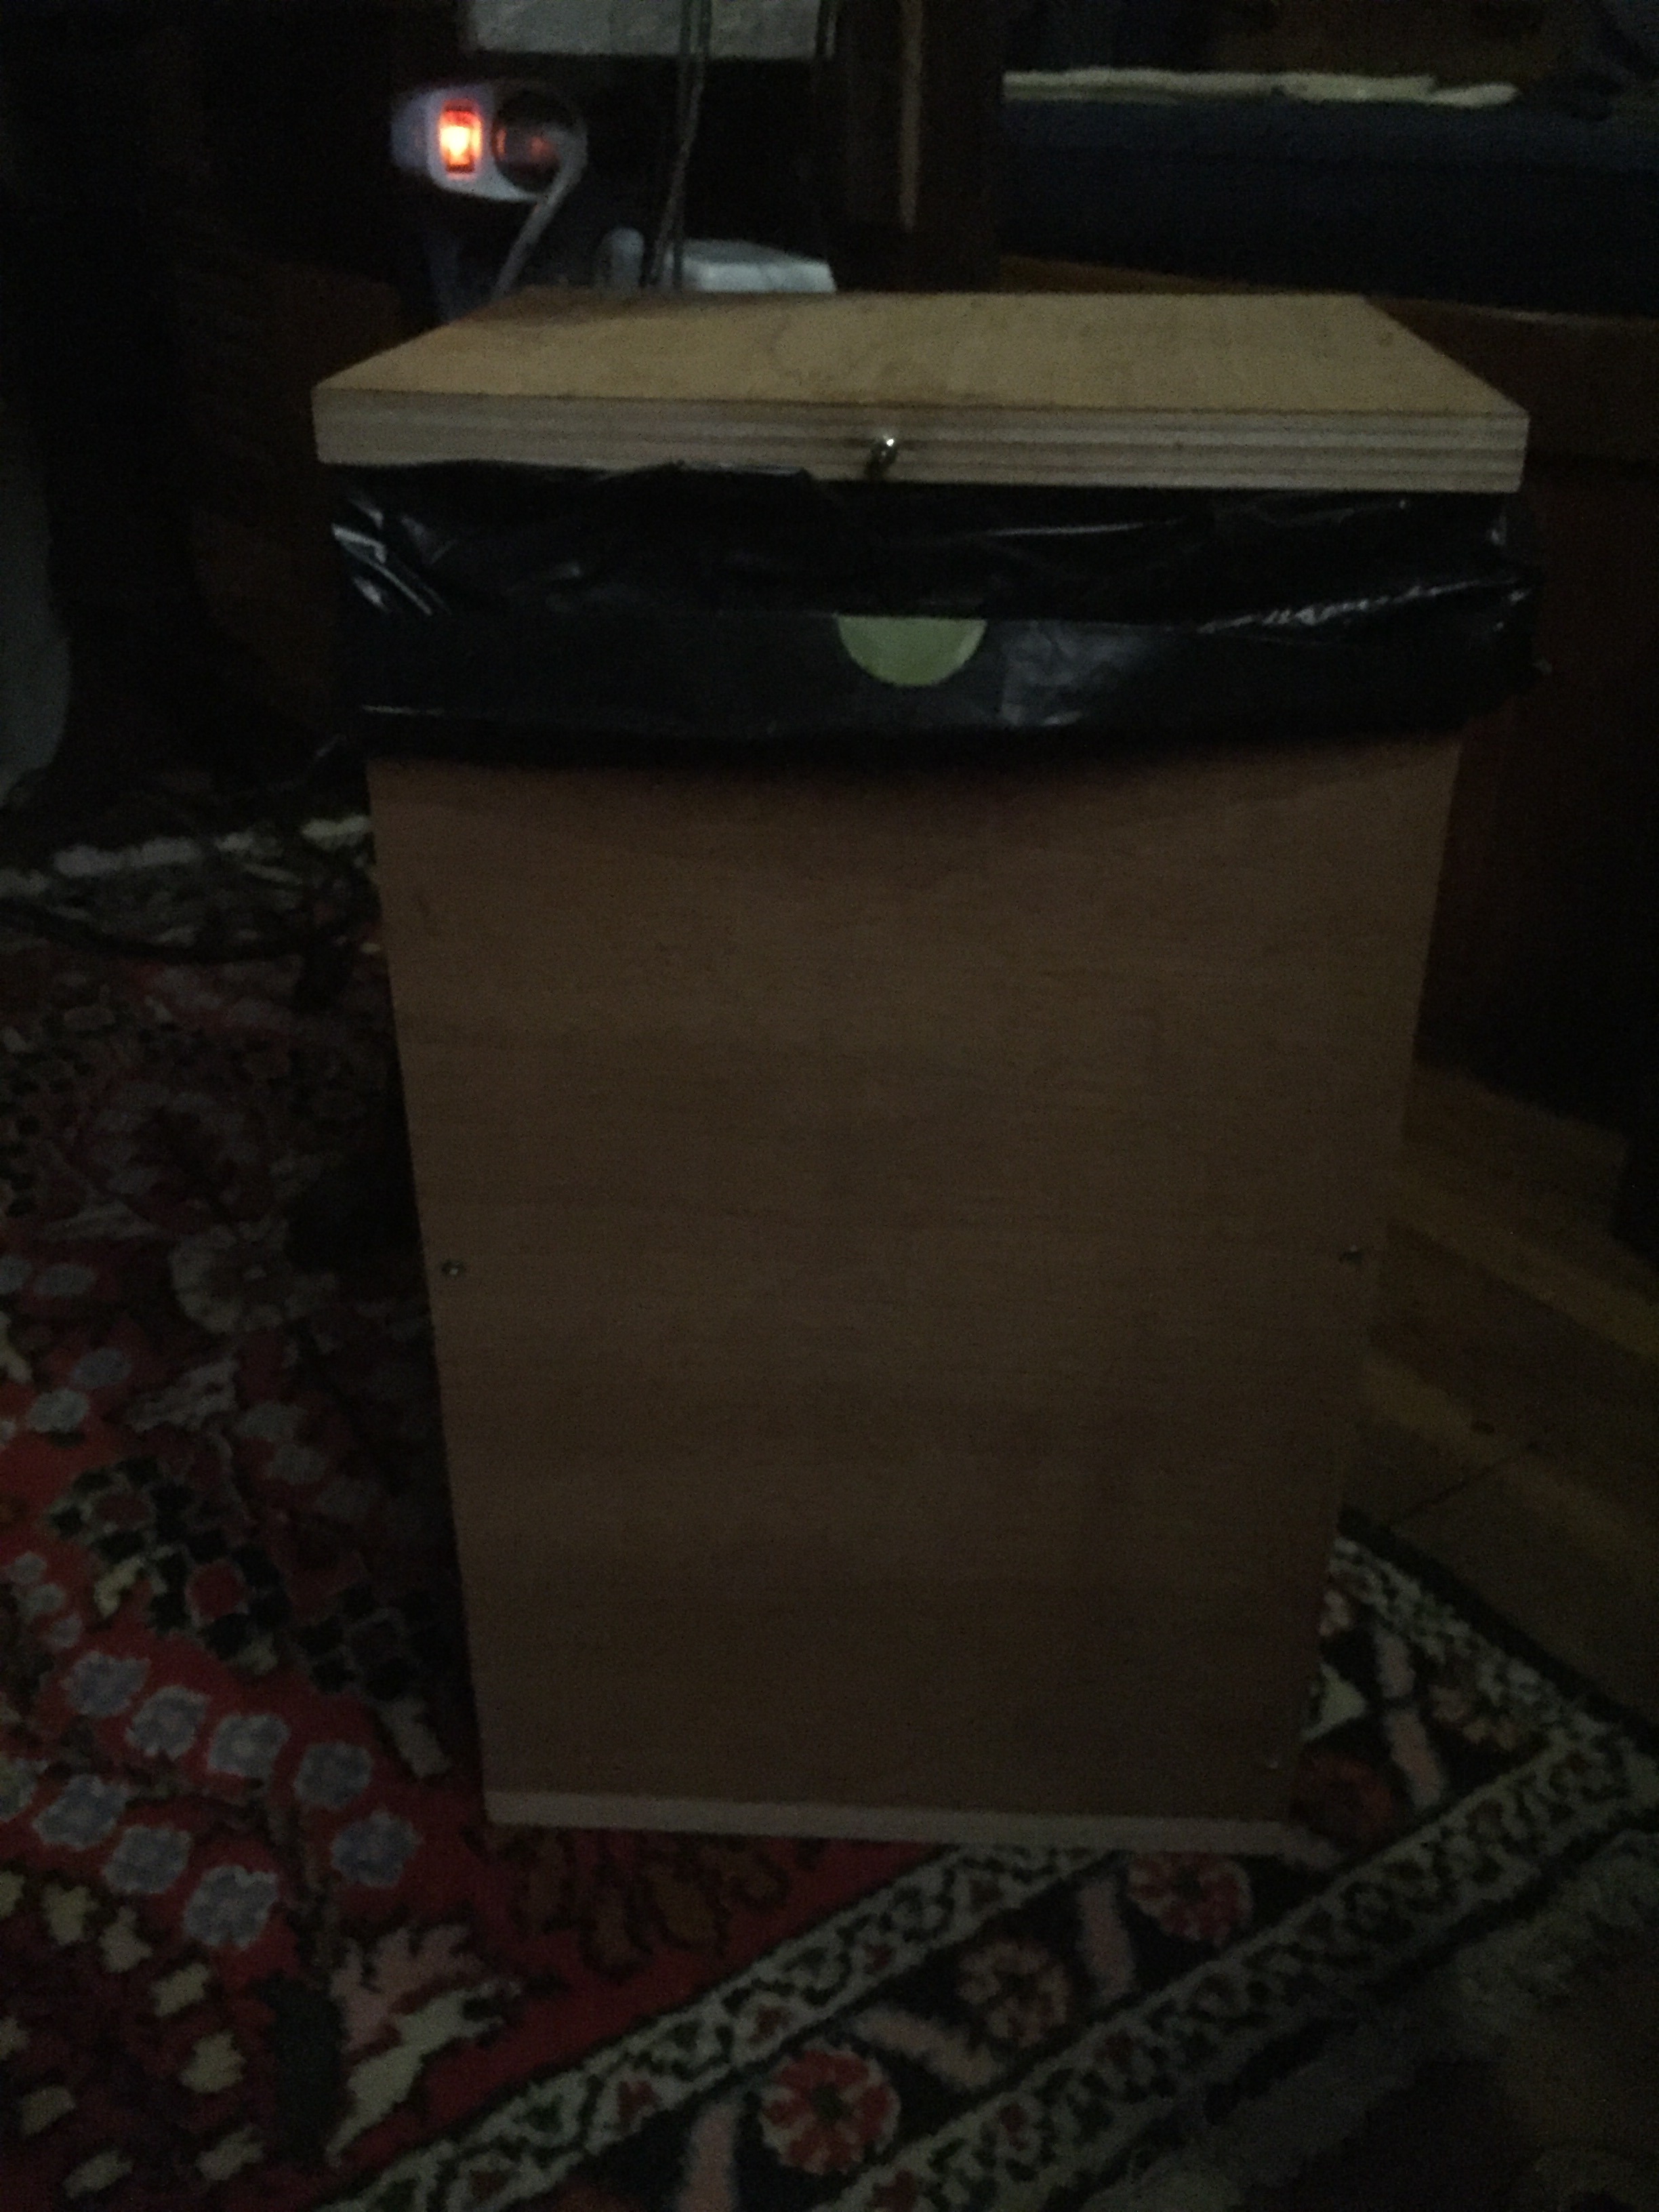
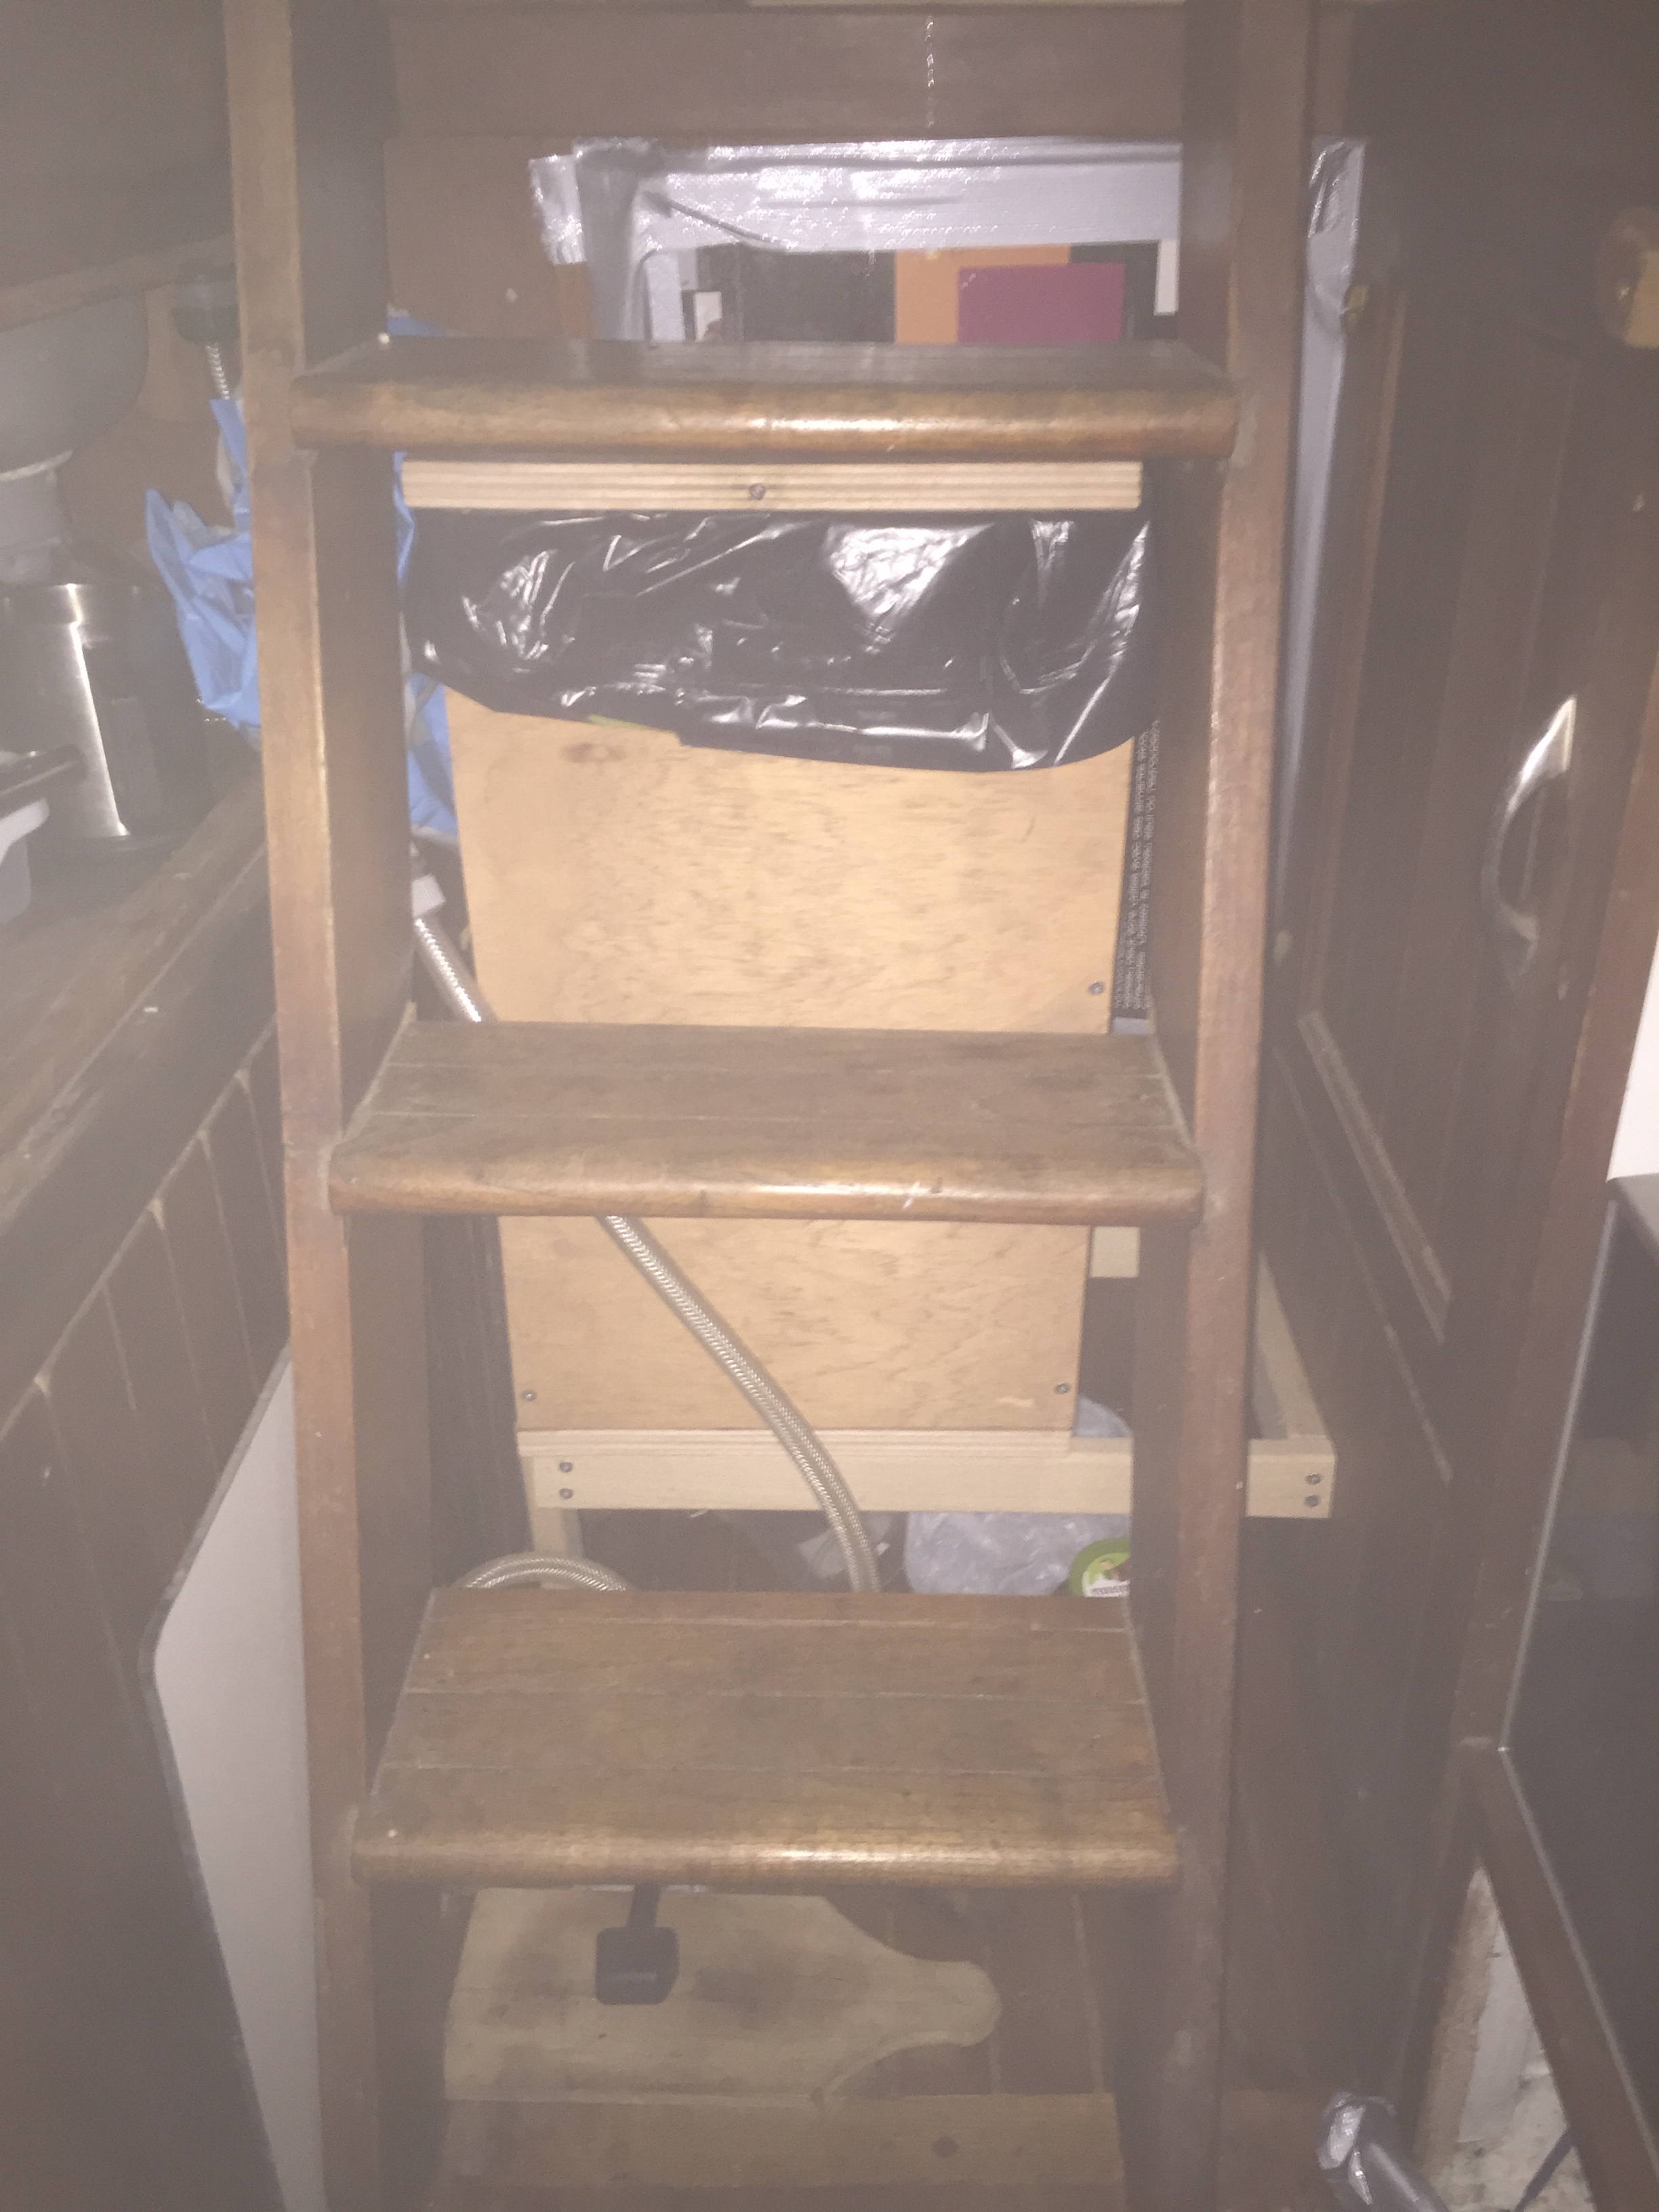
Of course I first needed to disconnect and remove the tank and transport it to my parents shed where I could clean and prepare the surface before applying this “plastic metal”.
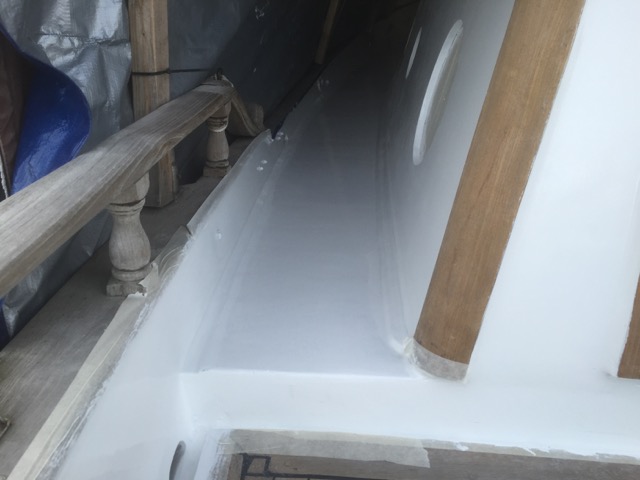
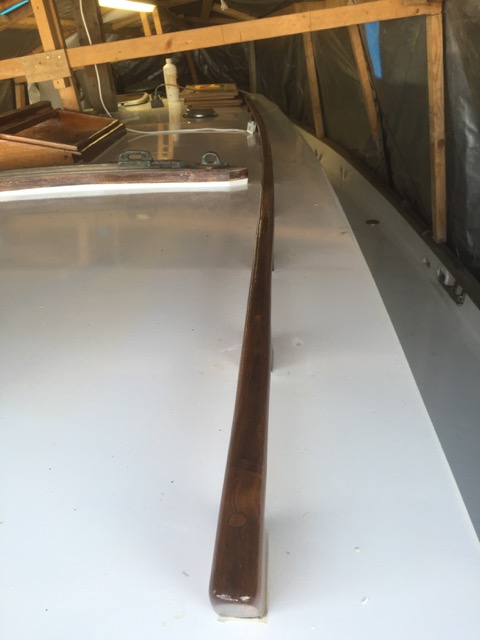
It did take a few tries before all the leaks where properly sealed and in total I might have been working on this “little” project for three to four weeks before the tank could be put back in it’s place. But lucky for me that was just in time before the water taps were disconnected, so all in all it turned out very well. The tank has been in use for almost three months now, without any leakage so I guess it was a great success indeed.

Into the fire you go!

Well there’s no turning back now, the Seadog will be getting a set of new (second-hand) aluminium masts. As you can see in the pictures below the old wooden mast where in pretty bad shape and even though they could have easily been repaired, it would have taken a lot of work and will always have needed extra maintenance.
So we borrowed the chainsaw from my dad and chopped the two masts into small pieces for easy transport. This new form factor also makes the wood perfect for it’s next function, which will be firewood!
A friend of mine (Bart) was nice enough to help out, and his parents could use the extra firewood for the coming winter. So we loaded up their car and resupplied their firewood pile.
Back in Juli I did actually already found and purchased a very cheap second-hand (relatively small) aluminium mast which can be used as the (mizzen) aftermast at the back of the boat. But I am still searching for a good mainmast so if anyone knows of a place to get a second-hand aluminium mast of approximately 12-14 meters please let me know!

The Seadog Life now has a Facebook page

Seadog under sail back in 1974

To broaden the exposure of the Seadog Life to the world, the website now also has a Facebook page. If you are reading this and are willing to help the Seadog out a little, please like the Facebook page and share it with all your friends and family. When you like the Facebook page, new blog posts will show up in your Facebook timeline so you will know when there is a new story. Also please click the “like” button in your timeline if you like a post, because this will greatly help The Seadog Life become more popular.
You can find the Seadog Life Facebook page here:
https://www.facebook.com/theseadoglife
The “like” button can be found in the black and white cover image.
Many, many thank!
Nice work!
Nice work!

The Seadog is back – theseadog.life

A bight new horizon
A bight new horizon

Today is the start of a new paradigm for the Seadog blog. It has been a while since the last post. Also the frequency of new posts has been rather irregular, but this is all about to change. I have been hard at work to create a better looking layout, design and a better concept for this website. Also the domain name has been changed from http://aboutseadog.com to http://theseadog.life to reflect this change.
The new concept for the website directly ties in with the new domain name. The Sea Dog (.) Life will still be a place where I will write about the restoration of the Seadog, but it will also focus on living aboard a sailboat in general. This new concept will (hopefully) provide helpful tips and tricks about living on and restoring an old sailboat. Some new pages and menu items were added to reflect the new concept. More information about that can be found in the “About this Blog” pages. The “About the Seadog” page has also been added. On this page one can find the historical and technical data of the Seadog and the Formosa 37 design.
From now on there will be a strict schedule in the frequency of post. Meaning there will be a new post ones a week on Sundays. Since it’s been a couple of months since the last post, I will first be adding posts with information of the restoration work that has taken place since then. The dates of those posts will be set to the days on which that restoration work took place (and the photo’s where taken), which will be weeks / months ago. This means those post will added below this post.
For a quick sneak peek of the restoration work till now, check out the photo’s below. Of course a lot is missing in this quick overview. To check all the restoration work be sure to check out the new “Restoration” section of the blog.
I hope everyone likes the new design and will find this new concept entertaining as well as useful. If so, please be sure to share it with friend and family who might like it as well. Happy reading….
Seadog back in 2011
Seadog back in 2011

Breaking apart the cabin

Cabin from inside without wall

Cabin wall fully removed

Rebuilding the cabin

Rebuilding the cabin roof

New cabin finished
New cabin finished

New cabin painted
New cabin painted
Removing teak deck
Removing teak deck

New cabin fully painted

Finished painting the deck

Teak hand rail restored

New potholes permanently placed in new cabin
New portholes permanently placed in new cabin

The devil is in the details

Back in October I finally had some time for the smaller tasks that I wanted to do. The garbage can in the galley was always standing in my way, and that garbage can was also meant as a temporary solution because I wanted to build a new garbage can in the galley somewhere. I decided the best place would be under the entrance so I went to work. First there needed to be a little platform for the garbage can to stand on, because the floor is not flat on this point of the boat. On the upside this means that I can also store stuff under the garbage can, so works out even better. With some extra plywood that was lying around I then created my own personal custom garbage can to place on that platform. It still needs some sanding and paint to make it beautiful as well as practical, but for now it works perfectly on that spot and the capacity of the garbage can has now also increased by a factor of two. So all in all, a very good improvement.
Next, there has always been a space beside the galley that was not accessible because they made it so that the bottom of that space could be flat. So I thought I might break out some of the wood on the side of that space so I could maybe store my shoes there, which where also always standing in my way. Turns out that space was perfect for storing ones shoes, so happy me!
After a little cleaning and sanding I decided to paint that space with some of the white paint I had lying around to make it look a little cleaner.
Another thing that needed to be for a while was fixing the lock of the entrance doors and making it so that the hatch and doors of the entrance could be closed nicely. Problem was the doors were switched (on purpose) when rebuilding the cabin. This needed to be done because the whole entrance was placed from the right side of the boat to the left side. But that meant the lock was the other way around now as well. Luckily with these old locks you have the option of switching the doorpin, so after some pealing around that actually worked quite easily. I wanted to keep this old luck because I want to polish it up like all the other brass on the boat and make it shine like new. But that task will have to wait because winter was coming and it was time to start another big task. More about that in the next update.