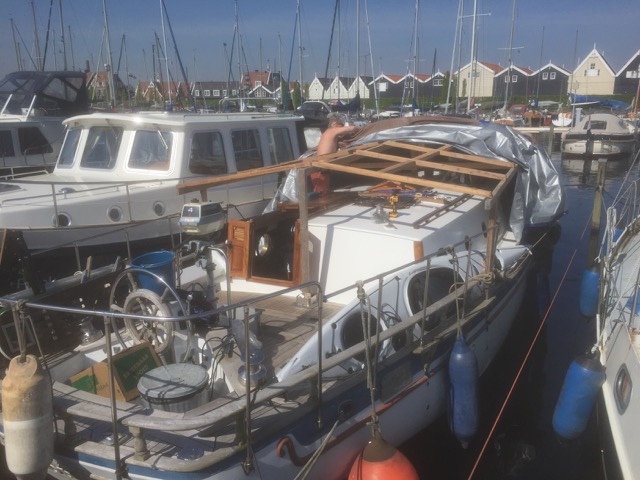
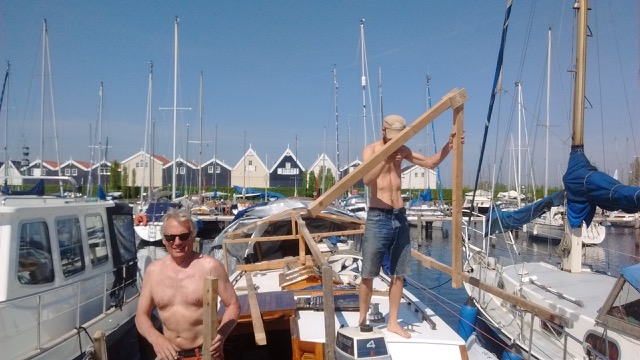
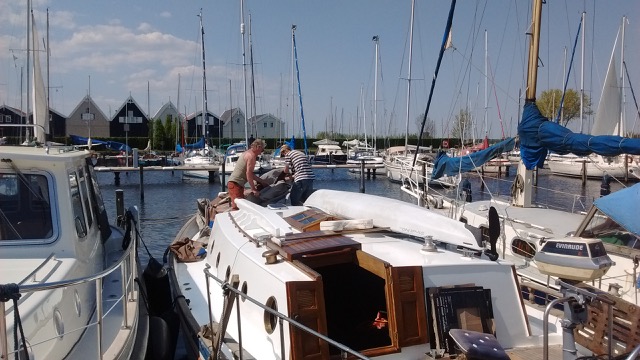
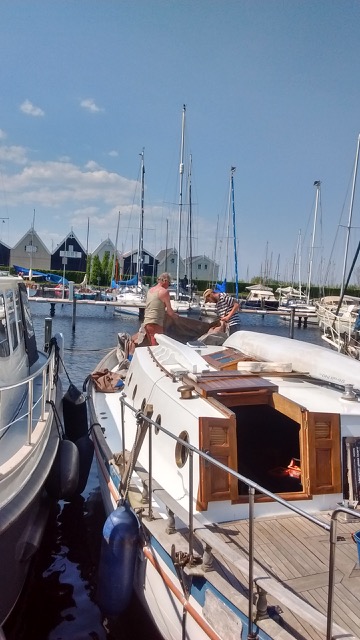
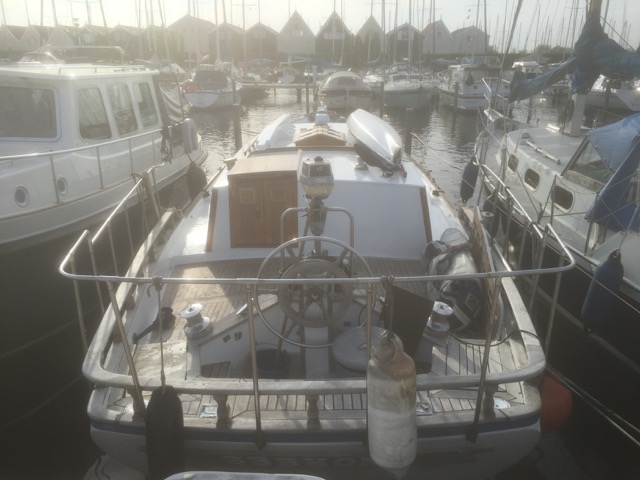
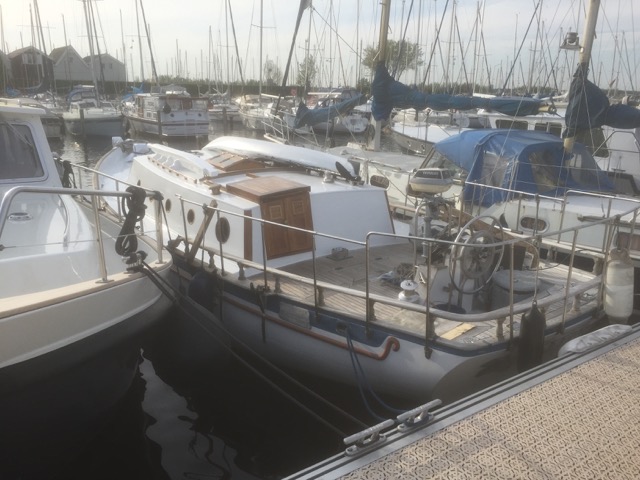
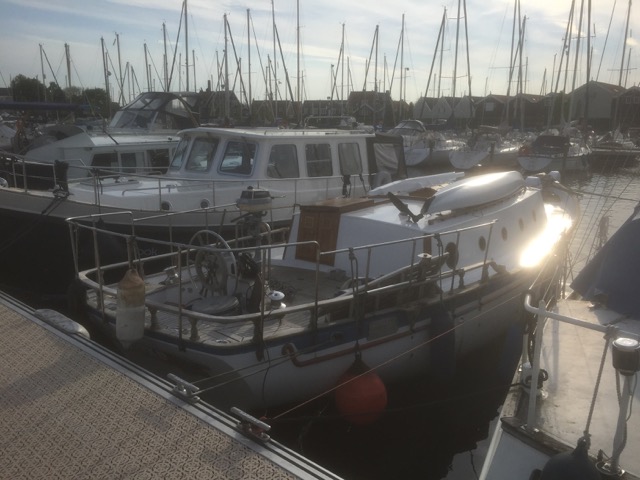
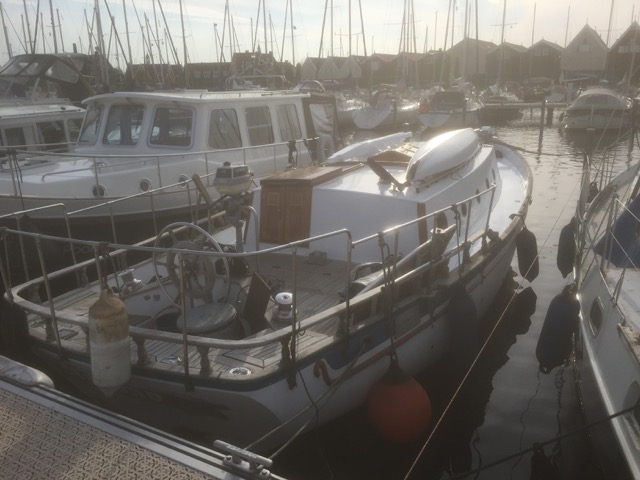
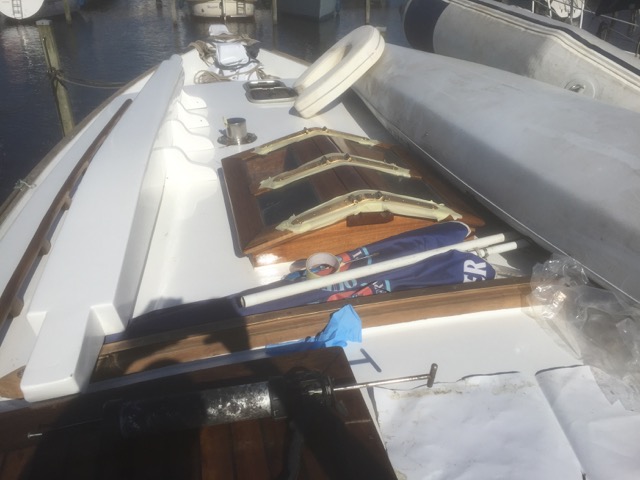
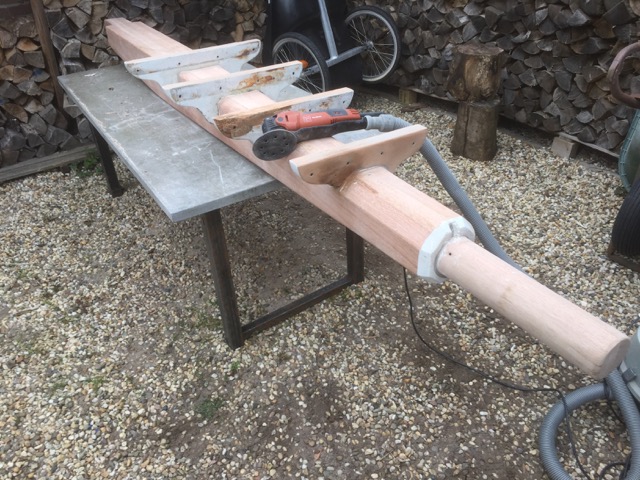
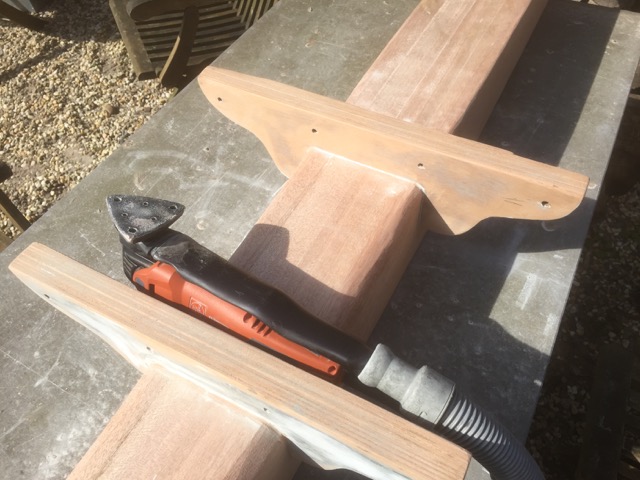
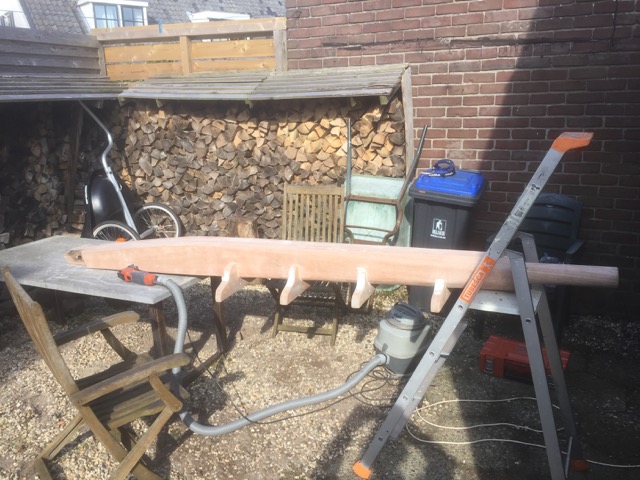
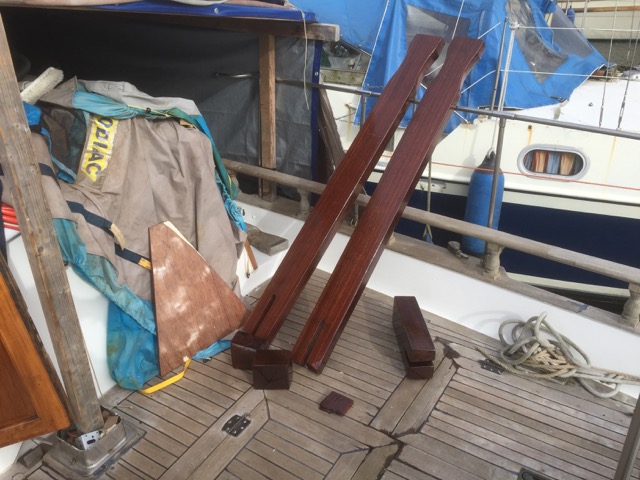
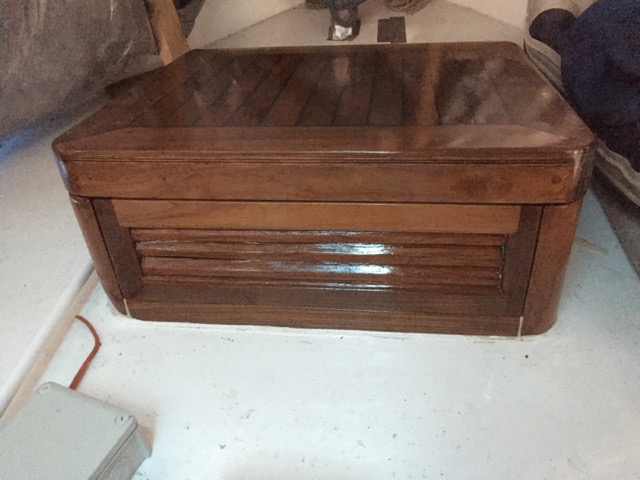
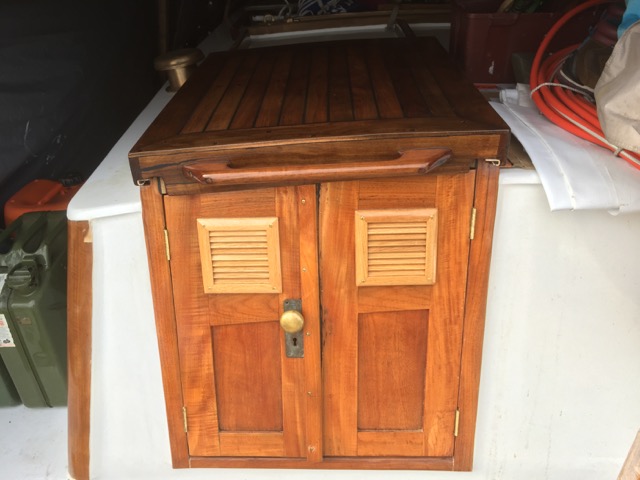
Back in August some final touches to the bowsprit and the main cabin where done.
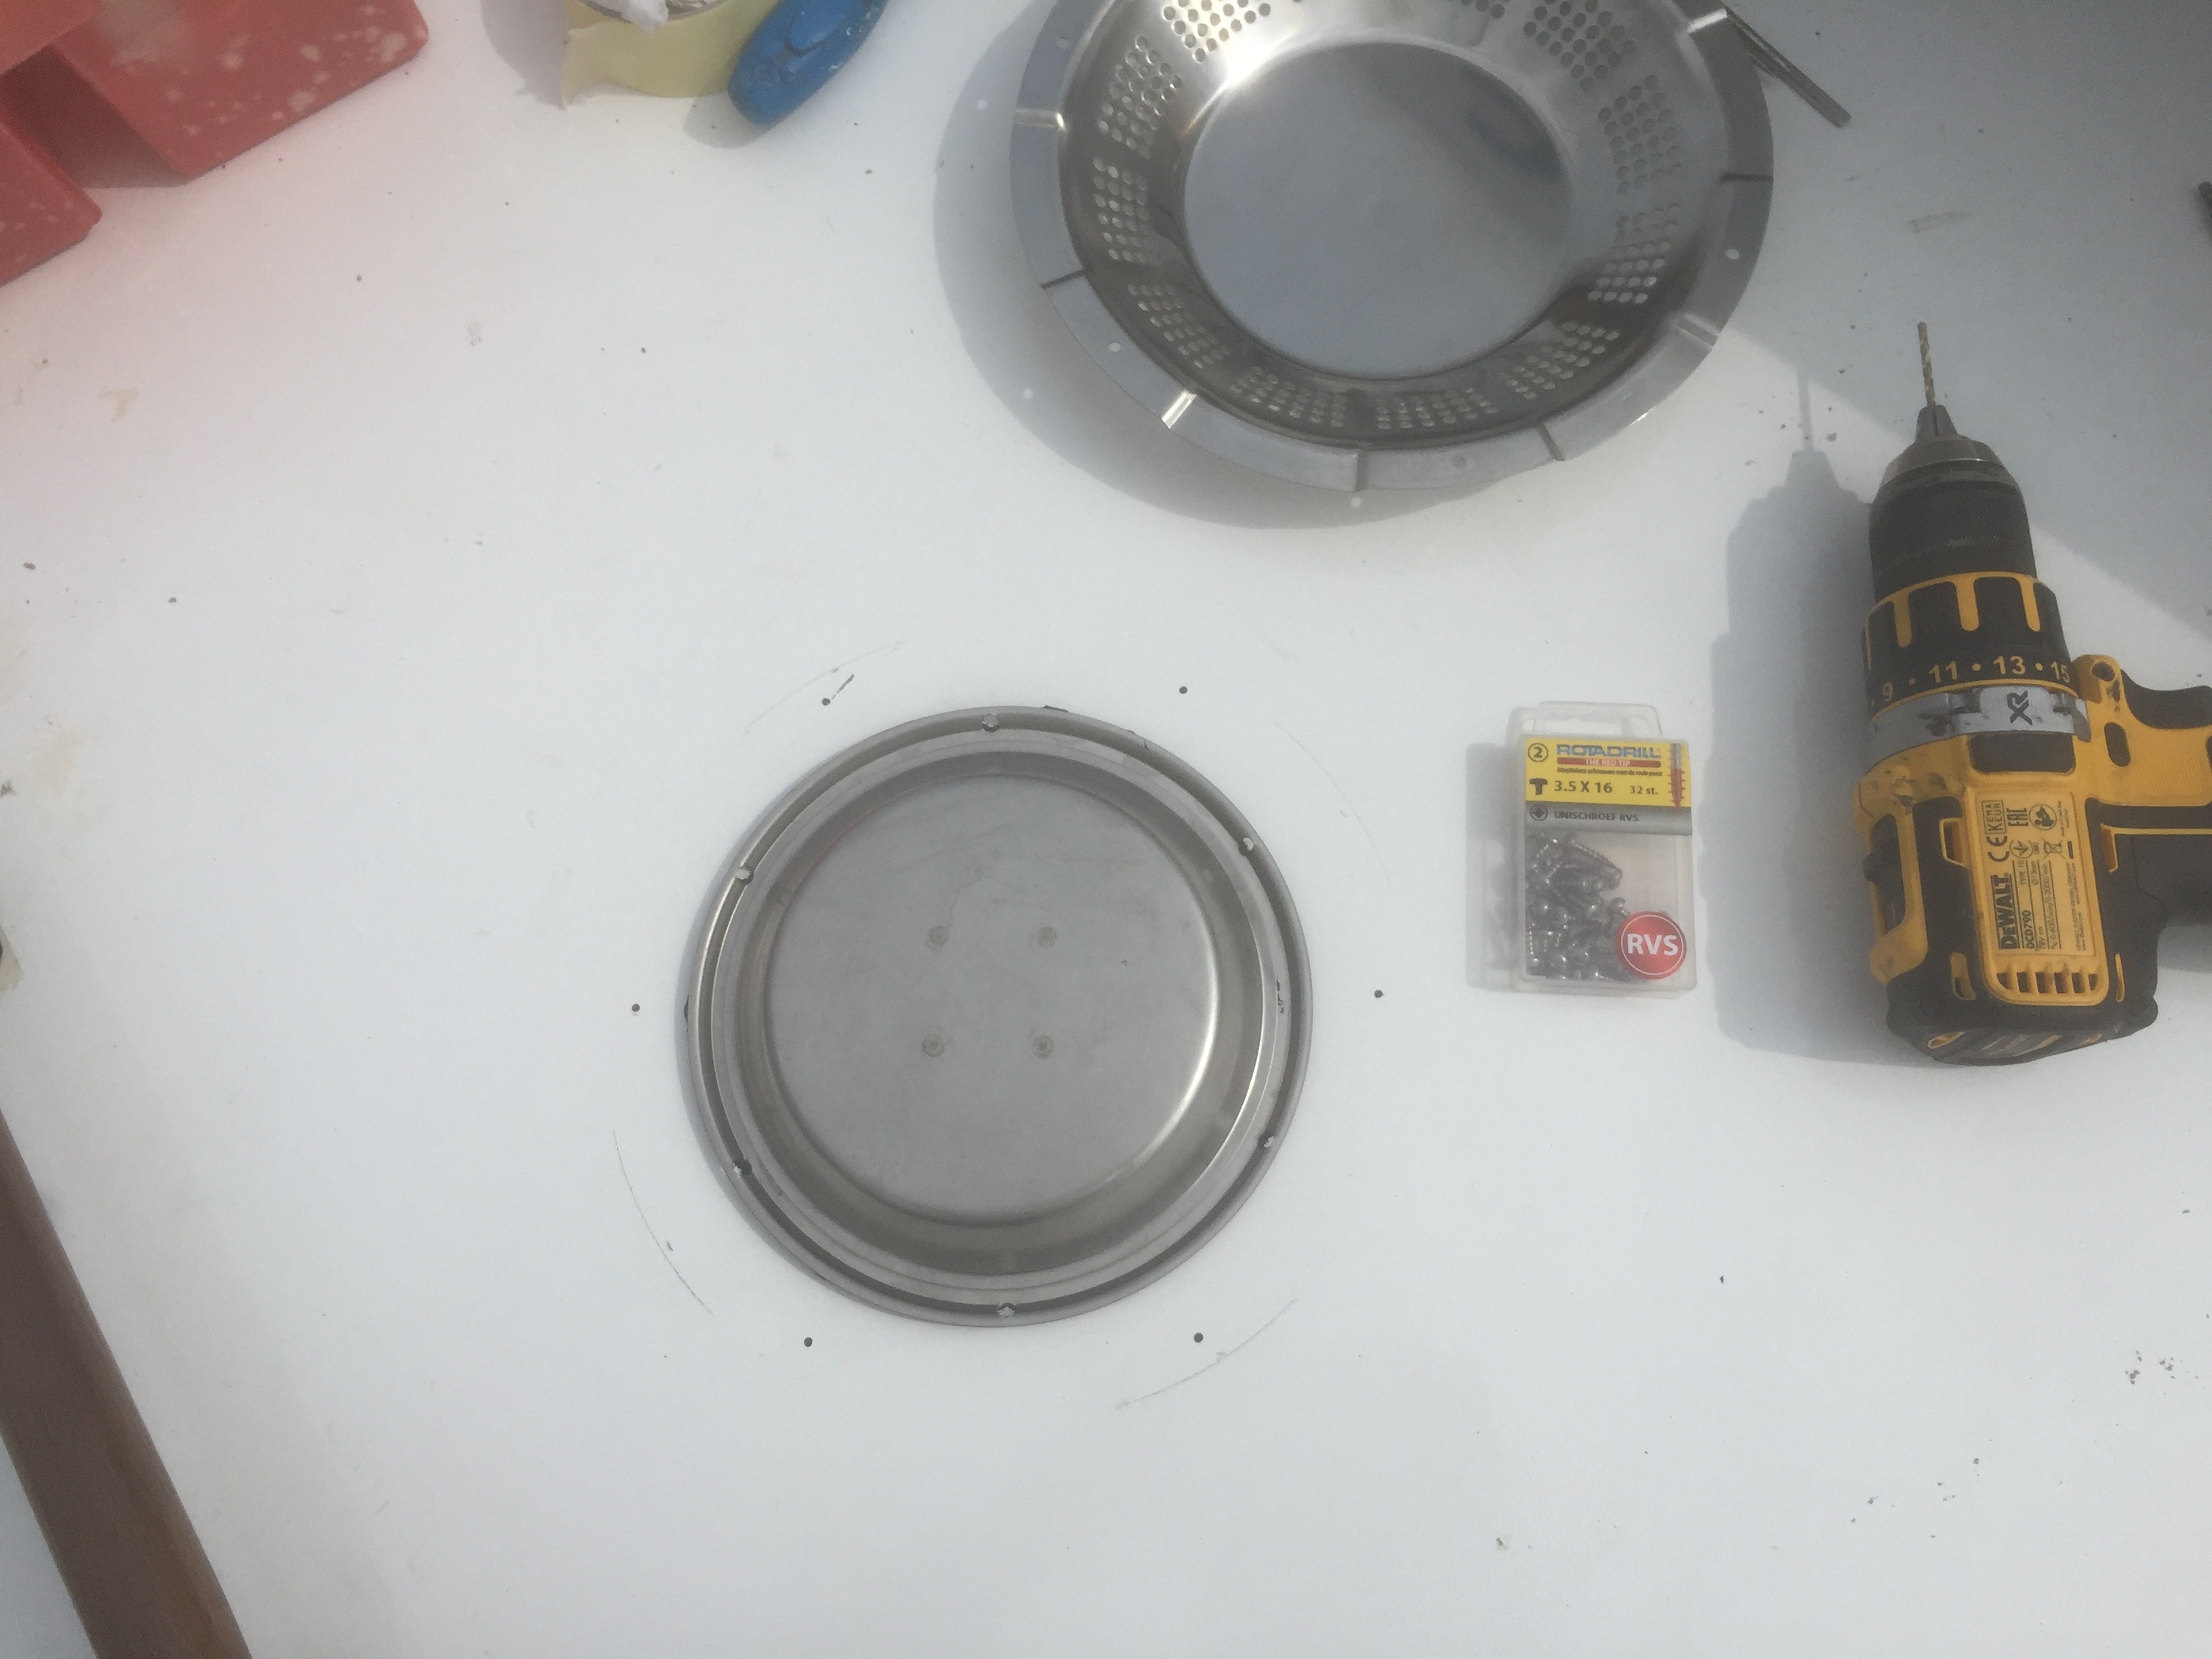
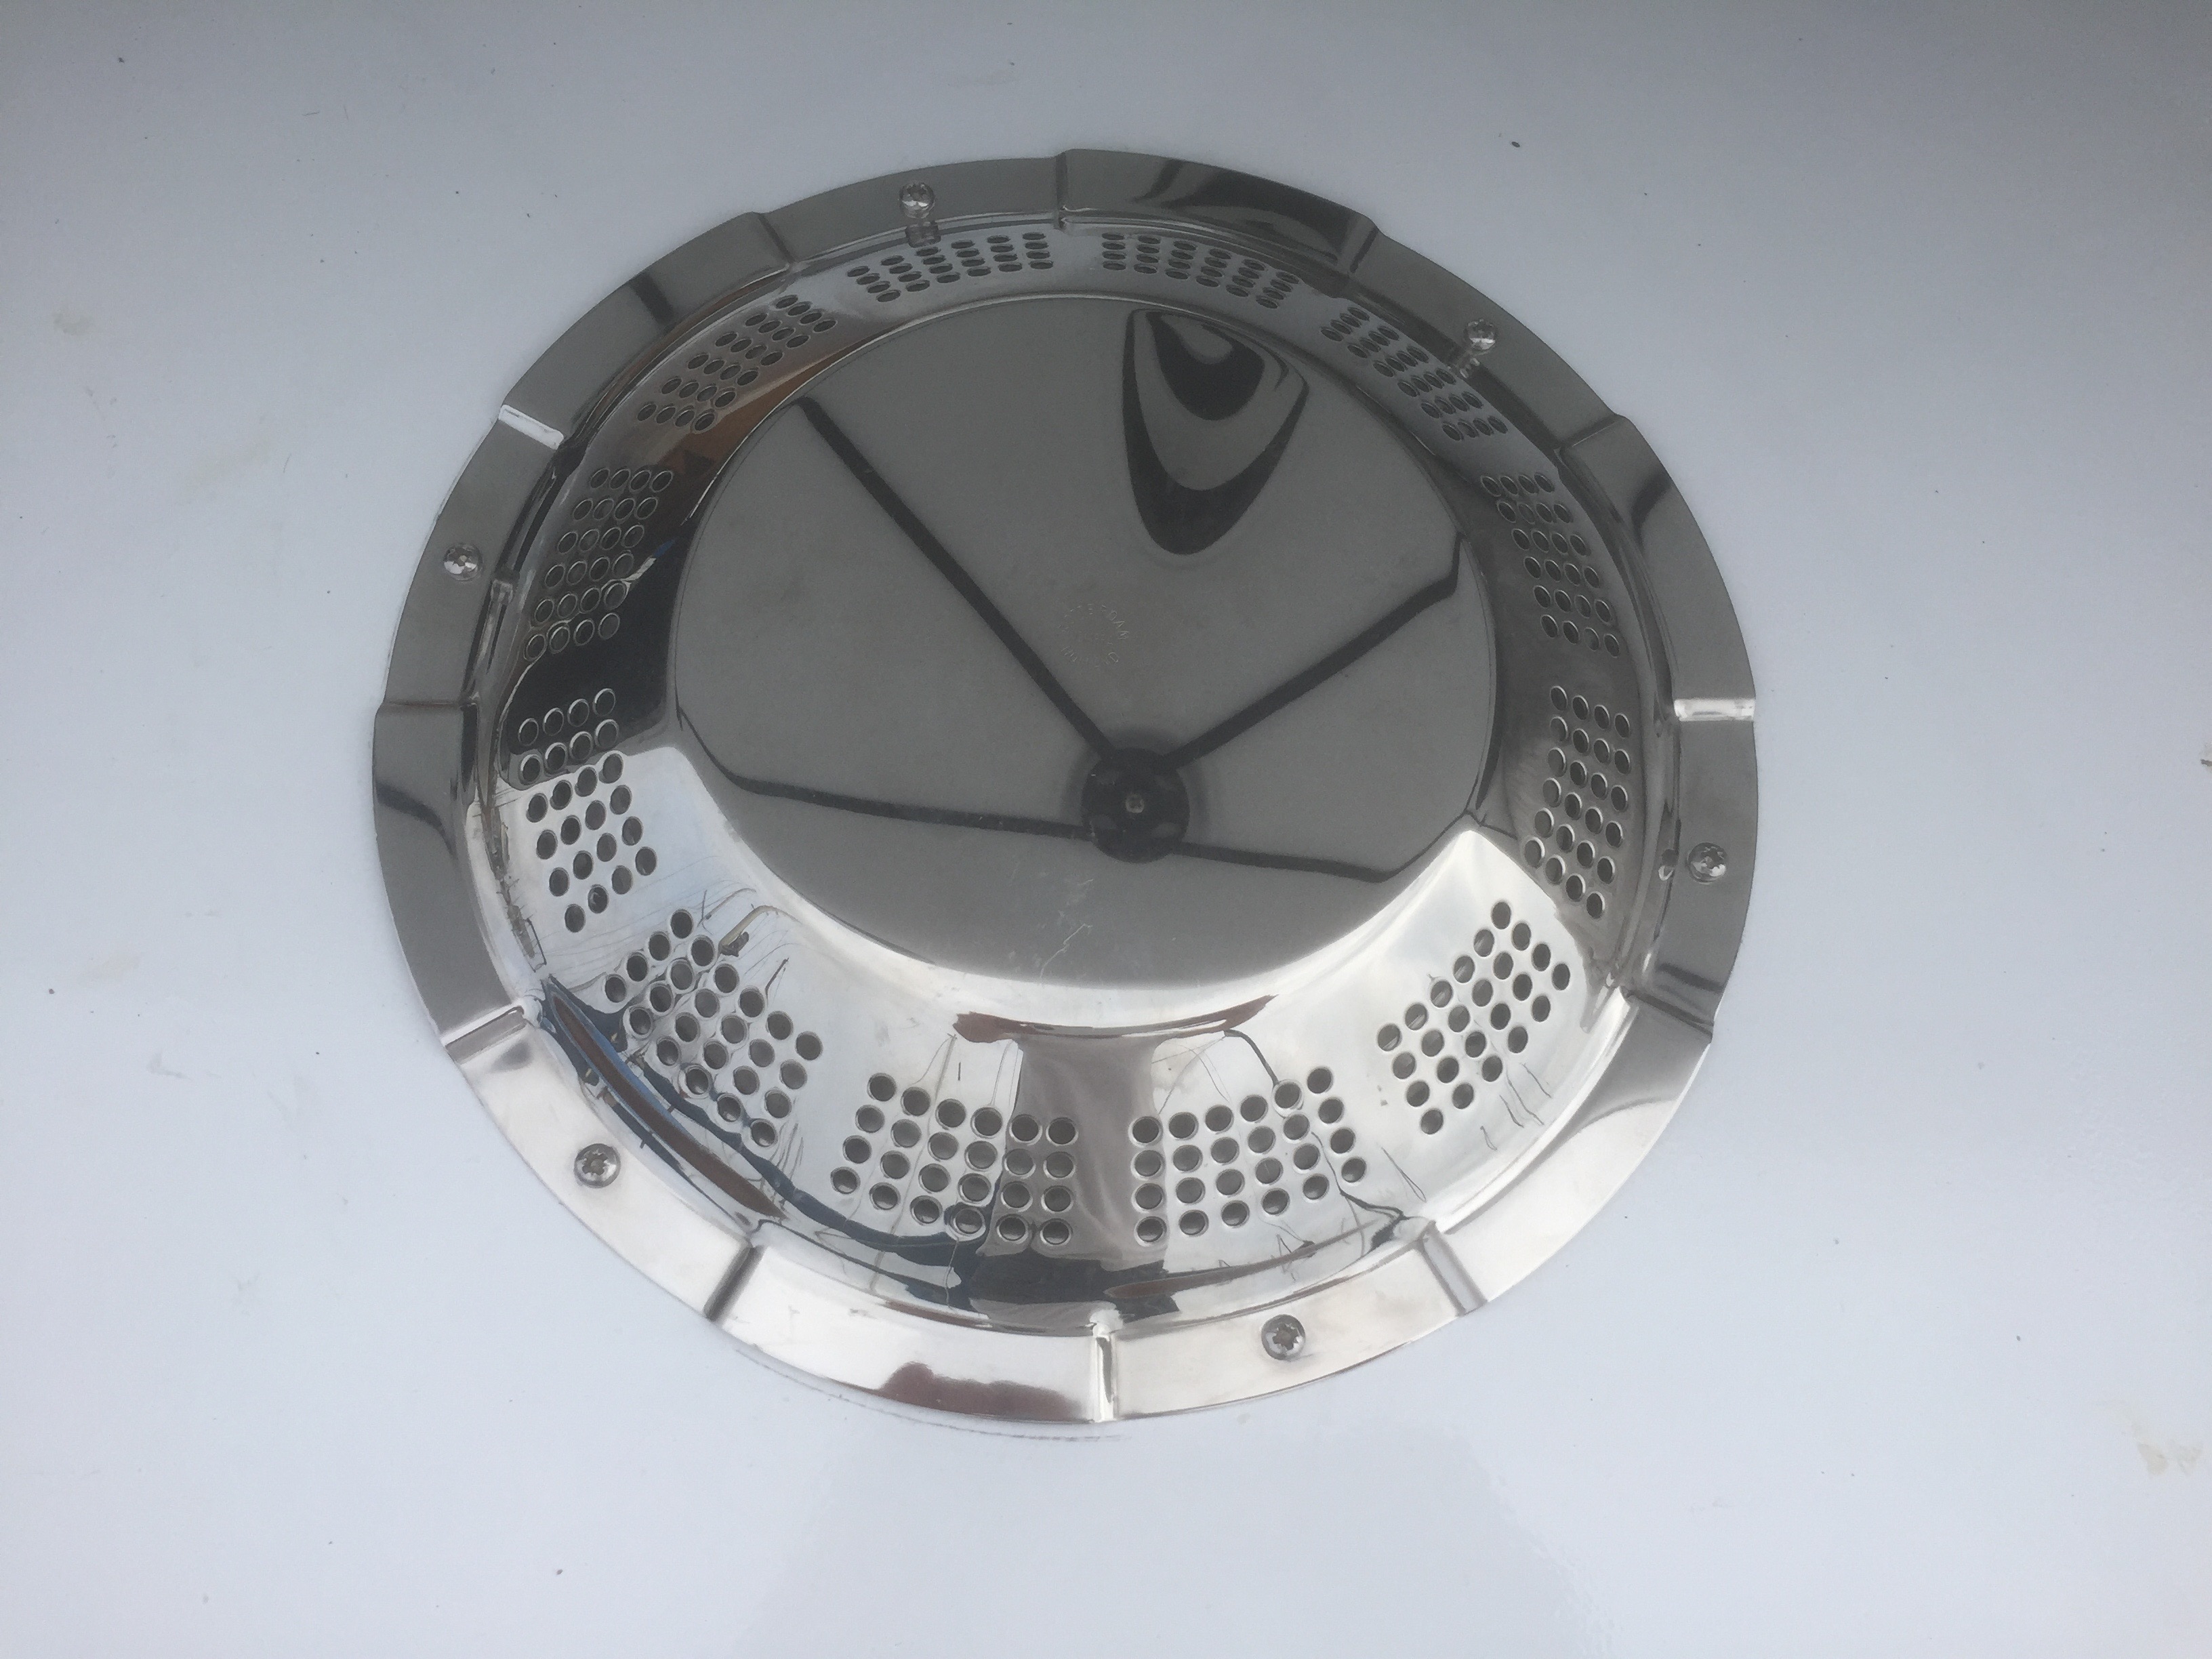
Mainly, the air vents where permanently placed on top of the cabin and some small paint touch ups.
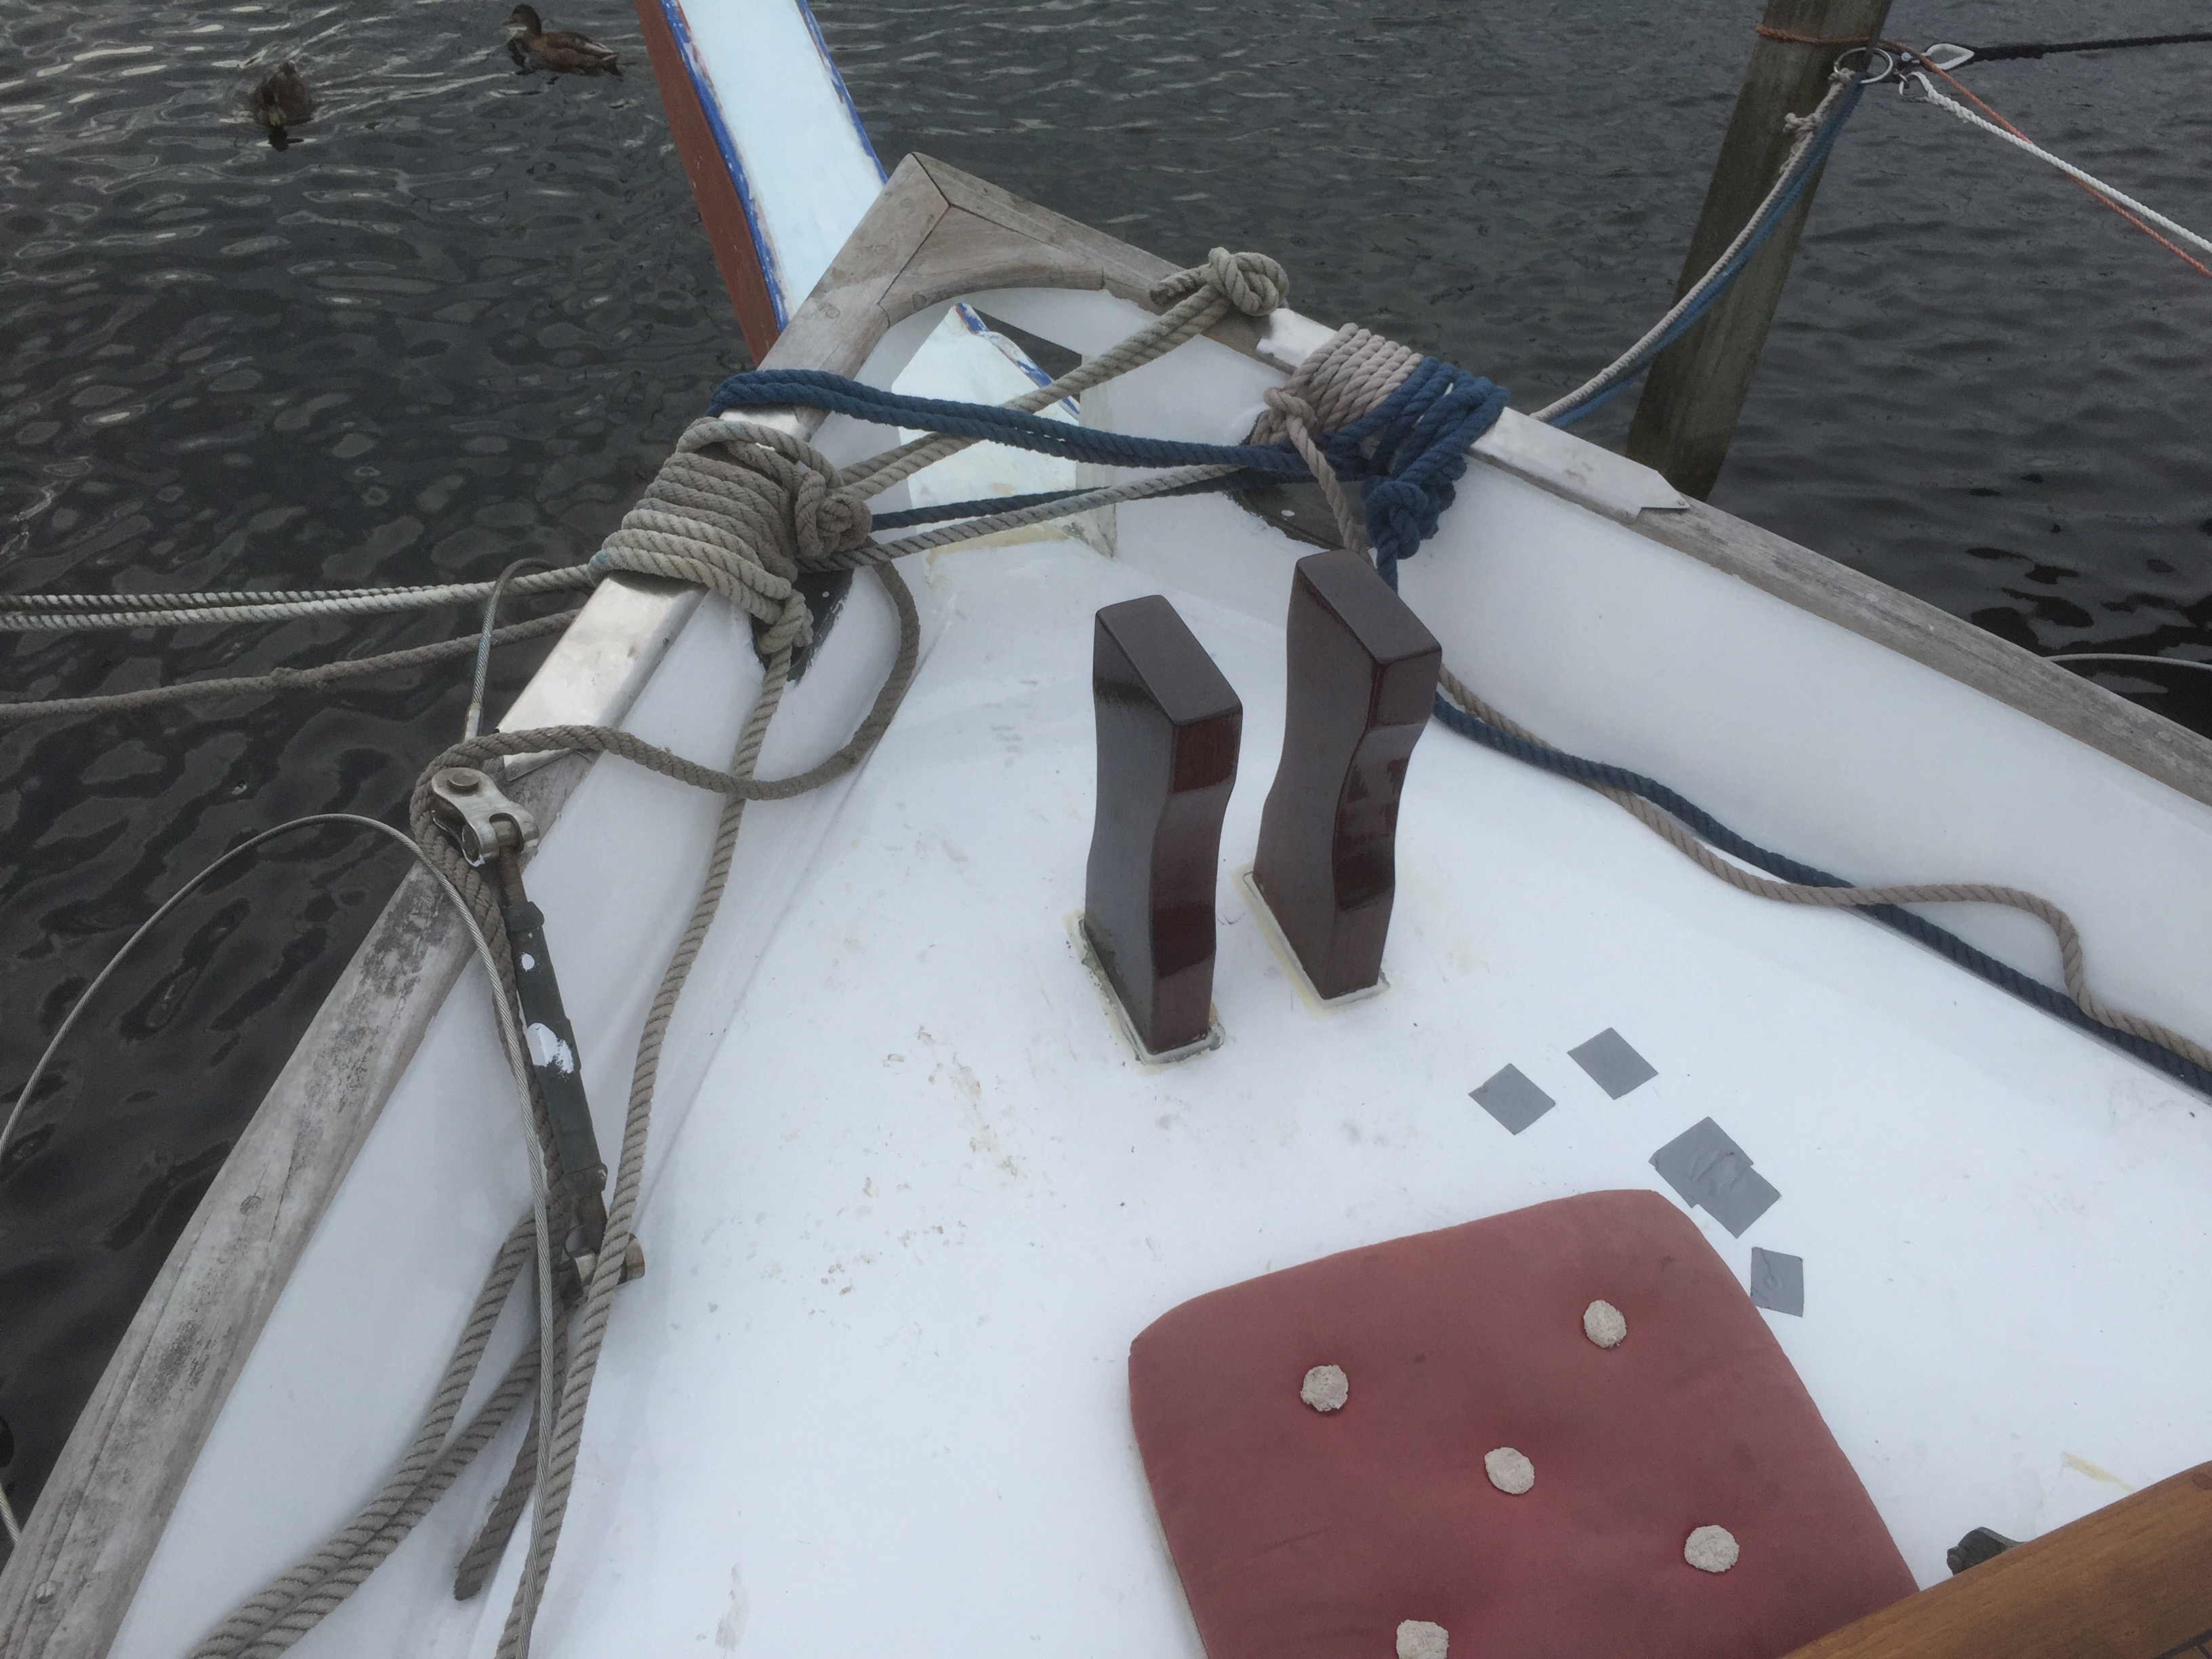
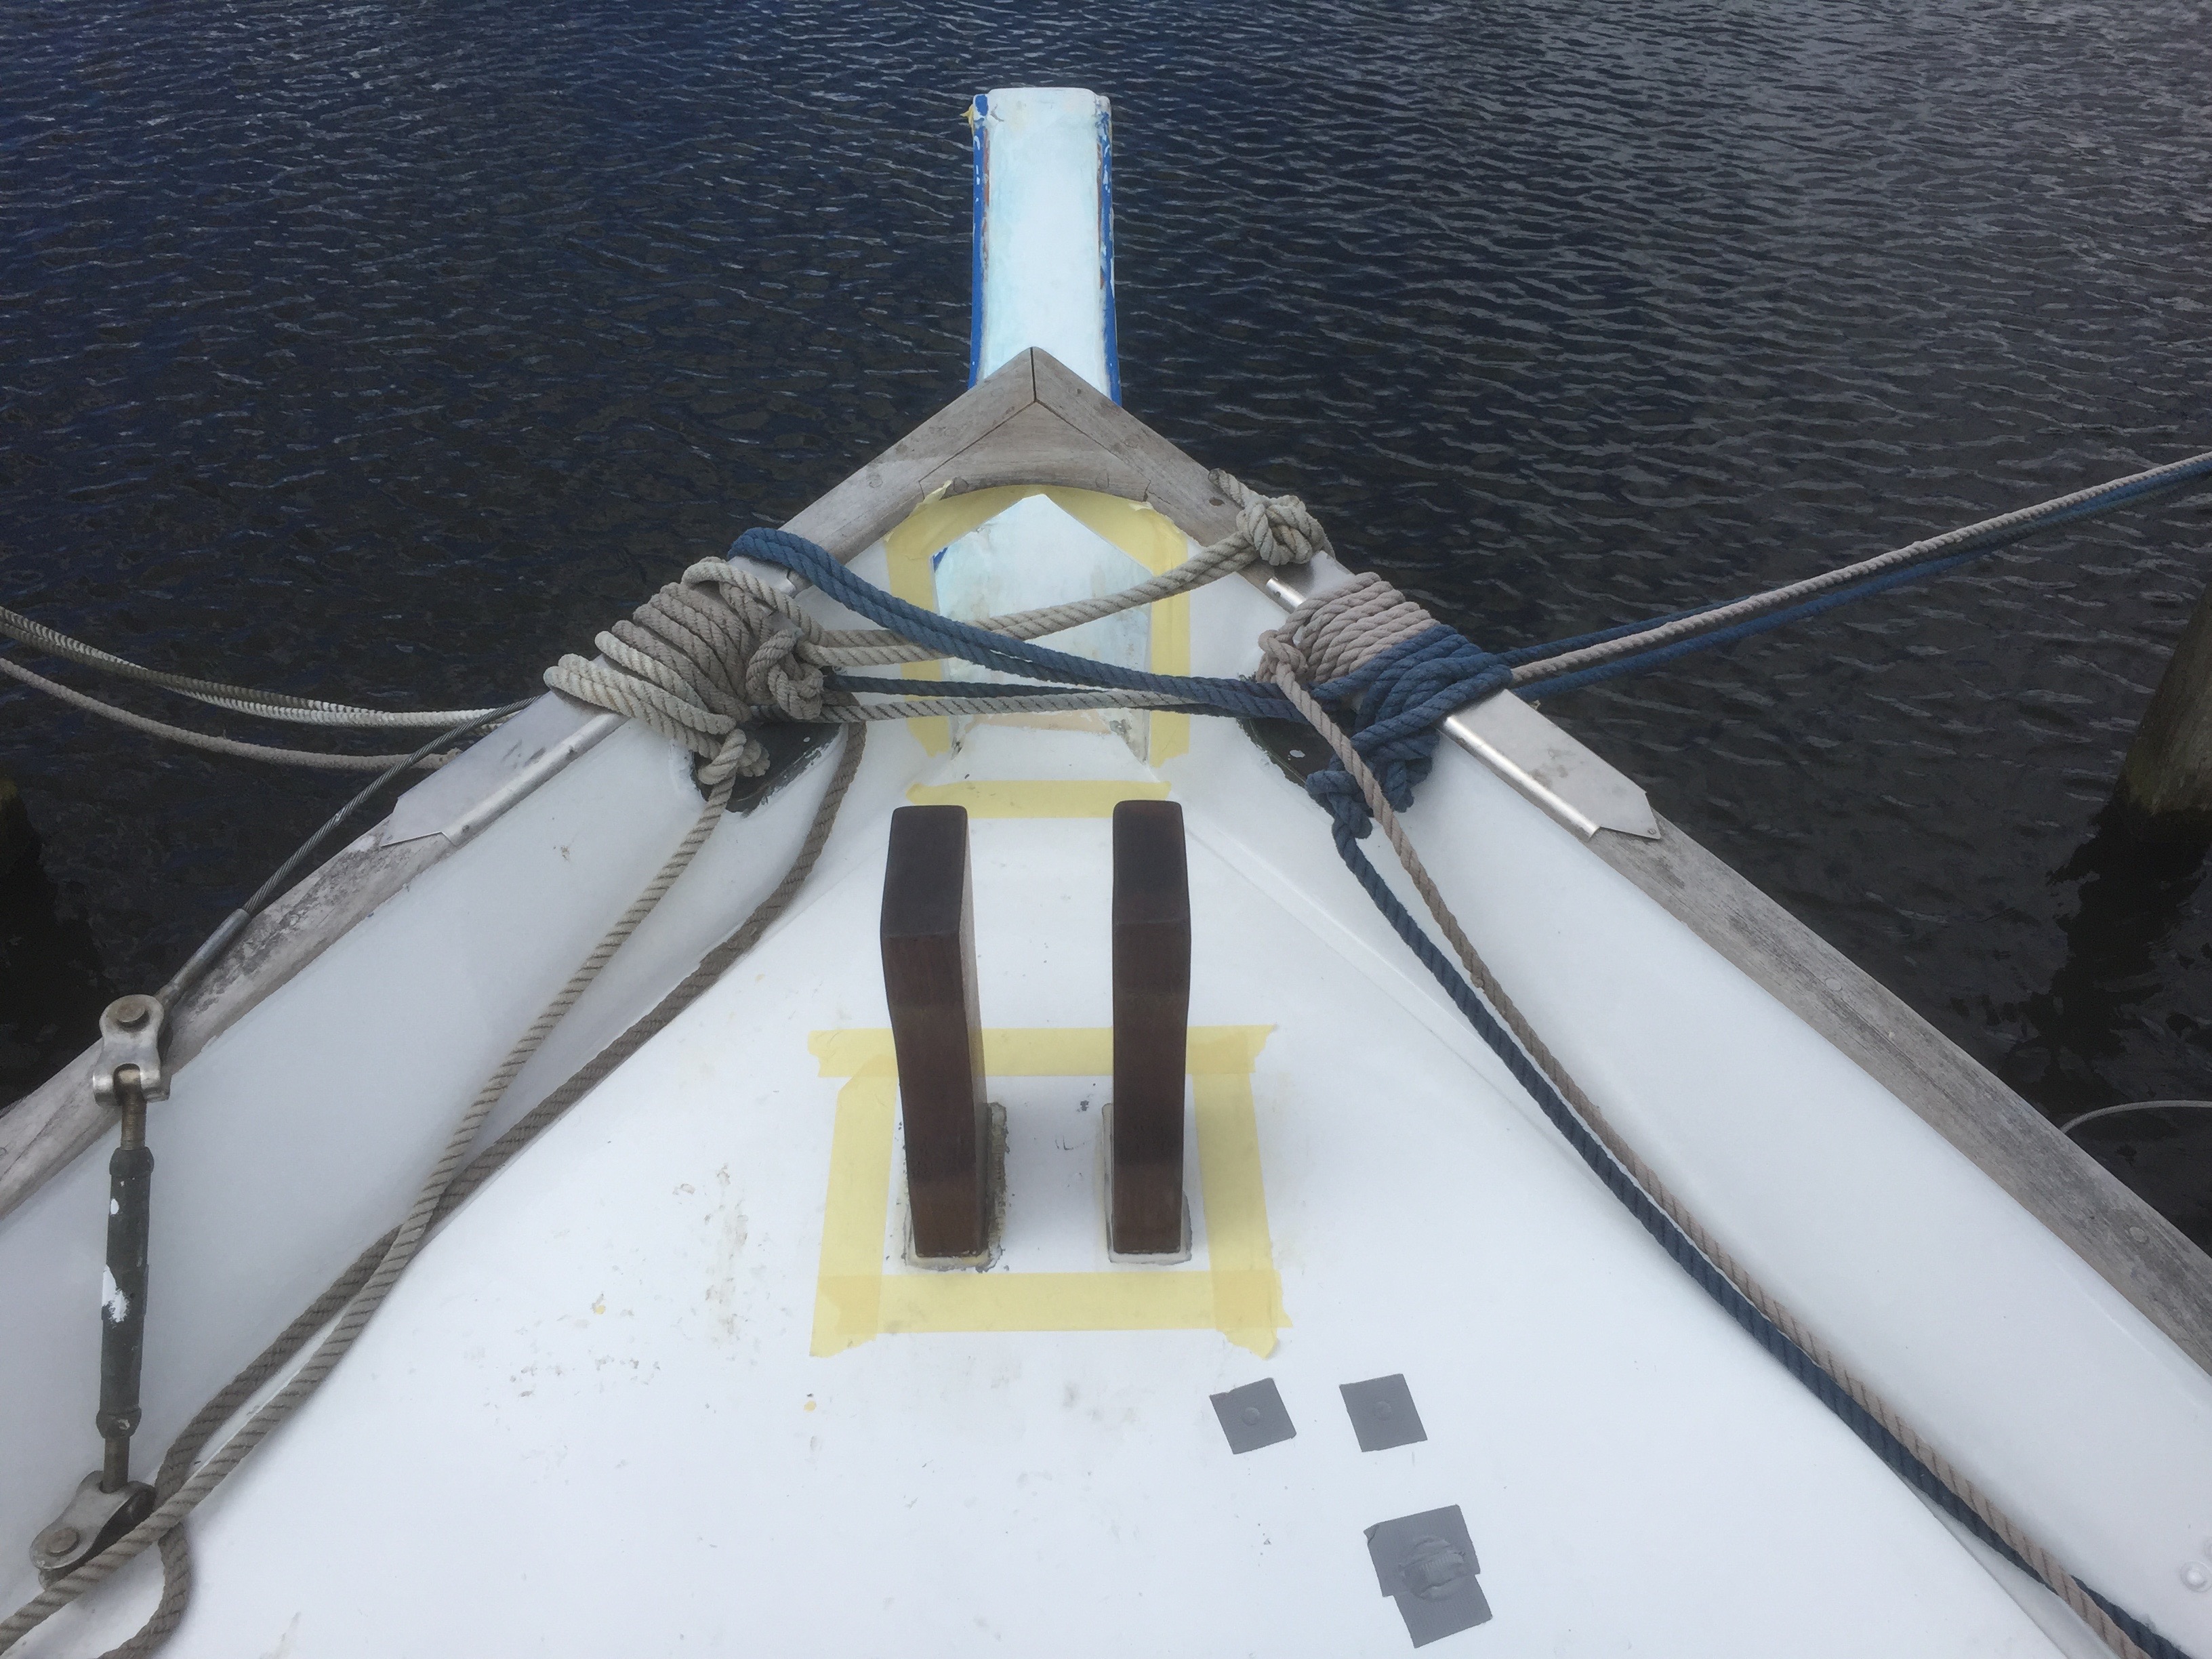
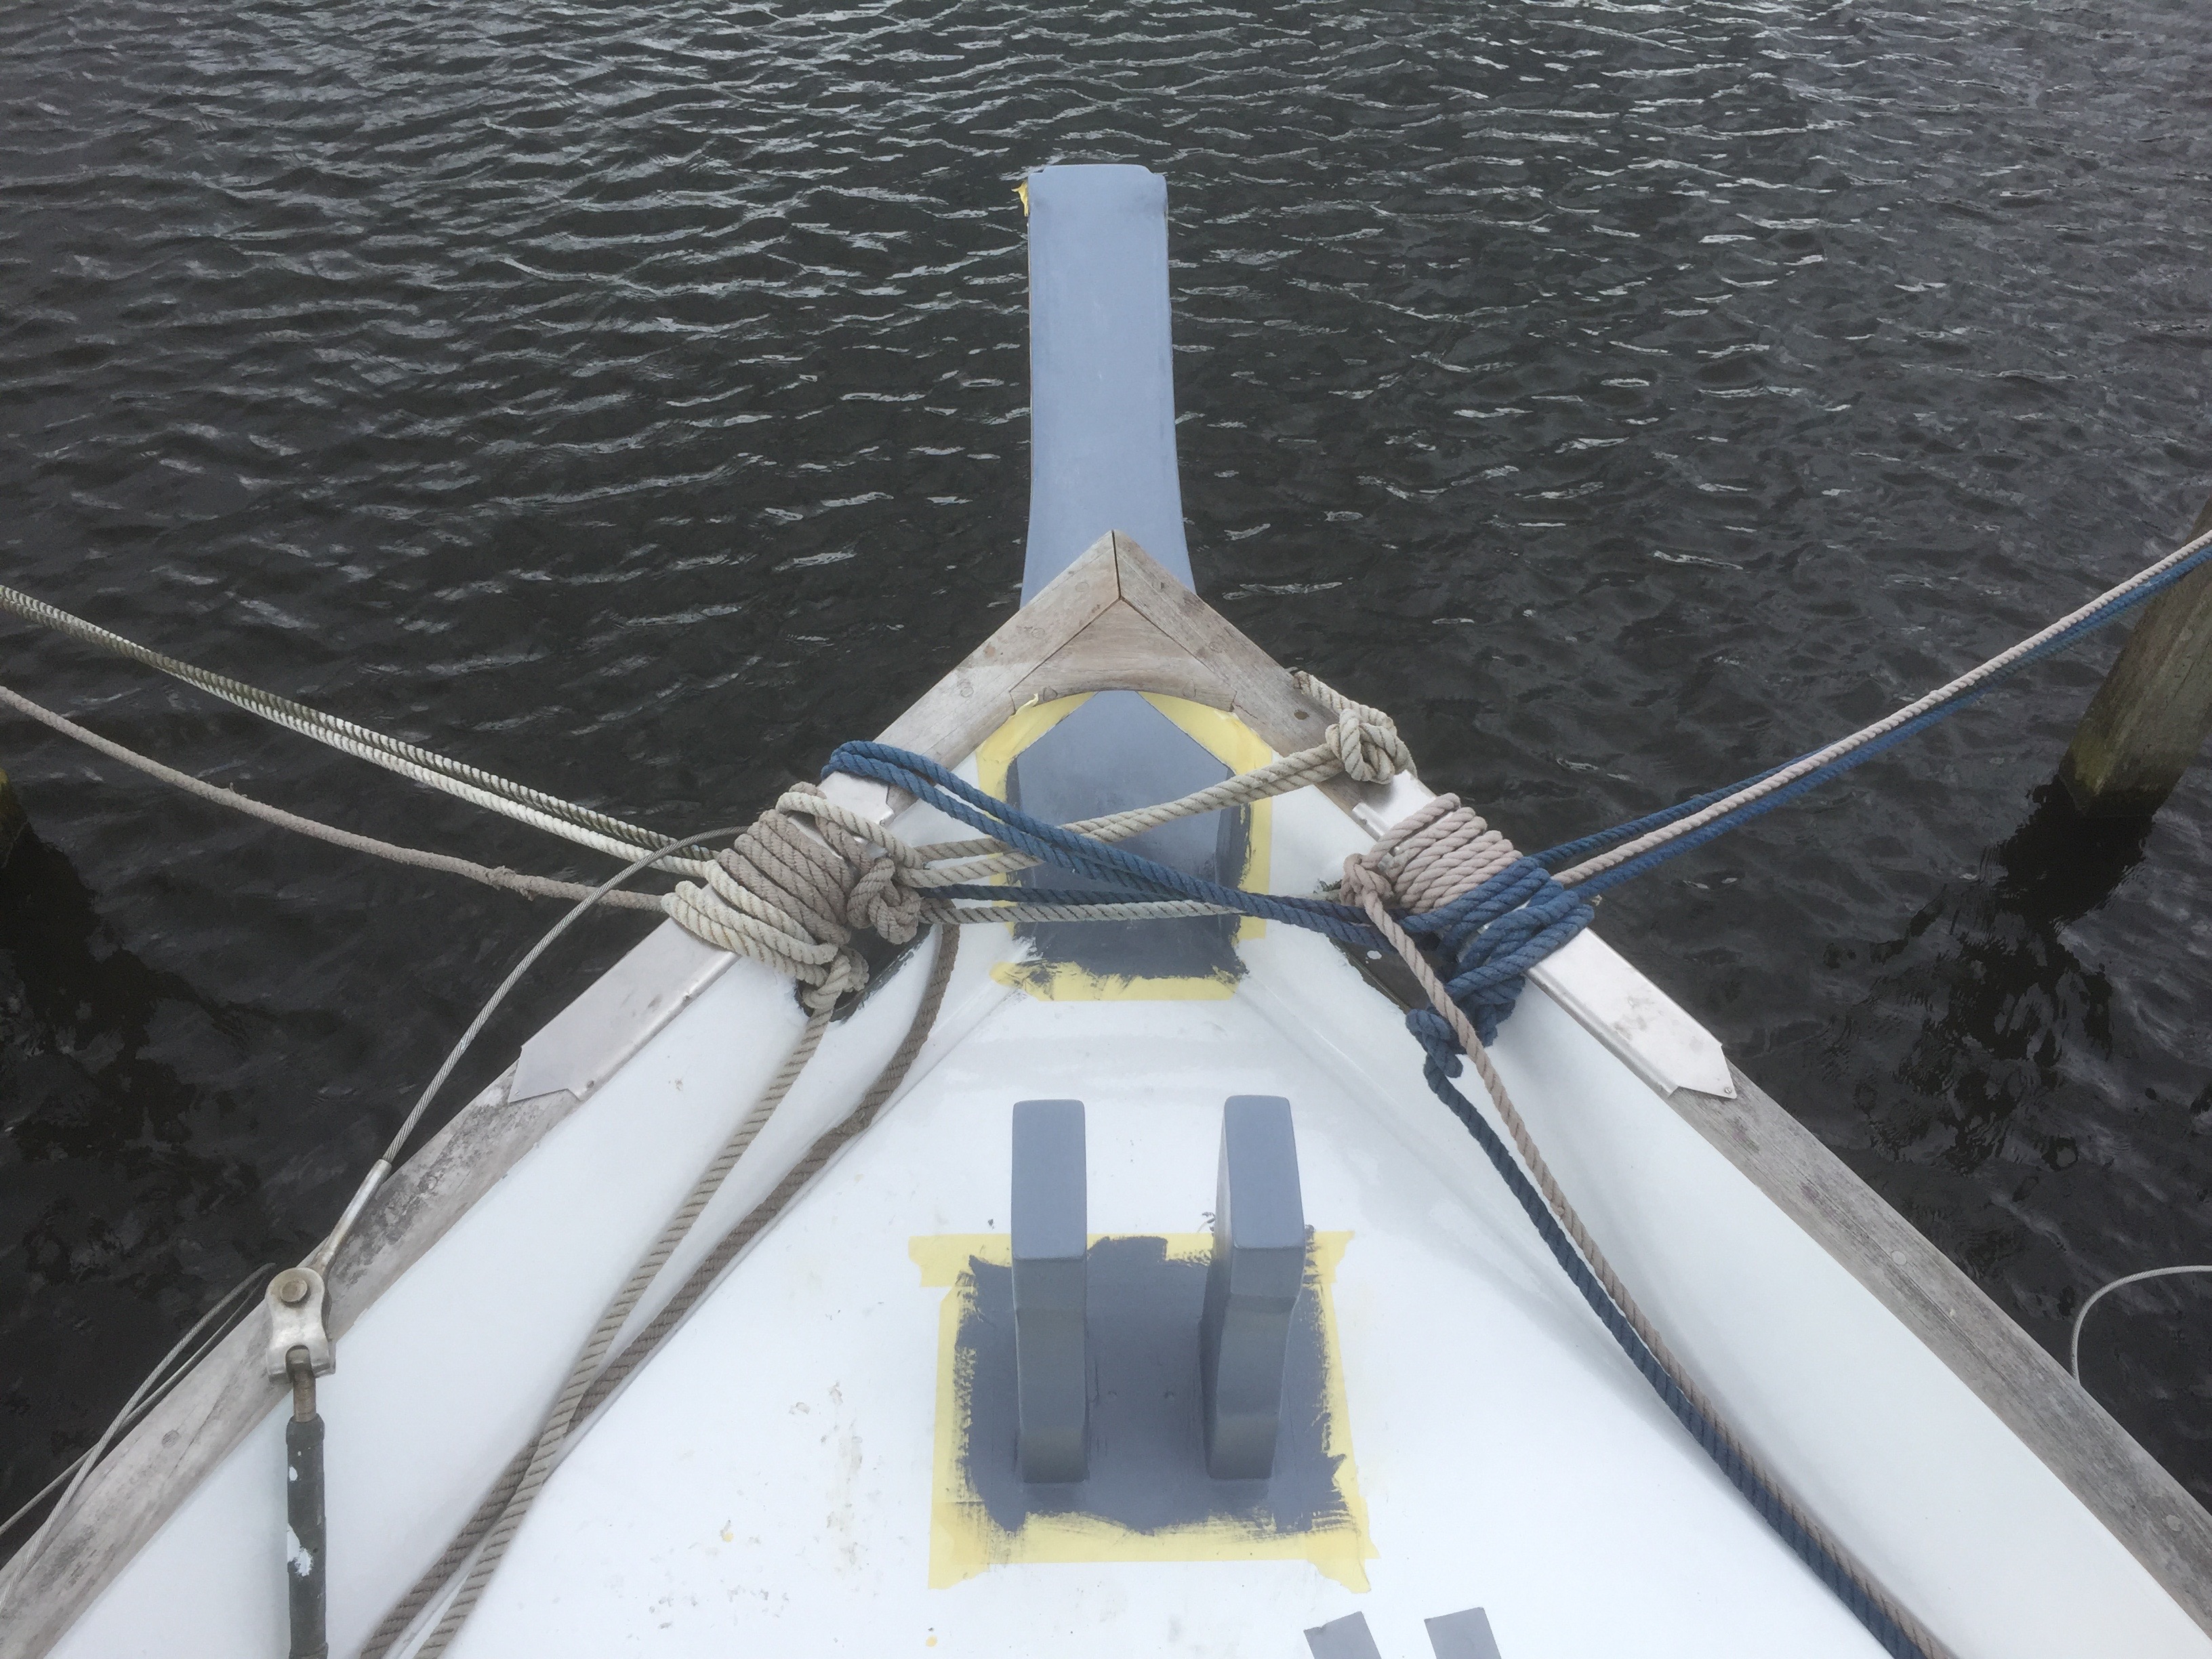
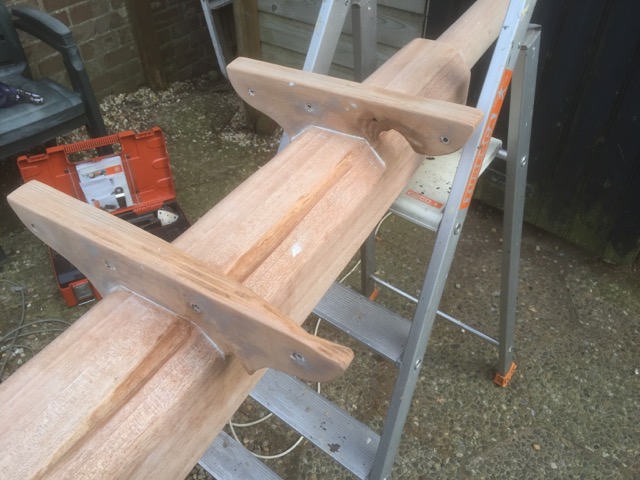
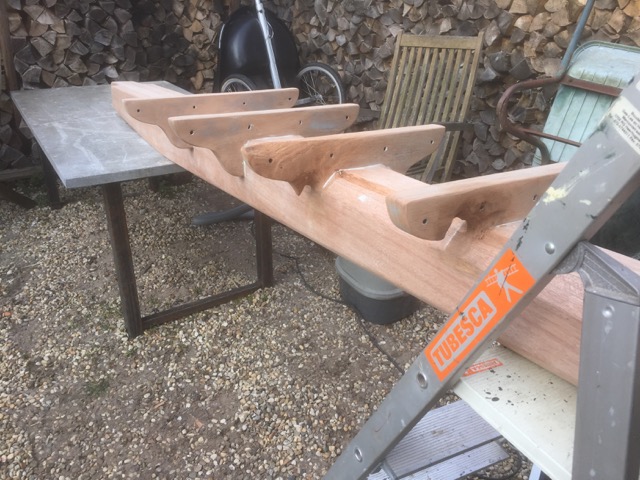
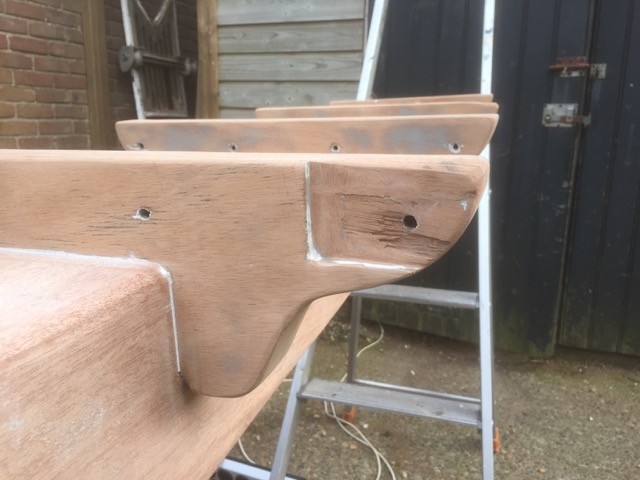
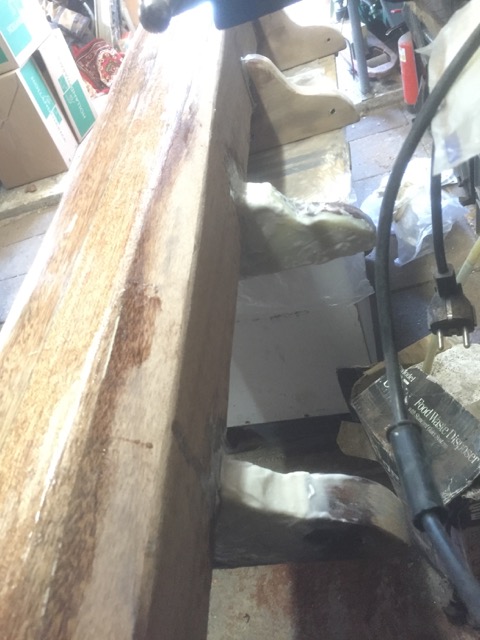
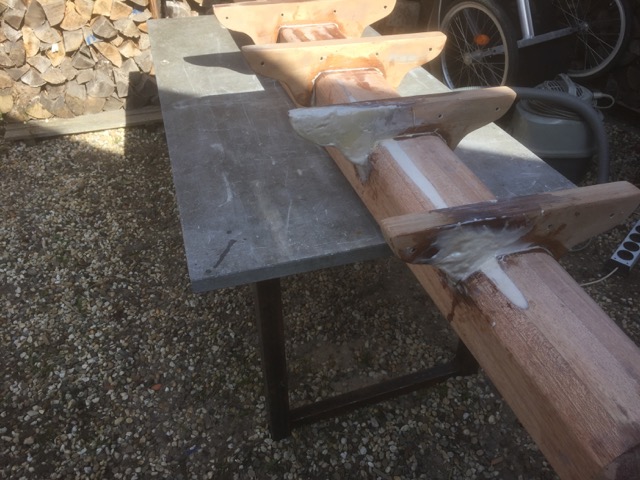
The beams that supports the bowsprit also still needed some layers of paint before the bowsprit could go into position.
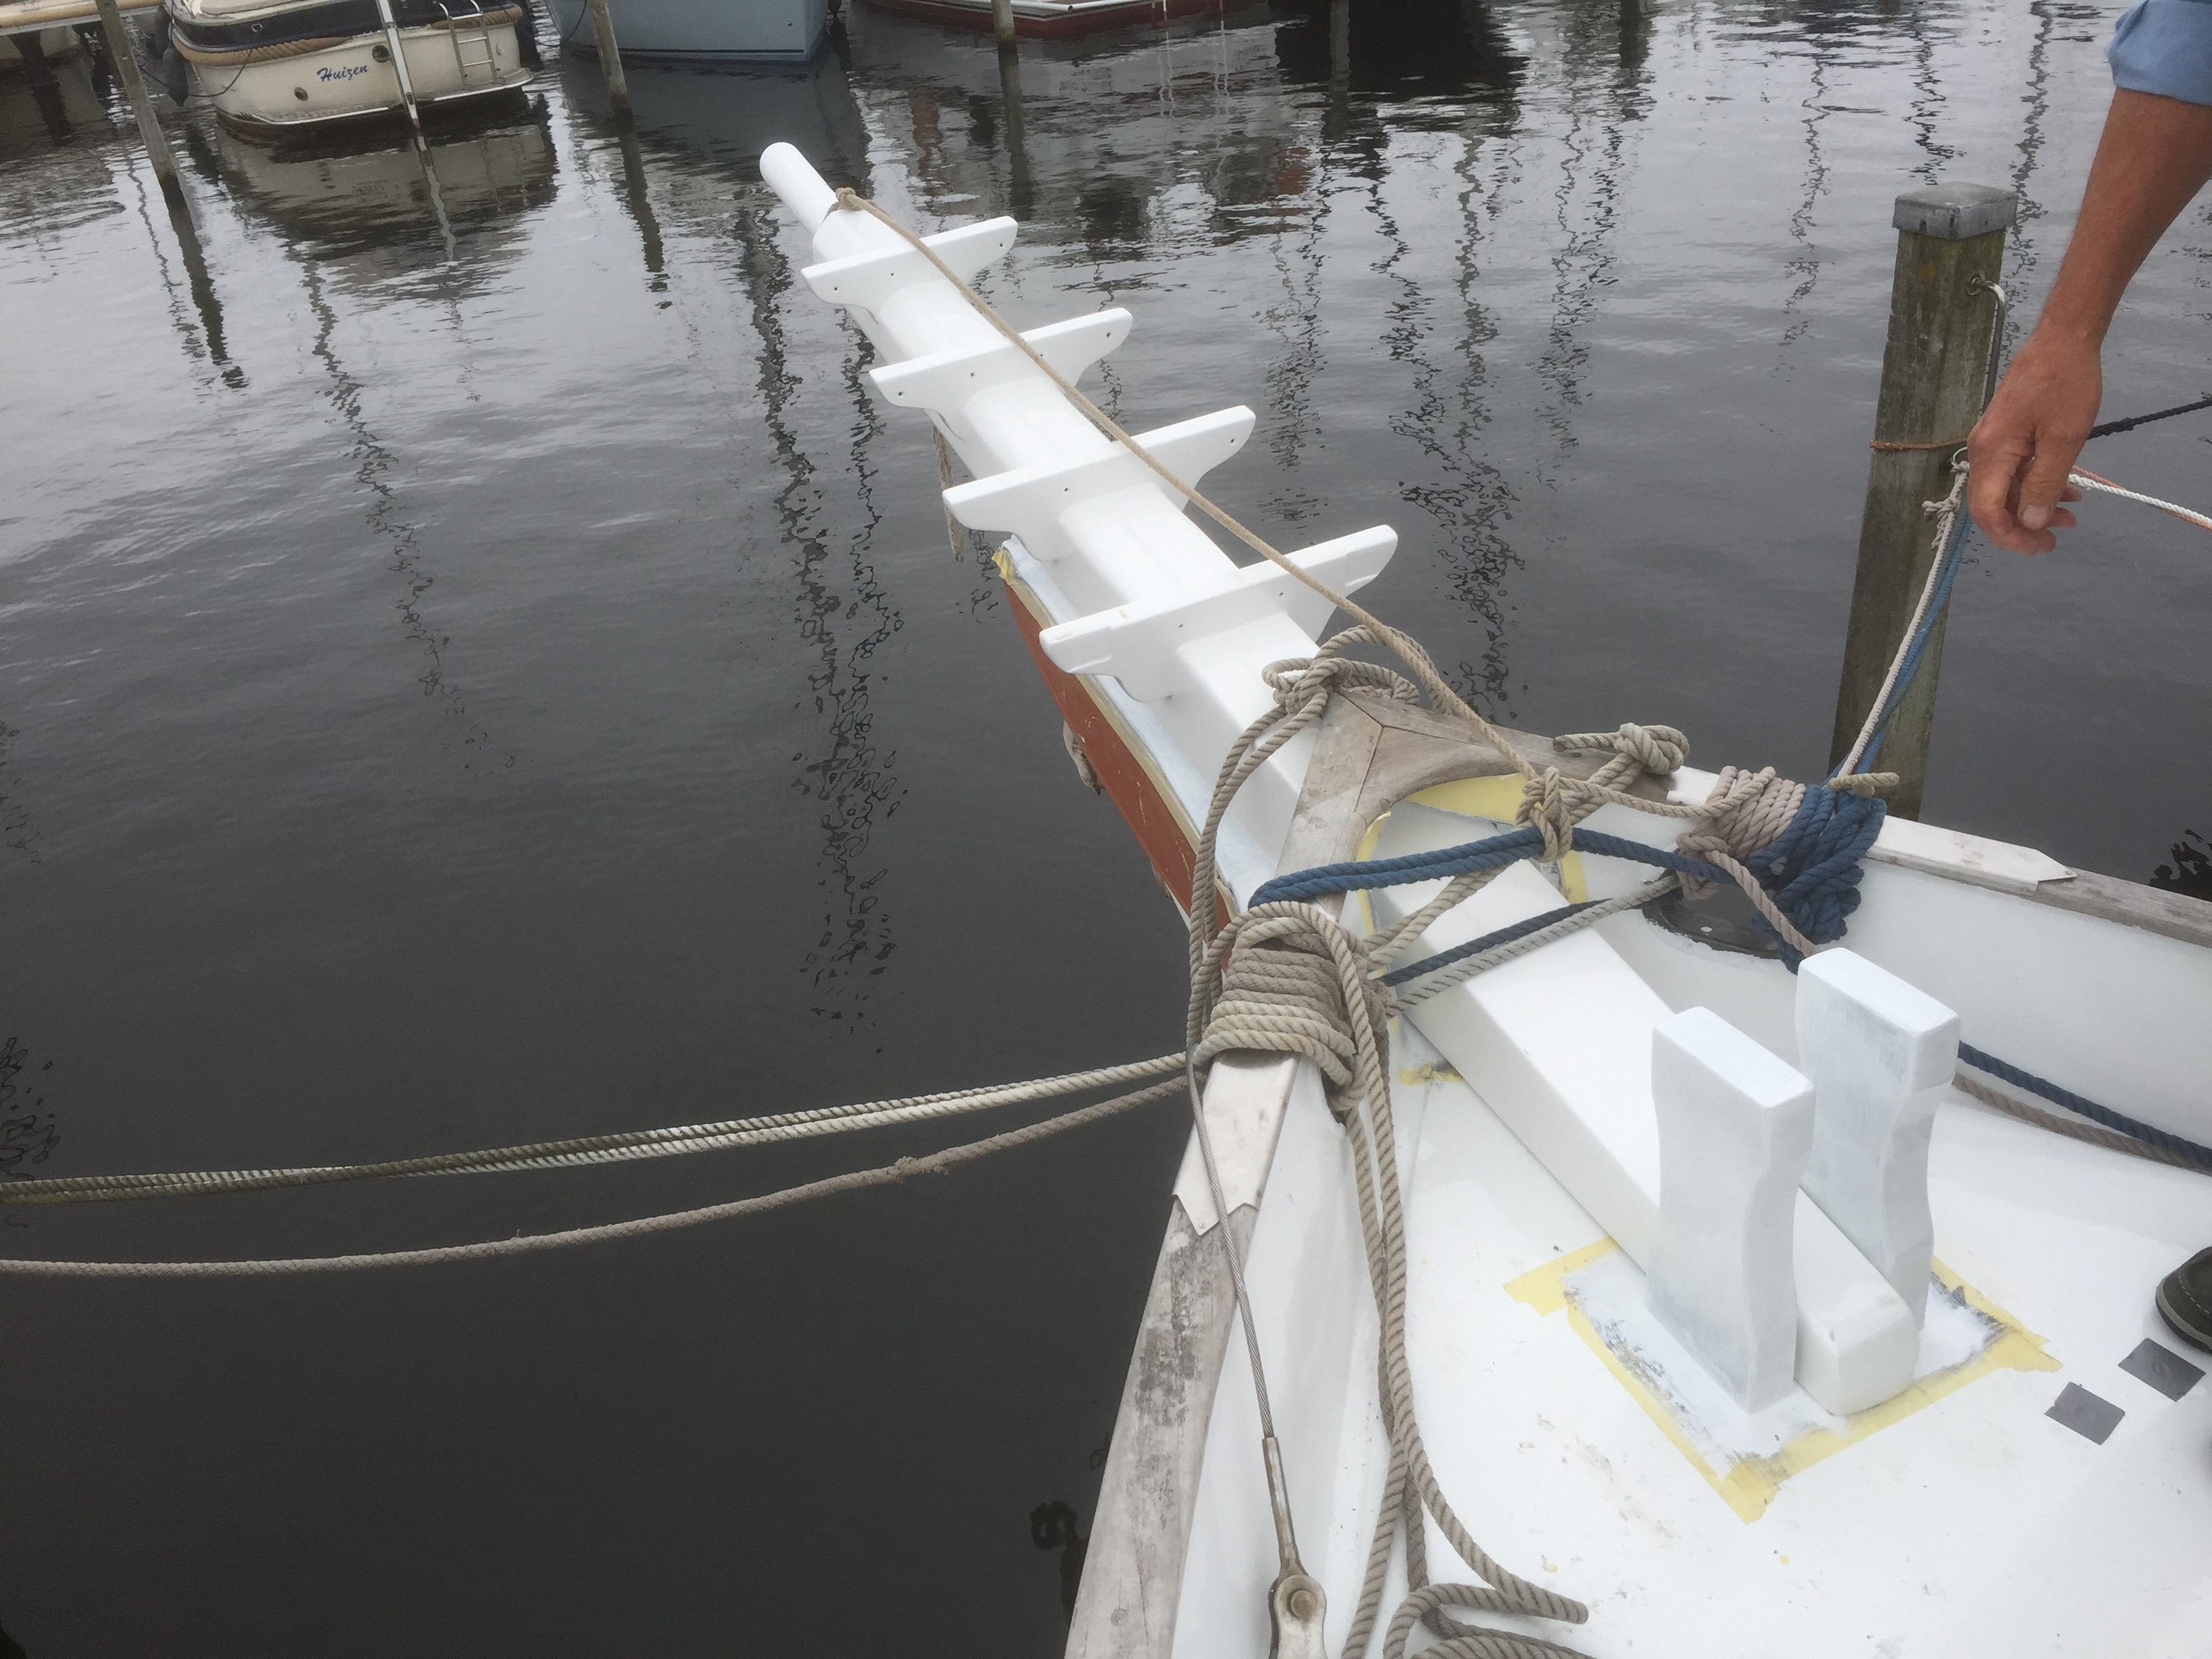
Plus, the walking boards that go on top of the bowsprit also needed to be replaced.
Many thanks to my dad for helping, because placing and mounting the bowsprit would have been impossible on my own.
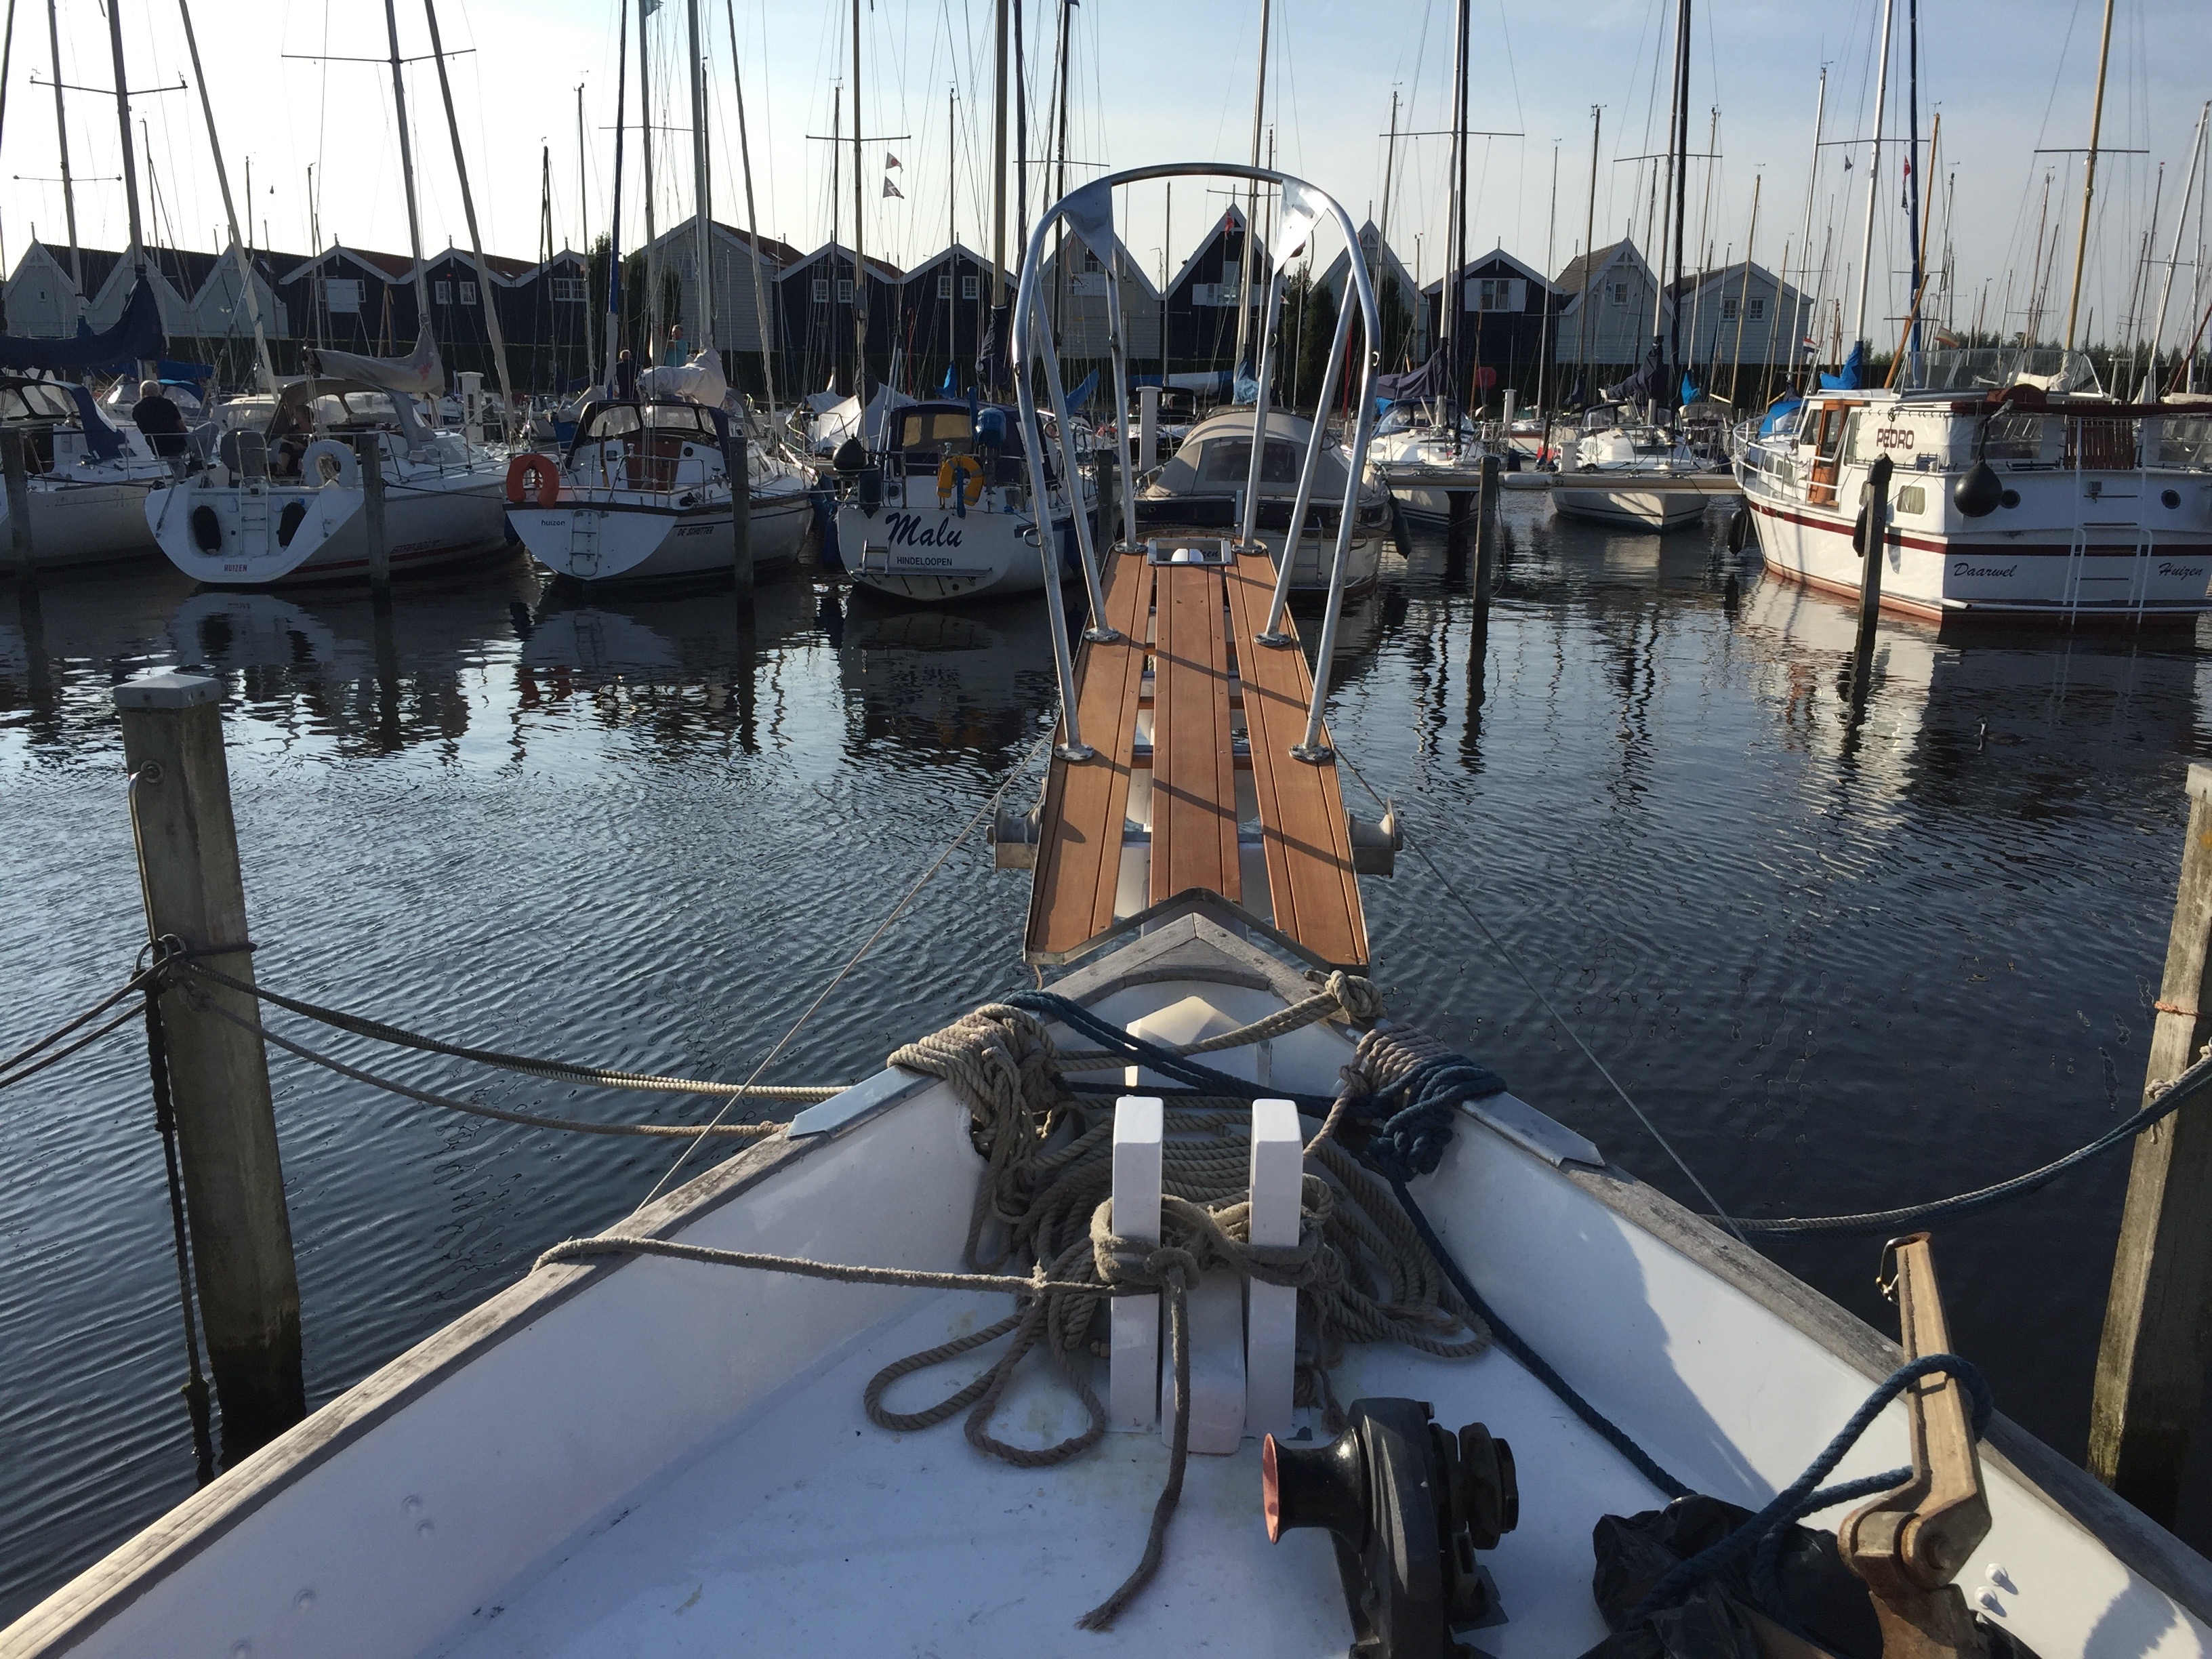
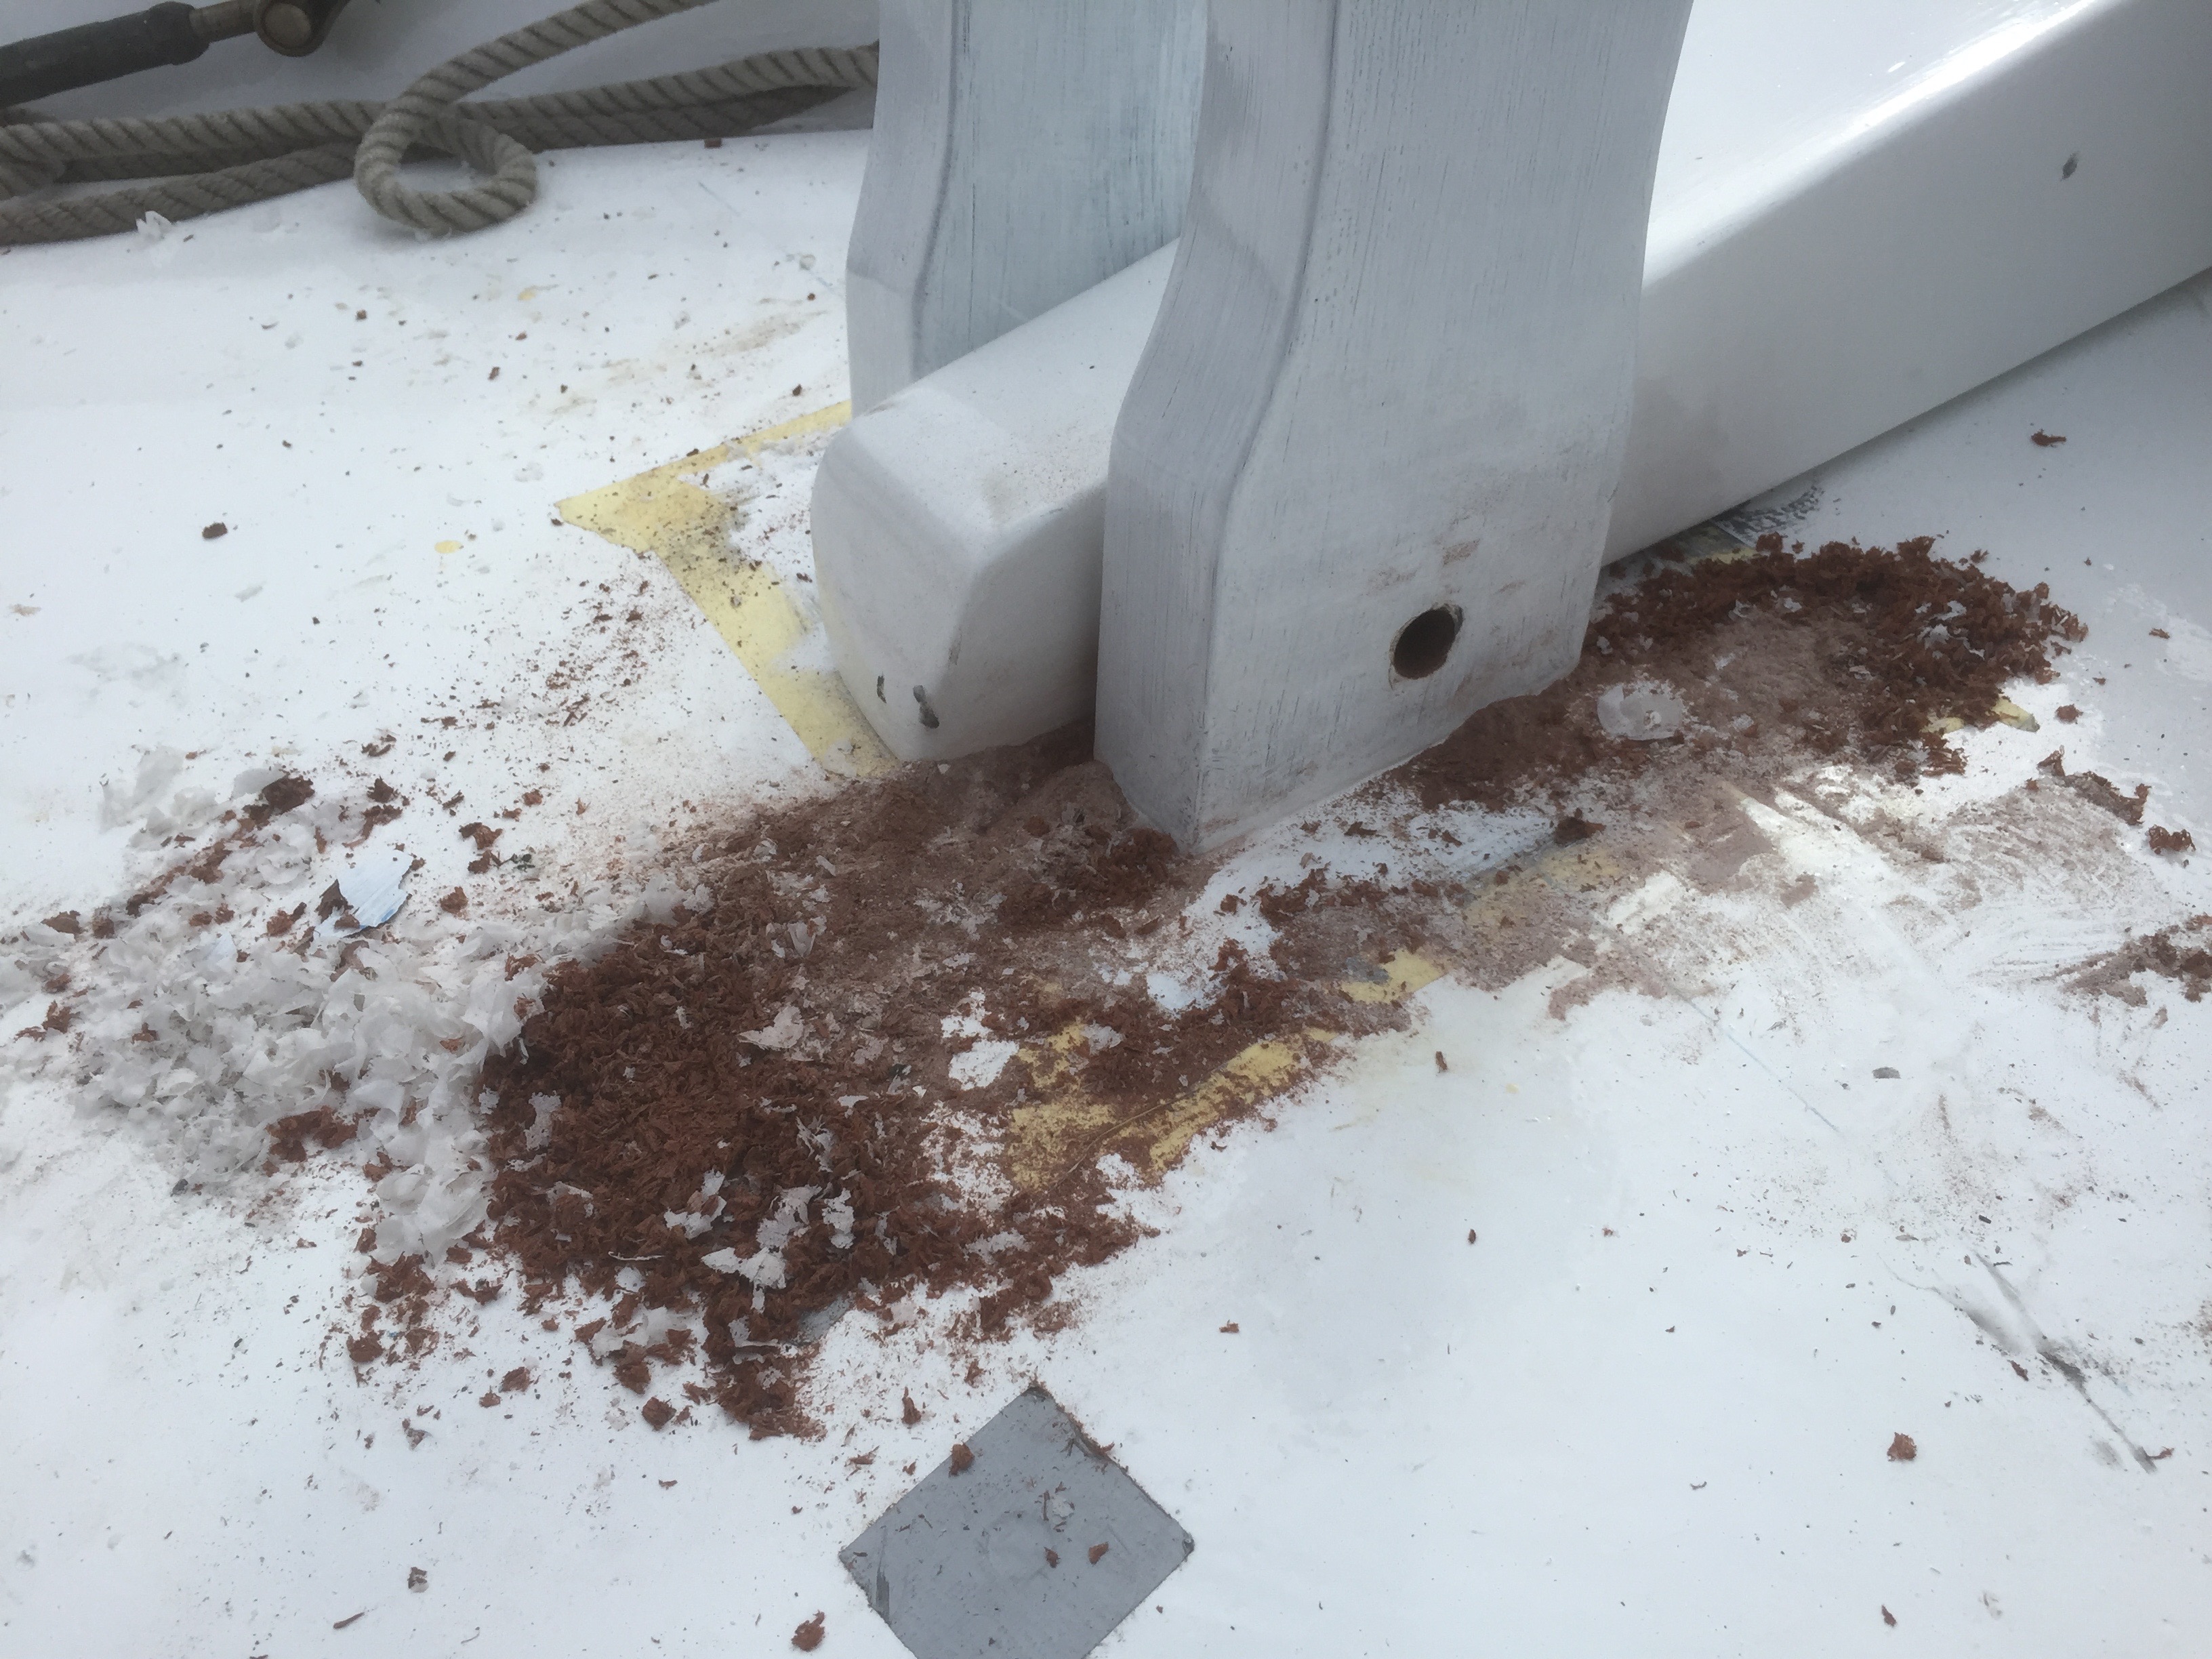
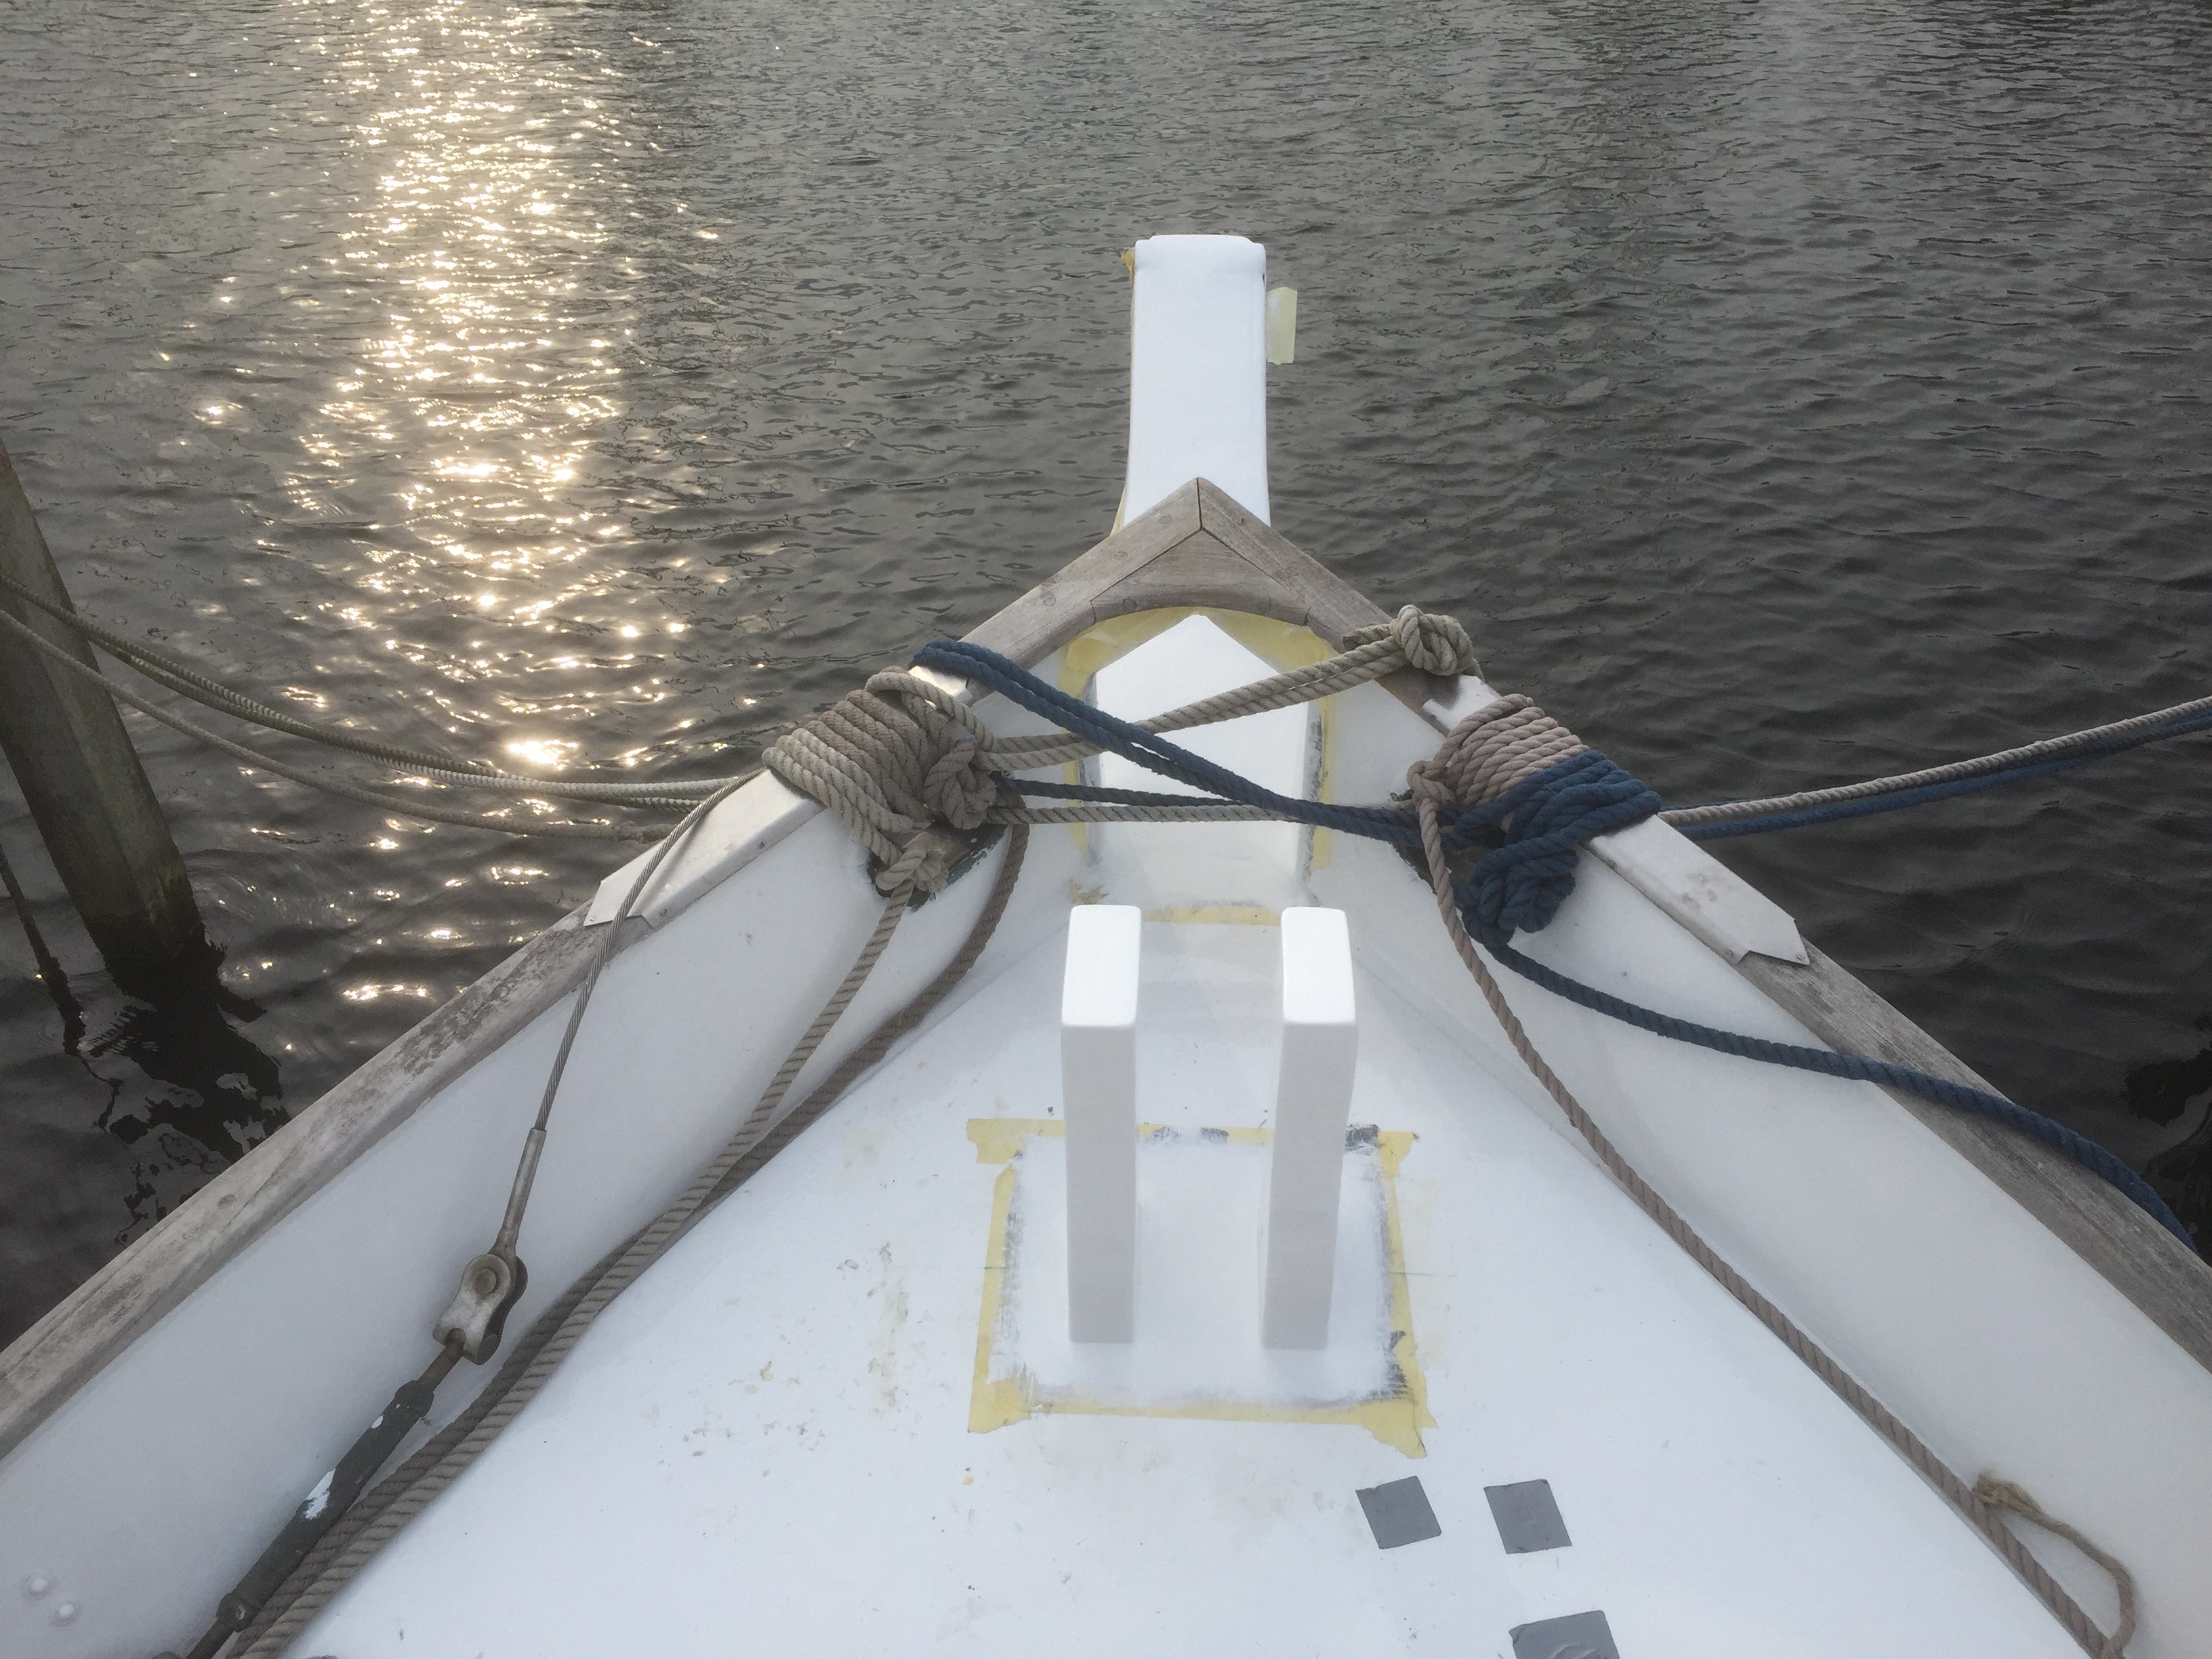
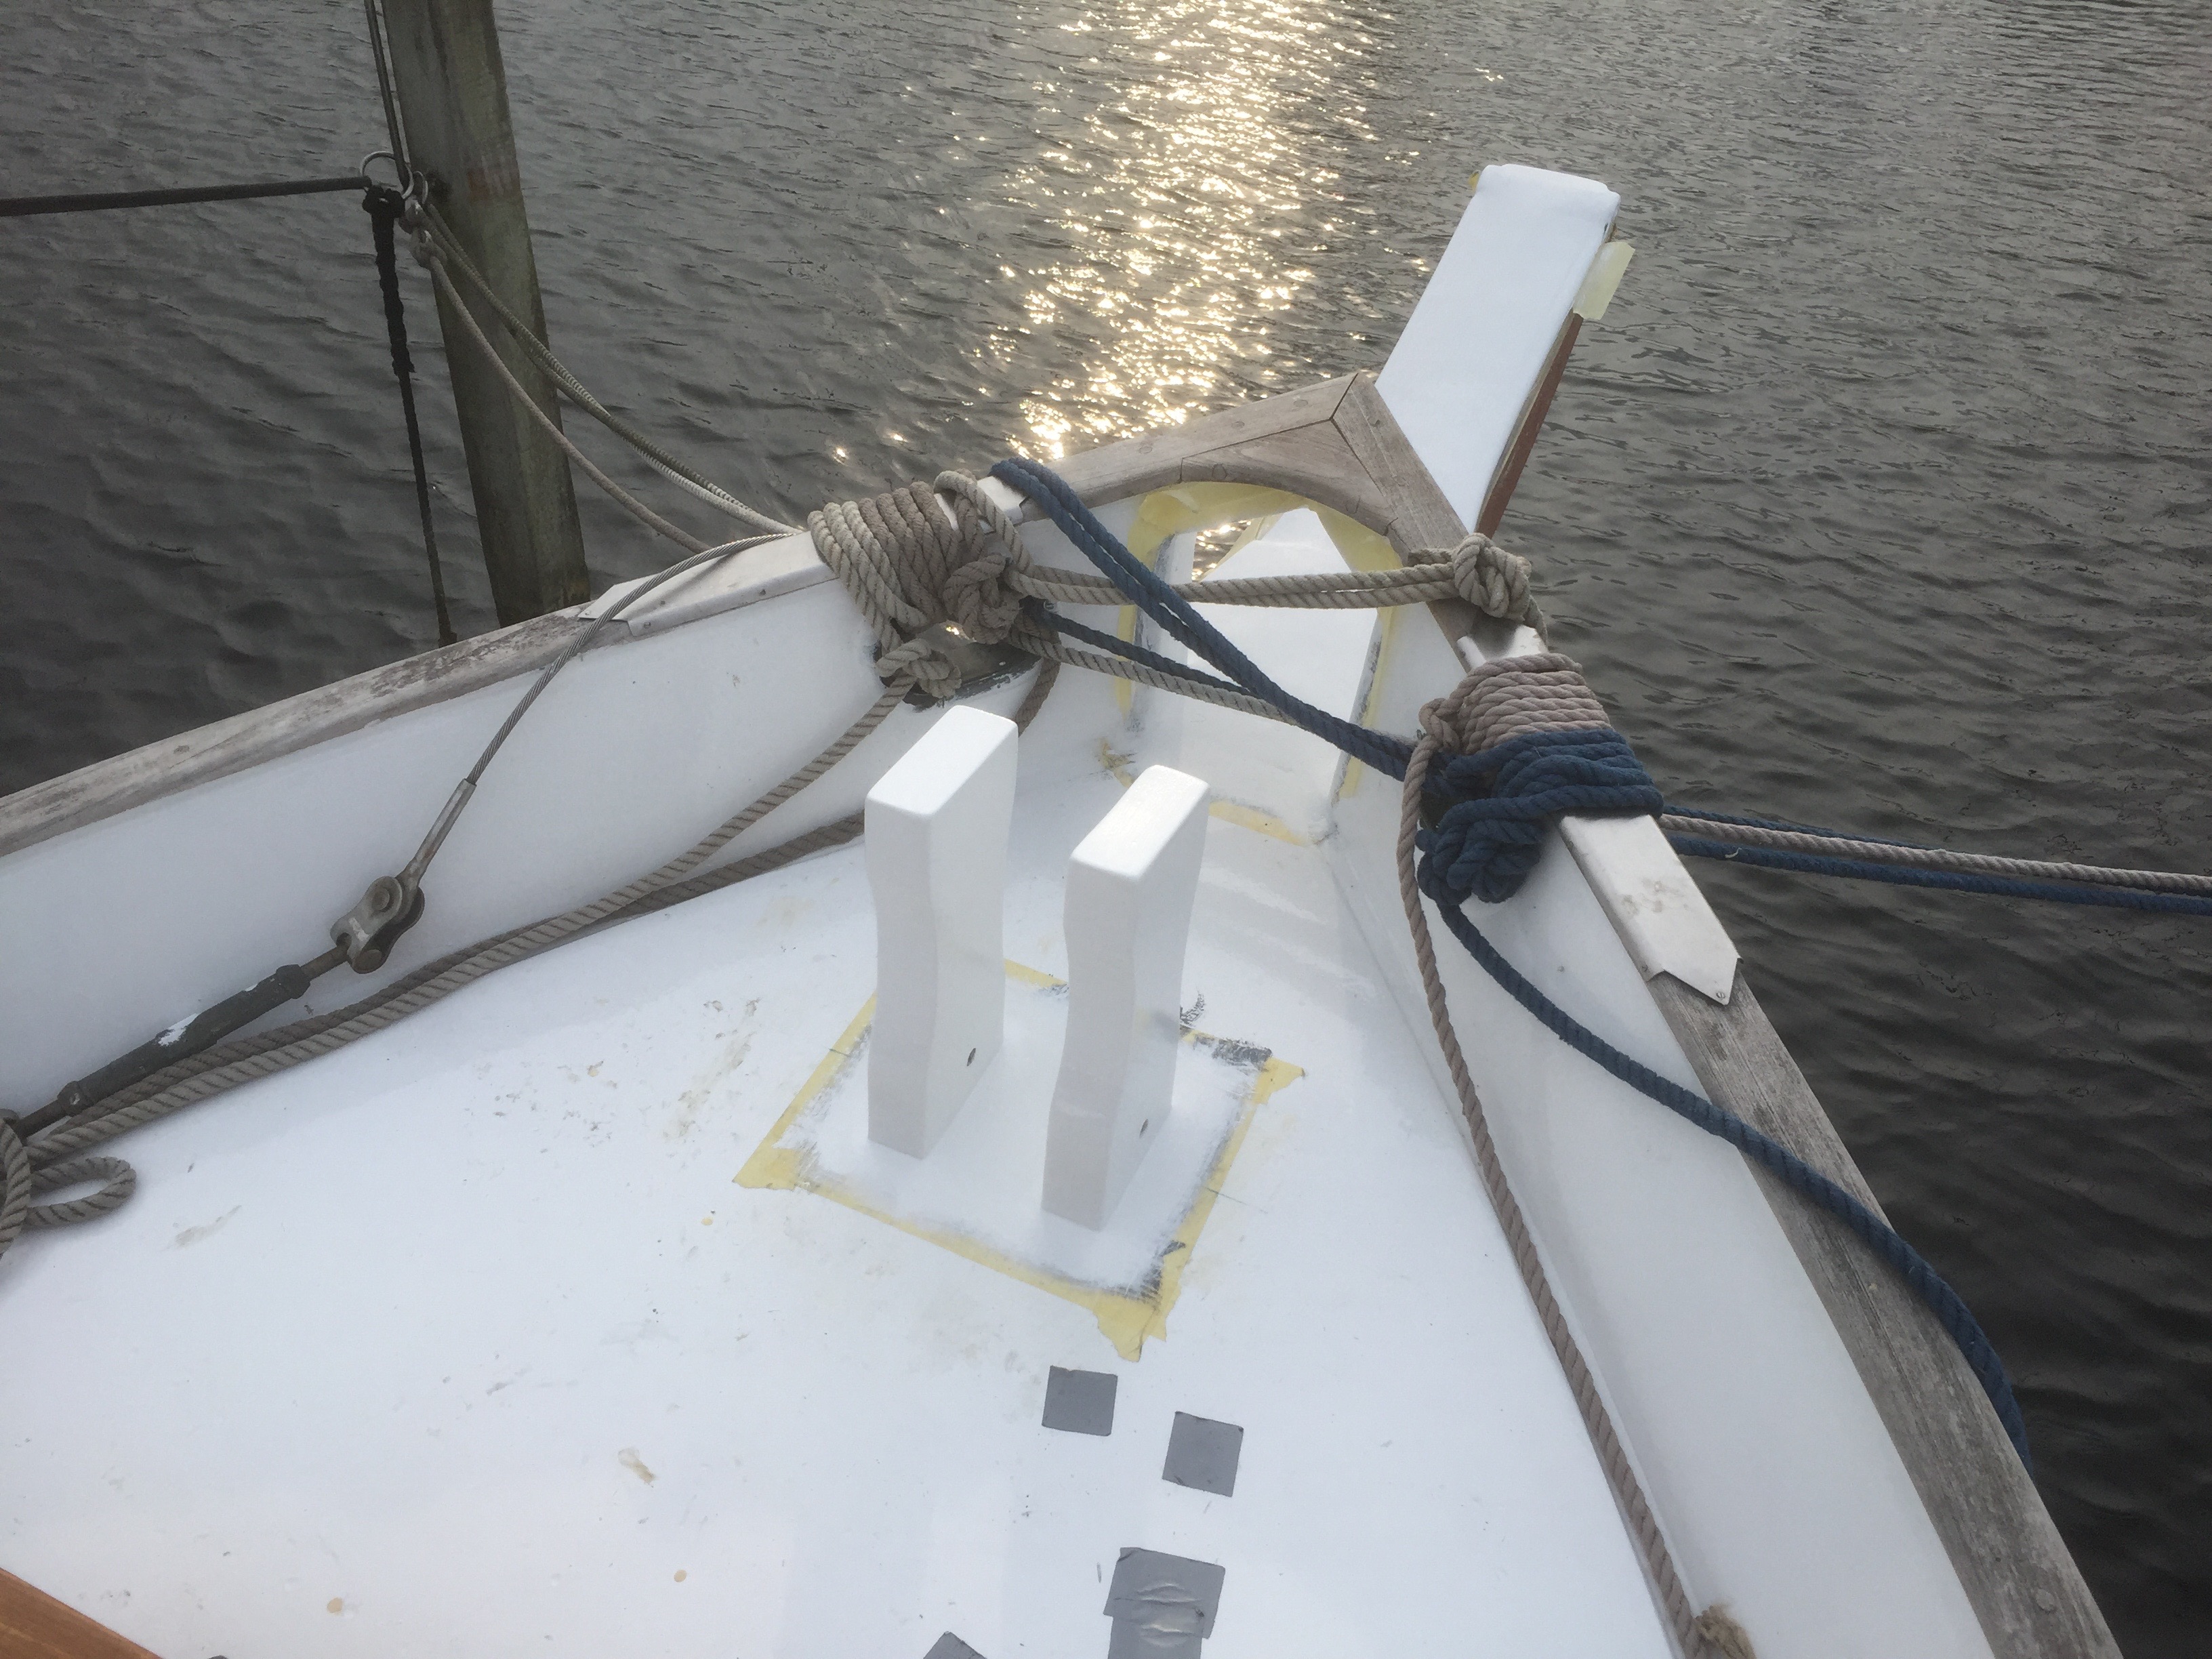
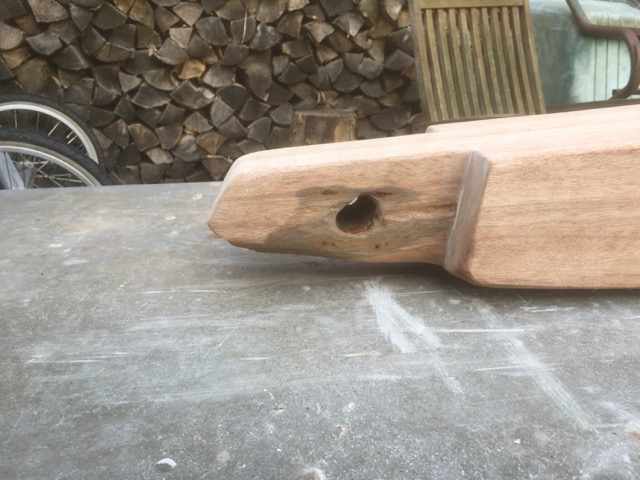
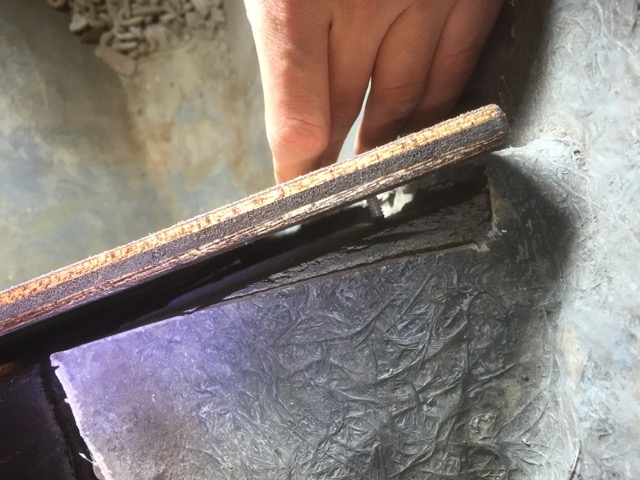
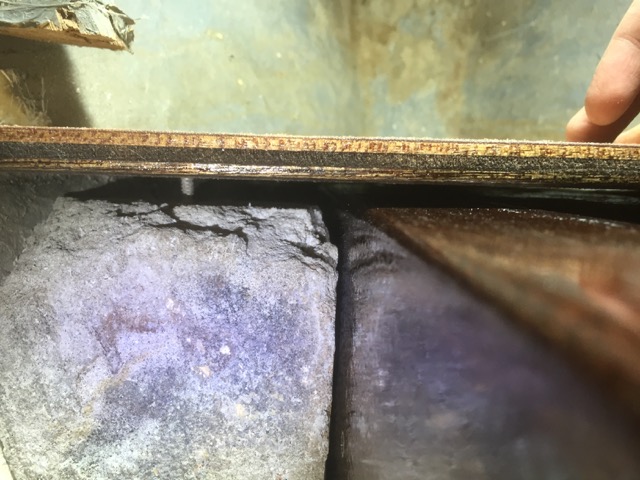
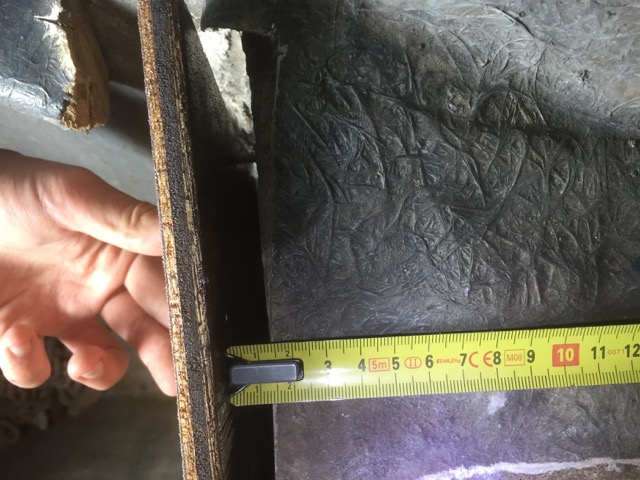
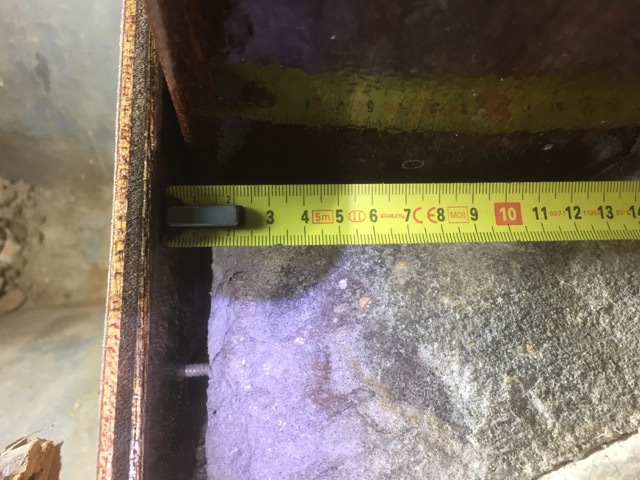
When the bowsprit was in position we still had to drill an enormously long hole into the beams and bowsprit to fix it in position with a stainless steel bolt. Luckily my dad had the tools to get the job done. After that the stainless steel cables could be hooked up, to fix the bowsprit further into position. The last step was placing the walking boards including the guard rail onto the bowsprit and bolting the whole thing down.
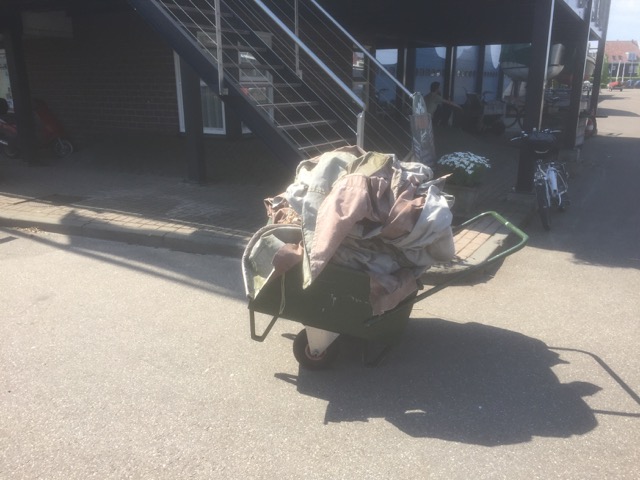
Removing the tarp
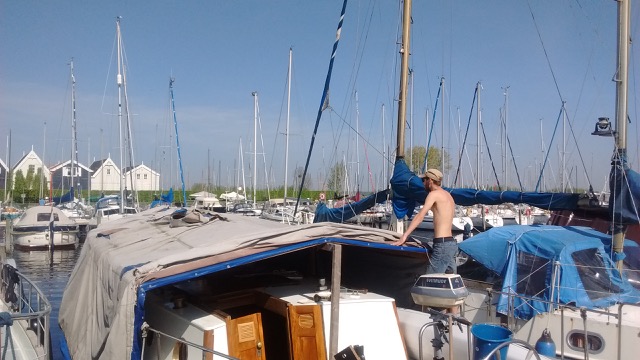
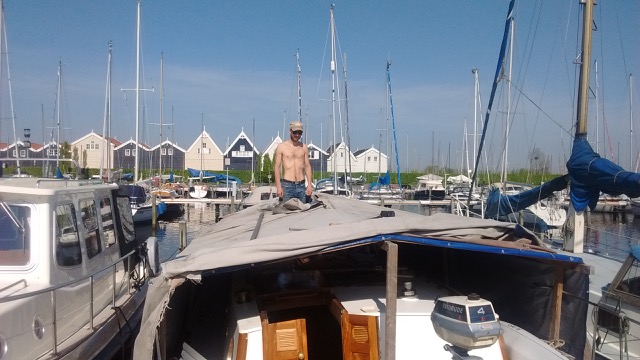
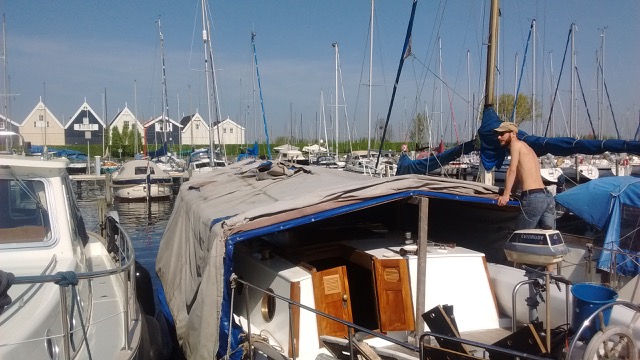
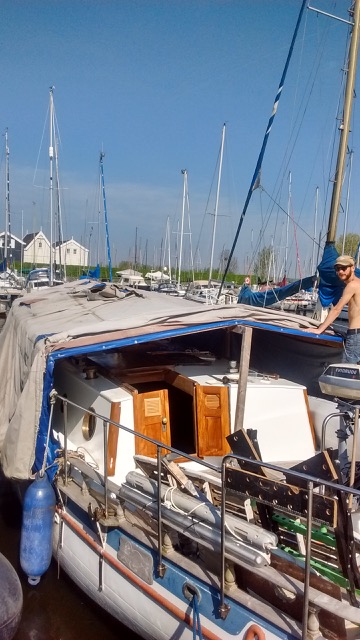
Yes, it finally happened! The tarp has been removed and the Seadog is shining in the sun. And I seriously mean shining in the sun (see the photo’s).
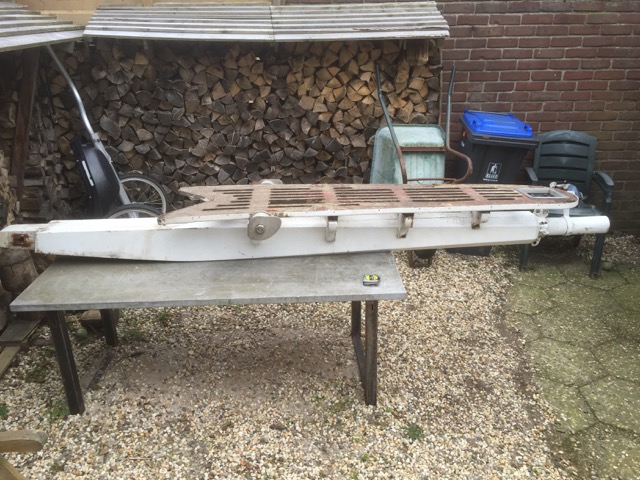
Next up, I will need to do some small repairs and preparations so that the bowsprit can be permanently placed on the bow of the ship. The bowsprit is now temporarily stored on the cabin roof together with the kayak. Very happy with that kayak right now. See my previous post about my latest kayak trip here: https://theseadog.life/2016/05/22/kayak-trip-to-elburg-nl/
Also some minor tasks still need to be done to make sure everything is completely watertight and safe. For example the roof window and entrance of the cabin might still leak with extreme rainfall.
After the bowsprit has been permanently placed I will have to add some anti slip to the deck beside the cabin as well, because if those parts of the deck get’s wet it’s dangerously slippery.
And of course the next big project will be to get a running engine, so the Seadog can head to open water!
But for now another big milestone has been achieved..
Repairing the bowsprit
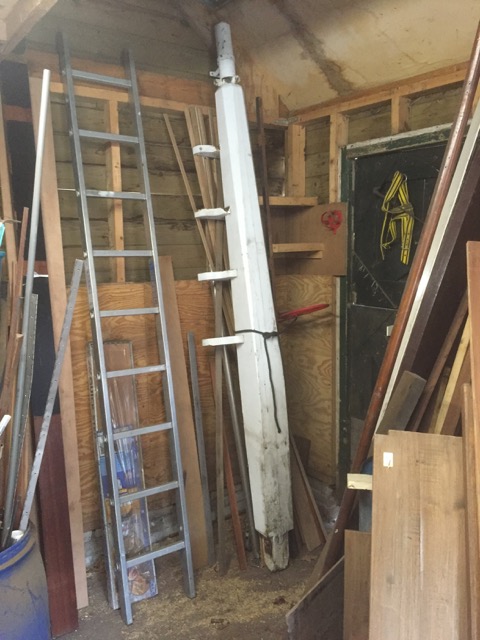
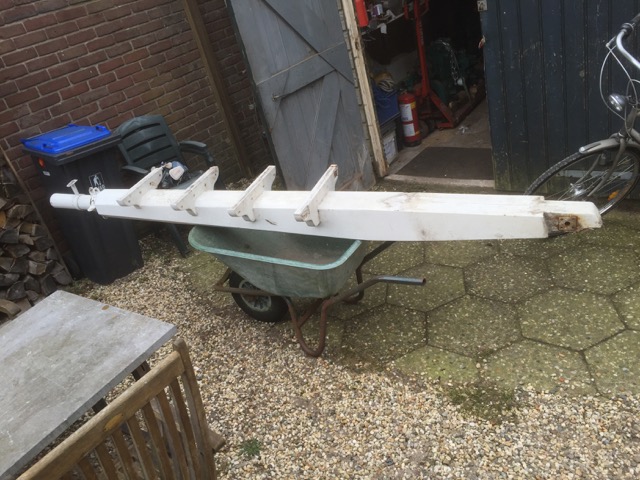
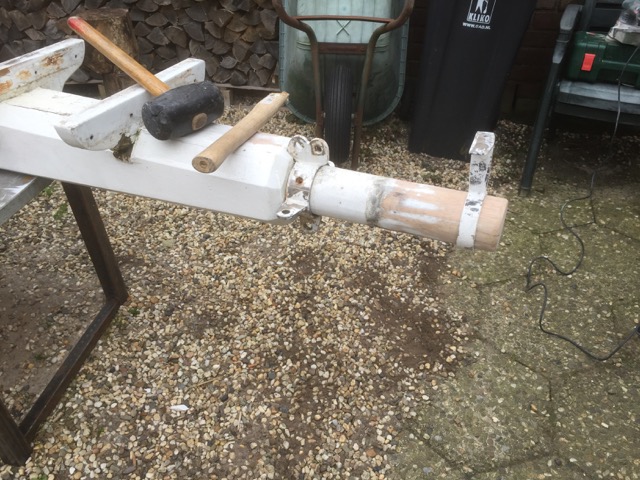
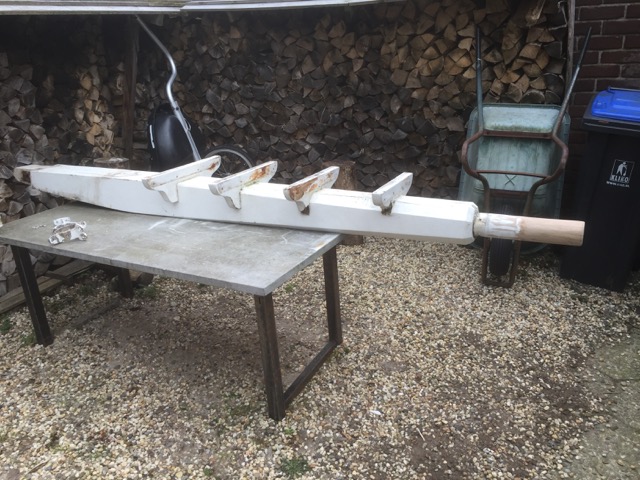
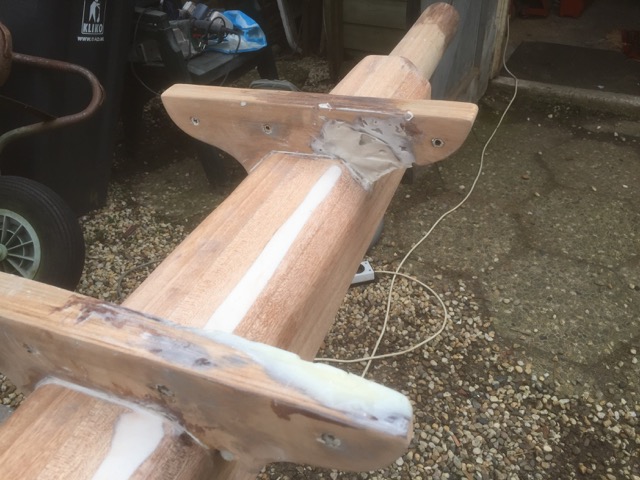
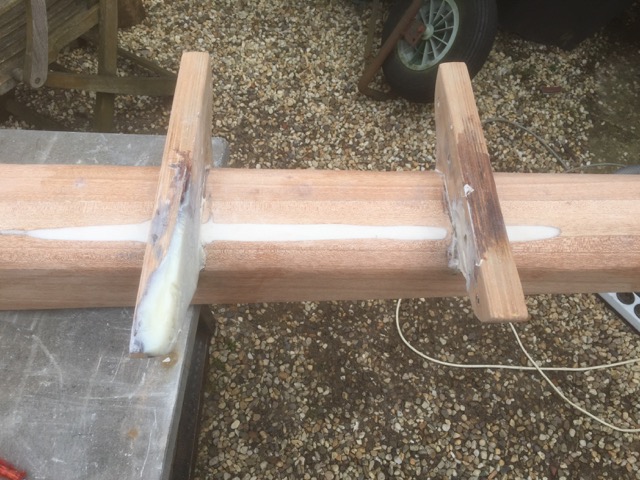
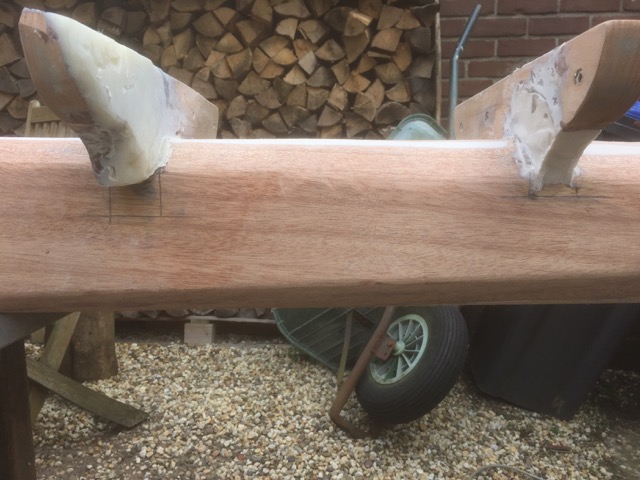
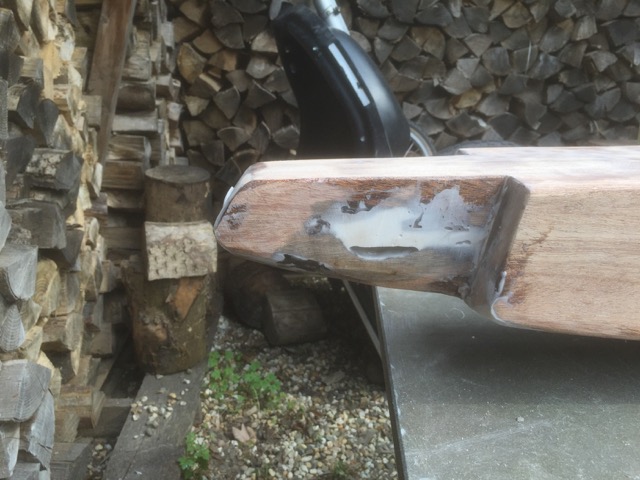
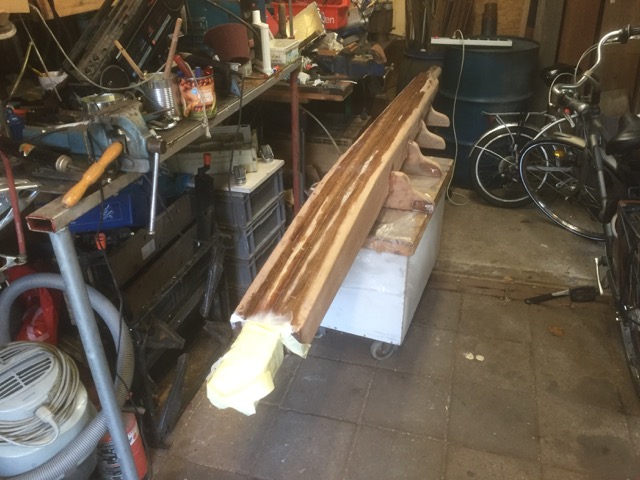
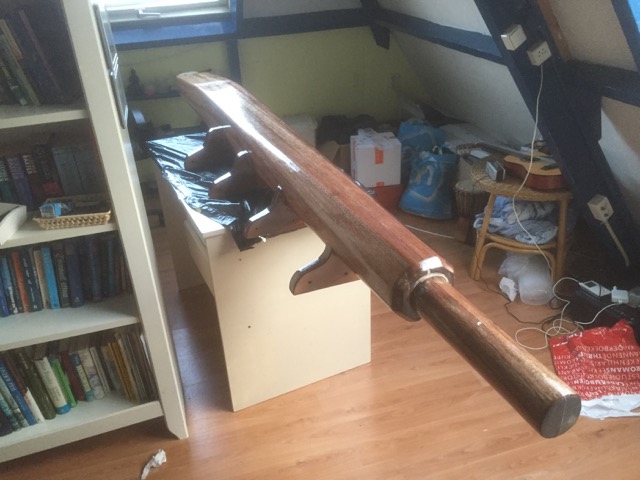
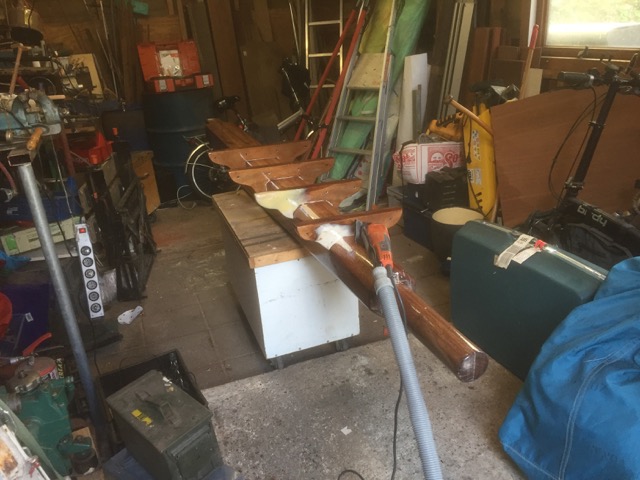
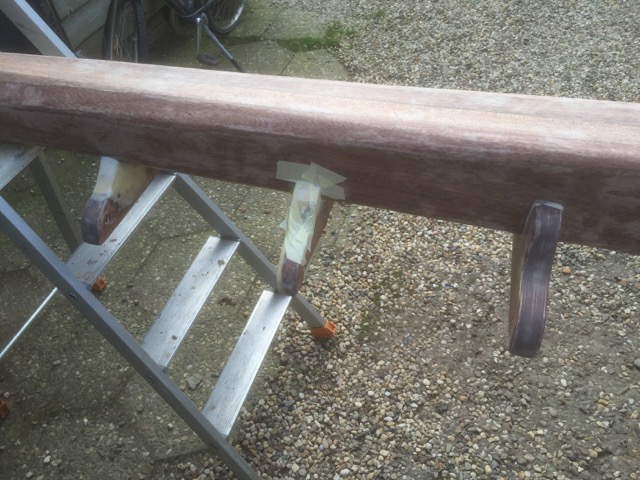
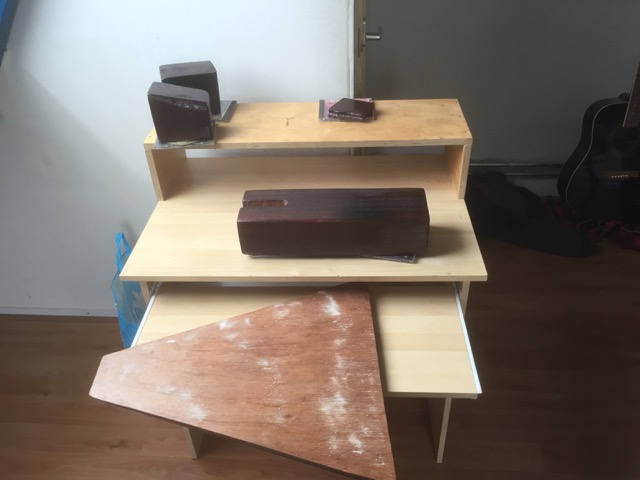
Now that the beams that hold the bowsprit in place have been restored, it’s time for the bowsprit itself to be restored to it’s former glory. The bowsprit has been standing in my parents shed for a couple of months now, which means the wood should be perfectly dry. I have been postponing this project for a while because the wood needed to dry, but also because I knew this was going to be a lot of work. My parents have sold their house (which of course also includes the shed) so the bowsprit needs to be out of the shed and on the boat before the end of April, which created a welcomed deadline for me to get going on this project.
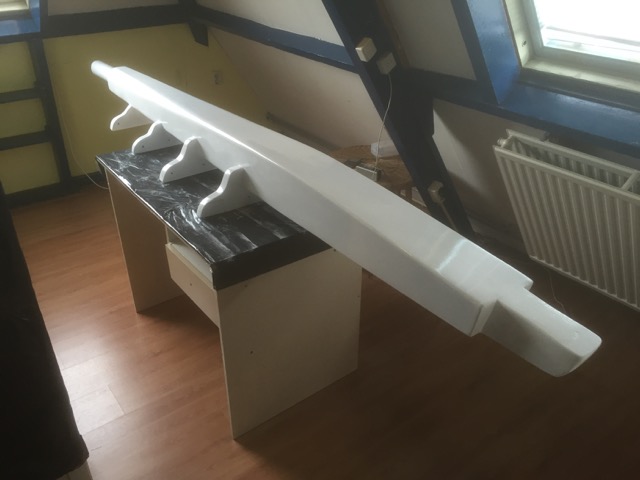
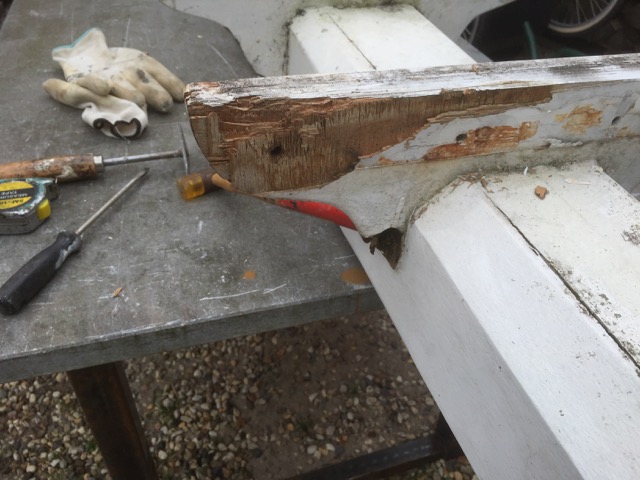
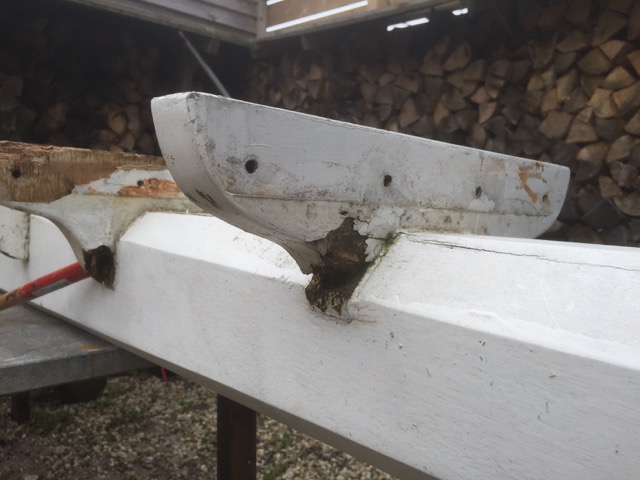
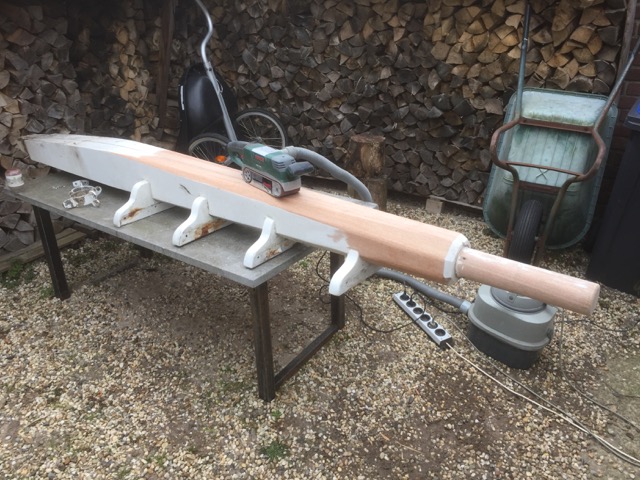
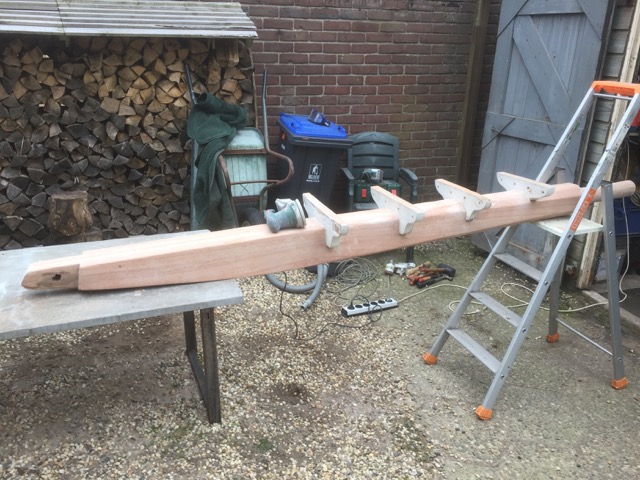
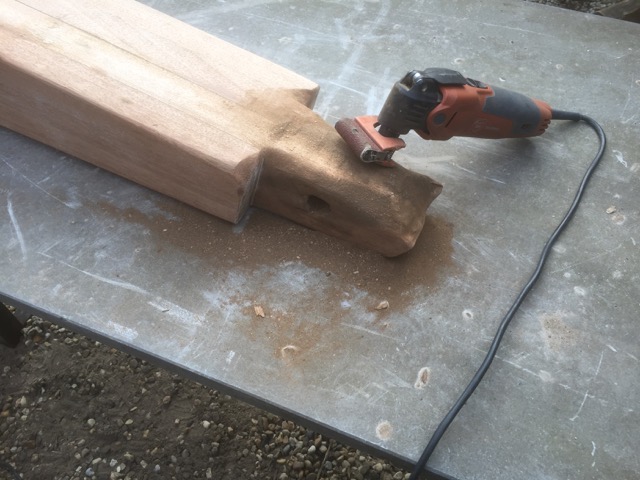
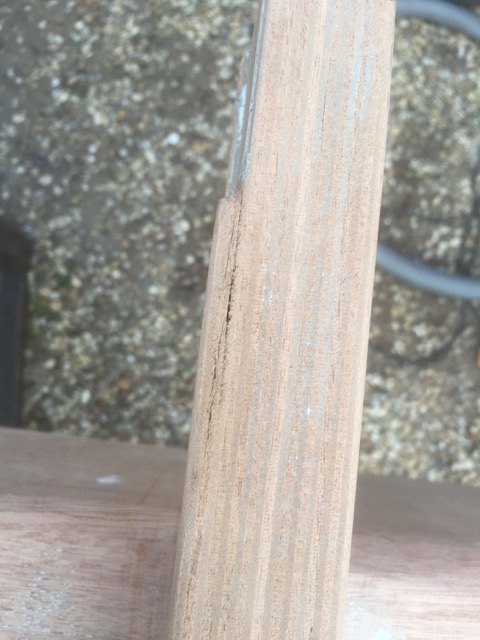
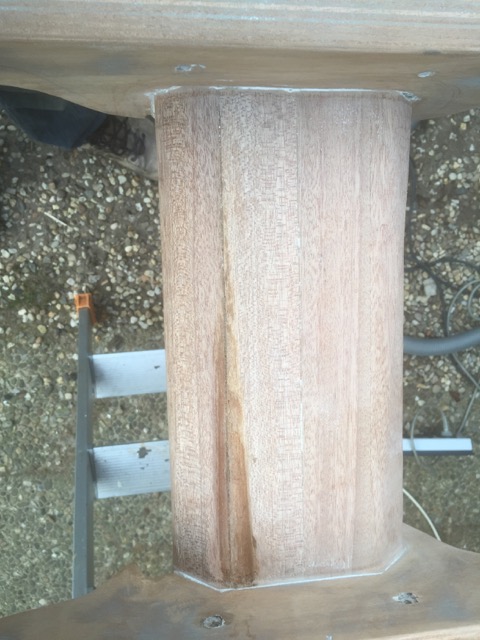
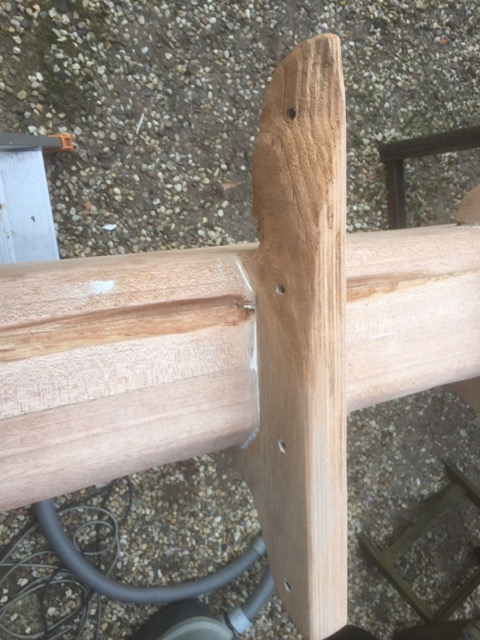
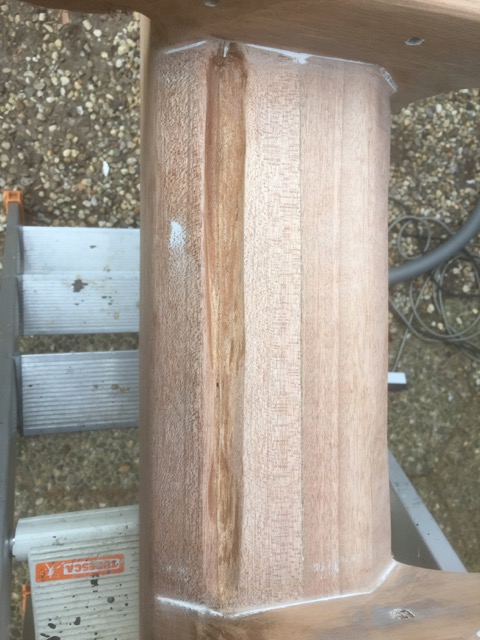
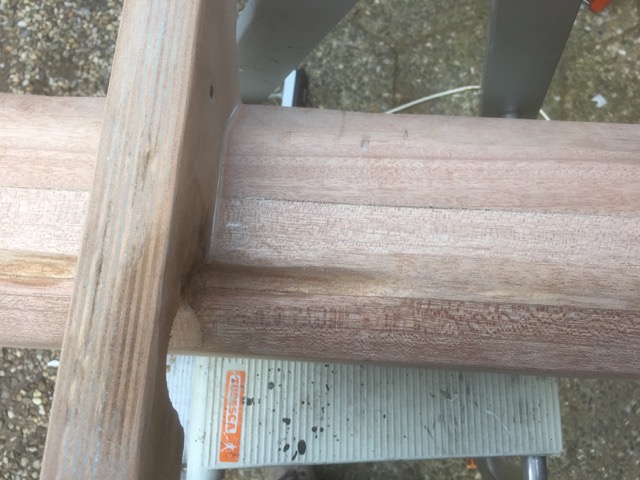
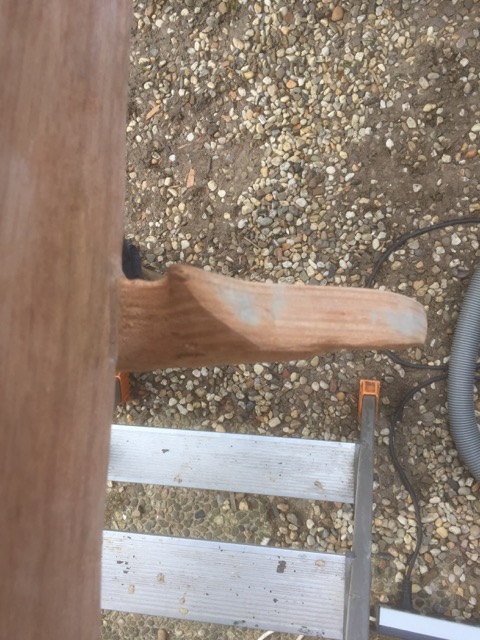
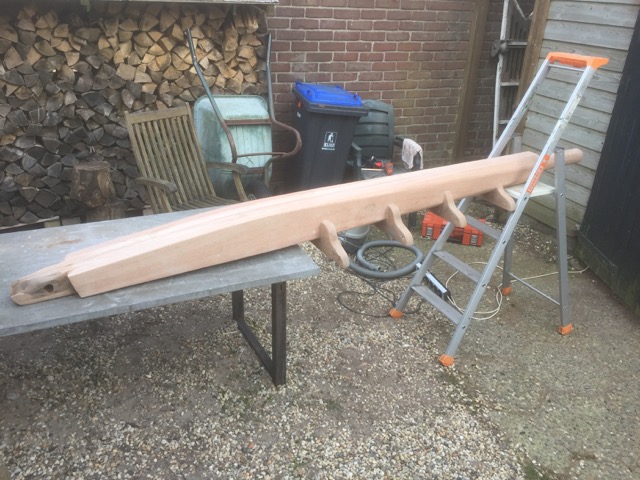
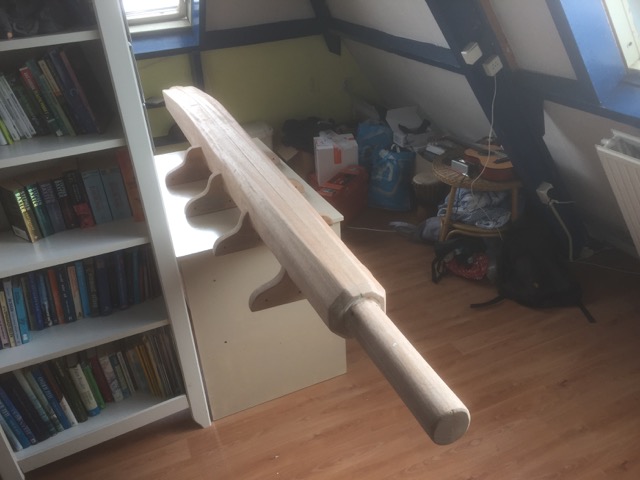
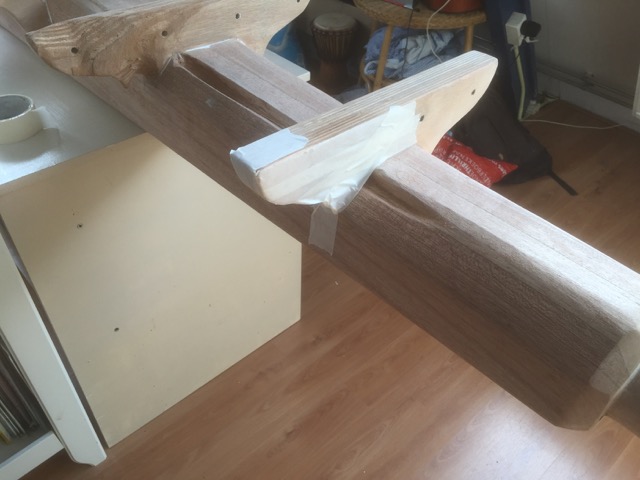
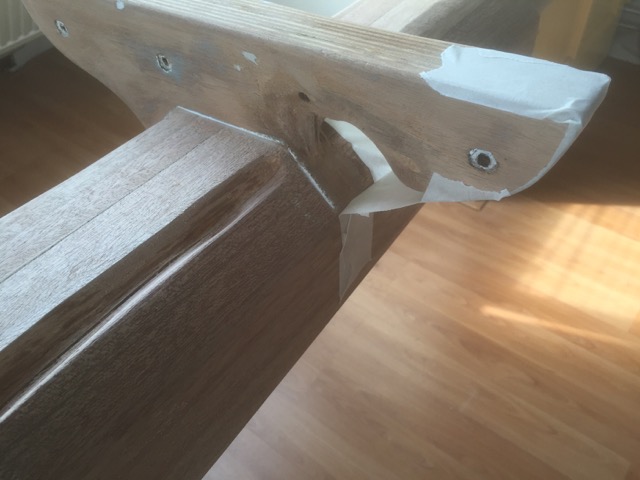
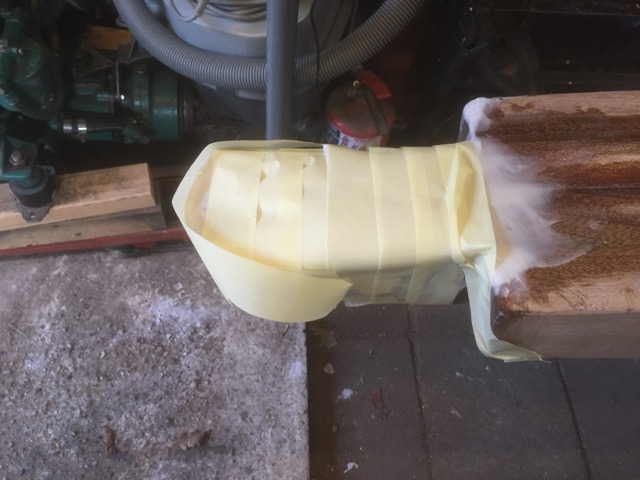
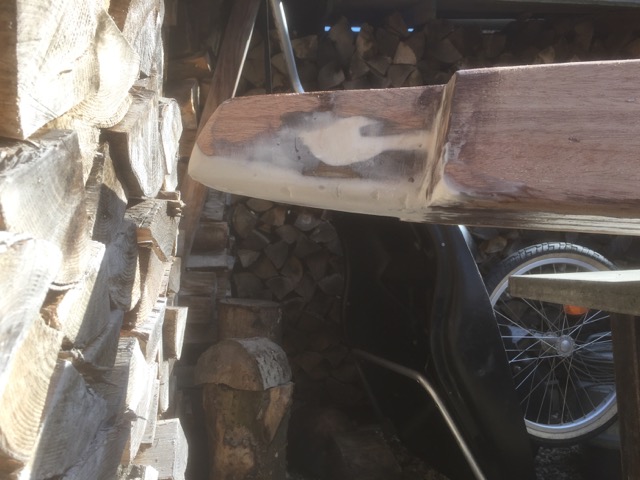
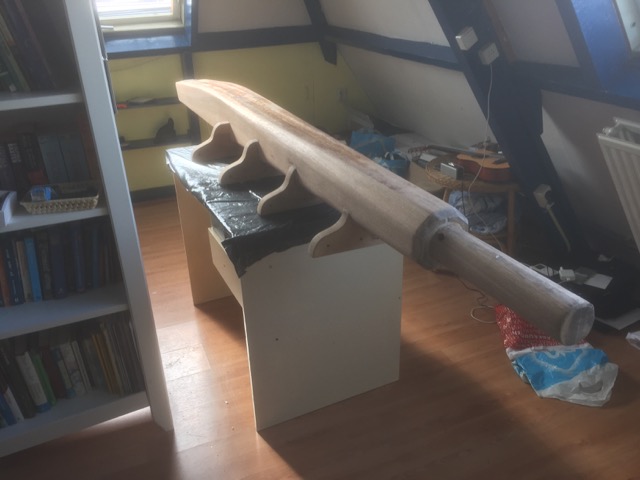
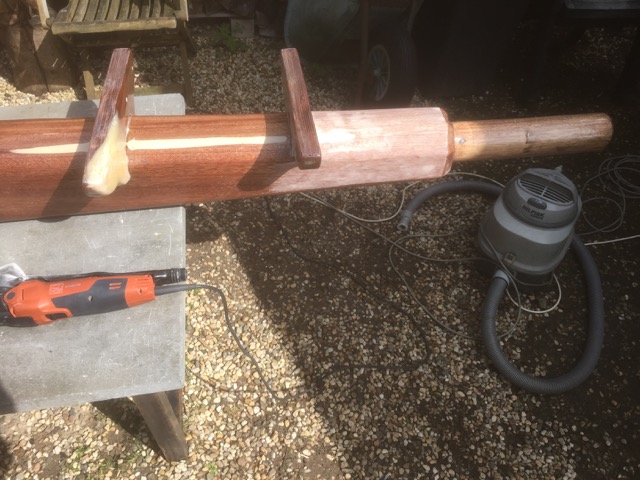
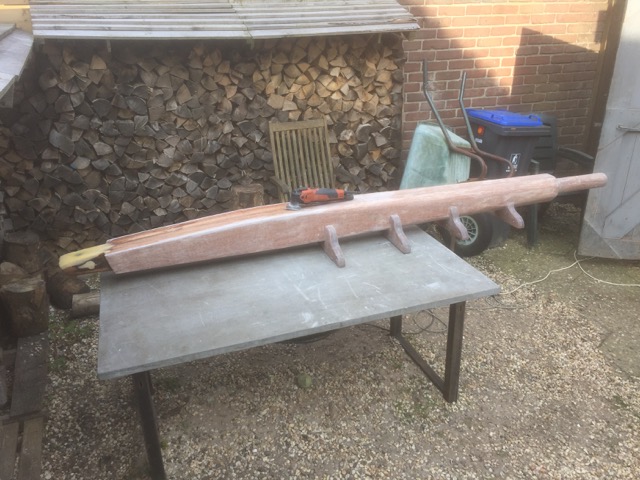
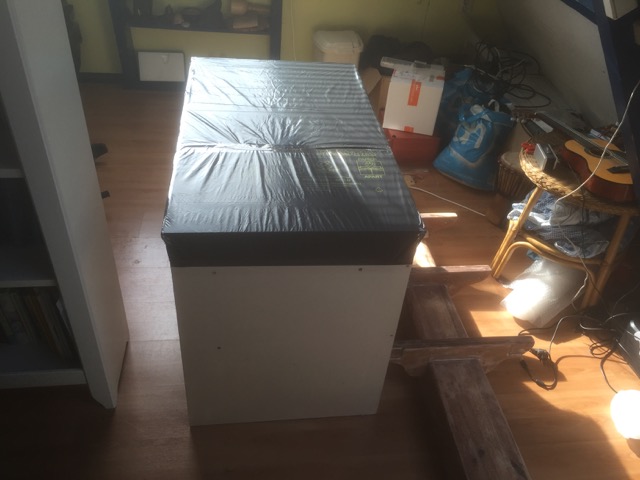
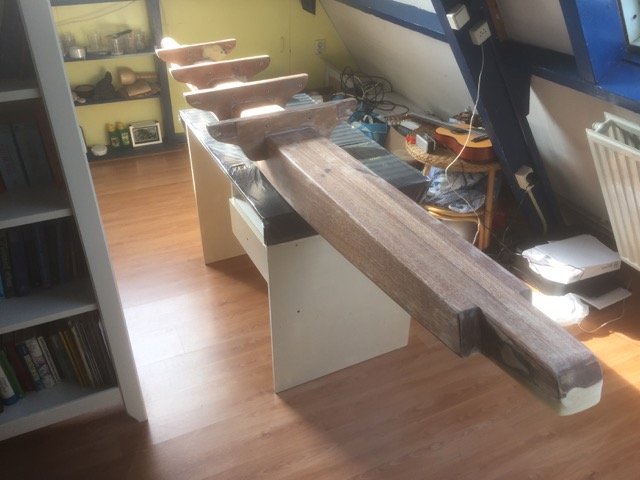
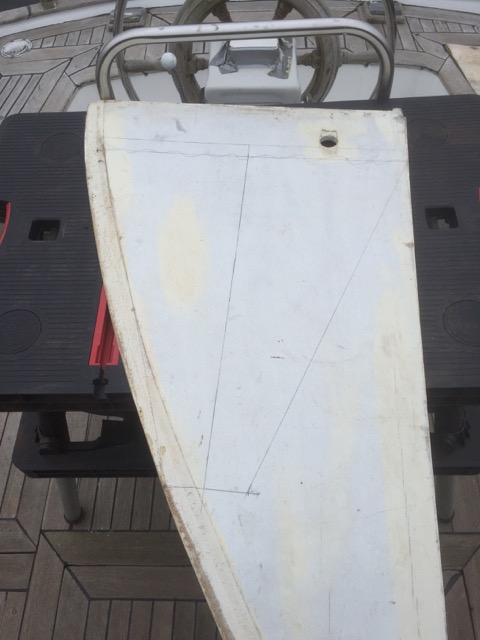
As you can see in the photo’s there where some pretty bad spots on the bowsprit that needed to be repaired. First the bowsprit needed to be stripped of the old layers of paint, to see how bad a shape the thing was in. After a day of grinding and sanding it was clear to see there where some pretty bad spots here and there, but on the whole it seemed very doable.
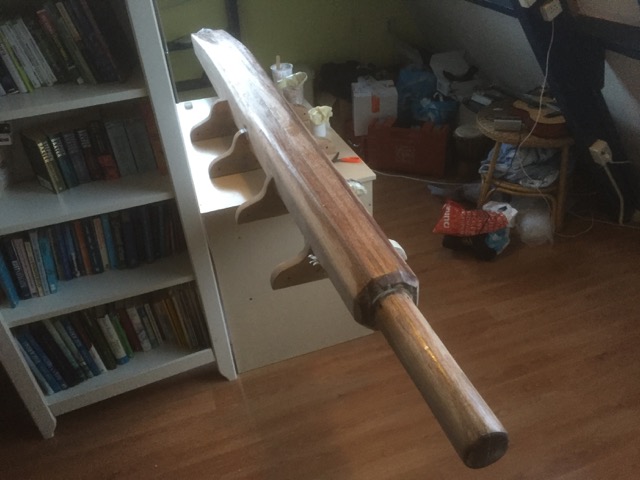
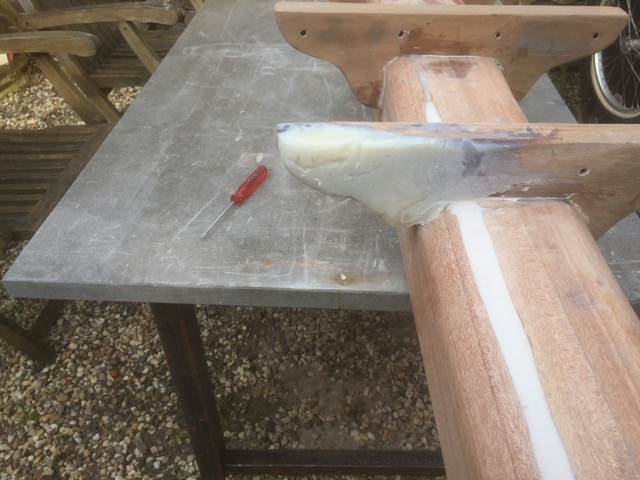
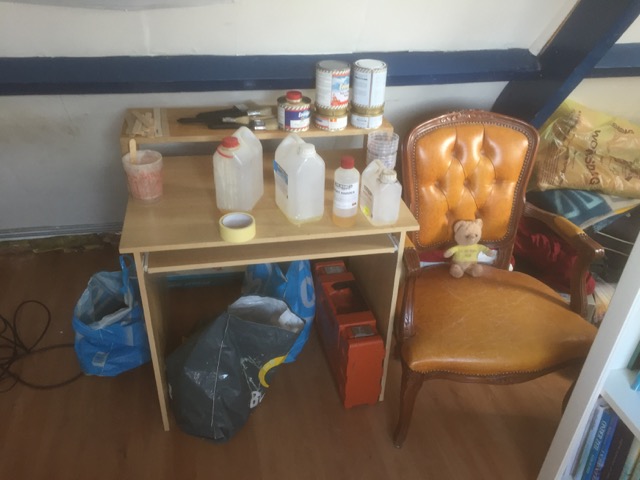
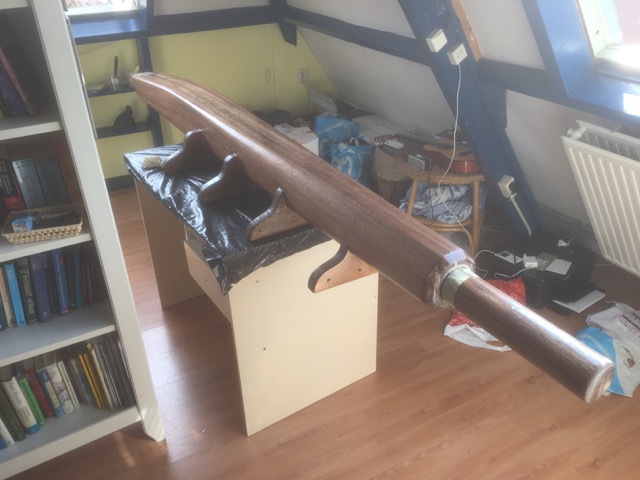
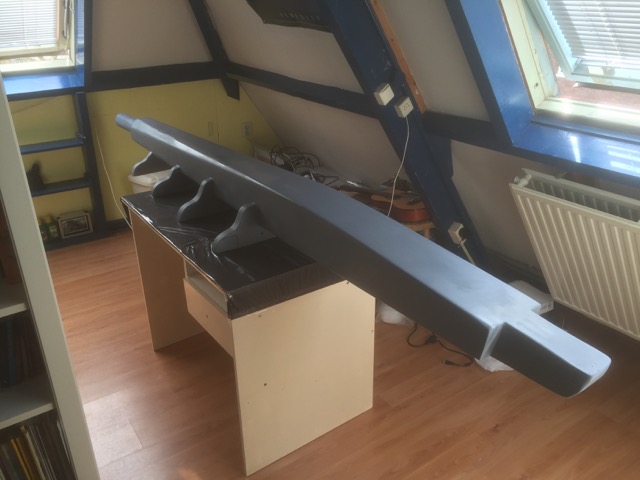
So after some more preparations (like some more sanding and degreasing etc.) once again the epoxy buckets were taken from storage and where mixed together with some powder to create a putty that could fill in the big holes. The thing was sanded again with a smaller grain (p120-p180) and coated with 3 layers of pure epoxy to fill in the smaller cracks and pinholes. Then again some sanding needed to be done with an even smaller grain (p220) after which the first (primer) layer of paint could be added. After that the first two white layer of paint could was added and then it was again time to sand with an even smaller grain (p320). See the last picture for the result end result. Well actually it’s not the end result as of yet, because another 4 layers of white paint still need to be added (with one more sanding session in between), but most of the (hard) work has been done, and it seems all will be finished before the deadline.
Then the bowsprit, plus all my other stuff that is still in my parents house (and shed) will be transported aboard, at which point all I own will officially be aboard the Seadog. Also i’m hoping to finally remove the tarp in the beginning of May, which will be a very joyous event indeed. Because after almost 5 years of being sheltered the roof of the Seadog will then finally see sunshine once again. So hopefully the next post will have some photo’s of the Seadog (and me as well) bathing in the sunshine.
Bowsprit beams
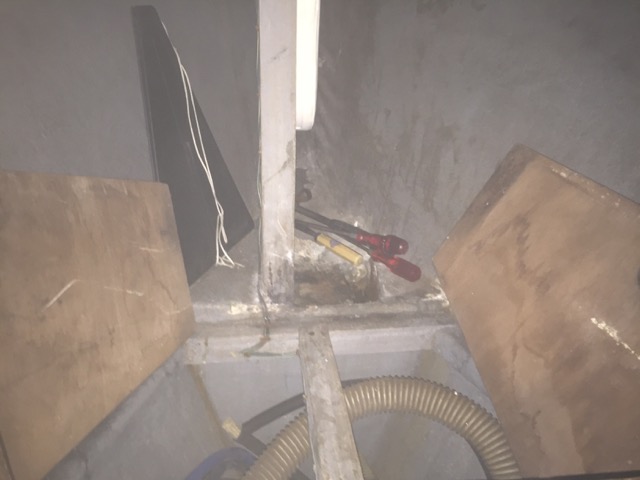
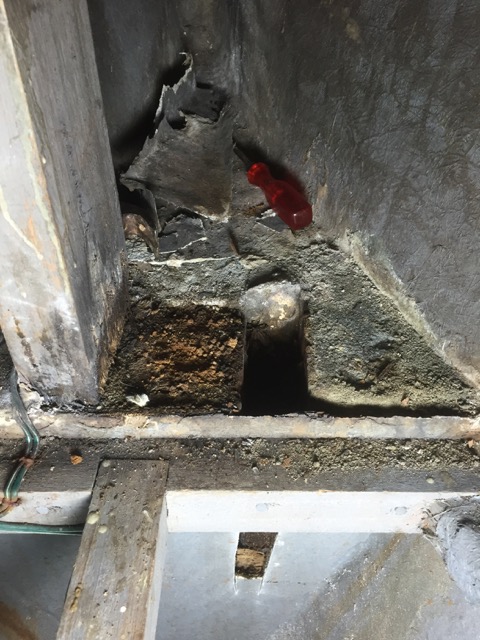
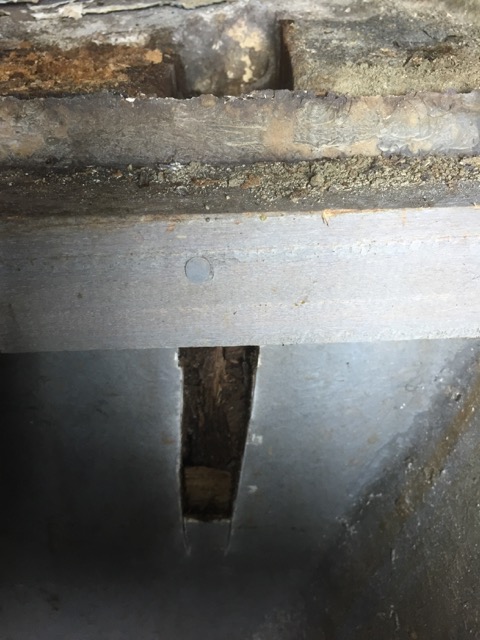
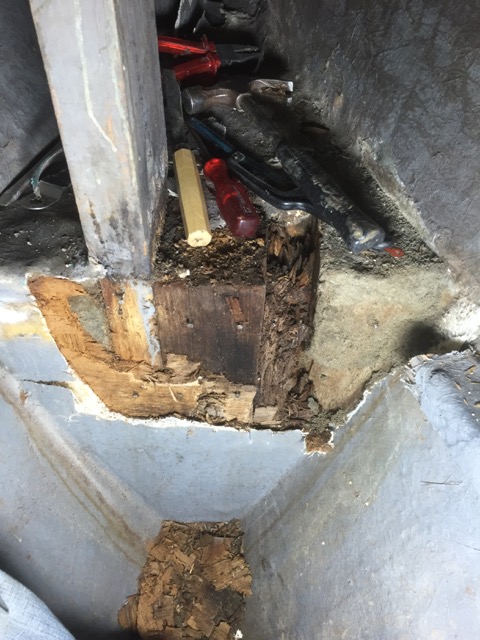
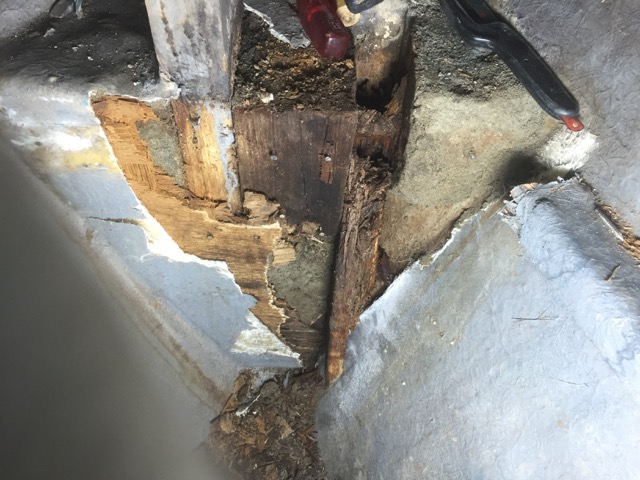
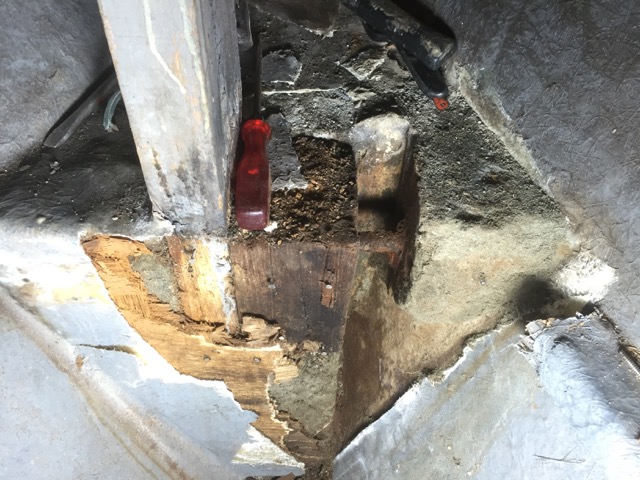
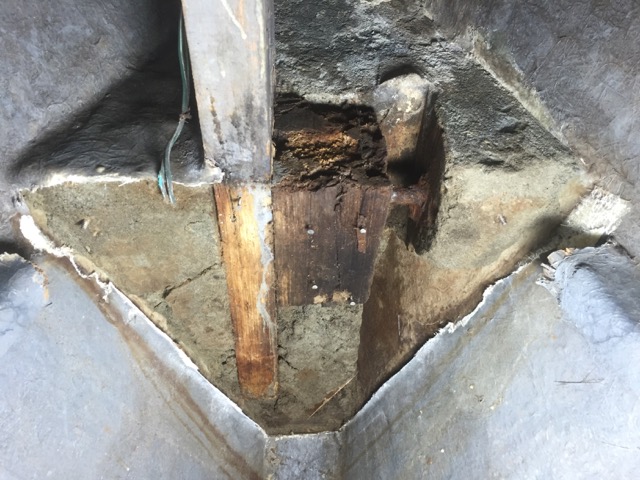
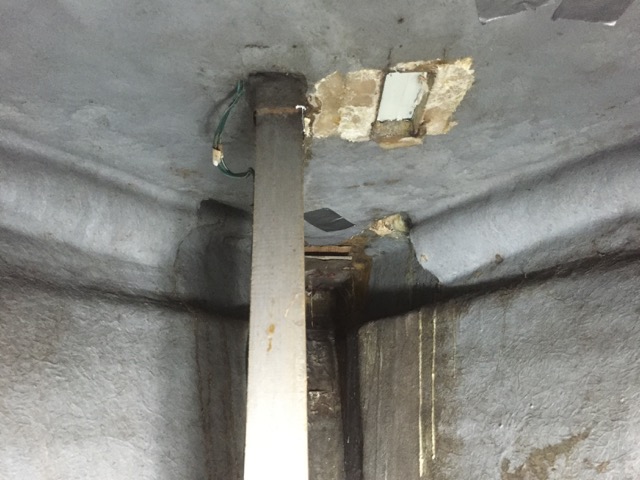
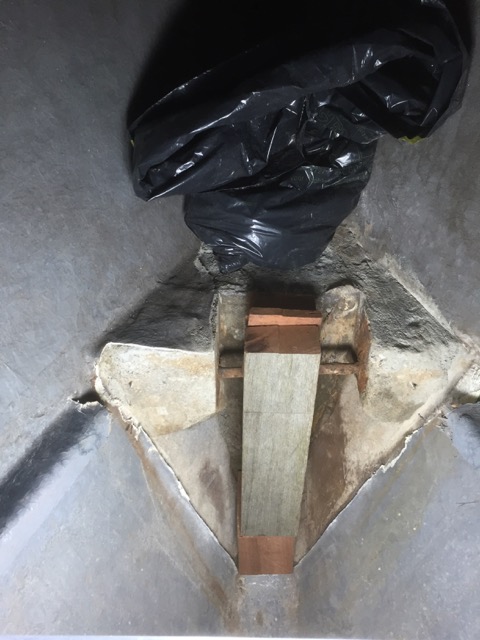
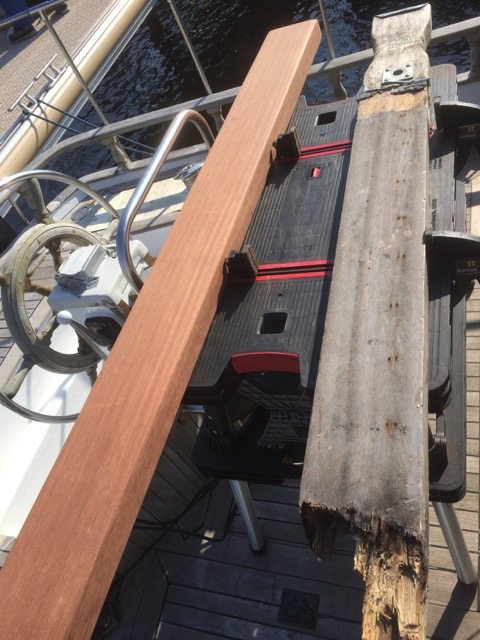
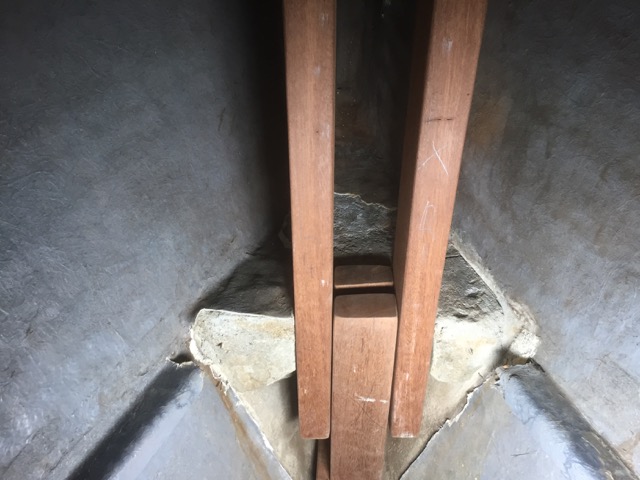
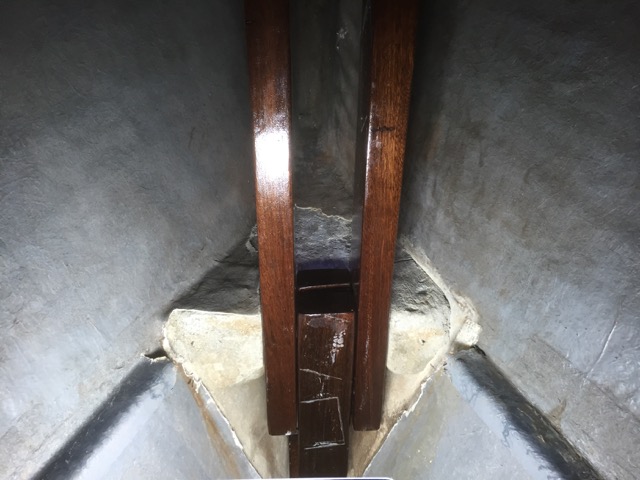
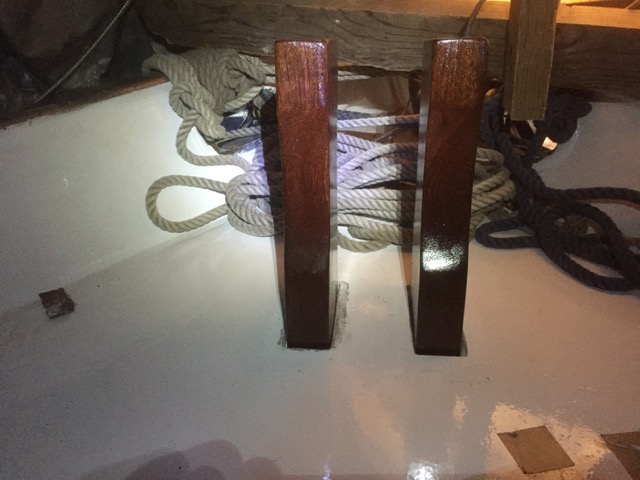
In late February the Seadog finally got it’s bowsprit beams (the beams that hold the bowsprit in place) replaced. As you can see it the photo’s those original beams where in very bad shape indeed and in need of quick replacement. Especially because the boat is tied up to those beams.
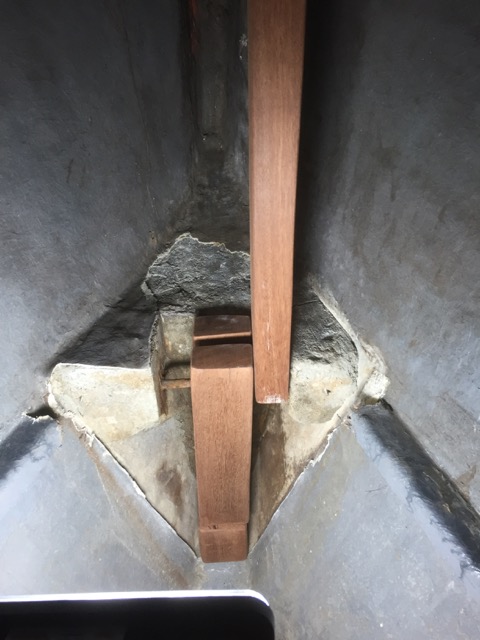
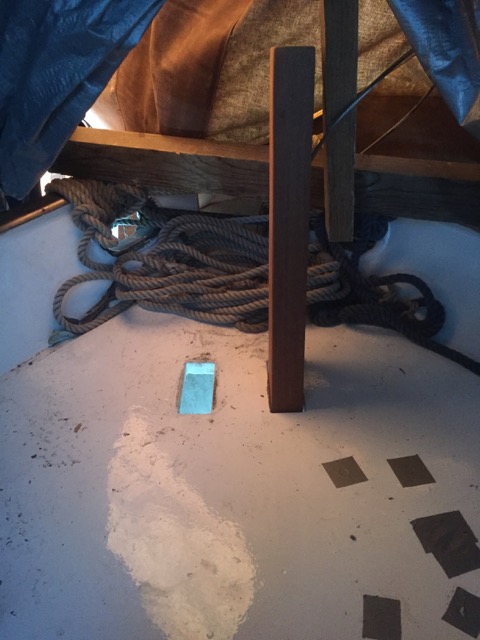
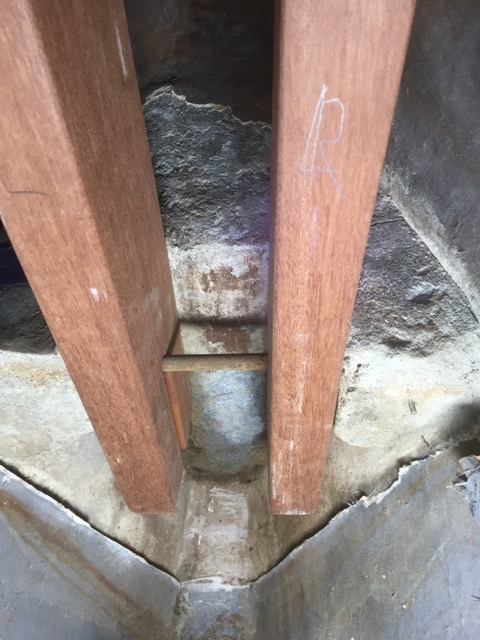
The beams are about 1.70 meters long and reach all the way from the keel of the boat through the deck. There they were placed in a big piece of concrete that also fills a portion of the hull in the front of the ship. I guess that concrete block is also there for some extra ballast.
The two wooden beams go up through the deck for about 50 cm to hold the bowsprit in place and also dubbed as two polls to tighten the ropes that tie up the boat.
One of those beams was already visibly rotten and even broken off on the top of the deck while we where removing the teak deck a while ago. The other beam still seamed o.k. so the boat was tied up to that one beam.
After closer inspection in February I was kind of shocked to see the real state of affairs. That second beam was indeed also pretty rotten beneath the deck, and you could easily (by hand) break the beam apart. Not good, considering the boat was only tied up to that one beam…
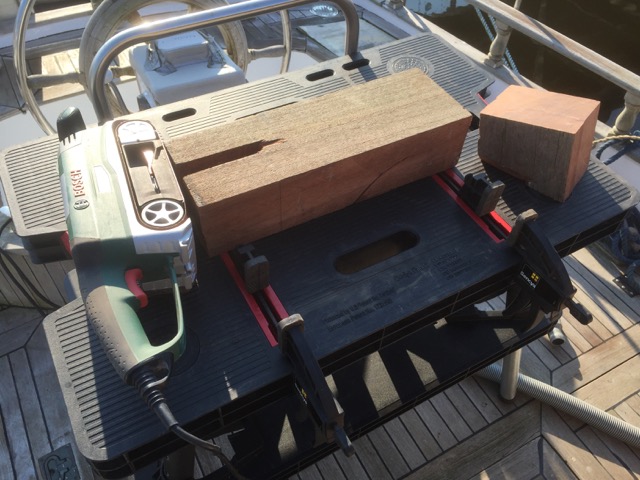
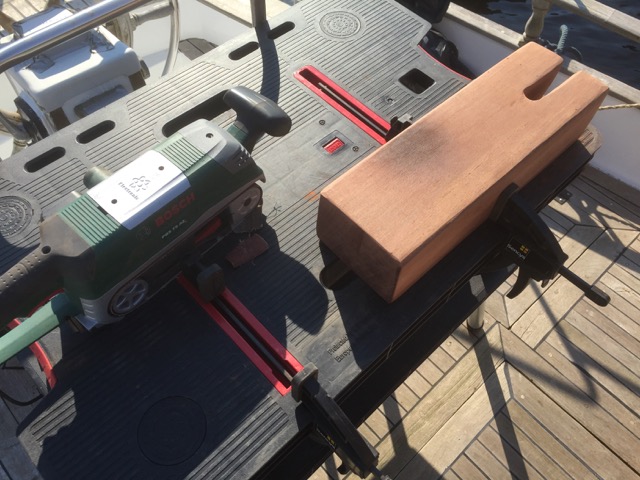
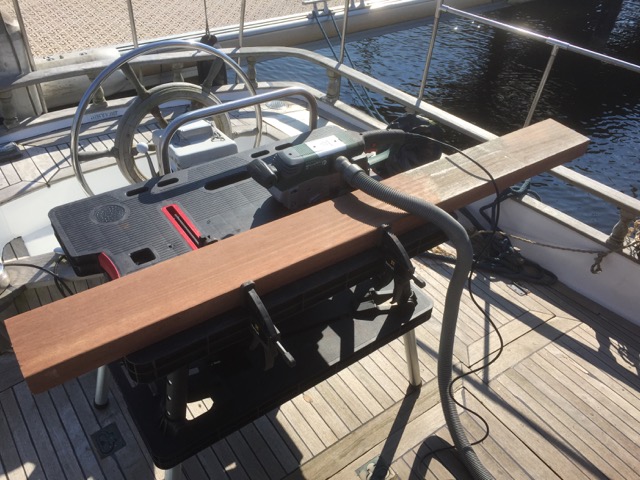
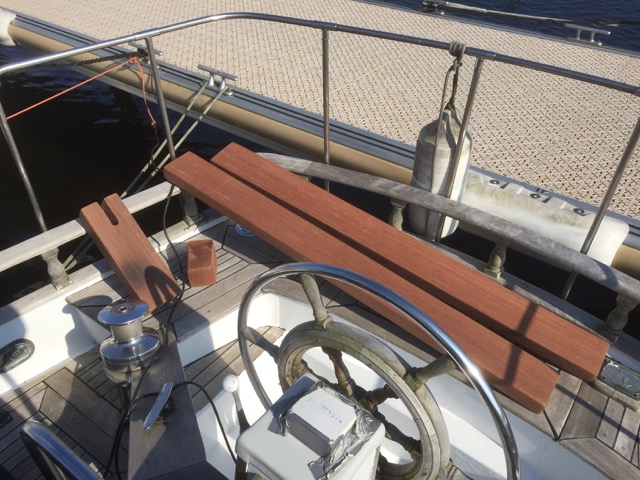
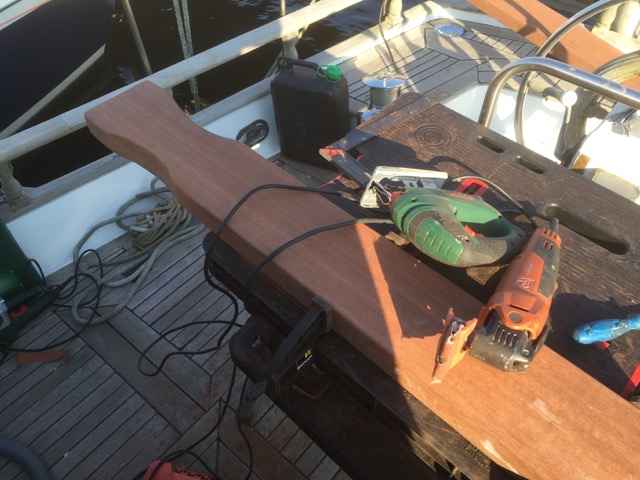
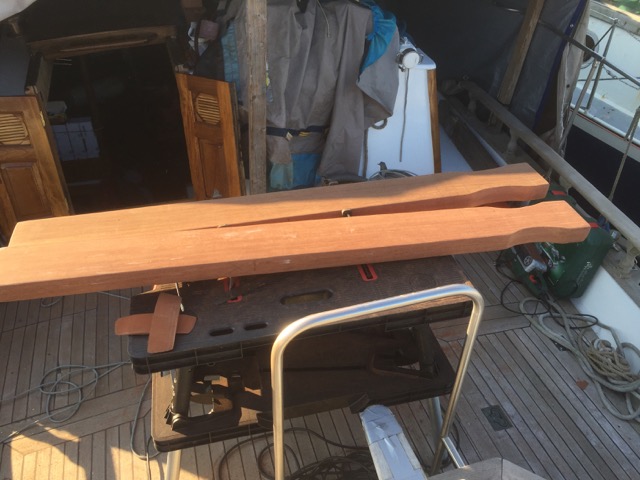
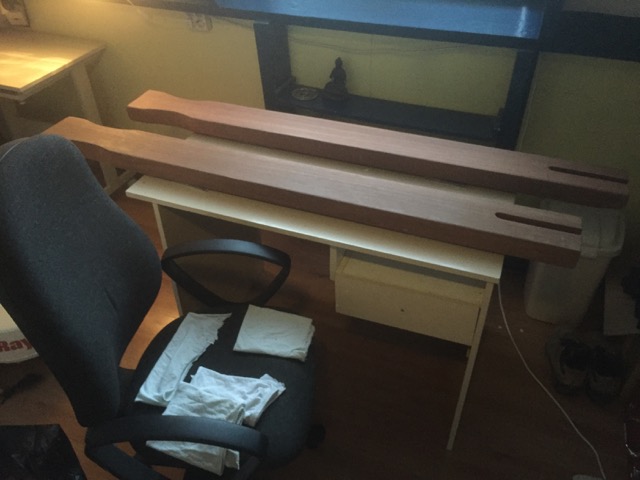
So another project was started. Luckily my dad had a perfect enormous wooden hardwood beam standing around. That thing was so huge it did not even fit in the shed (which is not a small shed by far). Because it had been standing around outside we first needed to cut it in two big pieces so it could stand inside to dry for a while (which we did a few weeks before this project started). After that we also removed some of the surface of the wood, to expose the inner perfectly dry (and beautiful) wood core. And so that’s the wood we made two new beams with. We did have to bring the wood to a friend of my dad, which had a big enough saw table to cut the beams into the two new pieces.
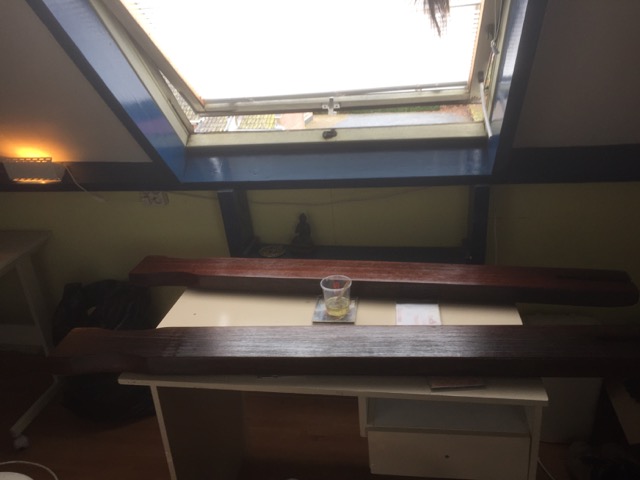
After removing the original beams and also removing some concrete (plus some sanding and cleaning etc.) the beams could be fitted and created to exact measurements. Some more sanding of the beams was done and then they were transported (with the help of my sister’s car) to the attic of my parents house. There they were treated with a few layers of epoxy and after drying (outside temperatures where still to low) they were transported back again.
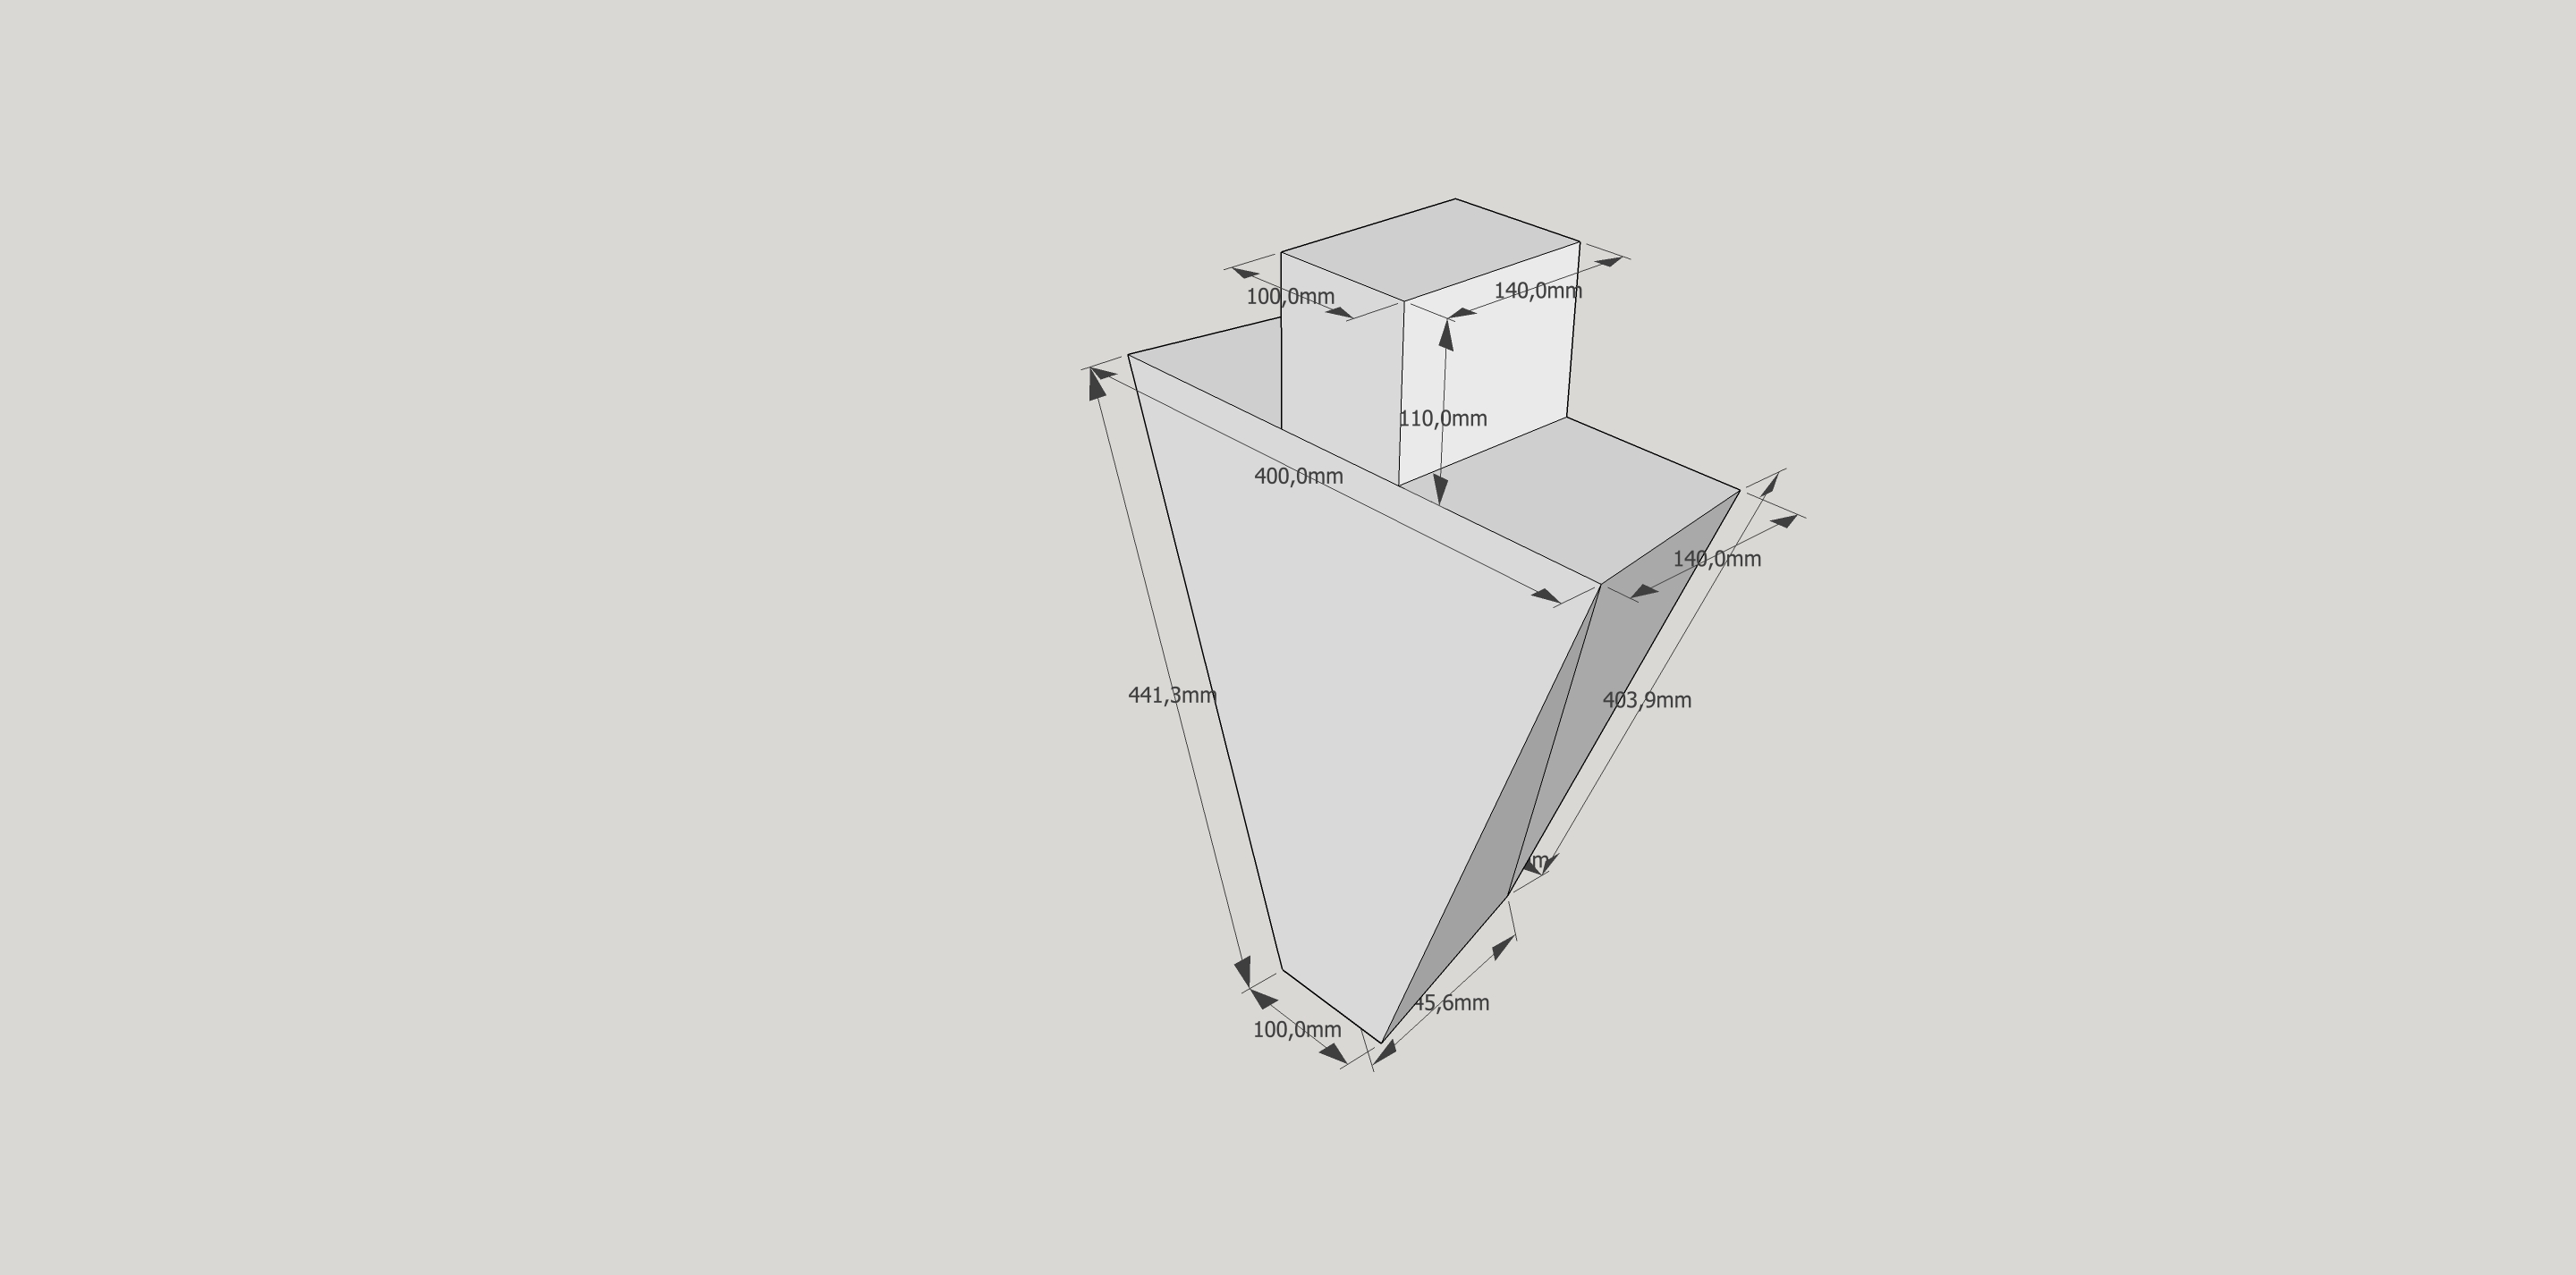
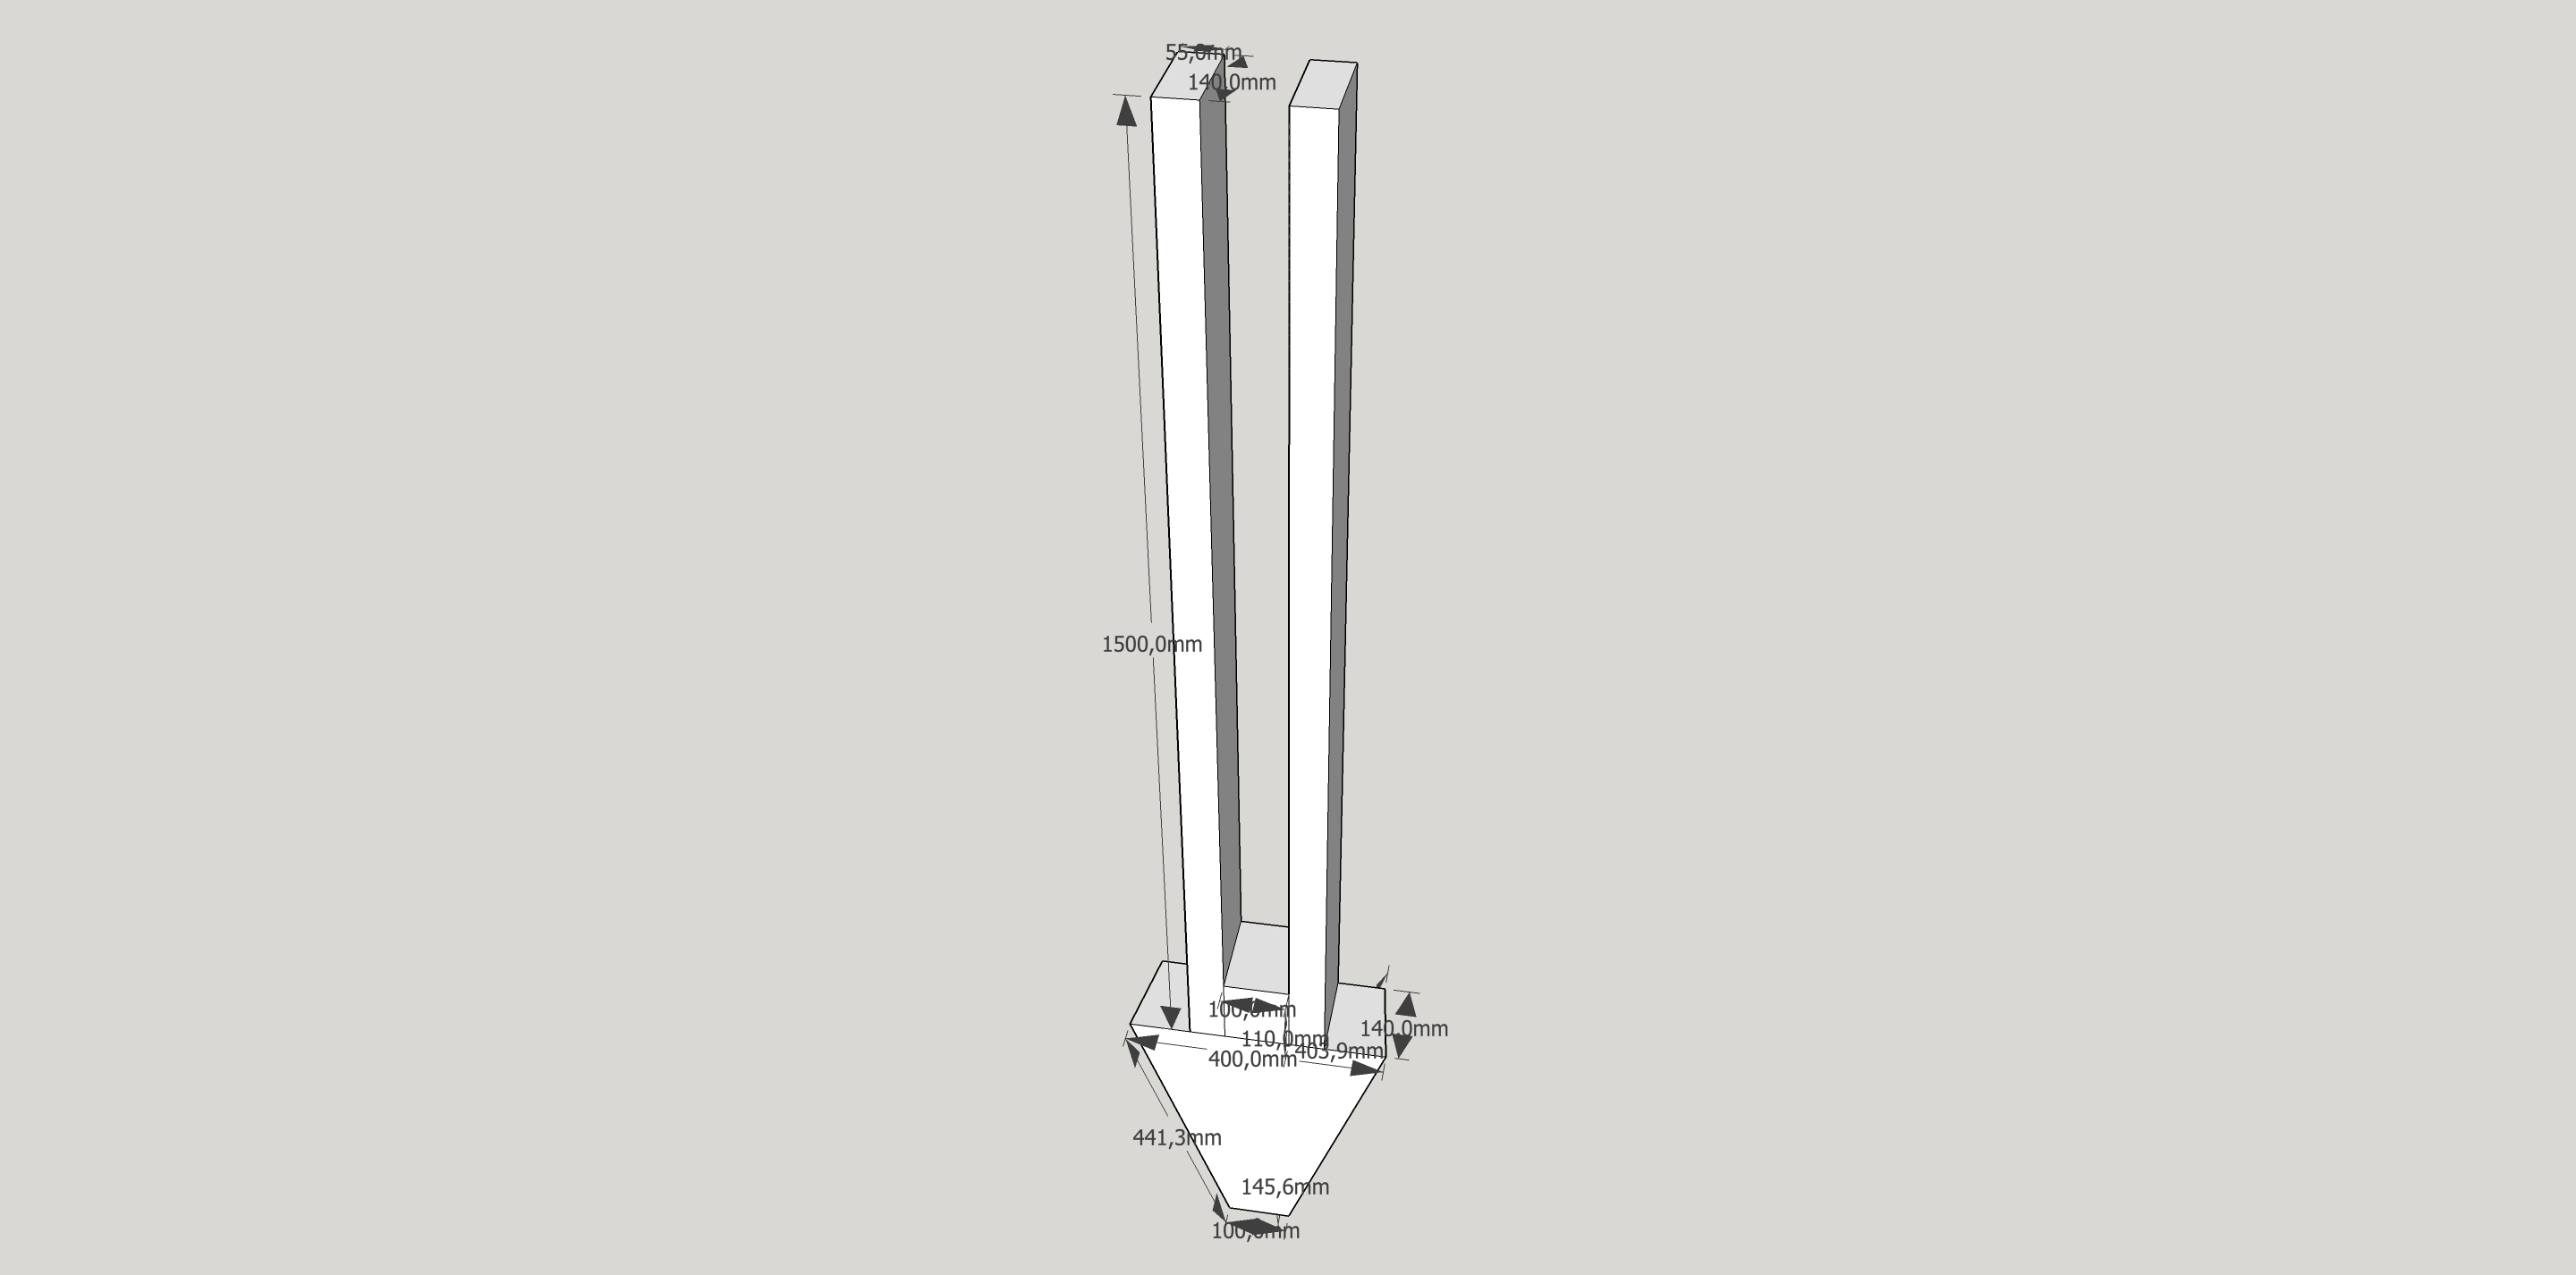
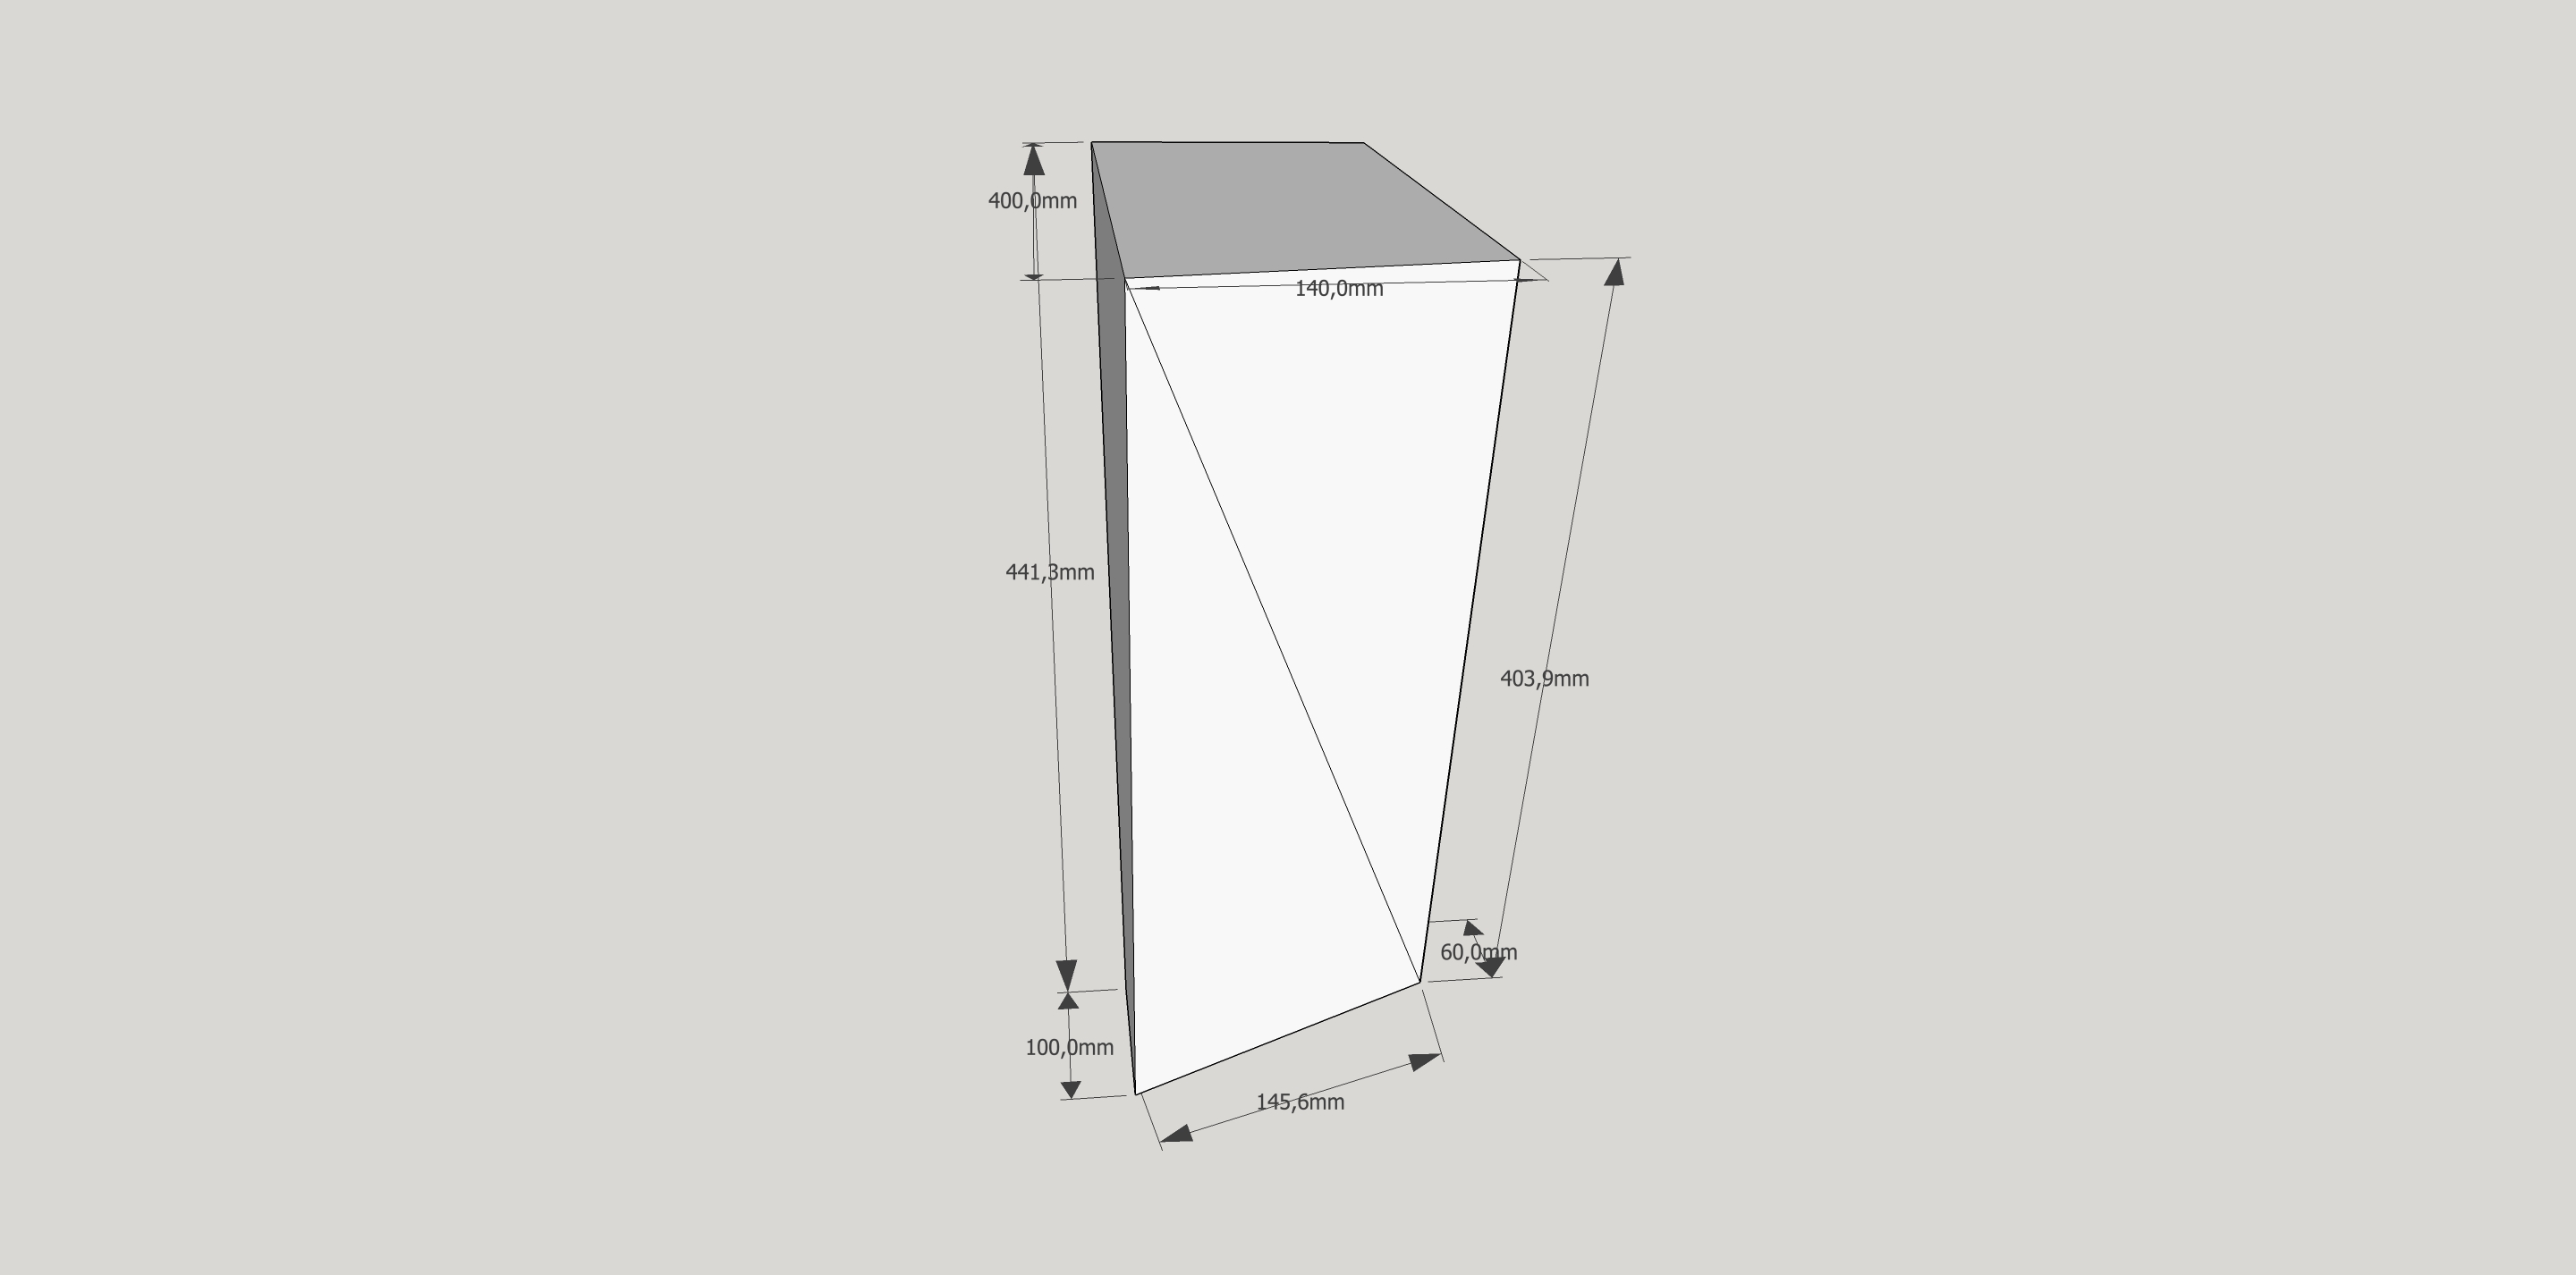
Now it was time to permanently place them through the deck into a new concrete base. But a few other thing needed to be done before this could happen. First, a smaller wooden forelock needed to be made with on top of that a “little” middel beam to hold the two big beams in place and fix them on the steel pipe that was inside the original concrete base. Also a new wooden plate was made to seal off the base, so that concrete could be poured into that base and left to dry. Then that concrete base would become one huge block with the bottom of the beams inside of it and so they could not move another inch. Another wooden block was made to also fix the beams in place directly beneath the deck. This block was fixed to the deck and the beams with epoxy.
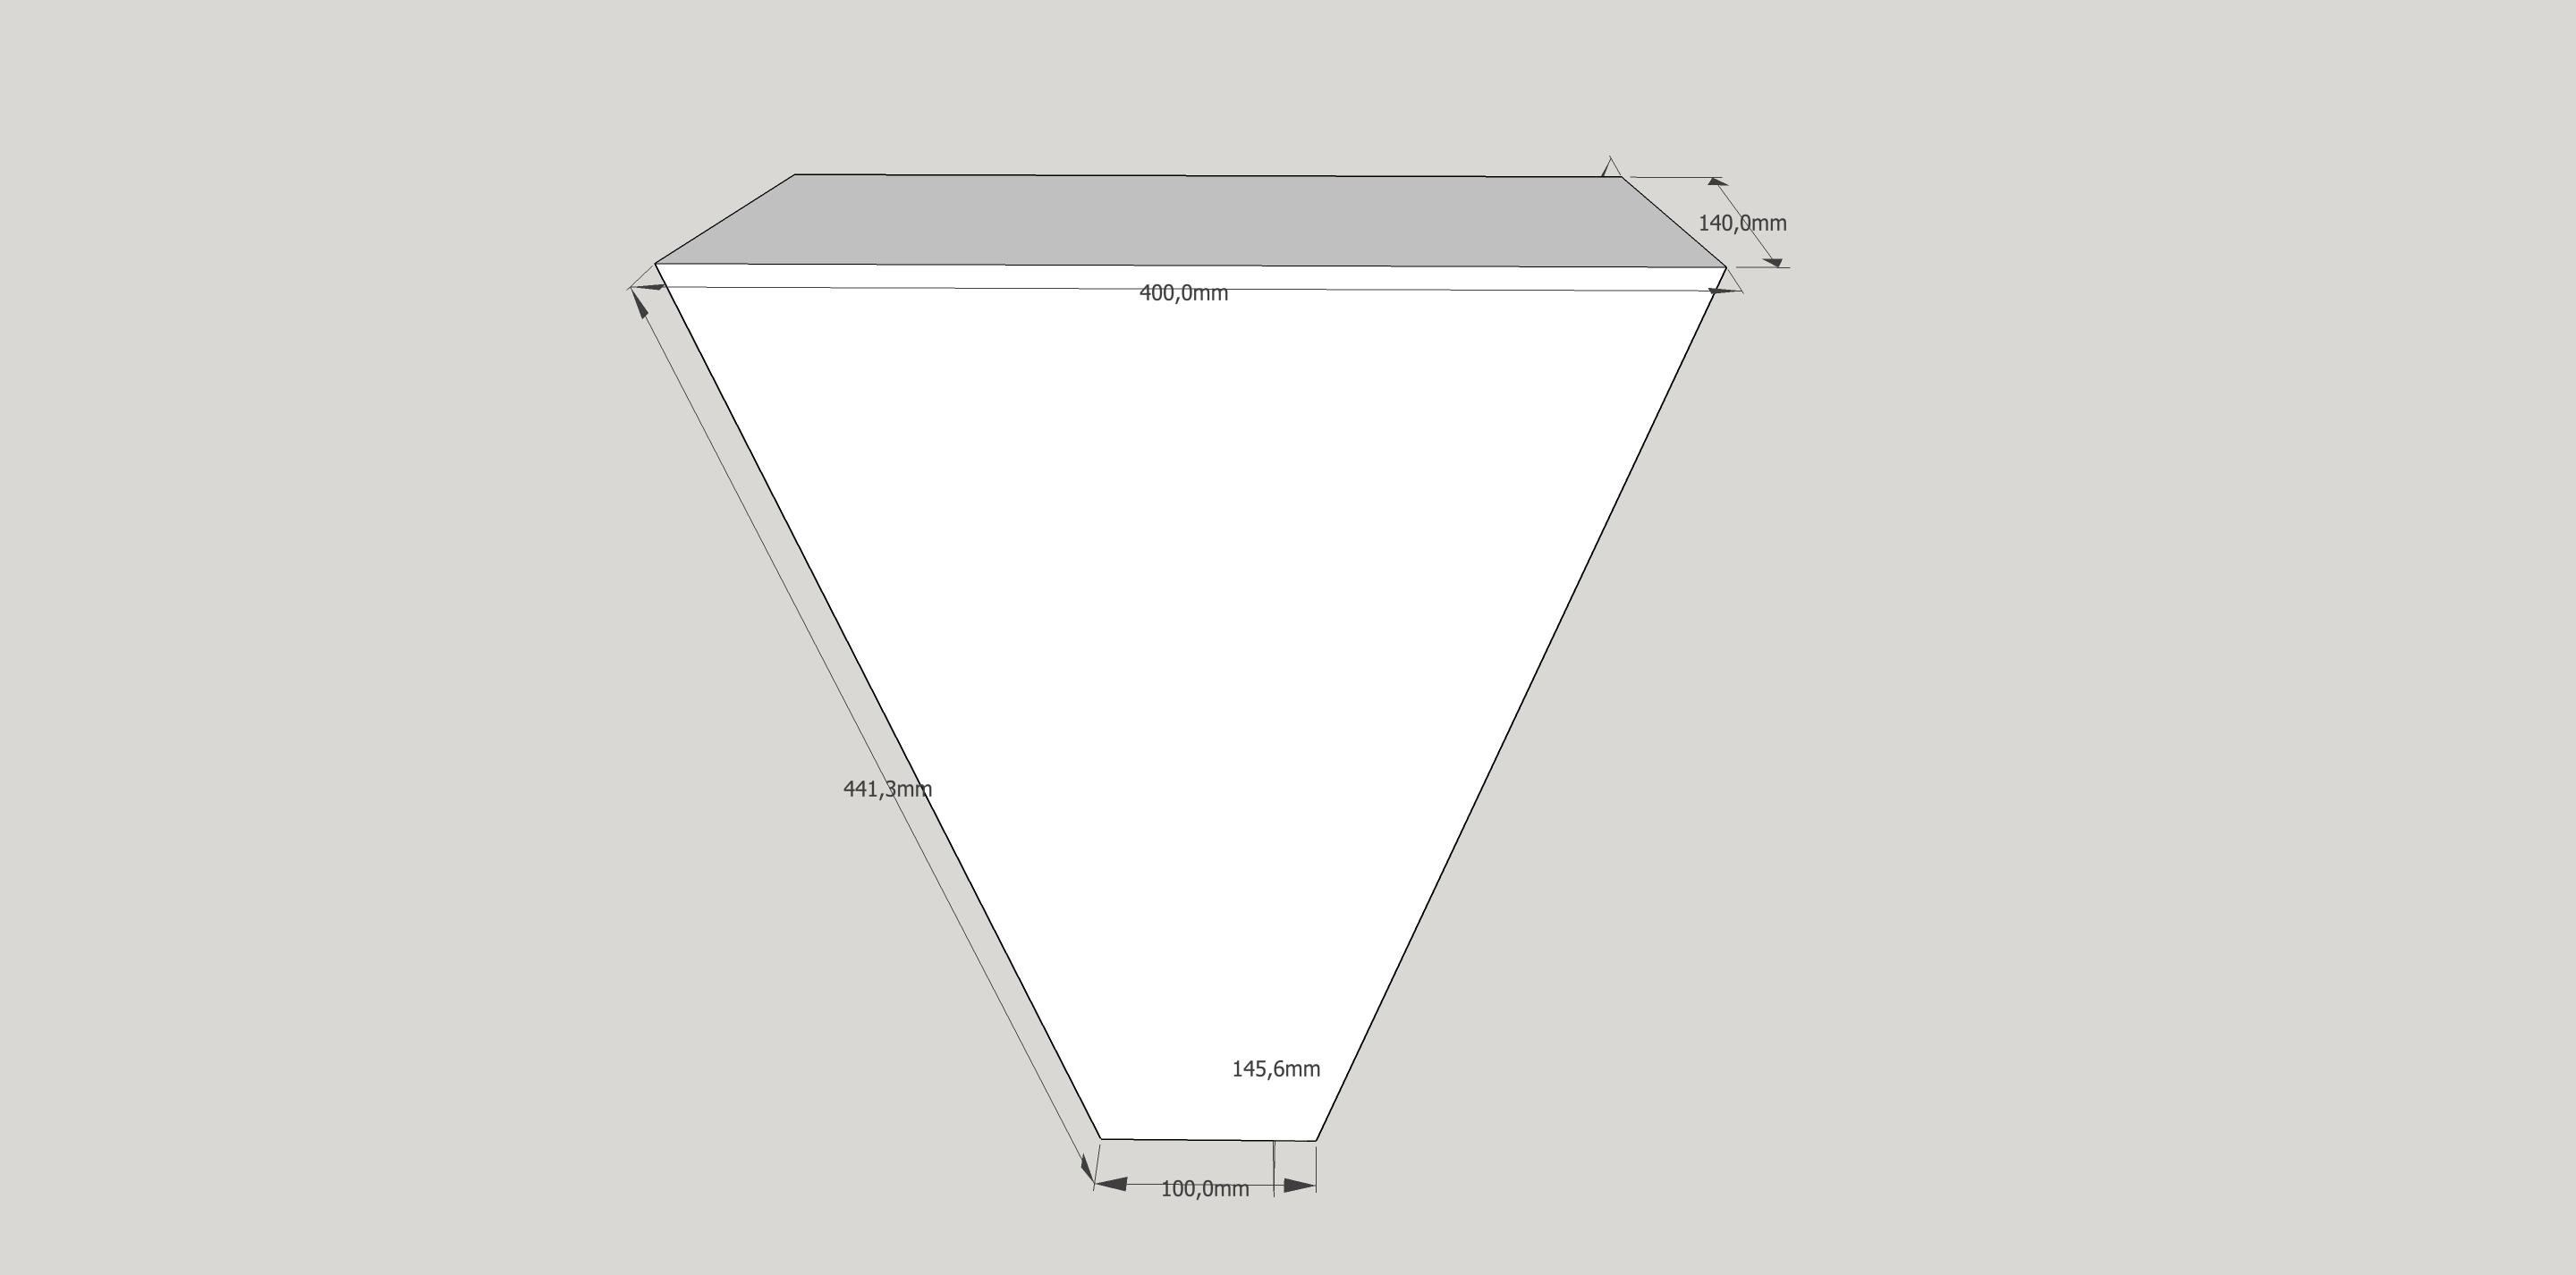
Before this while project started I made (see the pictures below) some 3D drawings and measurements to make sure everything would fit according to plan. We did alter the base for the beams in the sense that we used more concrete and less wood, but this 3D blueprint did come in handy and to be sure we had all the correct measurements.
After all the preparations were made my dad was there to help. We placed everything into place and started poring concrete, plus filling and glueing with epoxy. The whole process went pretty smooth and the end result is even better than the original construction was. Next project will be the bowsprit itself, but more on that in the next post.
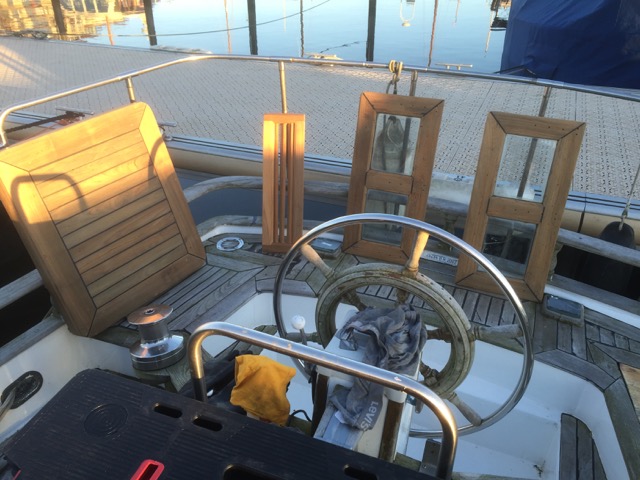
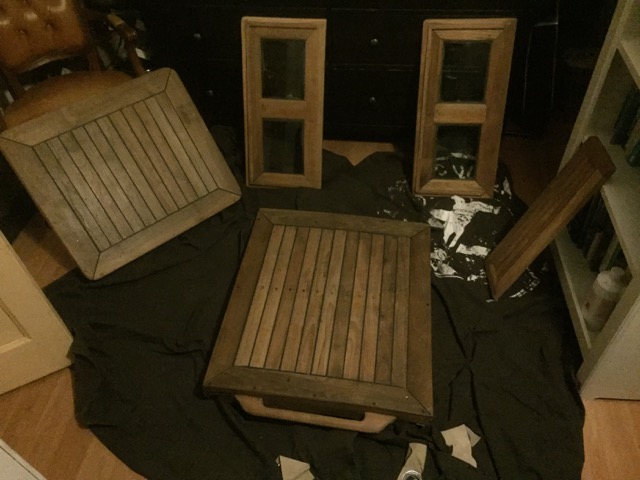
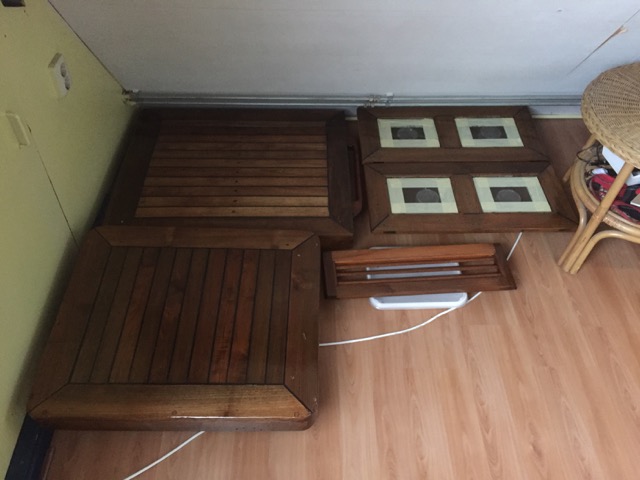
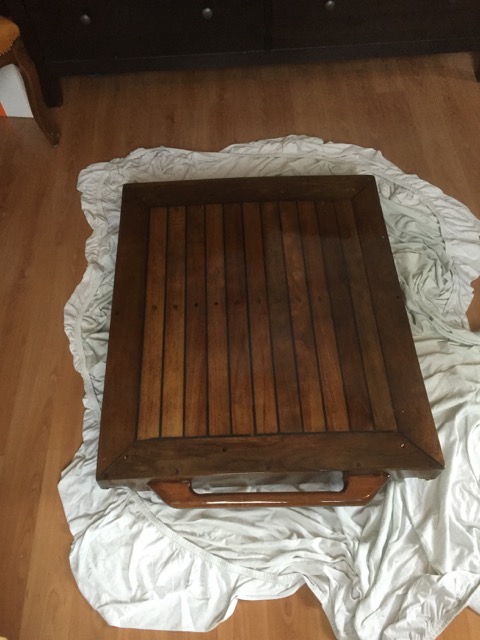
Last (big) varnishing project
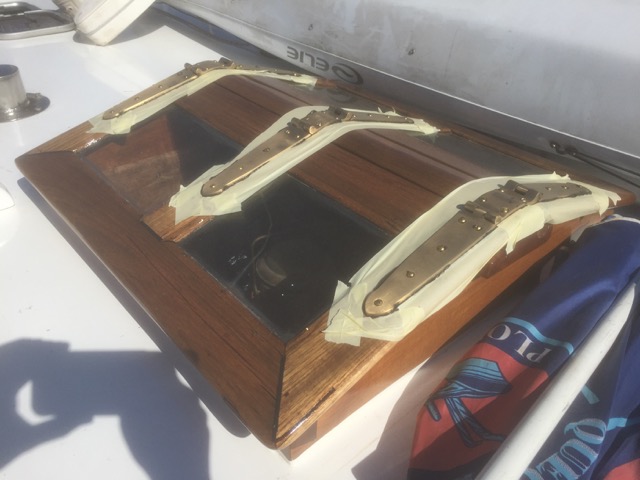
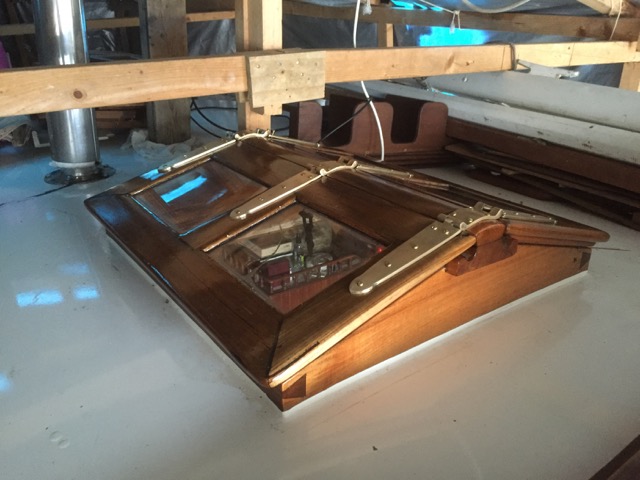
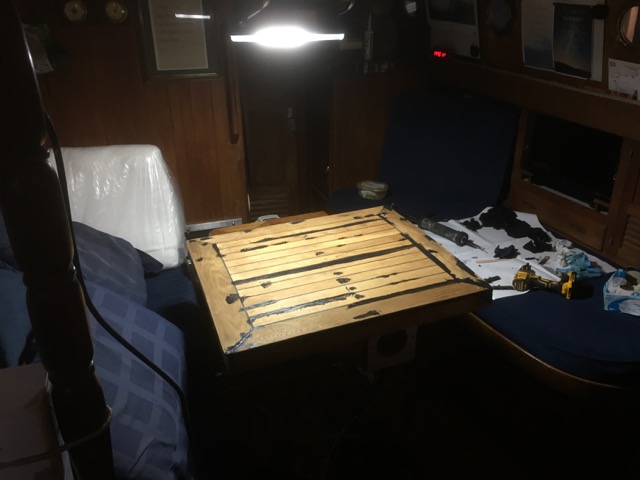
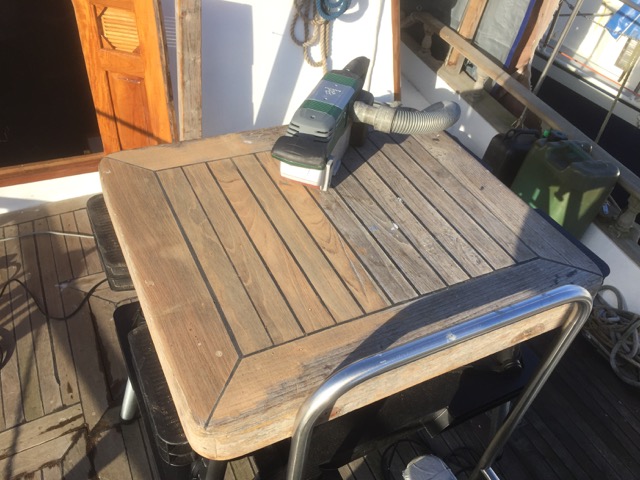
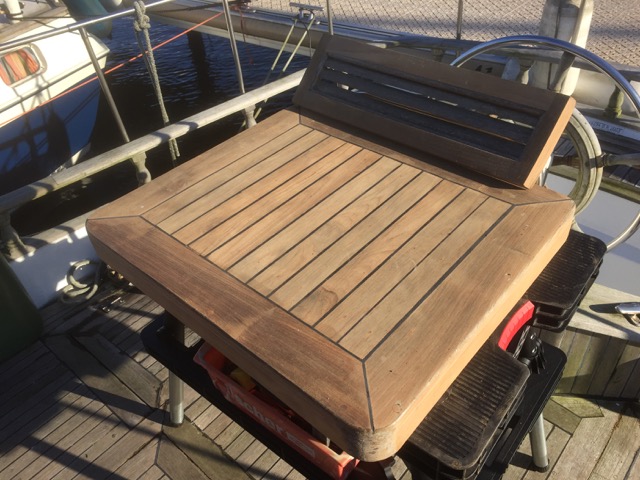
Back in January I finally finished the work on all the hatches of the boat. One hatch still needed some repairs, but the others where already prepared for varnishing a few month before. So after re-caulking that one hatch and degreasing all the wood it was time to get the varnish back out of storage. Because it was still much to cold outside, the hatches were transported to my parents house where I could work more easily in the attic.
After applying 3 layers of specialised teak sealing varnish and another 5-8 layers (depending on the cracks in the wood) of extra uv-protecting two component varnish these hatches are well protected for the coming years and will only need some new maintenance layers now and then.
Because the varnish needed to be sanded between each additional two layers of varnish this project took a while, but then end result is very satisfying. The brass hinges on the hatches of the cabin where cleaned up and polished to give it that finishing touch.
Practically all the surfaces on the outside of the boat are now either vanished or painted (and coated with epoxy) in more than 8+ layers which means there is no reason to keep that tarp over the boat anymore.
Well actually there are still some minor (plus one big) things to do, but more on that in the next post. But one thing is for sure, this summer (or maybe even this spring) the Seadog will finally sail again!
