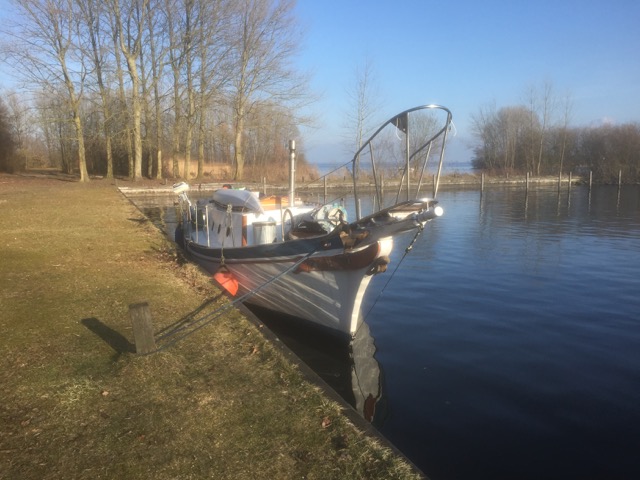
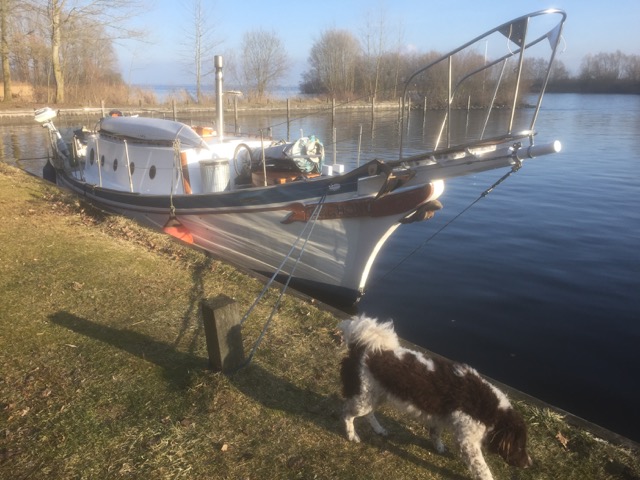
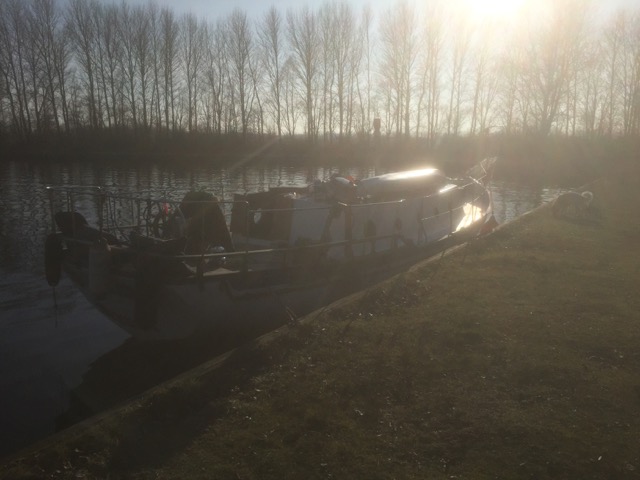
Getting a main mast (and the first real voyage)

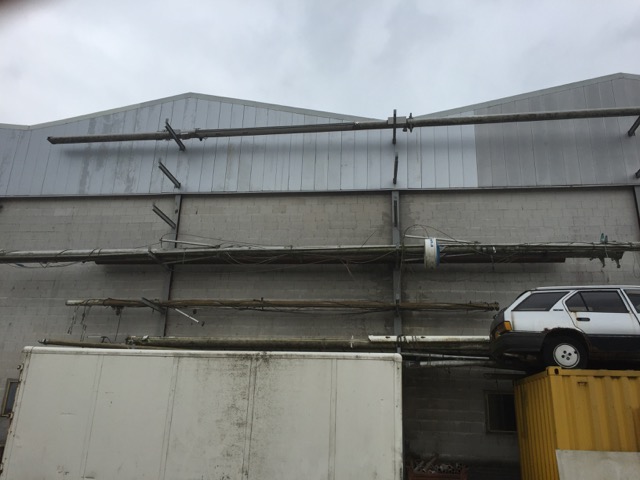
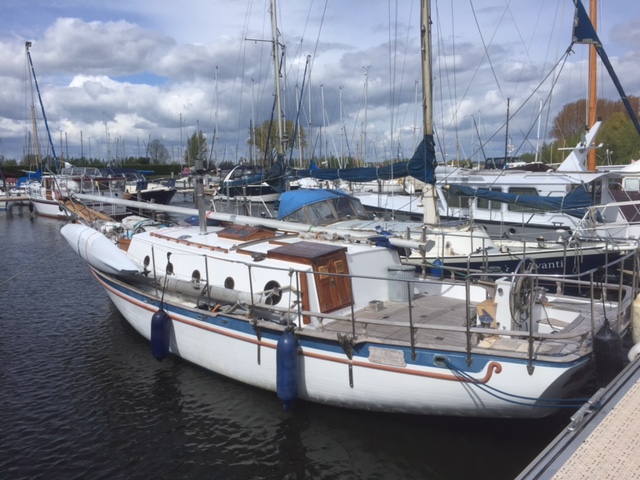
A few weeks ago my father found a secondhand aluminium mast that would be perfect as the main mast aboard the Seadog.
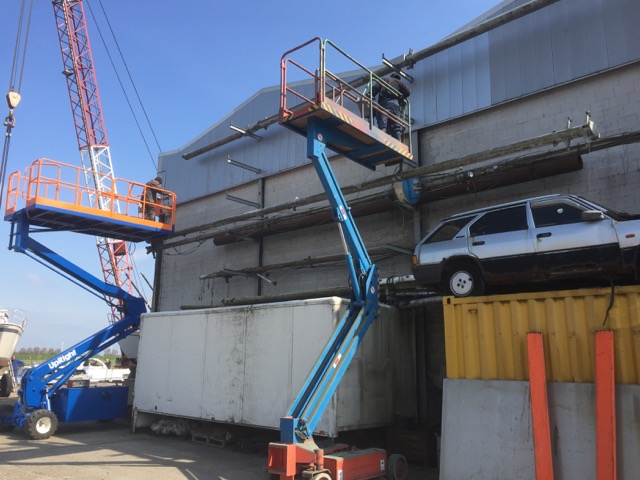
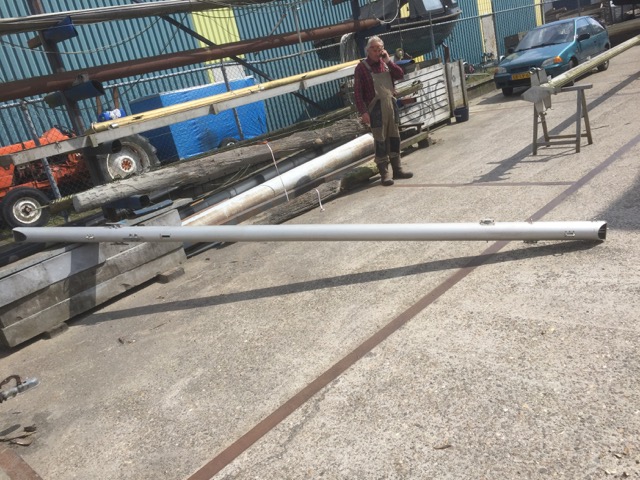
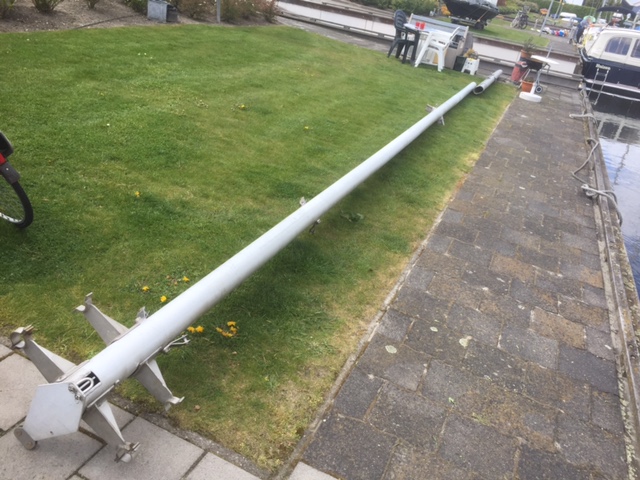
It has been laying around besides a warehouse at a shipyard for more than 15 years. But it actually has never been used before, so structurally it should be as good as new.
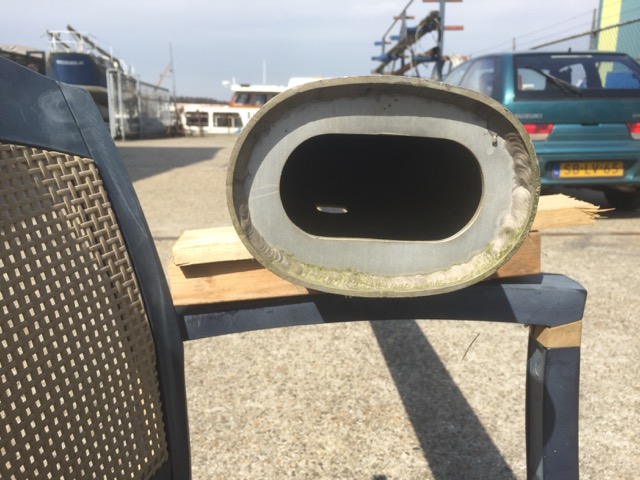
Also, this mast is build extra sturdy when compared to most other masts of this size.
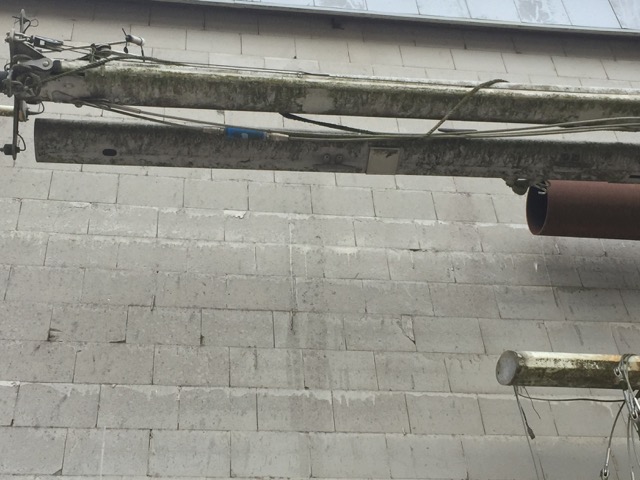
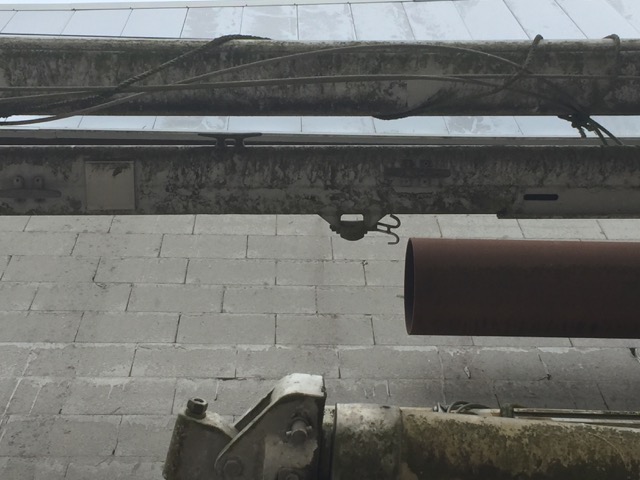
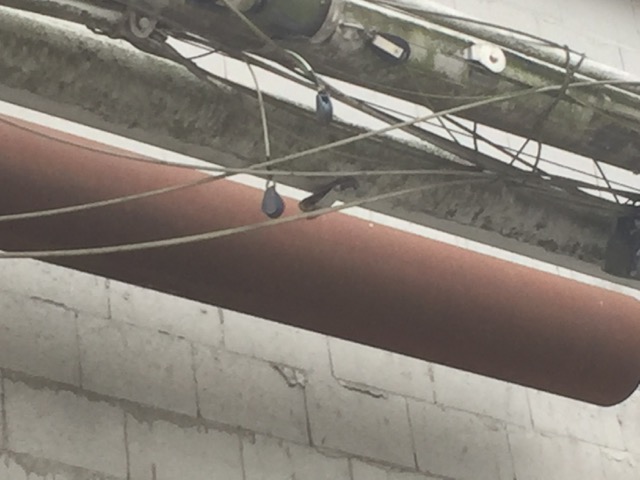
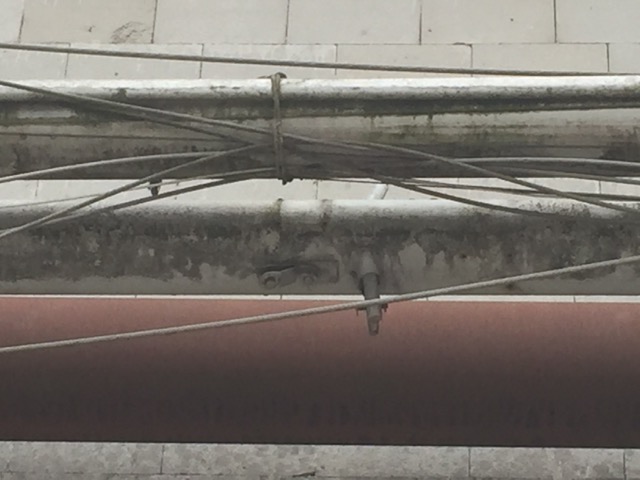
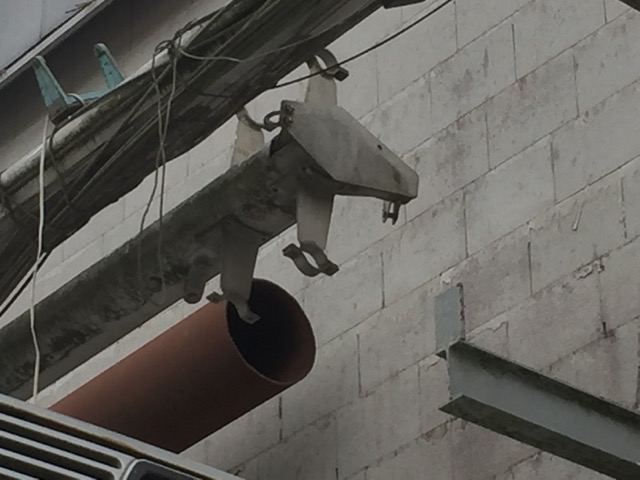
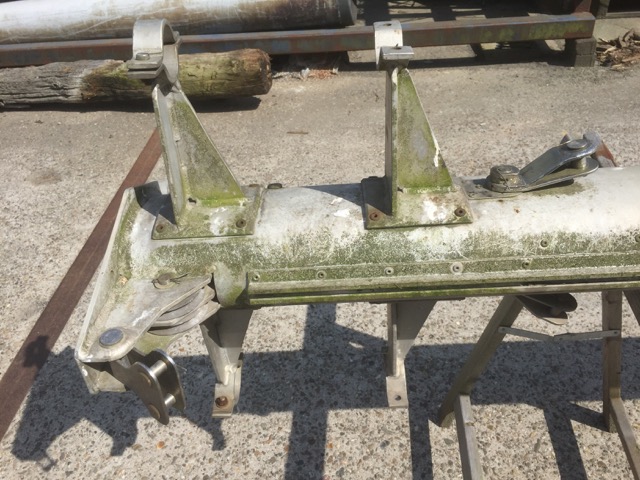
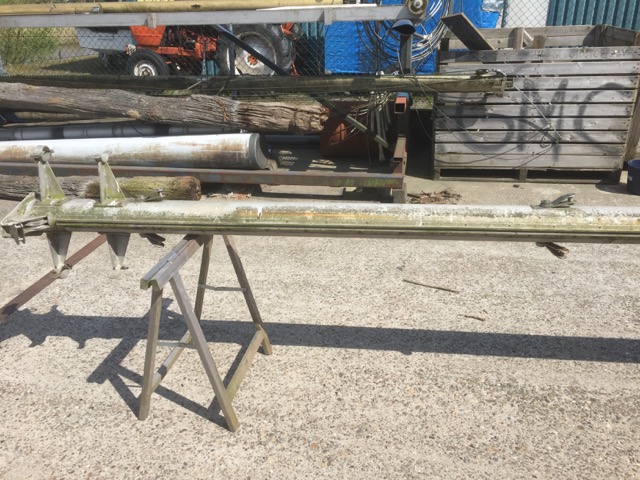
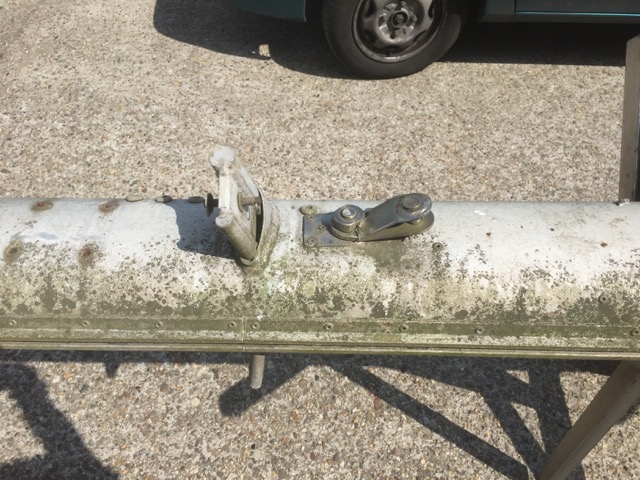
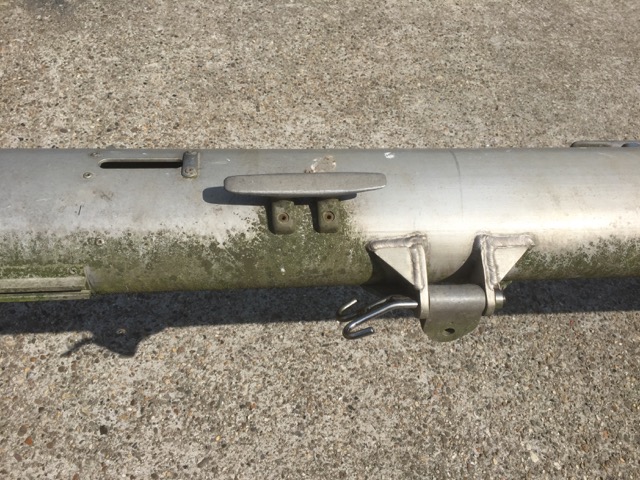
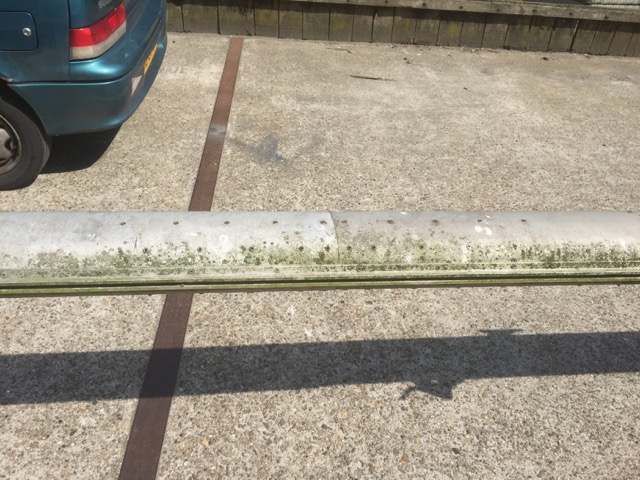
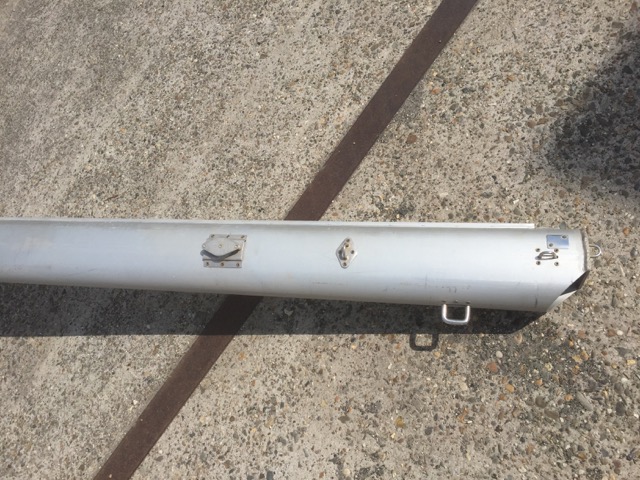
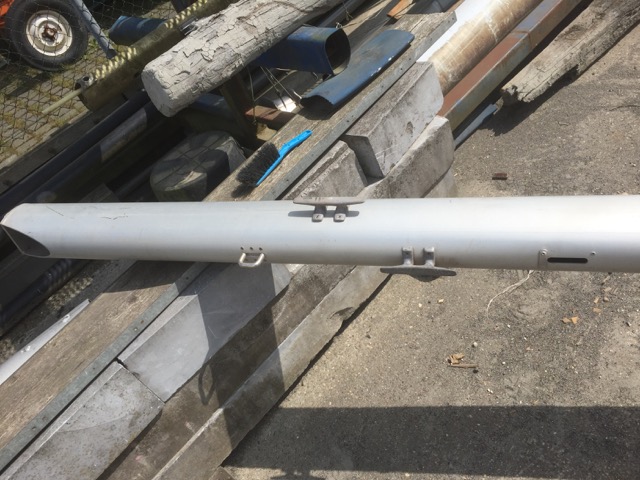
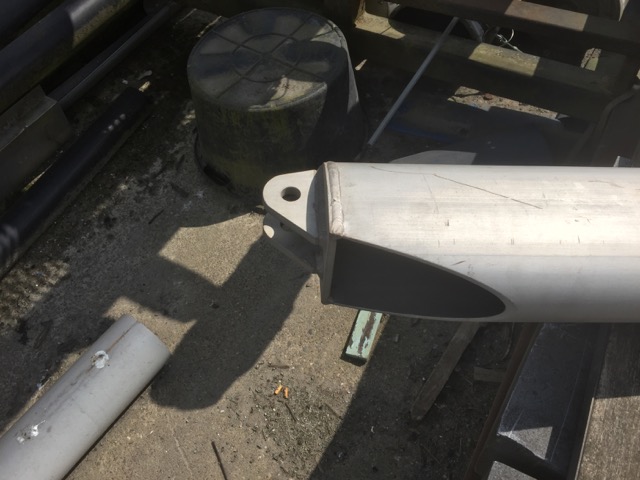
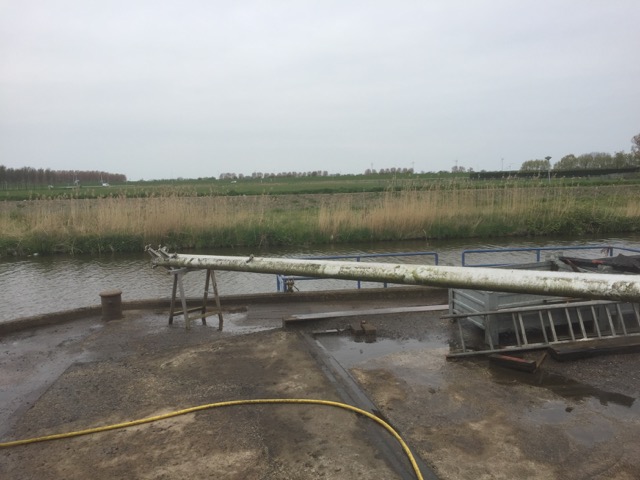
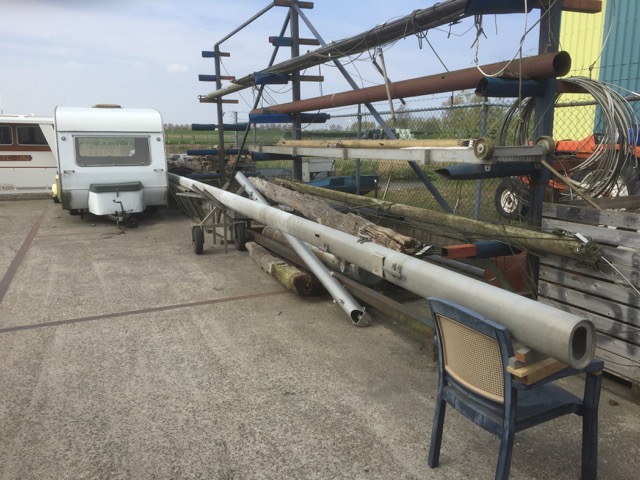
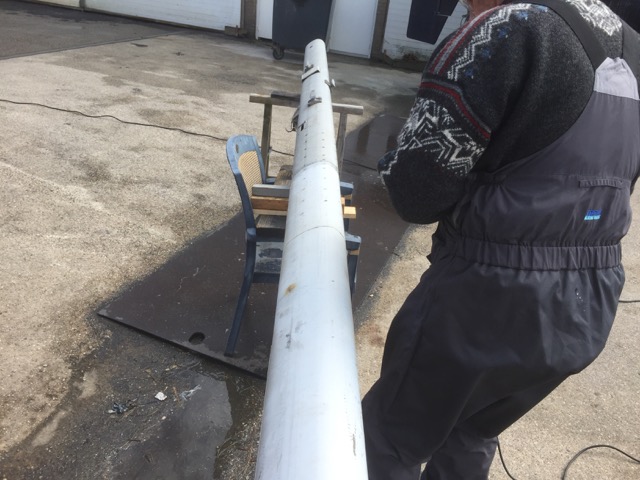
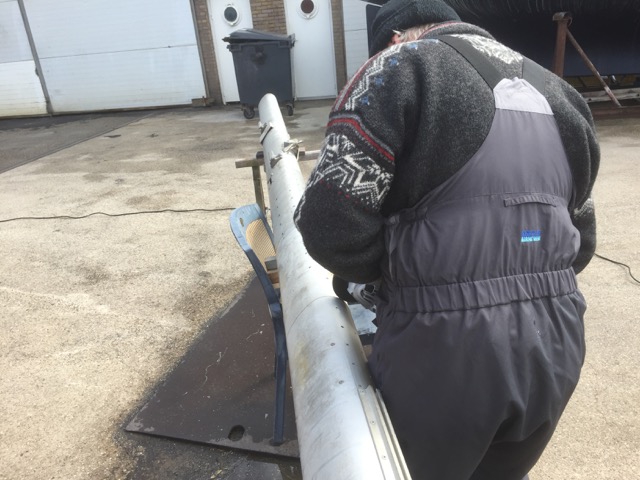
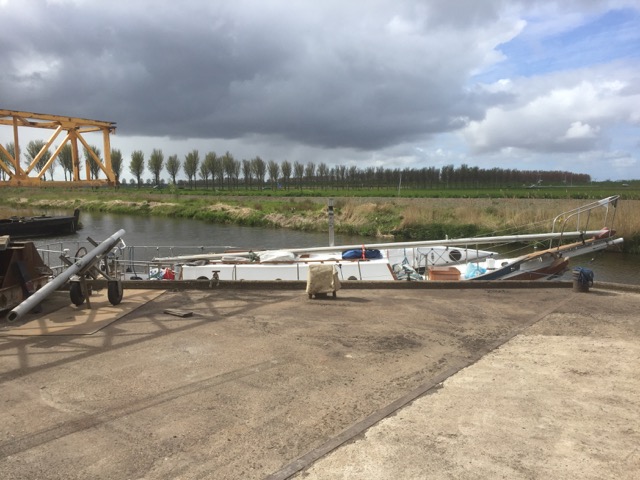
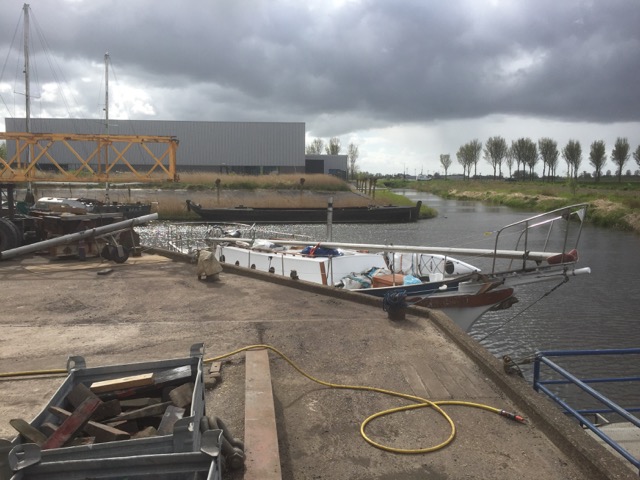
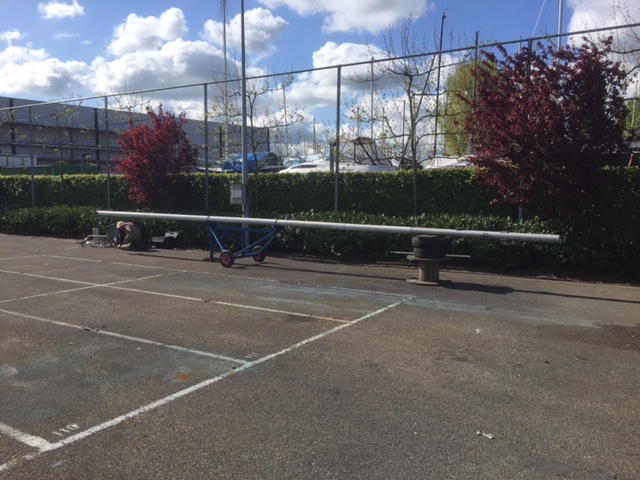
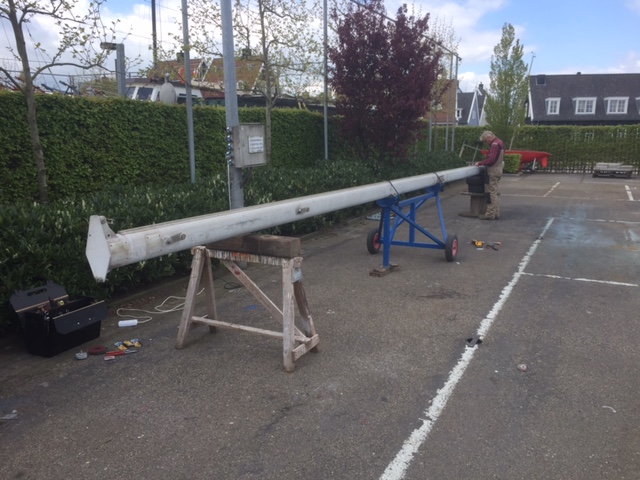
The downside is that there came no rigging and very little fittings with this mast. Plus it’s still about 1.5 meters to long and looks a little dirty (see photo’s below).
But we decided this was the way to go.

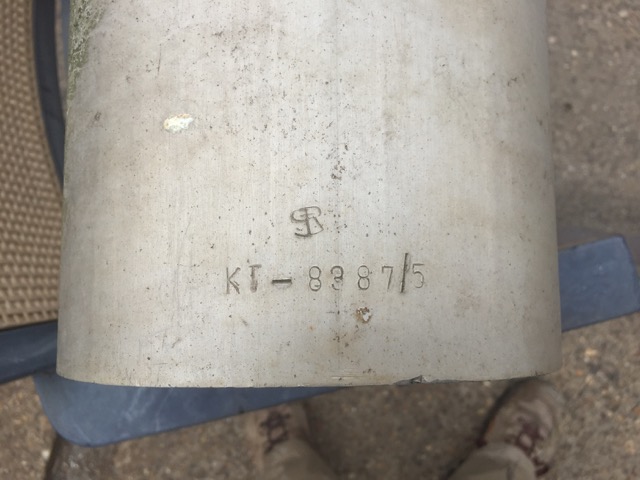
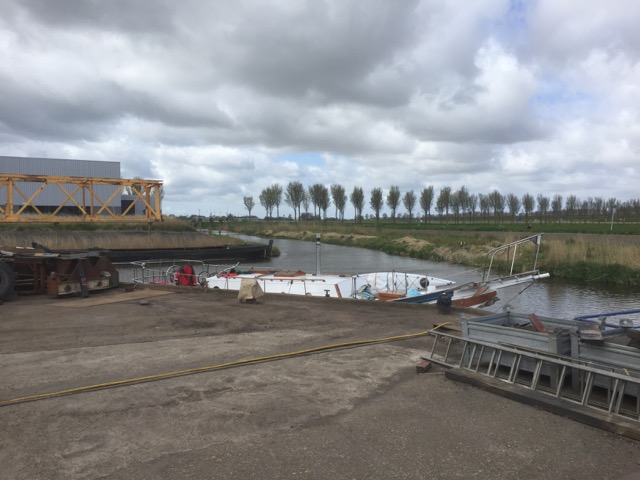
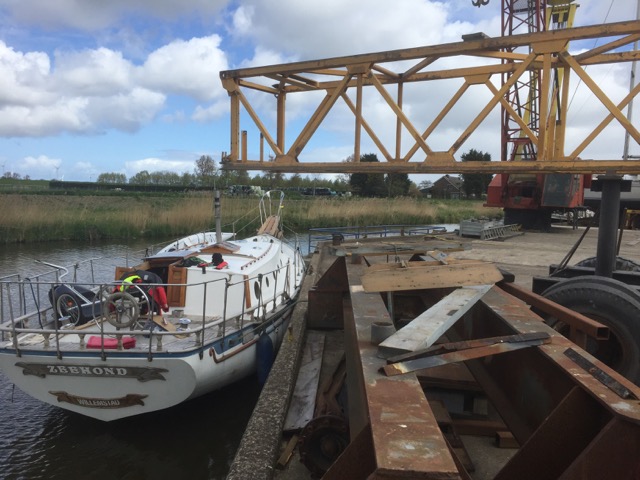
The mast besides the warehouse
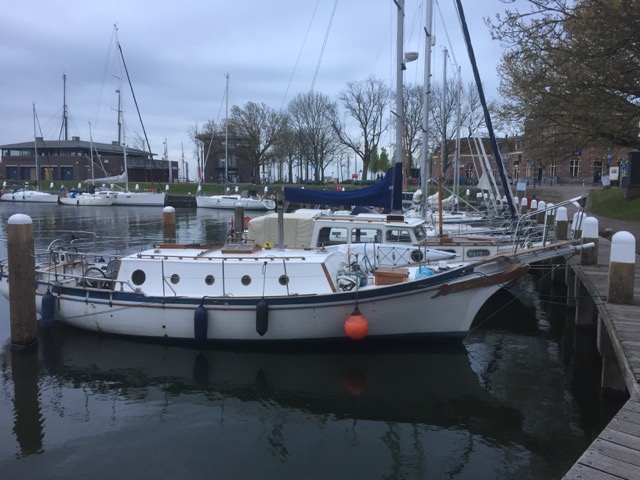
We first went to Medemblik (where the shipyard was located) to inspect the mast in person and make a few photo’s and decided if it was doable to use this particular mast aboard the Seadog. Conclusion: it could be done.
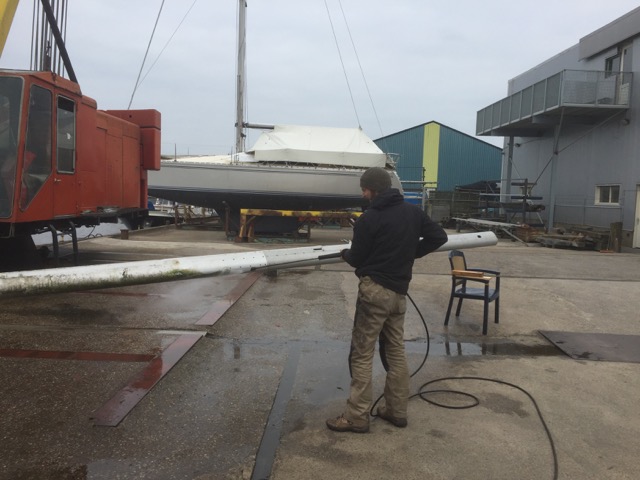
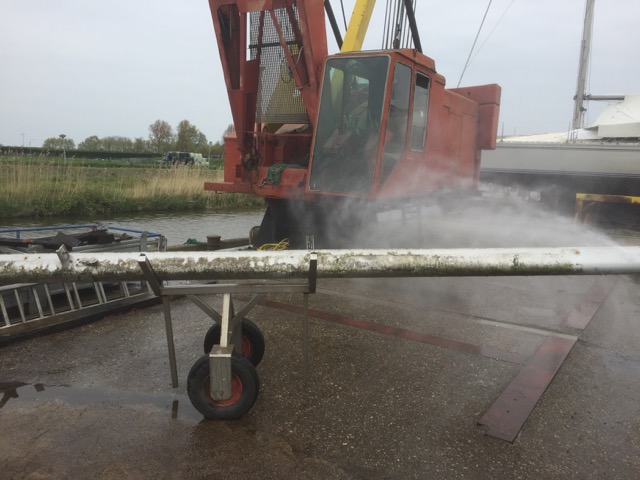
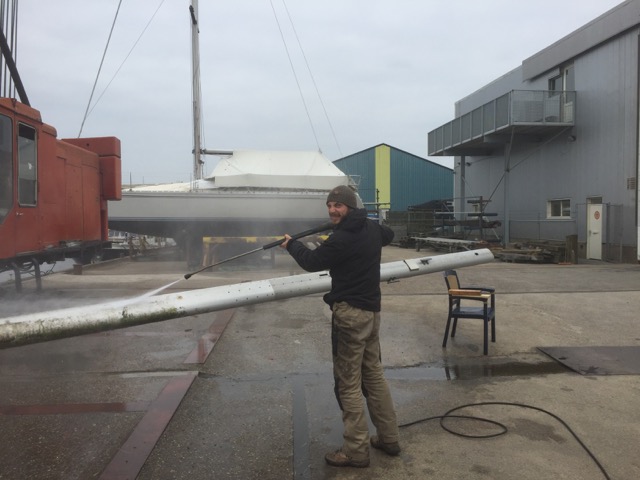
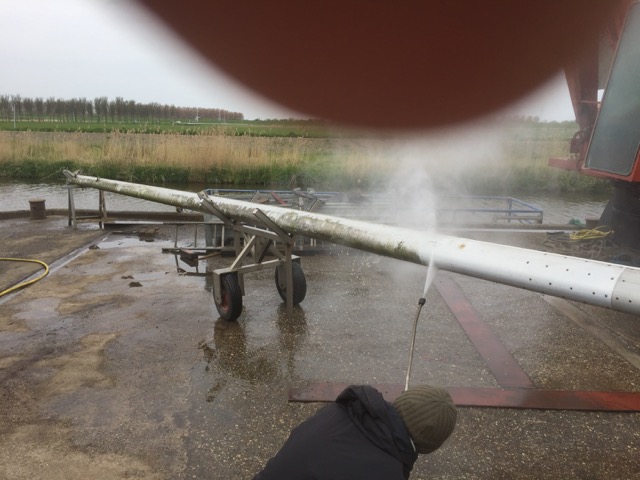
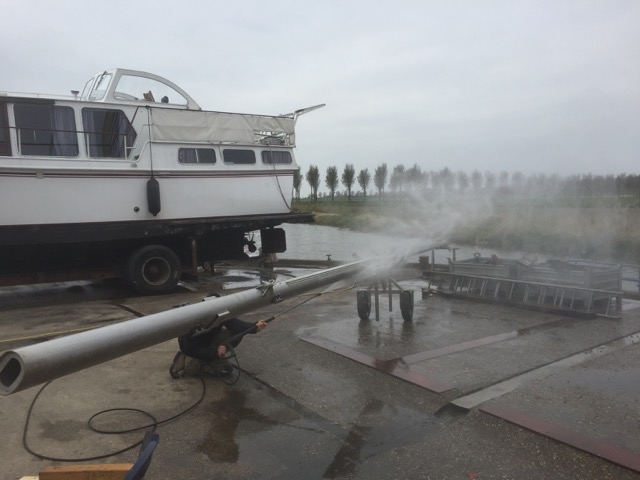
Getting the mast down, cleaning and inspection
Because the warehouse was located at a shipyard, we could go and fetch the mast easily by water with the Seadog. Or so we thought….
The weather forecast for the weekend we planned to go and fetch the mast was all but mild weather, but we decided to go anyway.
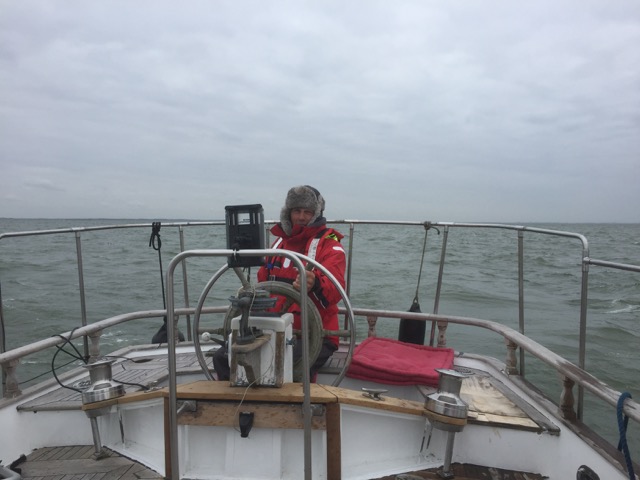
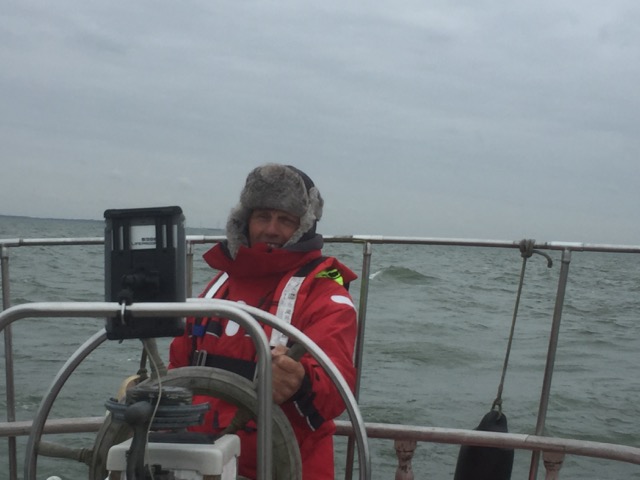
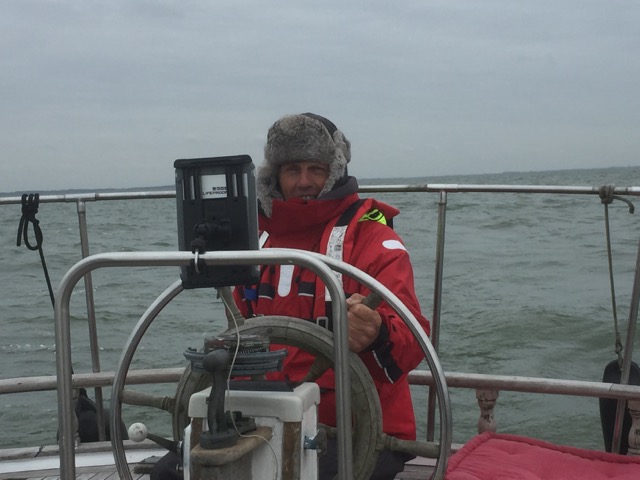
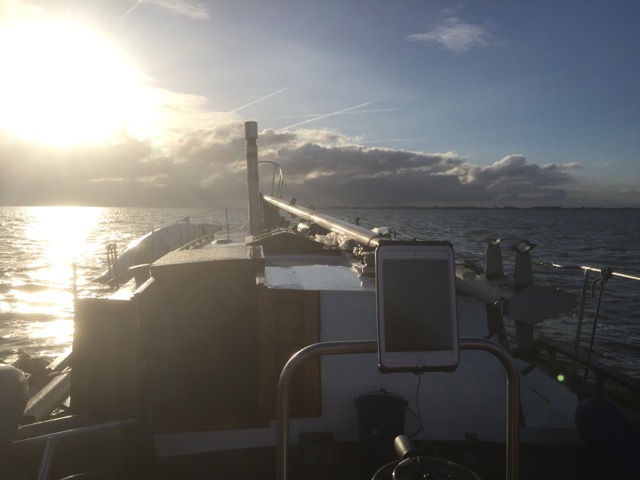
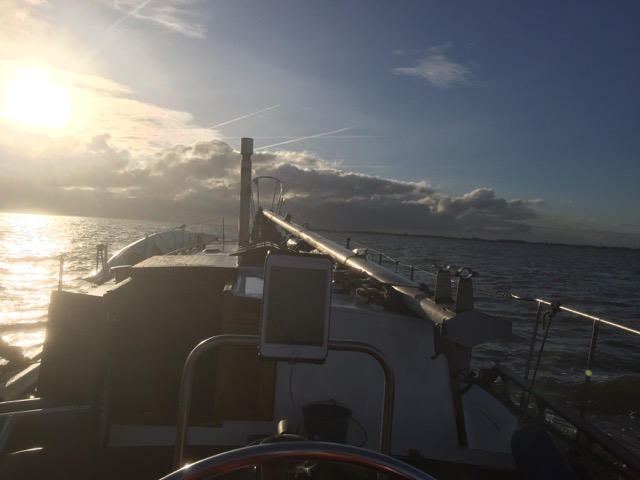
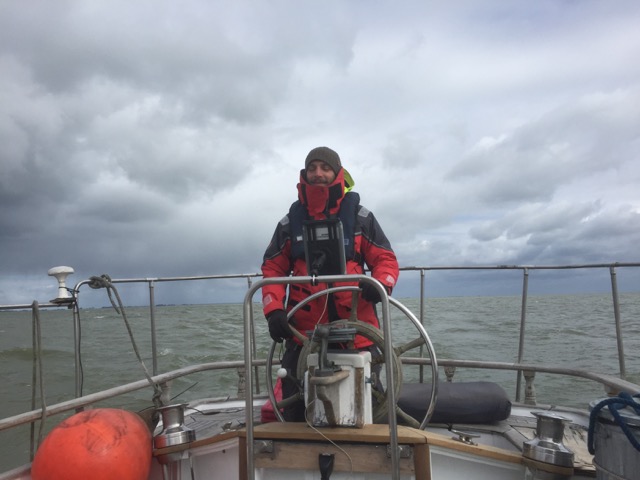
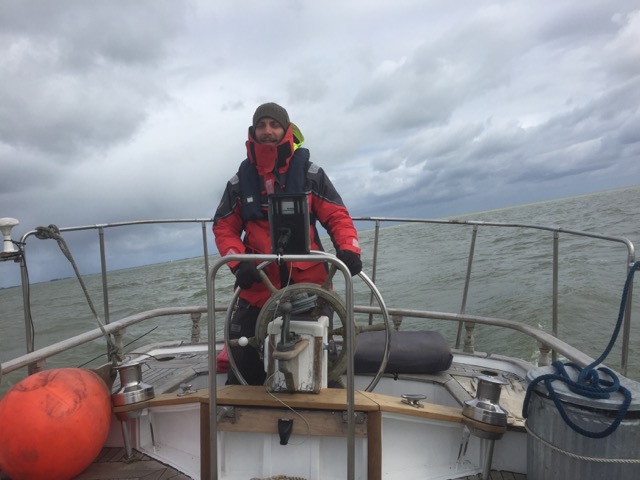
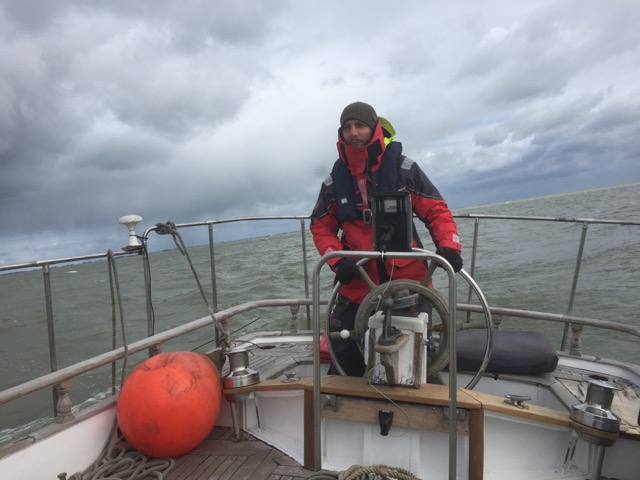
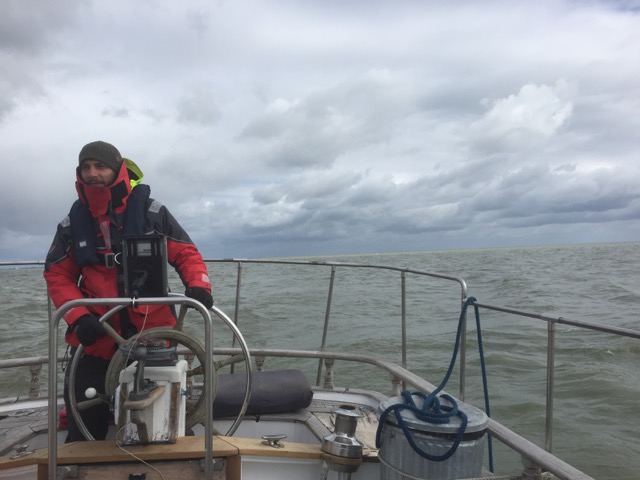
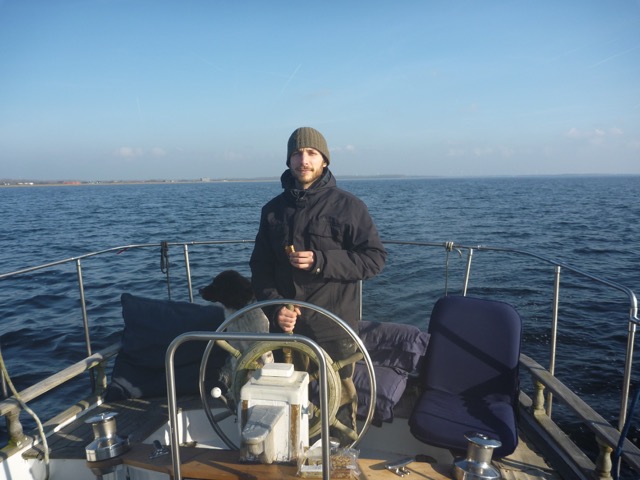
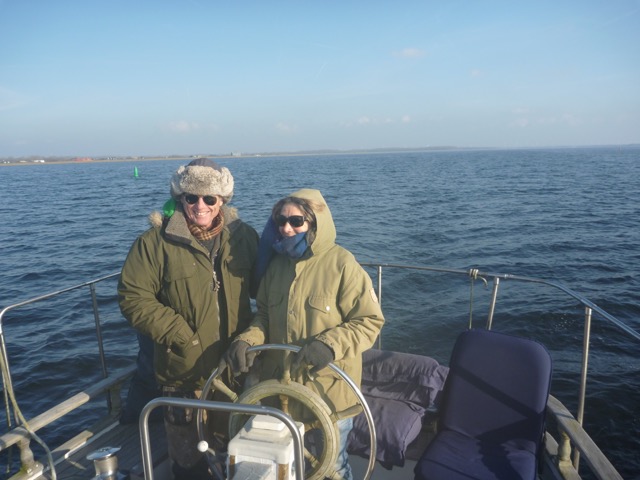
Turned out to be a pretty nice (be it a little bumpy) journey and also a good test to see how Seadog does in hard winds (on only the engine).
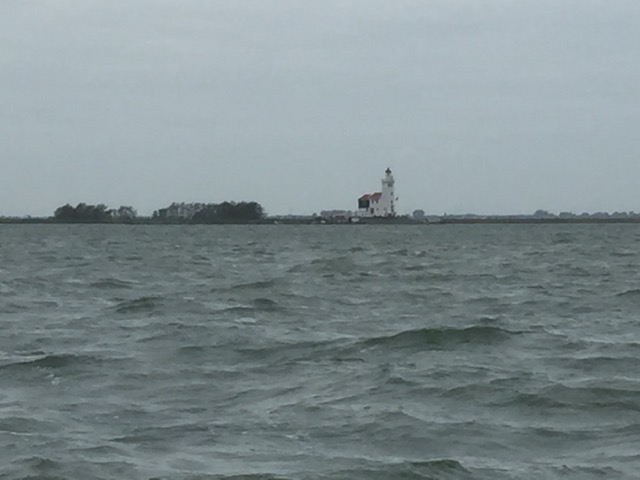
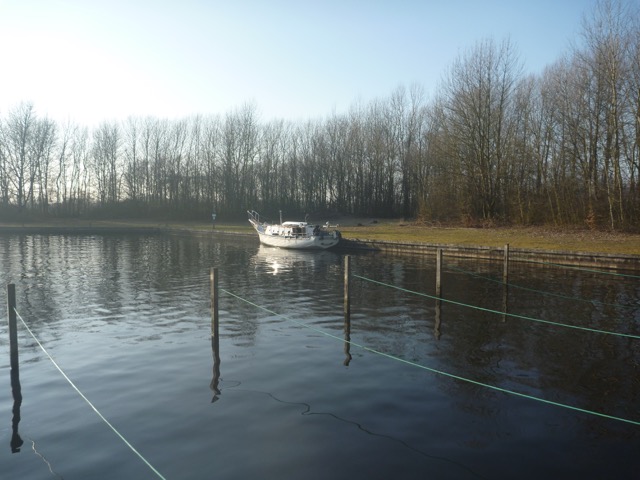
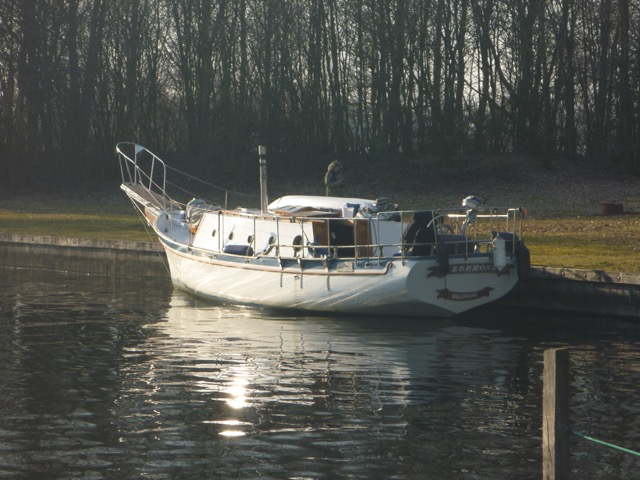
Getting to Medemblik
There where a few engine troubles along the way, but this turned out to be because of an empty diesel tank (and a malfunctioning tank gage / vlotter).
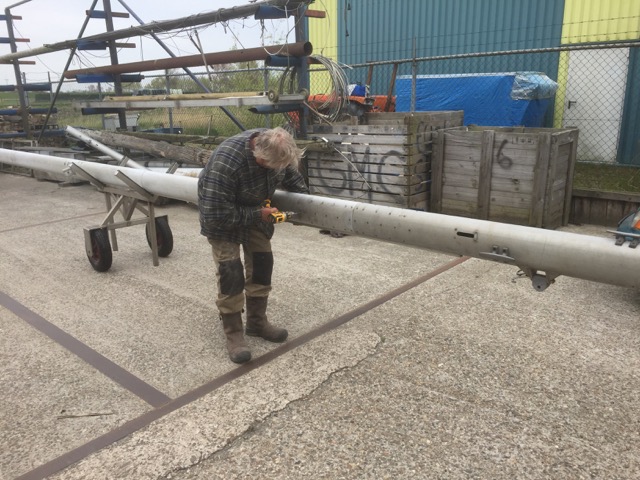
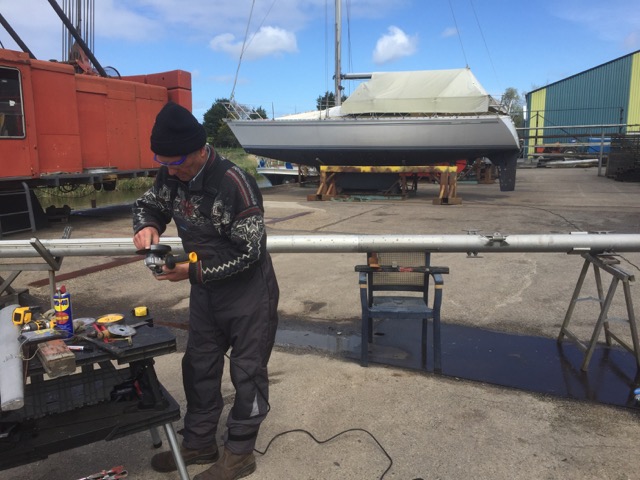
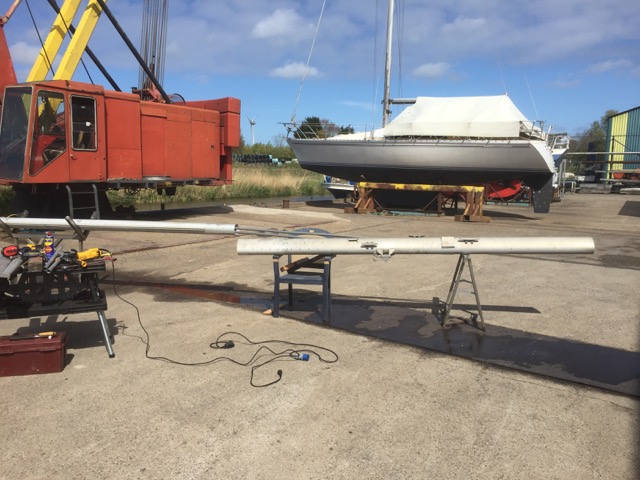
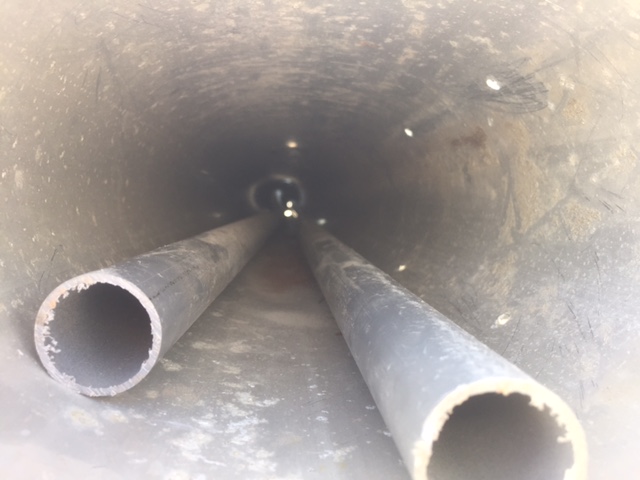
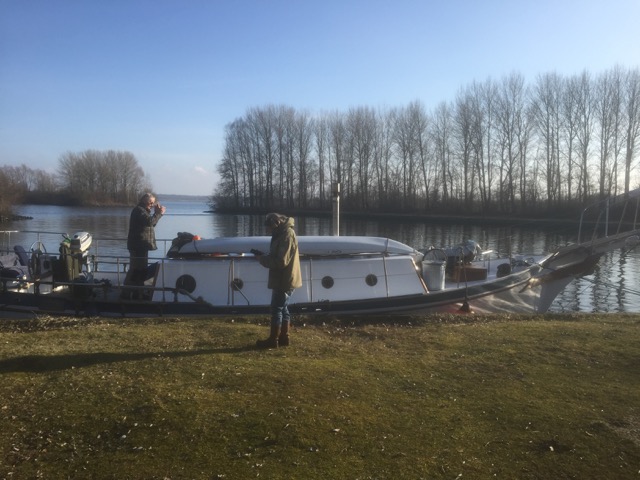
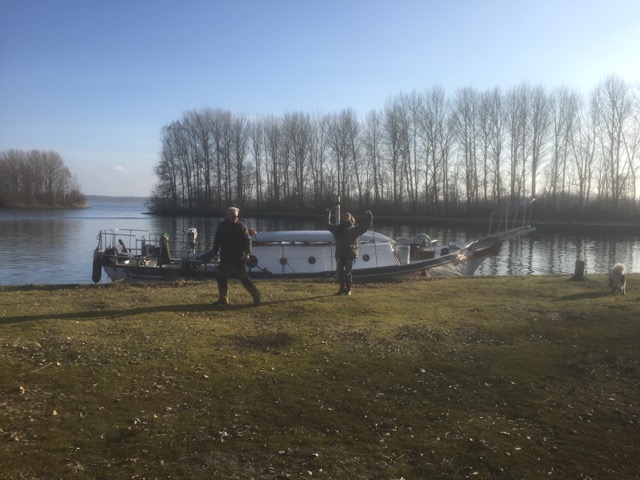
Cutting the mast in half for transport and getting it aboard
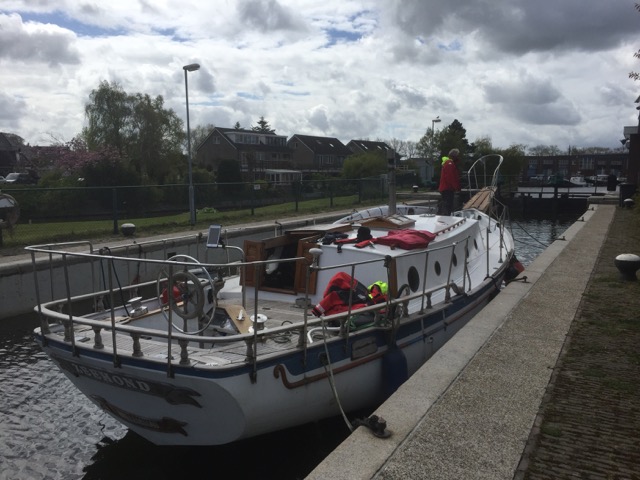
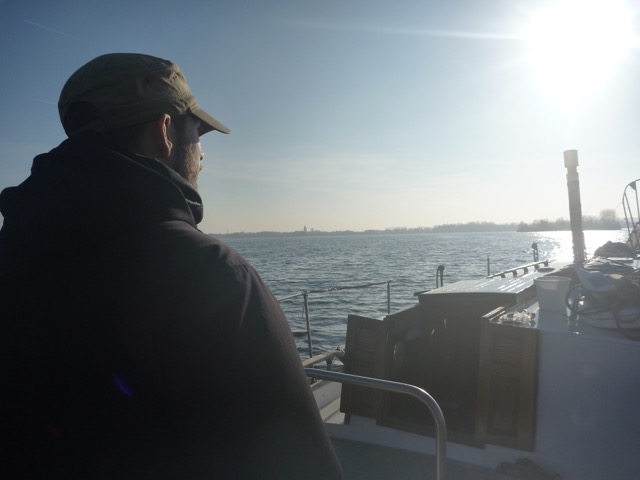
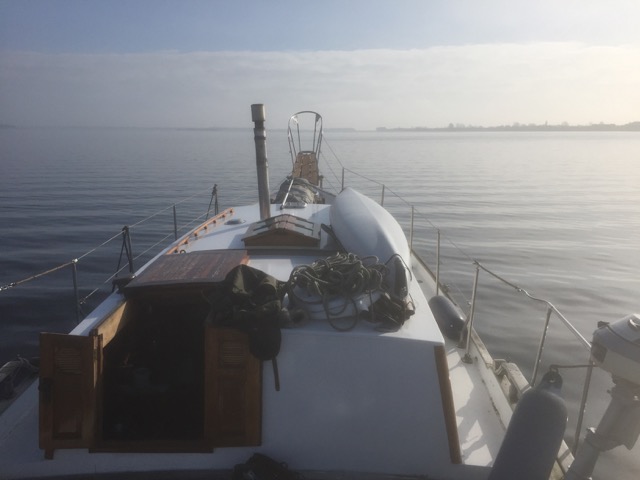
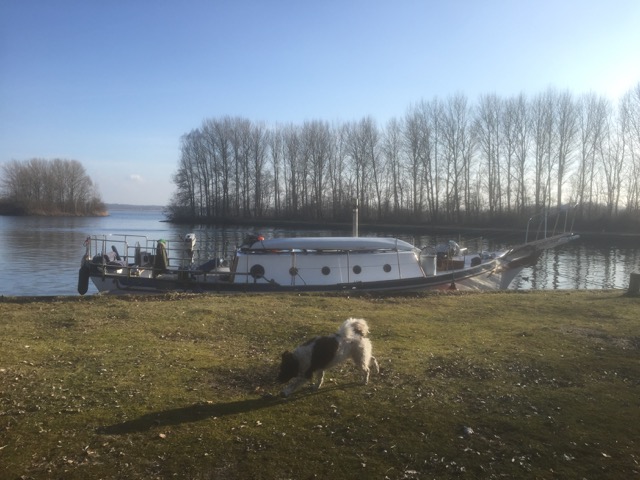
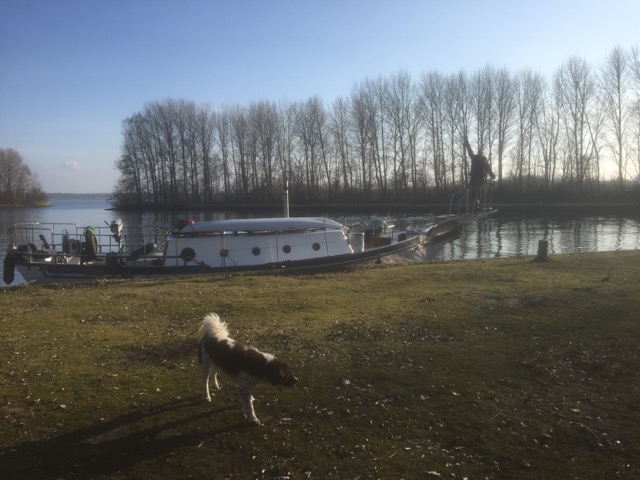
The journey back (with the mast tied securely to the boat) turned out to be with the wind at our backs and luckily not as bumpy as the first two days.
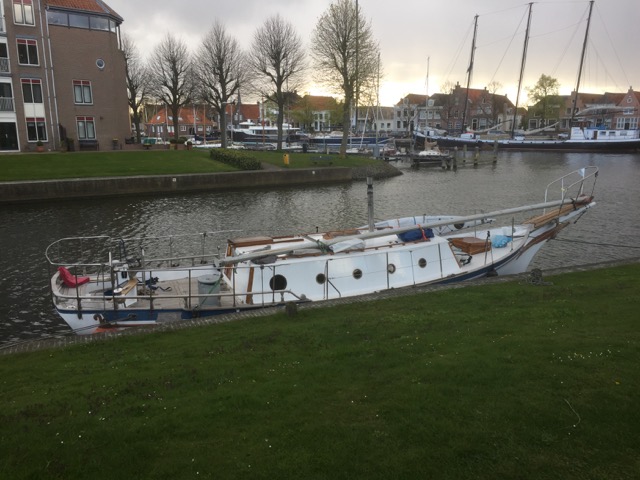
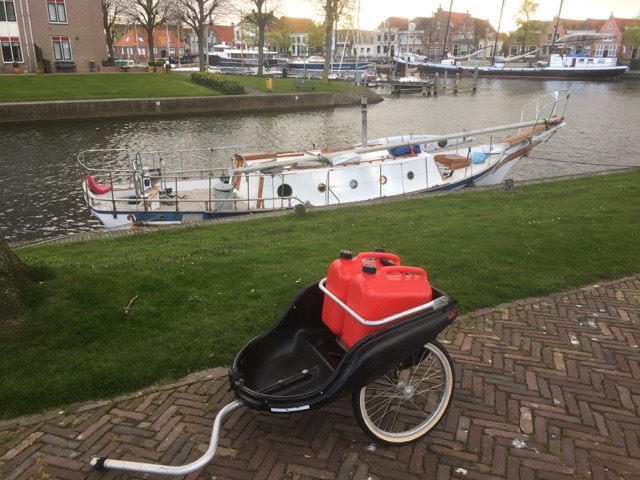
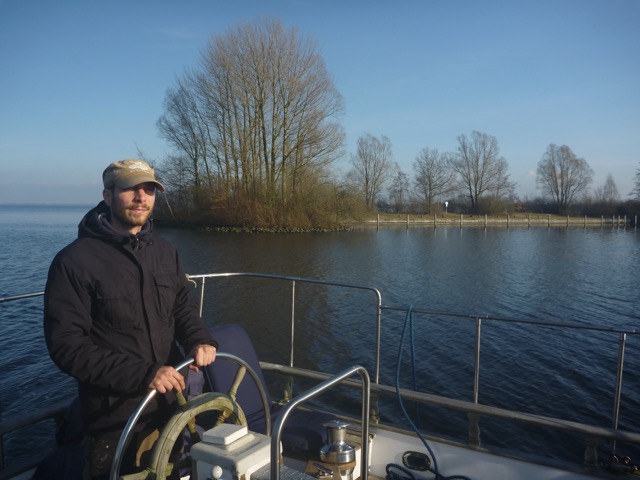
Journey back from Medemblik to Huizen
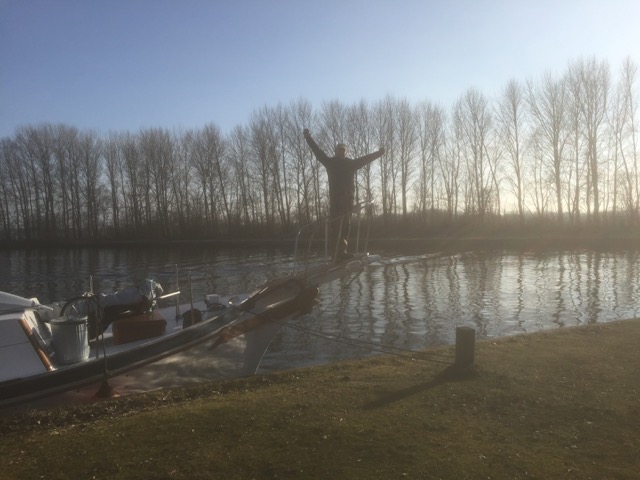
After three days we where back in the home harbour and work could begin to prepare the mast for use aboard Seadog.
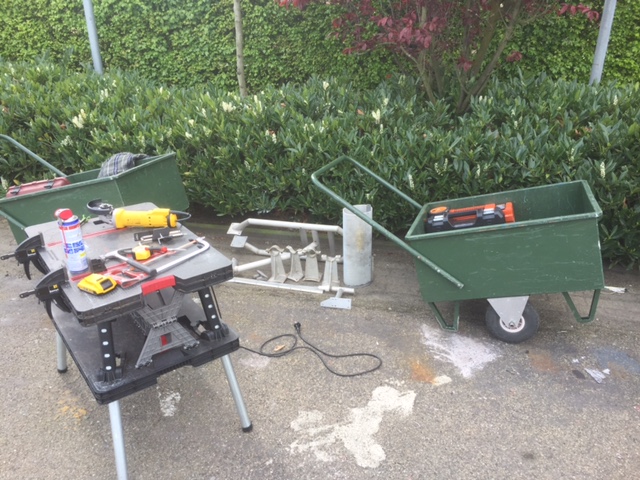
Back in Huizen and putting the mast back together

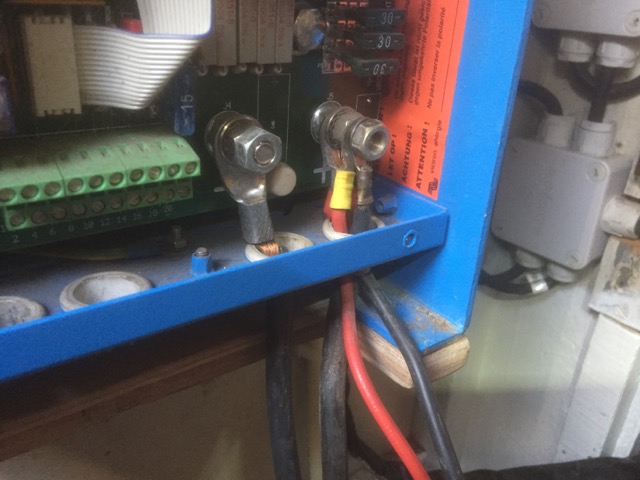
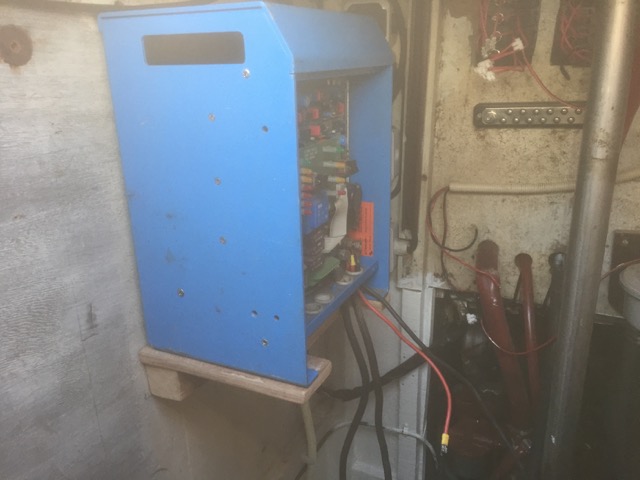
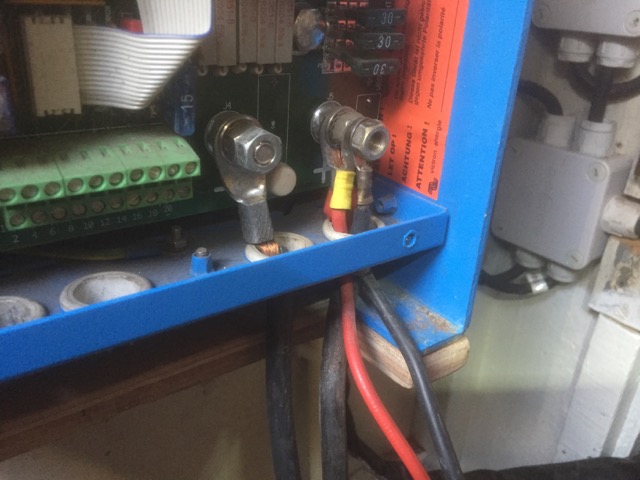
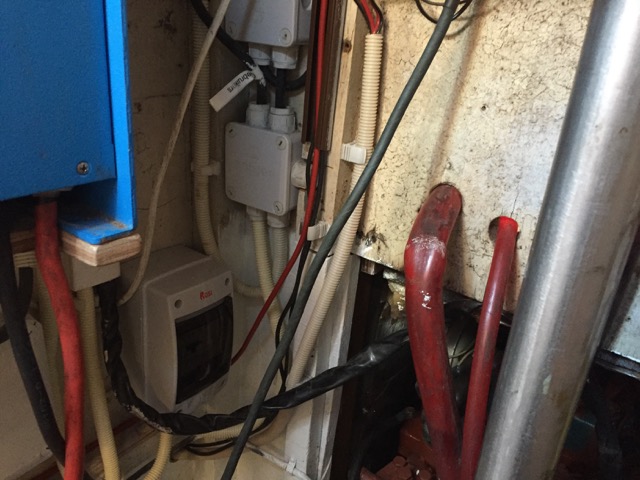
Reinstallation of the 12V DC and 230V AC electrical systems aboard the Seadog

It turns out that buying new solar panels and a big battery bank, plus all the other electronic equipment that is needed aboard a boat (like battery charger/inverter, multiplexer, GPS, plotter, log depth sounder, etc.) costs a lot of money. Especially if you’re talking about marine grade products.
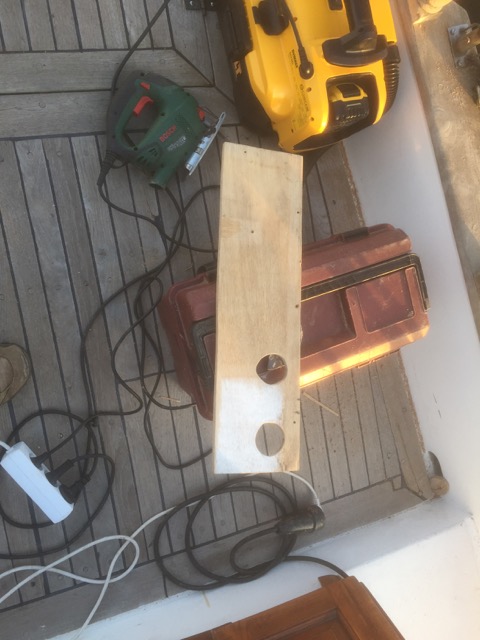
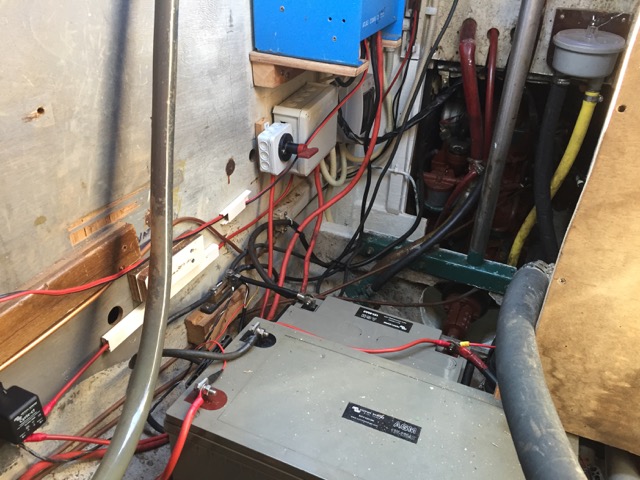
Just kidding, of course I knew the amount of money all that stuff was going to cost me, but I always try to spend as little money as possible (while still trying get the best possible quality). Luckily my parents recently got a boat that had a pretty good DC/AC inverter that they didn’t use. Which also came with a big battery which was still in perfect condition. Although the inverter was rather old (and not a pure sinus inverter) I will be able to use my induction cooktop with this installation, so for now it suits me just fine. So after some measurements and planning of where all the future electronic equipment needed to be, I grabbed a piece of plywood, made a little shelf to support the inverter and screw the inverter into place.


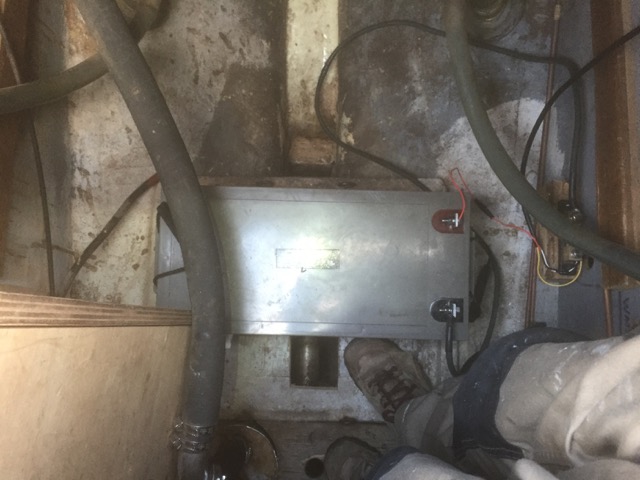
After hoisting in the battery and connecting it up to the charger/inverter and the switch panel, I finally had a working 12V service battery that could be used to power all the electronics aboard.
Now it was time to test out the depth sounder and log that came with the boat. Turns out they both still work!
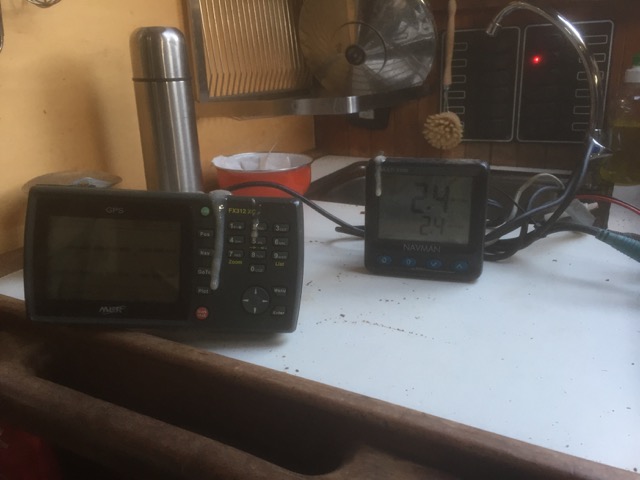
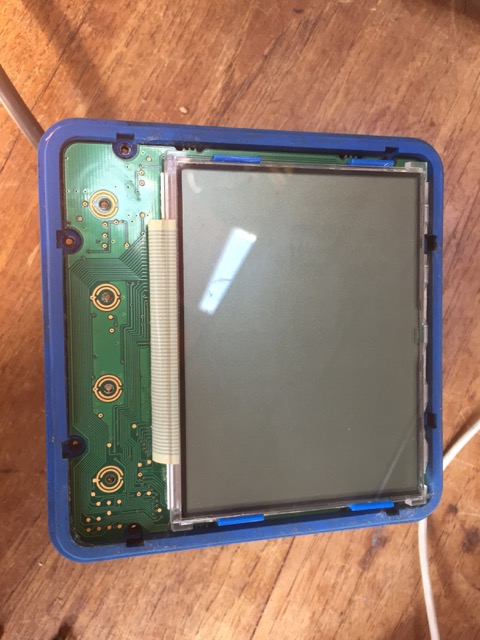
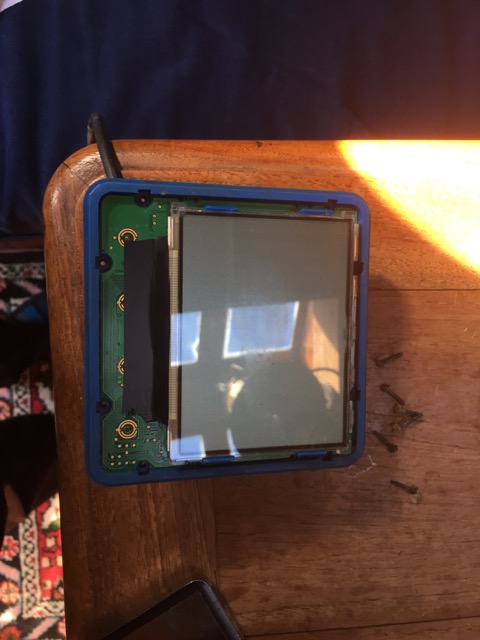
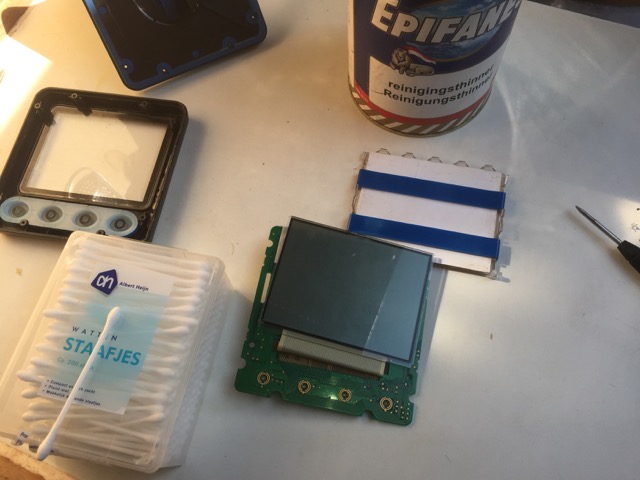
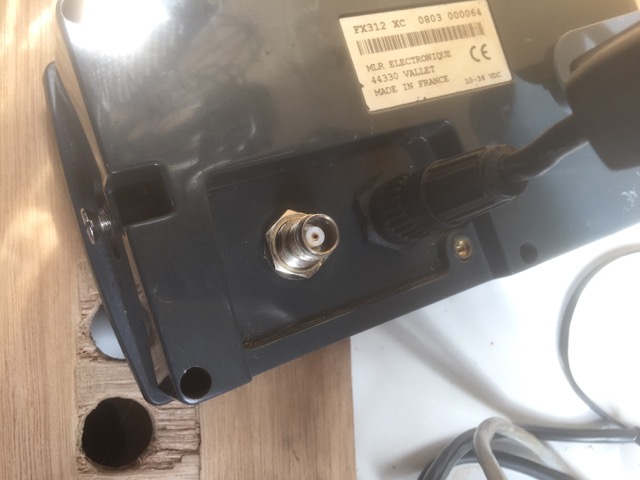
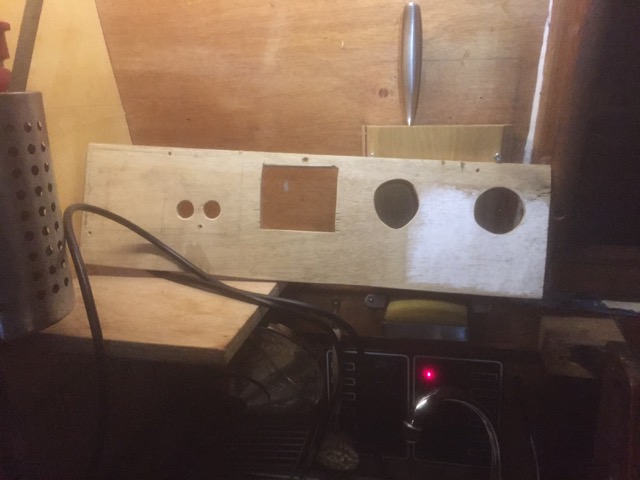
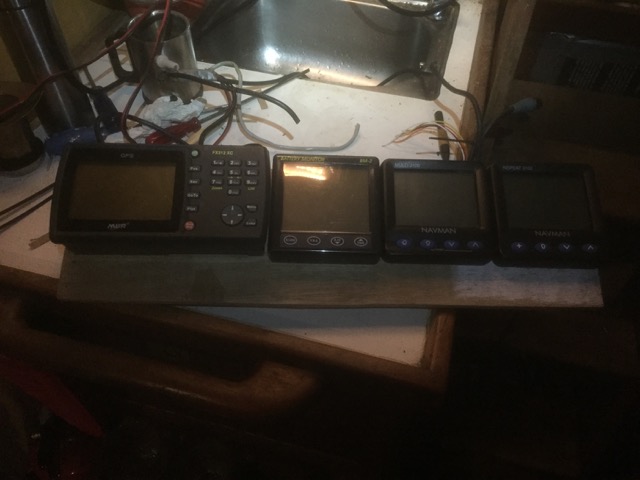
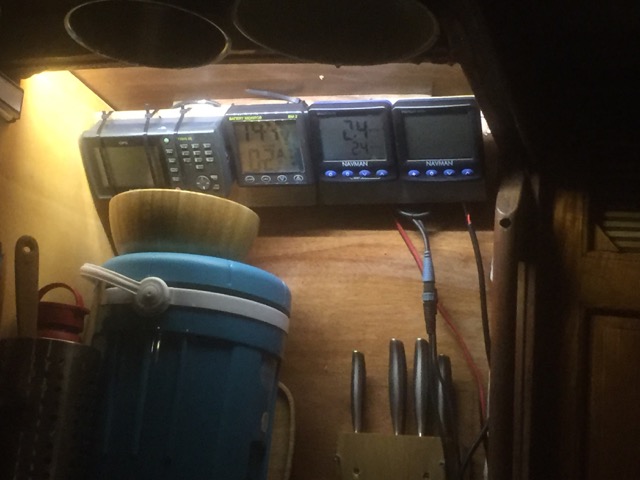
Sadly the two repeater displays (one for inside the cabin and one for outside in the cockpit) where not functioning anymore, but I did find an article online that describes how to fix that problem. I did try to repair them right away, but that did not work out. For now, I won’t be needing those repeaters anyway. Because I bought a multiplexer with wi-fi, which enables me to send all the navigational data to my iPad (or any other laptop, tabled or smart phone device). The old GPS unit that came with the boat does work though. Which means I can use that GPS unit with its own antenna, to get a good GPS reading into the navigation software on the iPad. I quickly made a simple navigation station from another piece of plywood, so I could hang all the navigation equipment in one place.


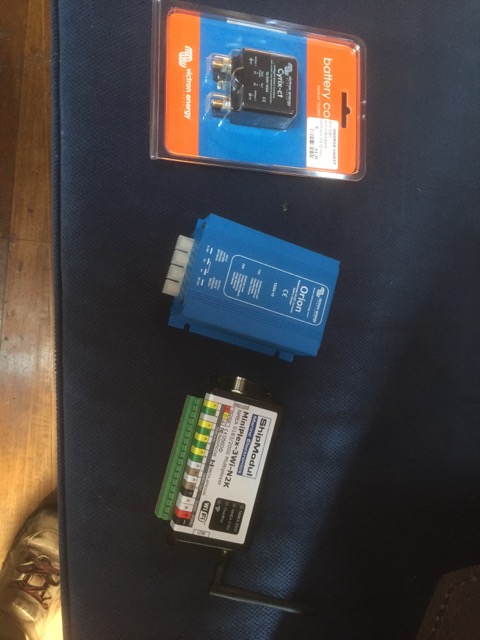
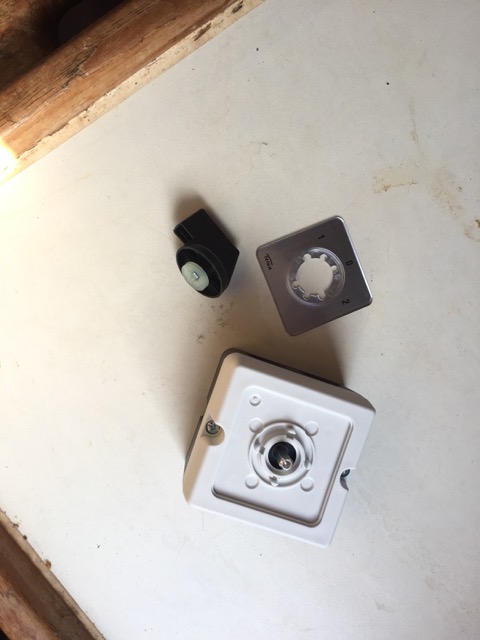
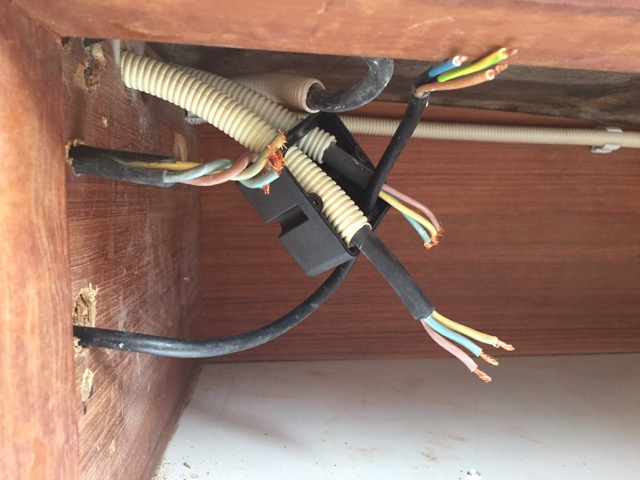
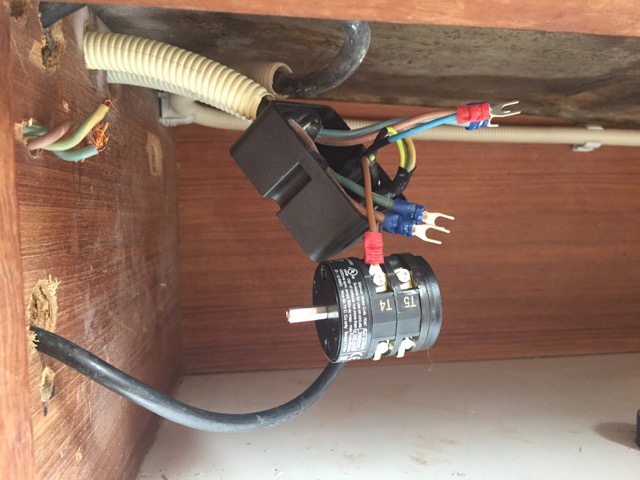
So I did have to buy some new equipment like the multiplexer, a DC to DC converter (to convert 12V to 20V for powering my monitor and laptop with DC), and an automatic switching relay (which enables the service battery to be charged when the motor is running). Also I bought a rotary switch to manually switch between shore power and inverter power (for the 230V AC system) and installed a marine grade RCD (residual current device) safety switch.
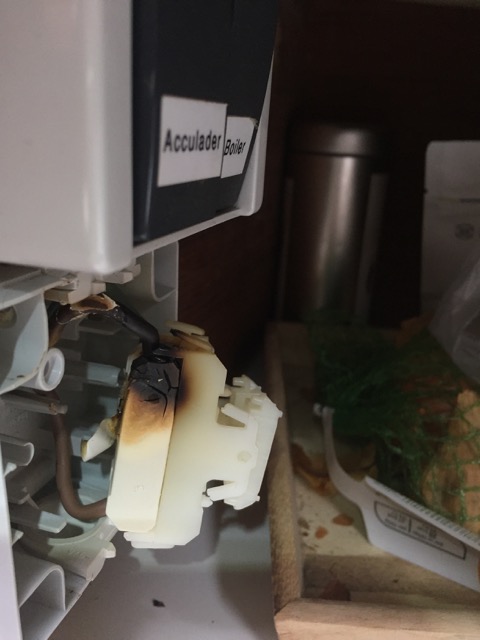
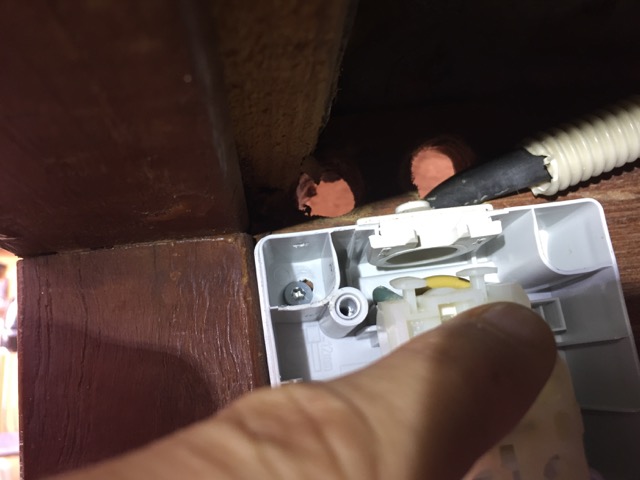
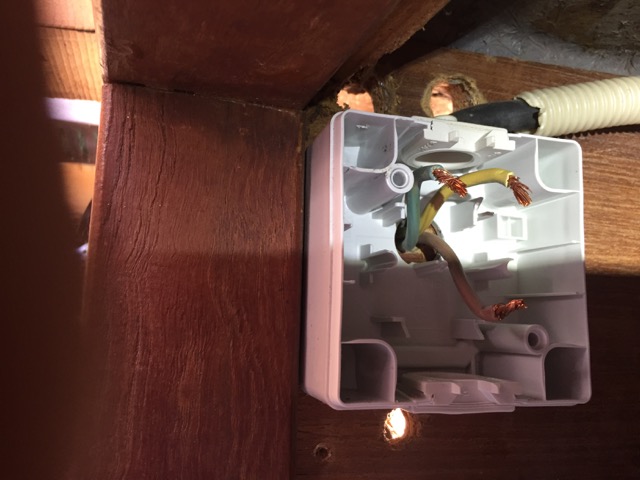
It’s a good thing I went and installed that new rotary switch, because the old setup where I had a normal AC switch installed to turn off all my AC power almost set the boat on fire!
Apparently that switch could only handle up to 10 amps, and aboard the Seadog that appears not to be enough, which caused that switch to cook itself!
That only goes to show that if you do everything yourself you better be knowing what you’re doing (especially with electrical systems). Luckily for me this didn’t end with my boat in flames. But I did learn my lesson and started to read up some more about electronic systems and safety aboard sailing vessels.
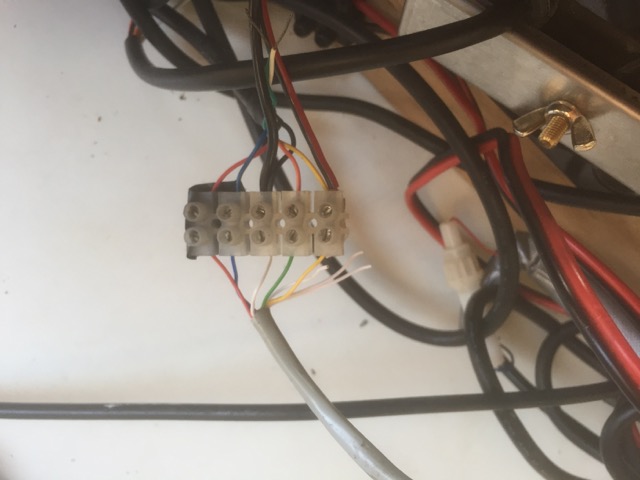
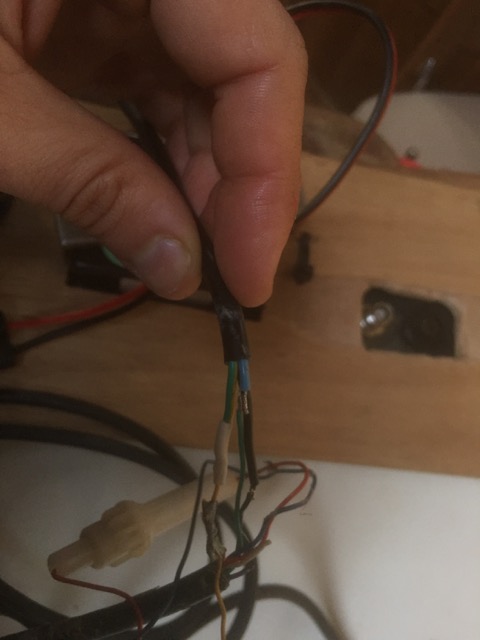
This new switch can handle up to 30 amps, which is more than enough, so that will not be happening again. I would really recommend everyone who is doing their own 12V DC or 230V AC installations aboard to buy and read up about electronics aboard boats. It really helped me understand the inner workings and gave me the confidence that I knew what I was doing. There are some pretty strict rules to follow especially with electrical system aboard a boat, which might not always be what you would expect. Please note that in some of the pictures the cables are still looking very messy, but believe me when I say that when all work was done everything was properly connected and fixed tightly and properly together.

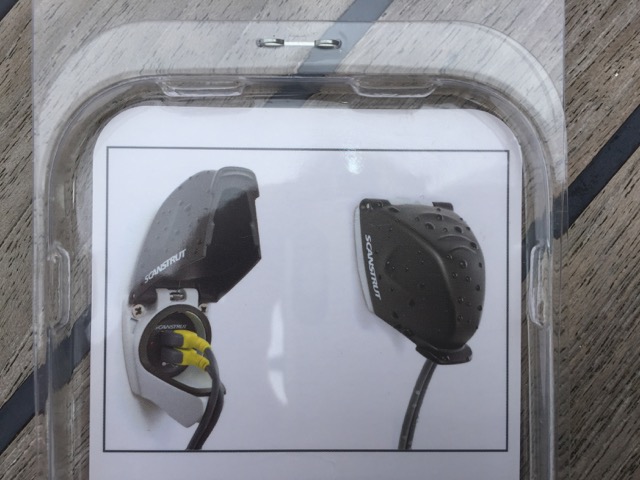
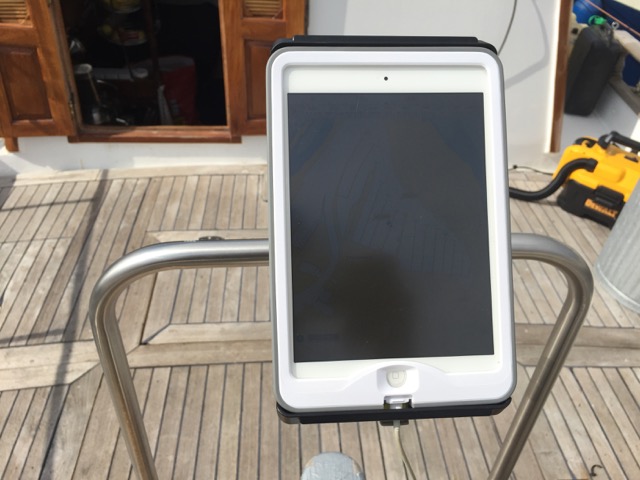
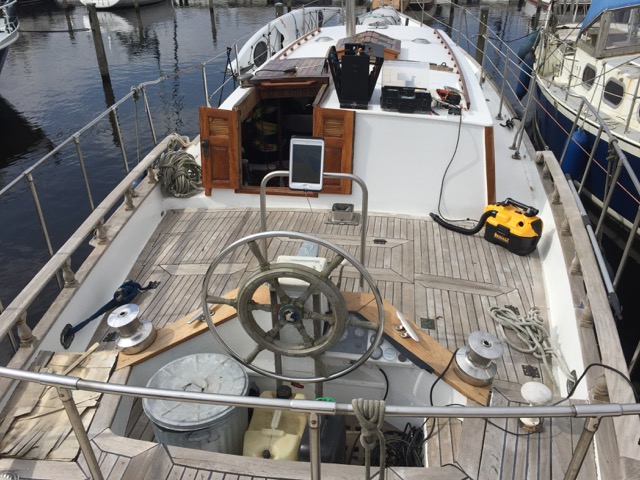
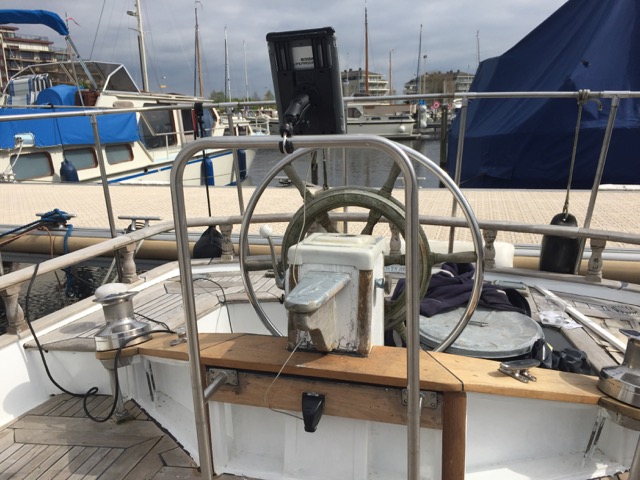
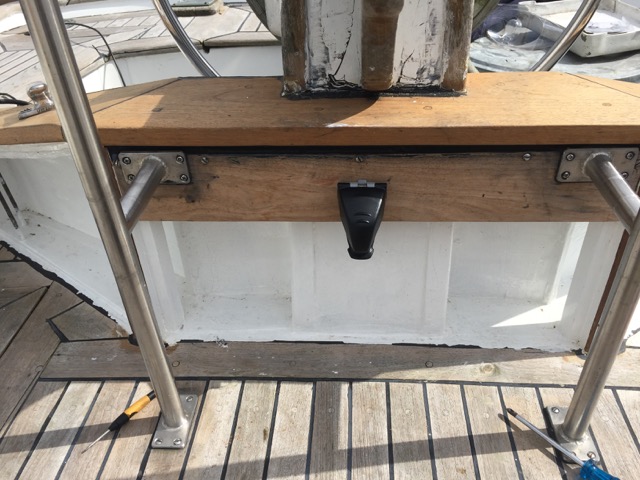
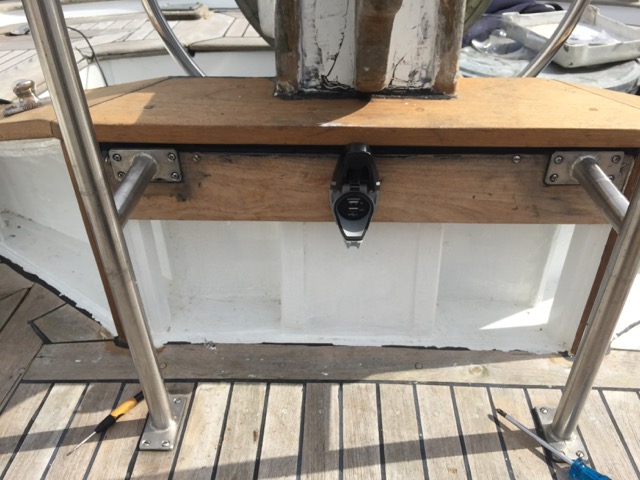
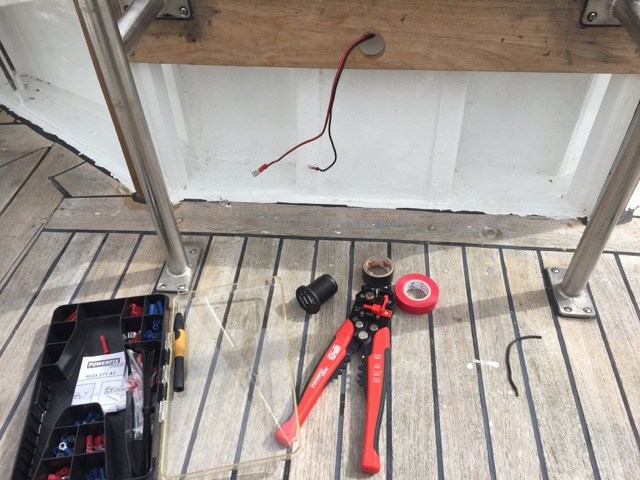
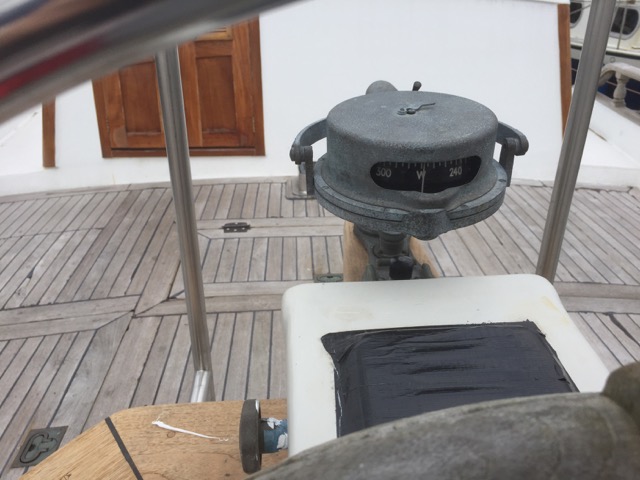
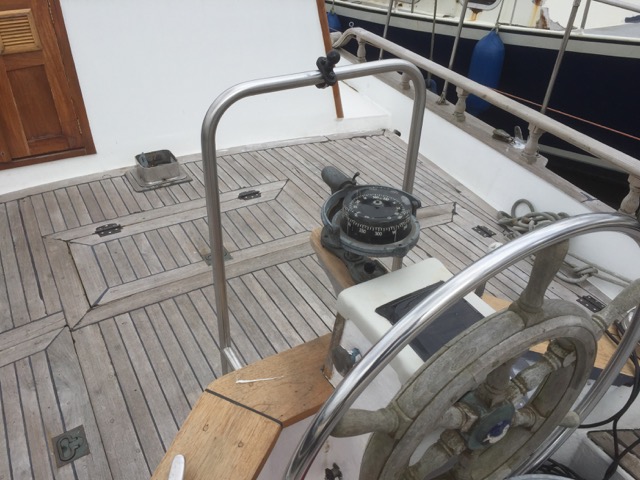
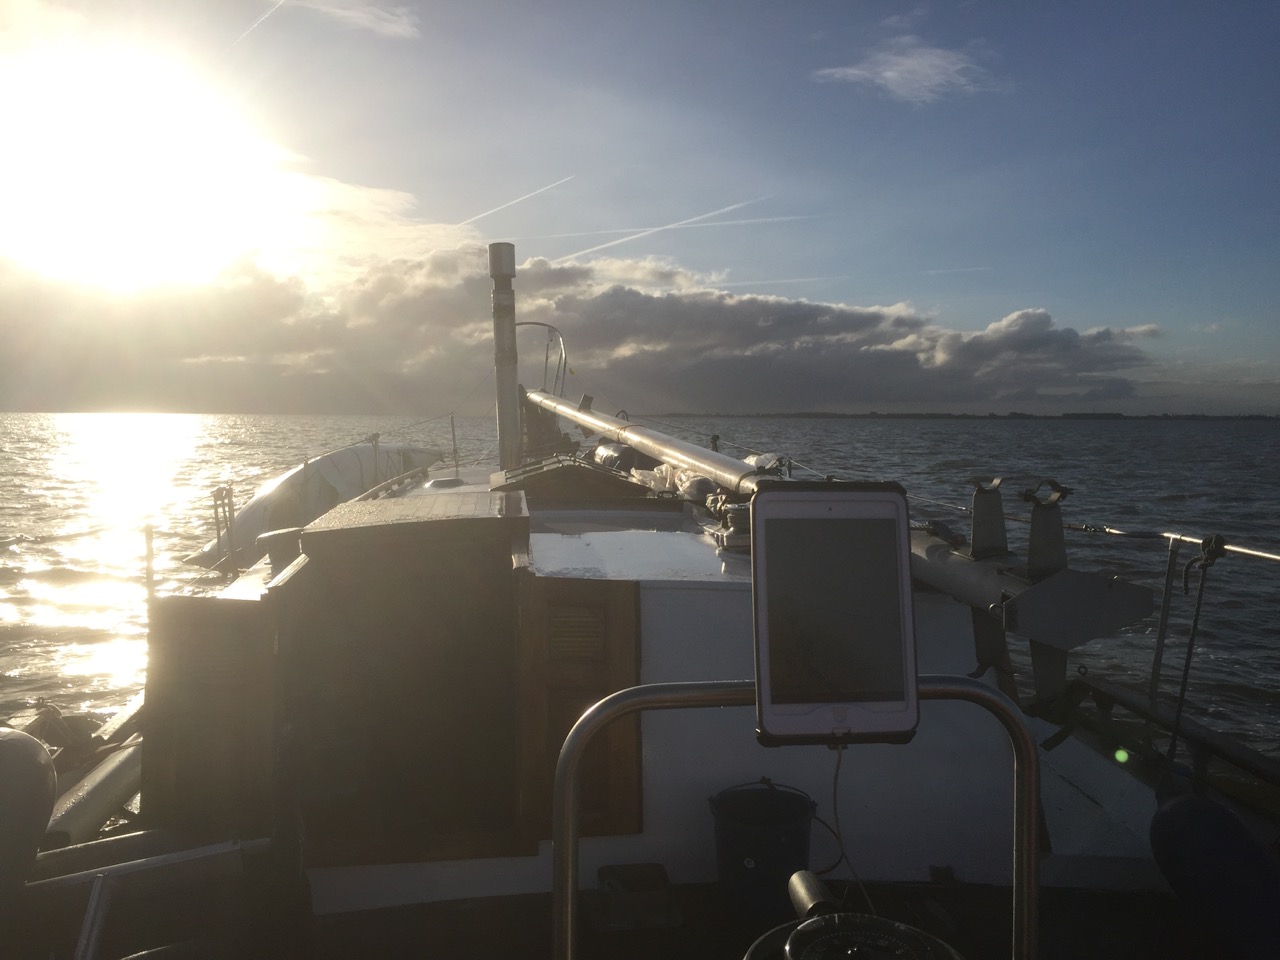
I also bought and installed a waterproof USB socket that converts 12V to 5V to up to 2+ amps, so it can be used to power the iPad from the cockpit. The iPad also has a waterproof casing now, so navigation can be done from the cockpit on the iPad even in the pouring rain (let’s hope that does not happen to often). And if the iPad ever fails, it’s not to big a problem, because the beautiful Sestrel Moore compass is now also installed back into place.
Bed, fridge and live aboard

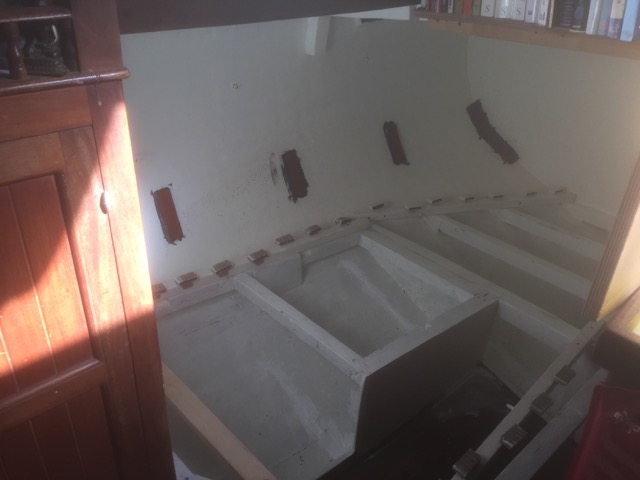
Somehow rainwater is still leaking from somewhere above deck along the hull next to the bed inside the cabin (and onto the mattress). So back in March some minor tasks were done along the inside of the hull to prevent any leaking water from touching the mattress.


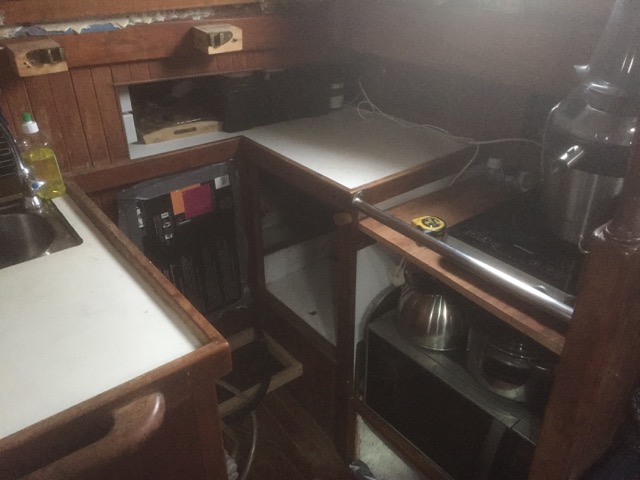
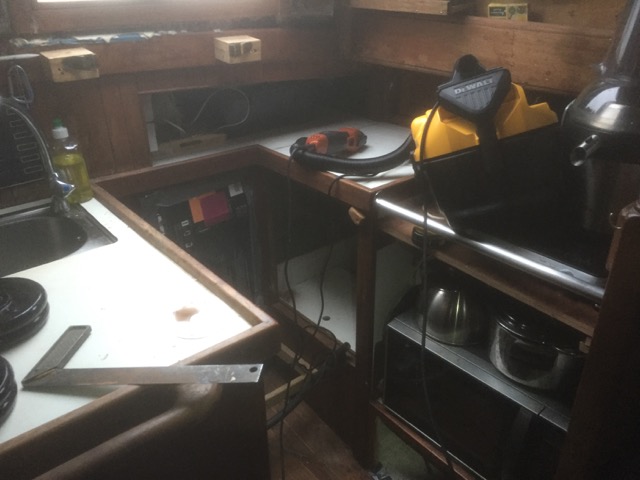
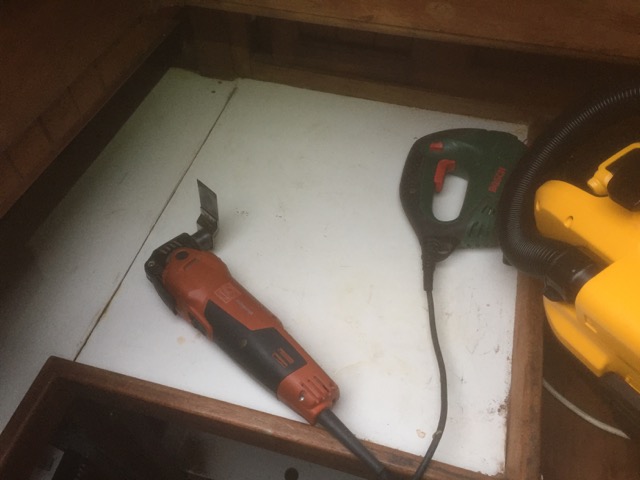
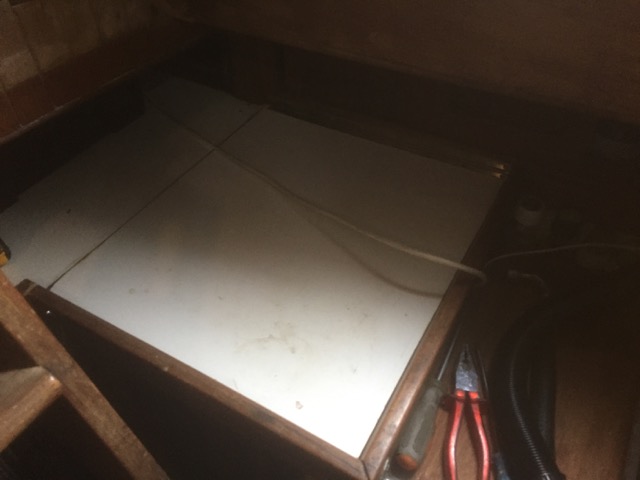
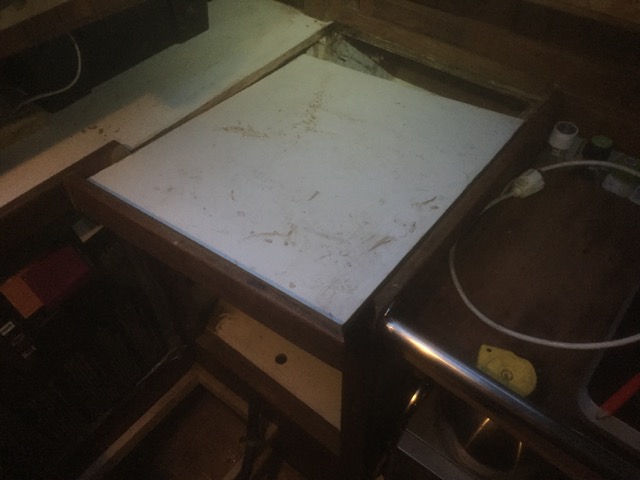
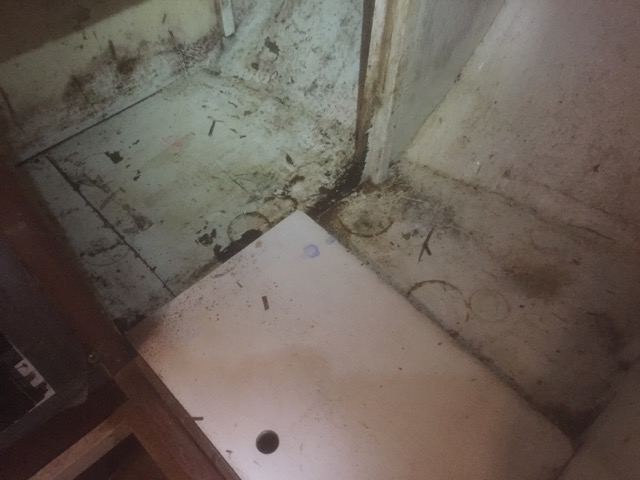
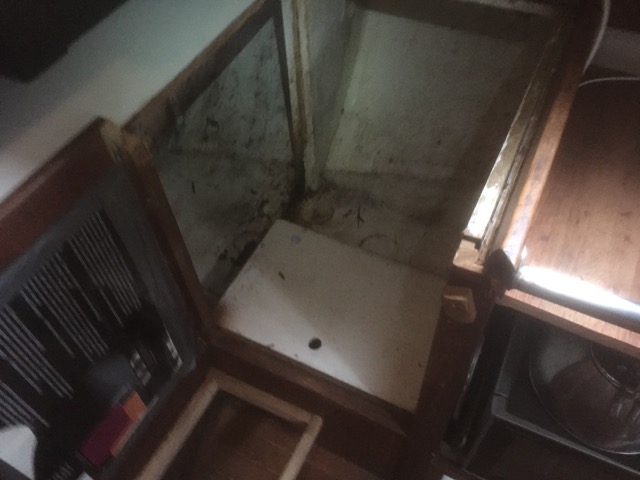
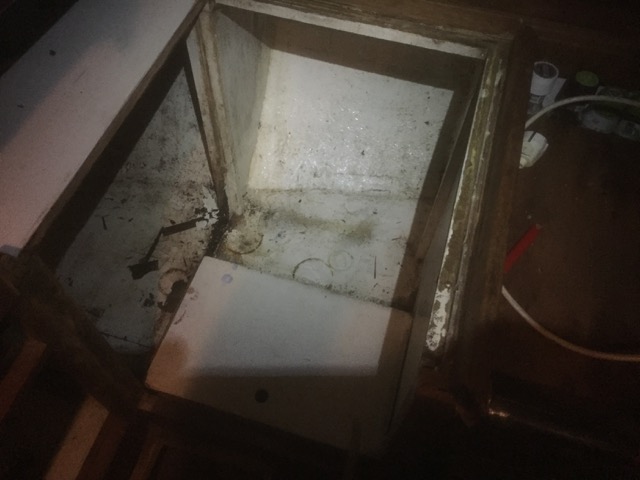
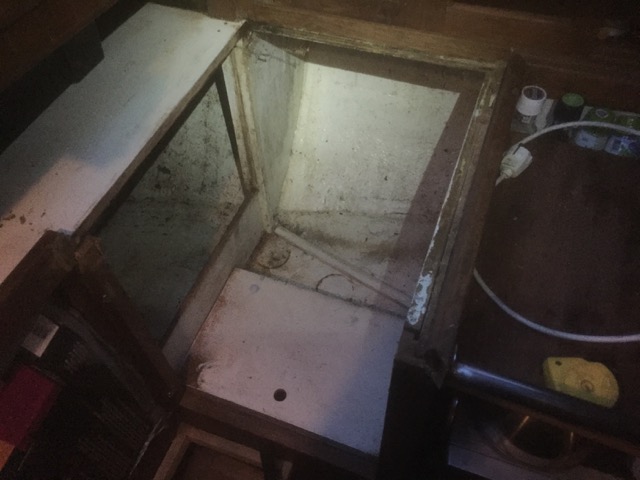
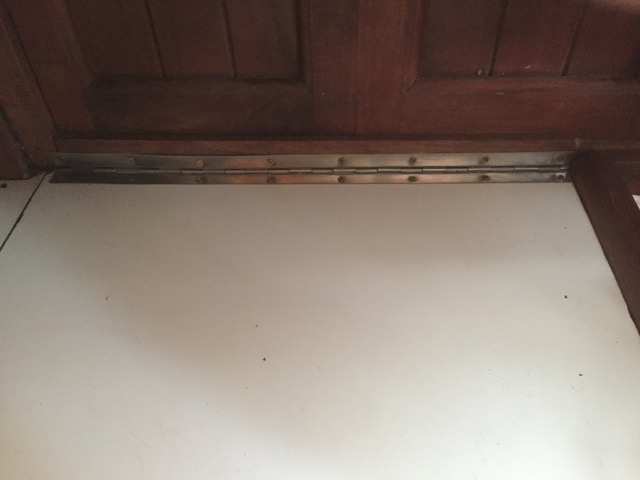
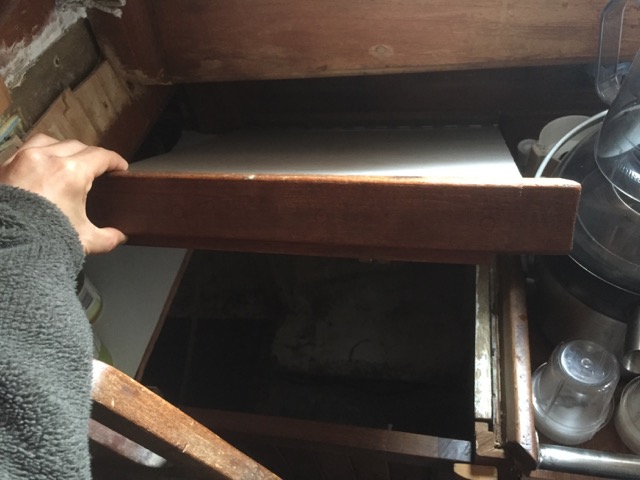
When that was sorted out, work was started on the next project; A build-in fridge. The plan is to build this fridge inside the kitchen counter. On purpose I already had saved up some space underneath the kitchen counter, next tot the stairs. This cabinet couldn’t be used anymore because the stairs now block the door, so it’s perfect to create a top opening hatch to access a build-in fridge. The cabinet perviously had the old paraffine tank (that was used for cooking on the paraffin stove) in there, and also had some leaking problems. So that’s way it so tremendously filthy in there. But after the new fridge box is created, insulated and installed I plan to clean everything down there and give it a nice new coat of white paint.


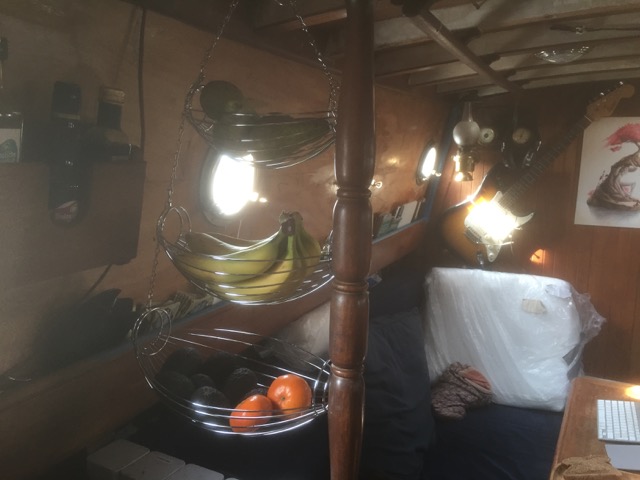
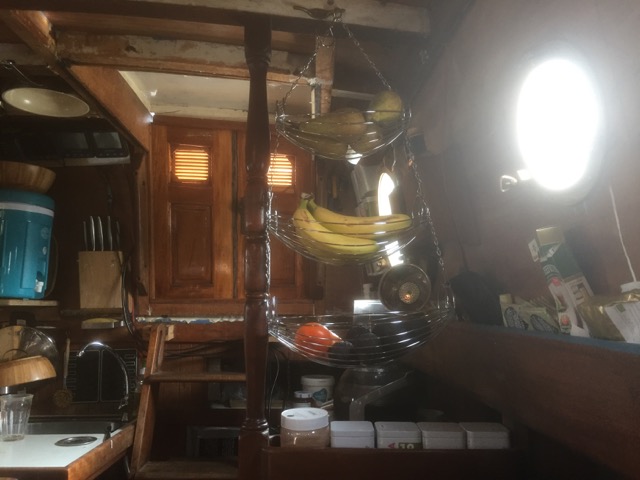
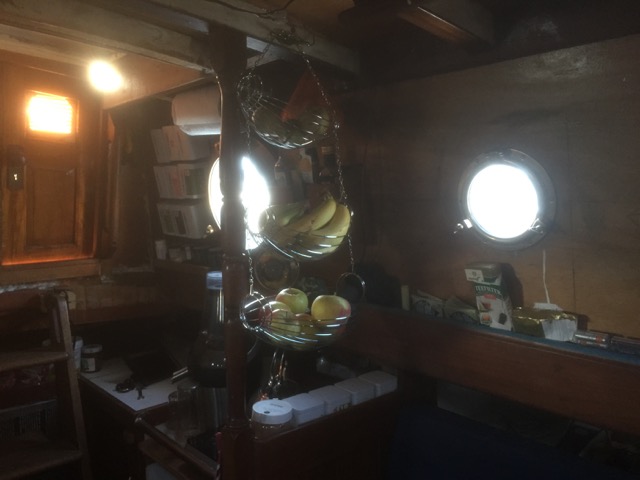
Some other minor updates about the life aboard the Seadog are a few new additions to the equipment aboard. Mainly some new handy dandy hanging fruit baskets, and two beautiful nautical folding chairs.
Also a lot of work has been done with the 12 volt DC, 230v AC electric systems and navigation equipment, plus the solar panels are ordered and will arrive in a few weeks, but more on that in upcoming posts.


The maiden voyage!

p1000079
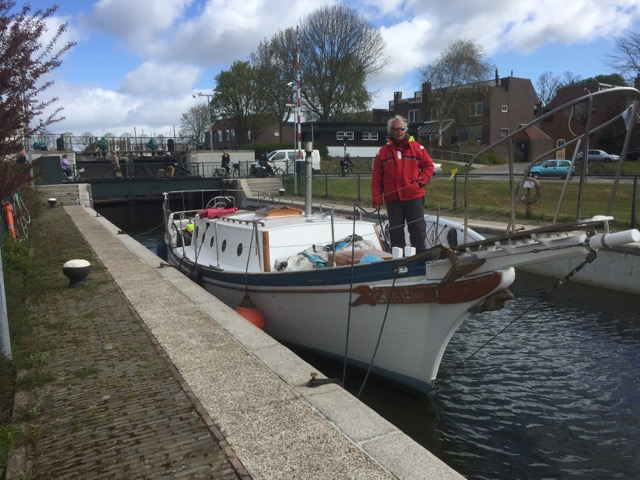
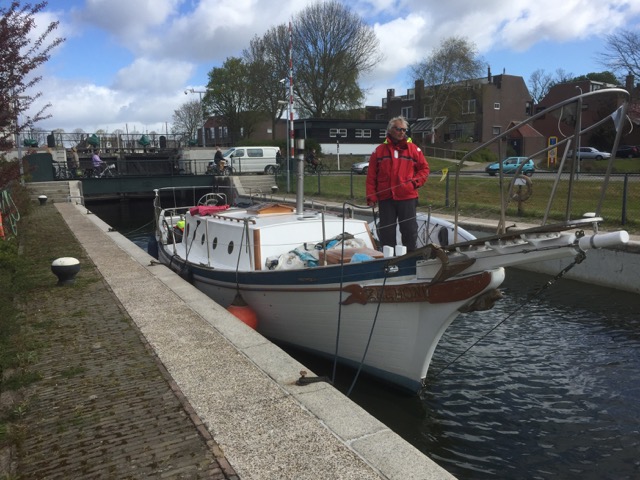
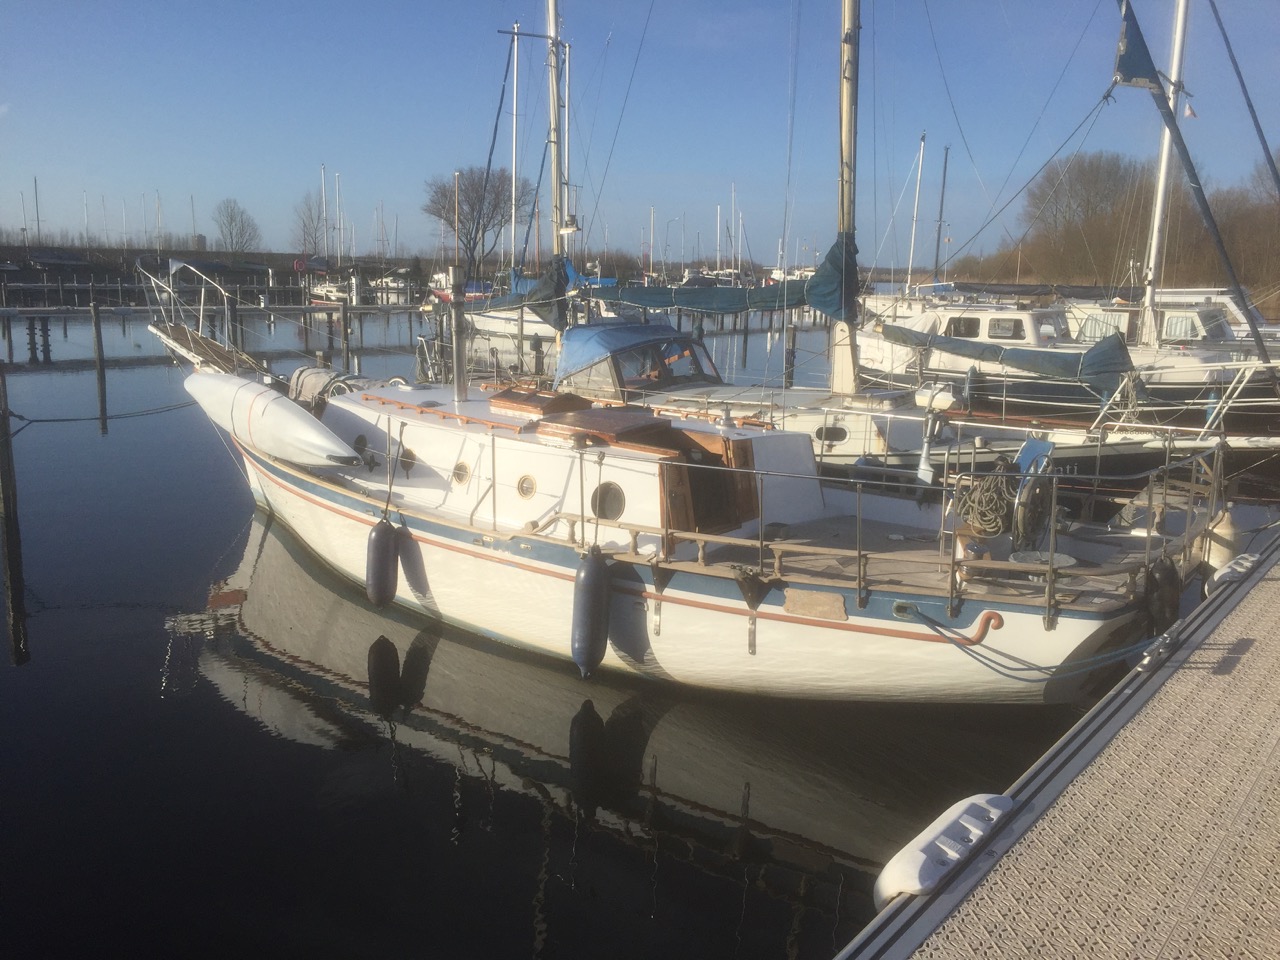
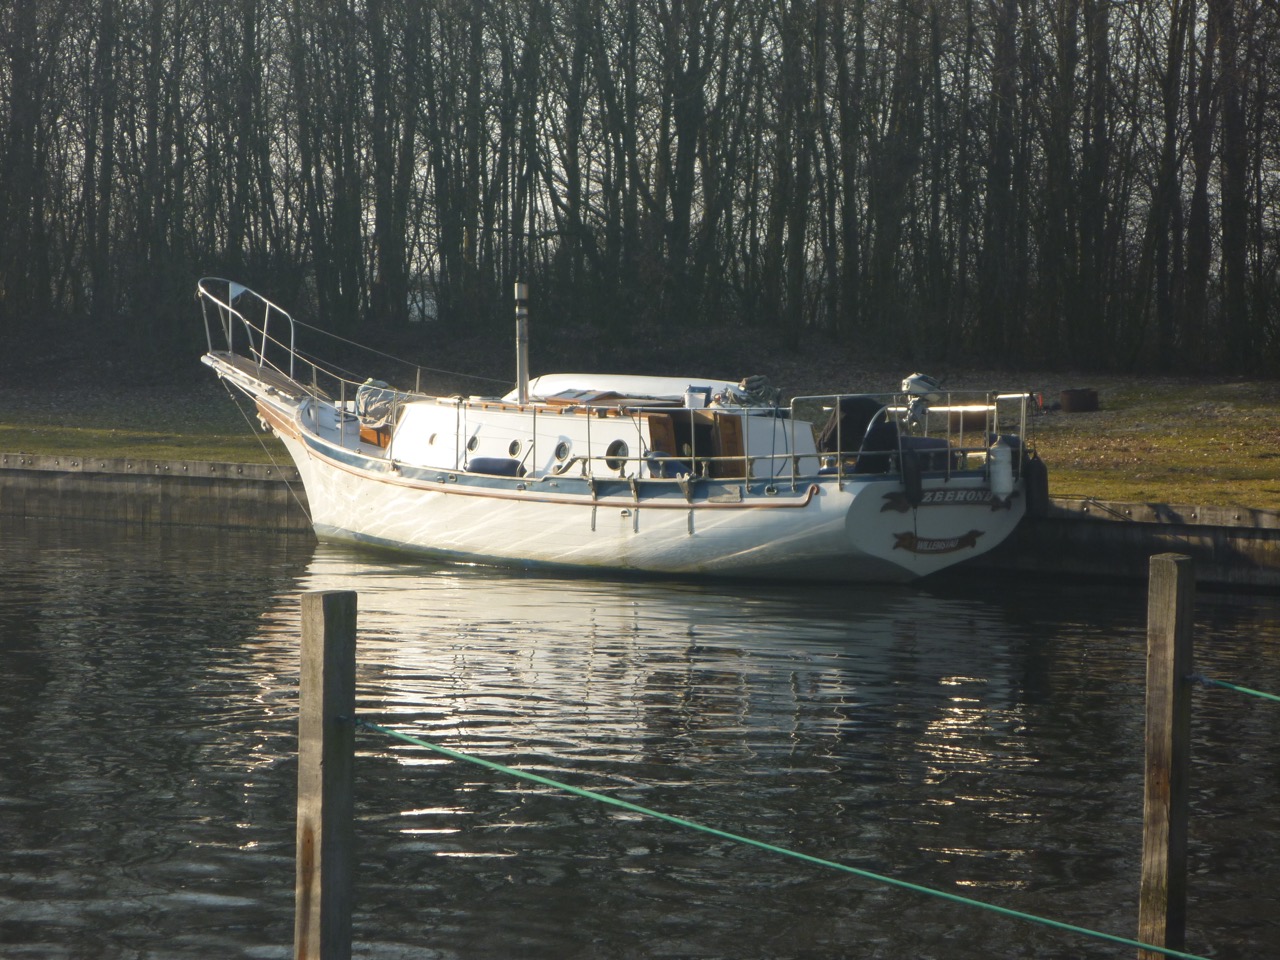
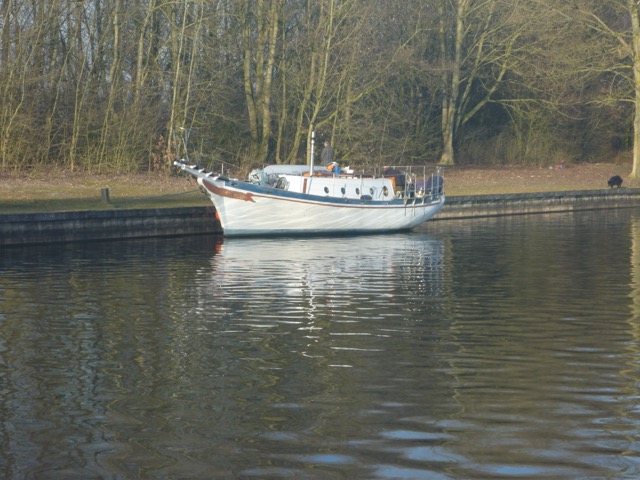
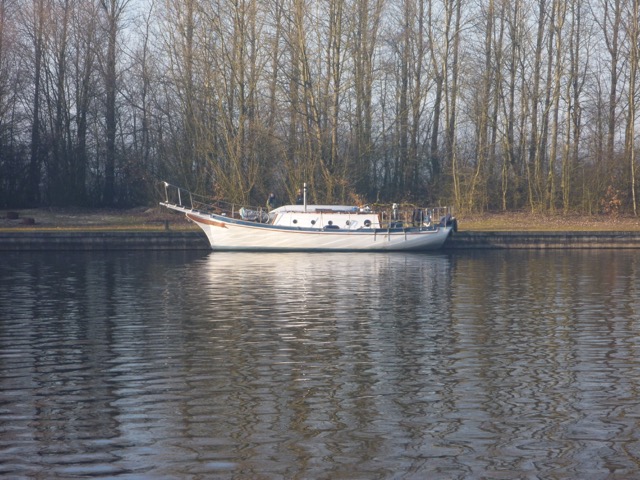
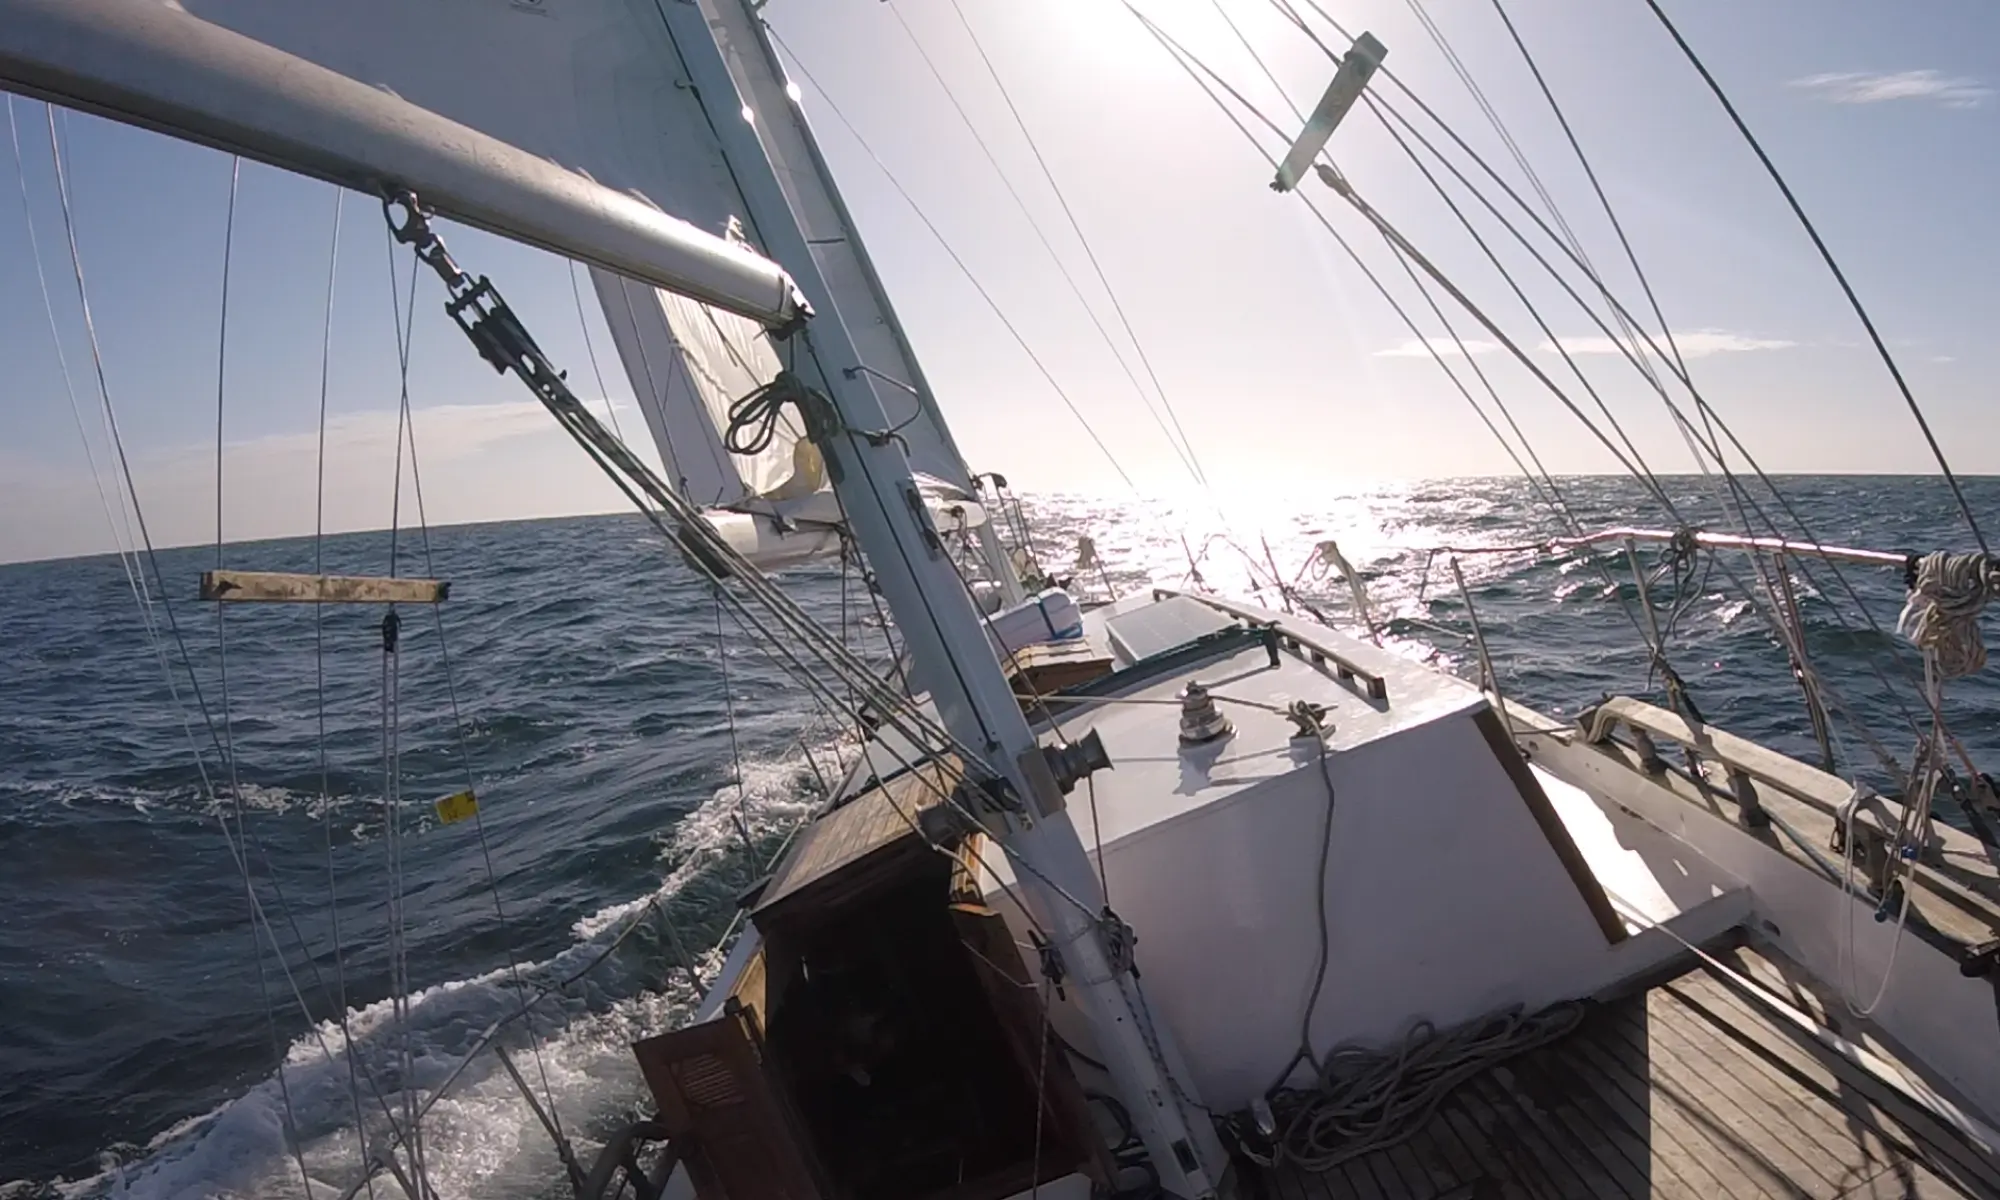
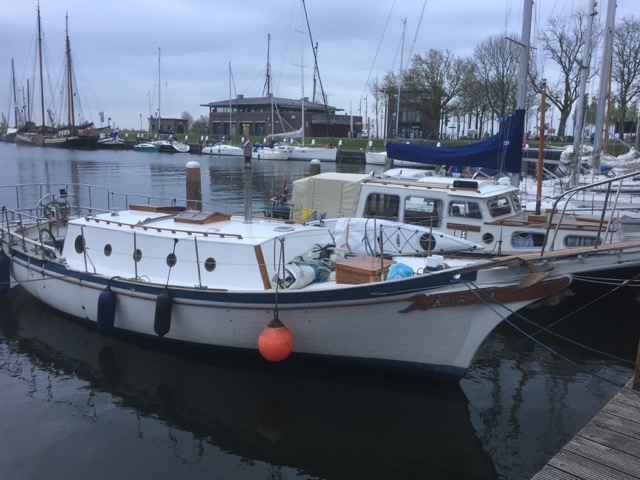
It finally happened, the Seadog made here first real maiden voyage!
And the weather gods were certainly working in our favour on this most auspicious day. The moment we left the harbour the sun started shining and kept it up the rest of the day, even though the weather forecasts were pretty bad.


The engine was still running a little hot, but after lying at anchor for an hour and flushing the engine cooling chambers one last time with some more cleaner all seemed OK.
We then changed our course to the nearest island and the engine seemed to perform superb.
Even when running the engine at very low RPM, Seadog slices trough the water like a knife through butter, with considerable speed.
Don’t believe me? Check out the video clip below.
The next projects will include installing solar panels, battery banks, an inverter and building a custom fridge, so longer voyages are possible without losing all those luxuries.

Seadog in ice and snow (last touches to guard rail and engine dashboard)

Here a quick update with the things that were done in the beginning of February.
First, we had some more snow and ice, but most of the winter weather seems to be over for now. Some projects were only half-finished due to these weather conditions and could now be continued.


The starboard side of the guard rail is now also placed onto the deck, which means the whole guard rail from stern to bow is now back in place.
Also bought myself a new tool bag to keep all the tools more organised and keep all the tool in a compact enclosure, which worked out very well.

Then it was time to make the engine dashboard entirely waterproof by placing a plexiglass sheet in front of it. With this configuration the keys for starting the engine could not go into the keyhole anymore, so some modification needed to be made.
Now that I’m renting a storage box for all the stuff that could not fit onto the boat anymore, I just packed all the stuff I didn’t need right away (which turned out to be a whole lot) and decided to bring everything to that storage unit. The result is a much roomier and cleaner living space inside the Seadog.