After the cabin was fully painted, it was time for the sides of the deck to get its layers of paint. First the teak lit on the side of the deck needed to be repaired. There where holes underneath the lid where water could get in and of course that’s no good. So after some work with the multitool those holes under the lit could be sealed with caulk very nicely. The 10MM carbide rasp for the Fein Multimaster was used to open and clean the holes under the lit, so the caulk could easily applied and also would adhere to the polyester and teak better. After a few days the excess caulk could also be easily removed with the profile sanding set accessory for the Fein Multimaster. The right tools really make all the difference. After decreasing the deck the painting job could finally begin.
Sailing trip to England… Uhhh Belgium…
Way back in April/May I was lucky enough to once again join the crew aboard the Phoosticks. This week I finally had the time to gather and select the photo’s that were taken in that trip. So be sure to check them out below.
Like every year the destination was England but alas, the weather was not in our favour so we didn’t cross the English Channel. That certainly did not mean we didn’t have a great time tough. We altered our route to sail along the Belgium cost. Which turned out to be a very good idea, because that meant we had perfect sailing conditions (most of the time).
All in all, we had a lot of sun and great winds. Once again a very nice experience, check out the photo’s to see what I mean.
Repairing a teak hand rail
One of the teak hand rails was partially broken. To fix this issue the epoxy was taken out, to safe the day once again. Teak can be tough to repair because it’s a very greasy kind of wood. That is why most glues, paints or varnished don’t really bond well to teak. By first degreasing the teak with acetone and using a special diluted kind of epoxy that really impregnates the wood one can overcome this greasy problem. After the first impregnation layer was applied and became sticky enough (after an hour or so) a next layer with a more “glue like” character was made with a special kind of epoxy filler. This makes the epoxy thicker and thus easier to apply, plus it fills the gapes better.
After the epoxy has dried enough (about 2-6 days) it could be sanded and varnished with a special kind of impregnation 2 component varnish which is specially made for teak. After 5 layers of this 2 component varnish, two more layers of extra UV filtering 2 component varnish fill be added for the finishing touch. I plan to do the same with all the other teak outside, with exception of the teak deck.
Applying the last layers of 2 component paint to the cabin
Before the tarp can be removed from the boat, the cabin needed at least two more layers of paint. So, back in April me and my father were hard at work to finish the cabin.
First the cabin needed to be sanded again. This needed to be done to make sure the new layers of paint adhere to the old layer (that was painted on almost half a year ago). The outside temperature for painting with 2 component paint was finally warm enough again (around 20 degrees celsius), and so we could paint multiple layers after each other, without having to sand in-between the new layers. This can be kind of tricky, because you only have a small window of time before you can add a next layer.
Add the next layer to early and the underlying layer will not dry correctly. Add the next layer to late and the new layer will not chemically bound to the underlying layer. This means that if you wait to lang, you have to sand again before a new layer can be applied. The 2 component paint we used had a time window of 24-48 hours between layers (with ideal temperatures between 20-25 degrees celsius), so we could paint one layer a day. See the photo’s for the end result.
Removing parts of the teak deck
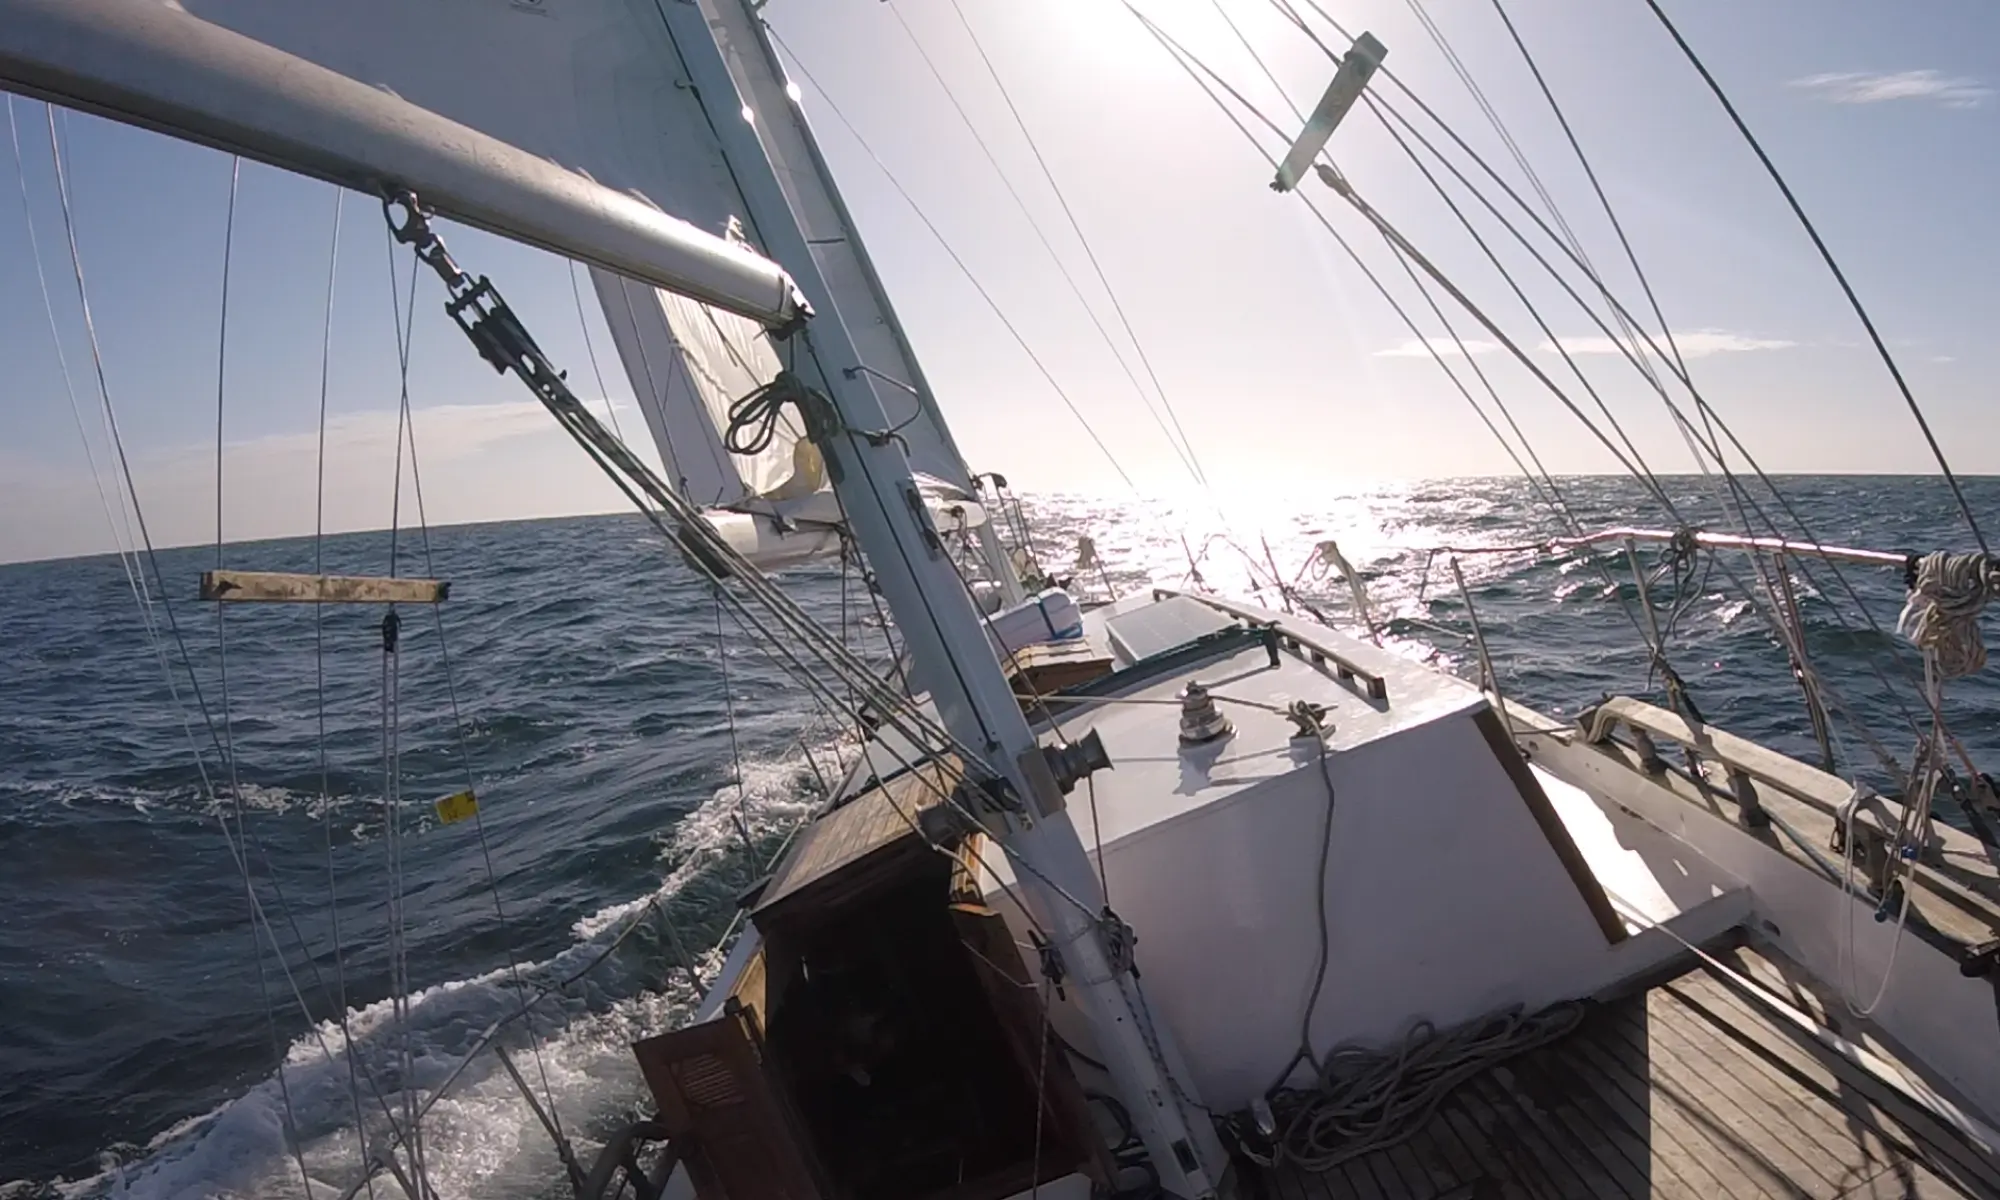
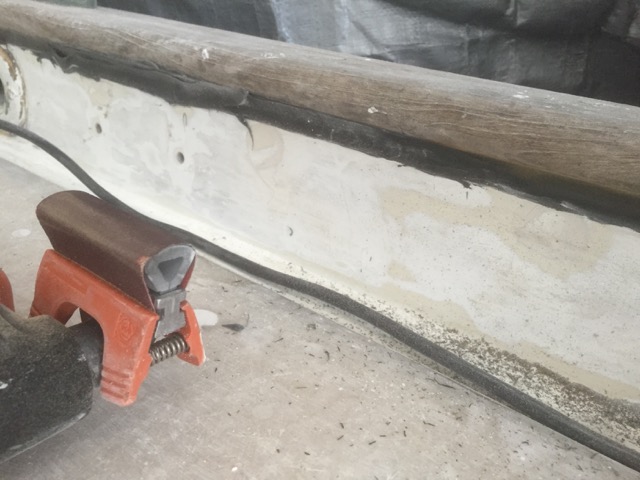
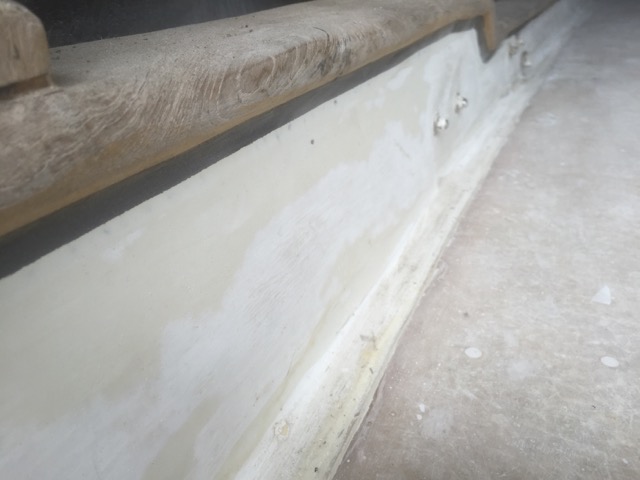
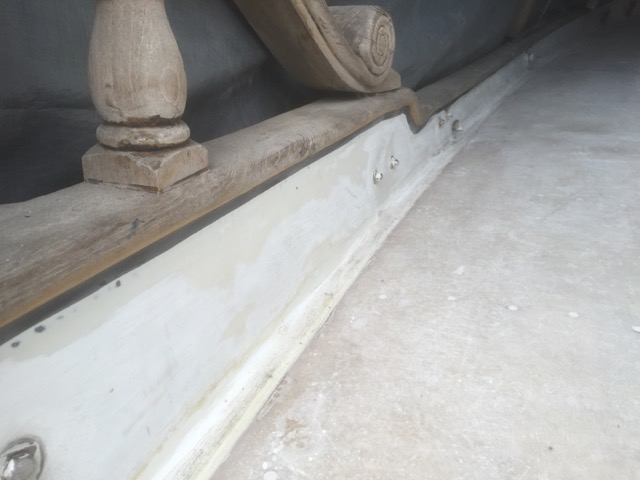
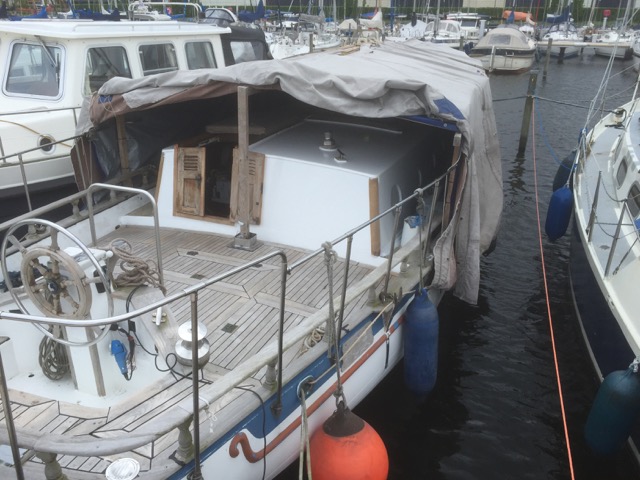
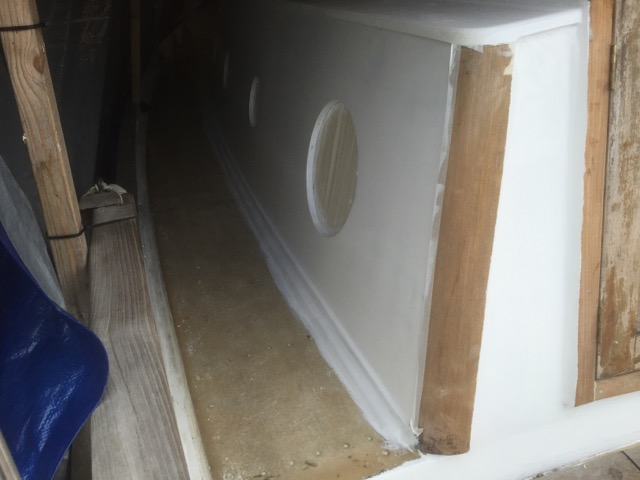
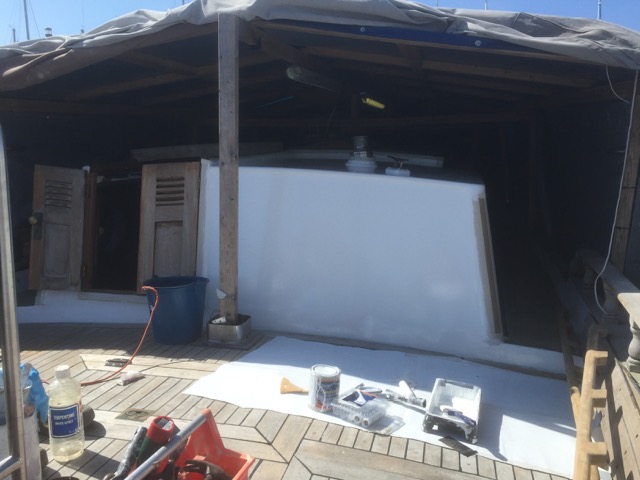
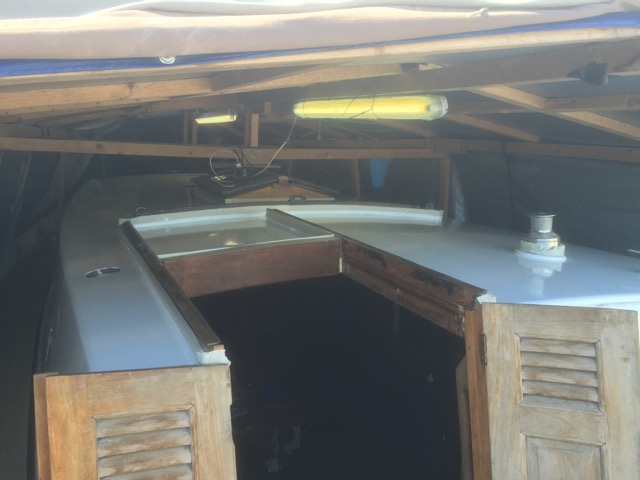
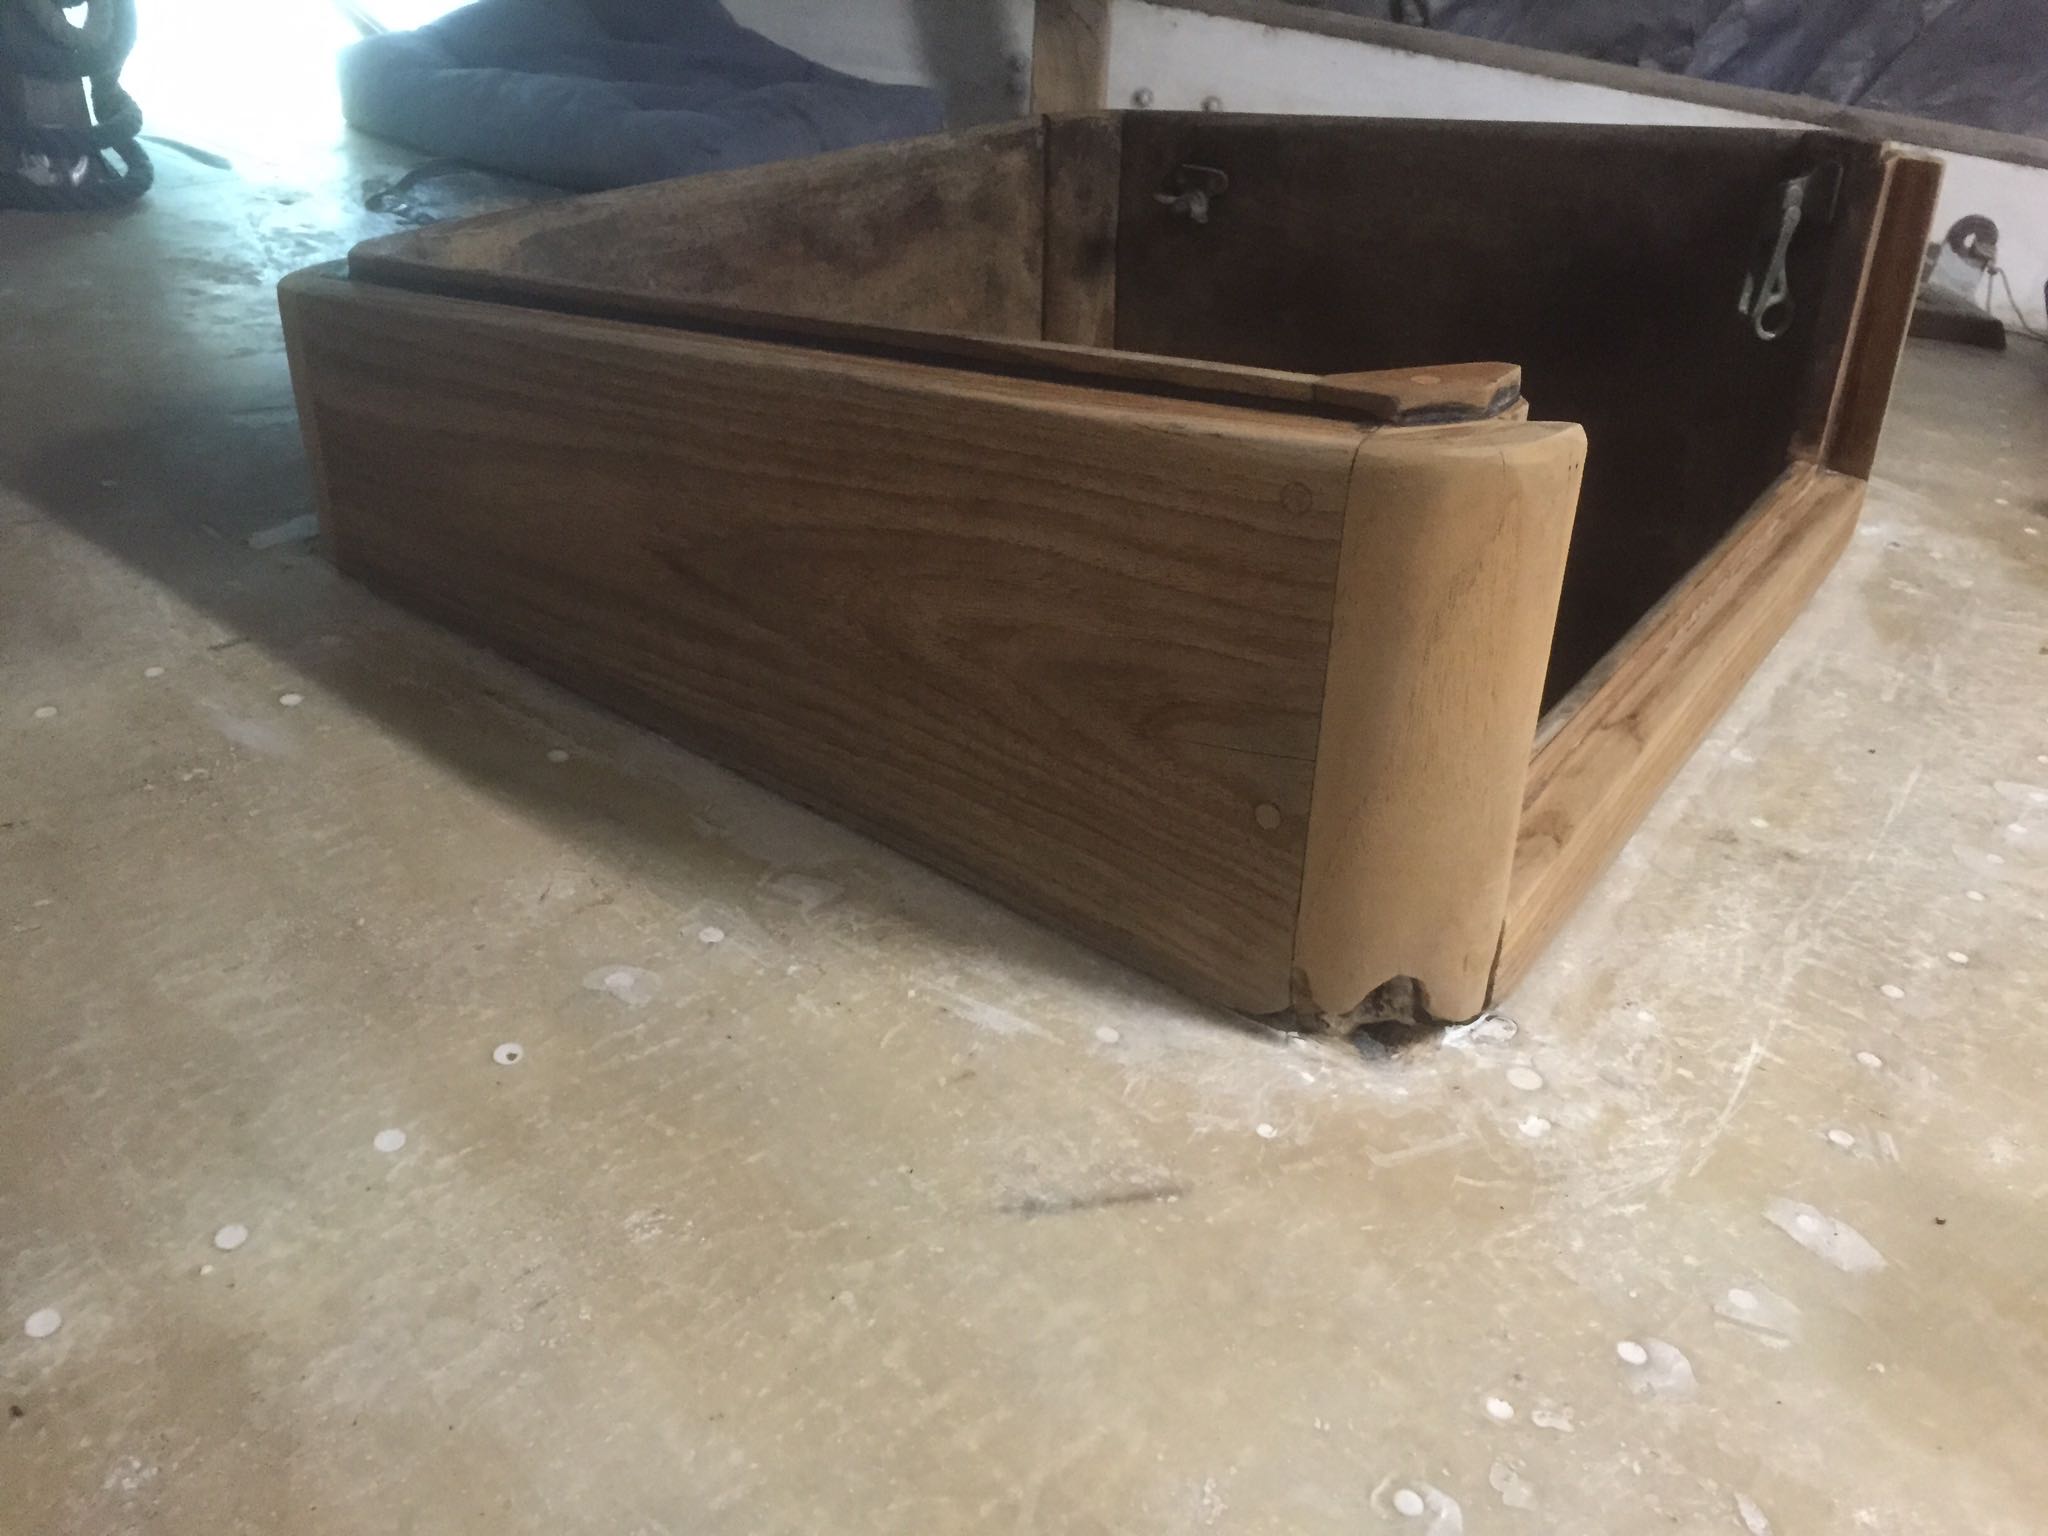
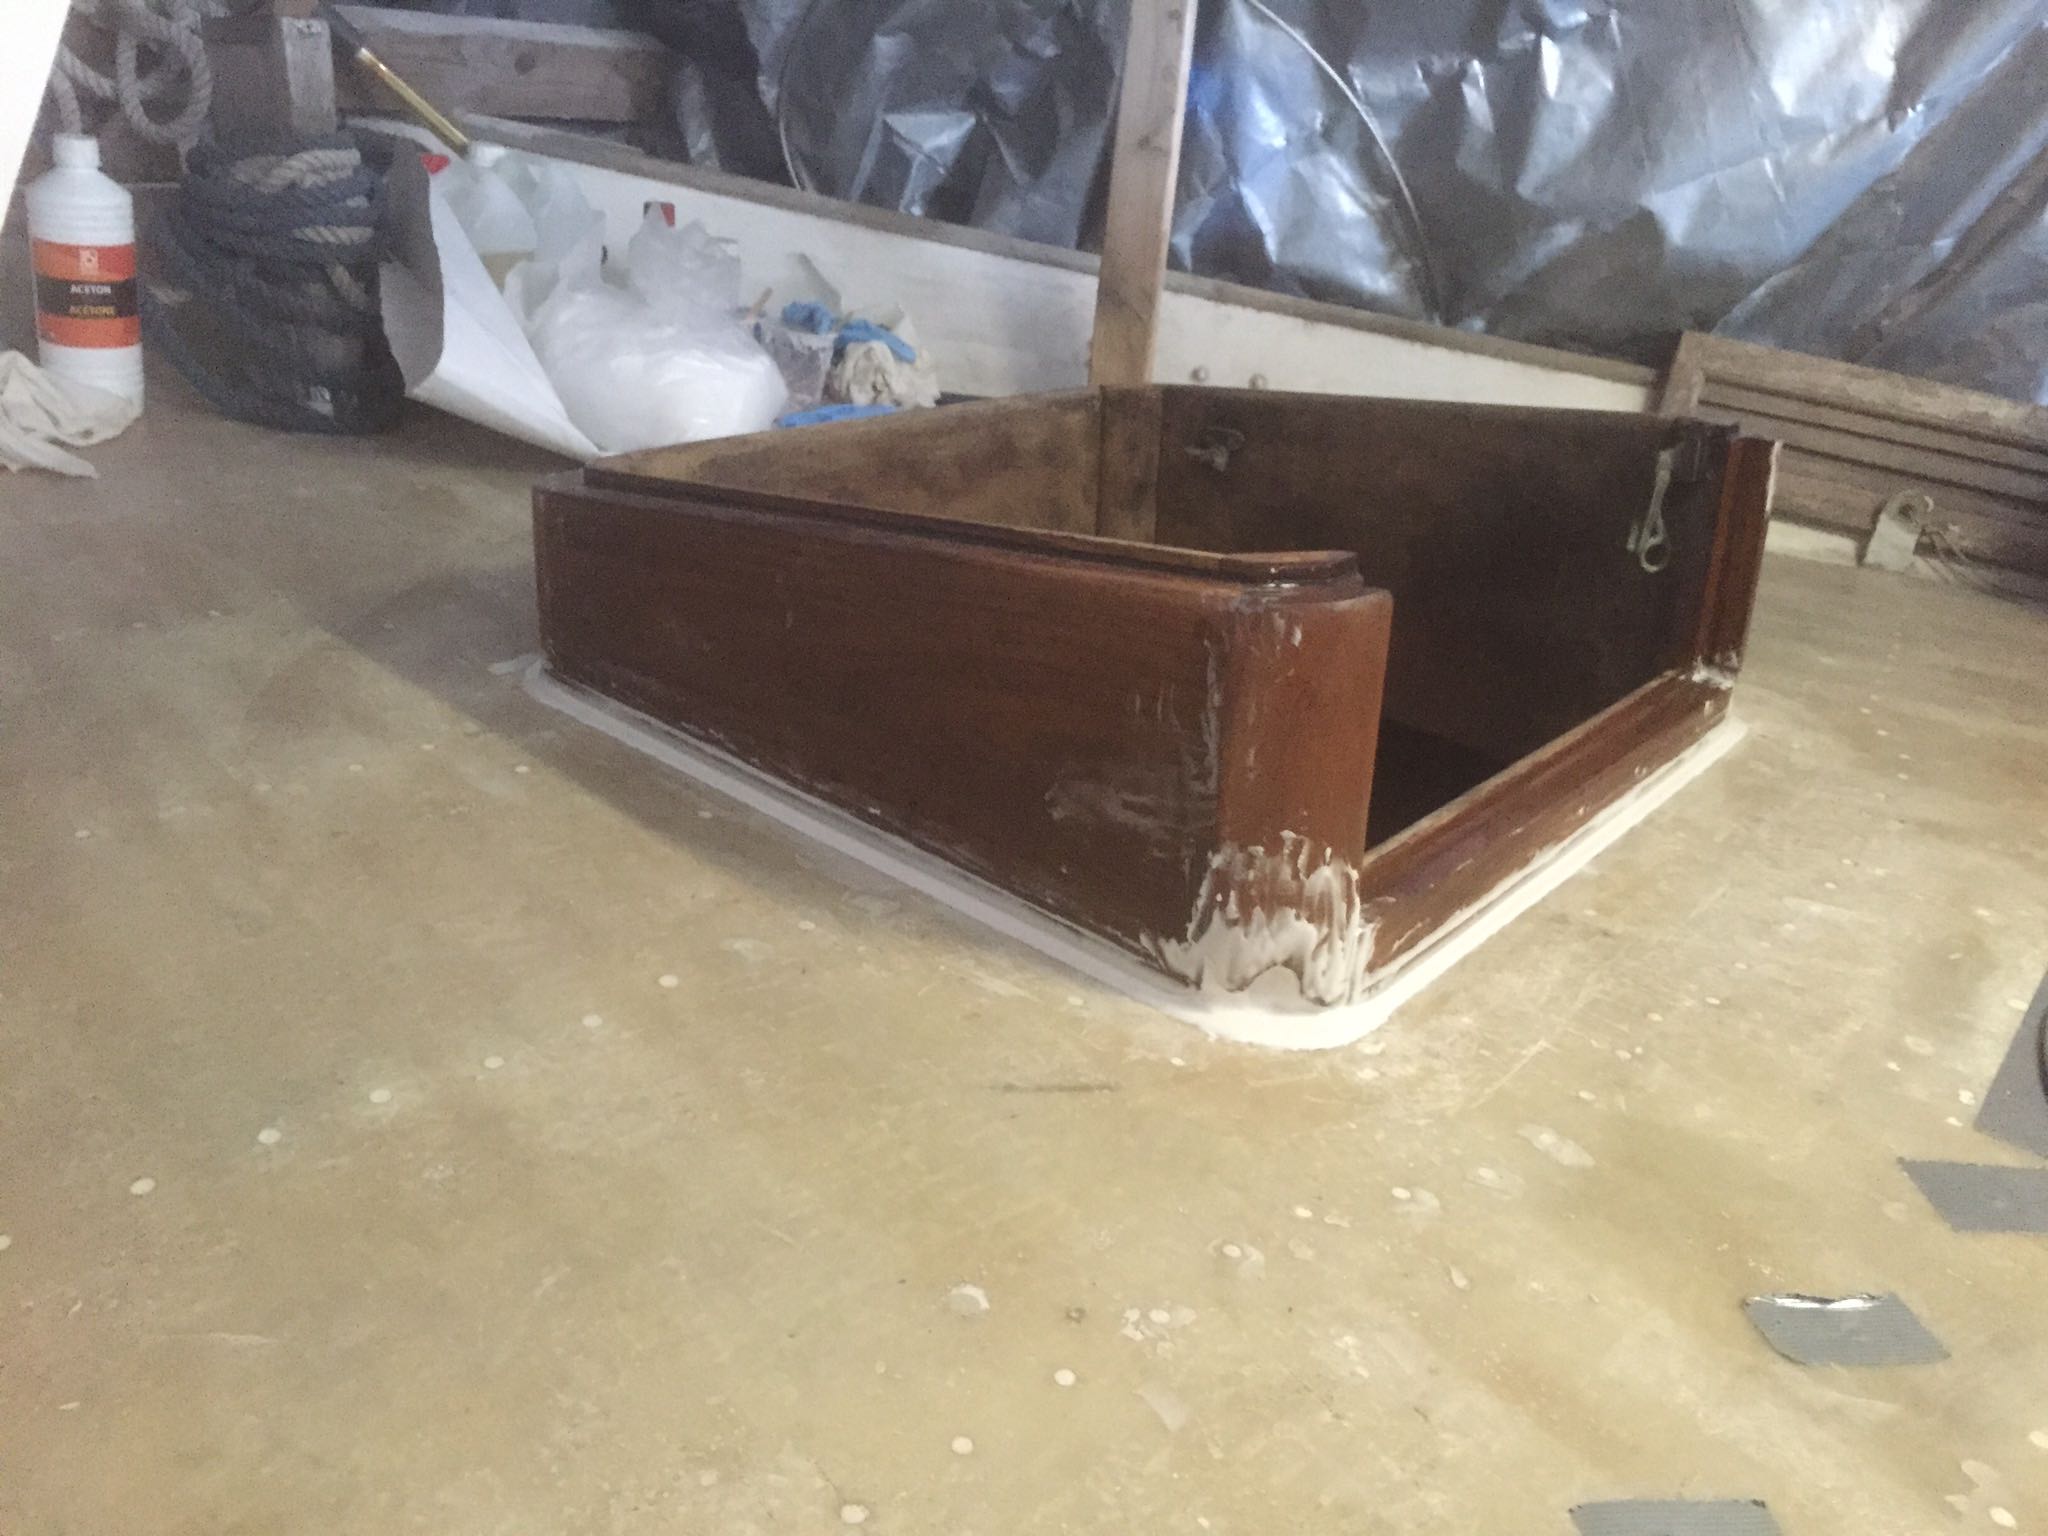
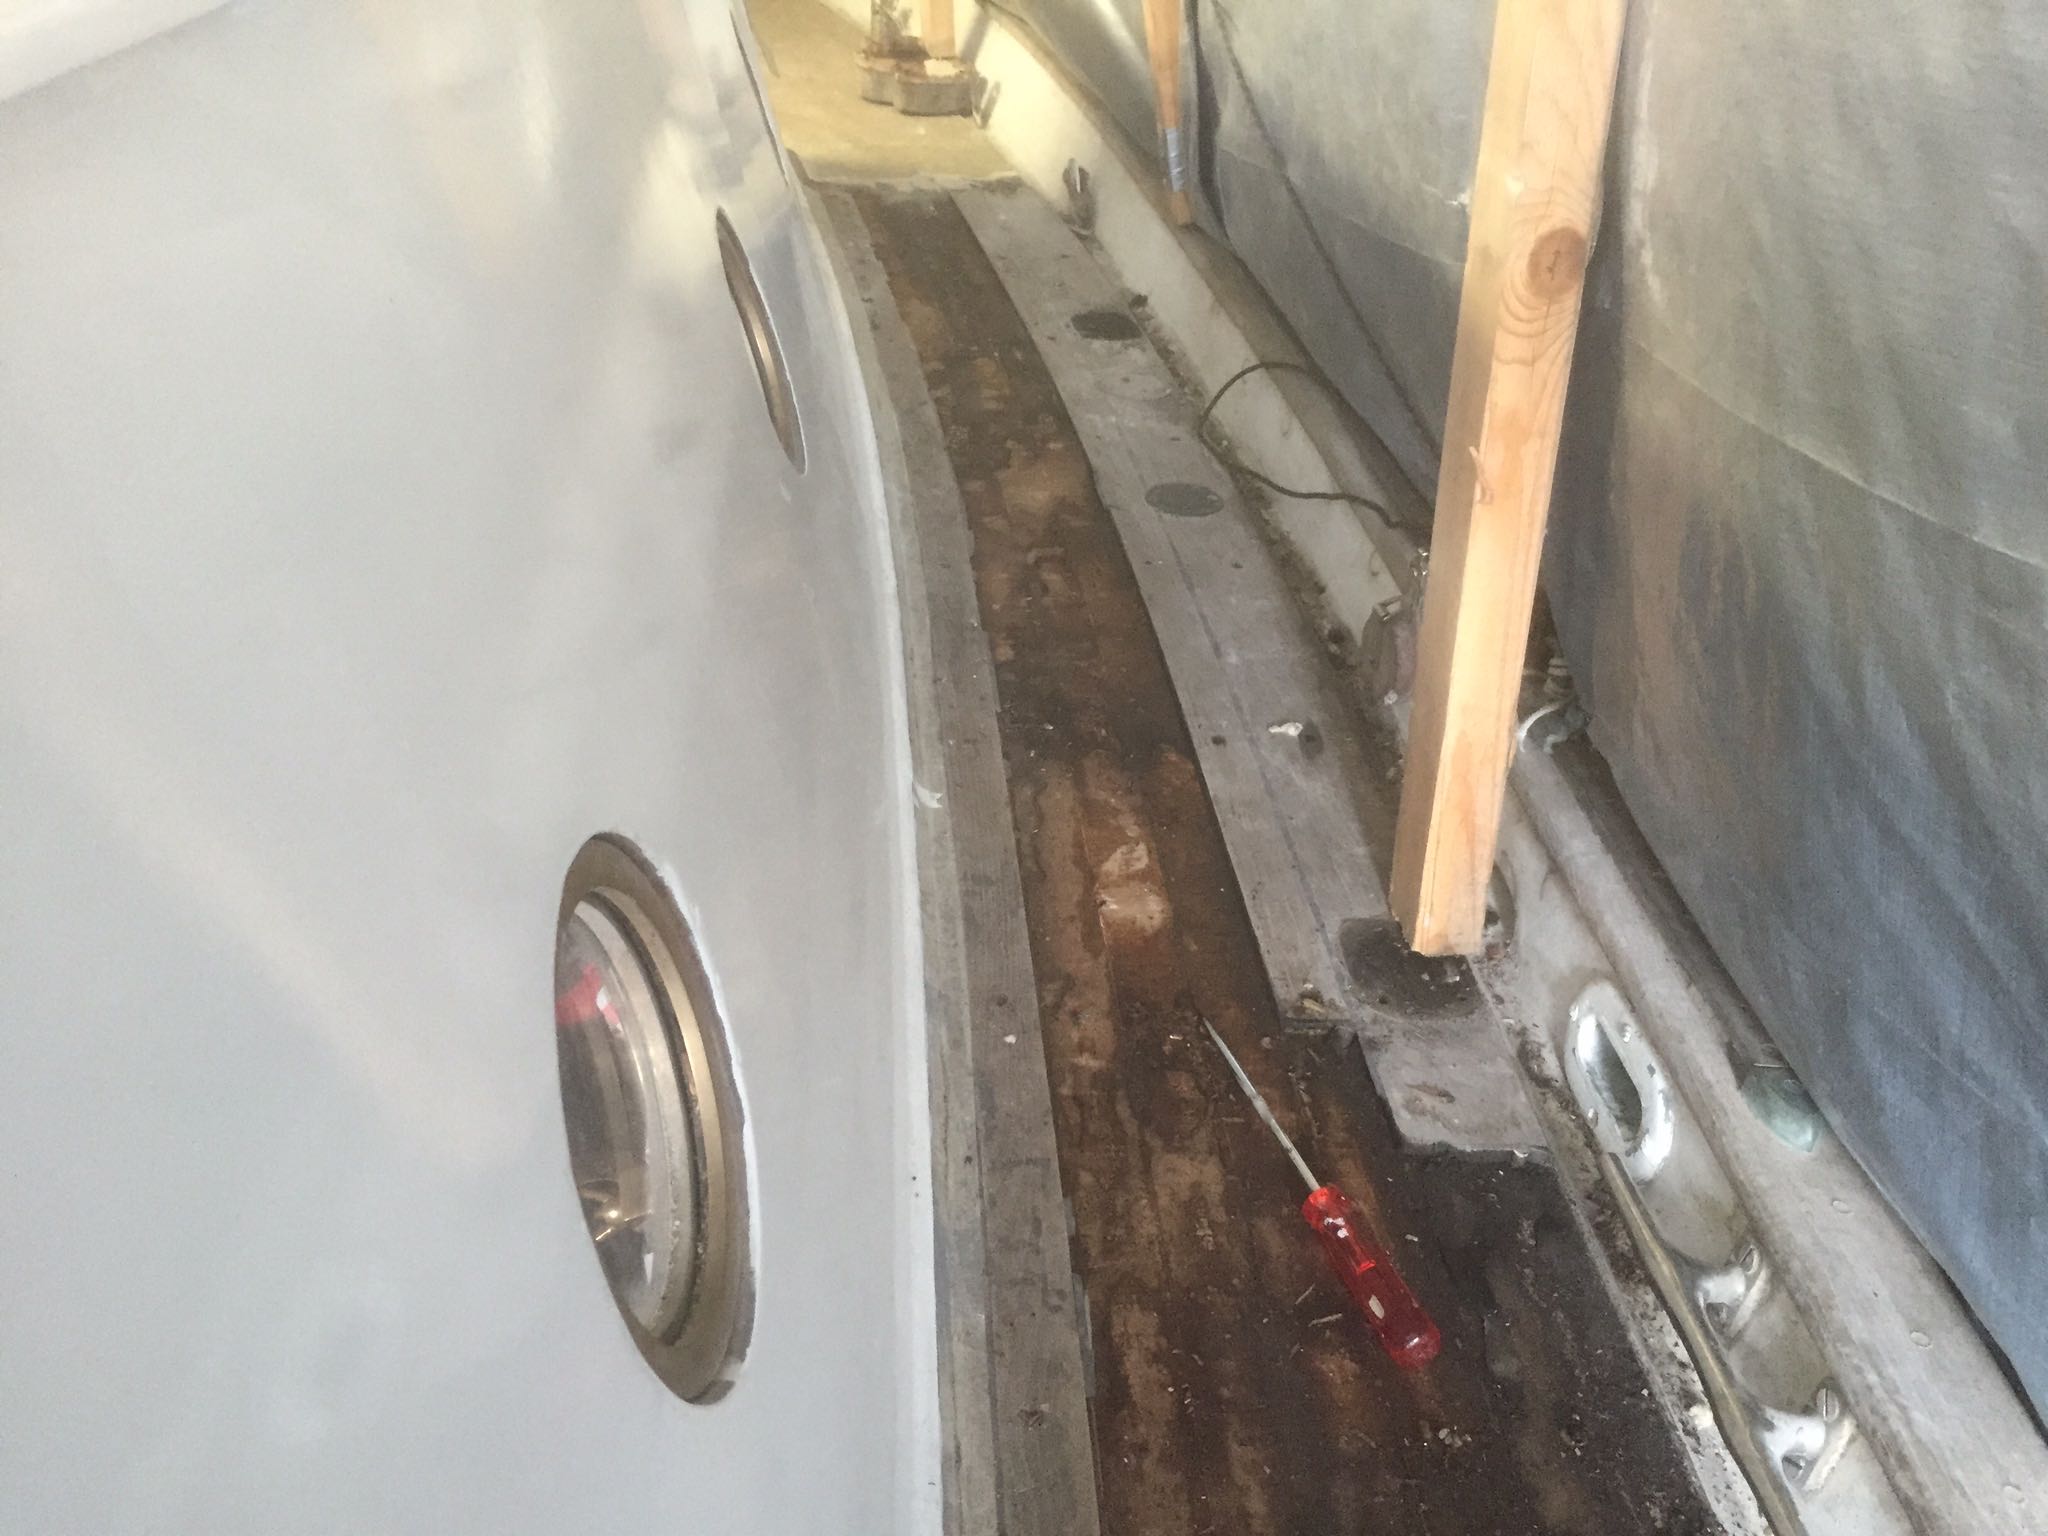
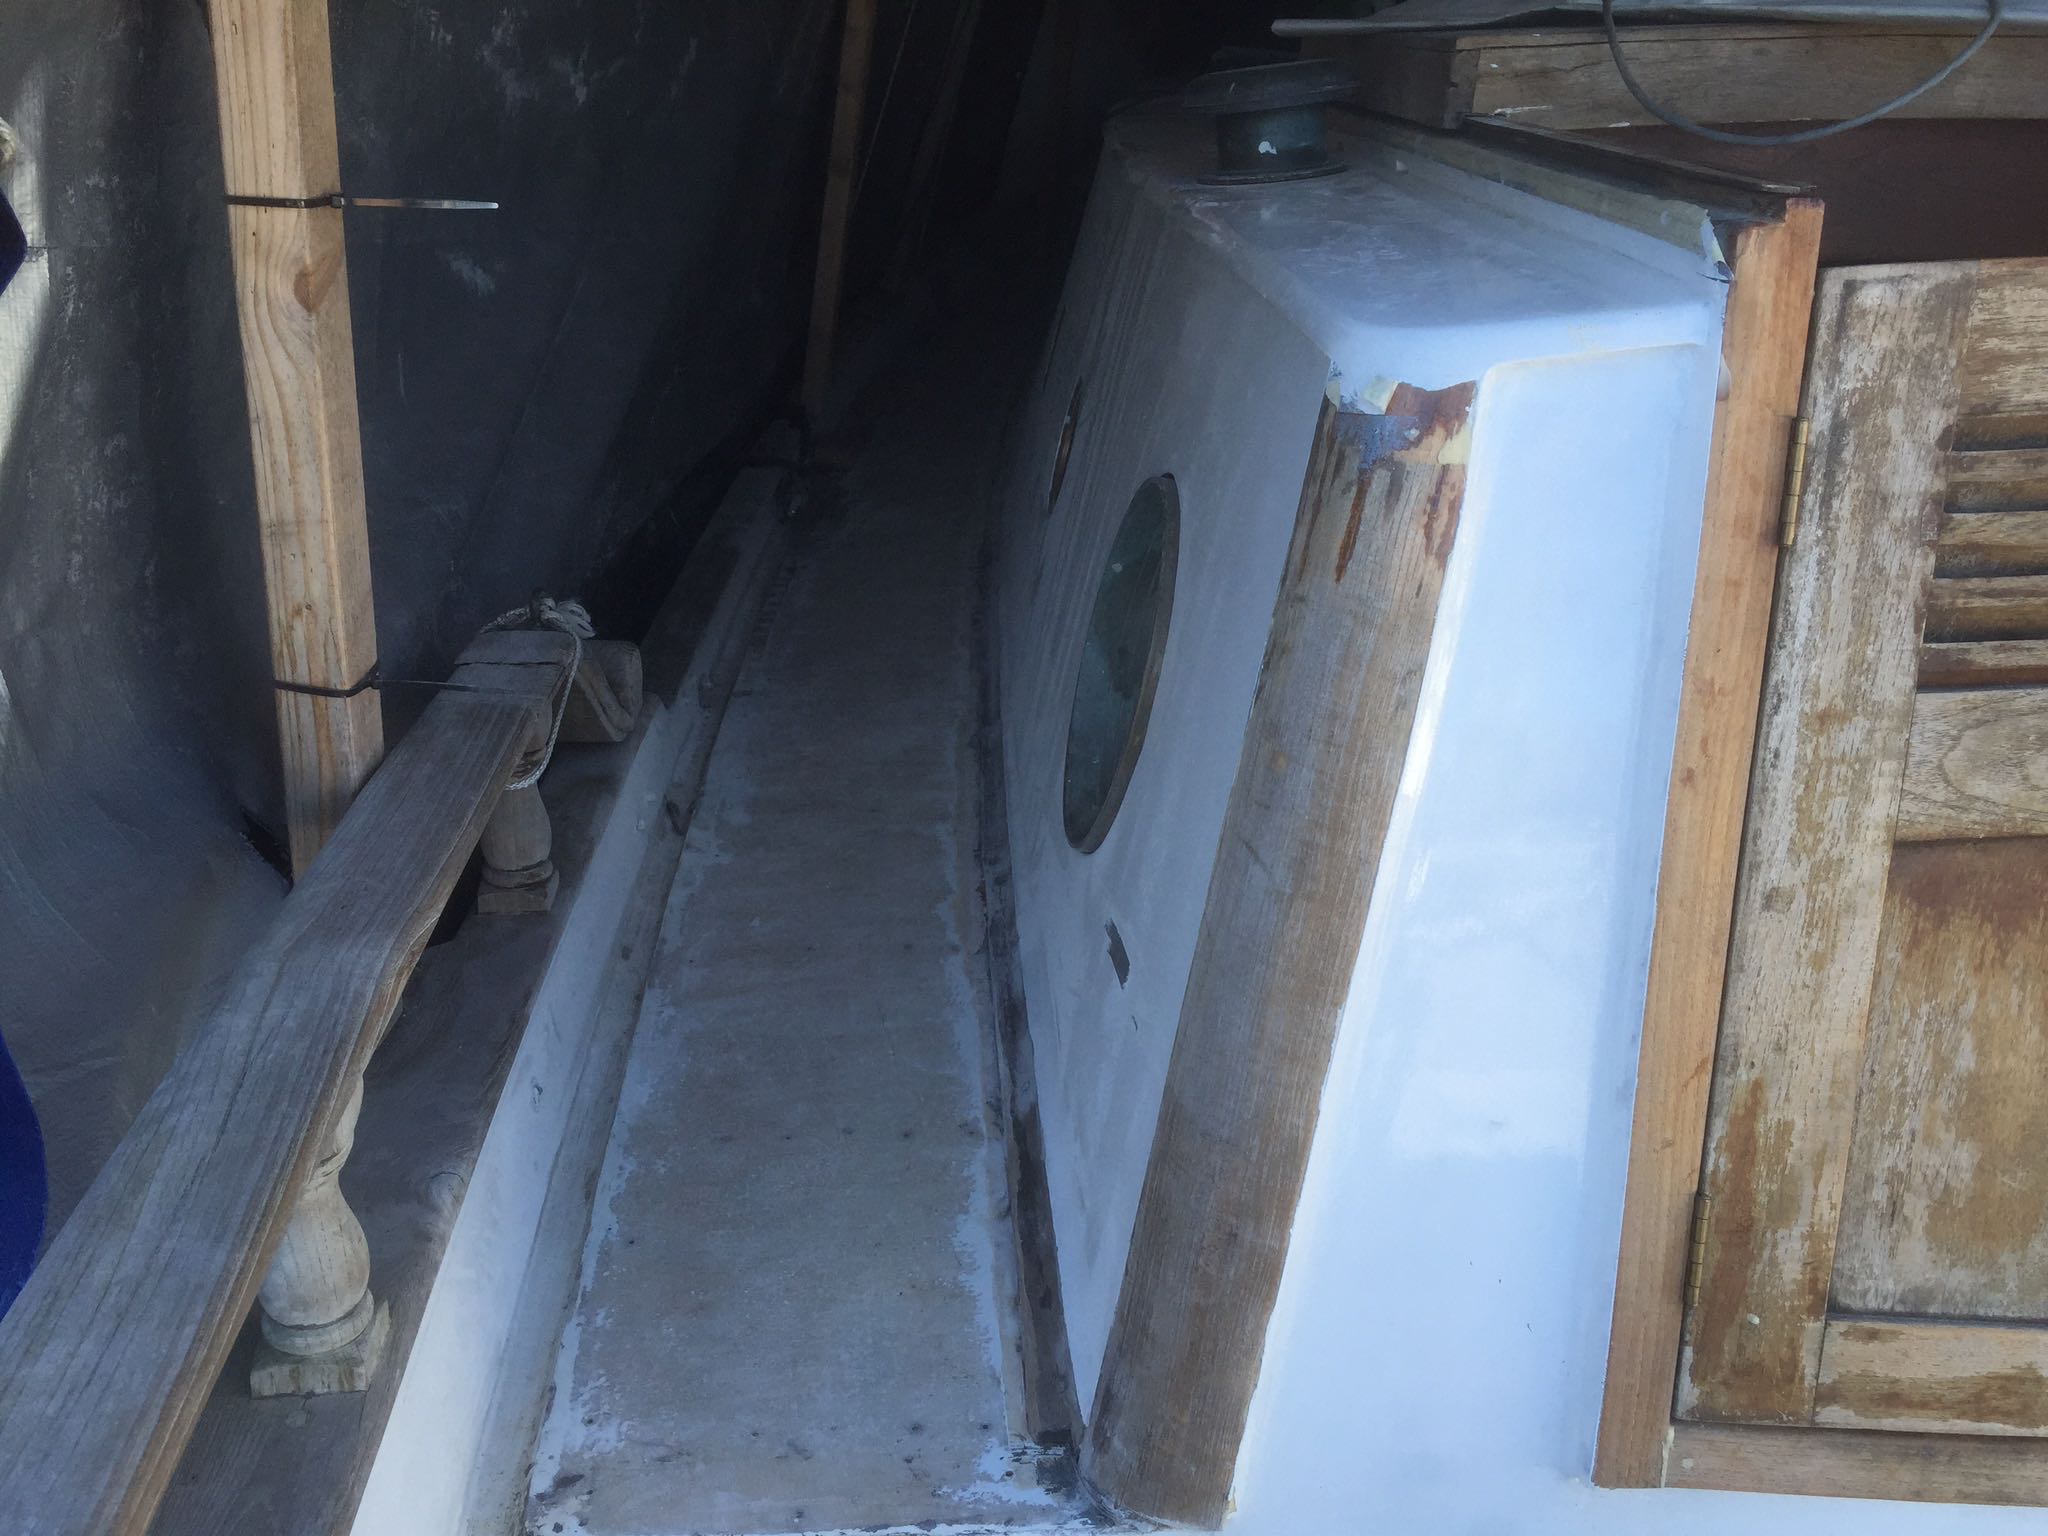
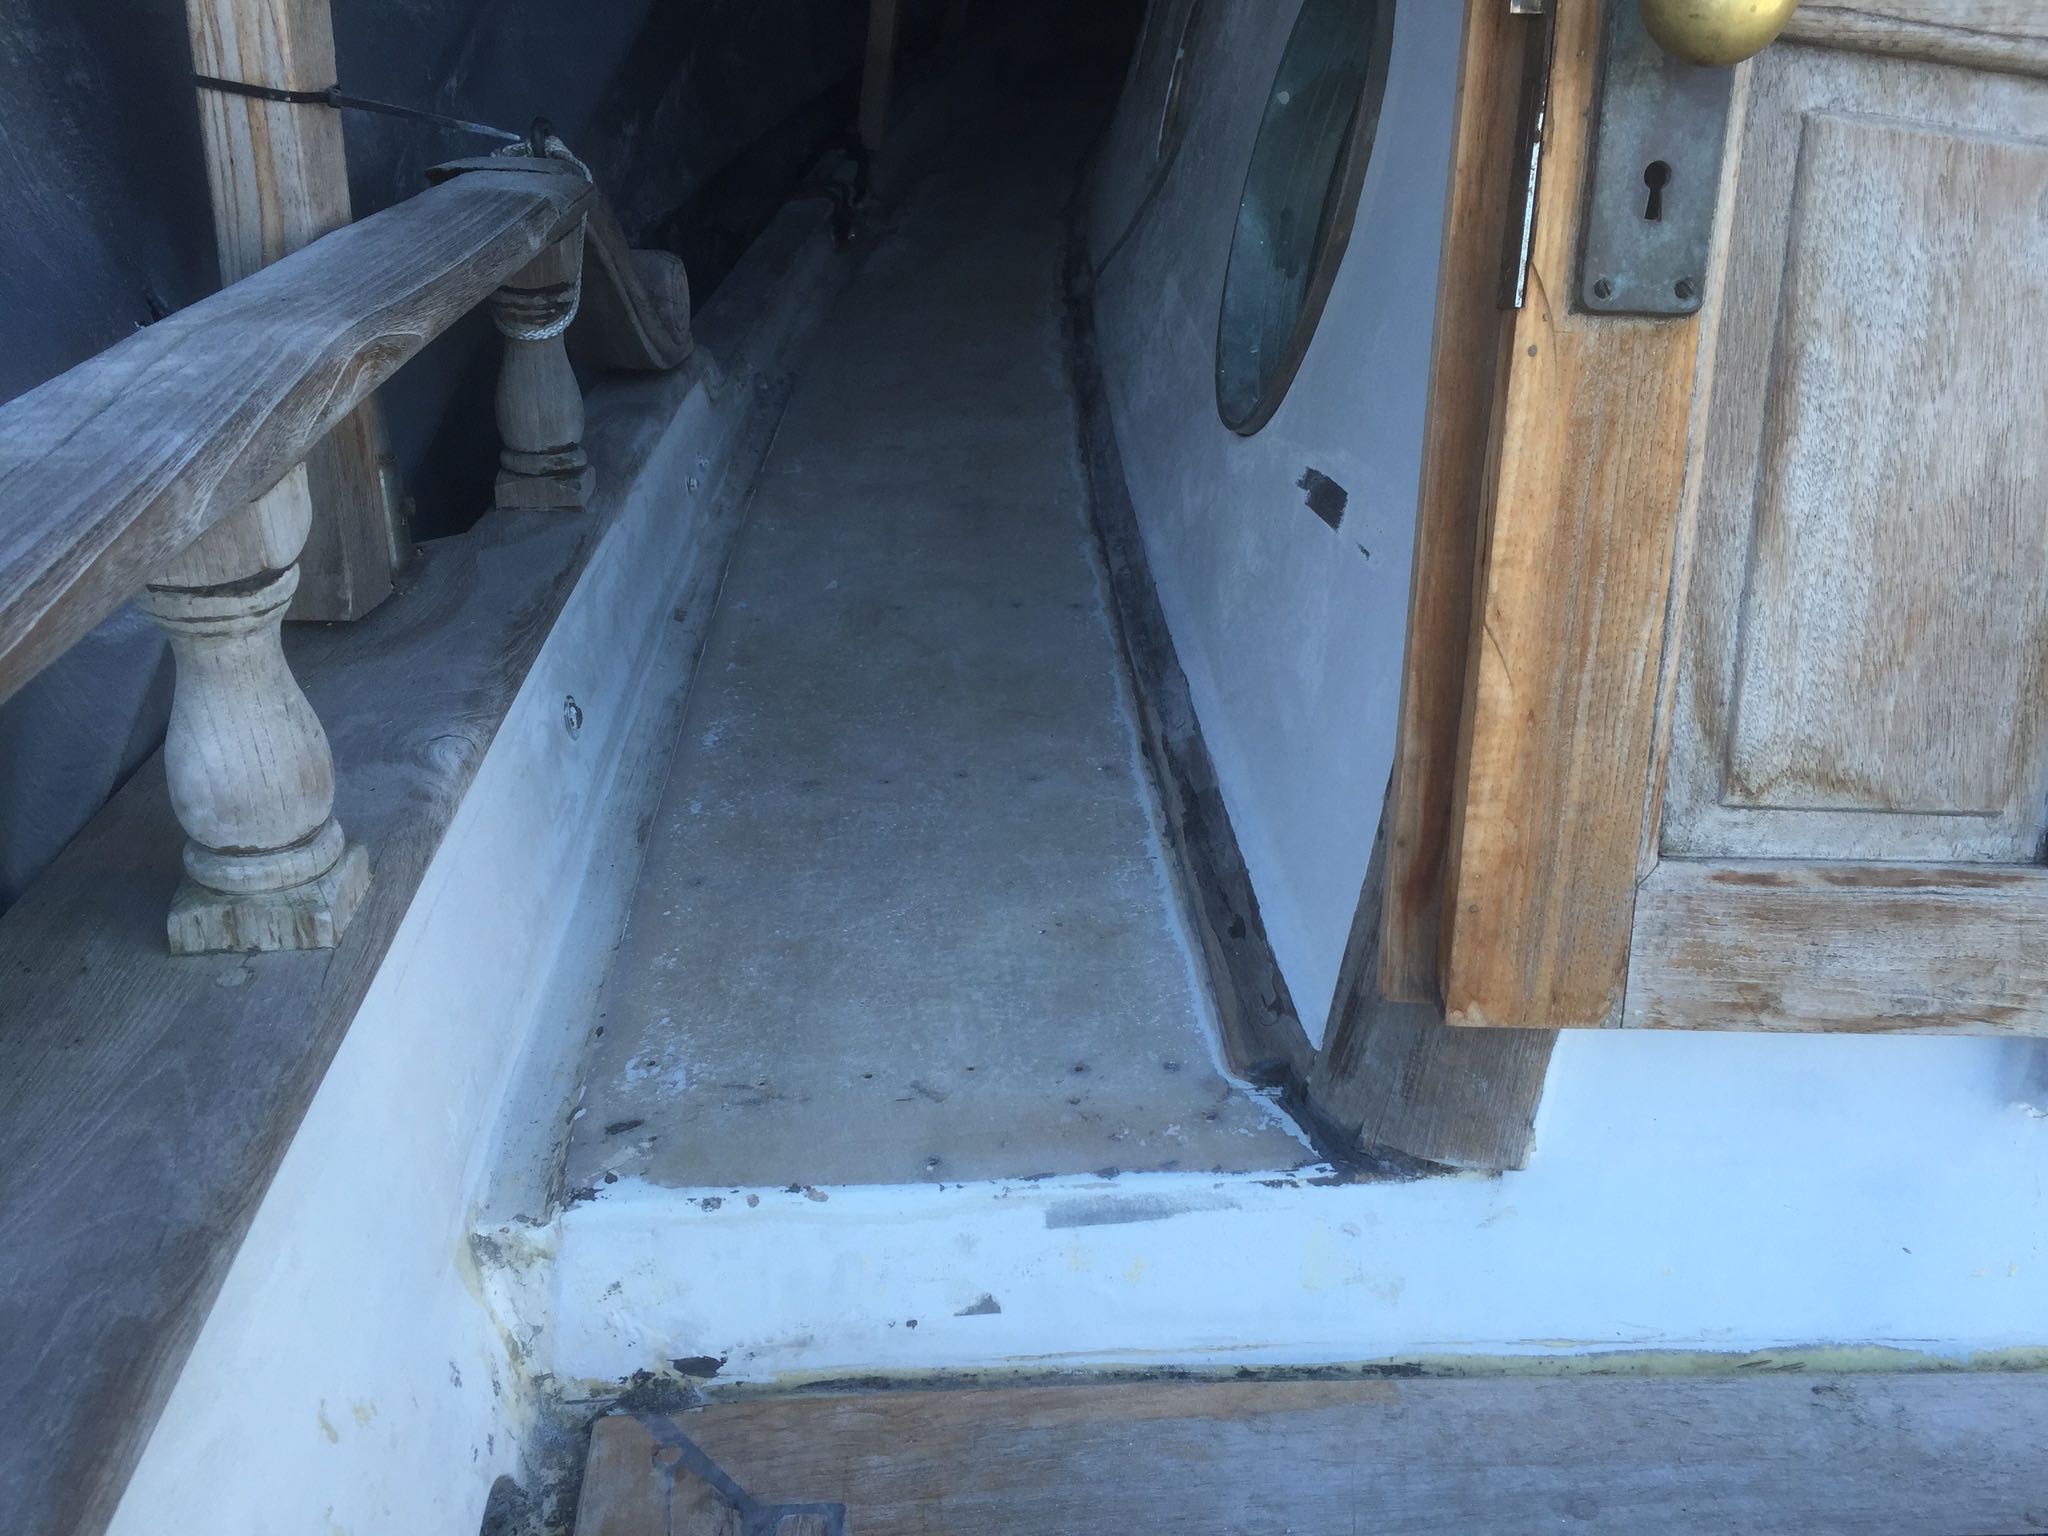
With pain in my heart I decided to get rid of the teak deck on the left and right of the cabin, plus the teak that was on the front deck of the boat. After some breaking and hammering I found out it was definitely the right thing to do. Under the teak boards was still a lot of moisture and there was no way of really making that part of the deck waterproof because I could not excess the sides (and there where huge holes where water could get under the deck). Also I was not entirely sure that by re-caulking this part of the deck, the new walls of the cabin would be safe from water damage which could risk them getting rotten once again (which would mean a lot of work done for nothing).
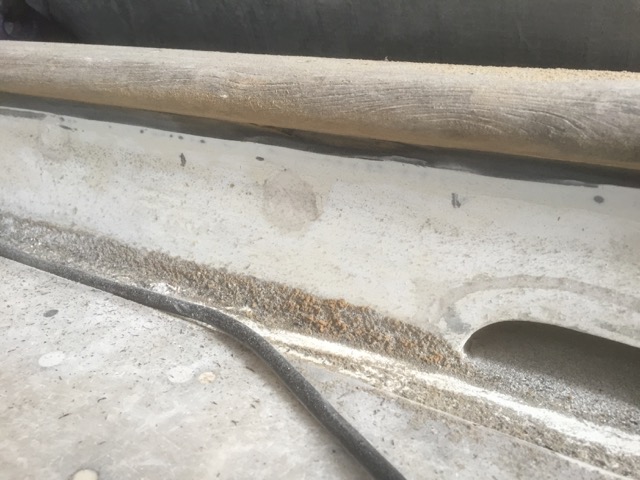
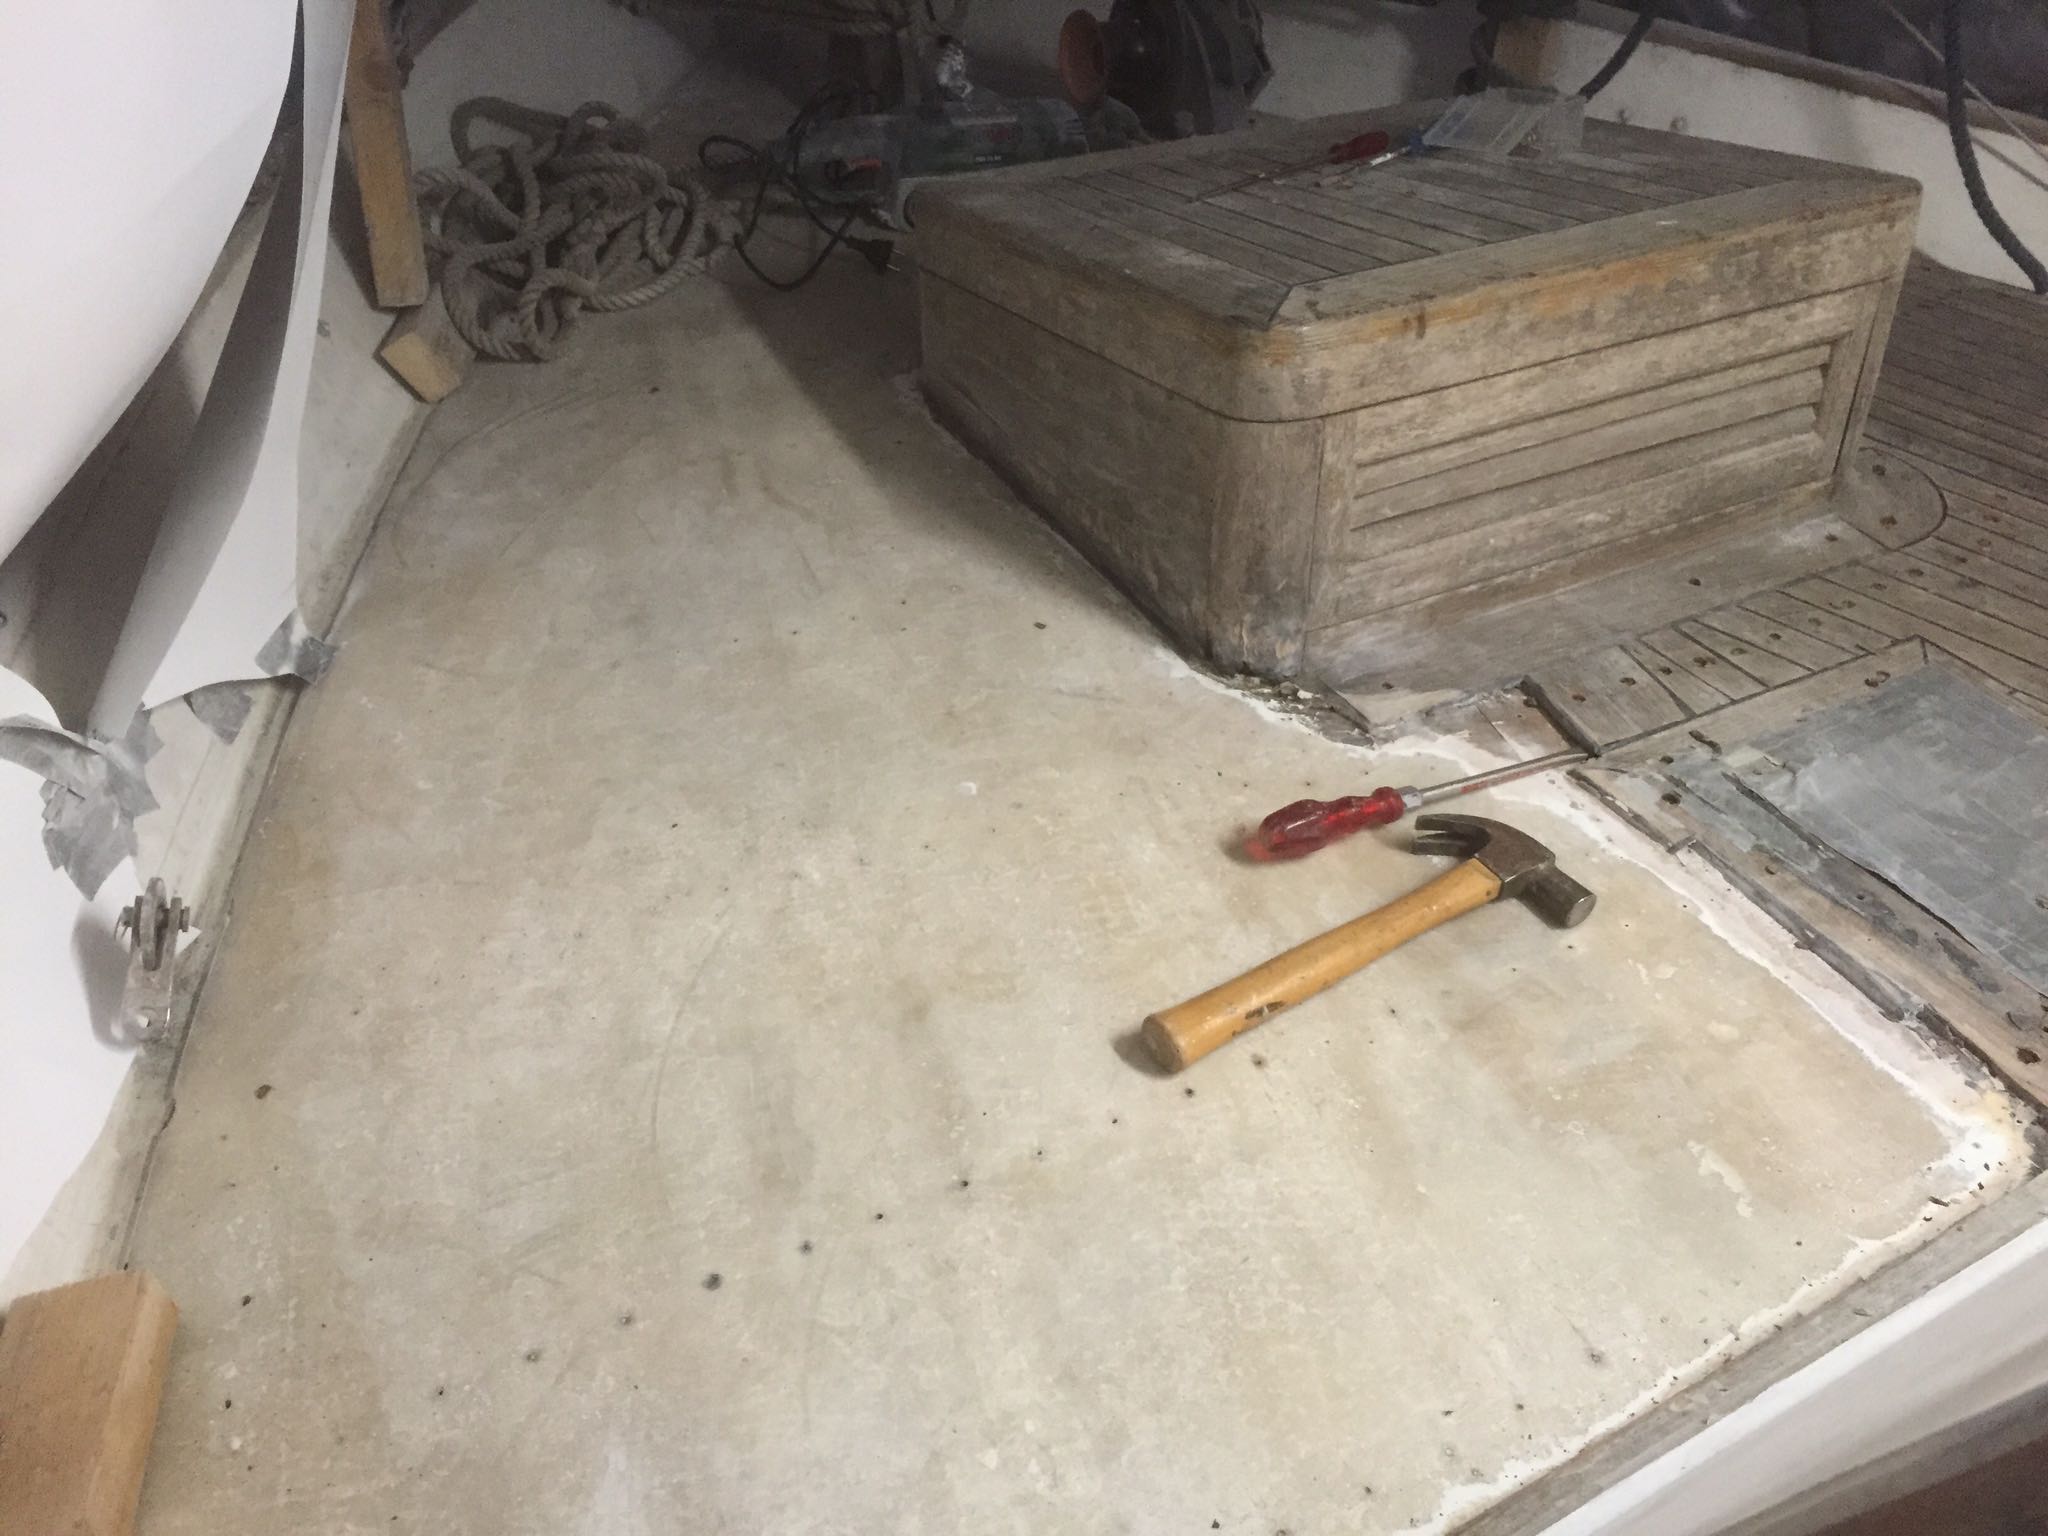
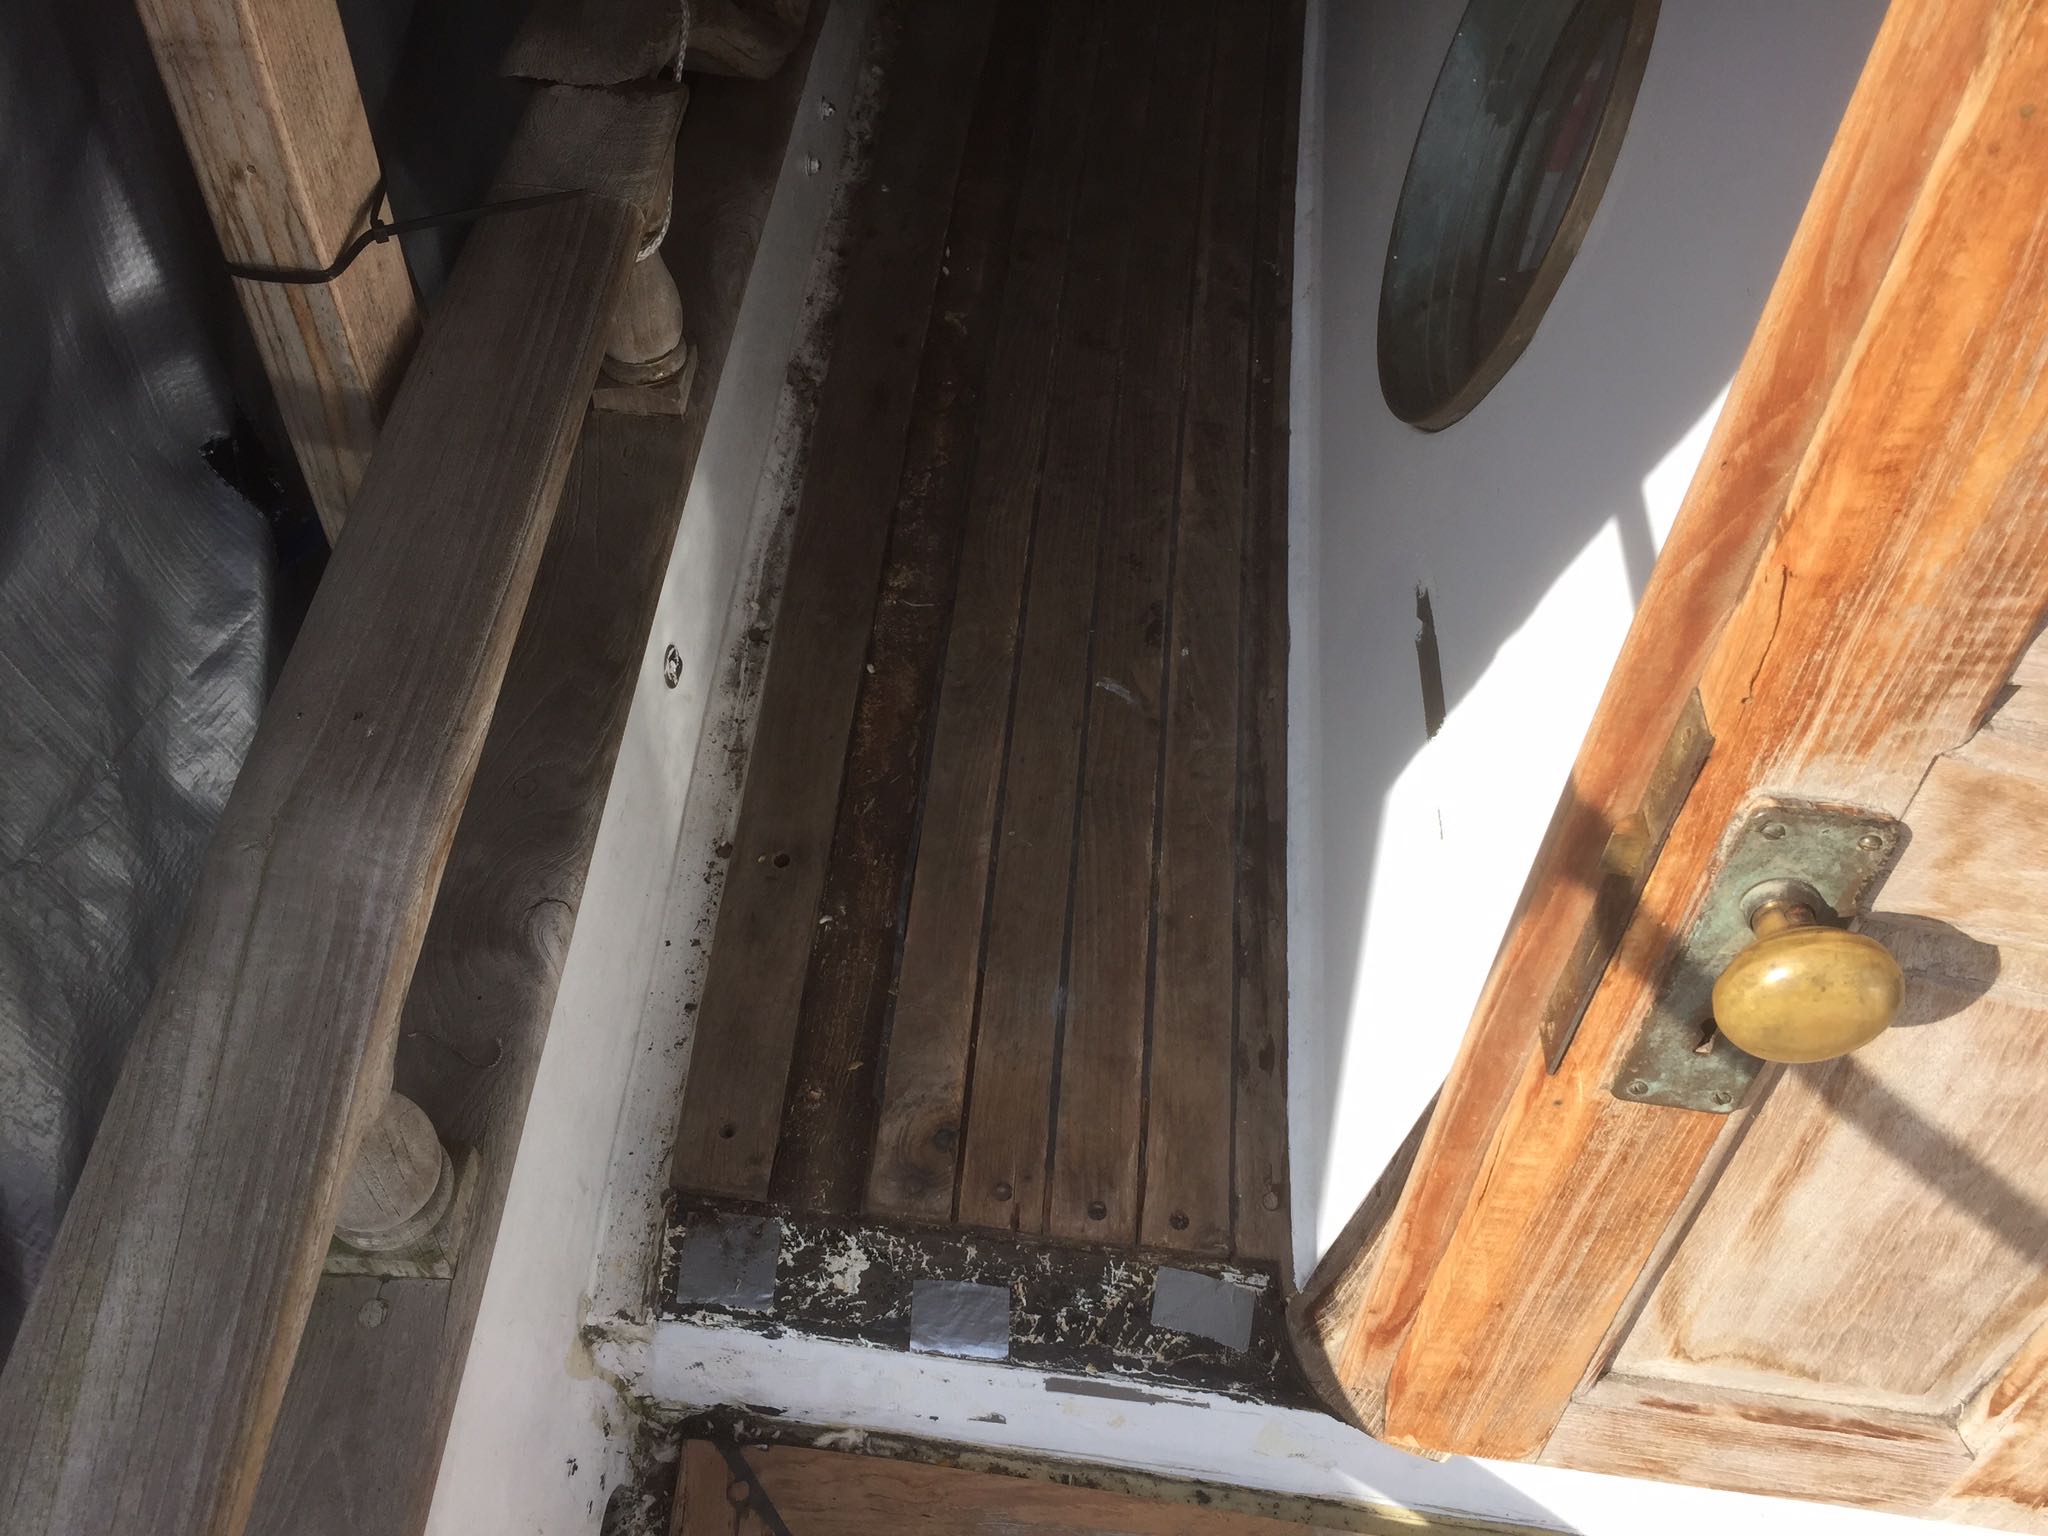
It was way to easy to remove the teak boards. Just unscrew the screws and one could easily pick them up from the deck (the glue that was used to hold them was corroded away). So all, in all a good decision. One problem though, the stuff underneath the boards. My god, that was some heavy-duty (almost cement like) substance!
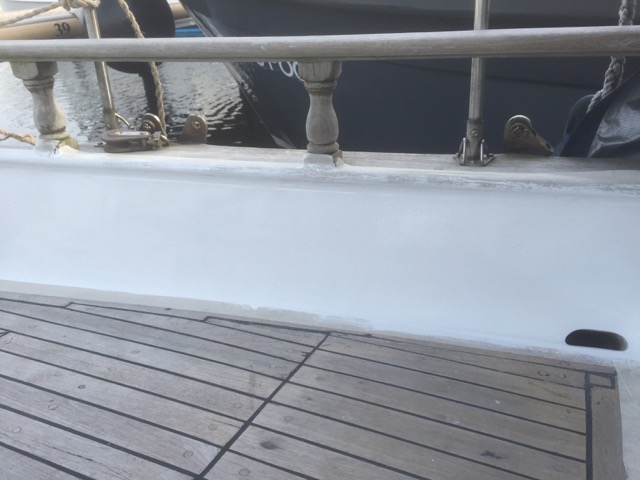
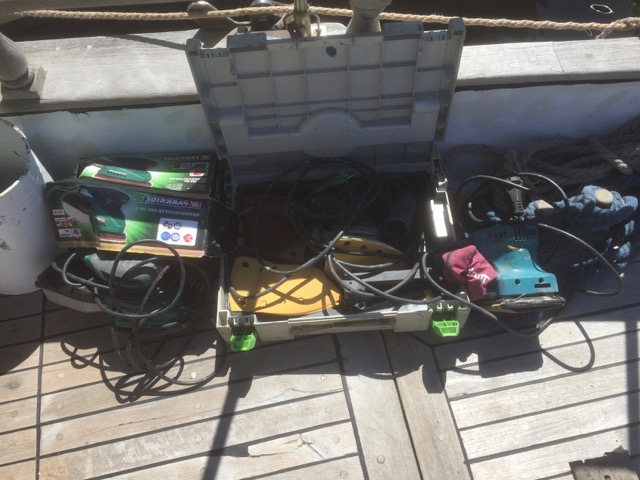
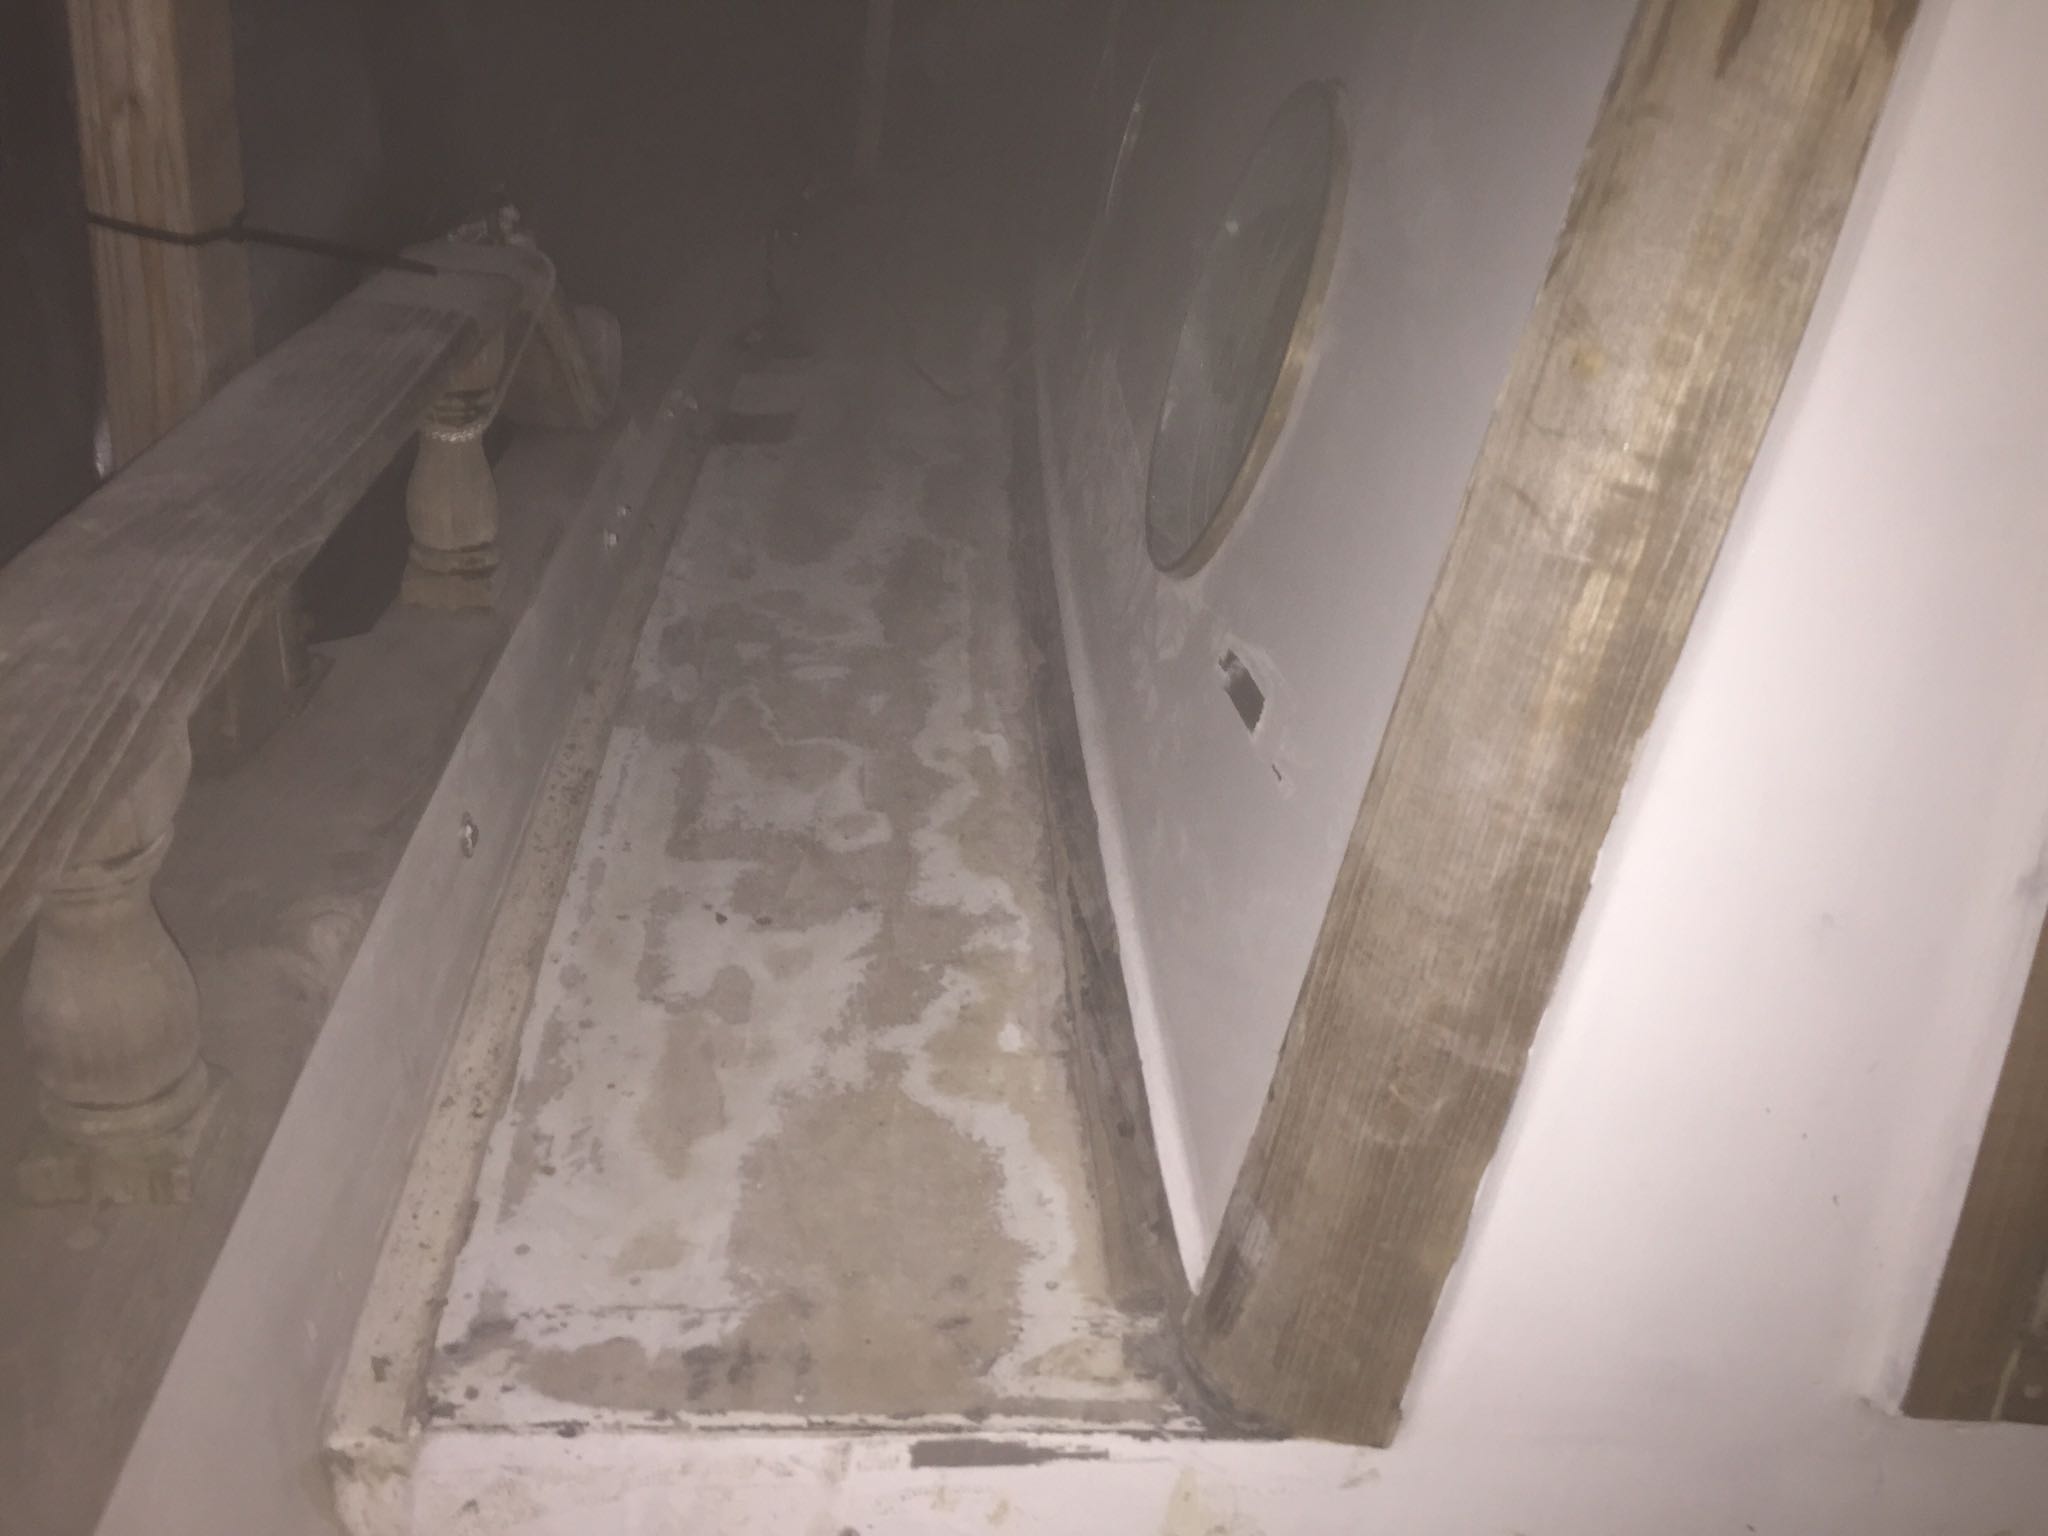
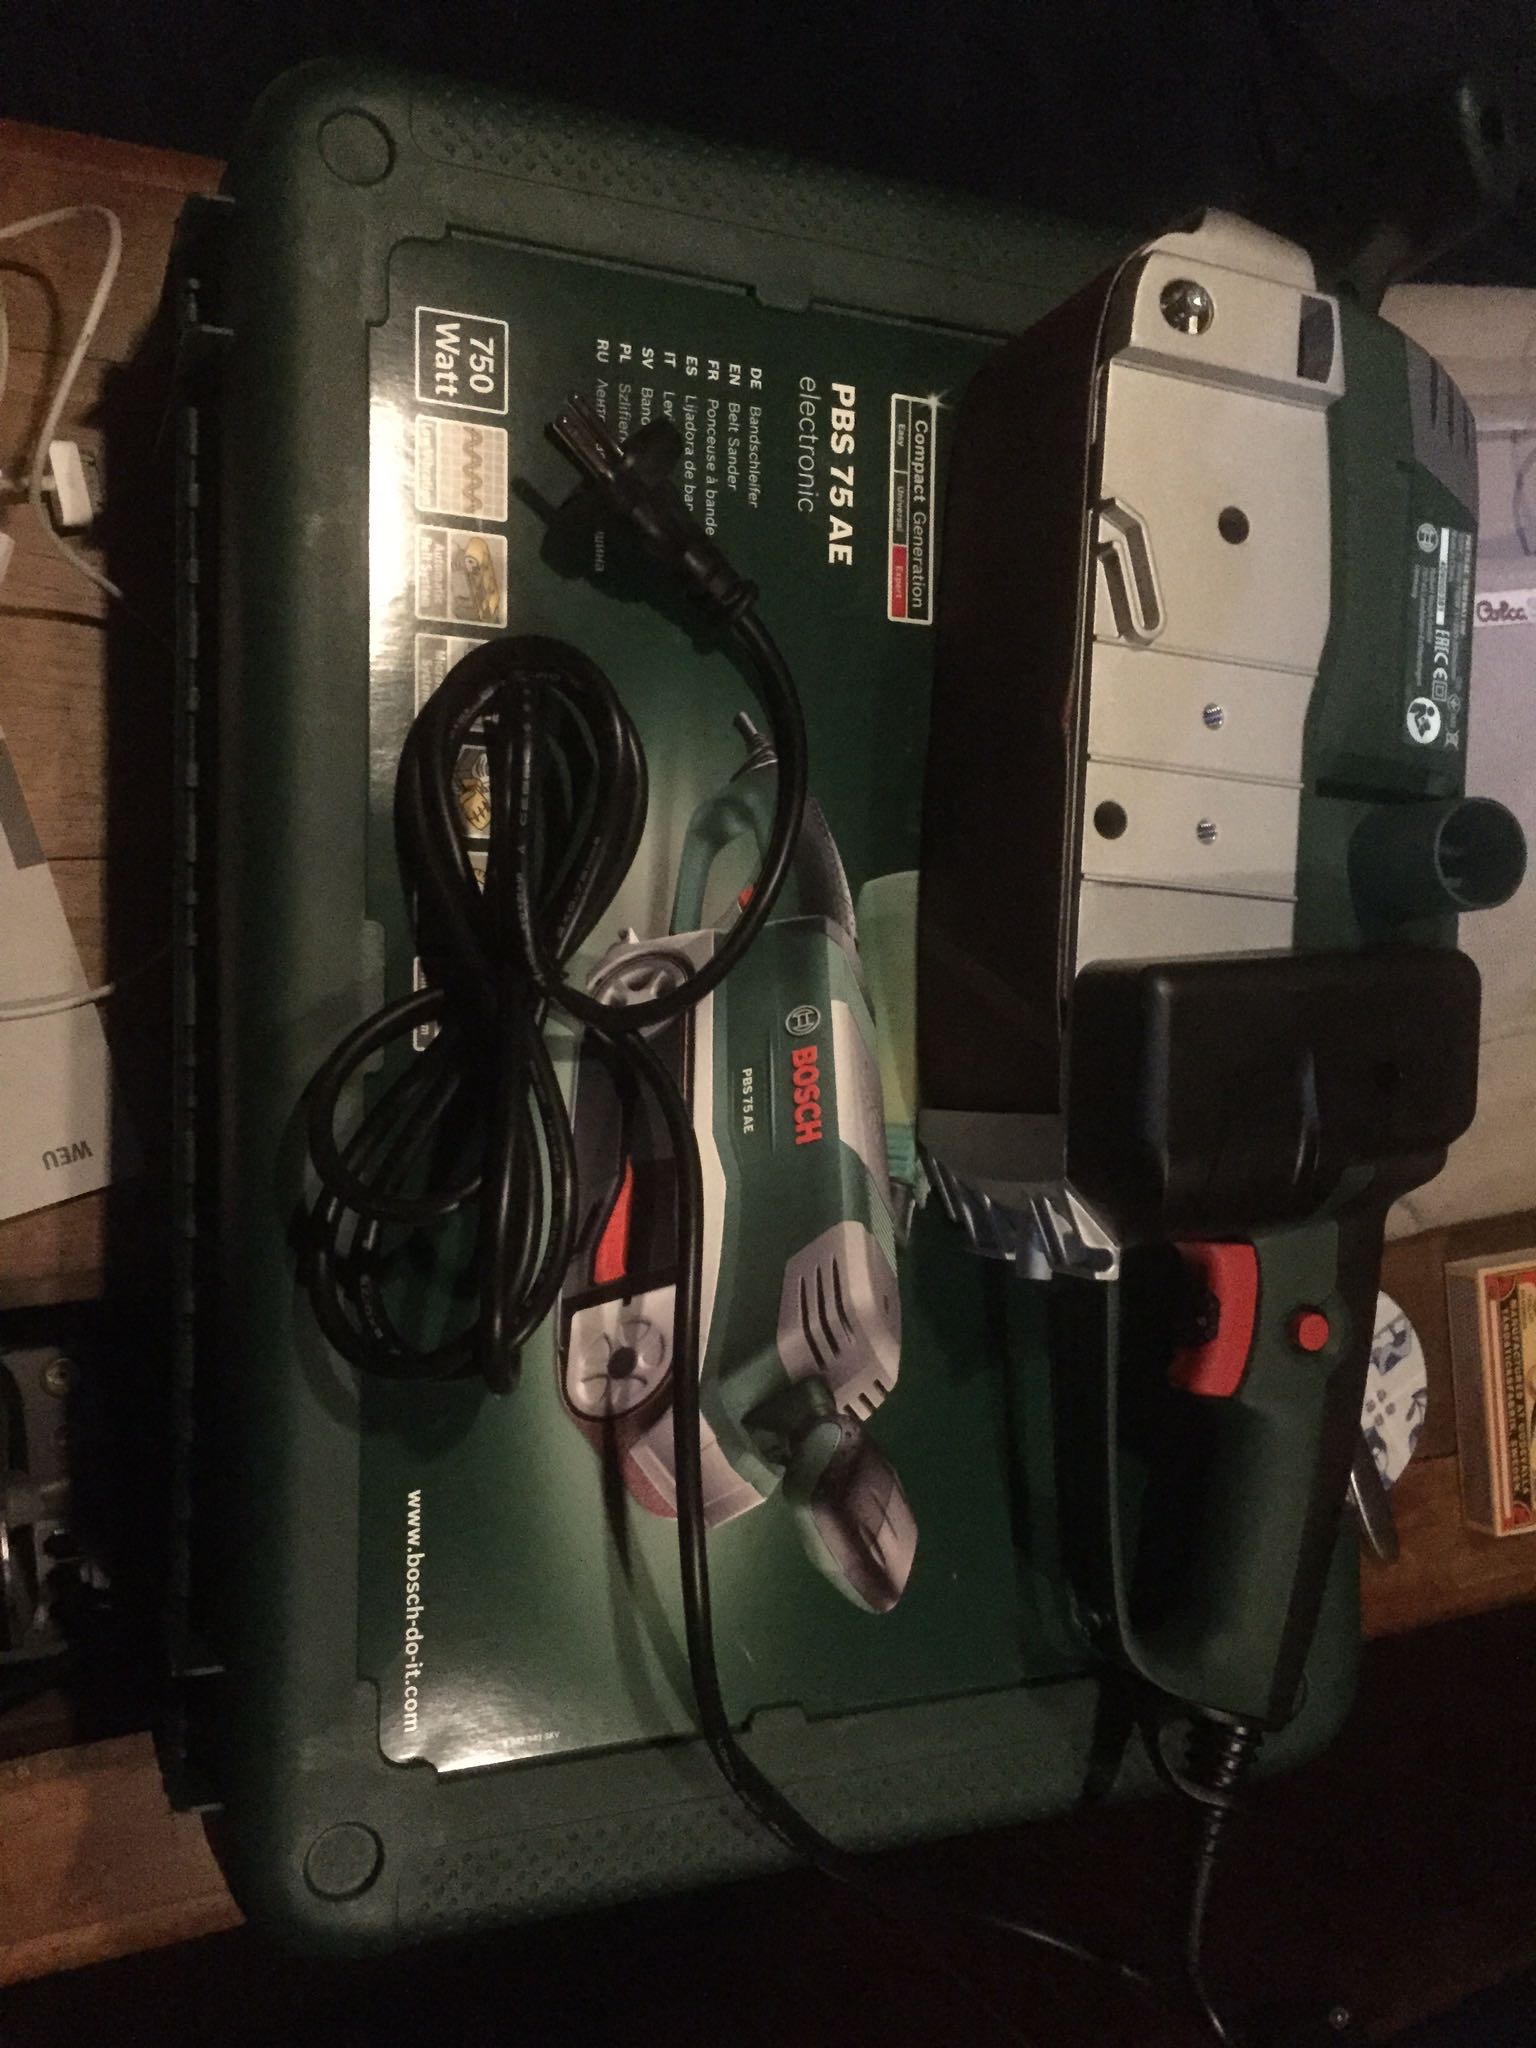
So I got a powerful belt sander with high-grade, large grain sandpaper to battle that nasty stuff. Still it took almost two hours to sand one cubic meter of deck, but it got the job done beautifully.
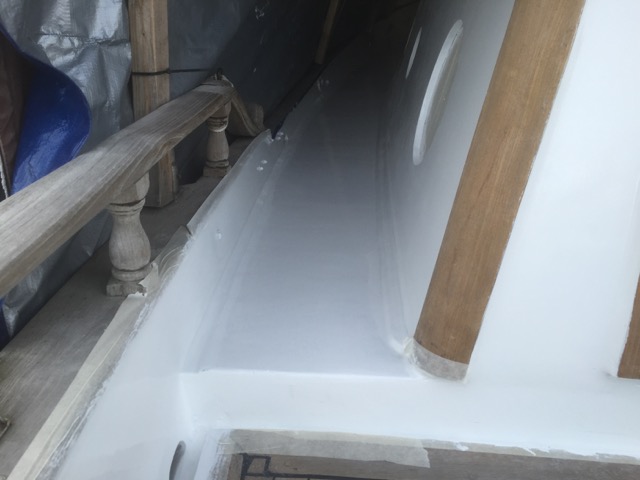
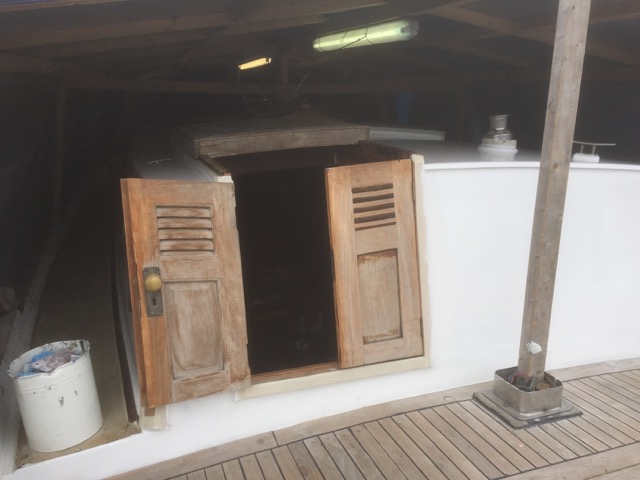
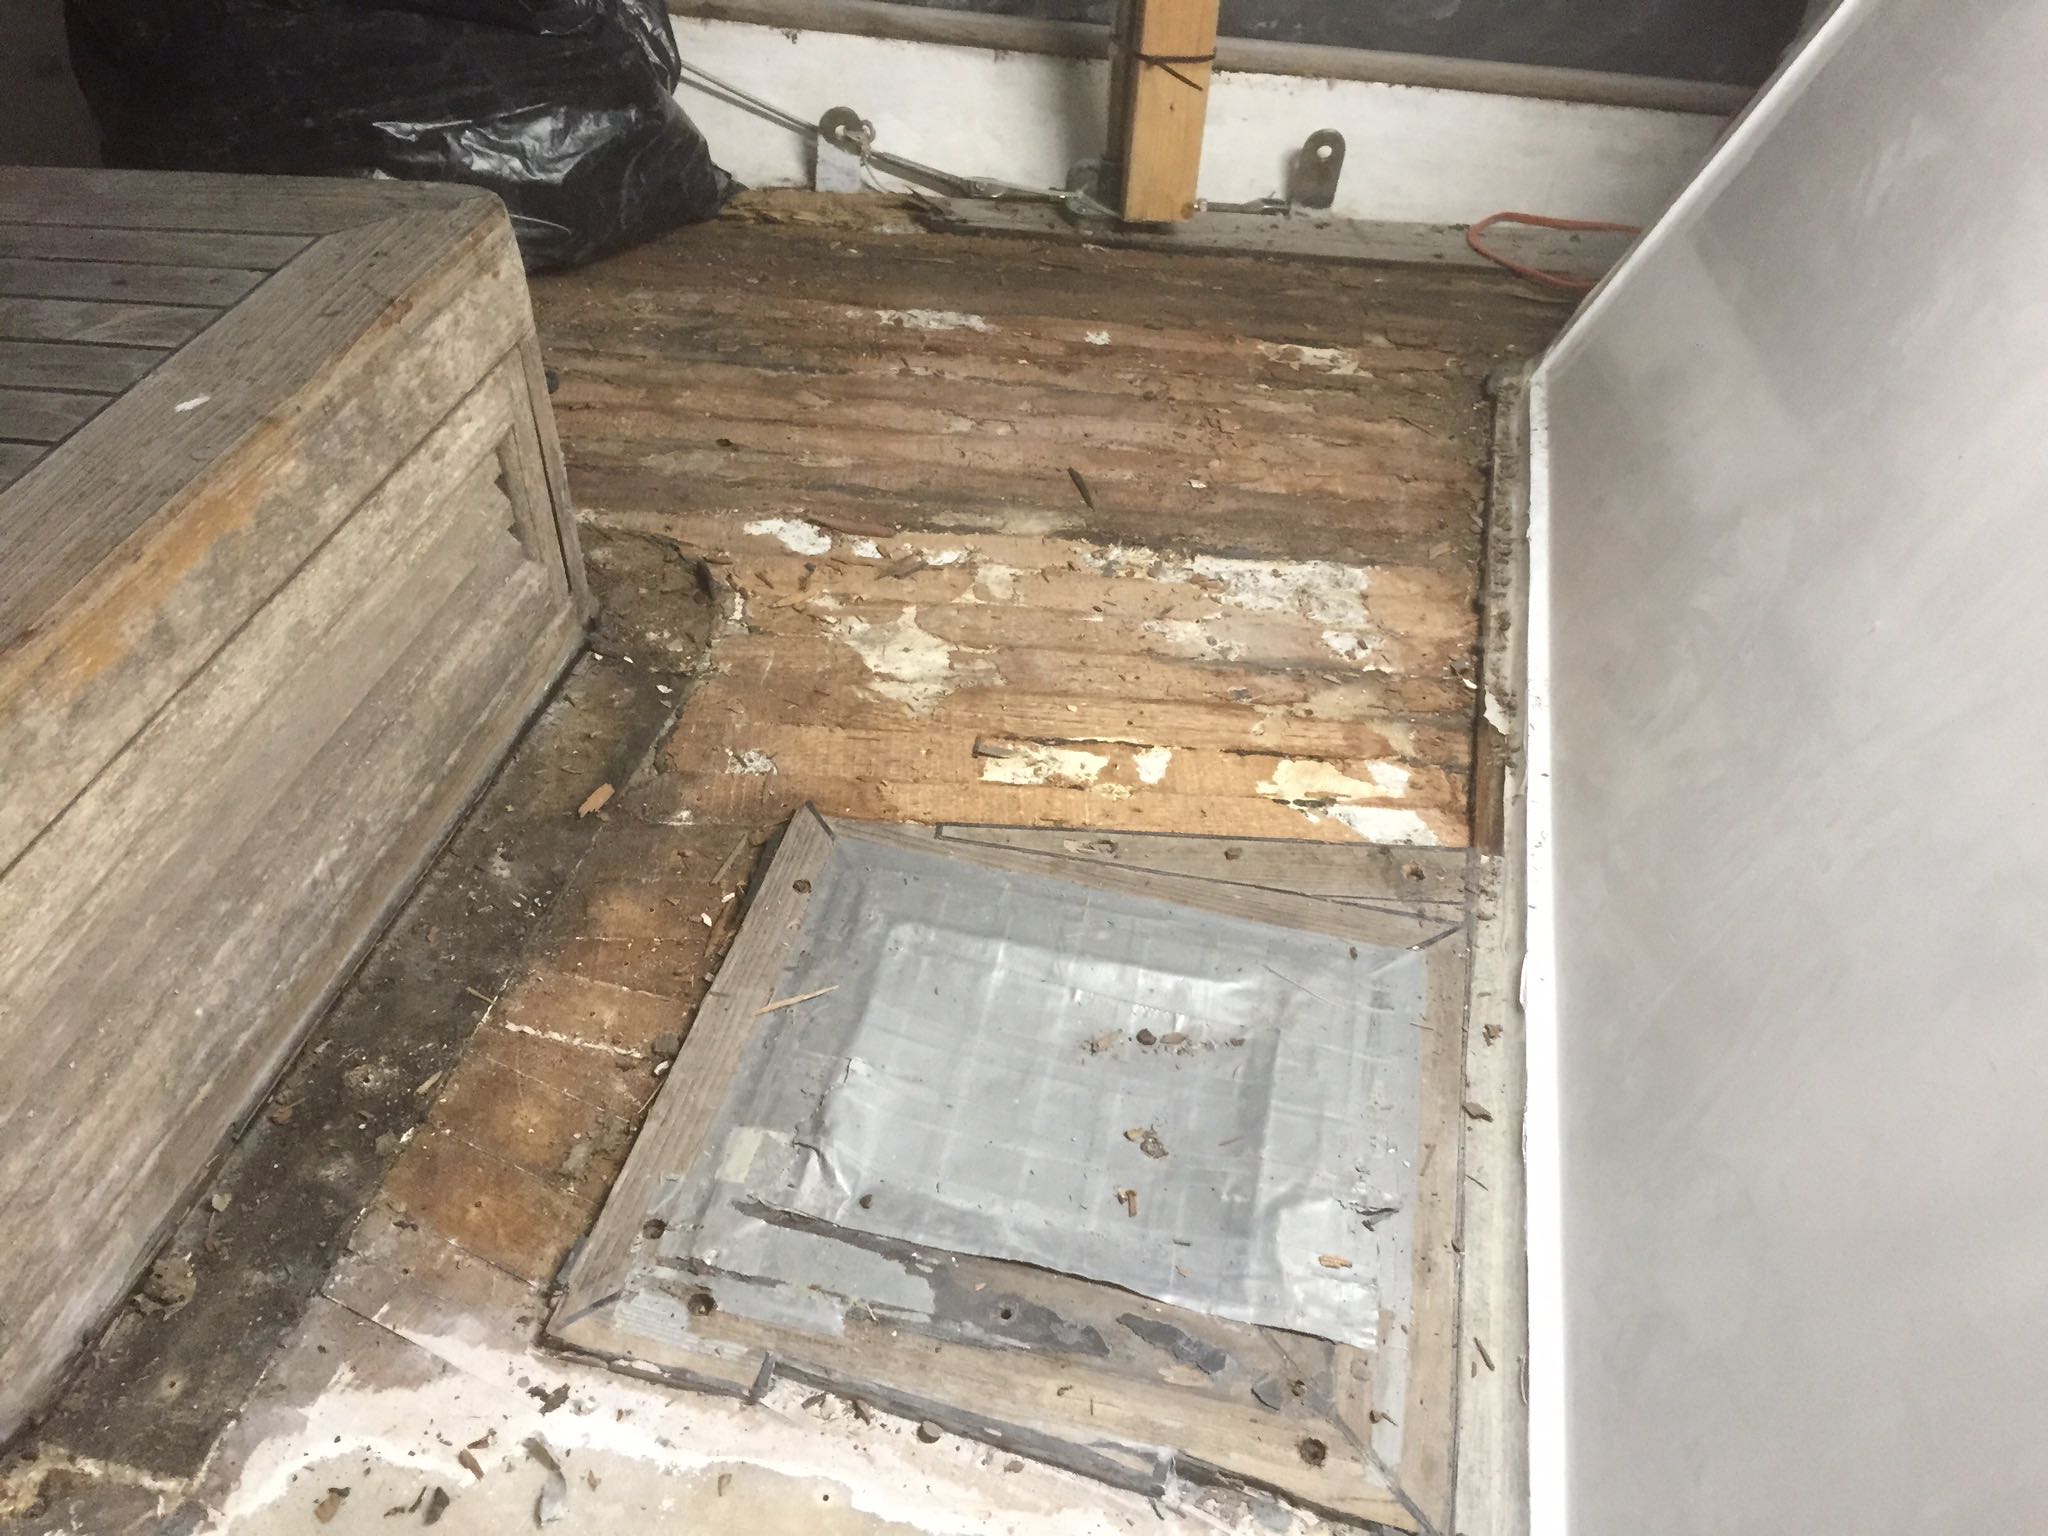
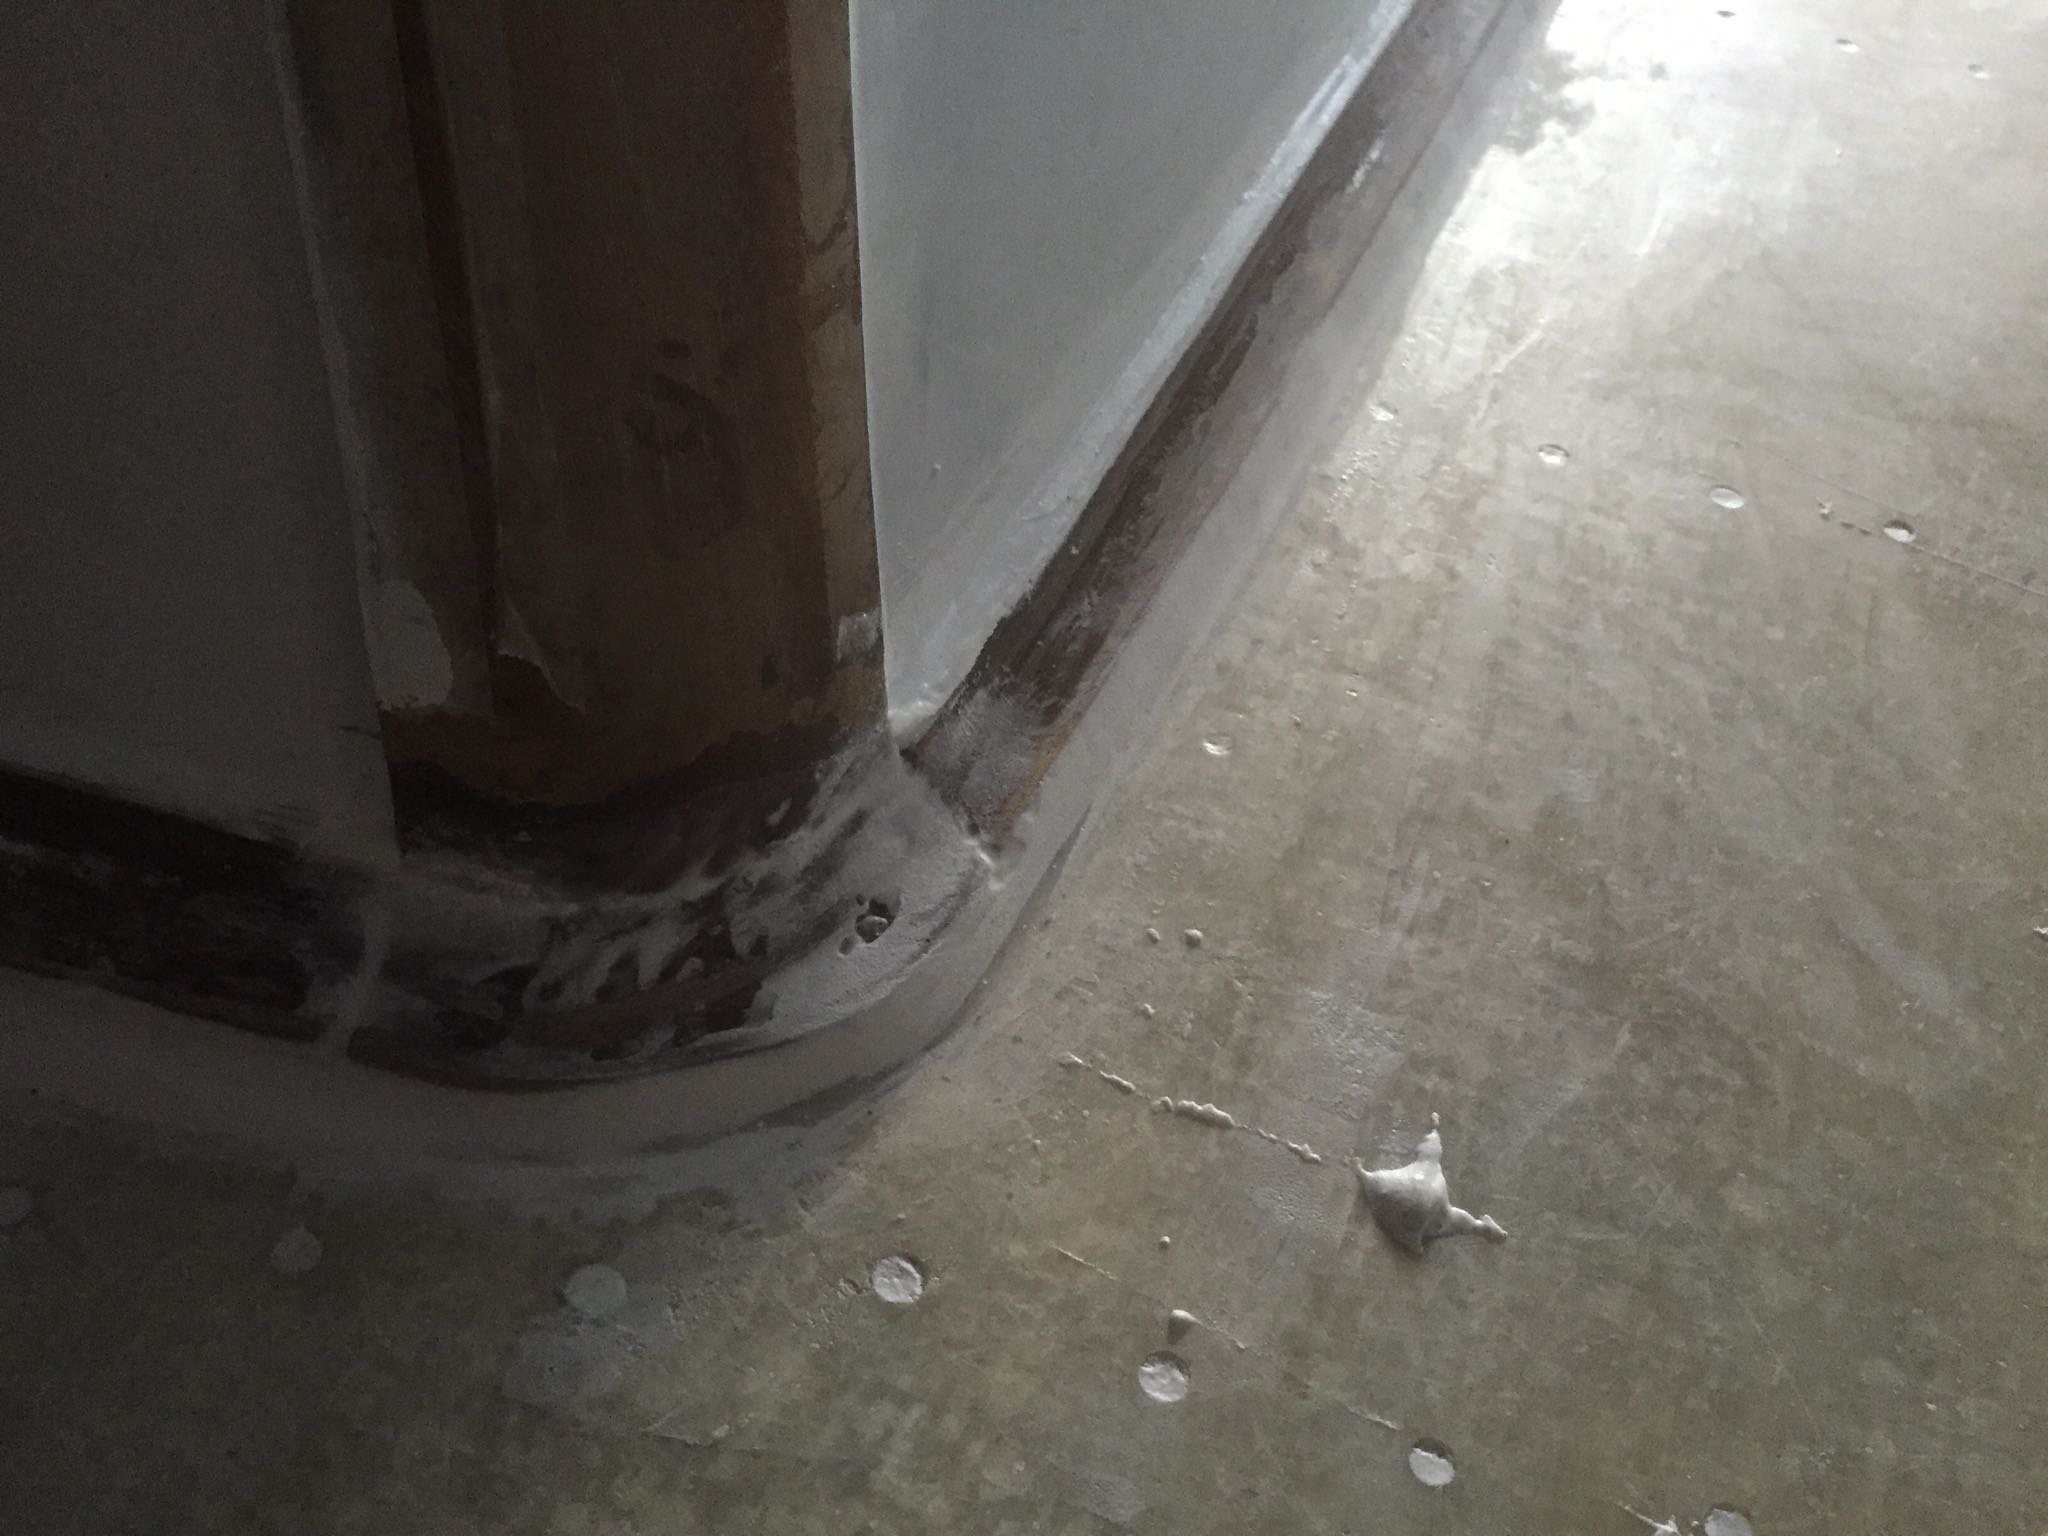
After that, some other parts that where connected to the deck (like the hatch) needed to be repaired, to be absolutely sure that water could not get to those as well.
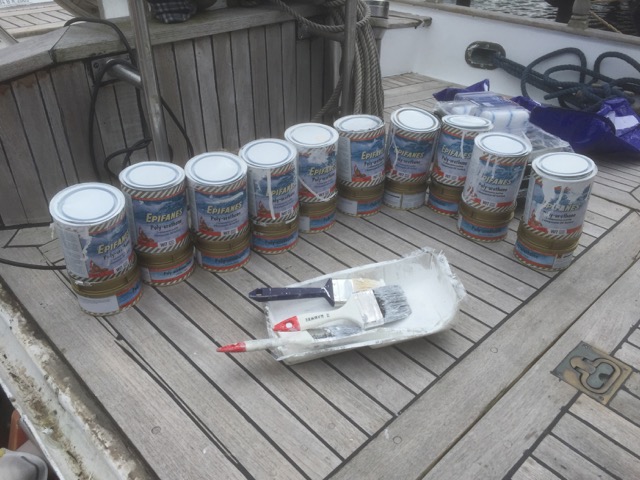
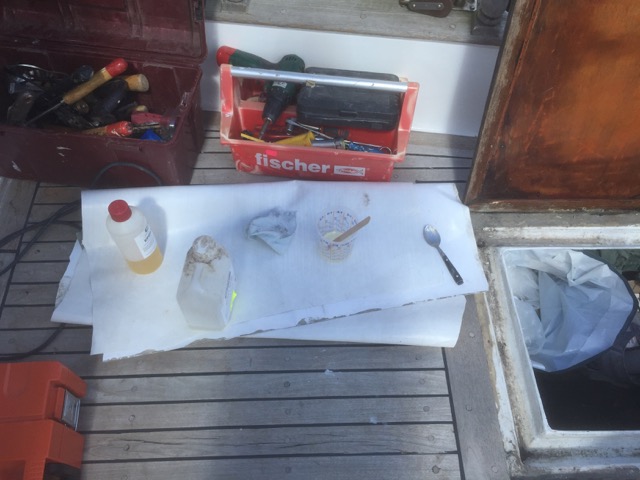
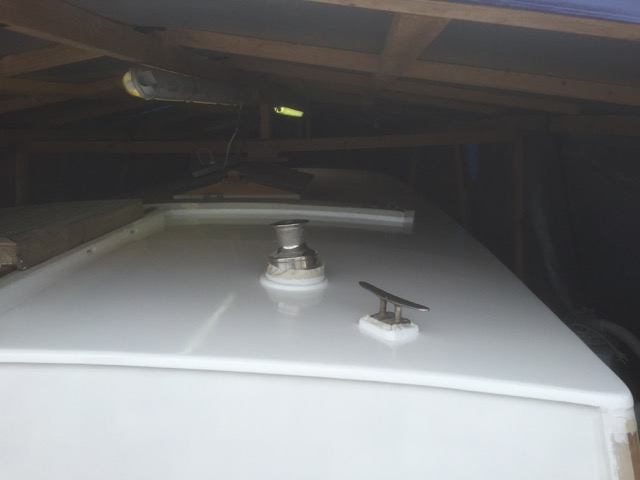
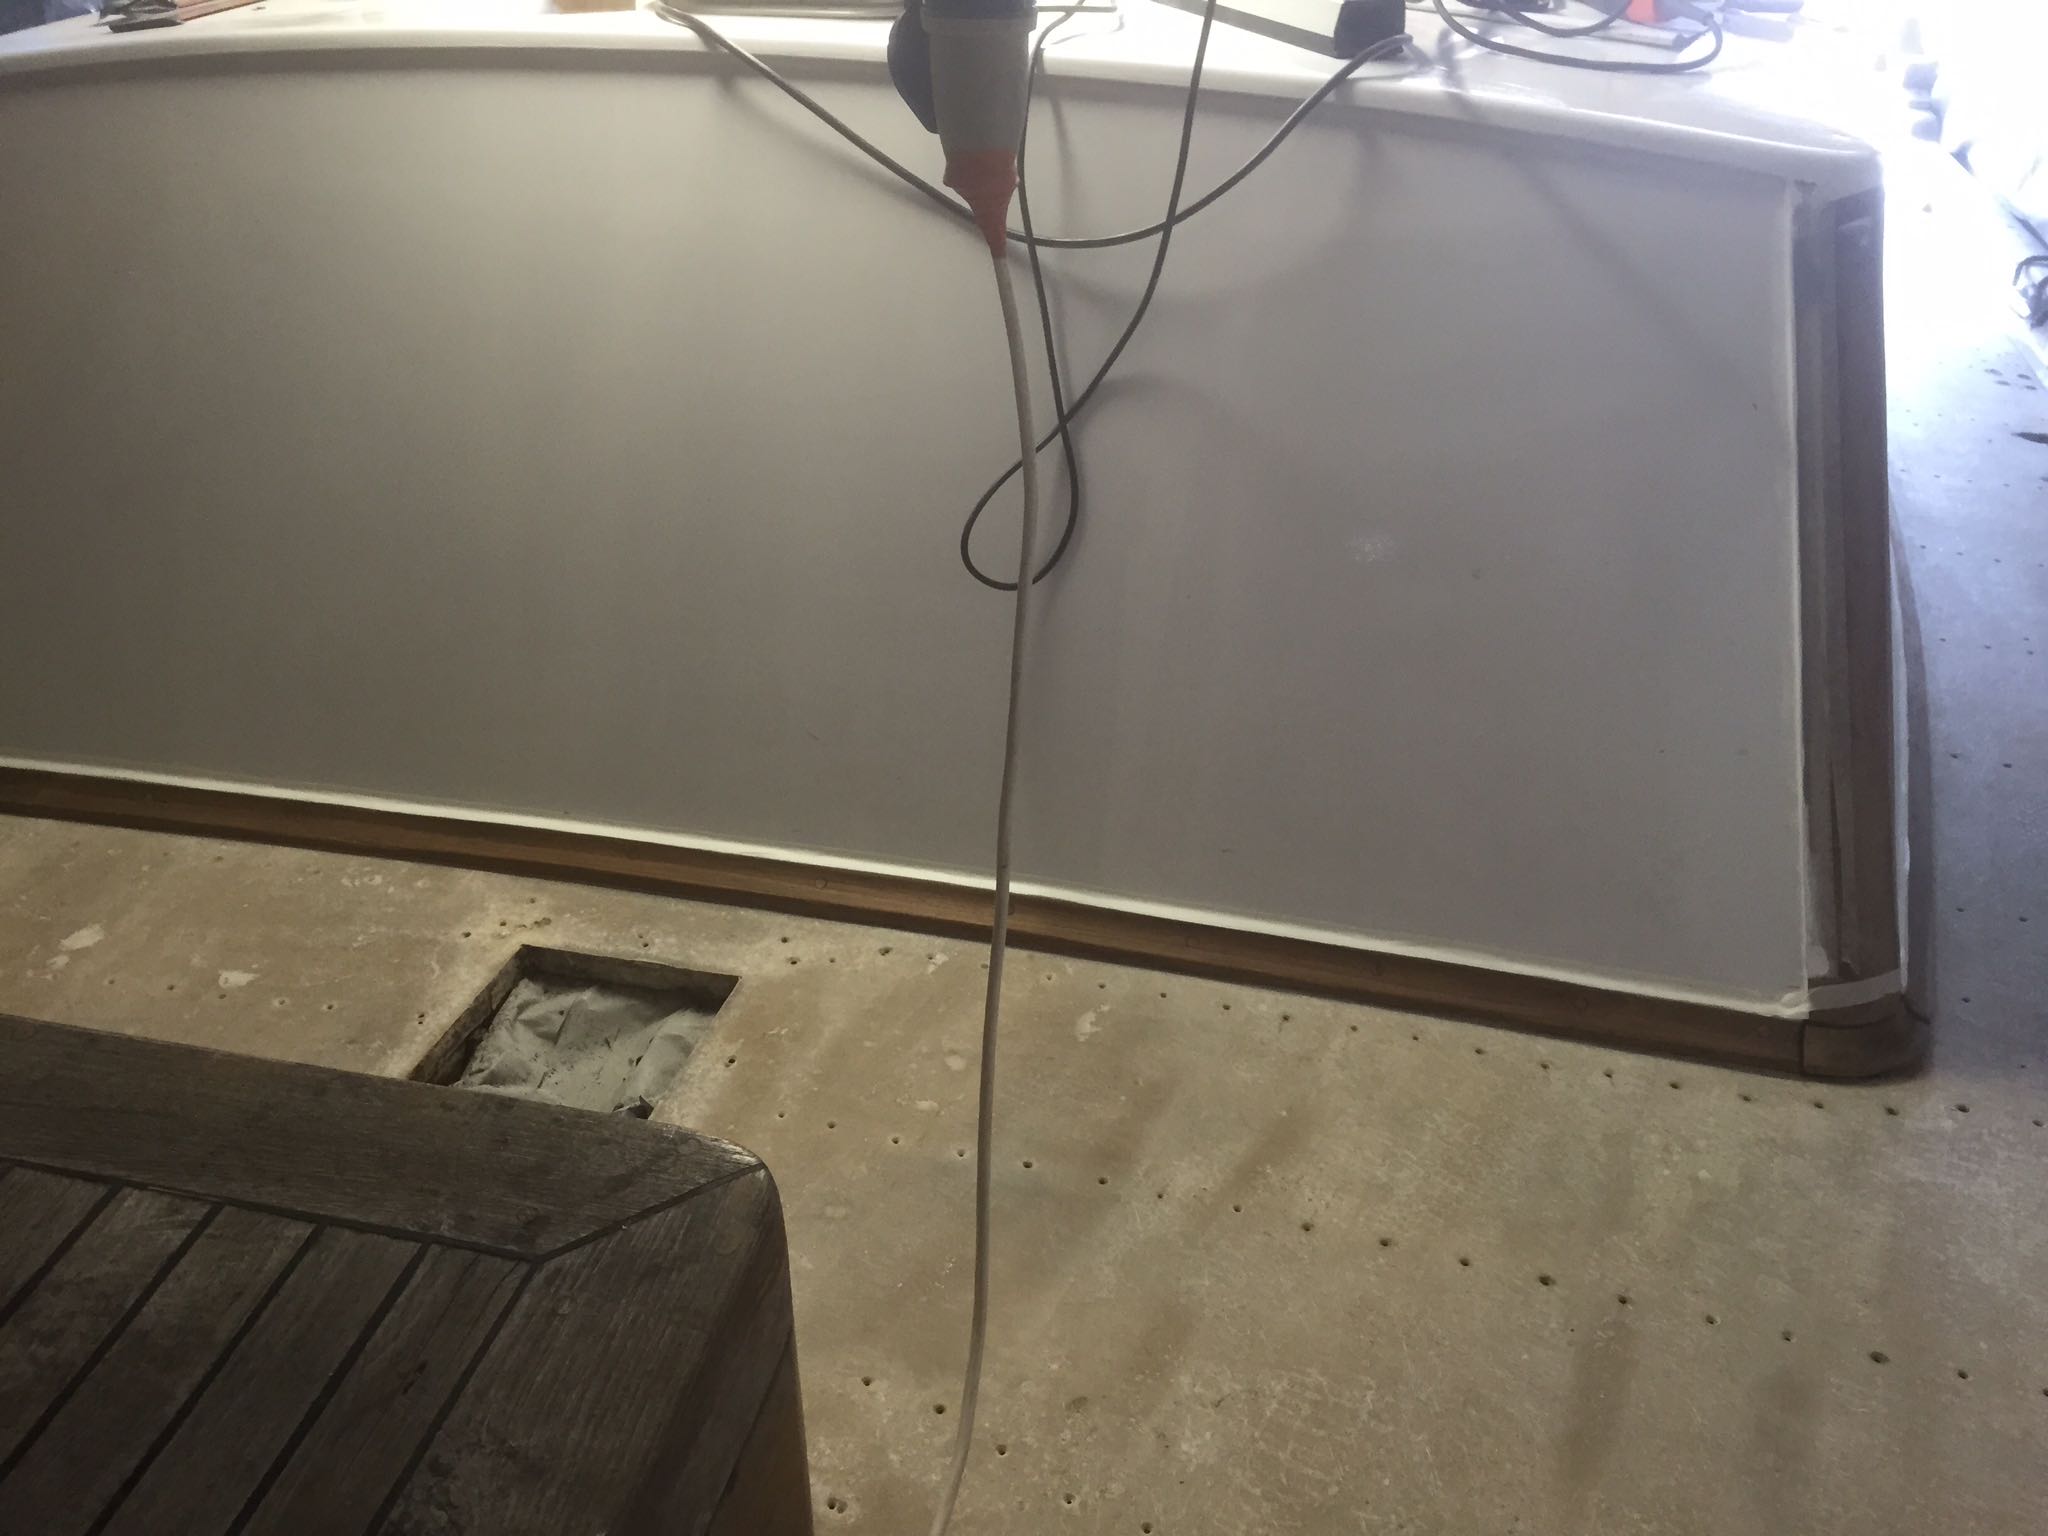
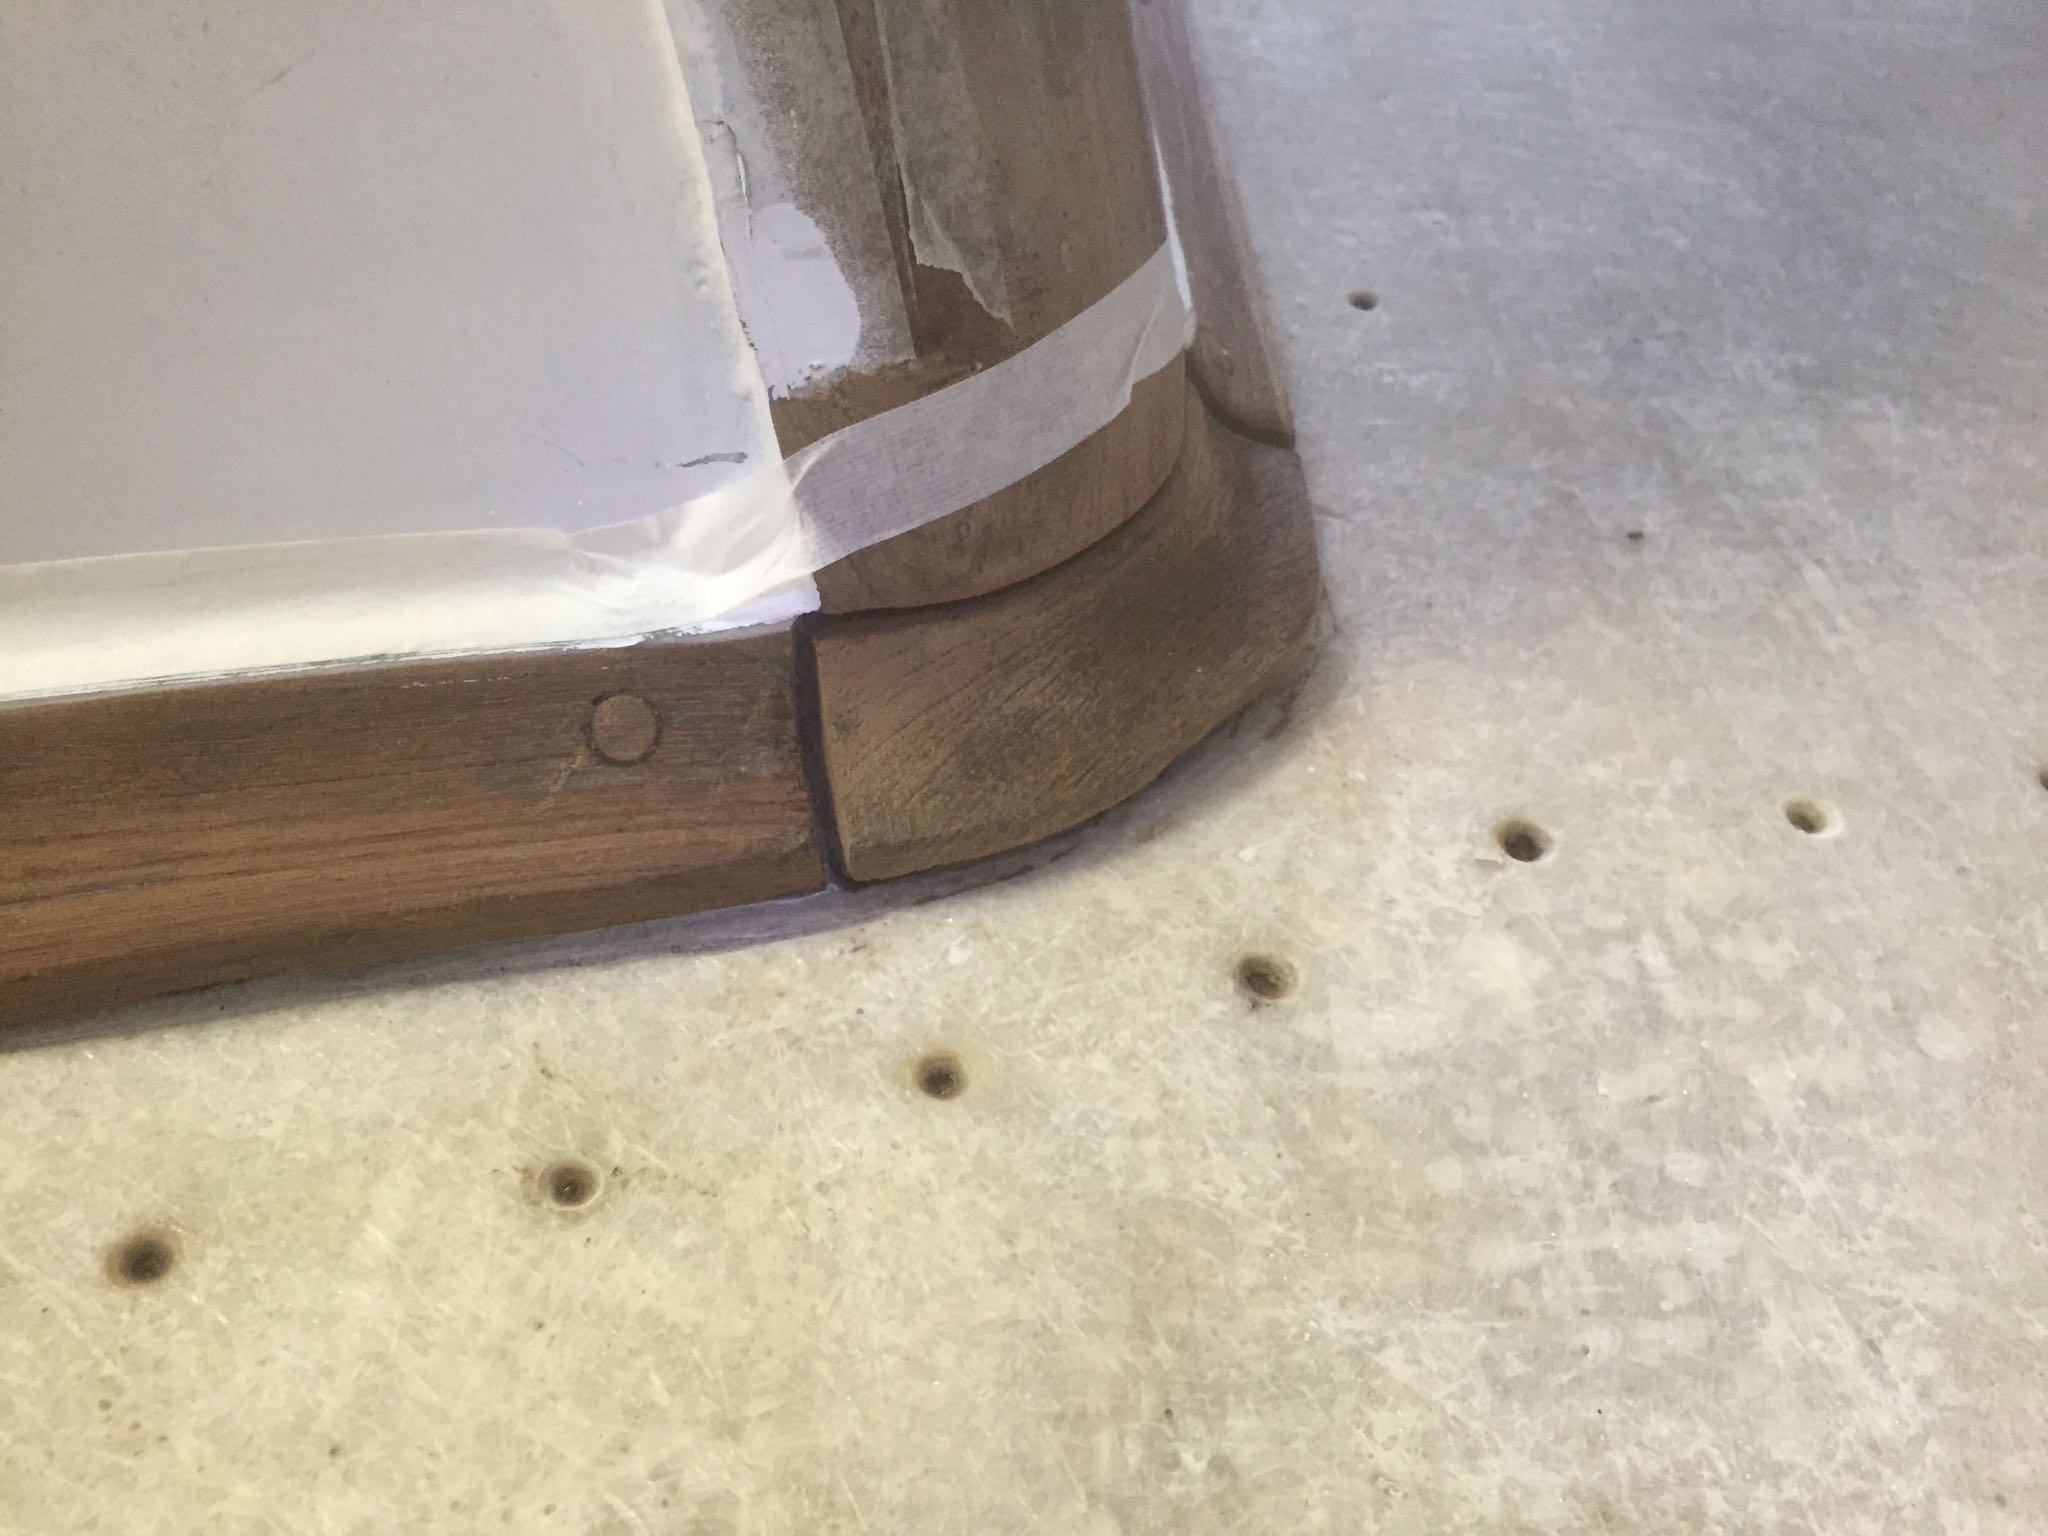
The screw holes that where in the deck to hold the teak boards also needed to be made a little bigger, so those could be easily filled with epoxy. The end result will be a completely waterproof deck, which will be completely sealed to the cabin with an epoxy layer. After that this part of the deck will be painted and treated with anti-slip inside the last layers of paint.