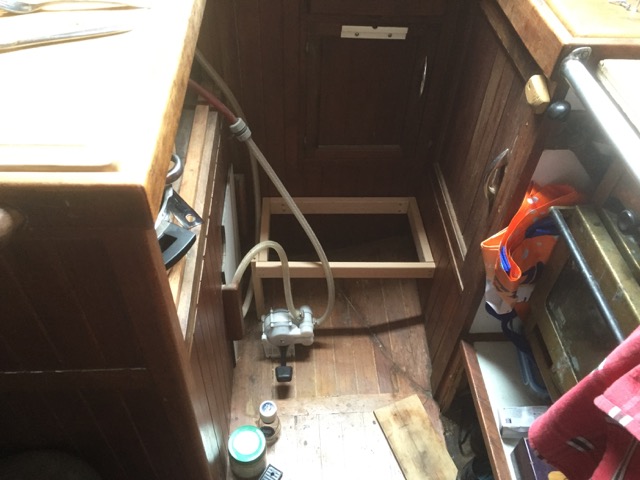
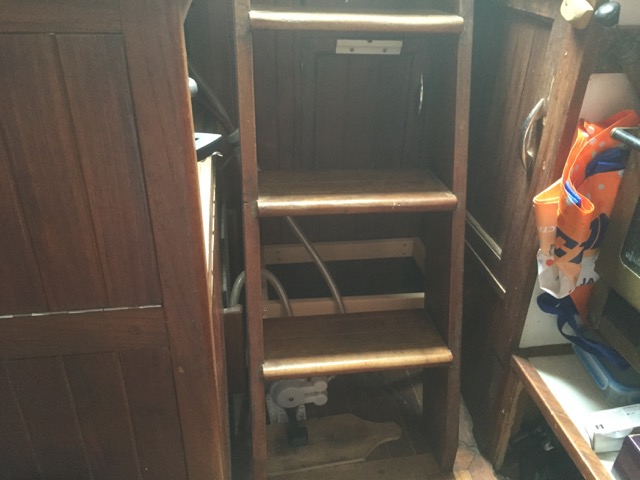
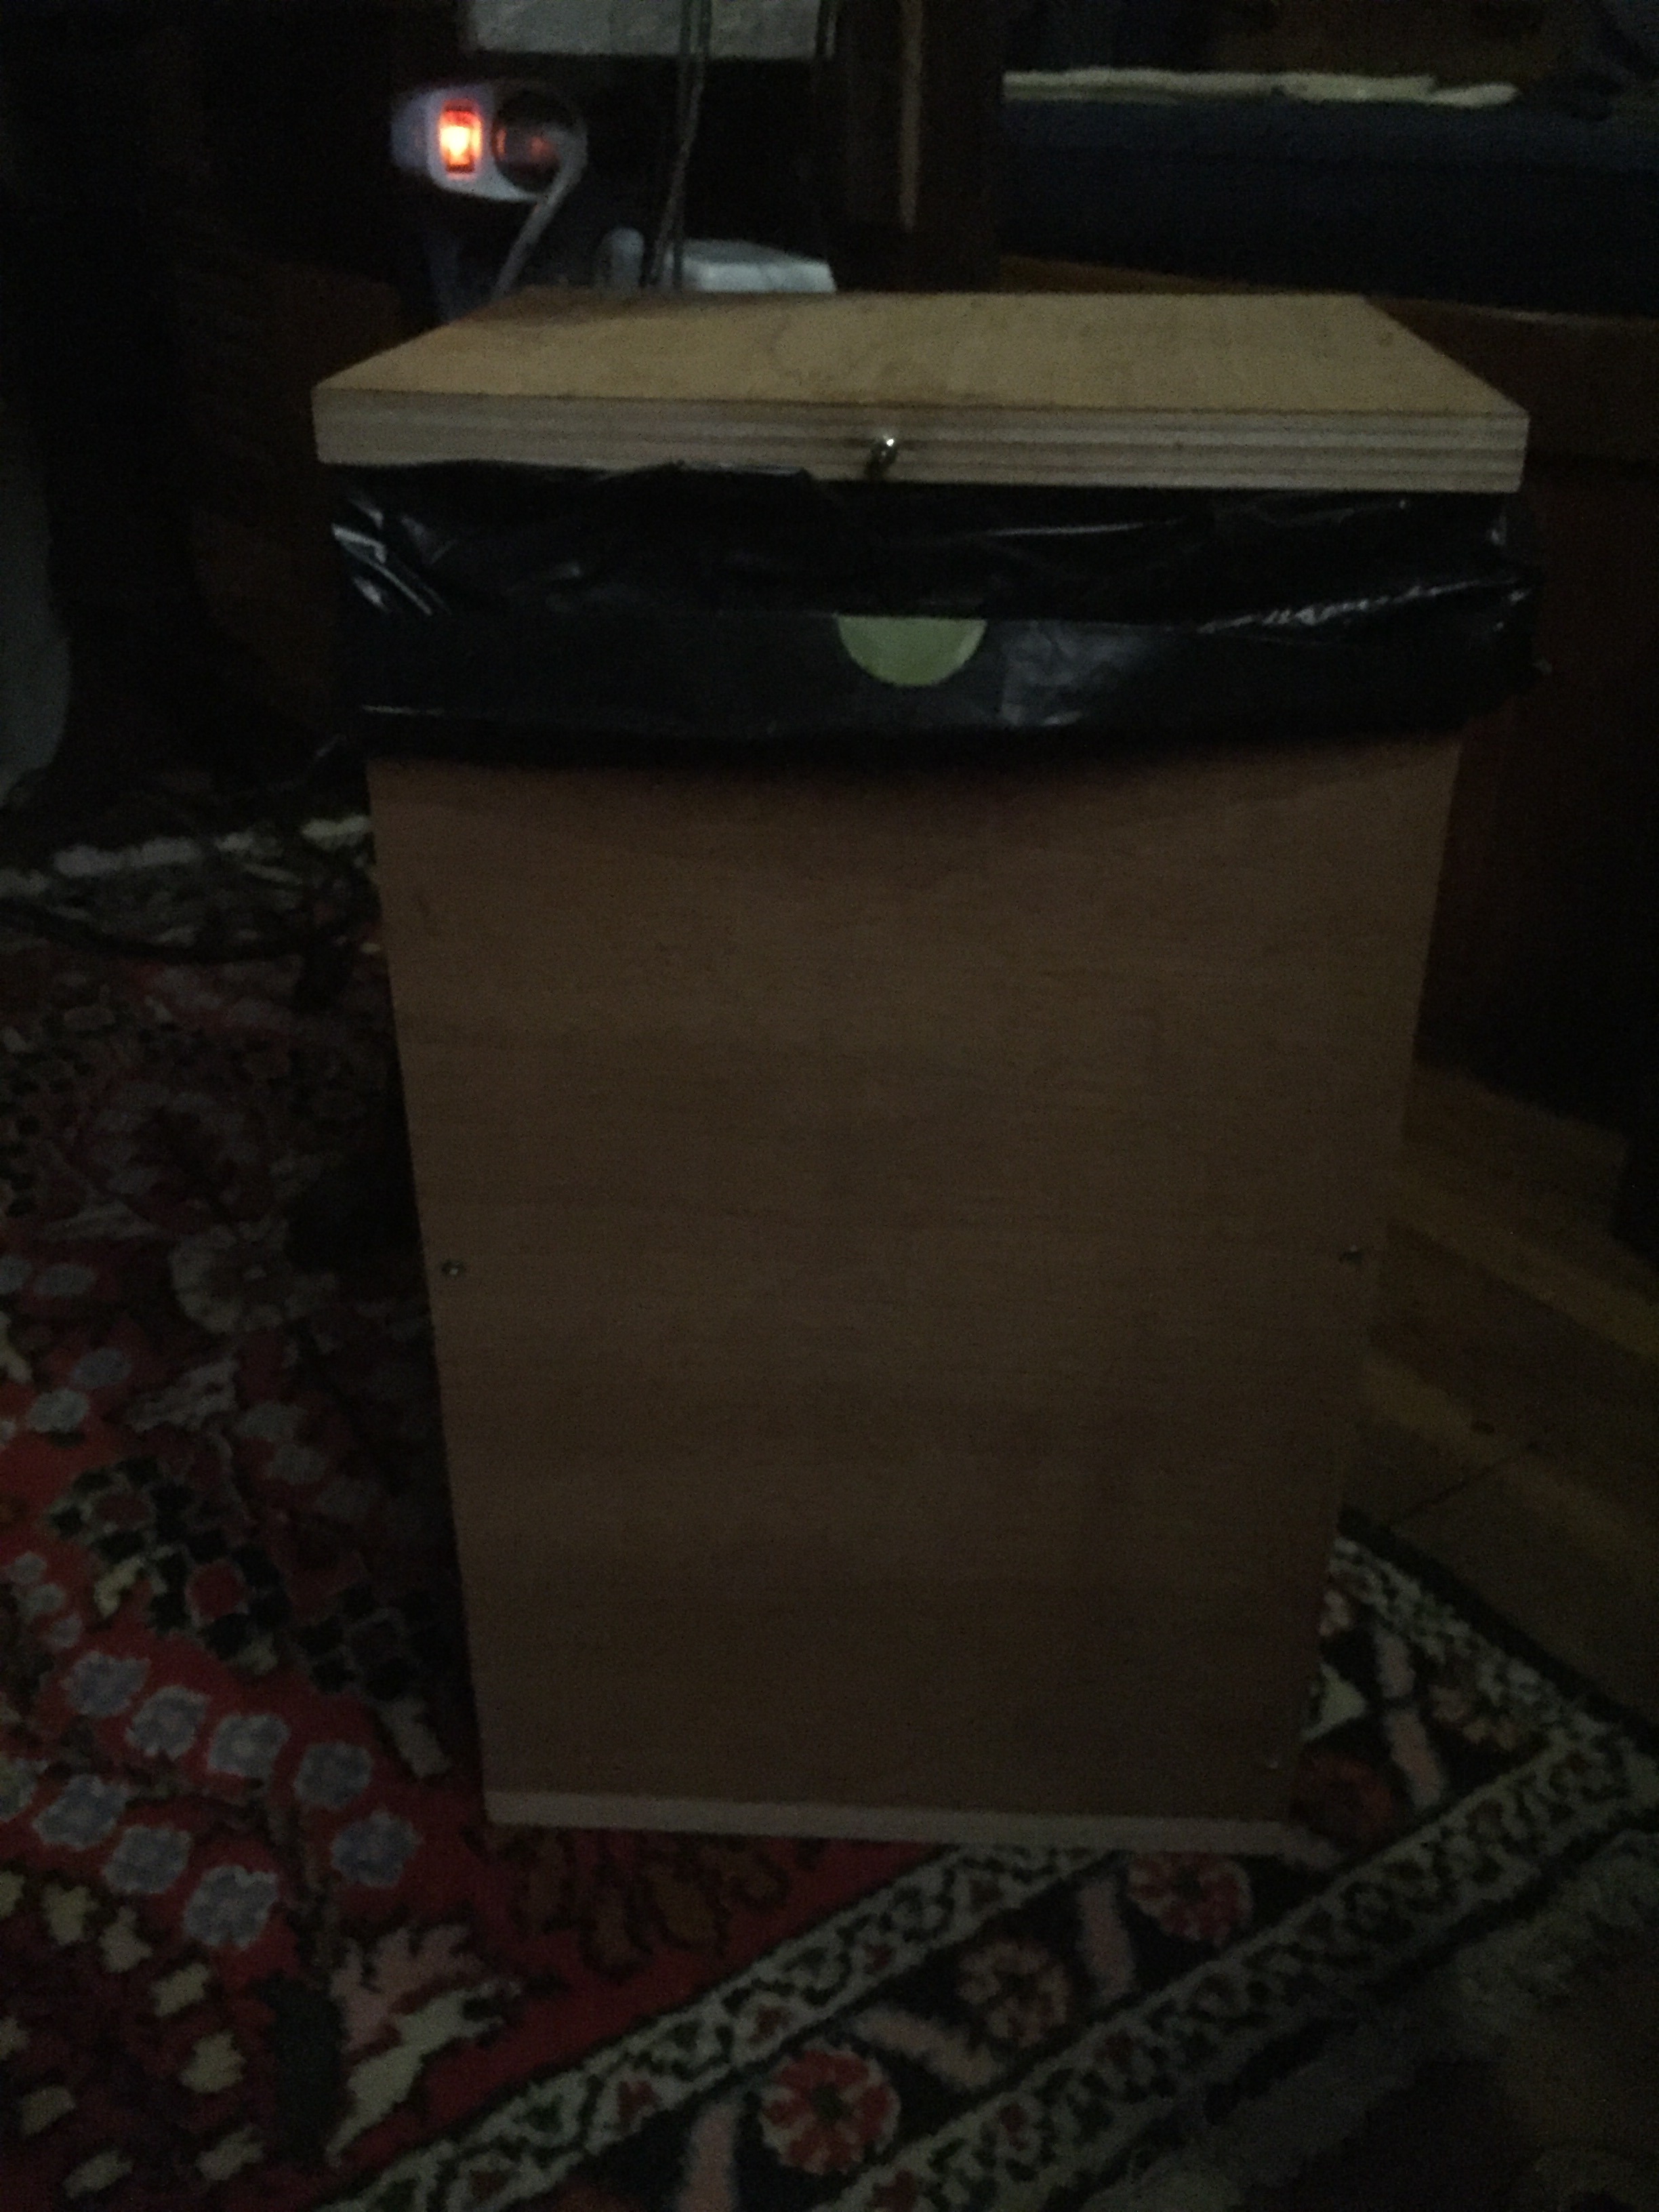
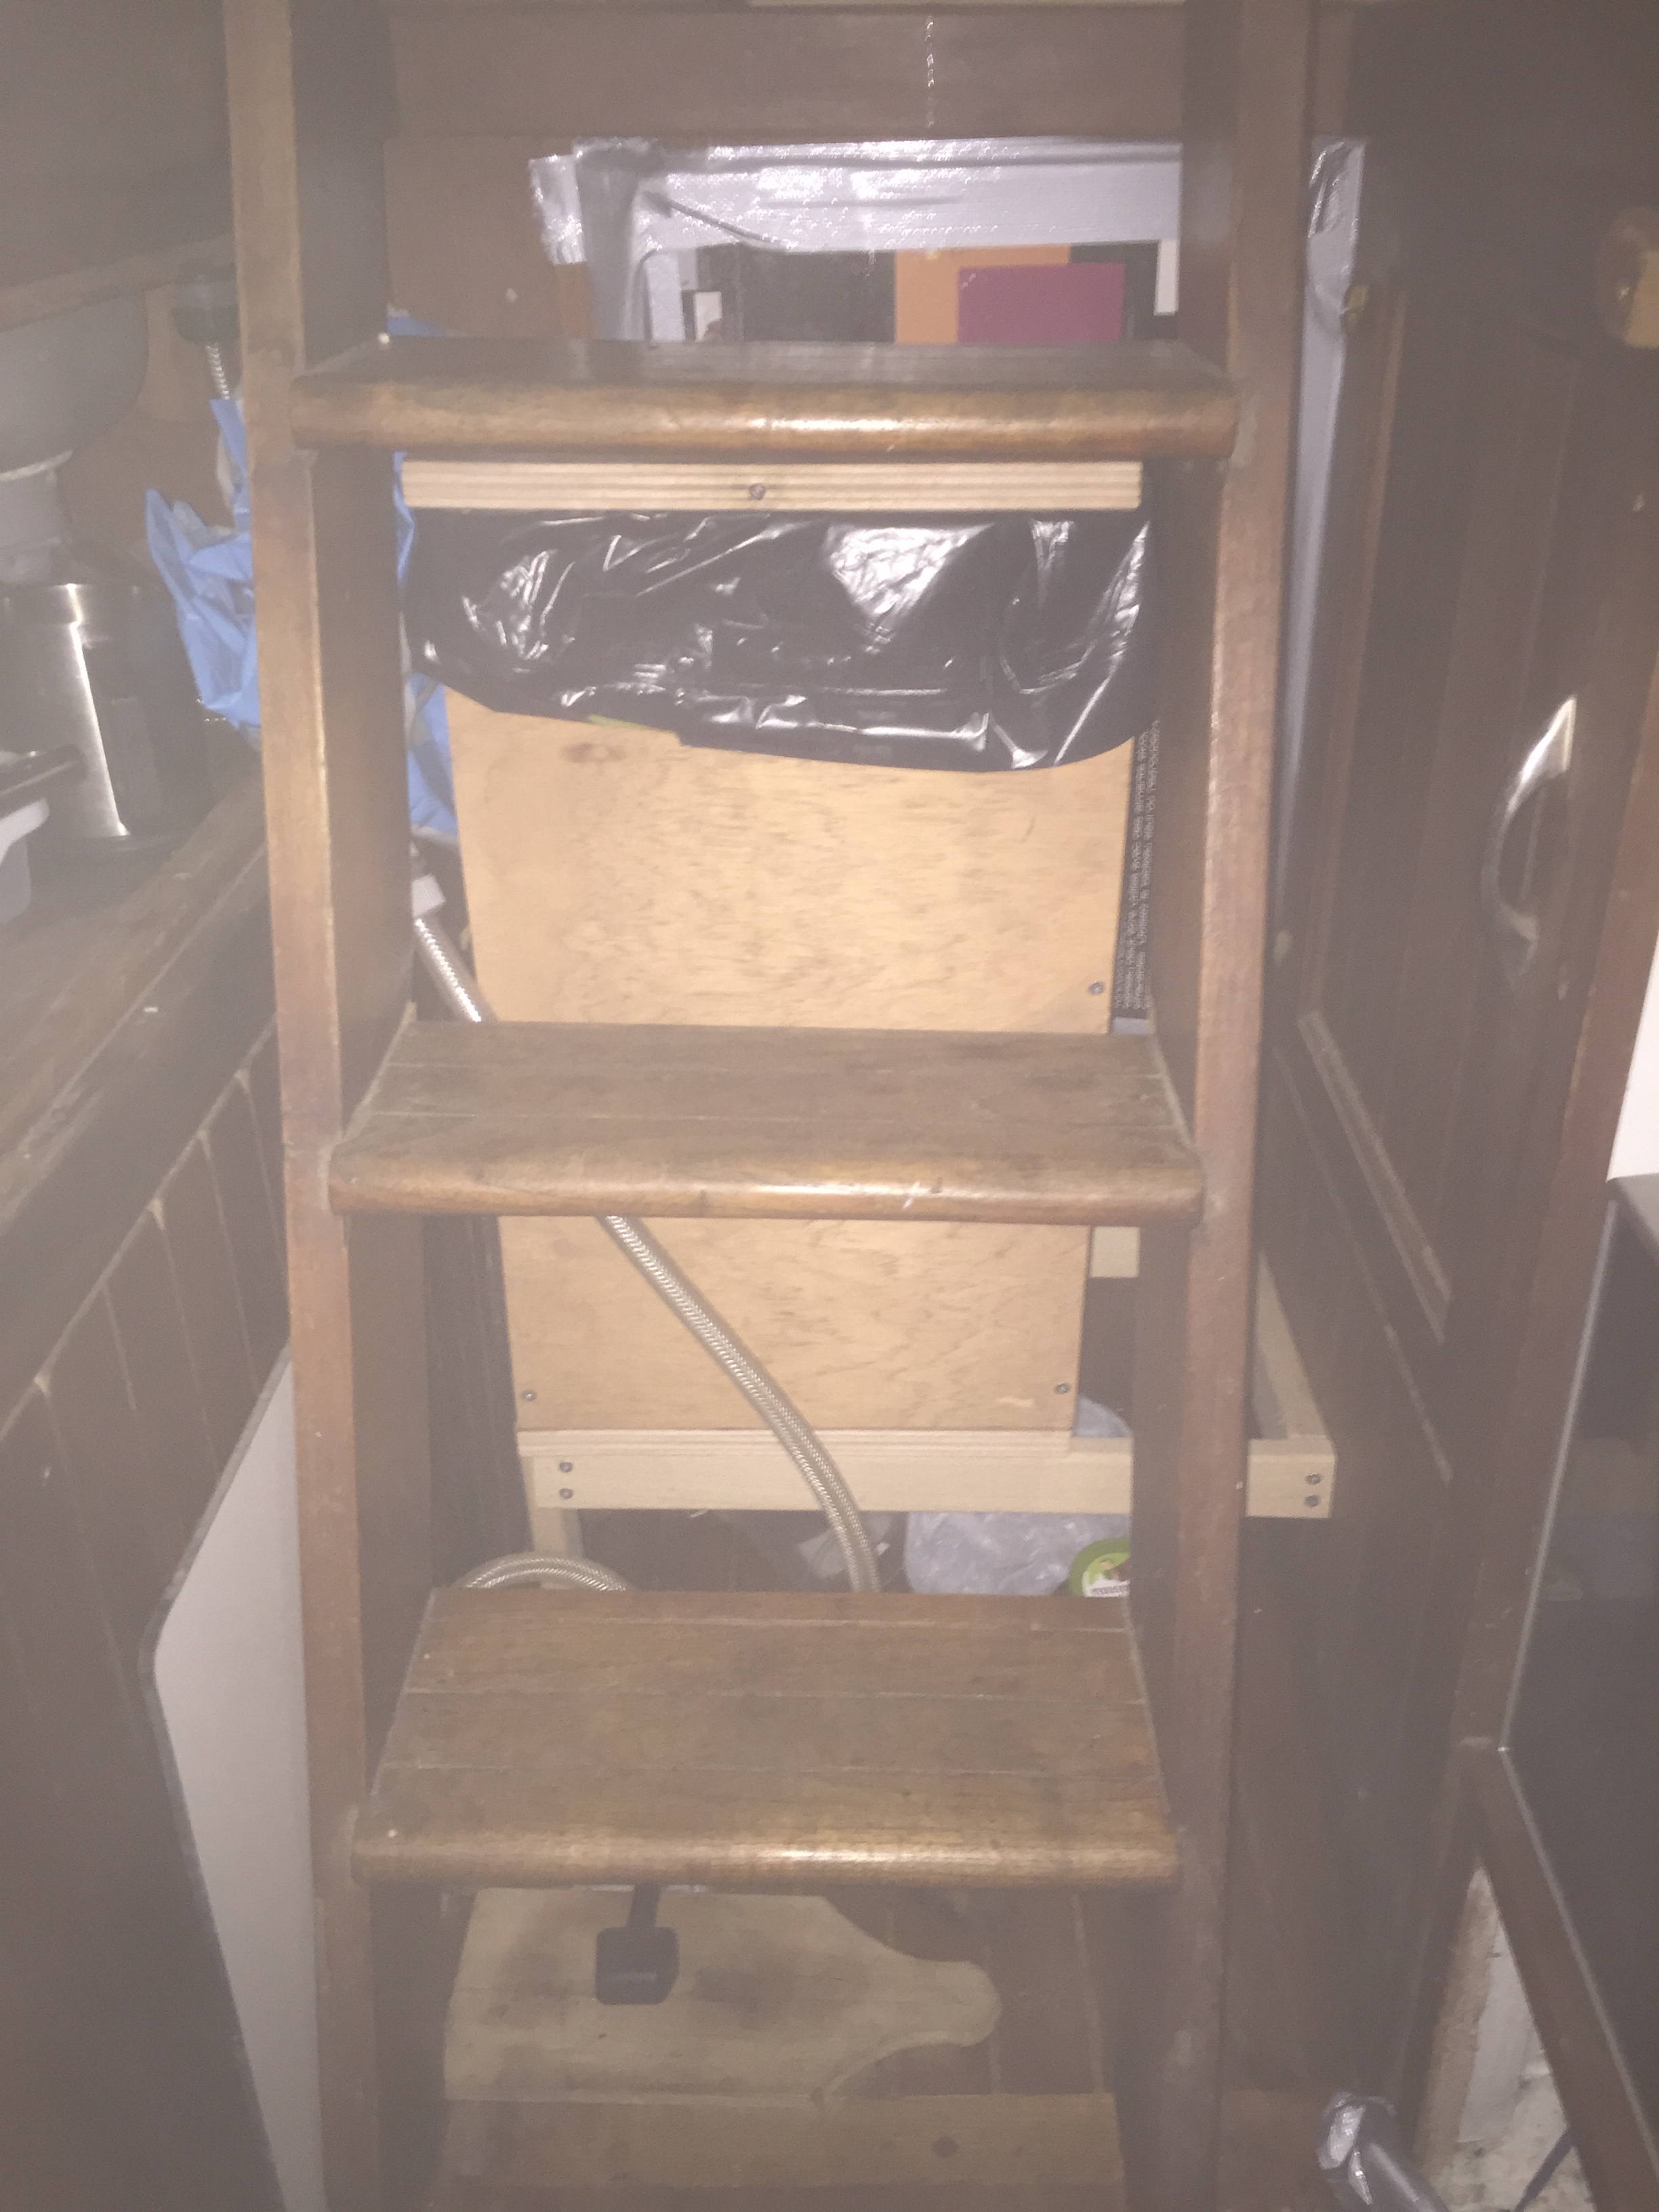
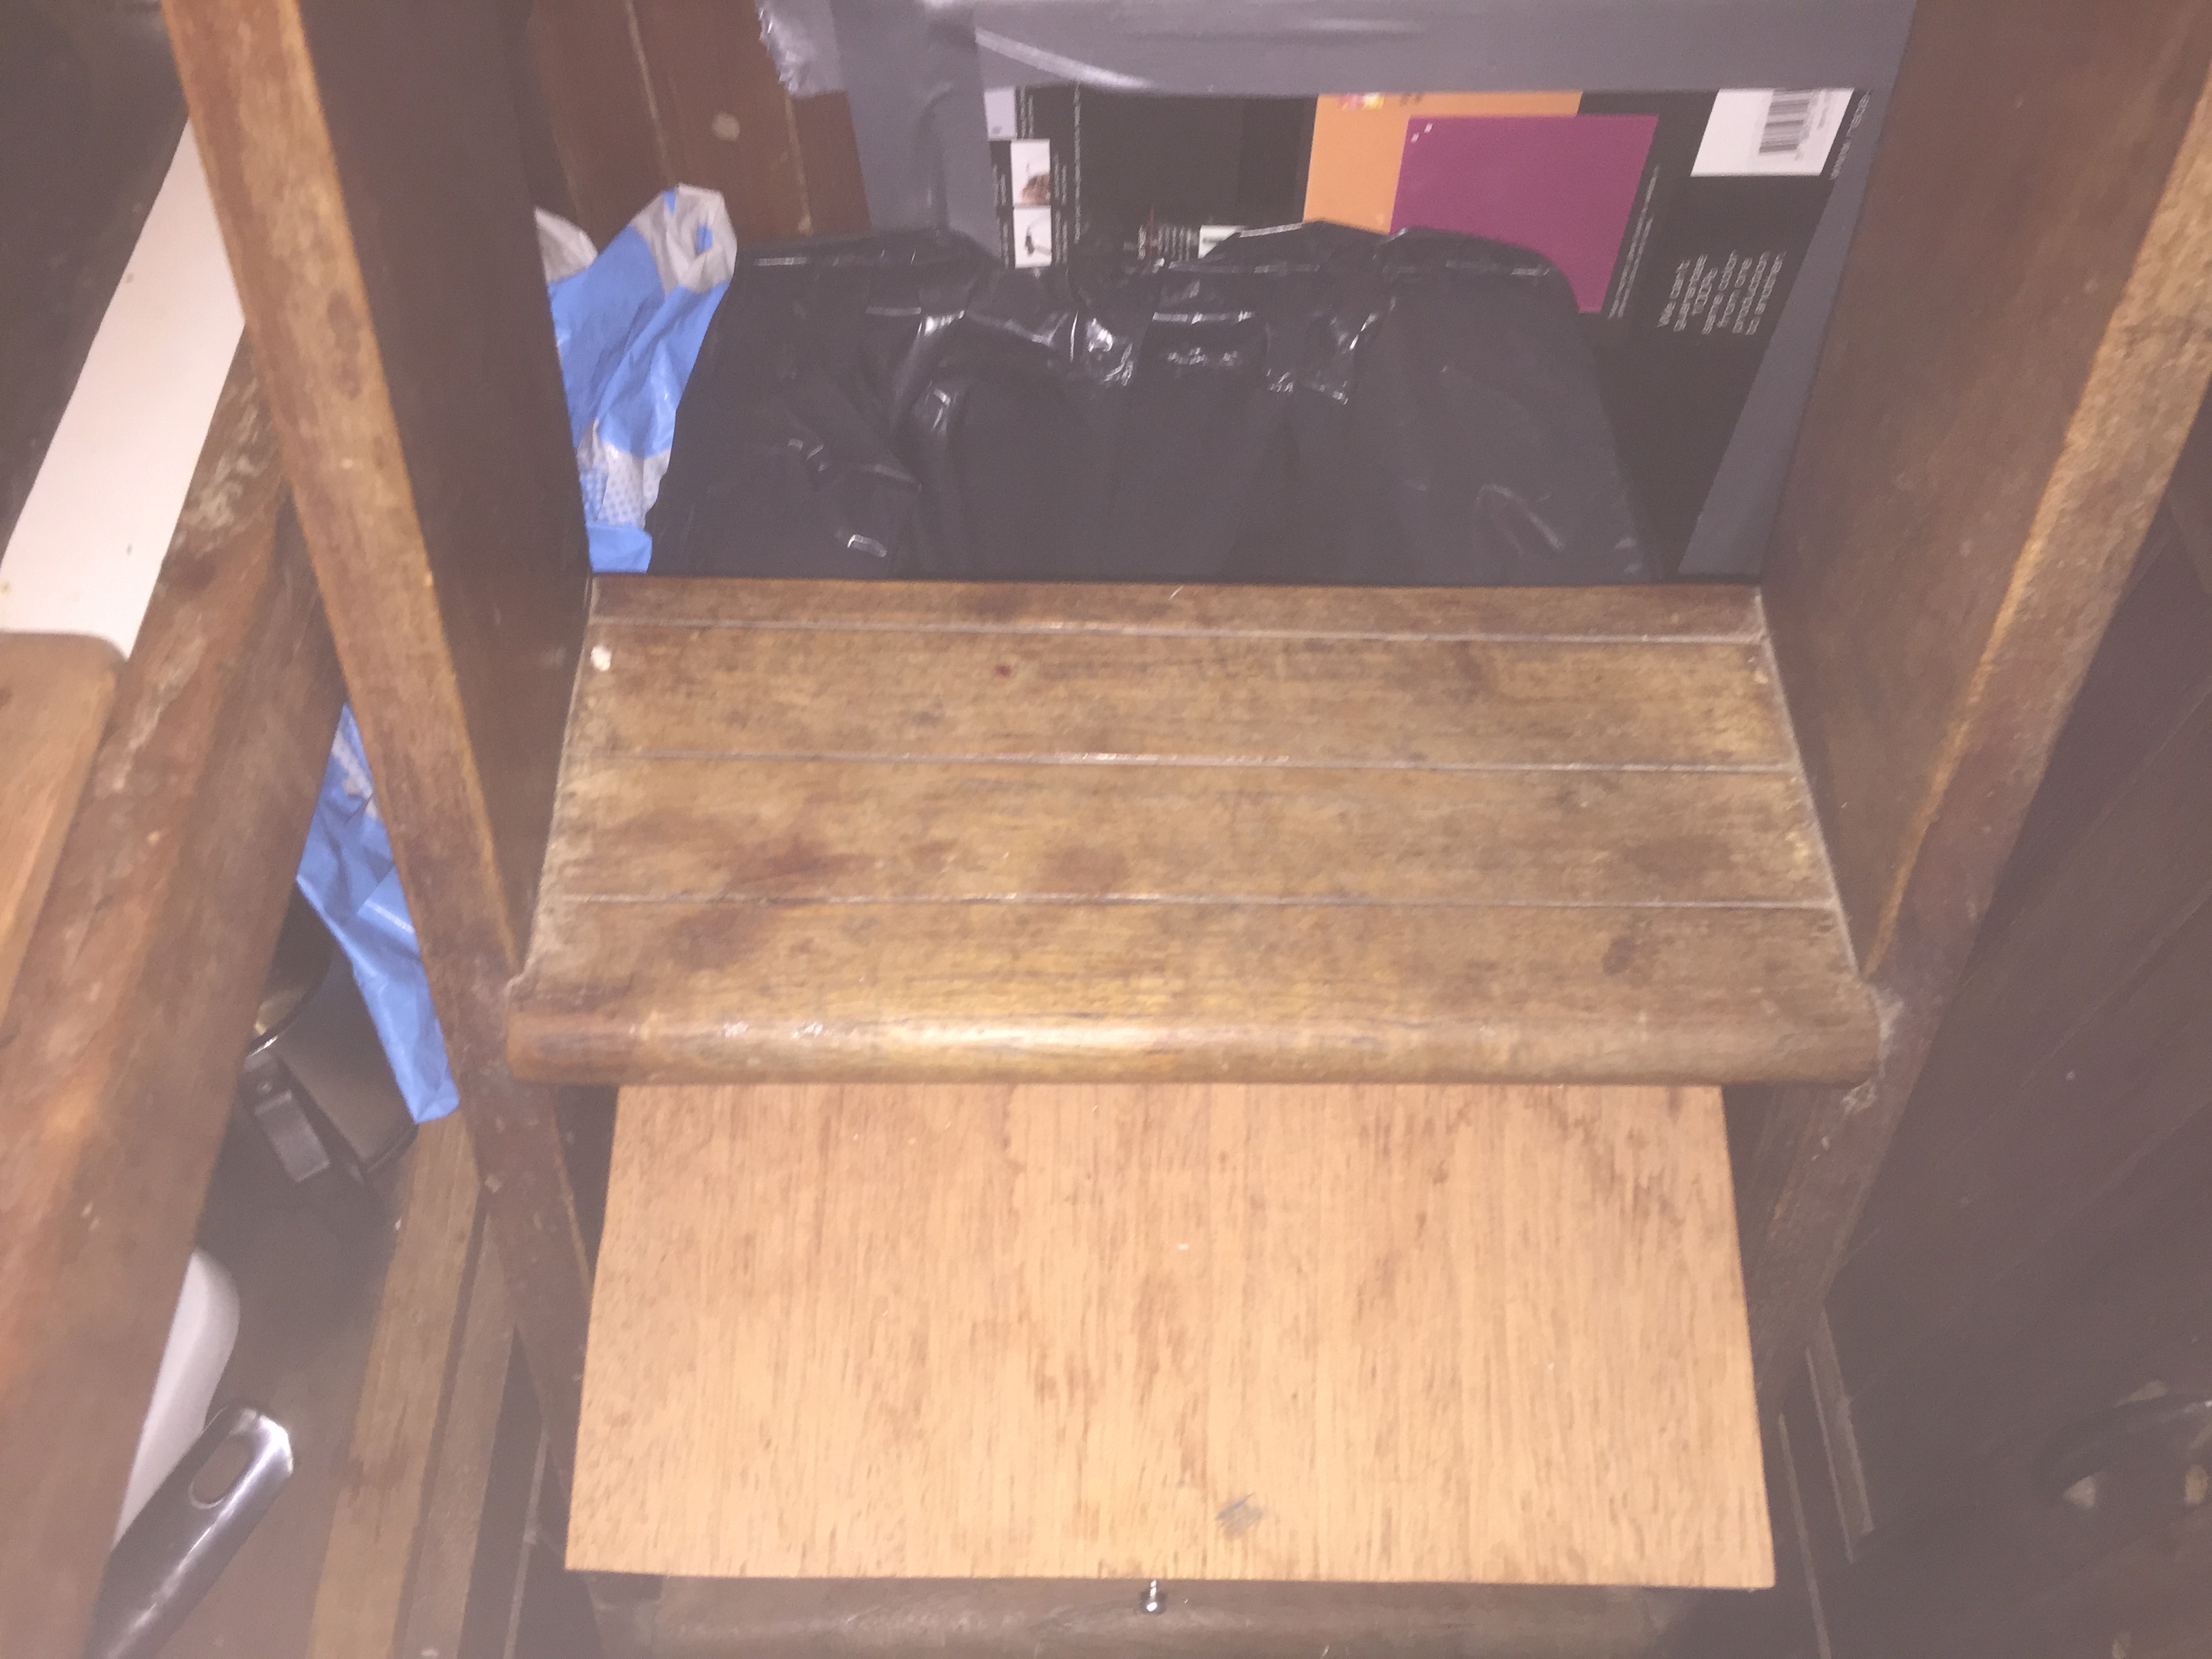
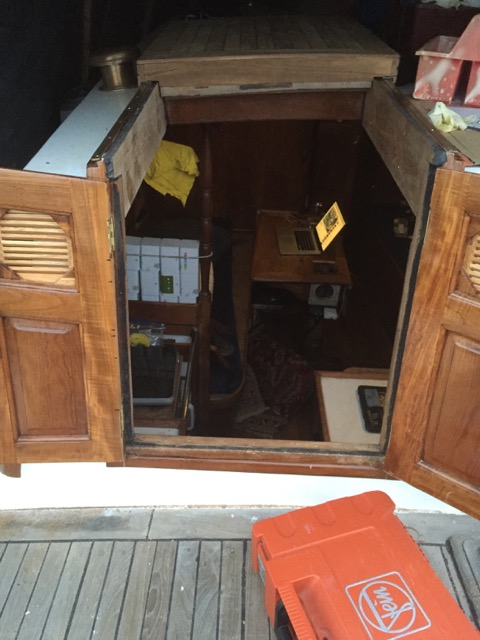
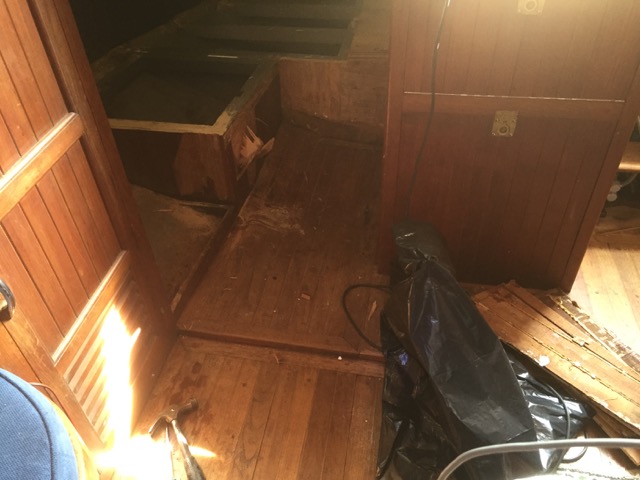
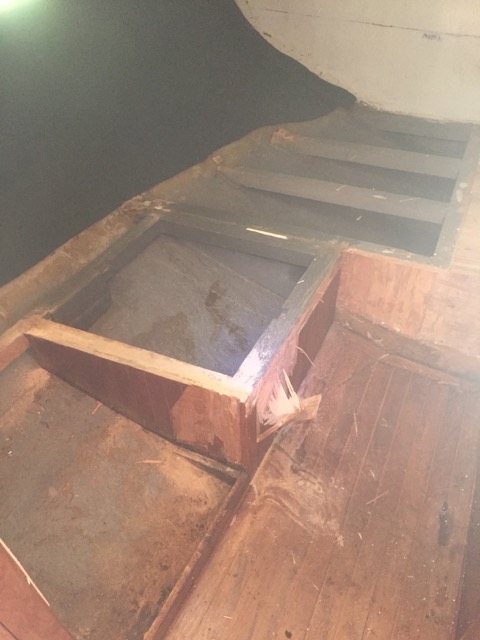
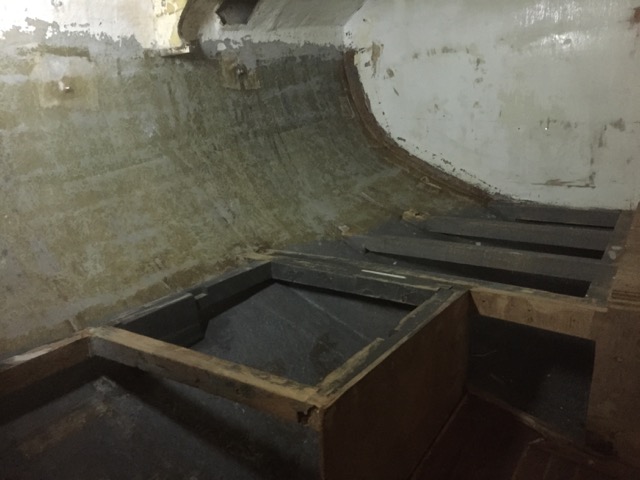
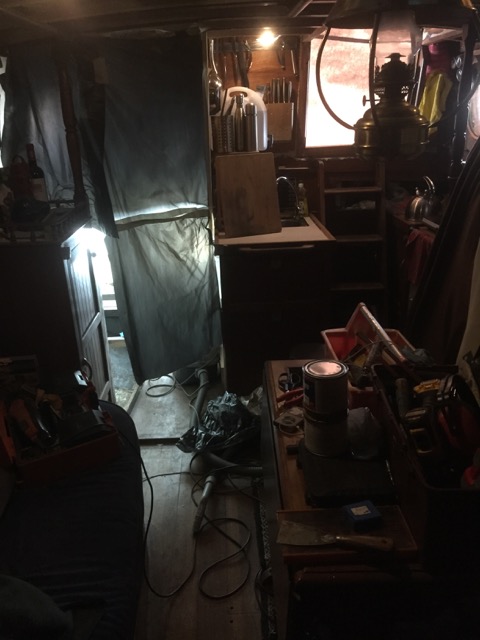
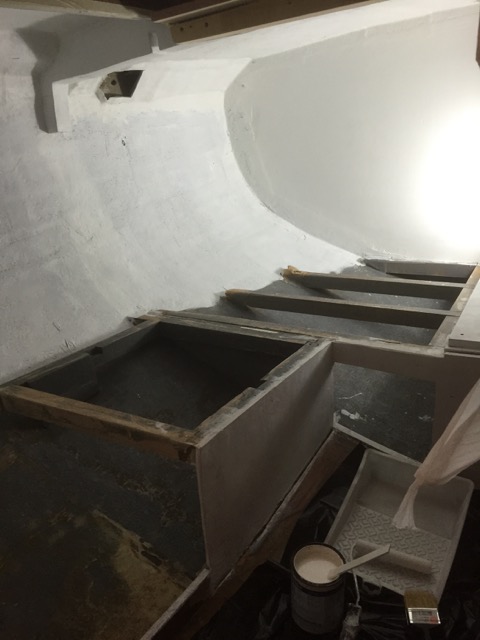
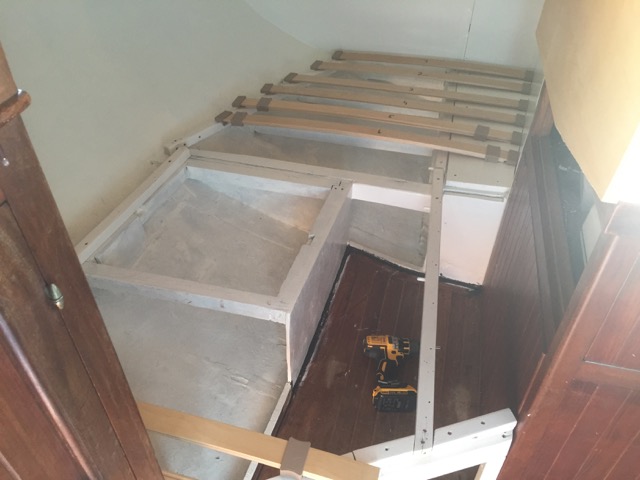
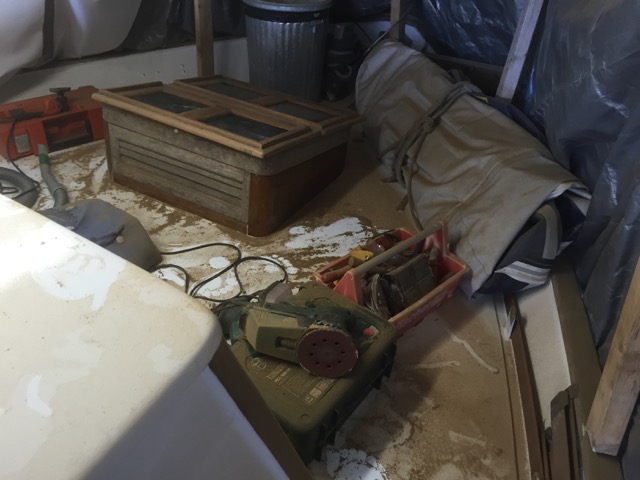
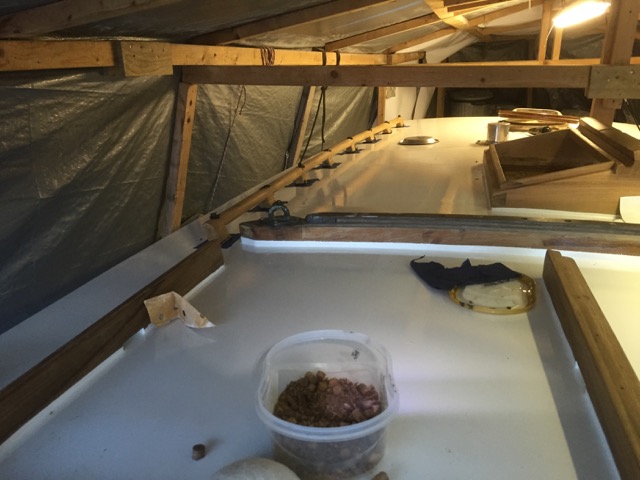
Back in October I finally had some time for the smaller tasks that I wanted to do. The garbage can in the galley was always standing in my way, and that garbage can was also meant as a temporary solution because I wanted to build a new garbage can in the galley somewhere. I decided the best place would be under the entrance so I went to work. First there needed to be a little platform for the garbage can to stand on, because the floor is not flat on this point of the boat. On the upside this means that I can also store stuff under the garbage can, so works out even better. With some extra plywood that was lying around I then created my own personal custom garbage can to place on that platform. It still needs some sanding and paint to make it beautiful as well as practical, but for now it works perfectly on that spot and the capacity of the garbage can has now also increased by a factor of two. So all in all, a very good improvement.
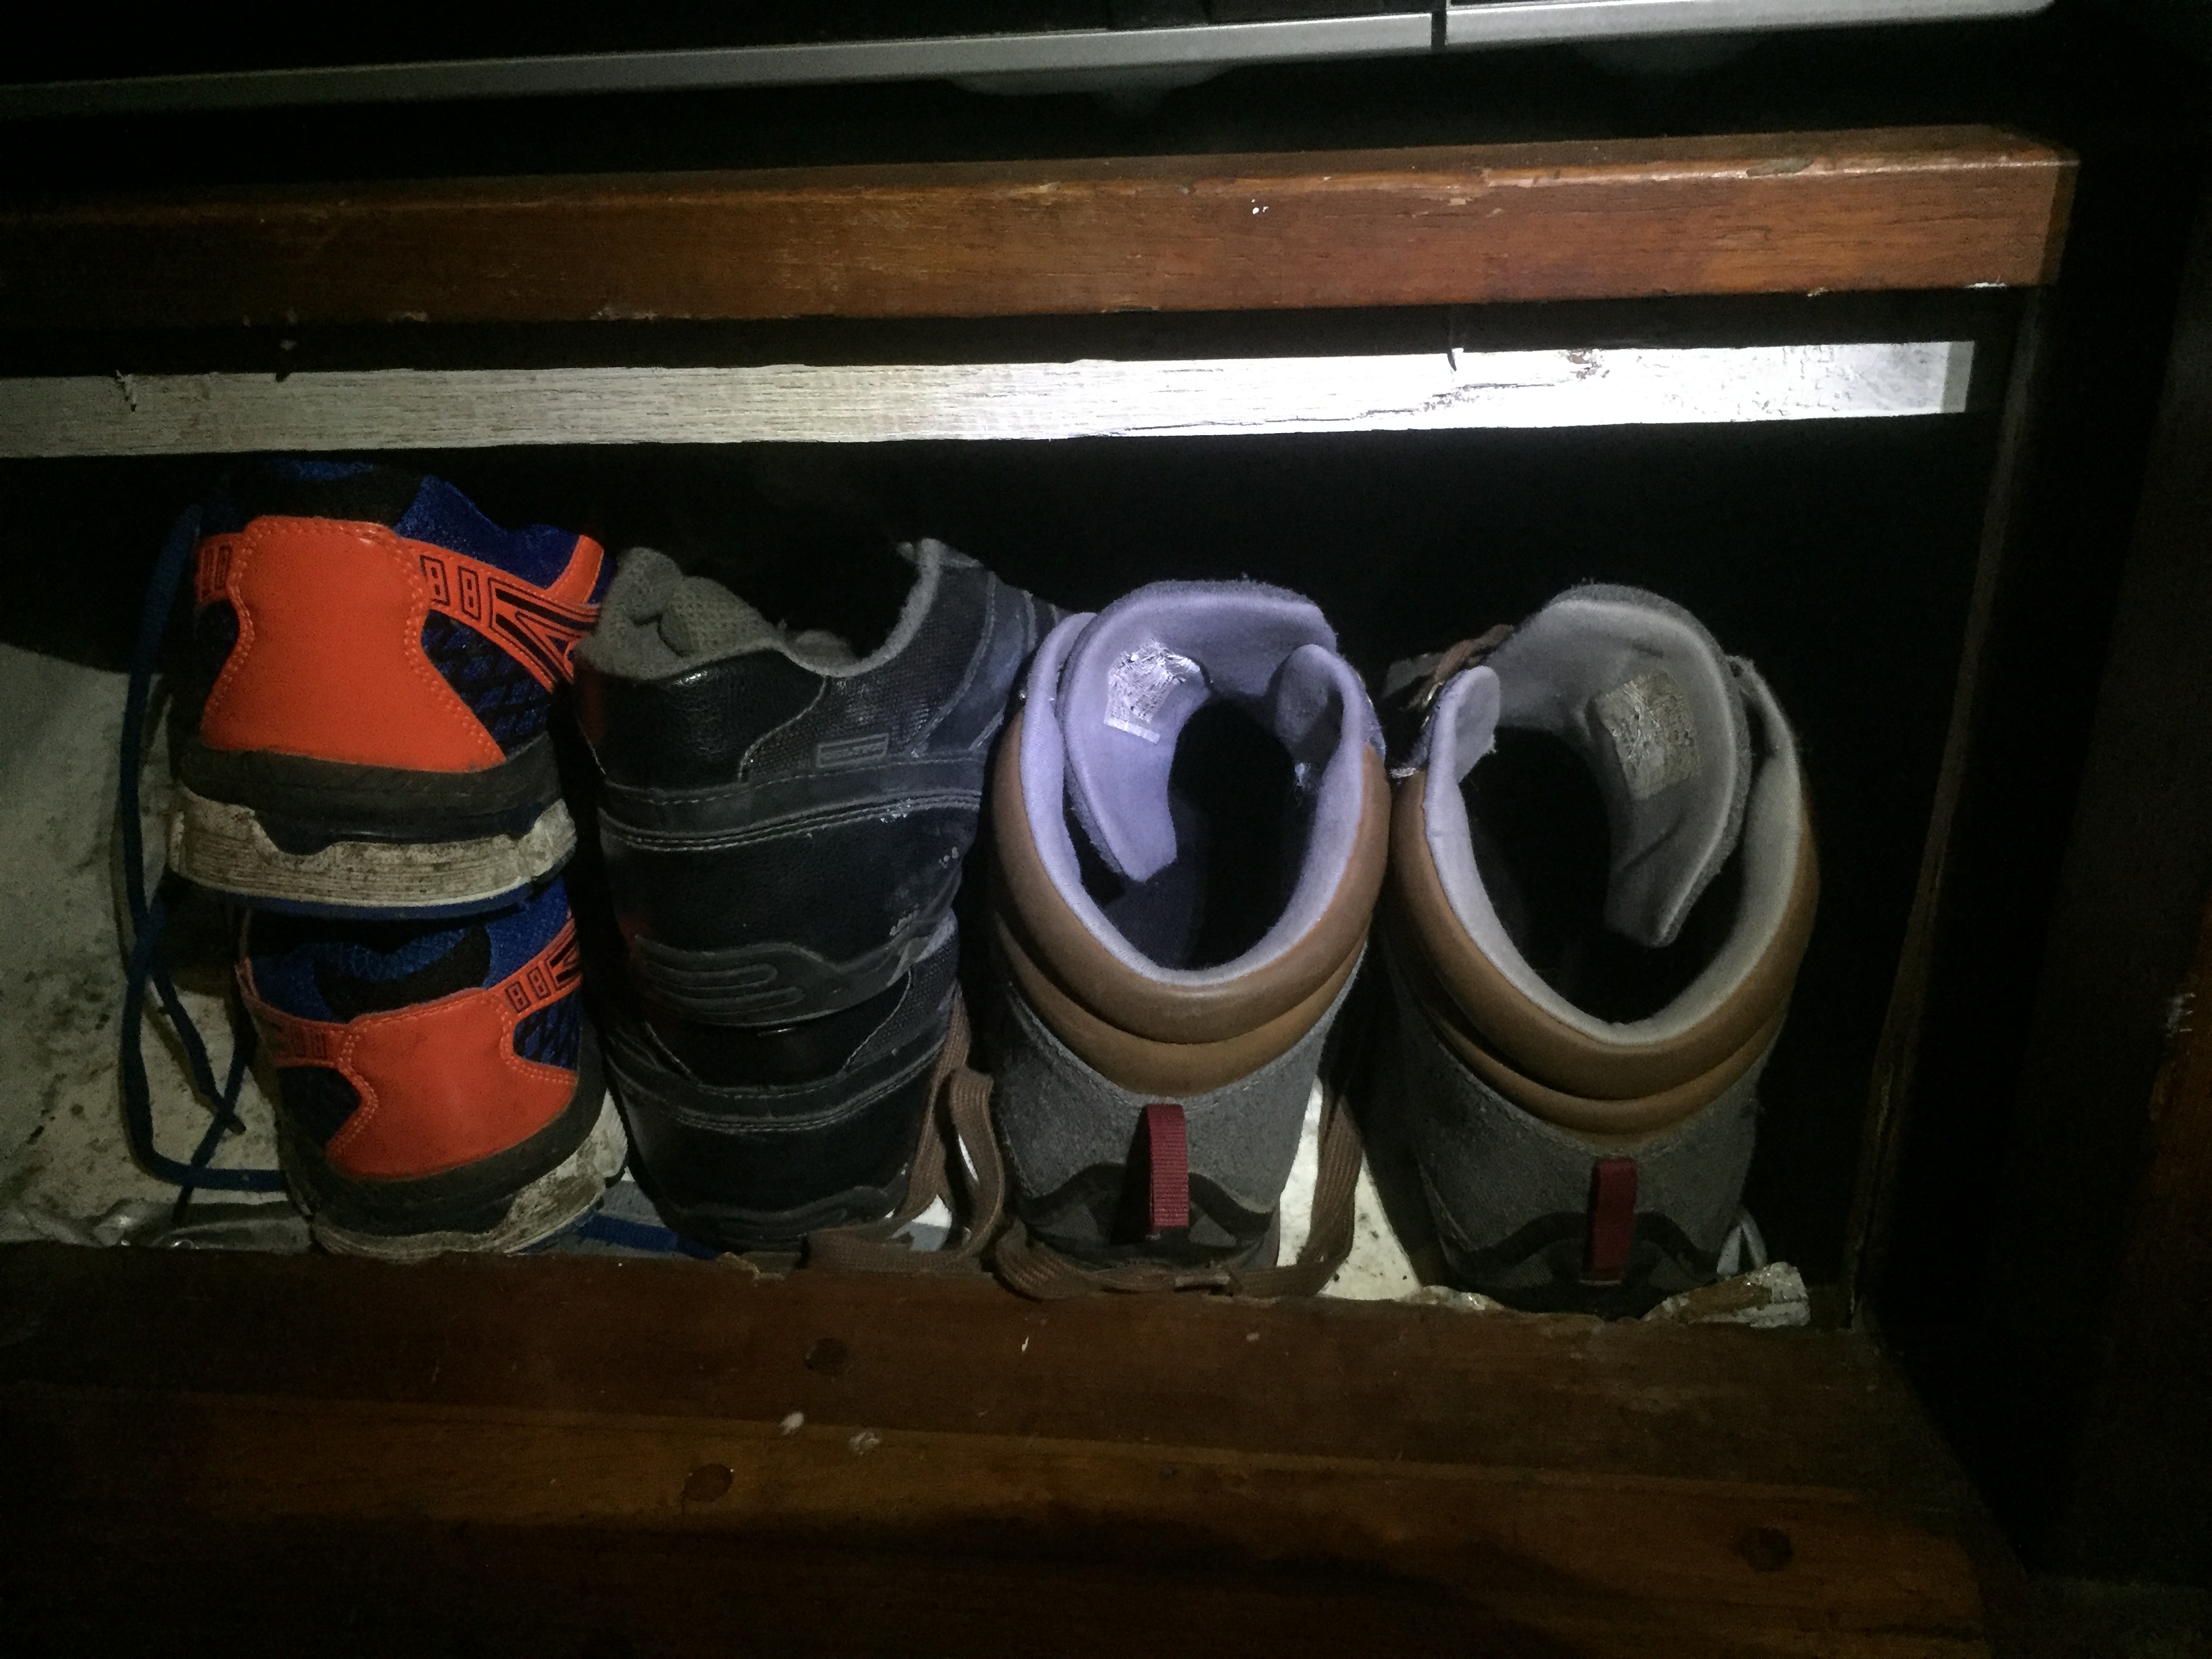
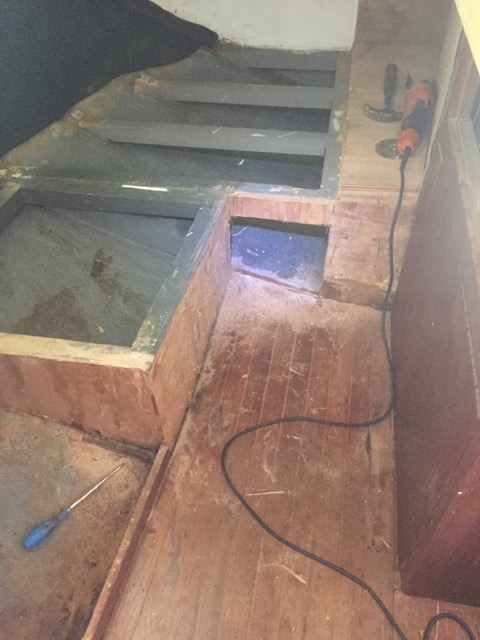
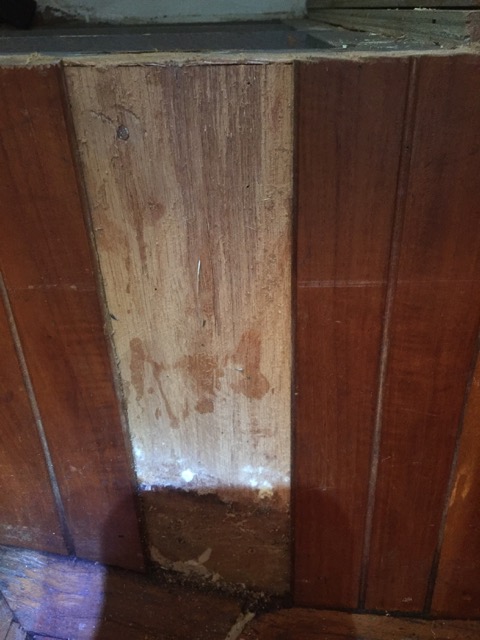
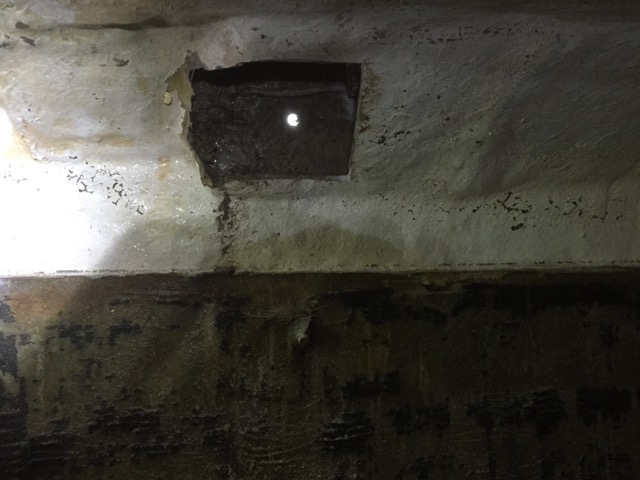
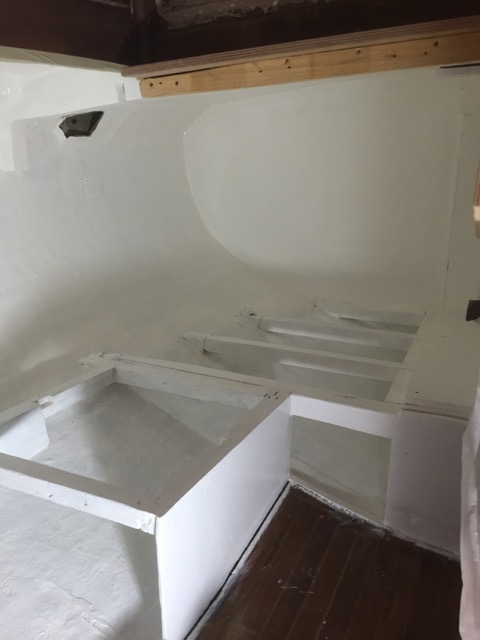
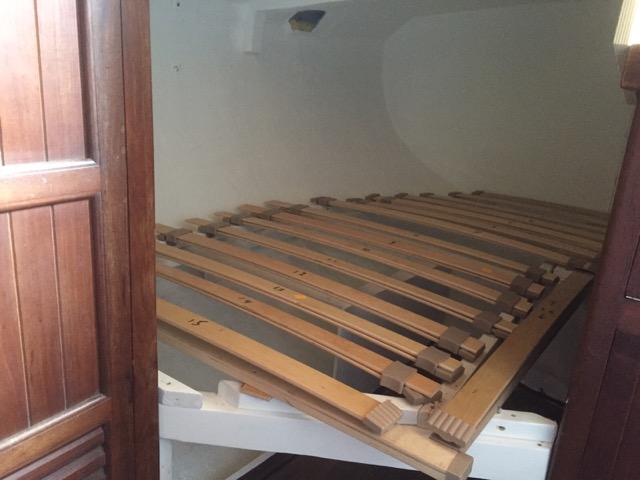
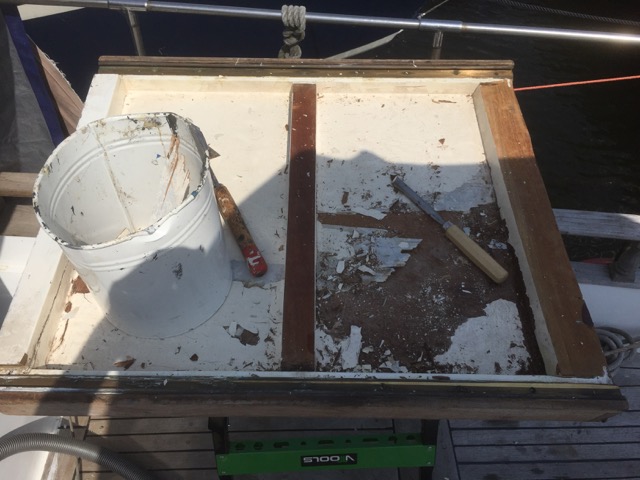
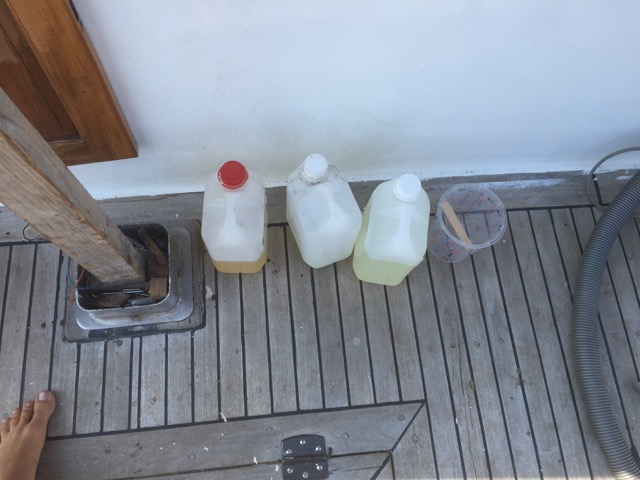
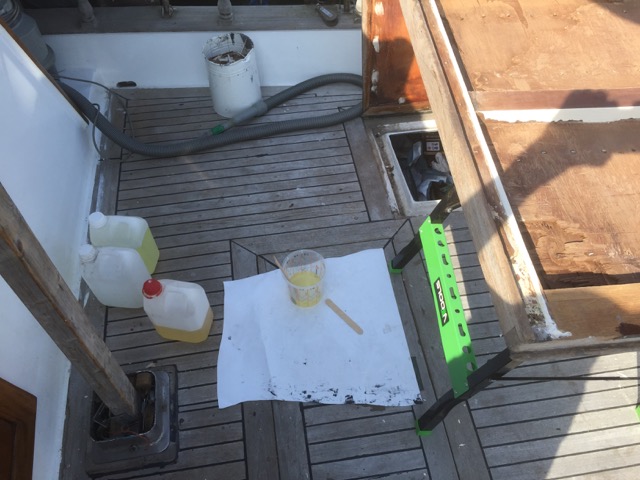
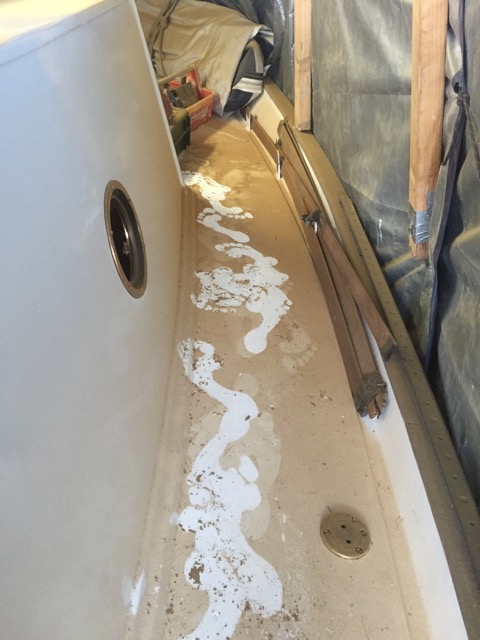
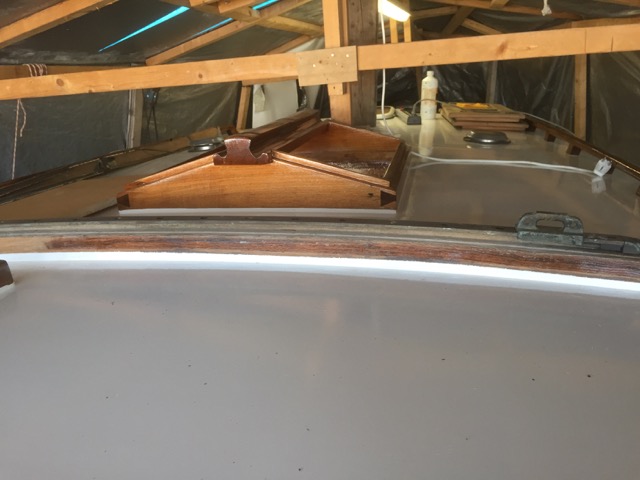
Next, there has always been a space beside the galley that was not accessible because they made it so that the bottom of that space could be flat. So I thought I might break out some of the wood on the side of that space so I could maybe store my shoes there, which where also always standing in my way. Turns out that space was perfect for storing ones shoes, so happy me!
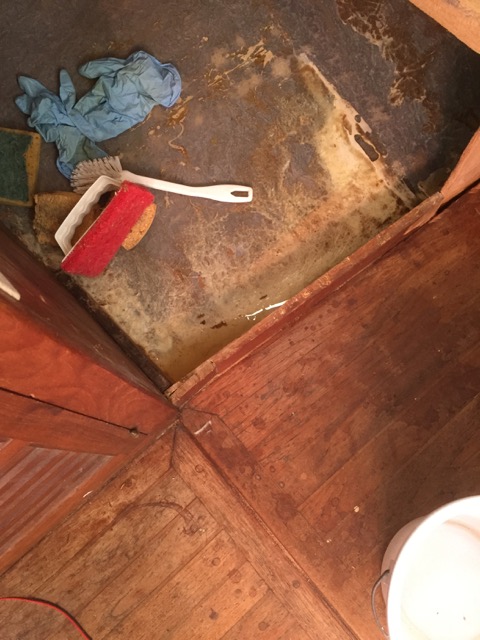
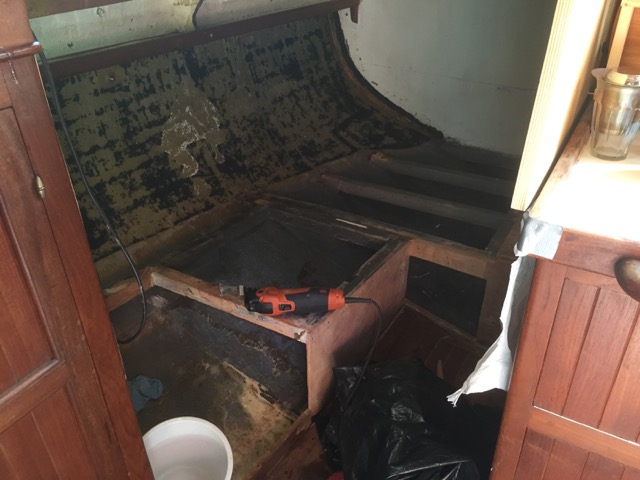
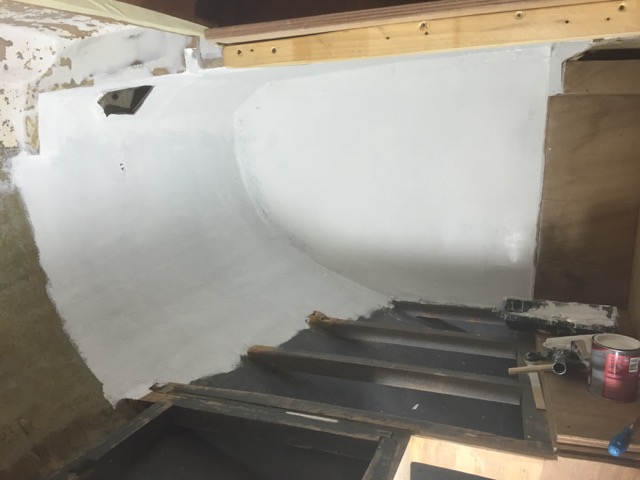
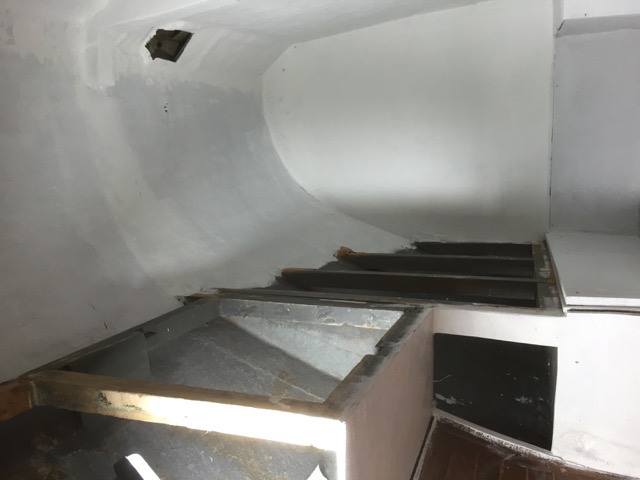
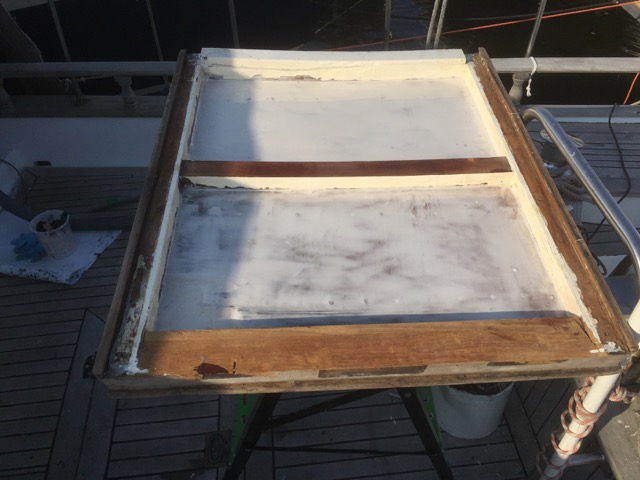
After a little cleaning and sanding I decided to paint that space with some of the white paint I had lying around to make it look a little cleaner.
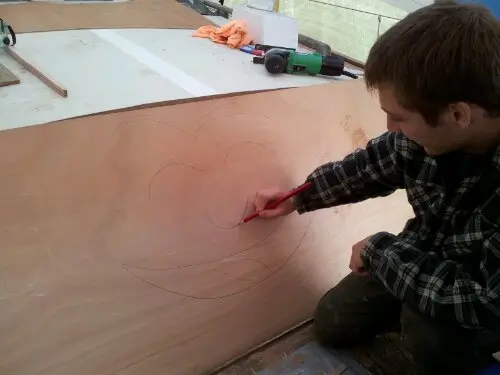
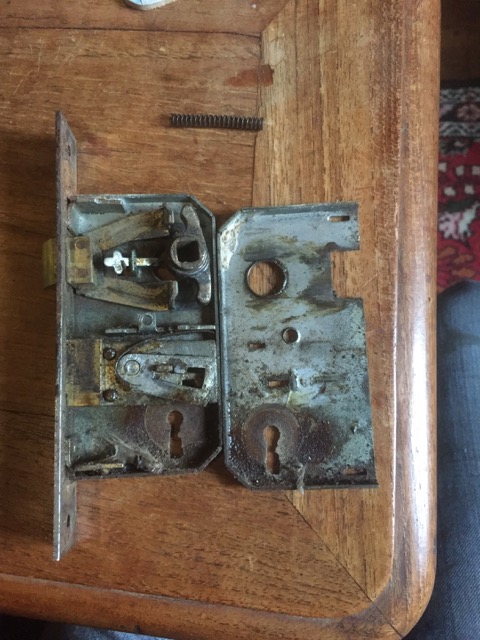
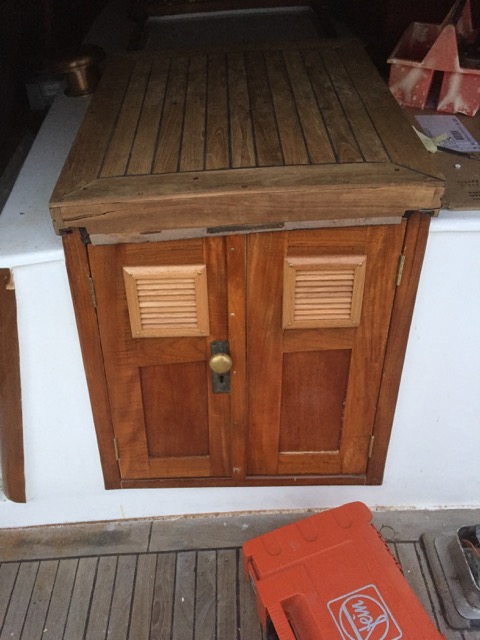
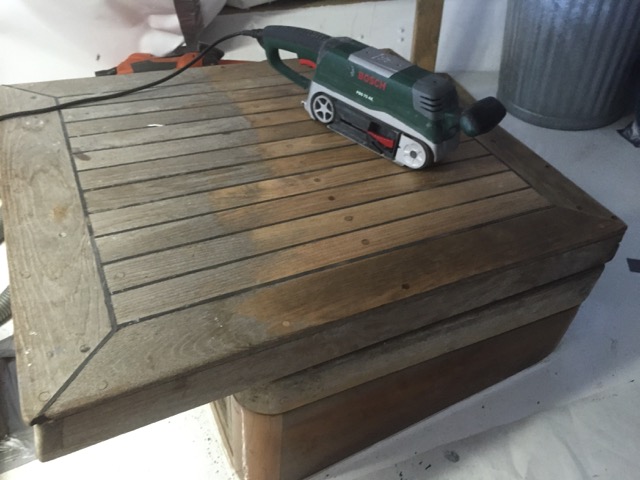
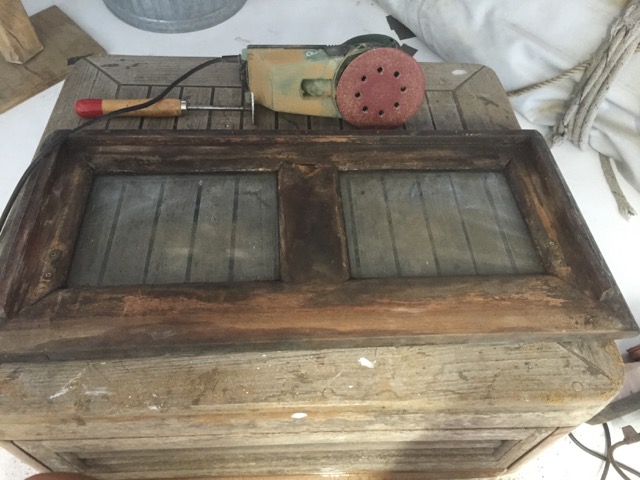
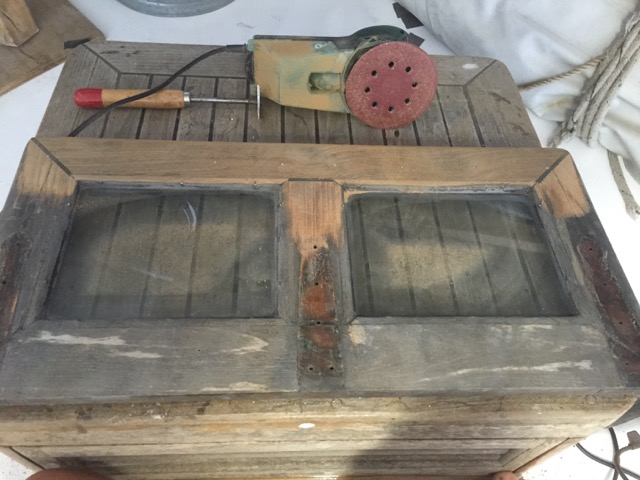
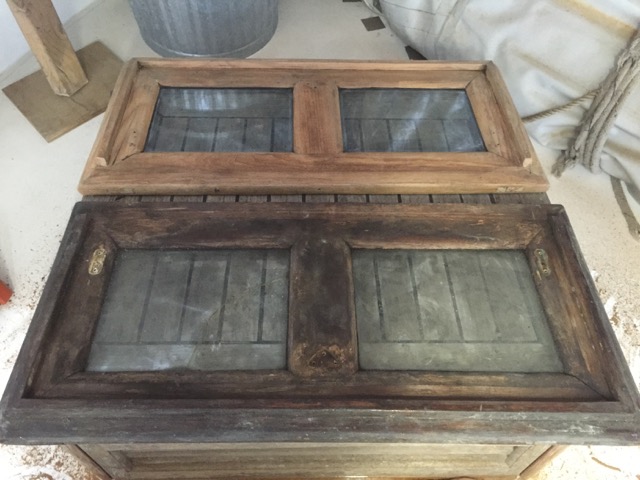
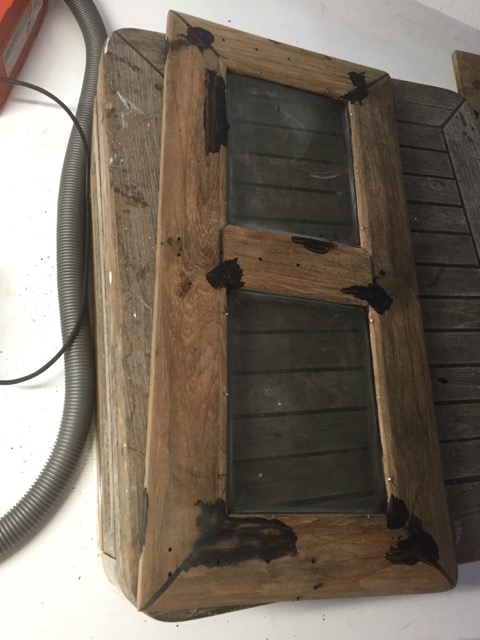
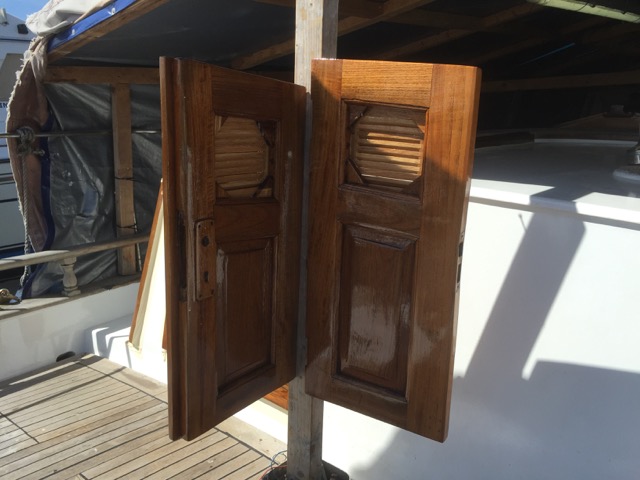
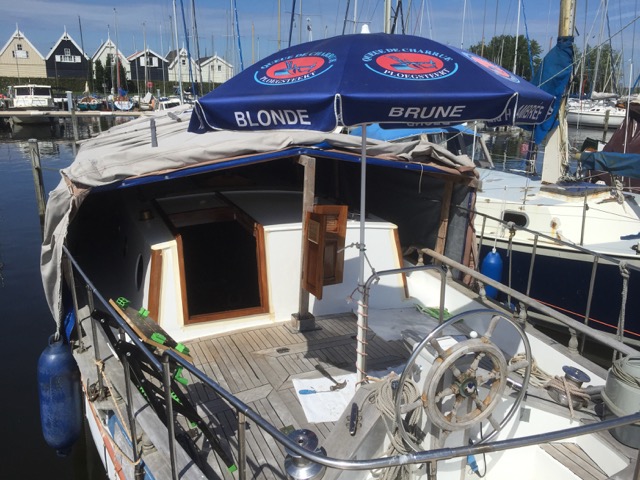
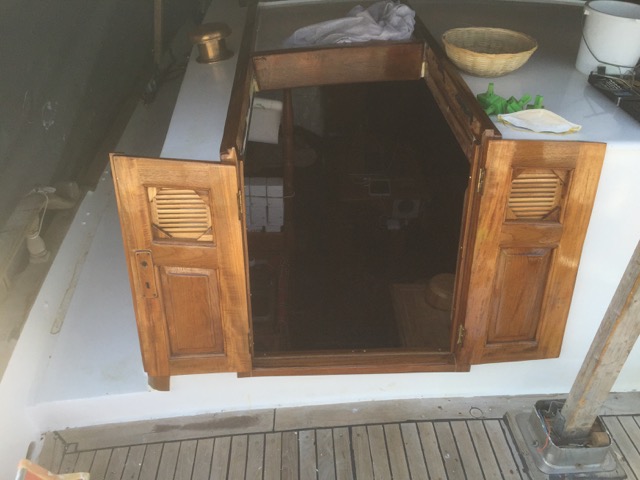
Another thing that needed to be for a while was fixing the lock of the entrance doors and making it so that the hatch and doors of the entrance could be closed nicely. Problem was the doors were switched (on purpose) when rebuilding the cabin. This needed to be done because the whole entrance was placed from the right side of the boat to the left side. But that meant the lock was the other way around now as well. Luckily with these old locks you have the option of switching the doorpin, so after some pealing around that actually worked quite easily. I wanted to keep this old luck because I want to polish it up like all the other brass on the boat and make it shine like new. But that task will have to wait because winter was coming and it was time to start another big task. More about that in the next update.
Fixing some nasty leakage
Back in September I already posted the short video of the work that was done to fix some nasty leakage that was creeping in from the side and top (deck) of the boat. Because this meant I had to totally dismantle and remove the bed from its place this also meant I could redesign and clean things up around (and under) there.
This whole project took almost two weeks to finished which meant I had to sleep on the couch for a while, but it was certainly worth it!
I also had a small vacation in those weeks for a few days while helping my parents sail their new boat to their new home, so I did have some leisure time in there as well.
If you want to see my parents new boat check out this post:
And to see the full story about the leakage check out the video and the pictures below:
Rainwater leaking inside of the Seadog
The Seadog has been leaking rainwater from somewhere along the hull of the ship for years now, but back in September I finally went searching and found the problem.
And it was a big problem!
Down the hatch!
As stated in the last update the next step was to also sand and varnish all the hatches that are on the boot. The main entrance hatch was in need of some serious repair, because the teak top appears to have been leaking and the wood underneath started to rot. All the rotten wood was removed and I just filled everything up with an epoxy filler. The hatches of the roof window on top of the cabin just needed some extra caulk here and there and the same goes for the other hatches. After sanding the whole lot, they where ready to be varnished. But it turned out that it would take a long time before that finally happened, because there where a few other problems to fix first. But more about that in the next update.
Adding of the hand rails and vanishing of the outside teak
In the end of July and beginning of August when the weather was still hot and sunny all the teak that was not yet varnished was finally sanded and was treated with 6 layers of 2 component sealing varnish for teak. After those 6 layers another 2 layers of extra UV-filtering varnish was applied for the finishing touch. Because one needs to sand between the layers that are applied the whole endeavour took (even with some help of my father) more than two weeks. But one the upside after all this work, applying more layers in the future (about 2 layers a year) will seem only a minor task compared to this.
The teak hand rails where now also finally placed back onto the cabin roof and treated with the same varnish layering.
As one can see in the photo’s the handrails, the cabin ceiling window, the entrance and side beams of the cabin are now truly looking as new. The next step will be to also sand and varnish the hatches of the entrance, the cabin window and the hatch on the bow, but those will first need to be repaired and will then be varnished in the wintertime.