A complete overhaul of the engine

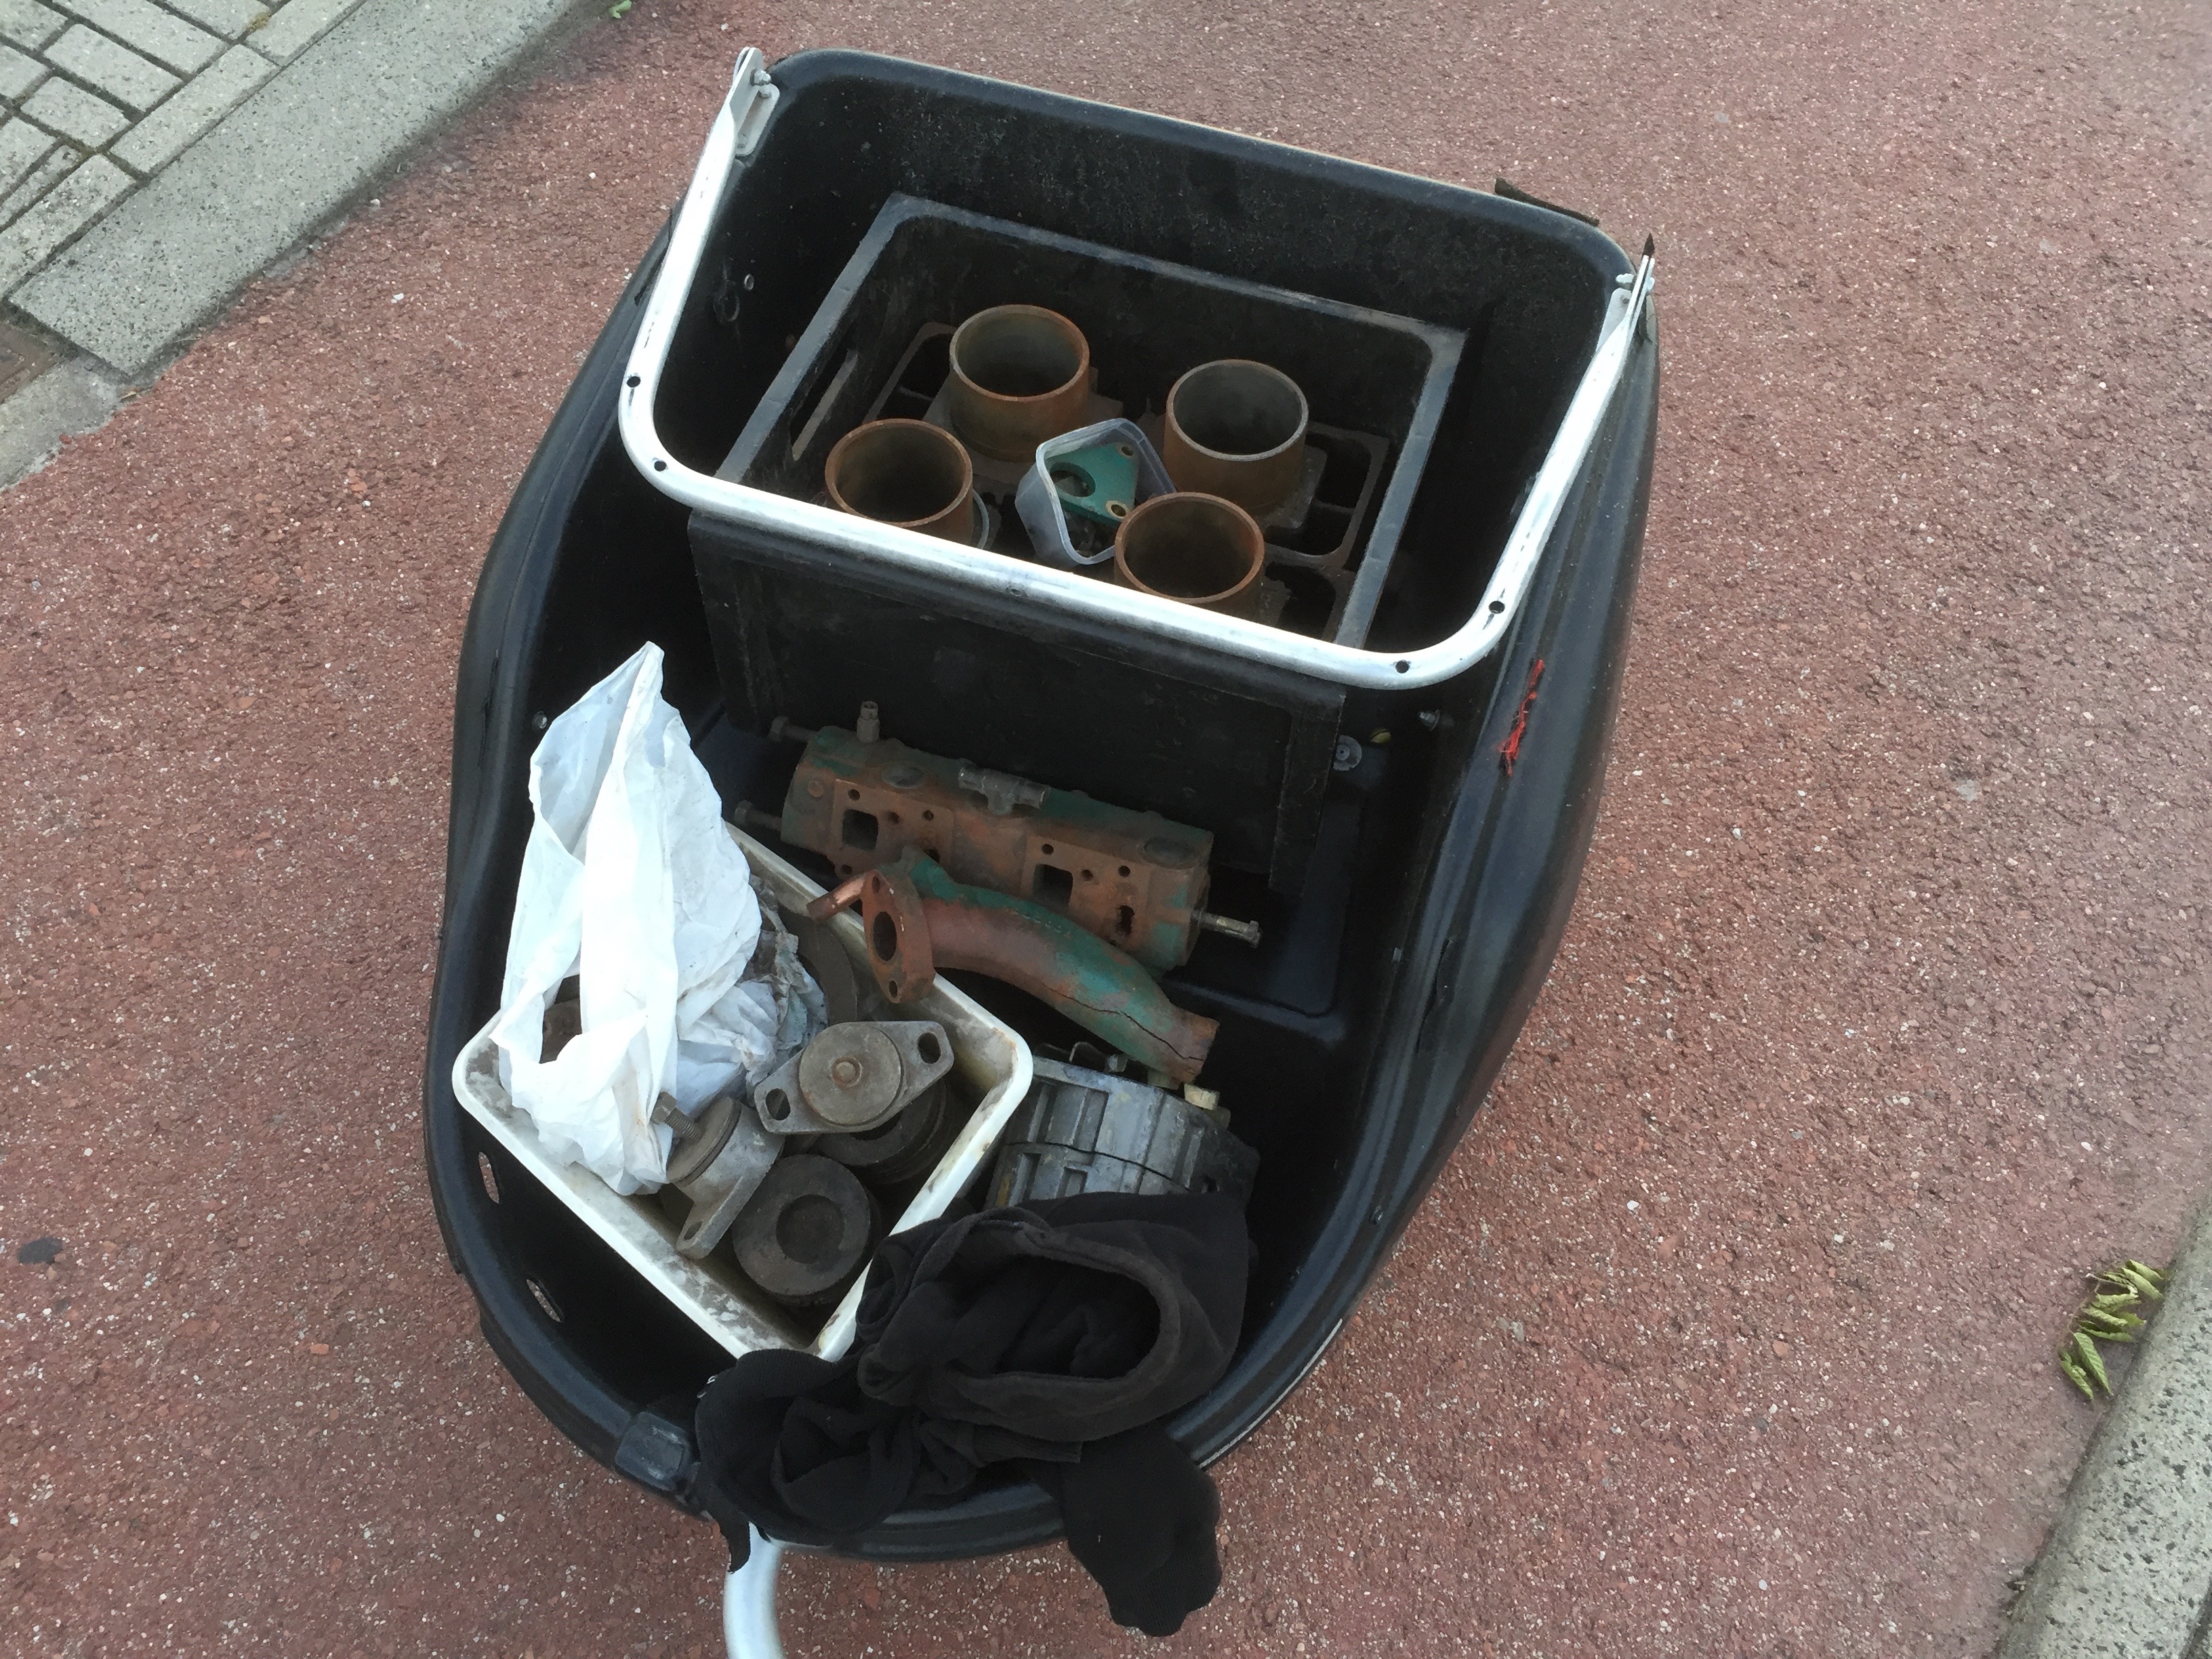
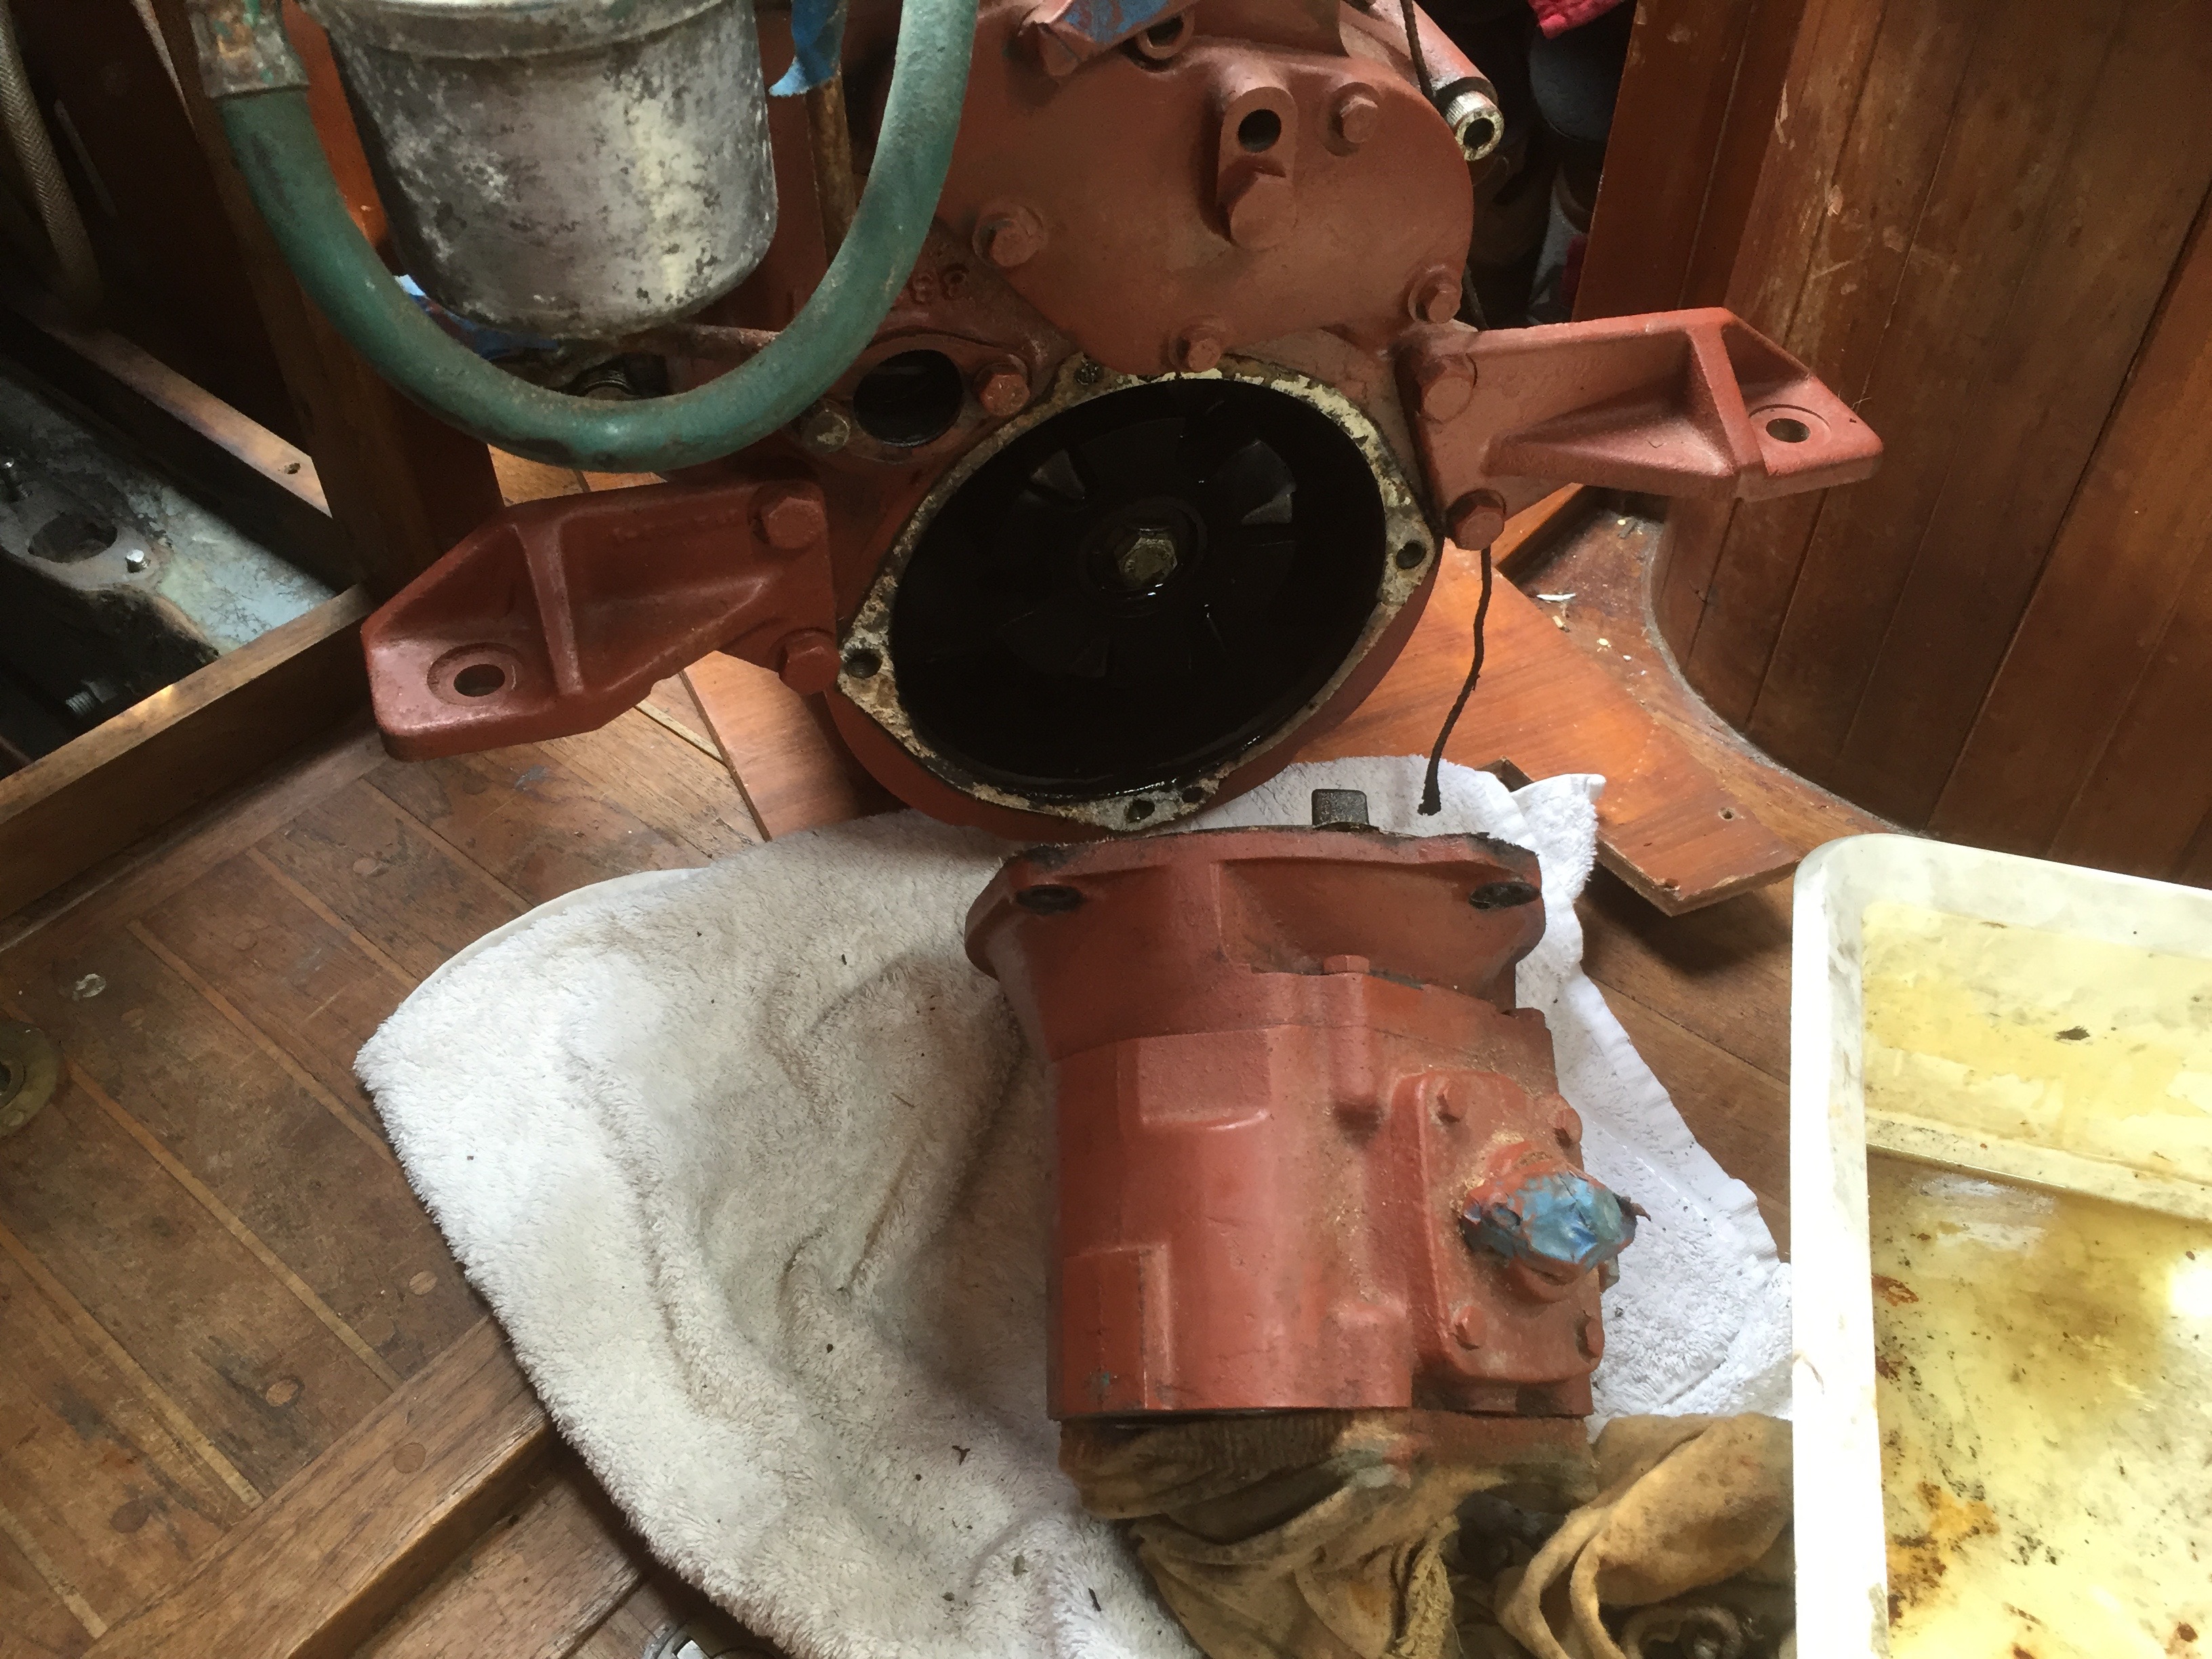
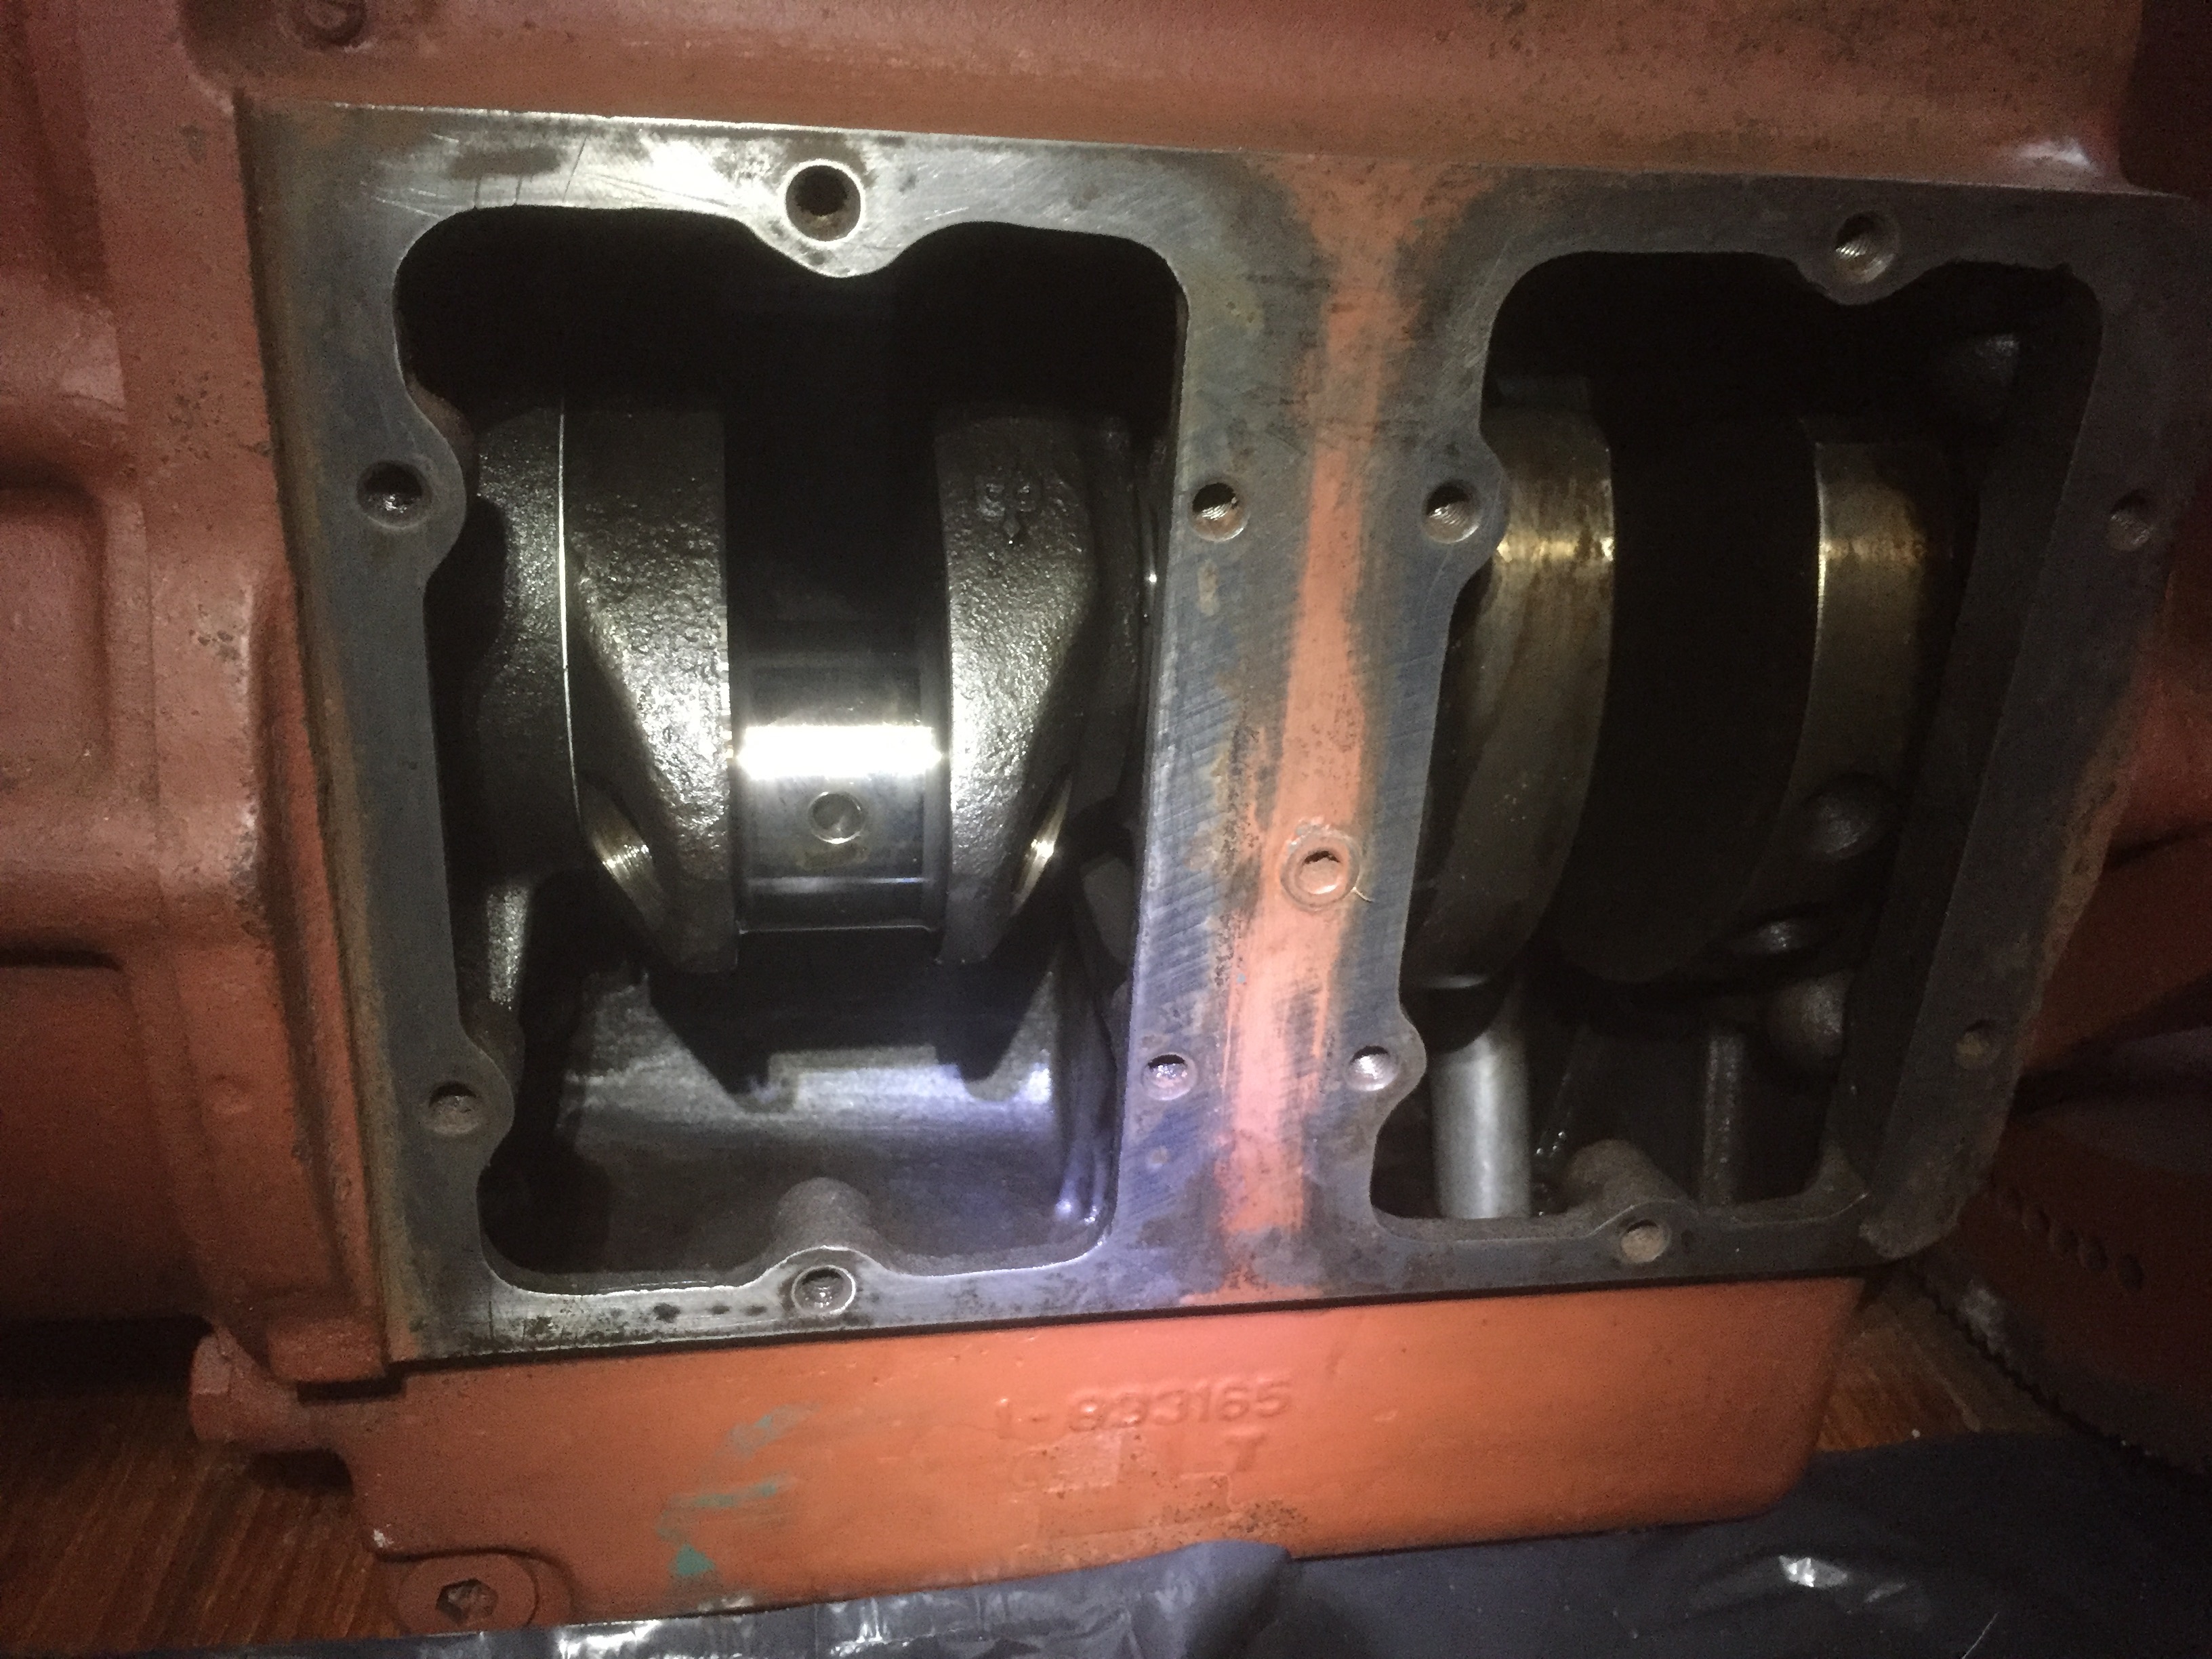
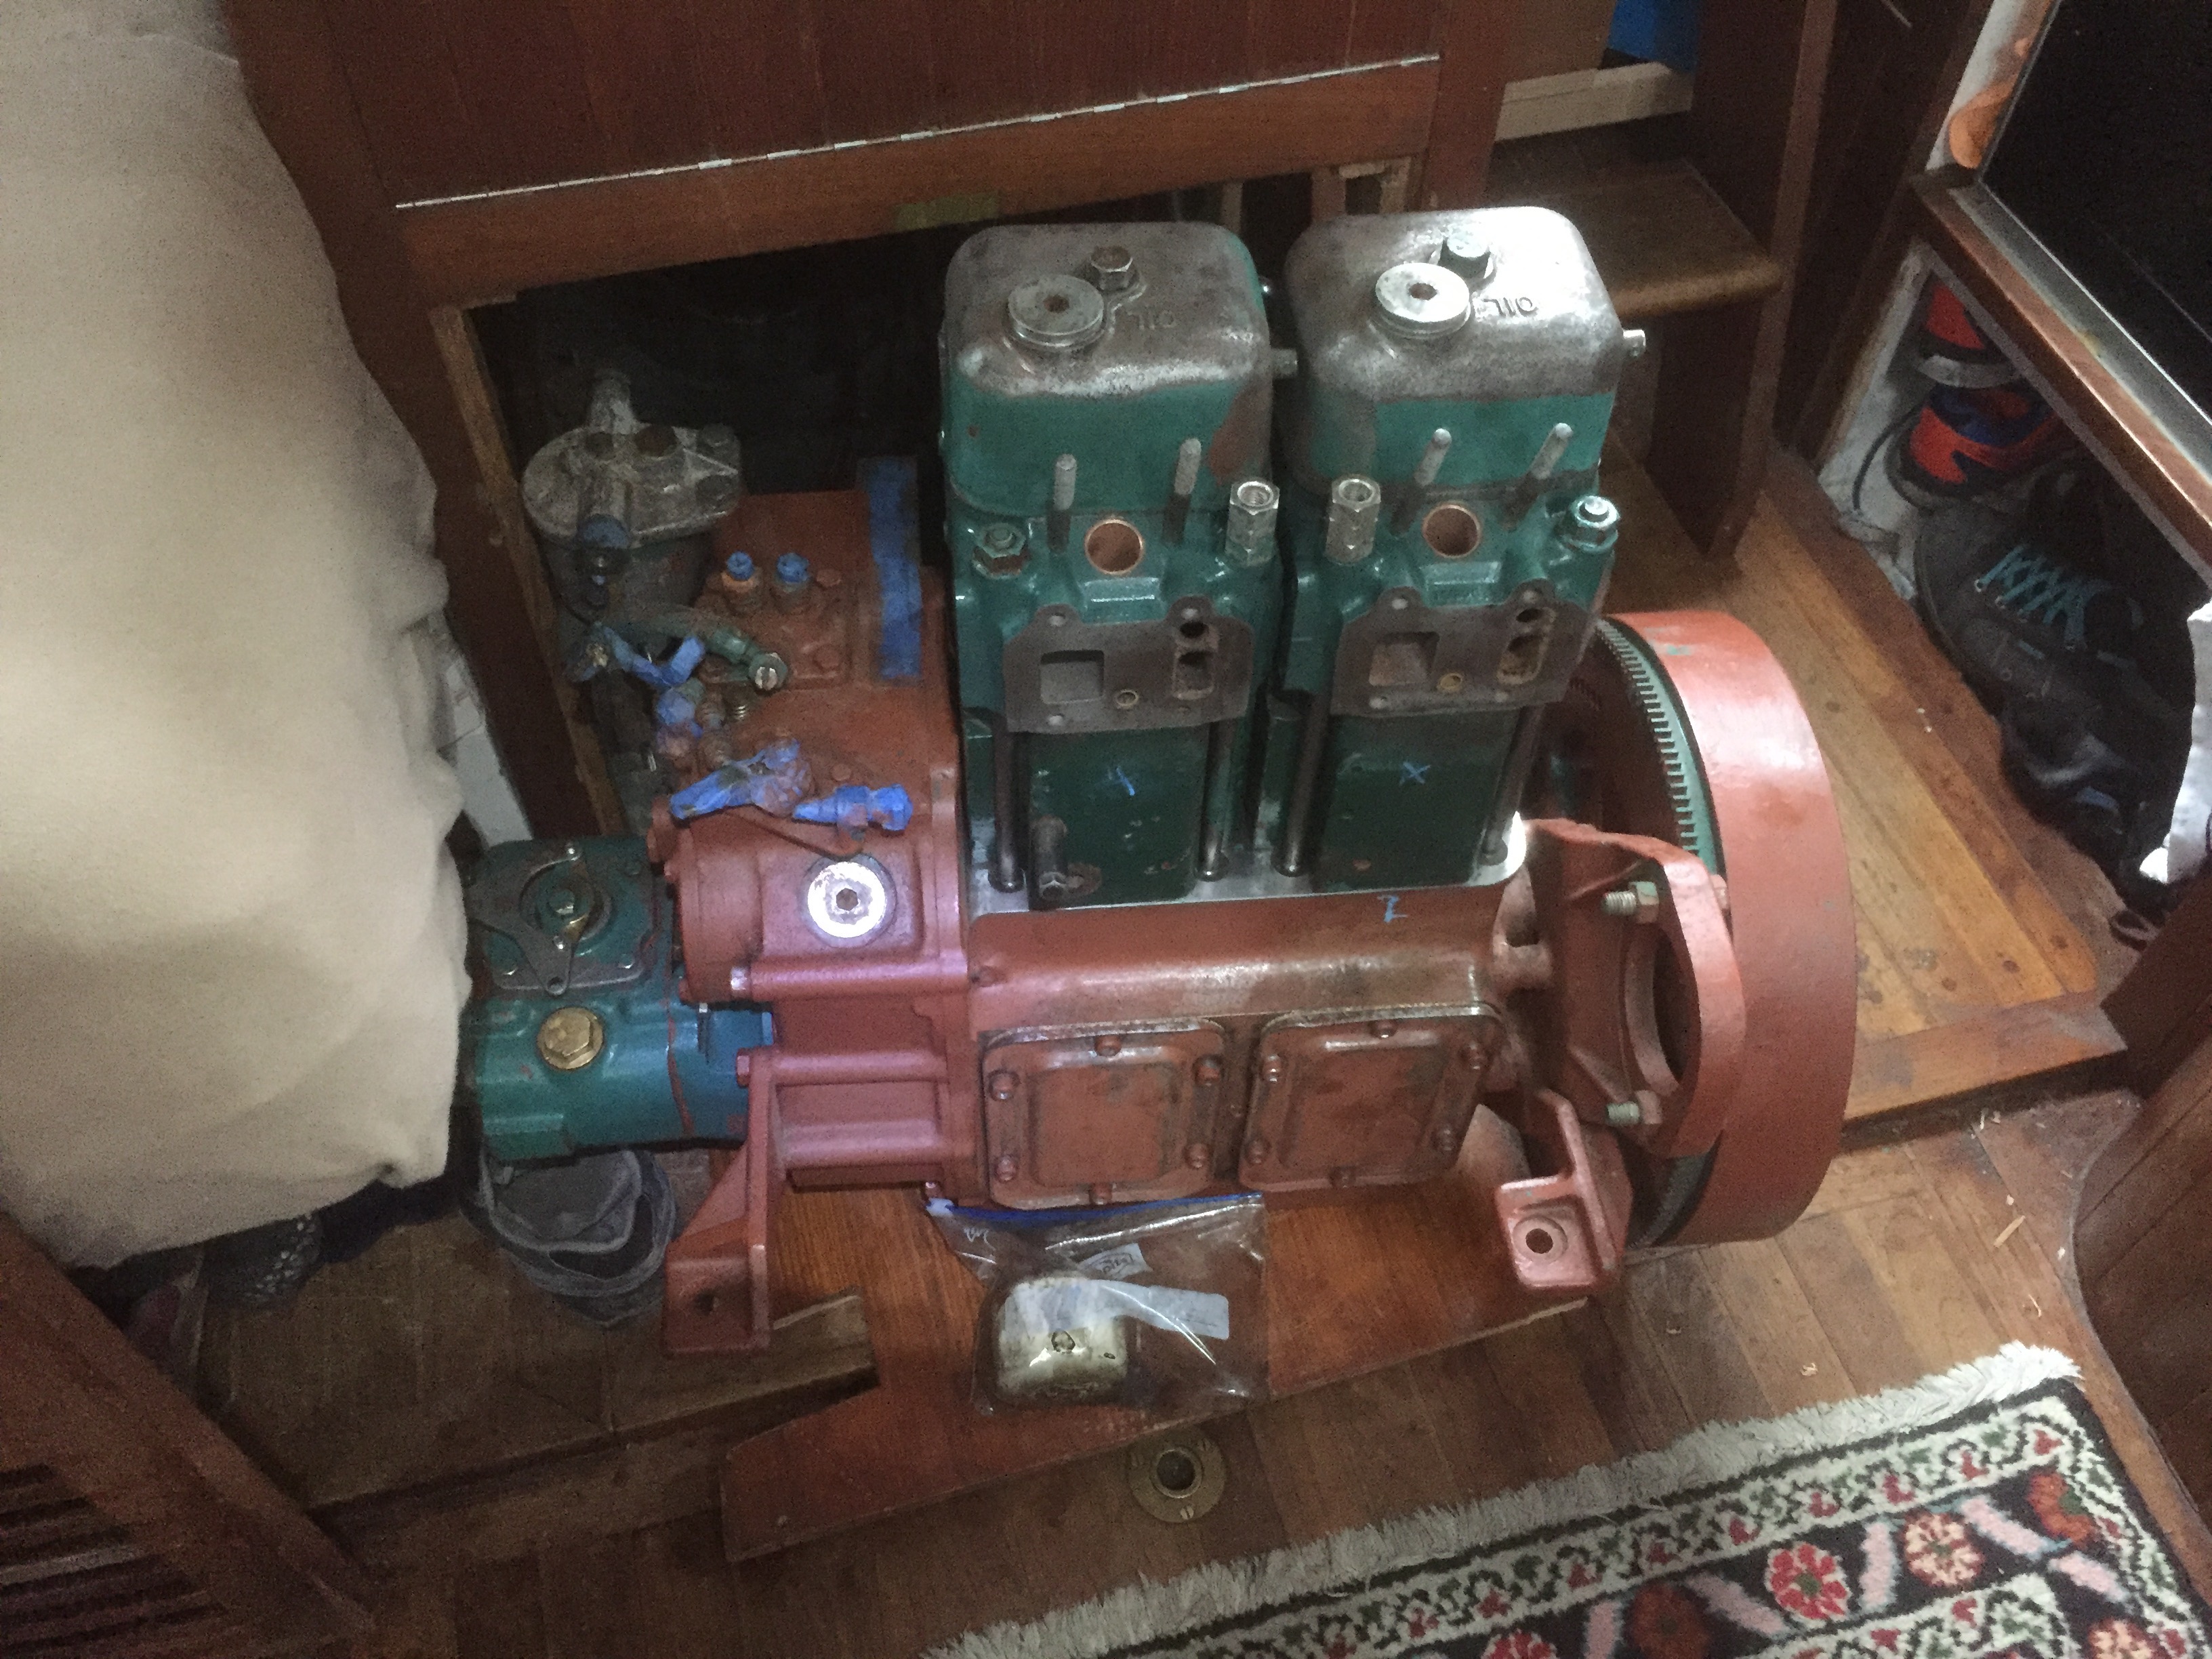
In 2012 we started to take apart the engine in an attempt to do a complete overhaul. Most of the parts that could be disassembled were taken off and inspected. It was quickly apparent that most of the vital parts where severely damaged and needed to be replaced. The cylinders and gearbox had freeze damage which where visible by cracks at points in the cooling channels. Most likely those parts would need to be replaced so we kept the engine disassembled, storing the parts in the front of the boat until we had more time to proceed with the overhauling process.
All the work that was done in 2012 can be viewed here: https://theseadog.life/category/milestone-4-the-engine/
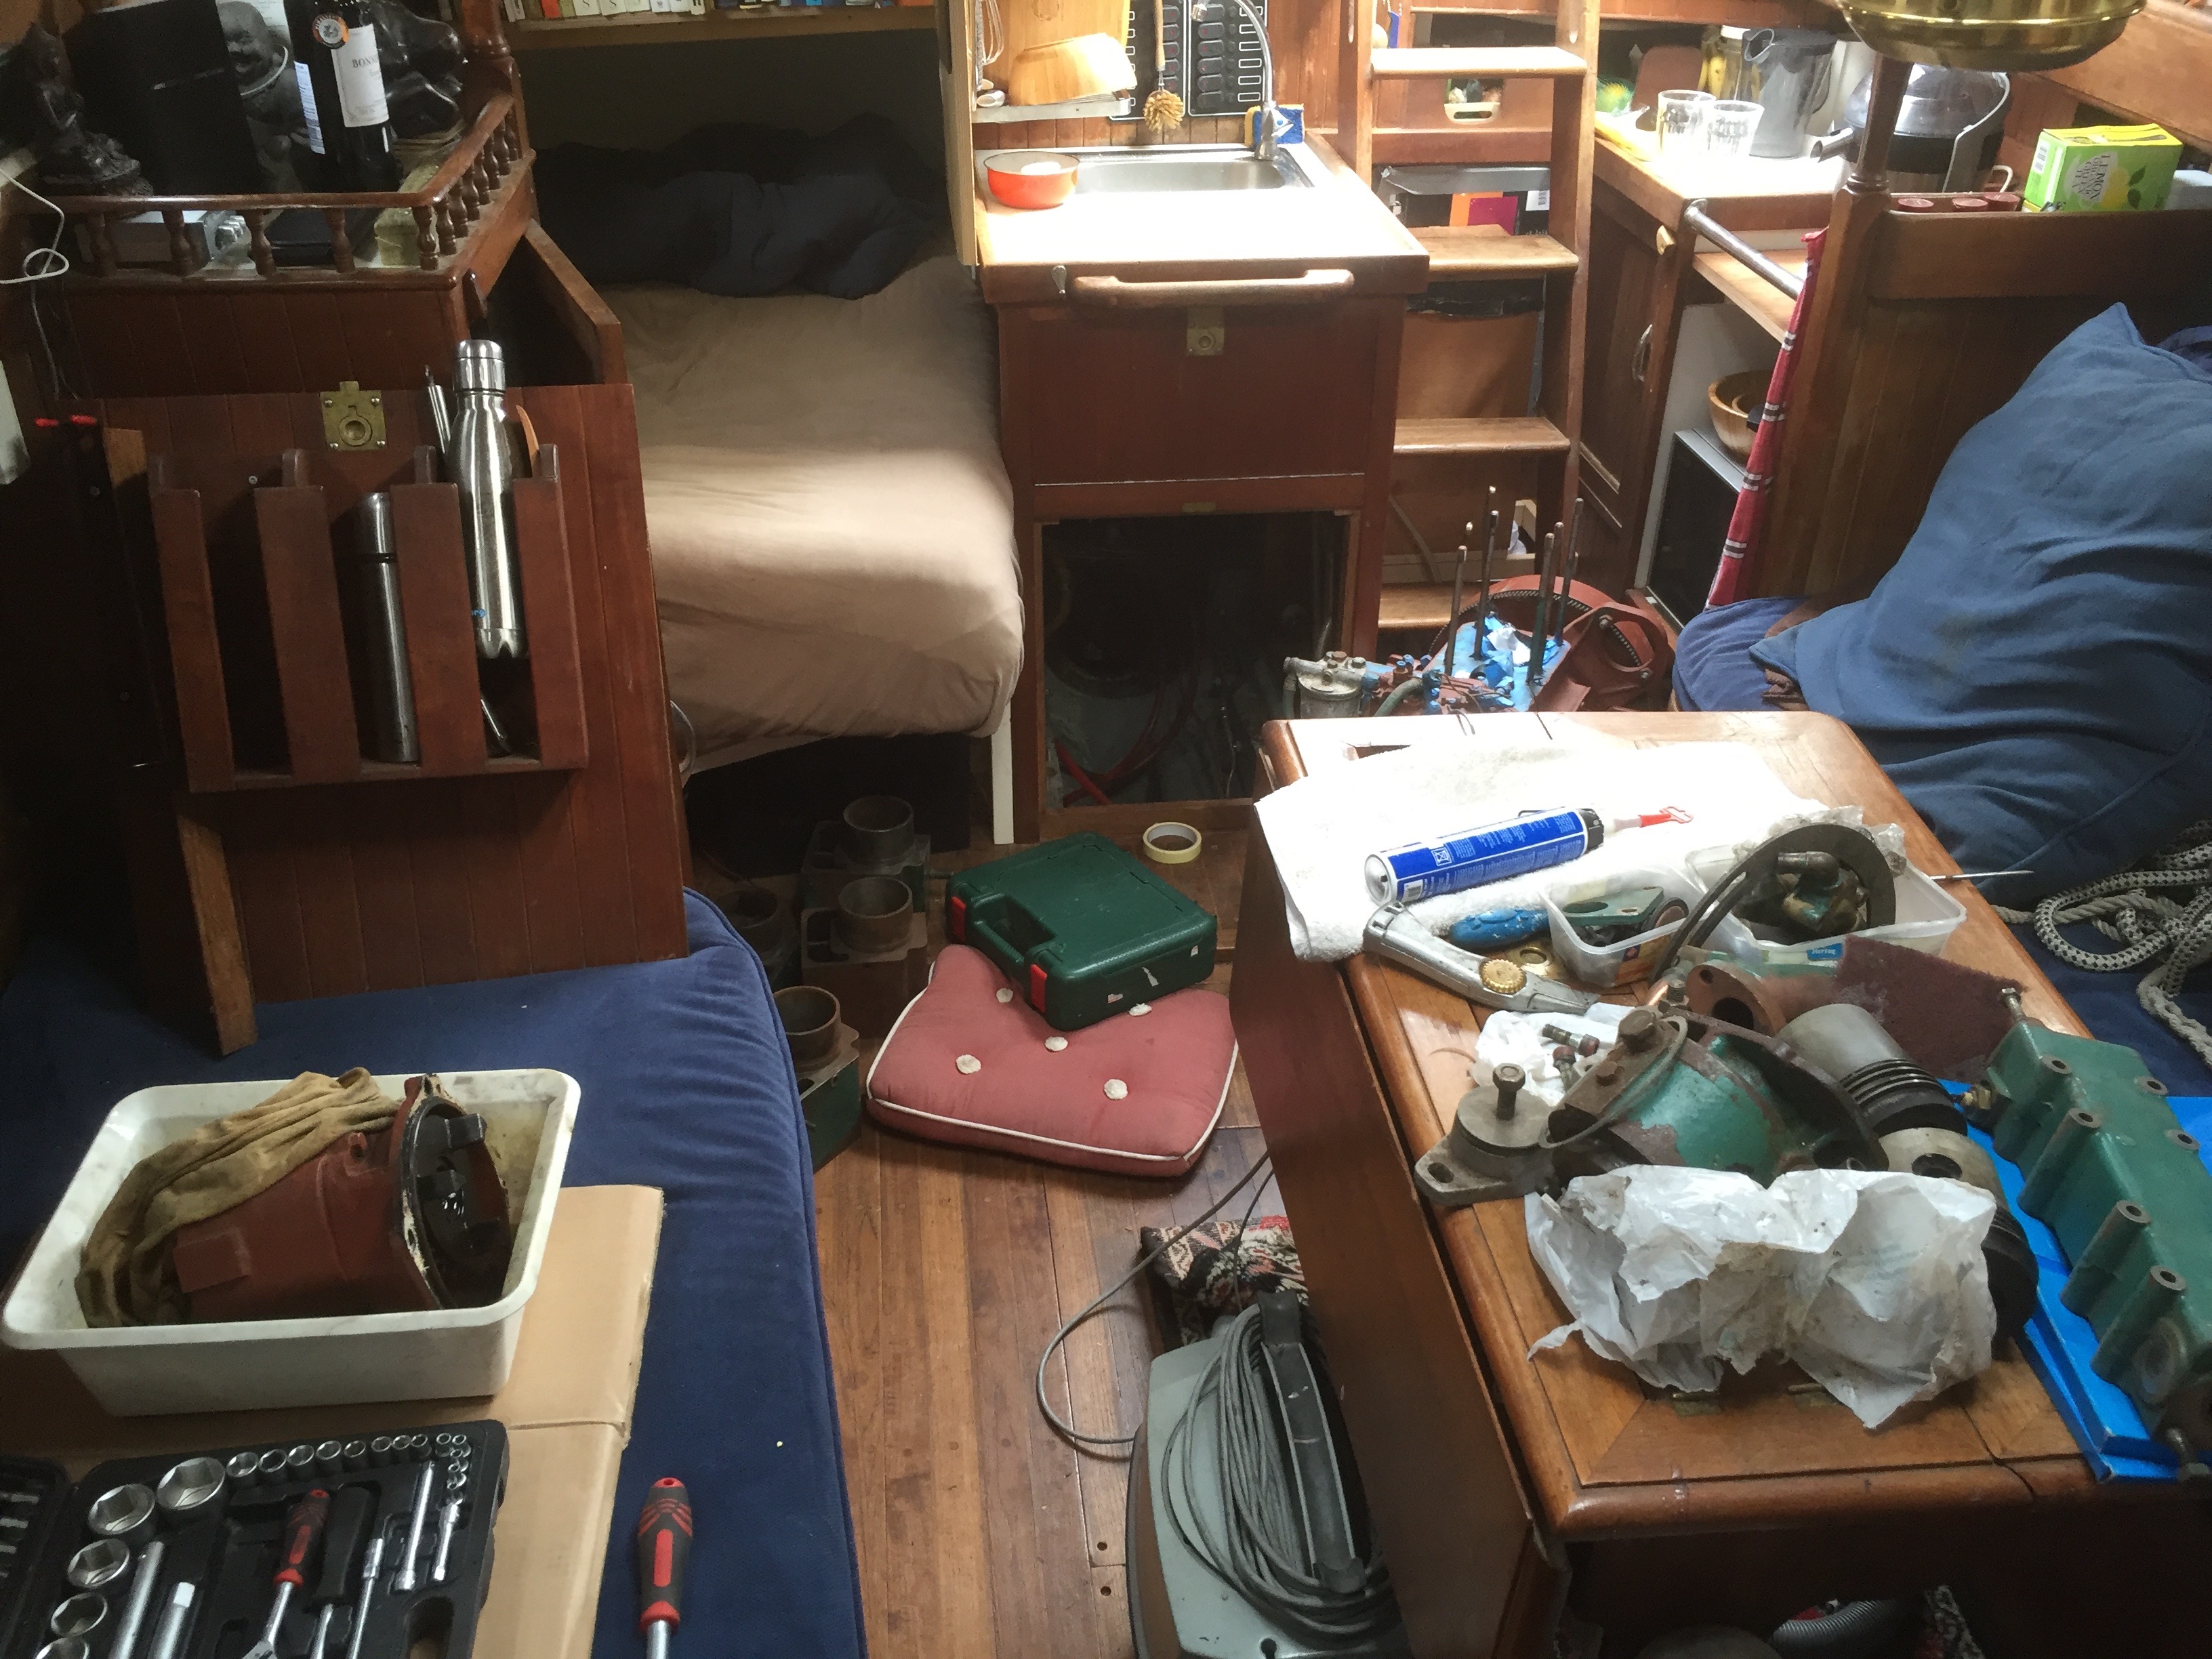
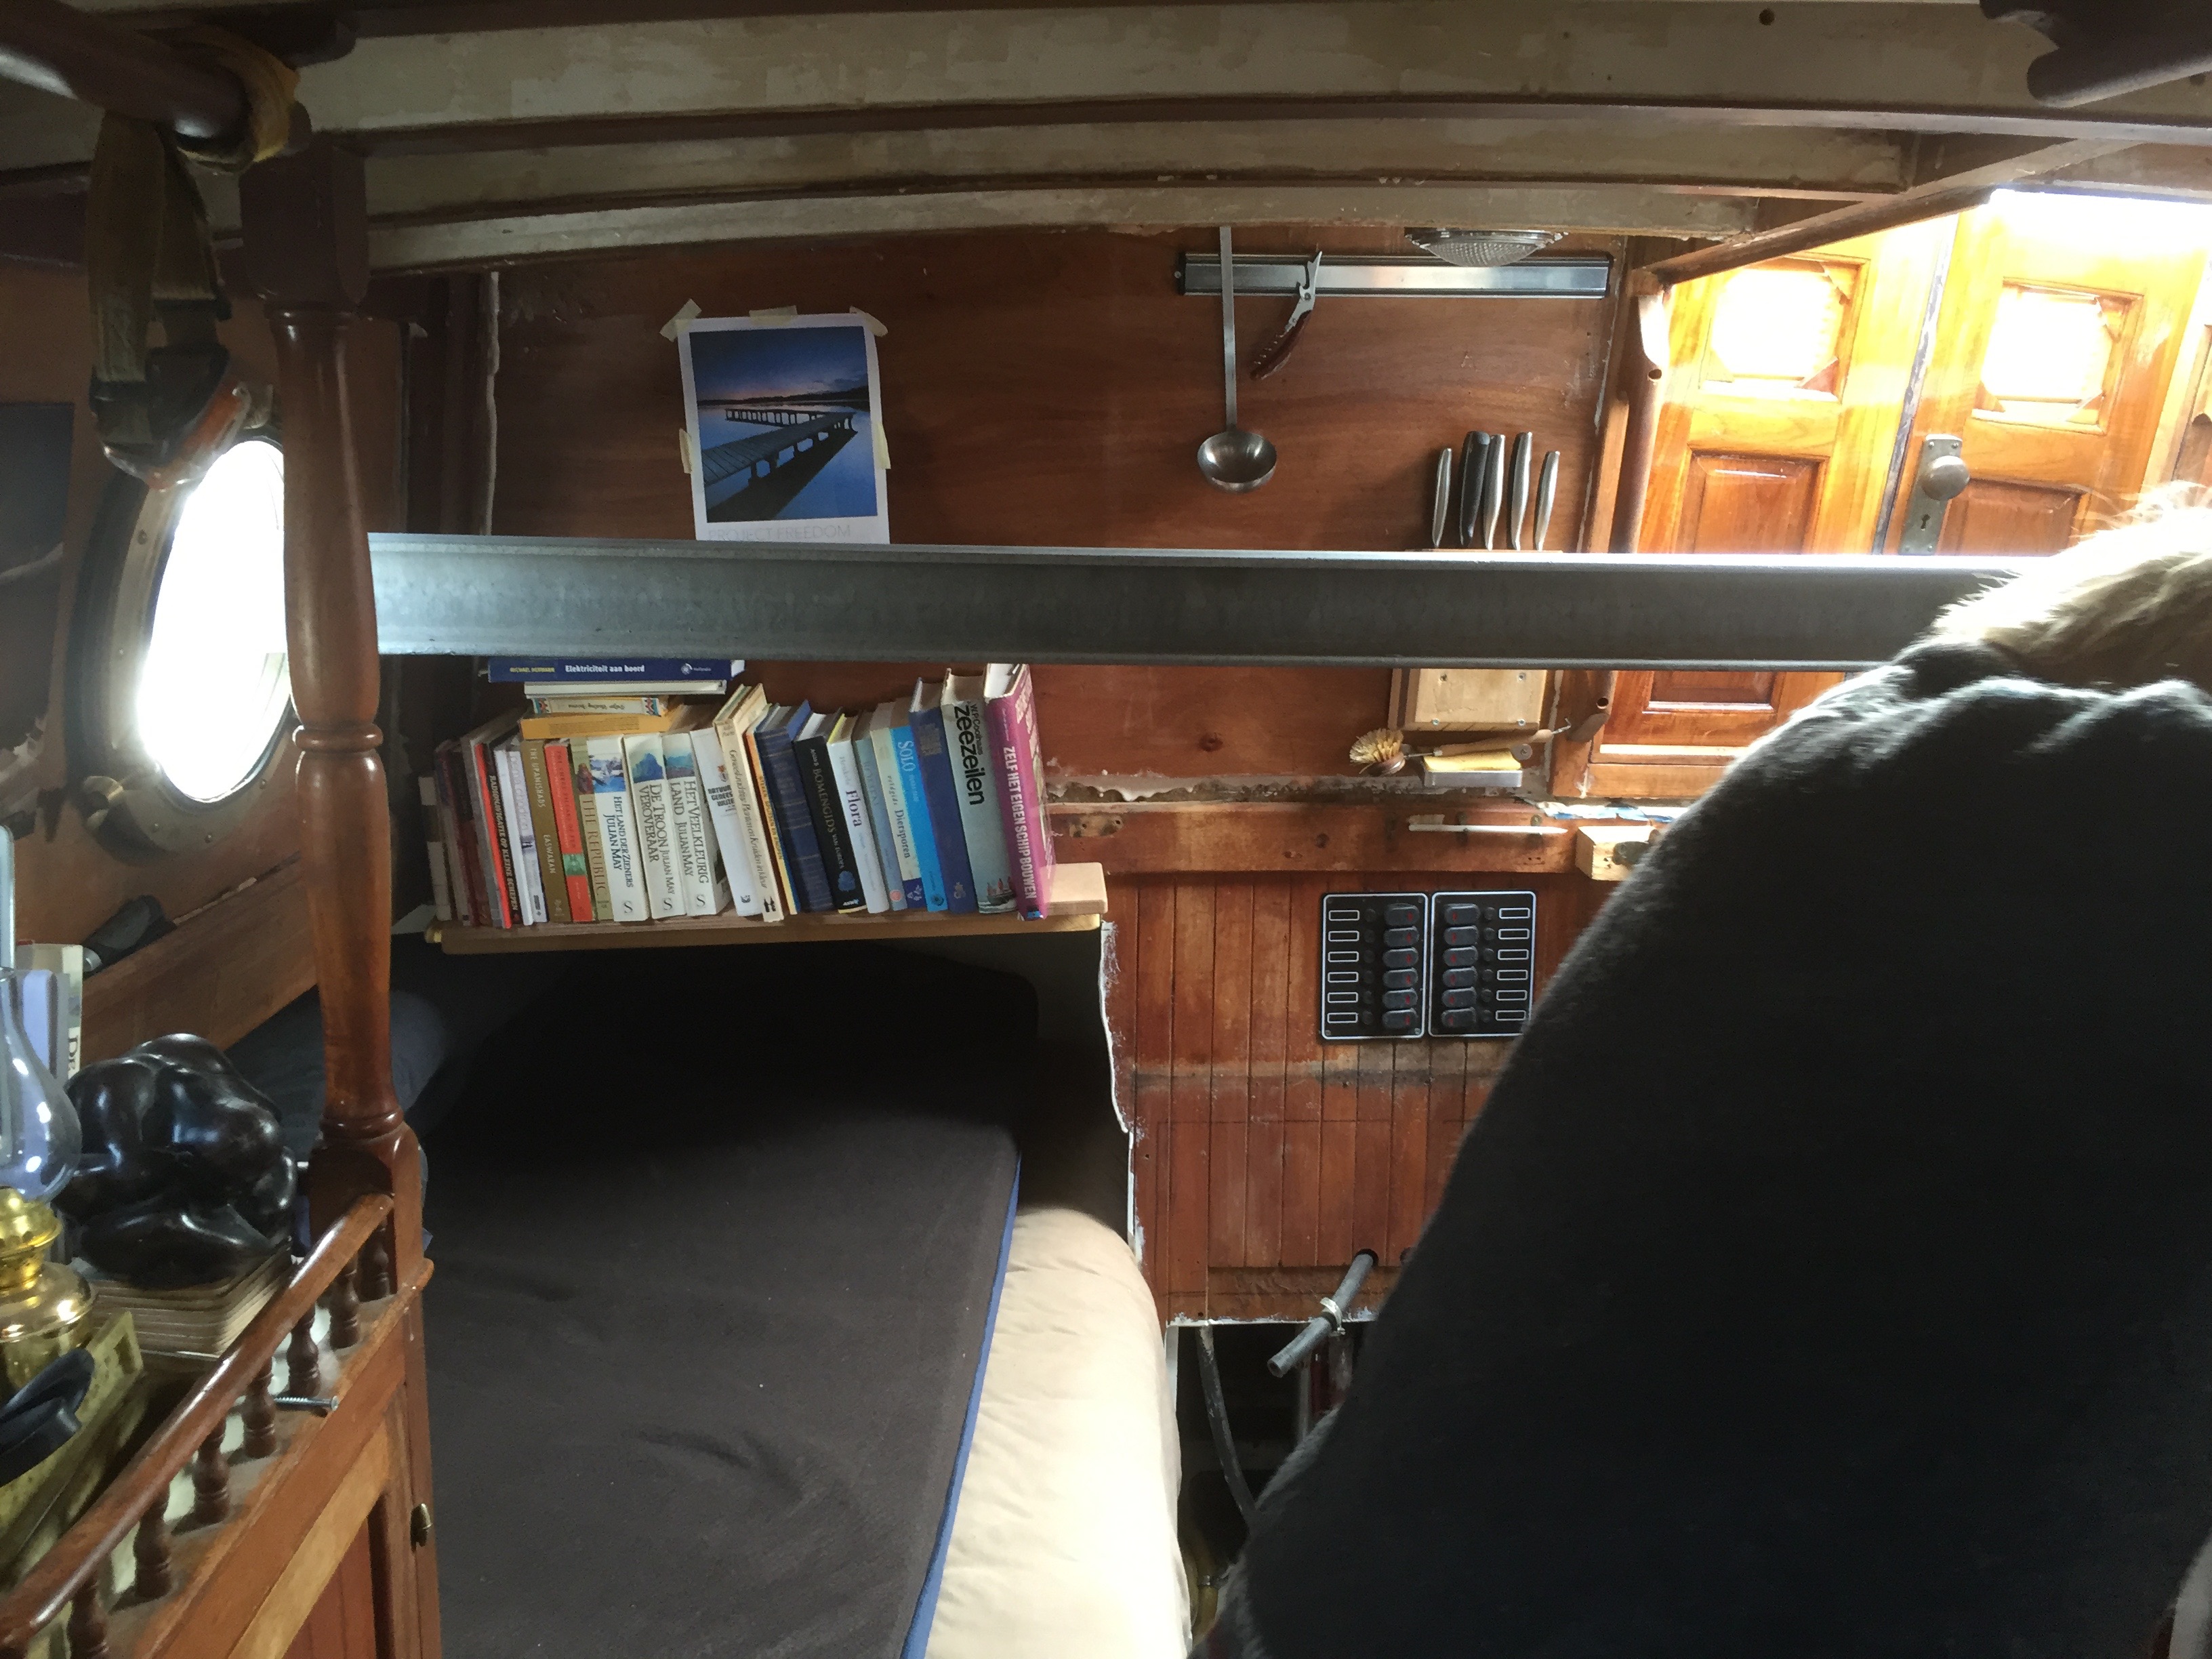
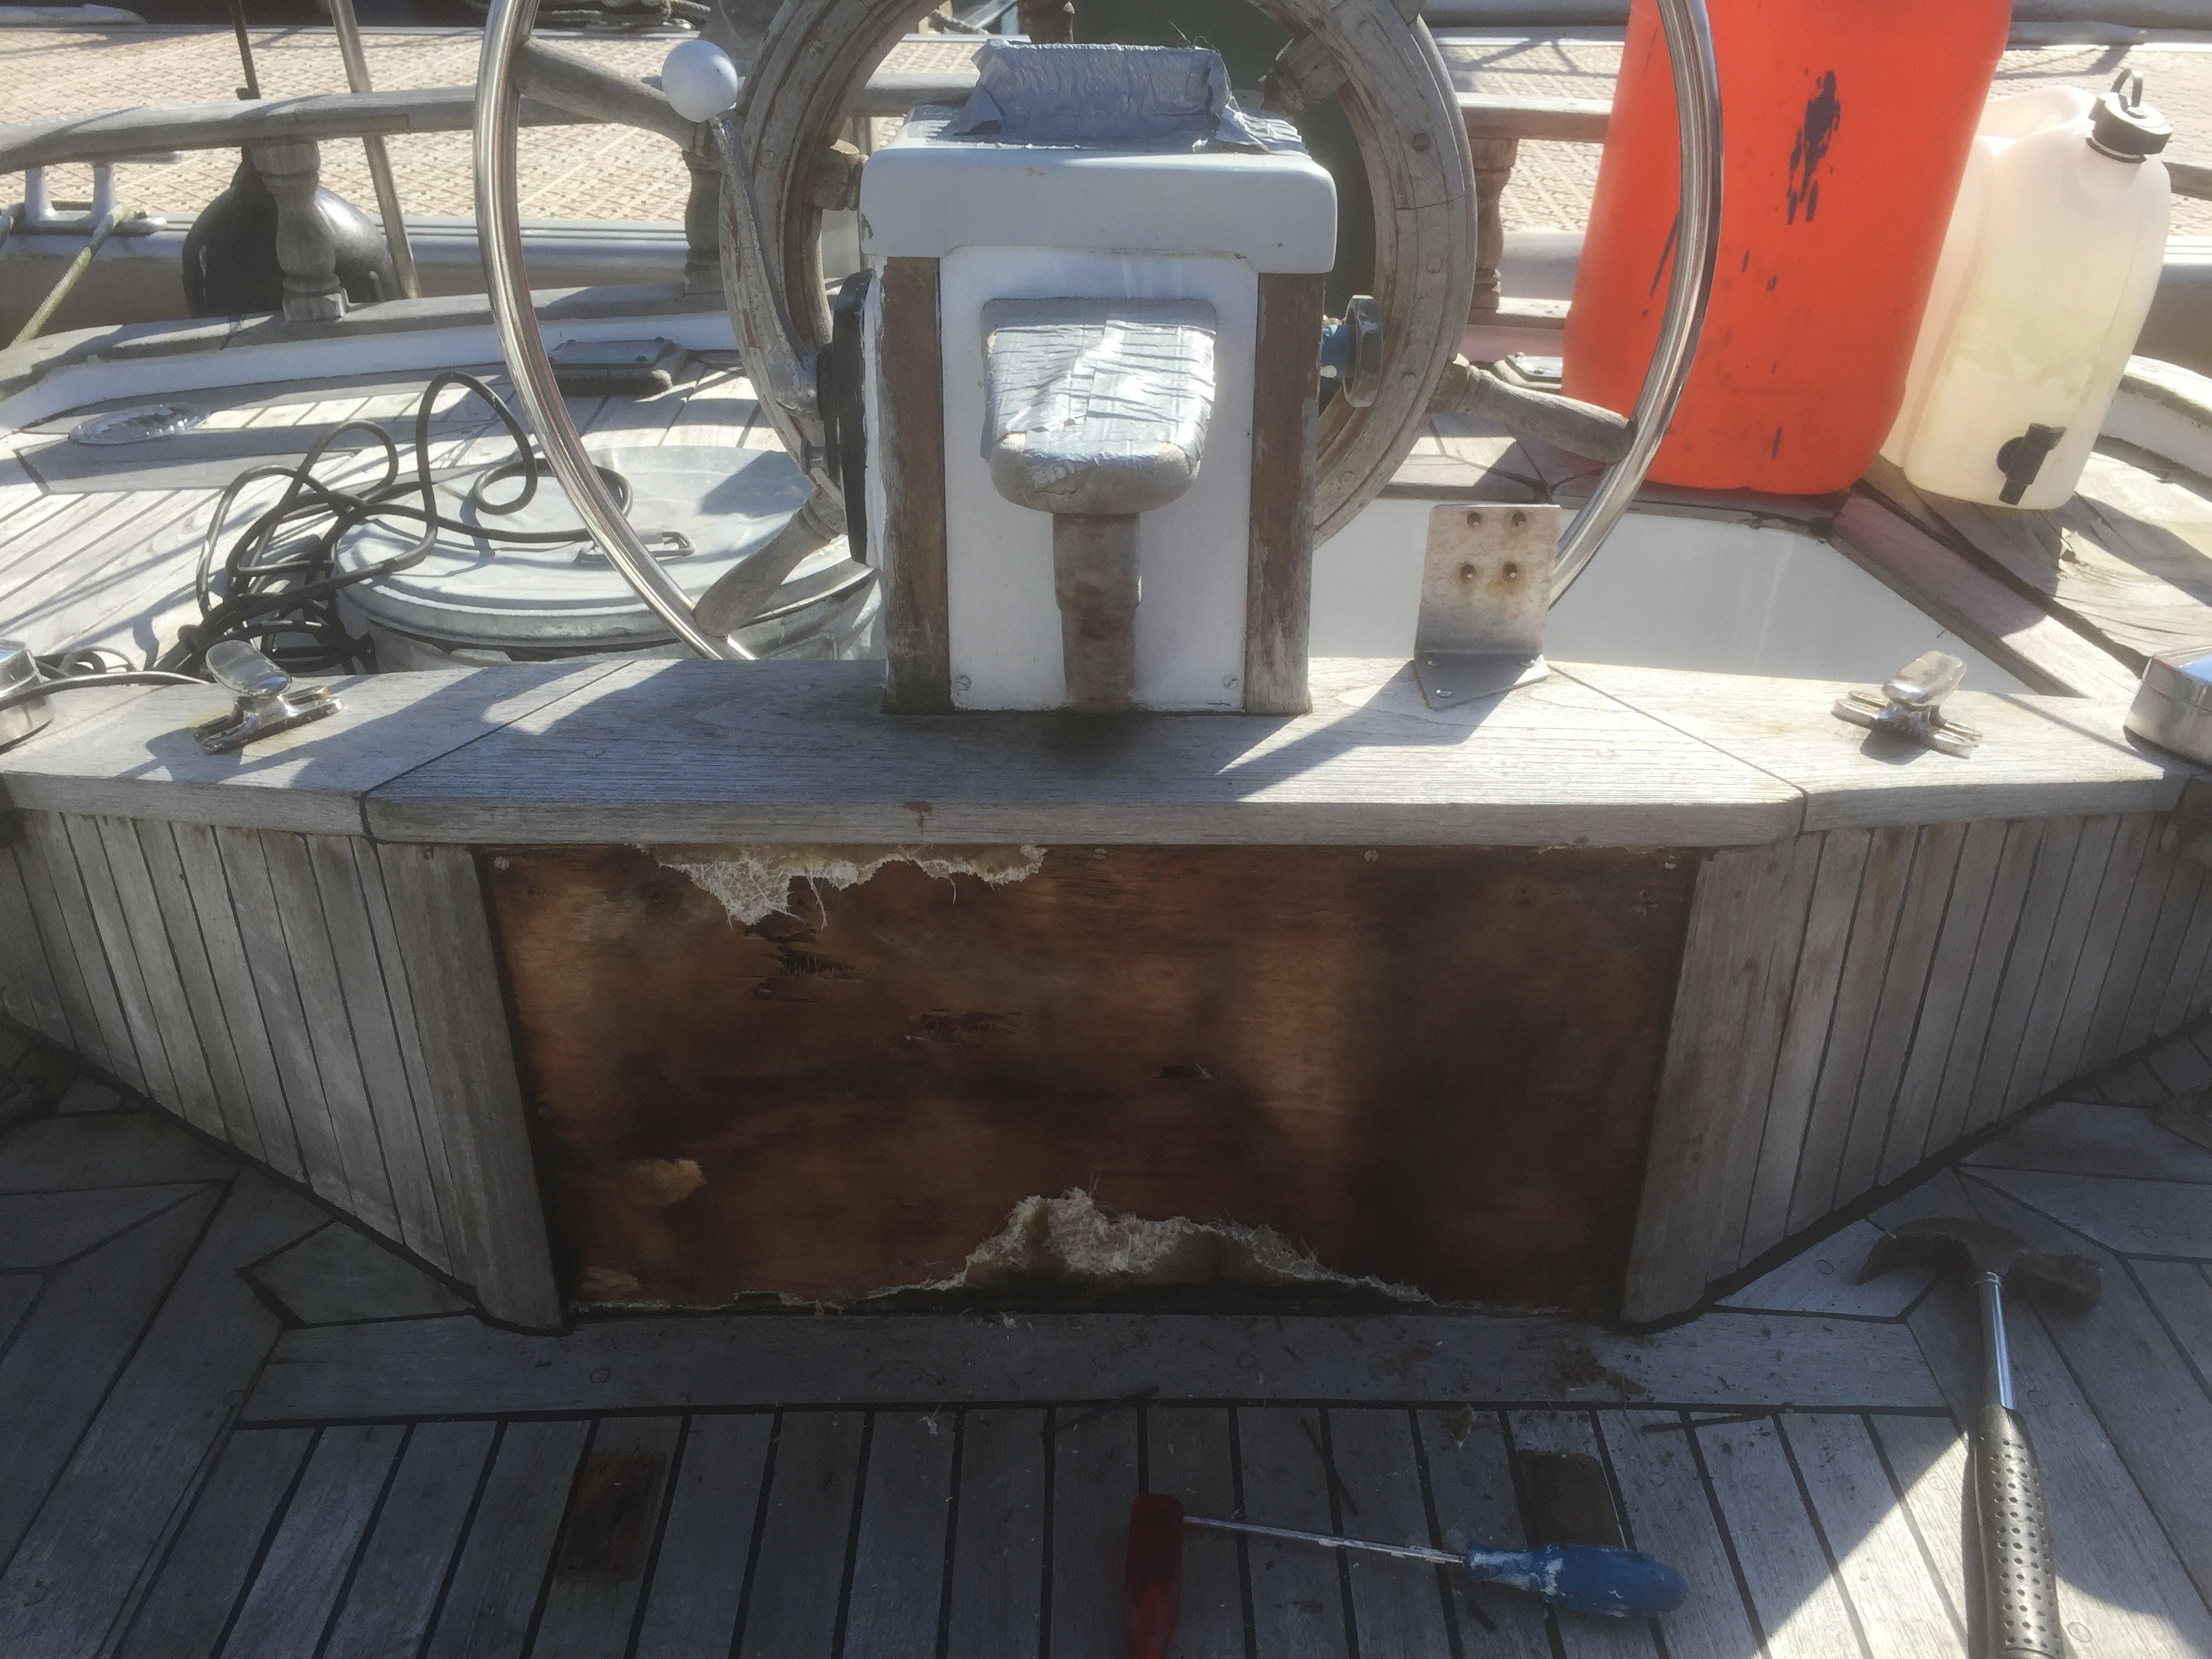
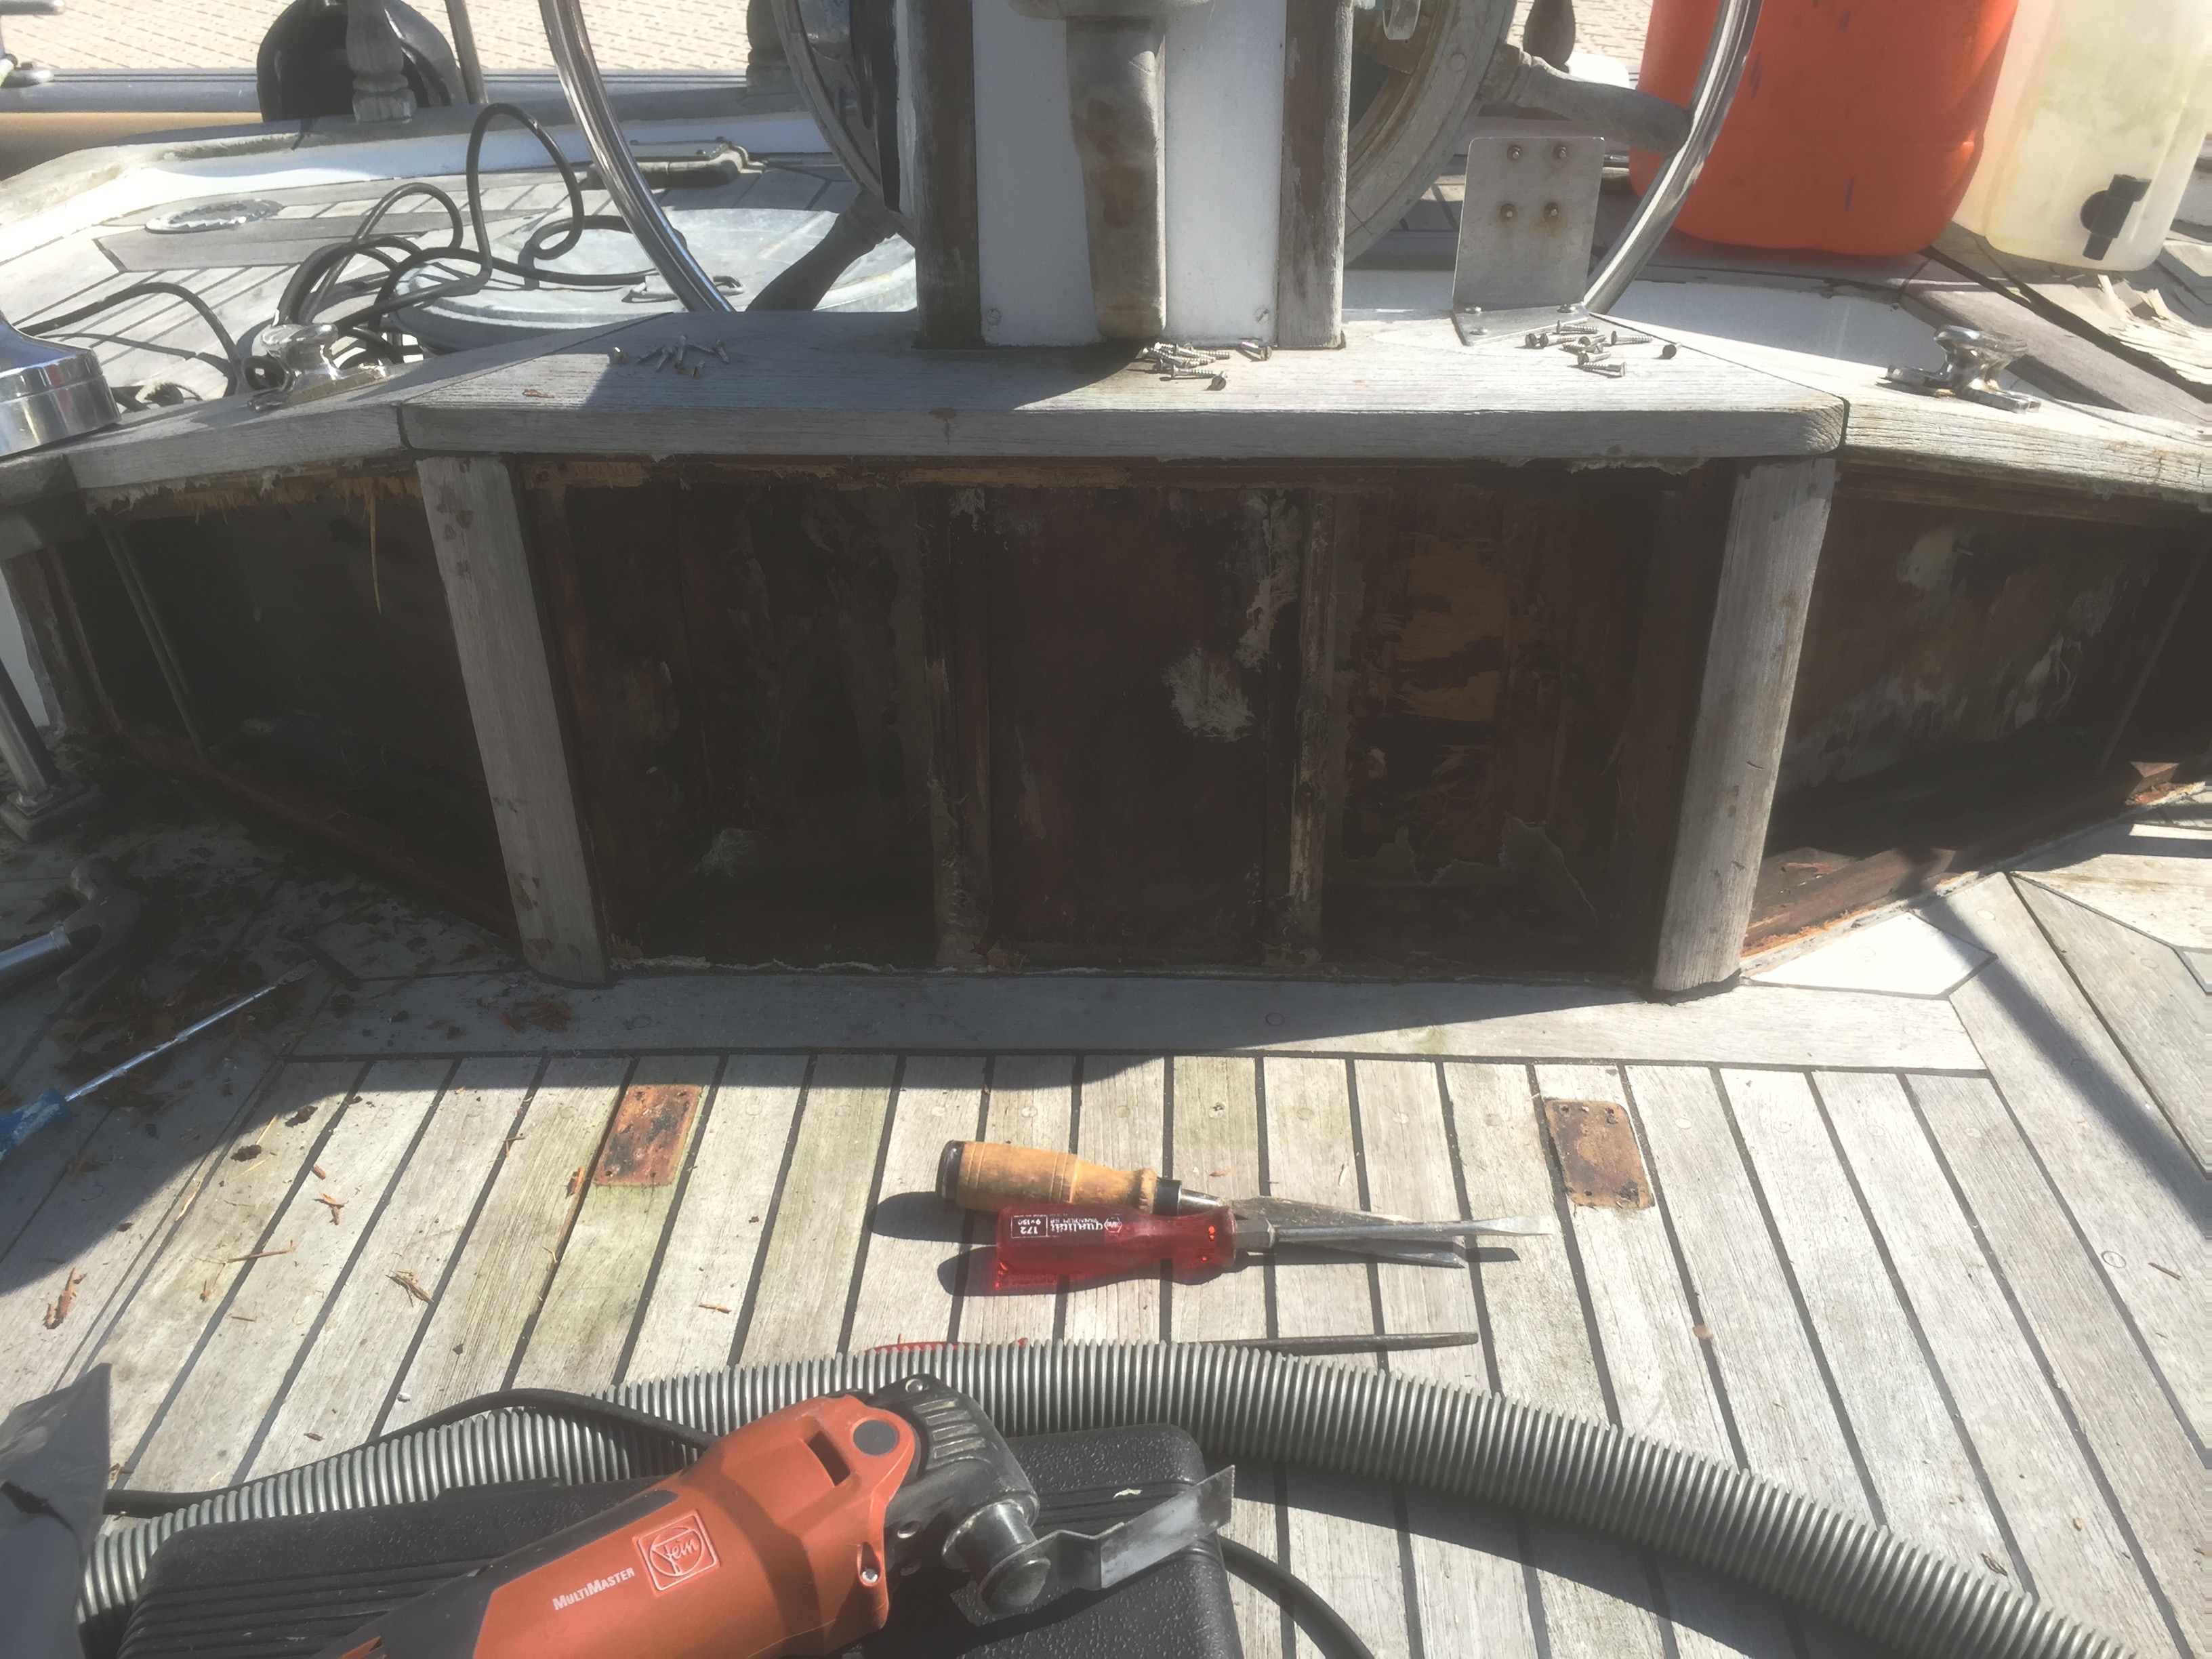
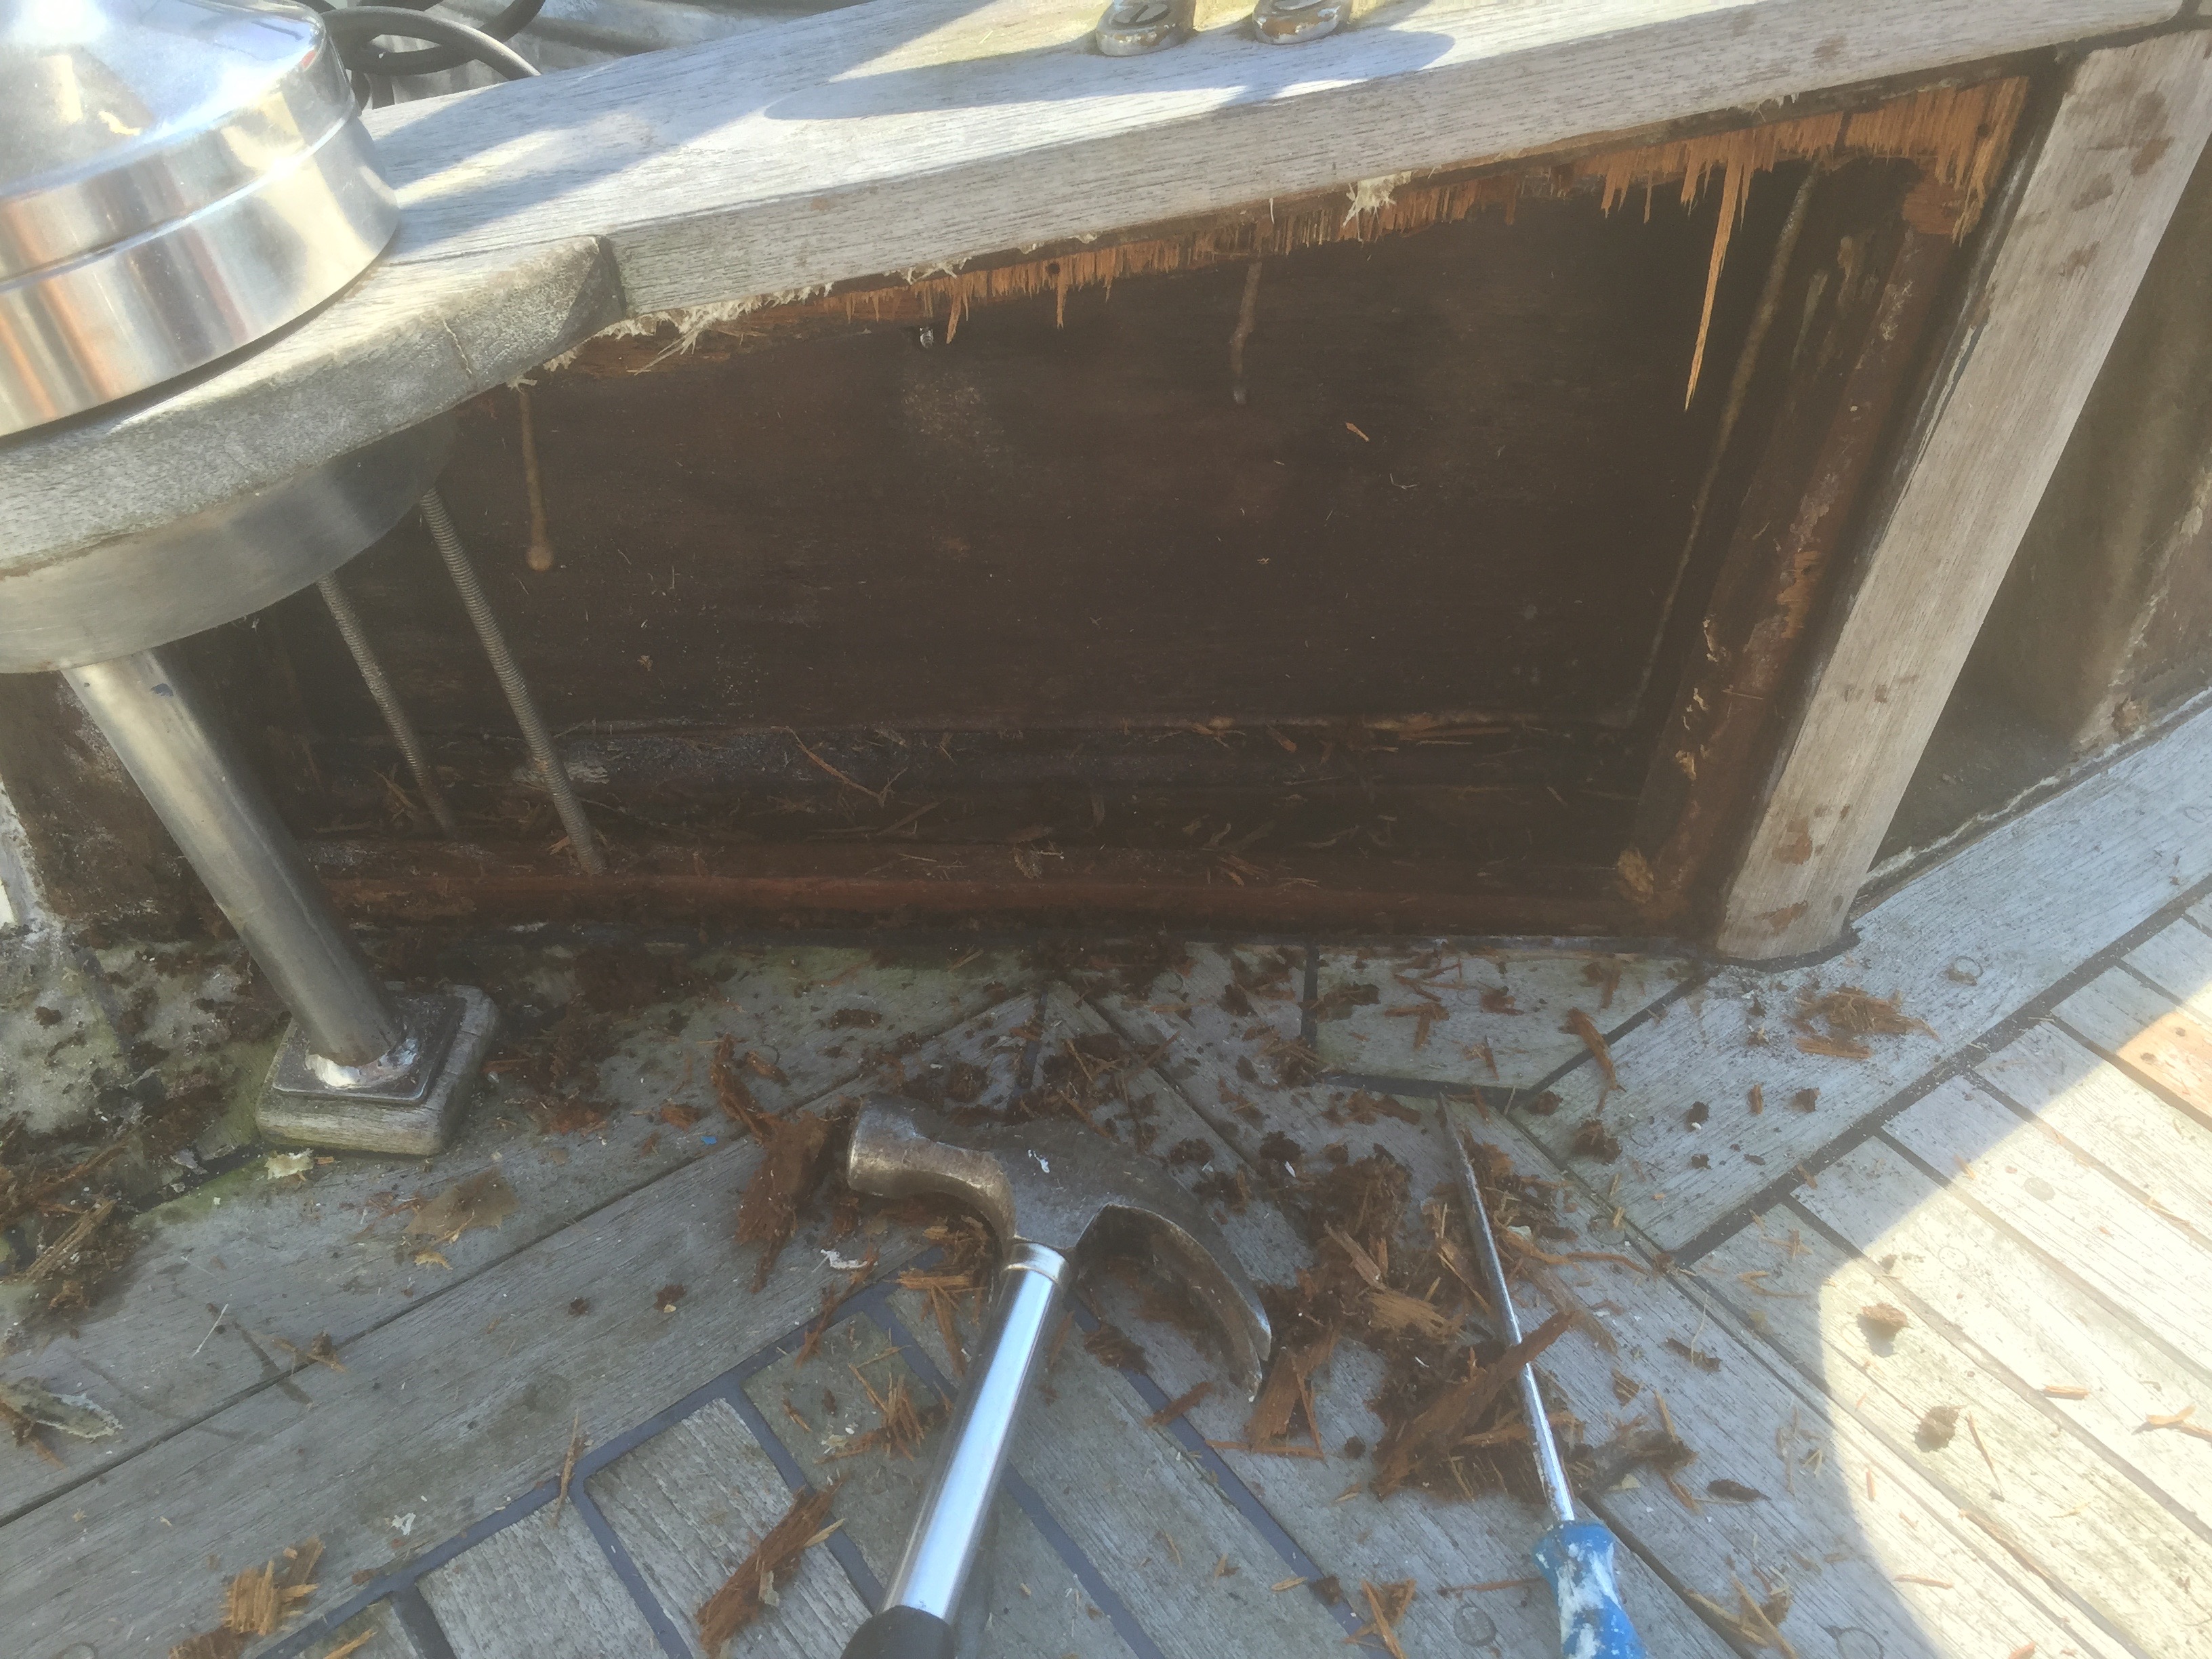
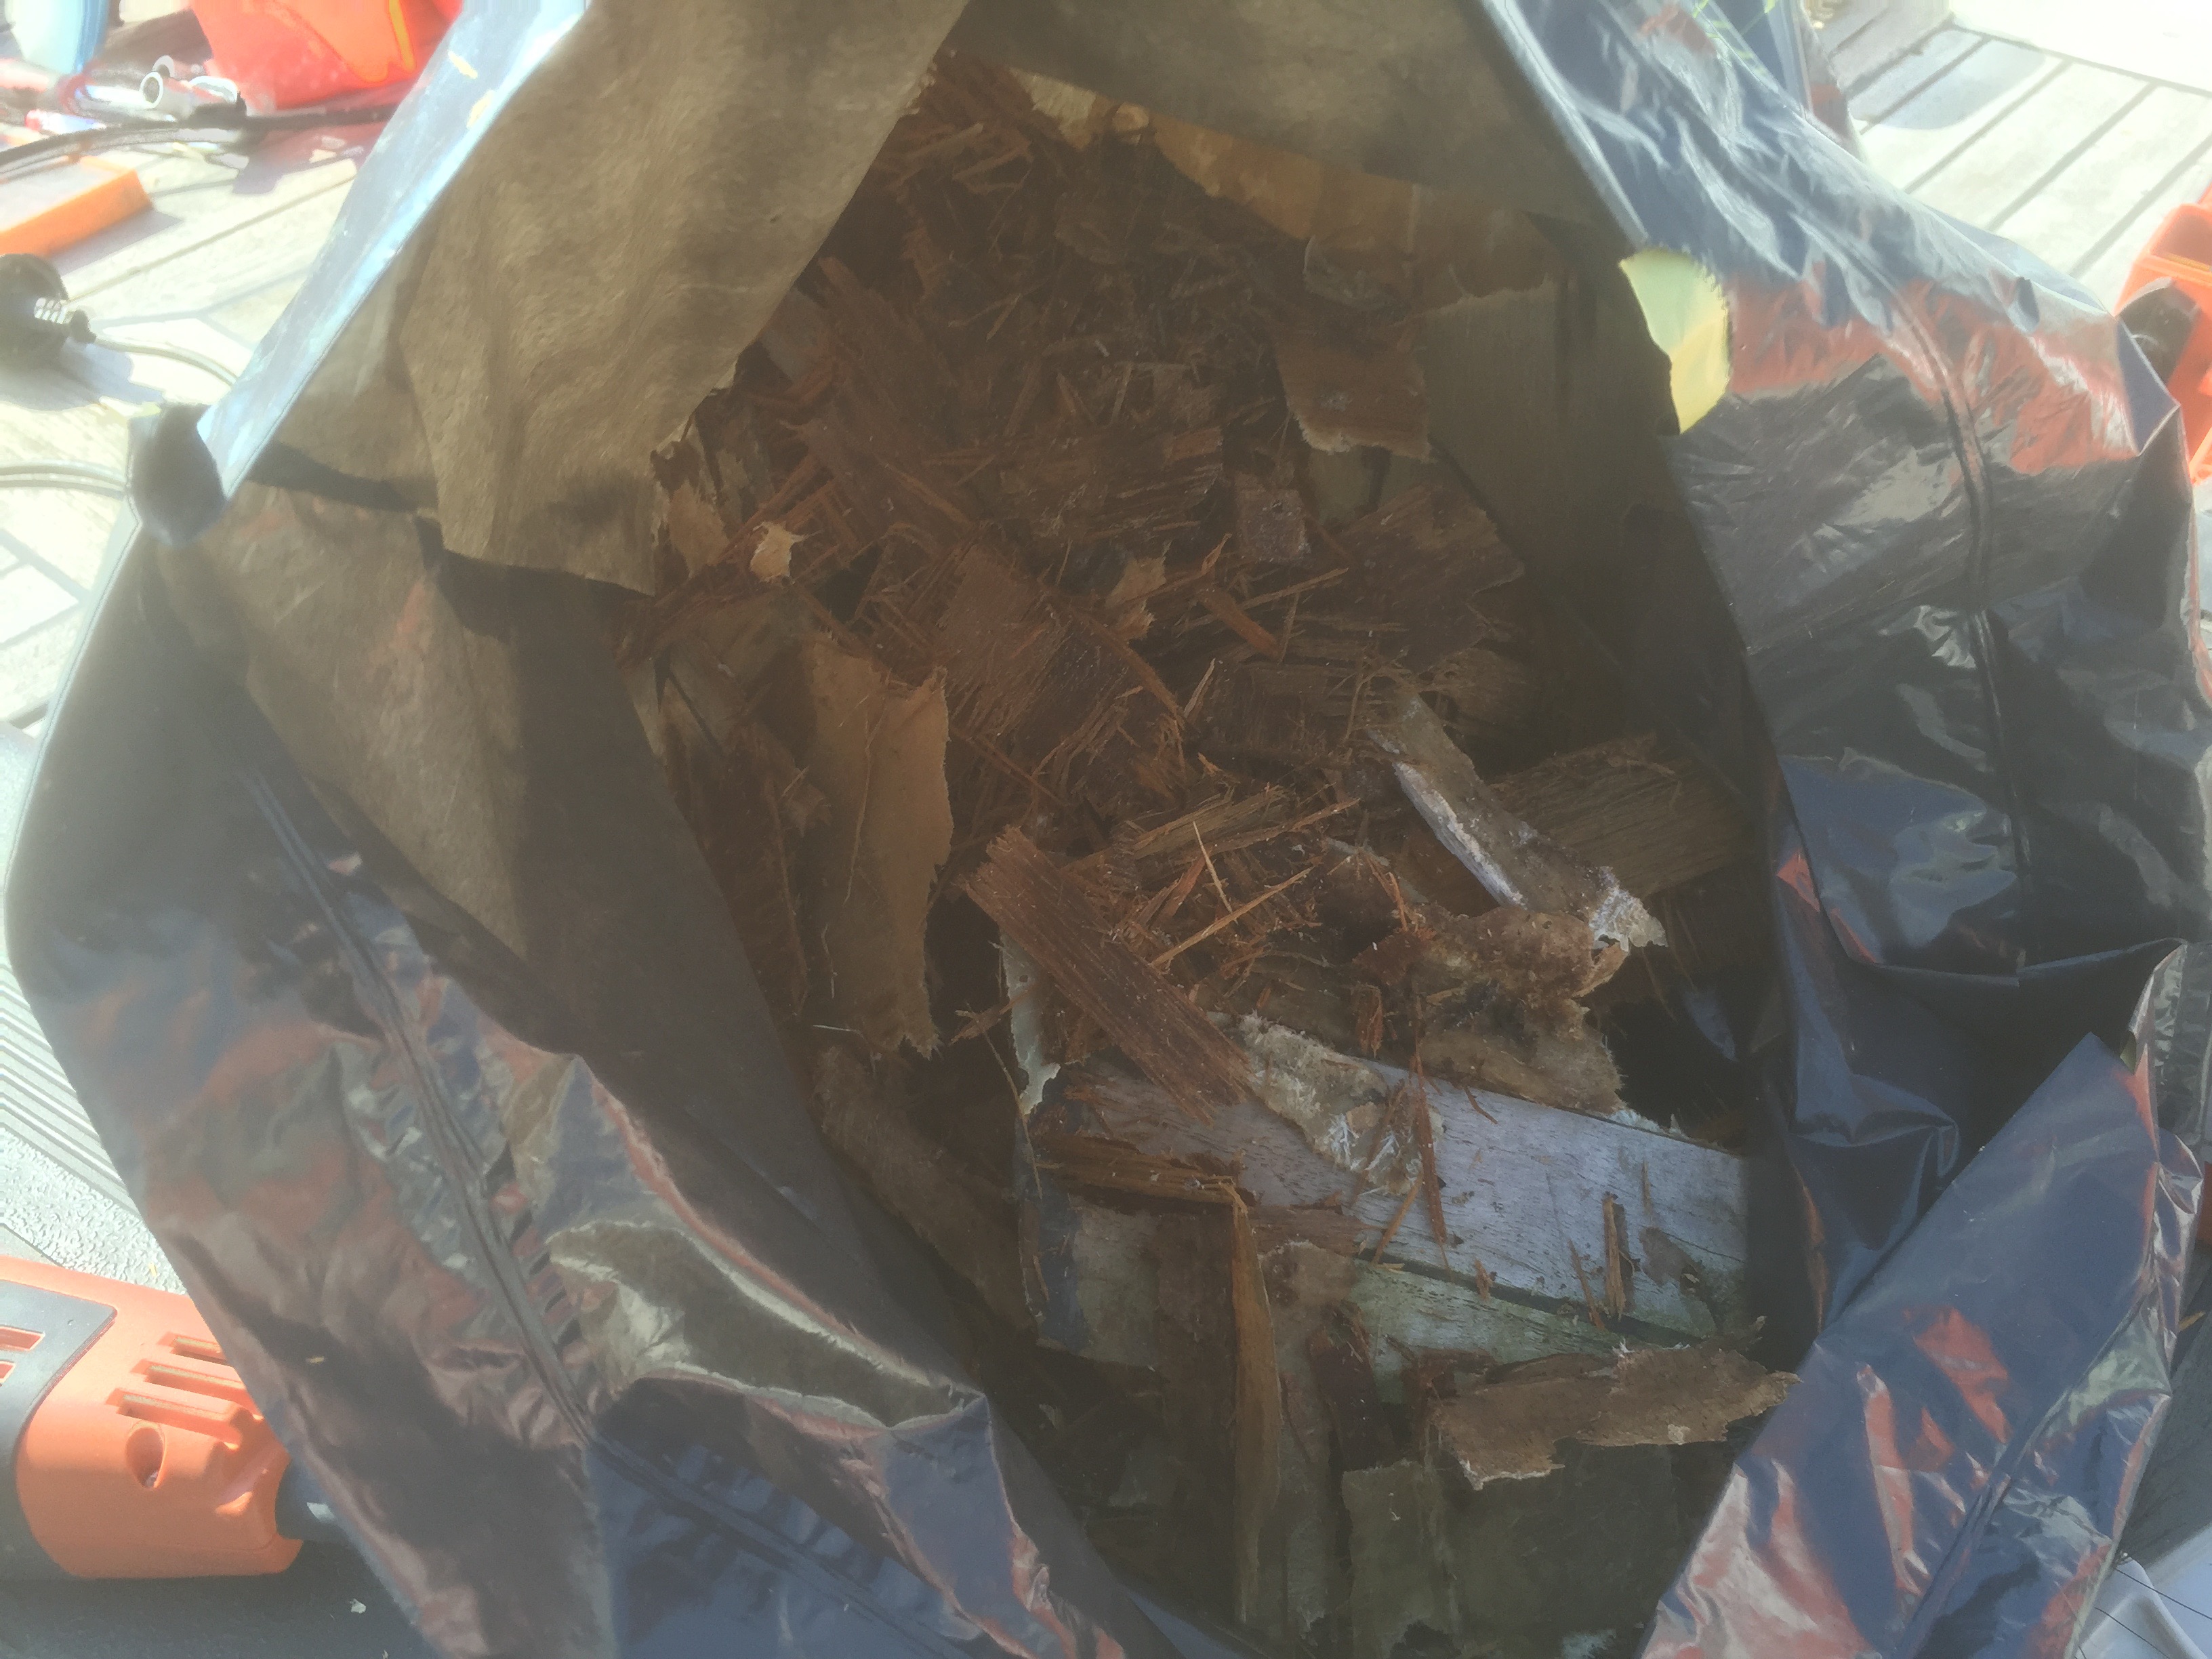
4 years have come and gone while the engine was lying around with it’s bits and pieces scattered around in the cabinets aboard. The main reason for all the delay was the fact that there where more urgent repairs needed, like rebuilding the main cabin and other issues regarding rotting away of wood which was causing leakage. Also some personal issues caused work on the boat to be stopped for quite a while.
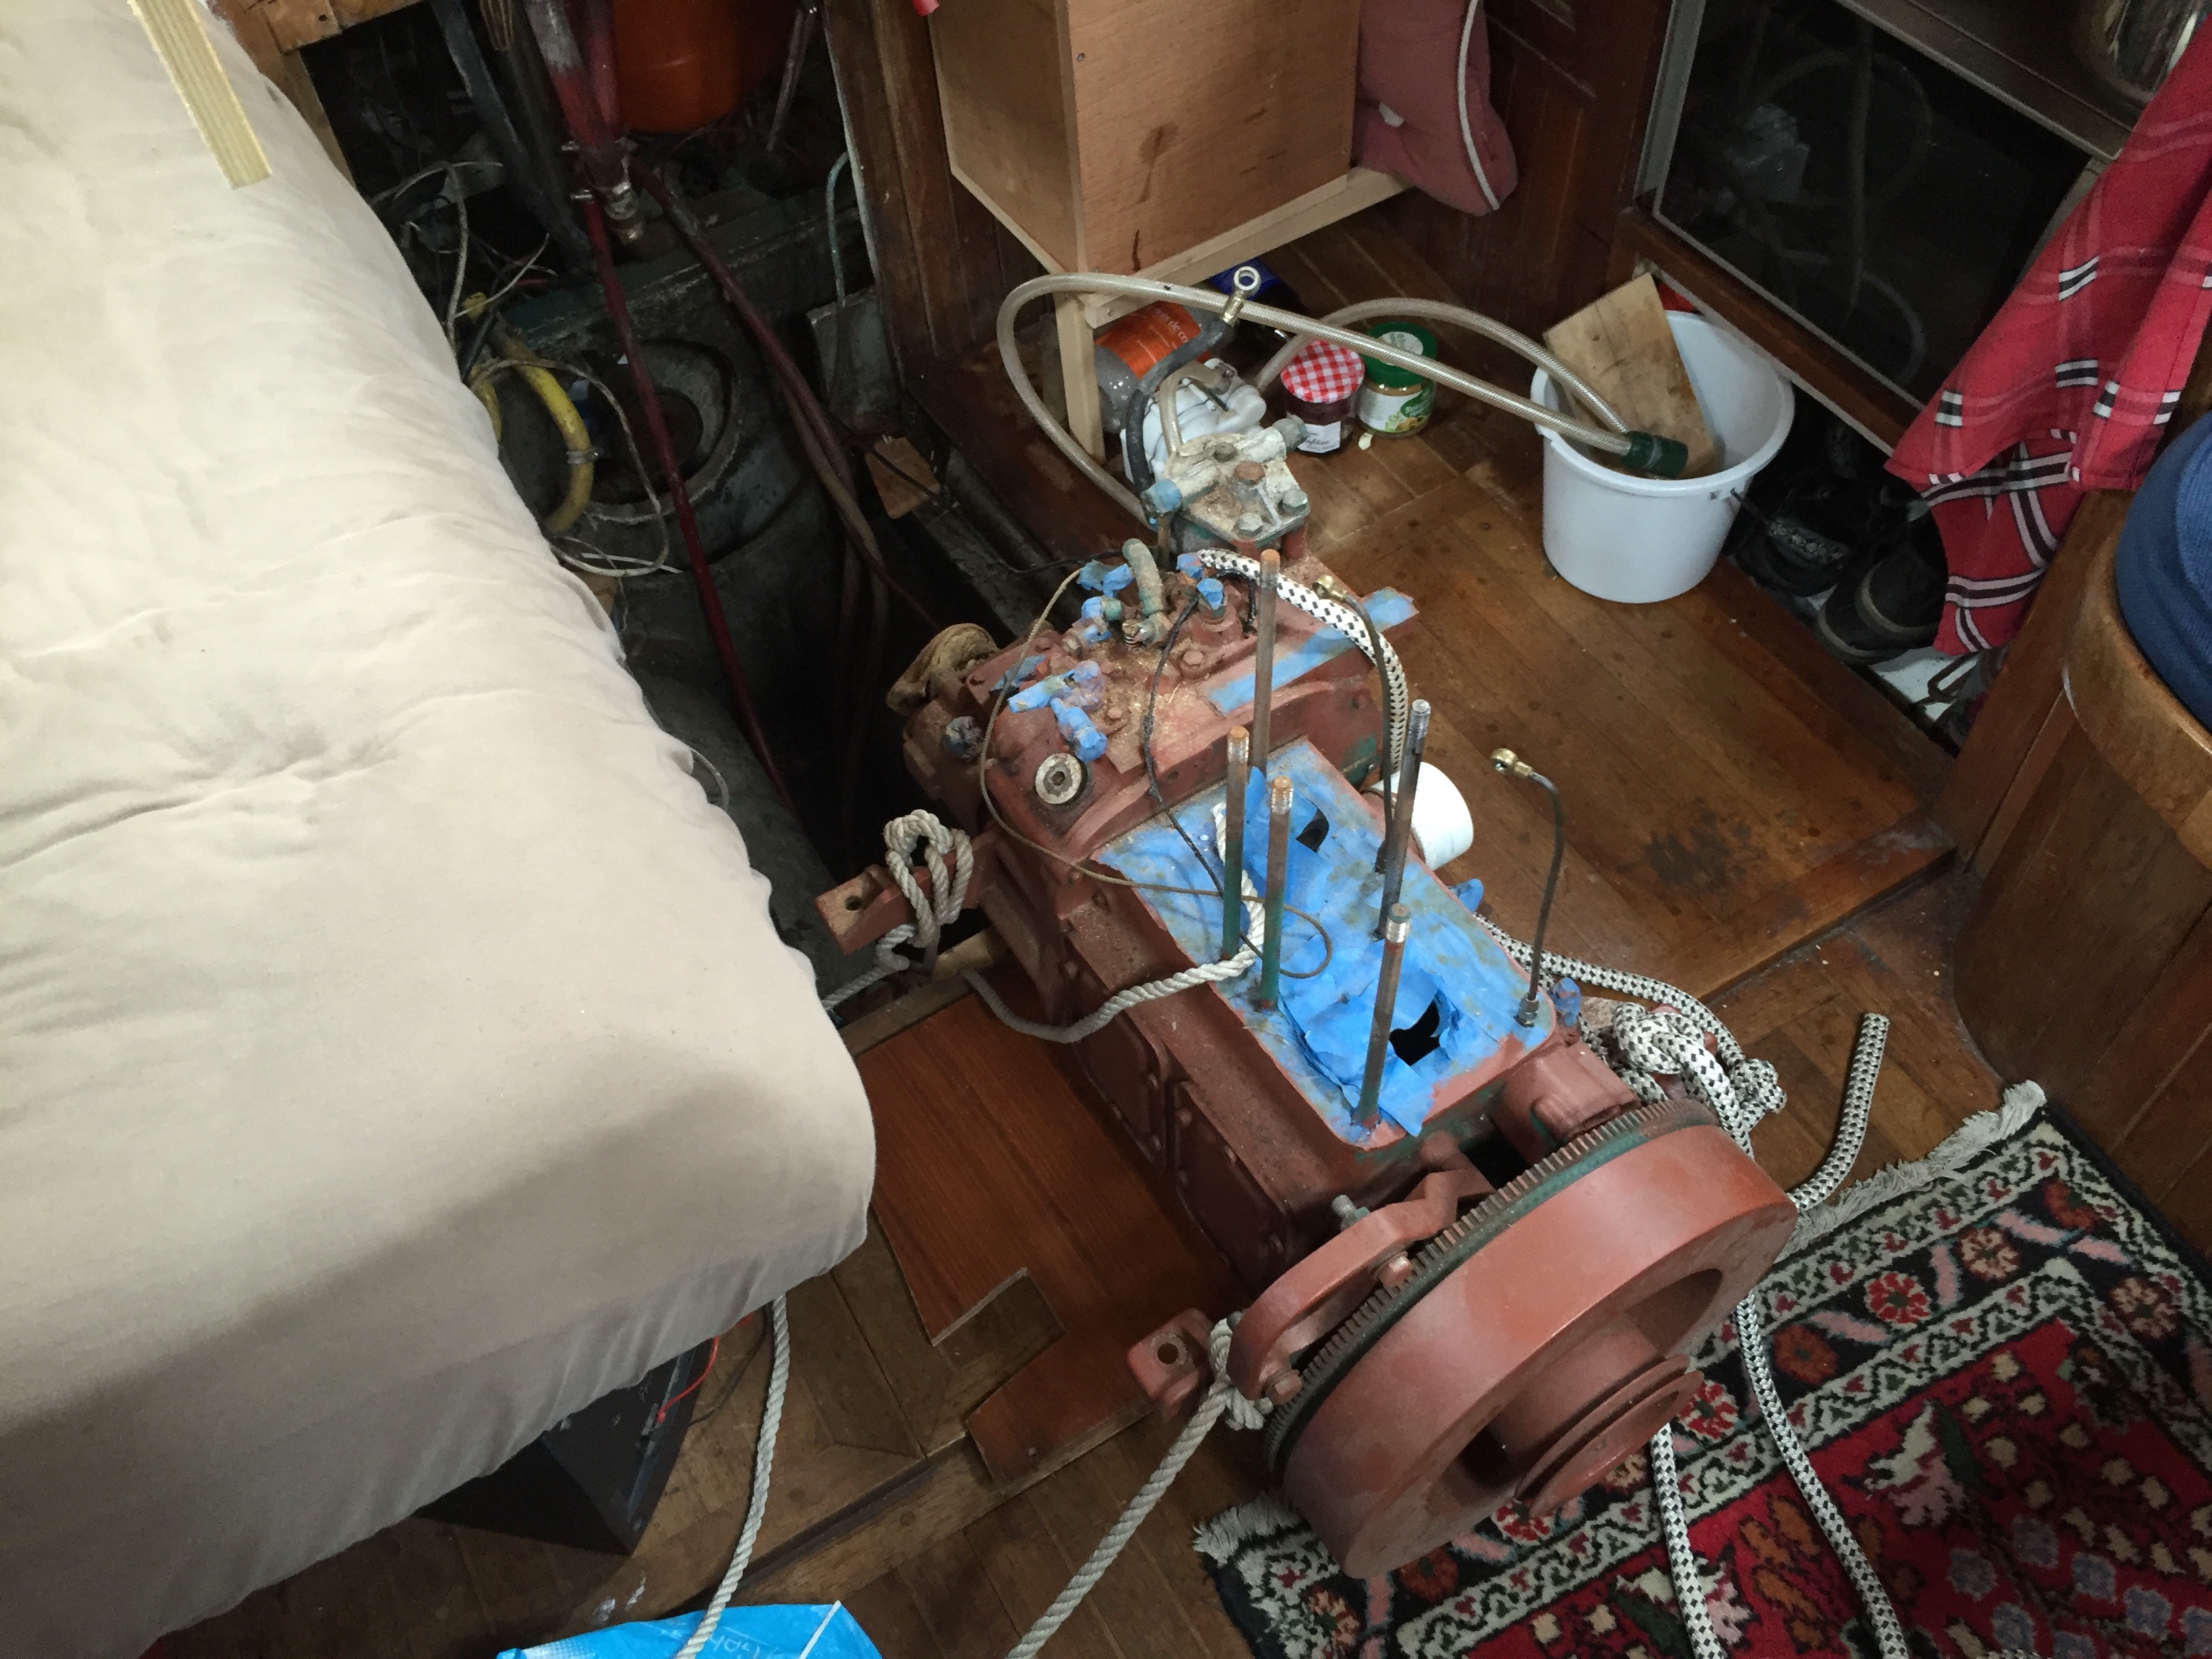
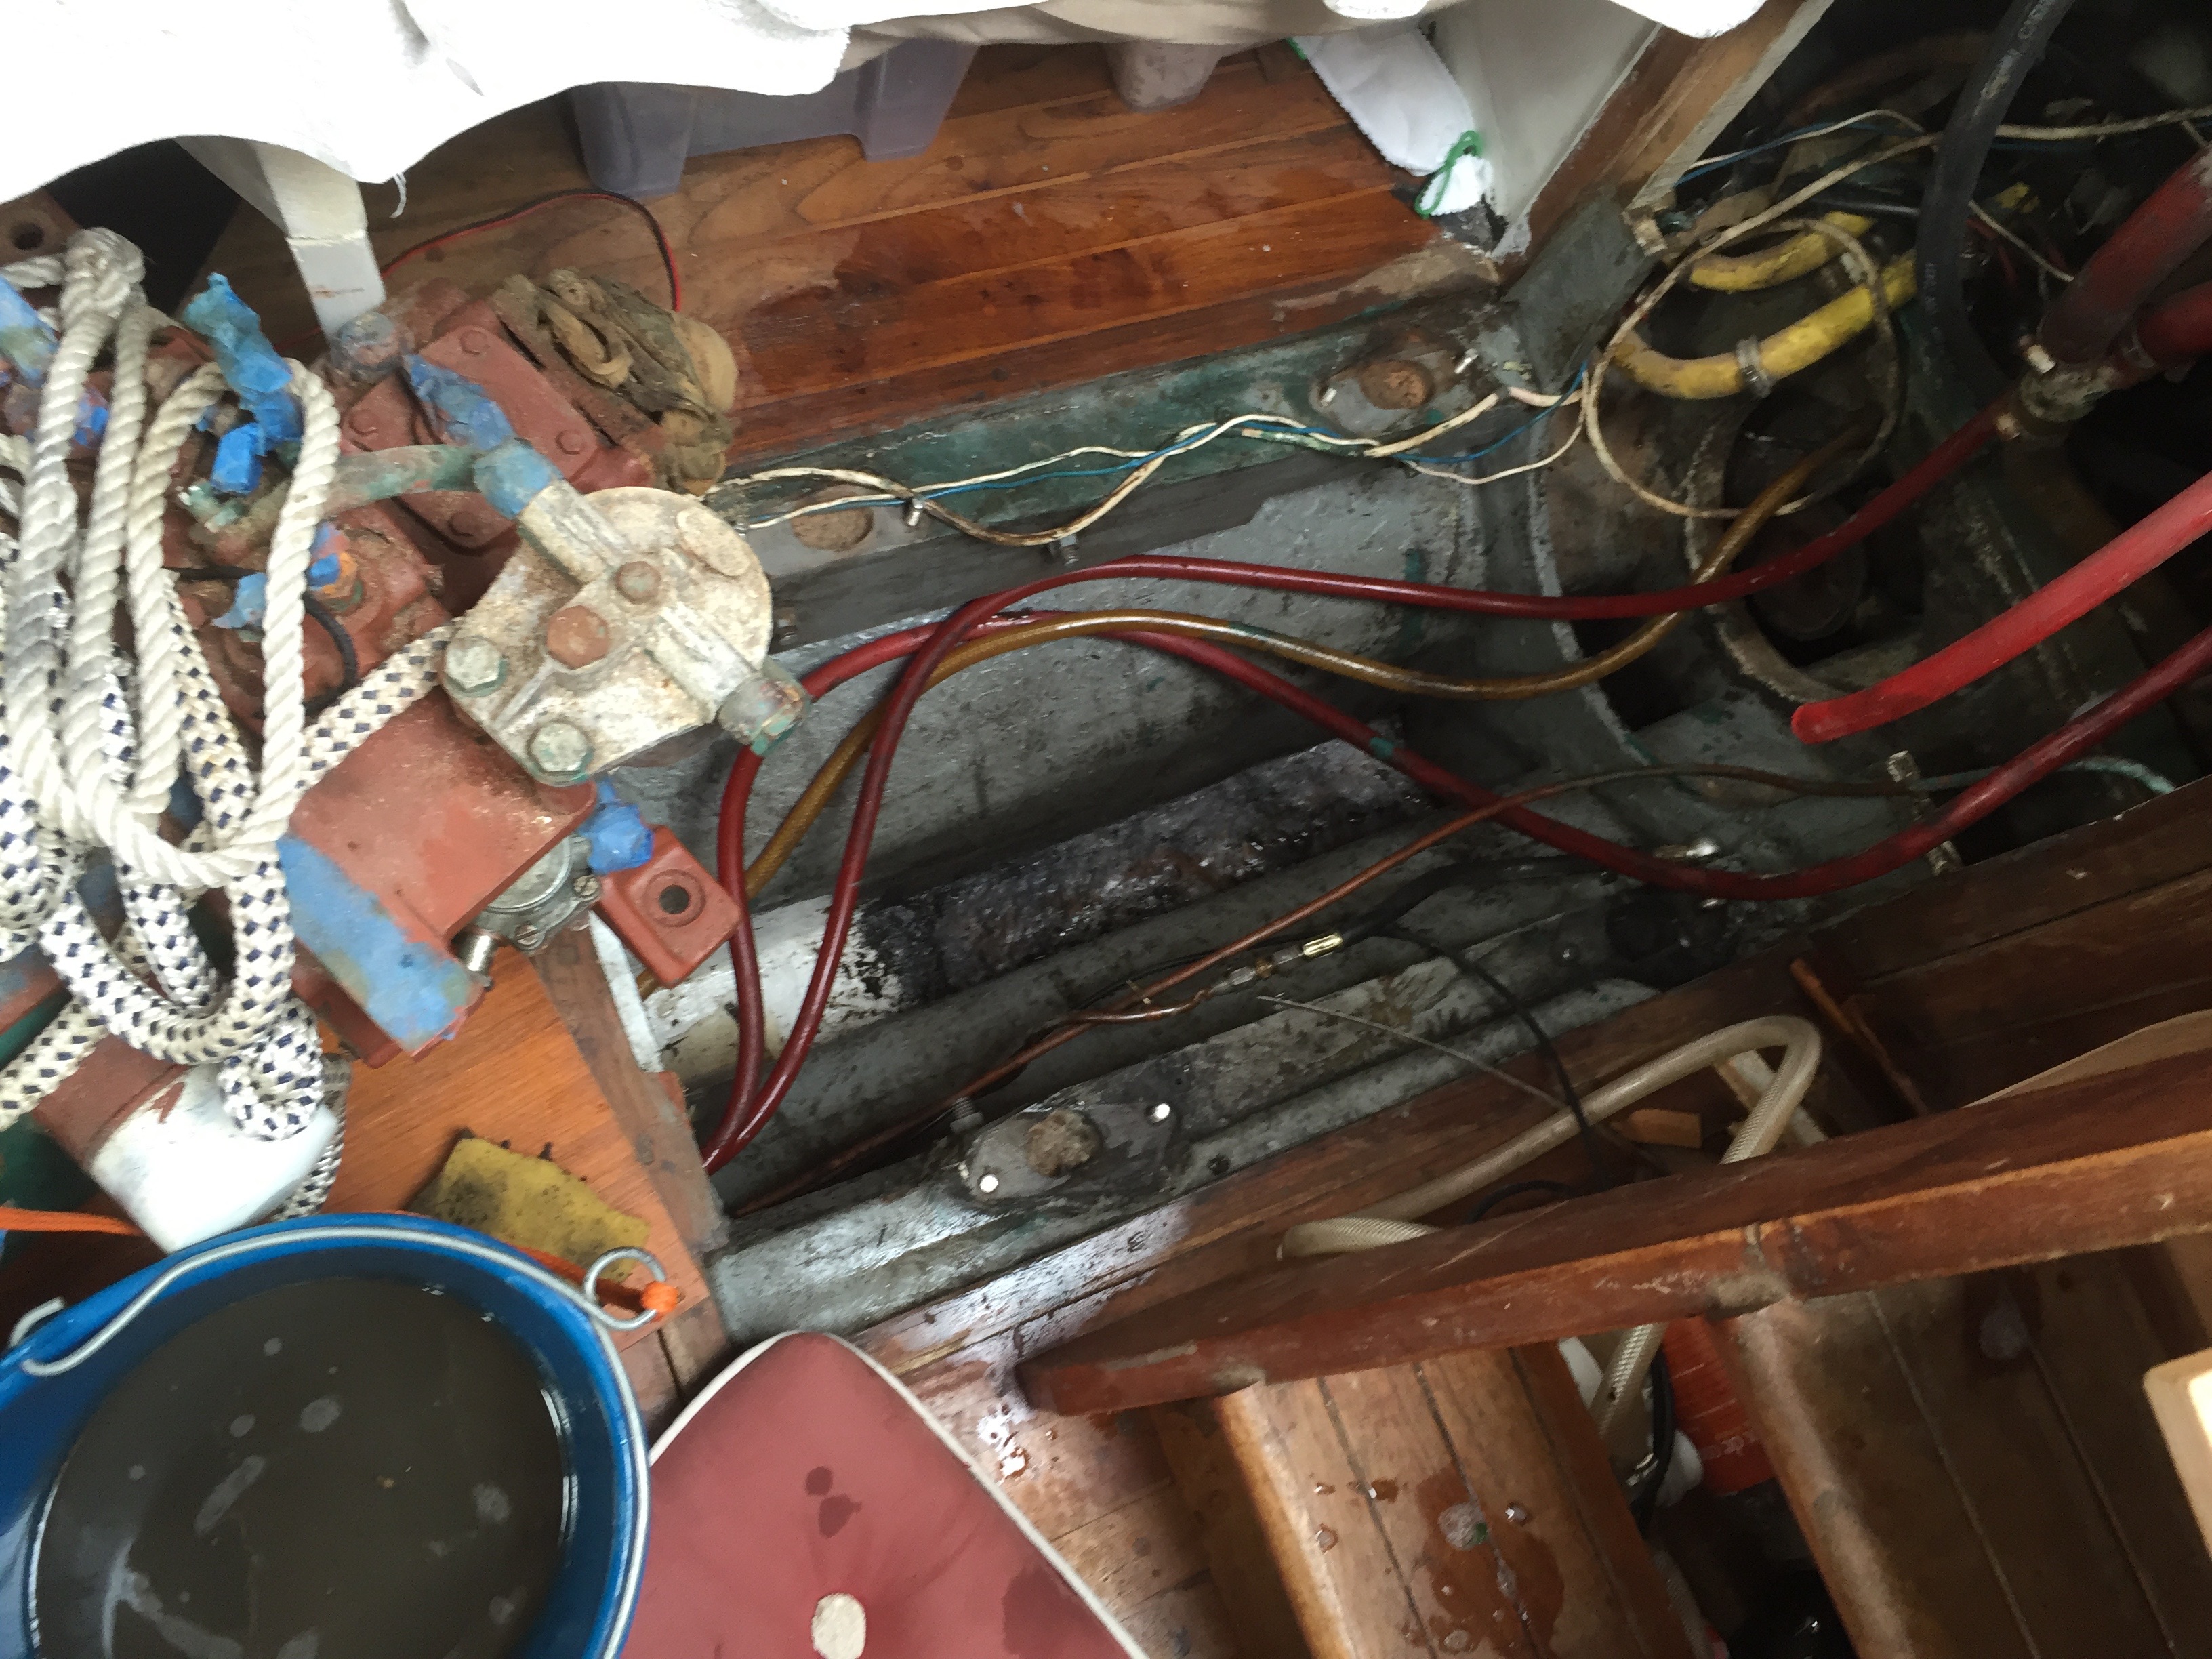
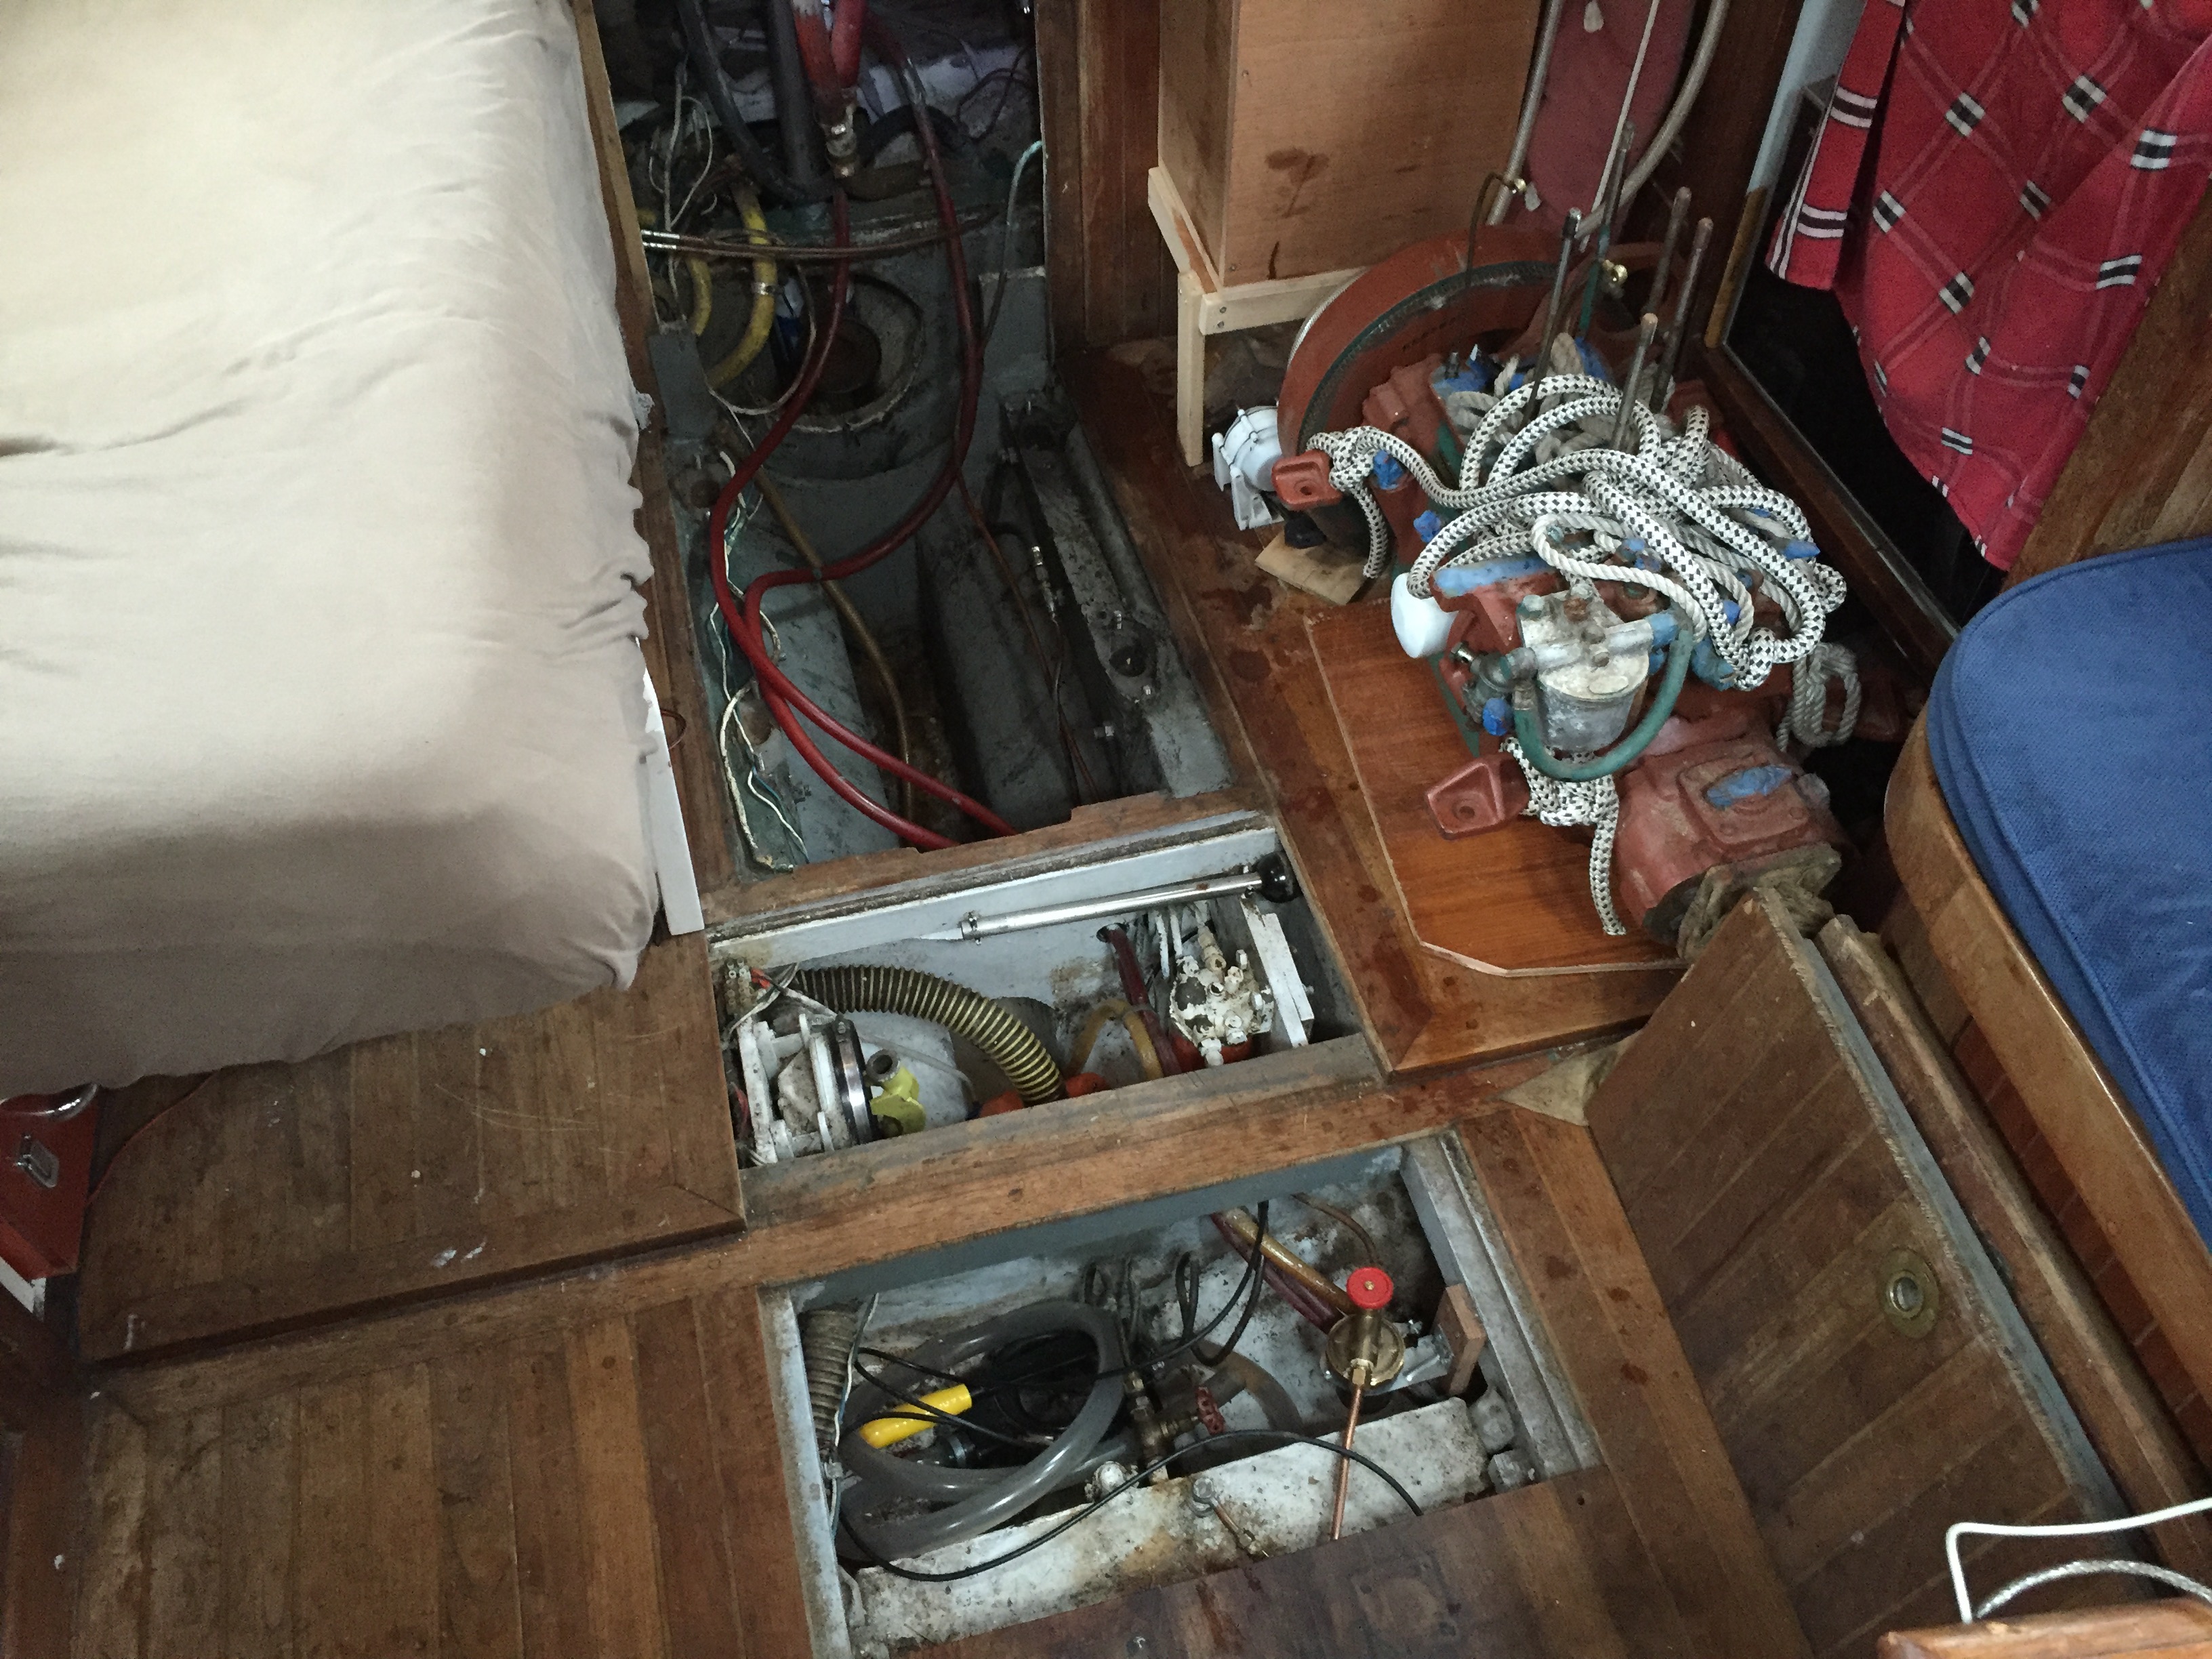
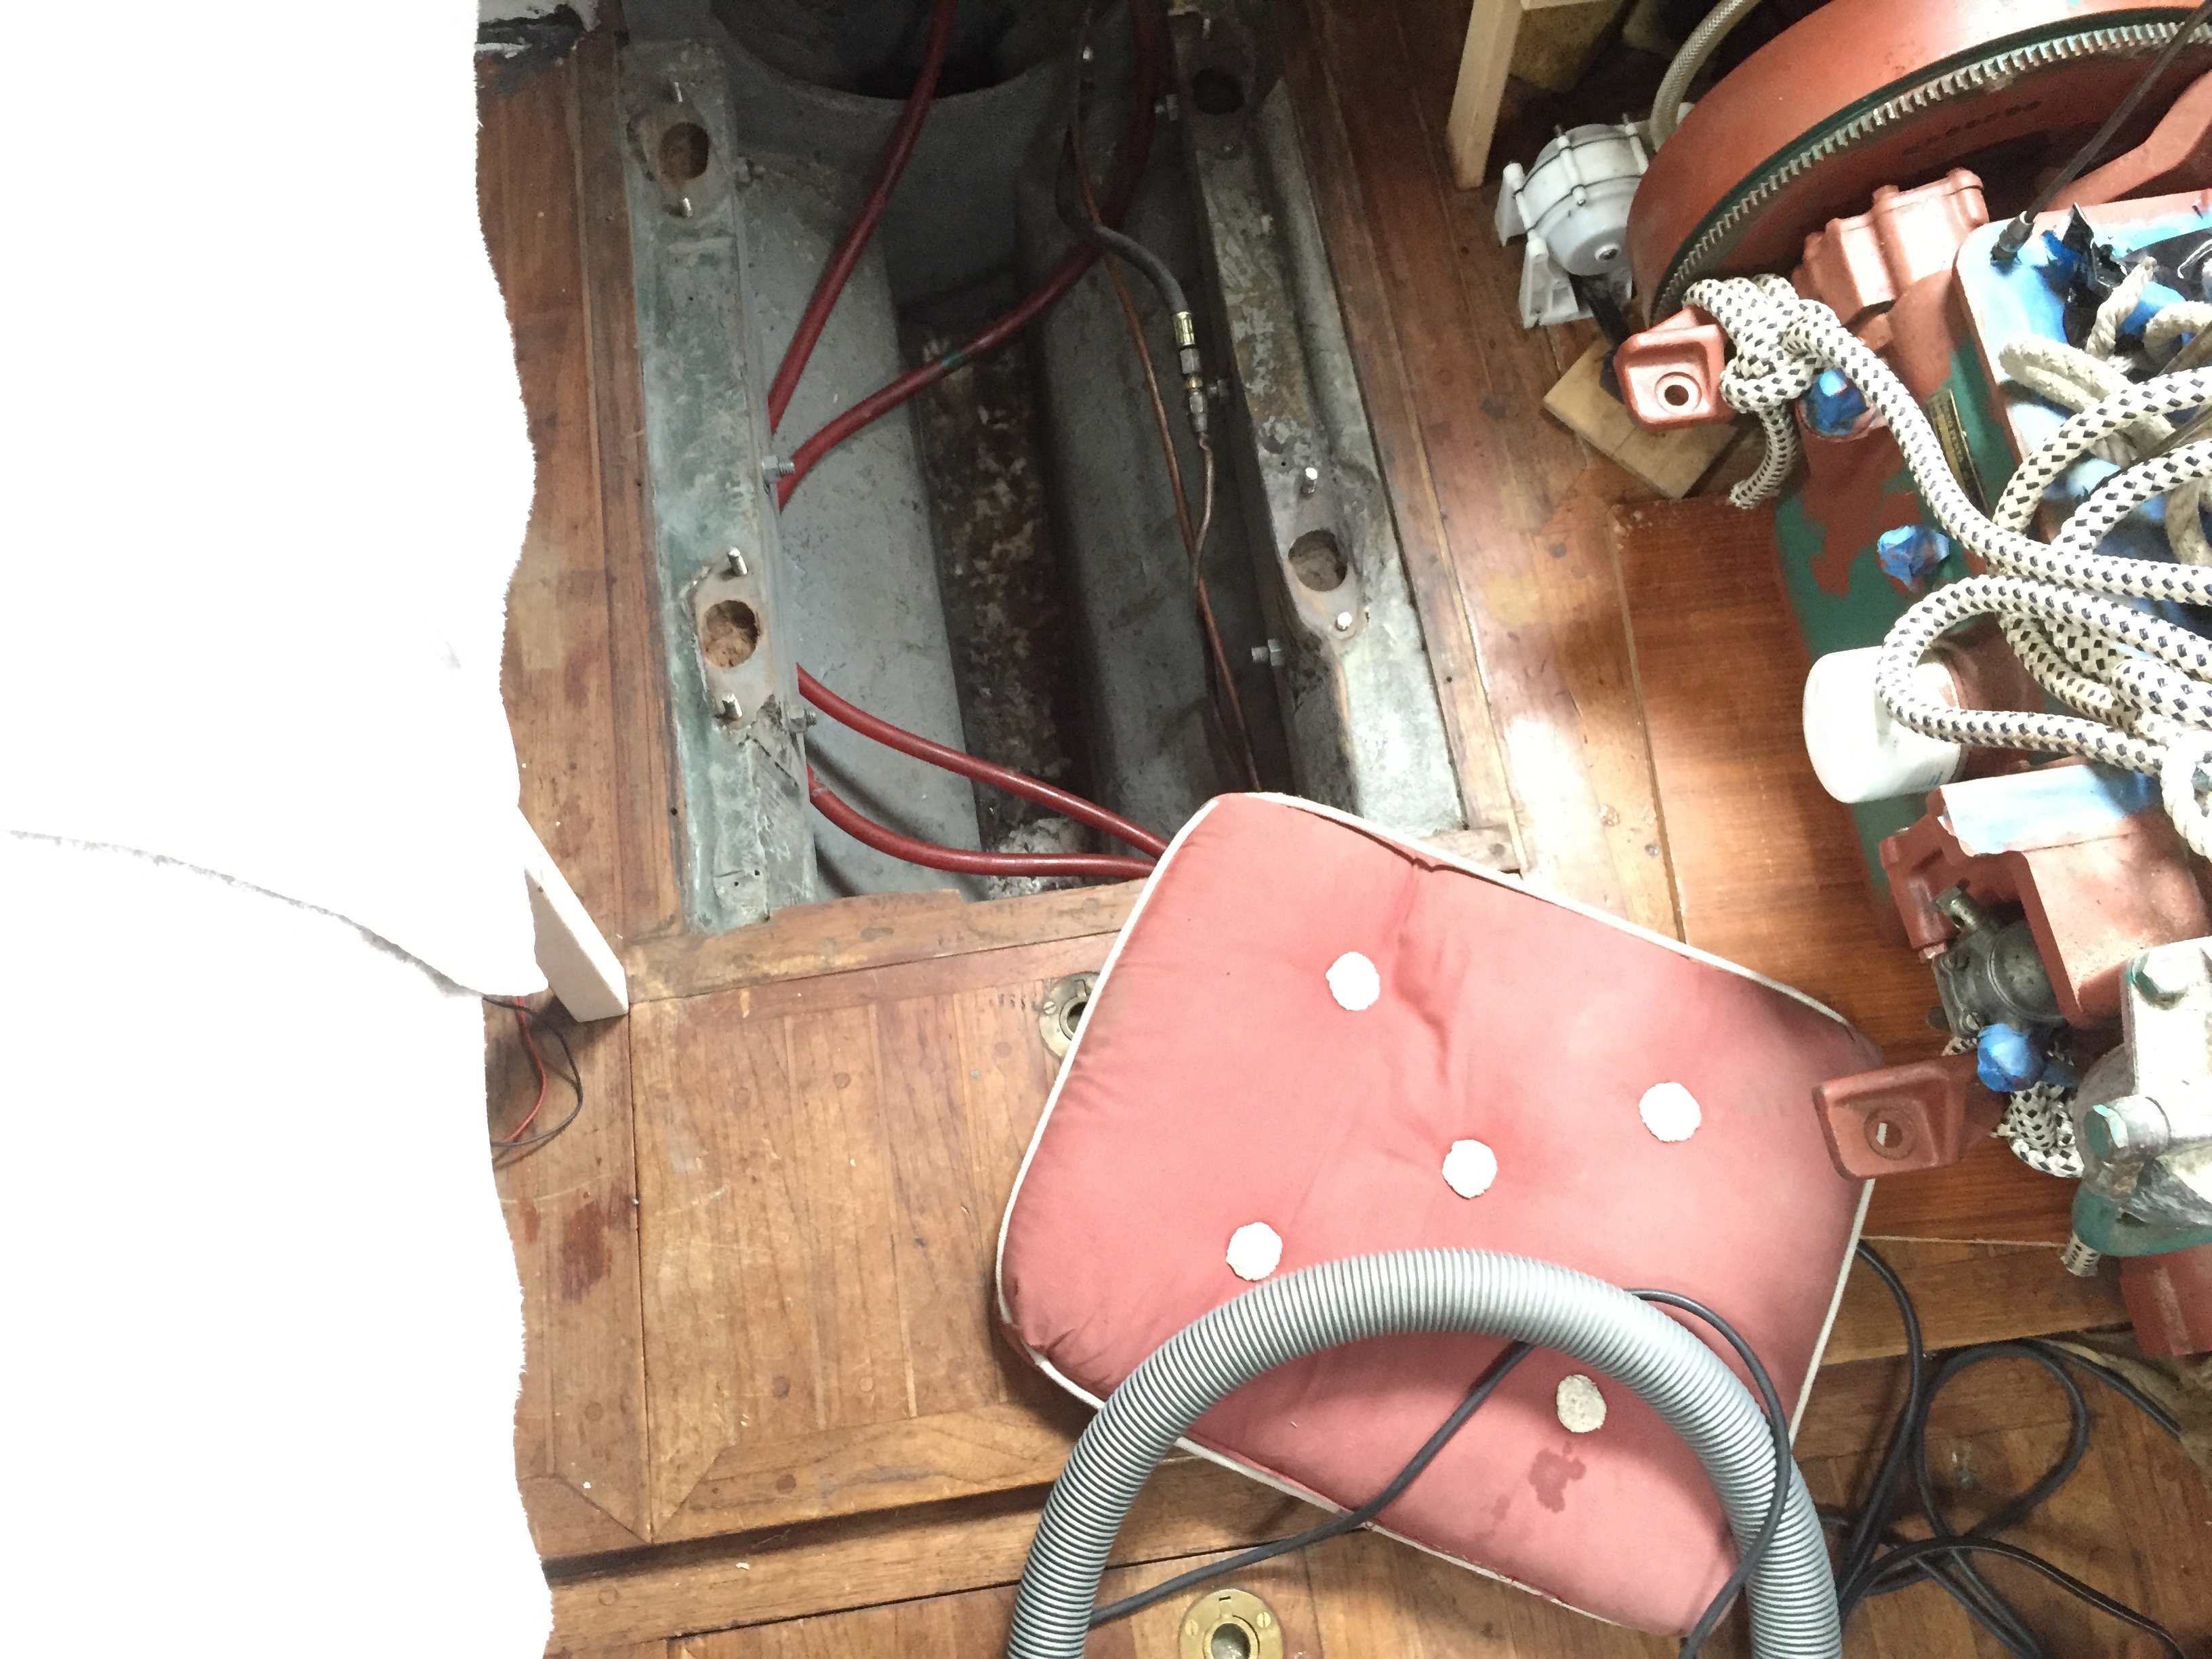
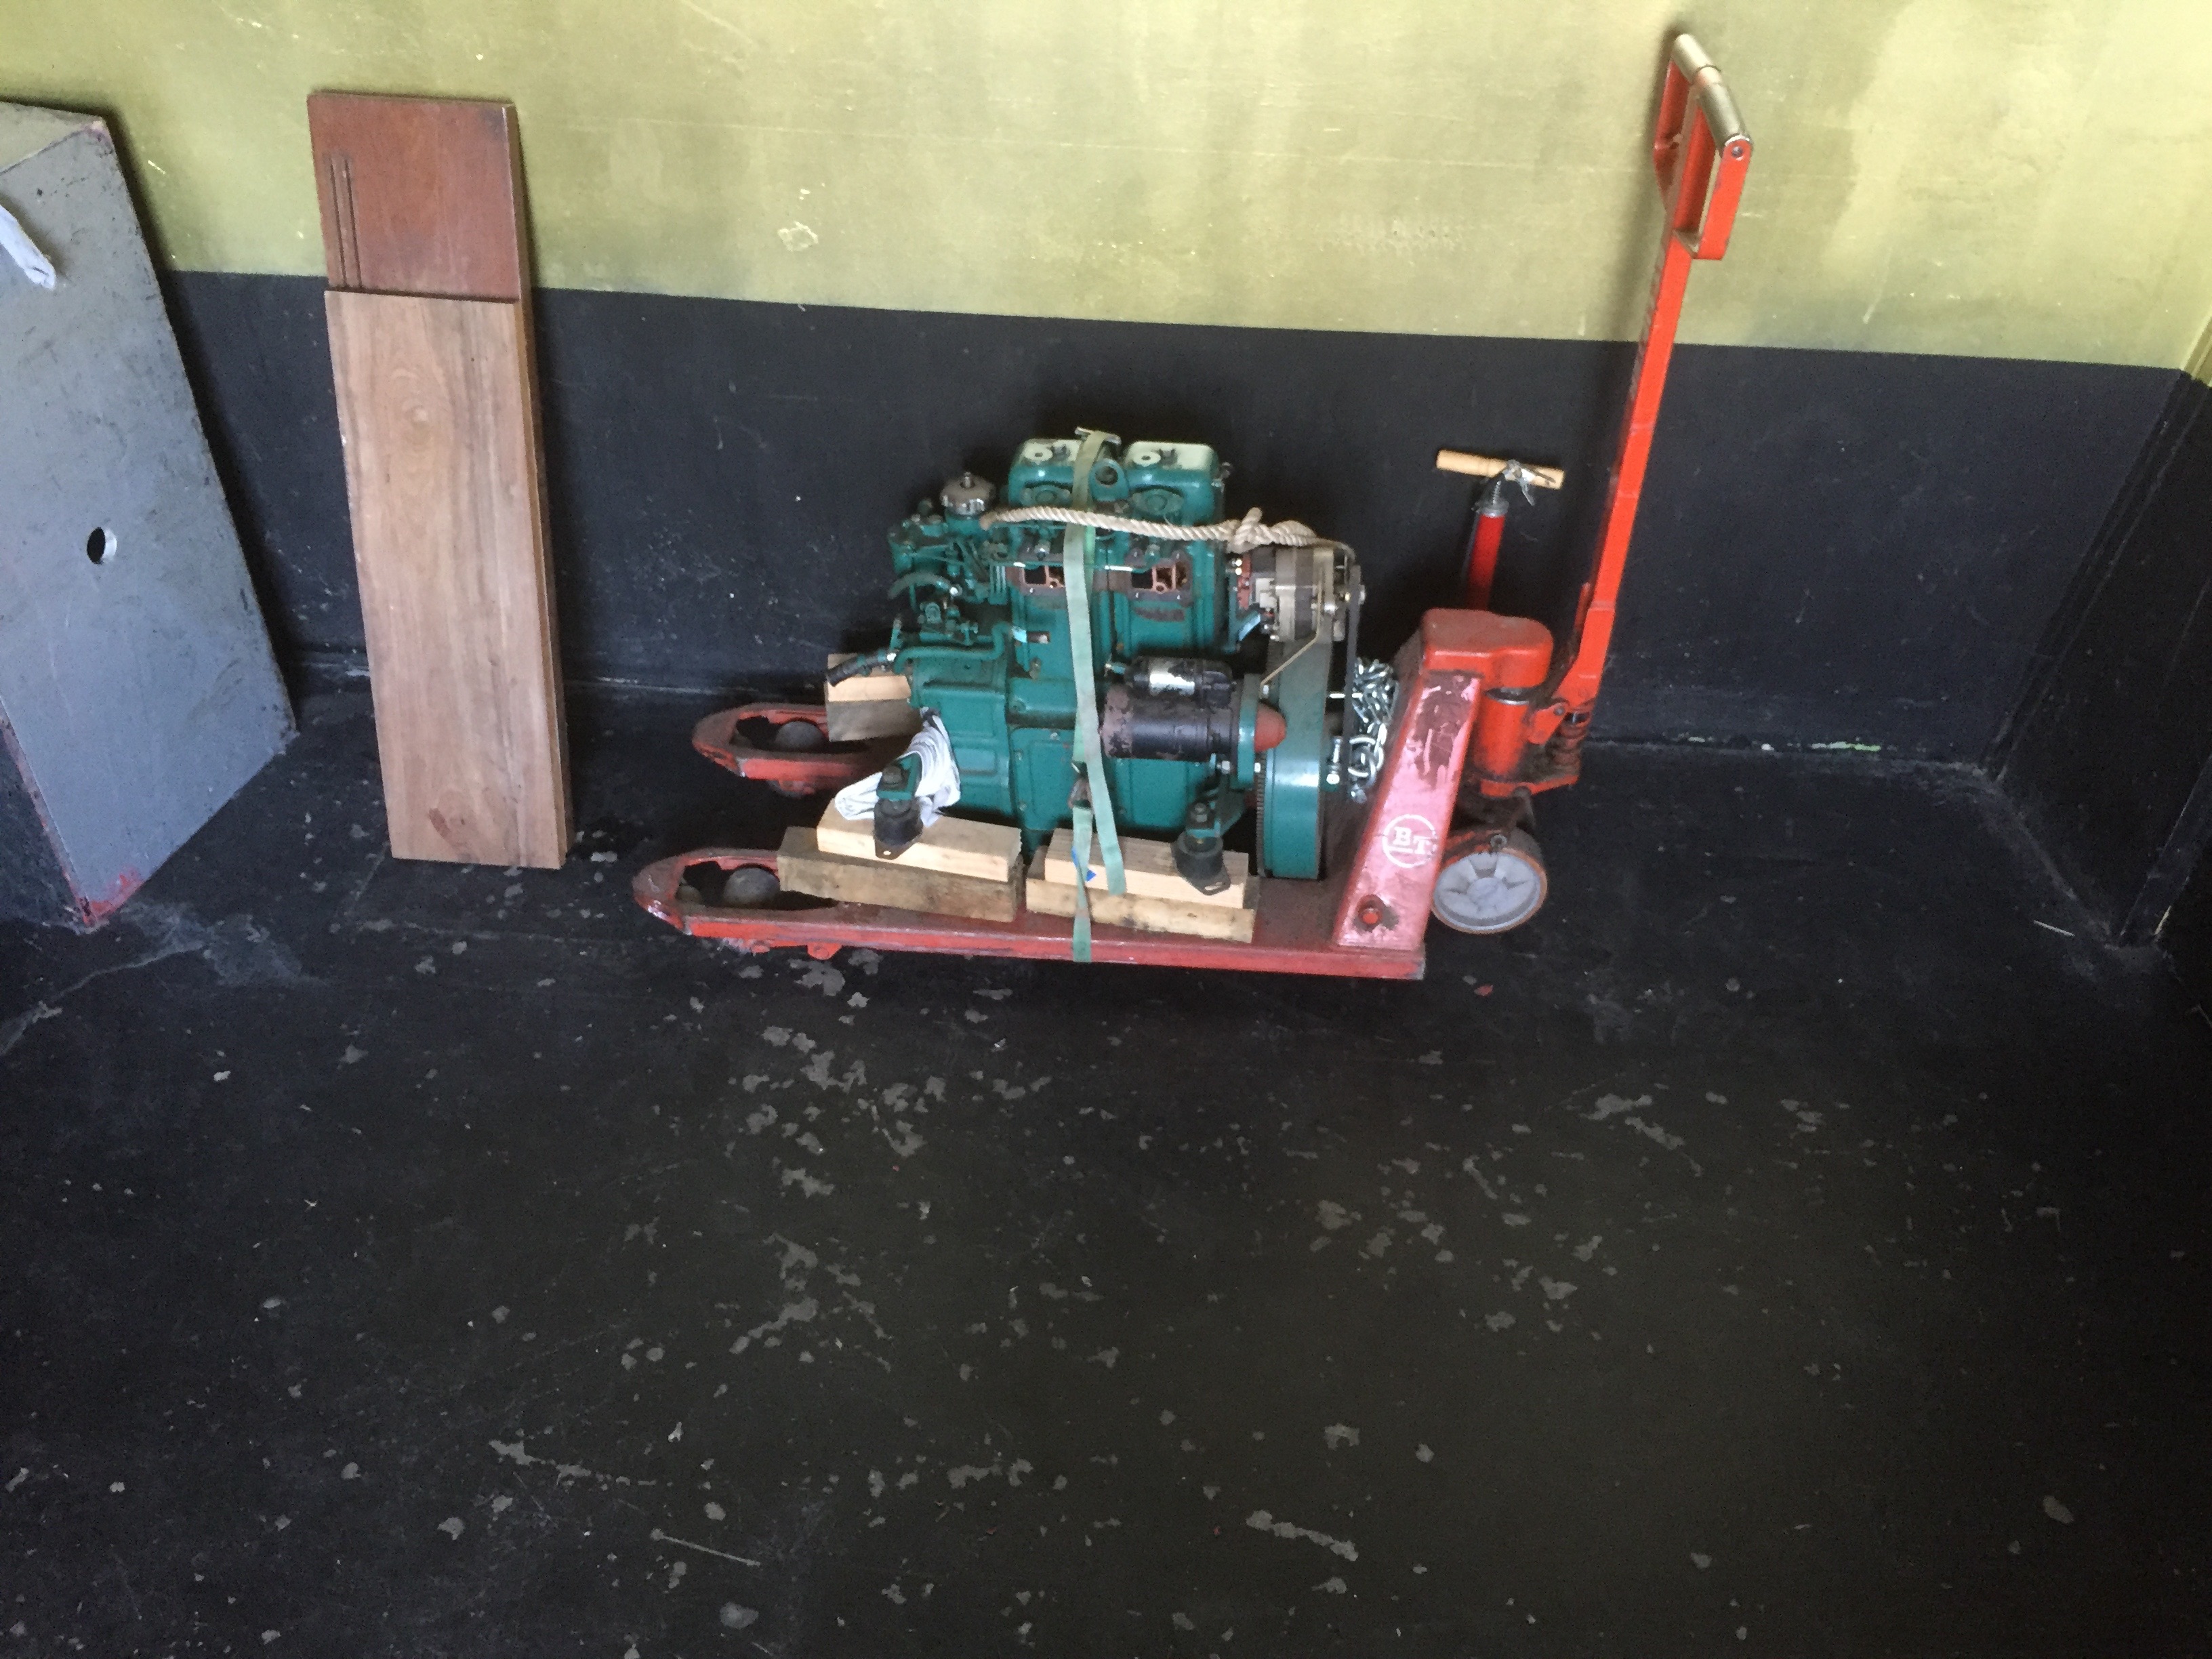
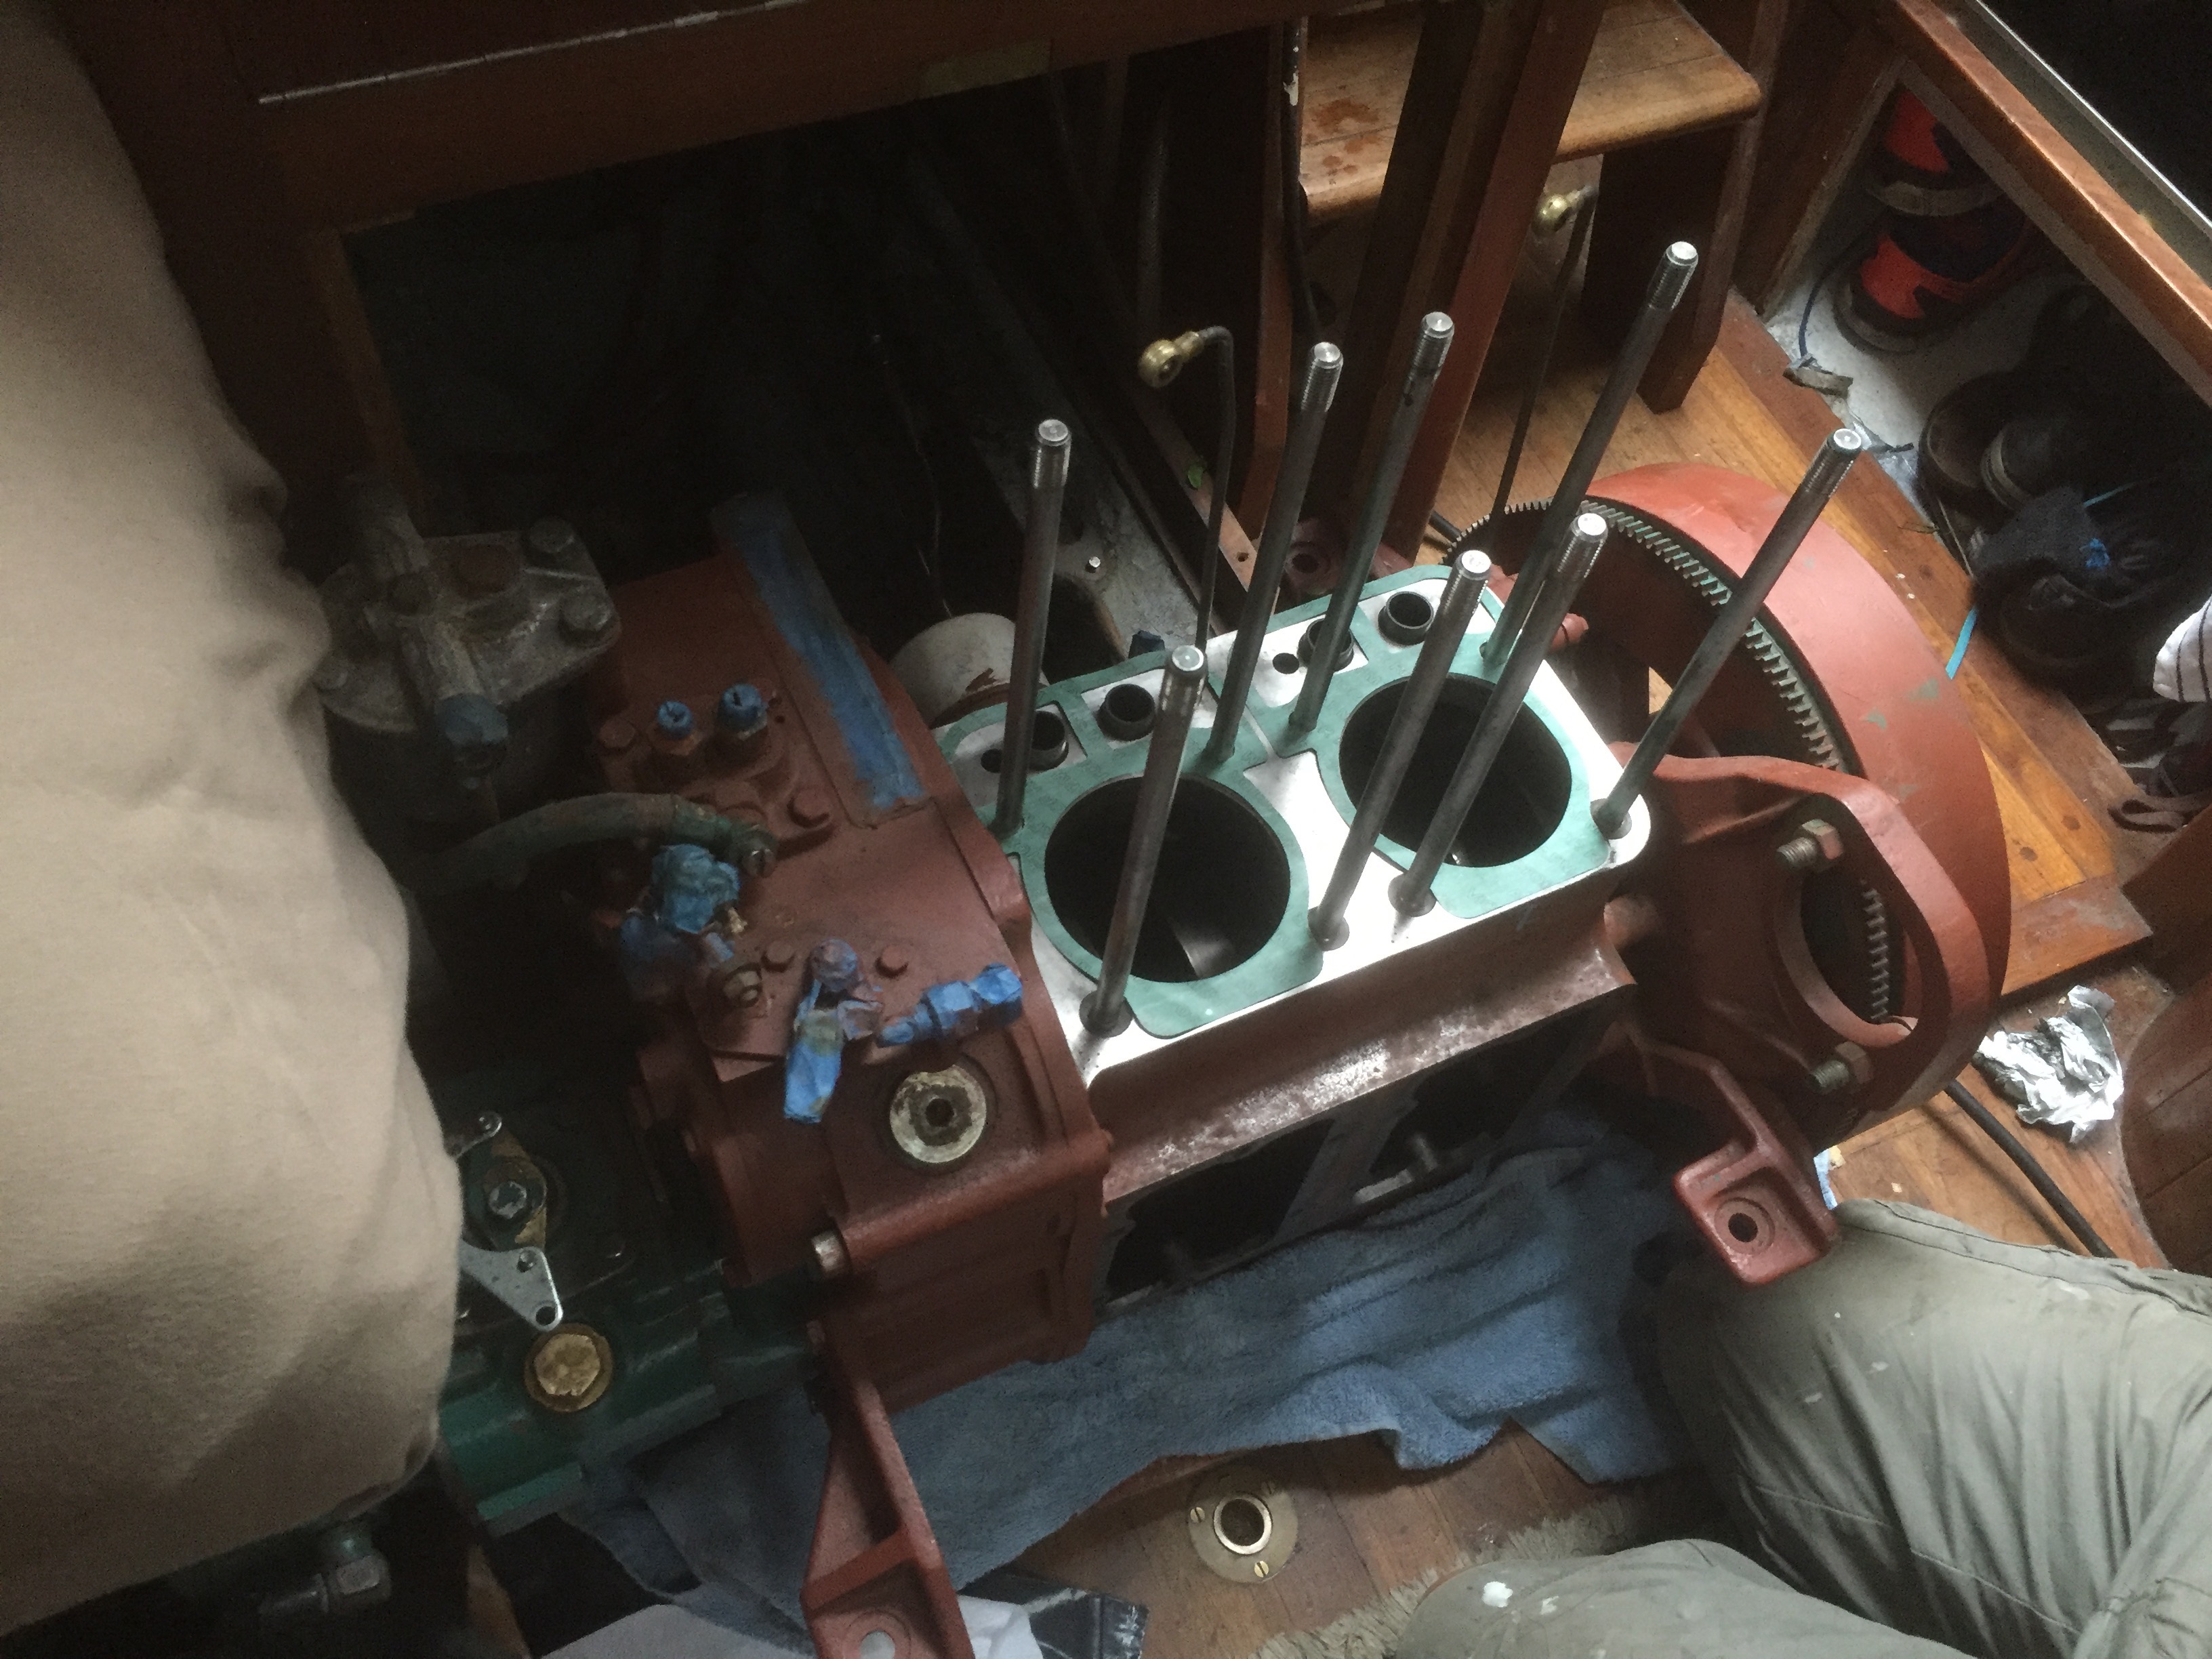
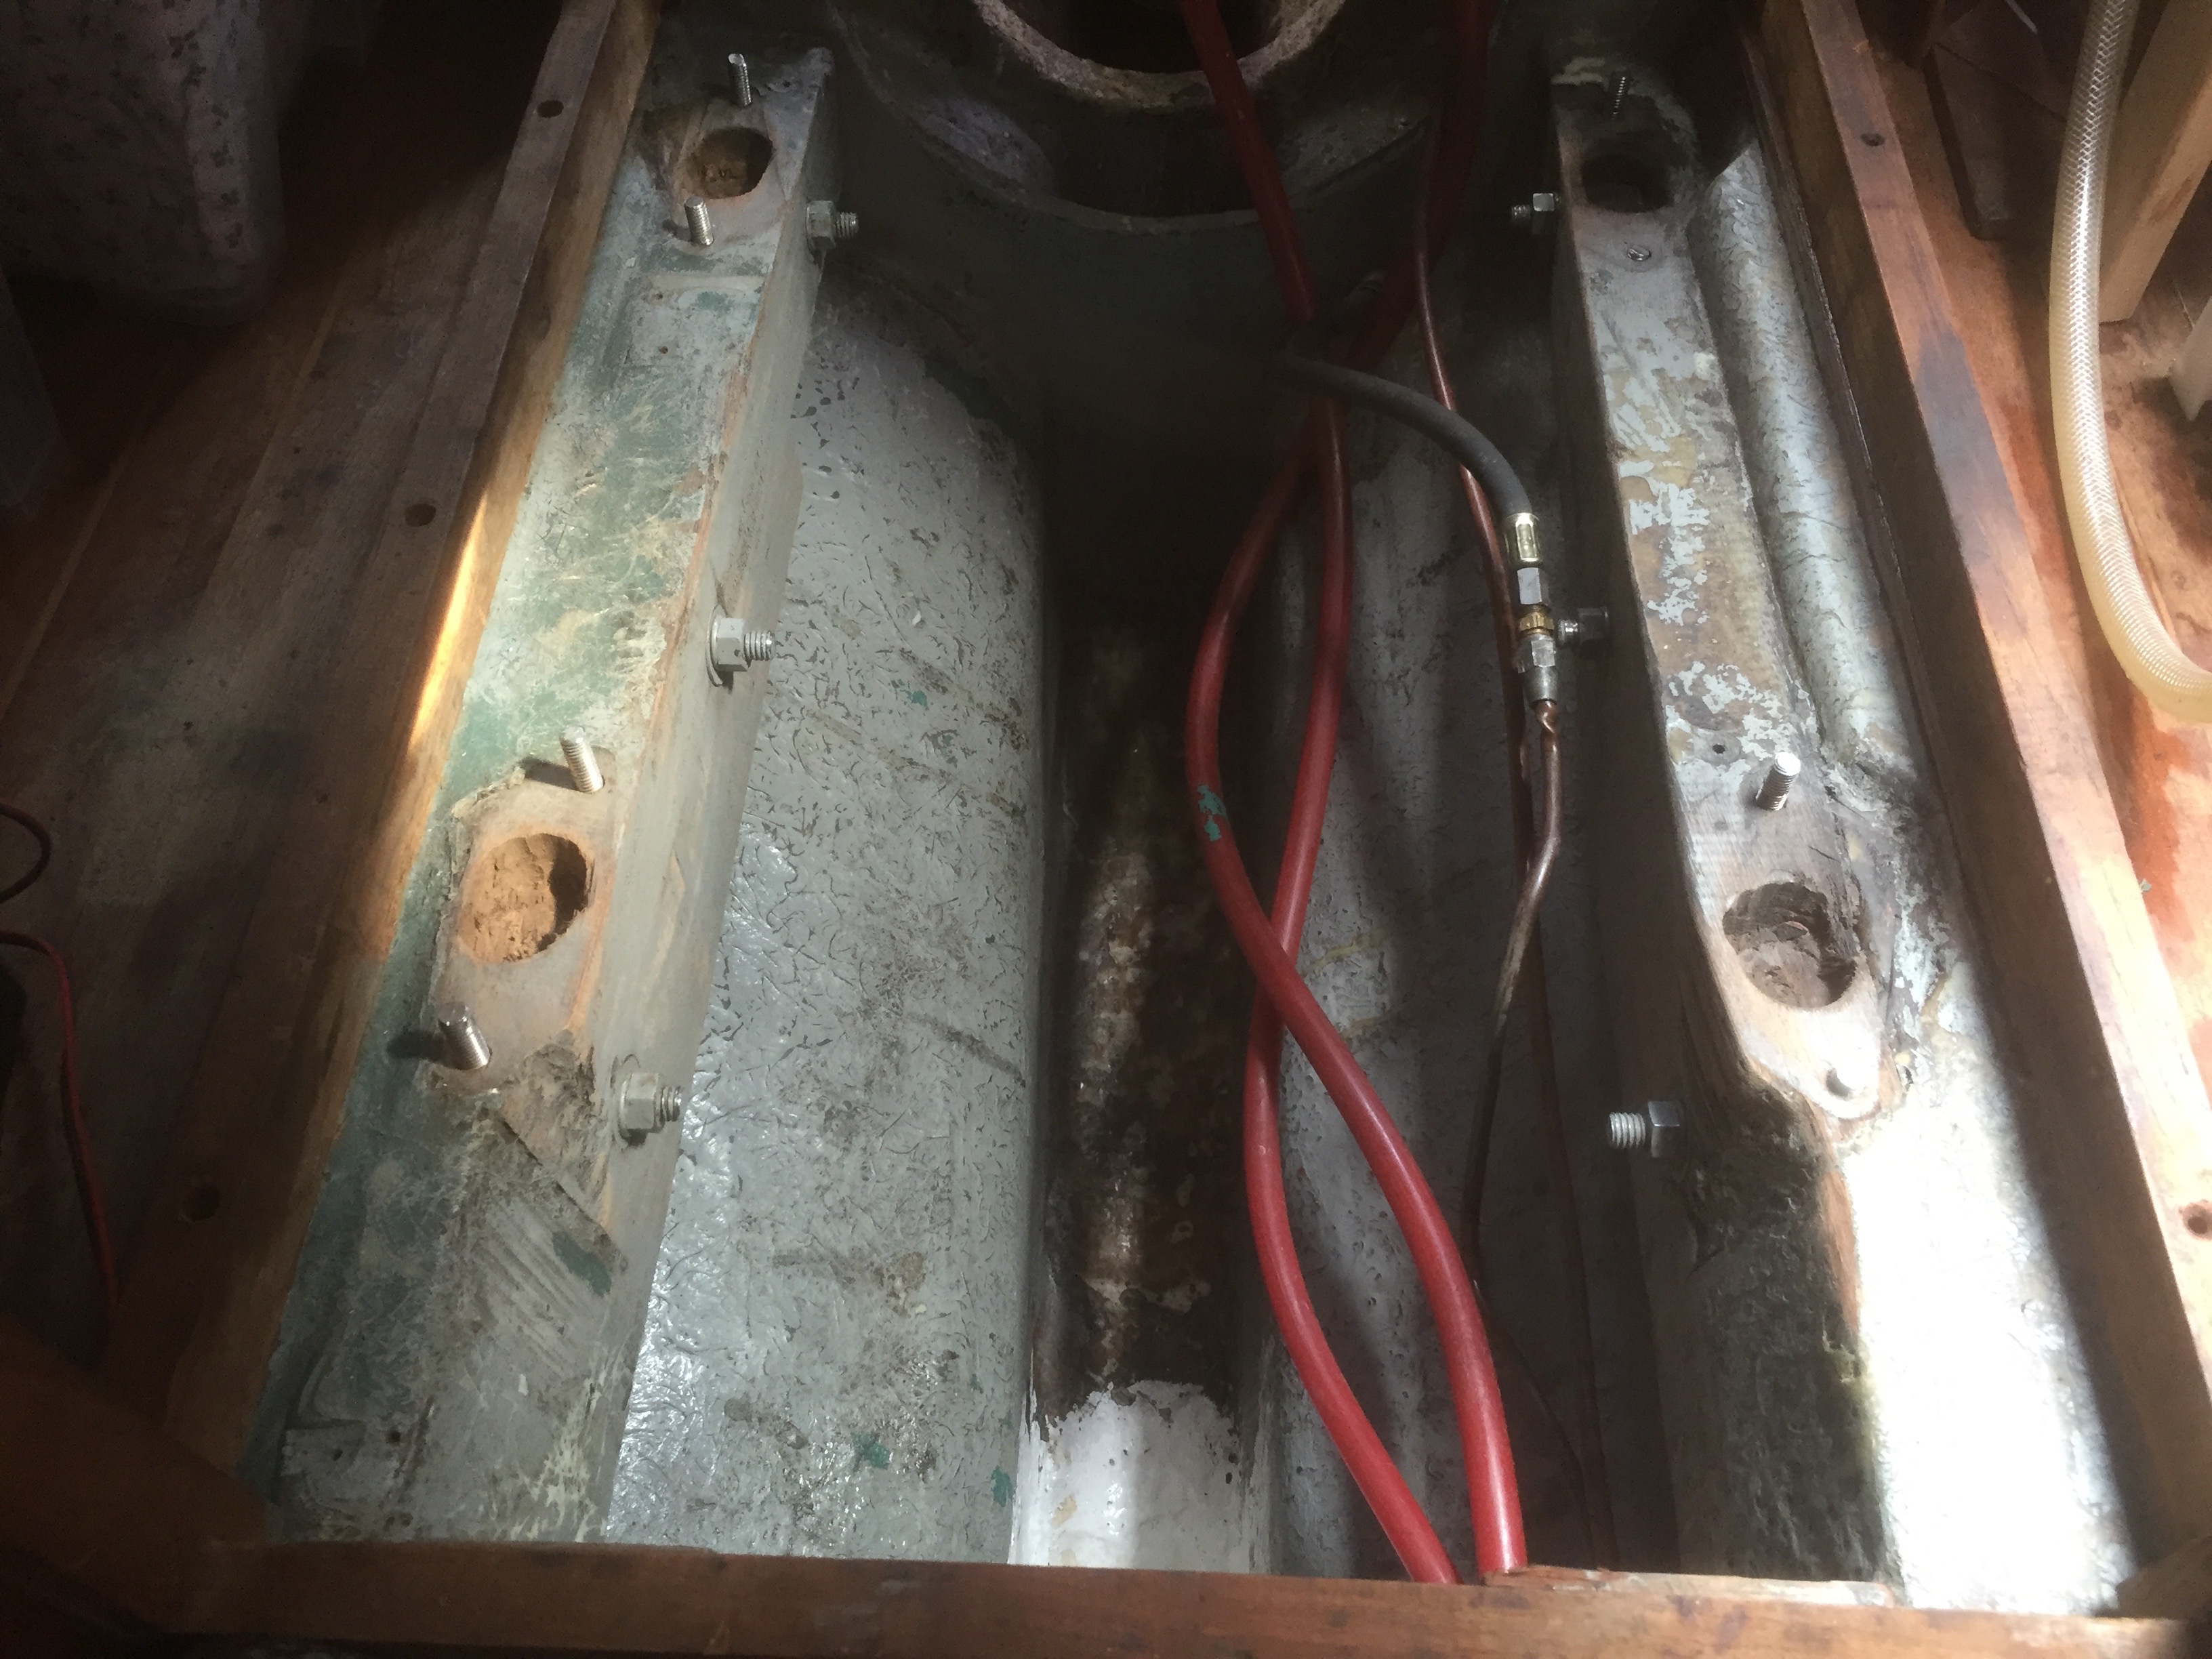
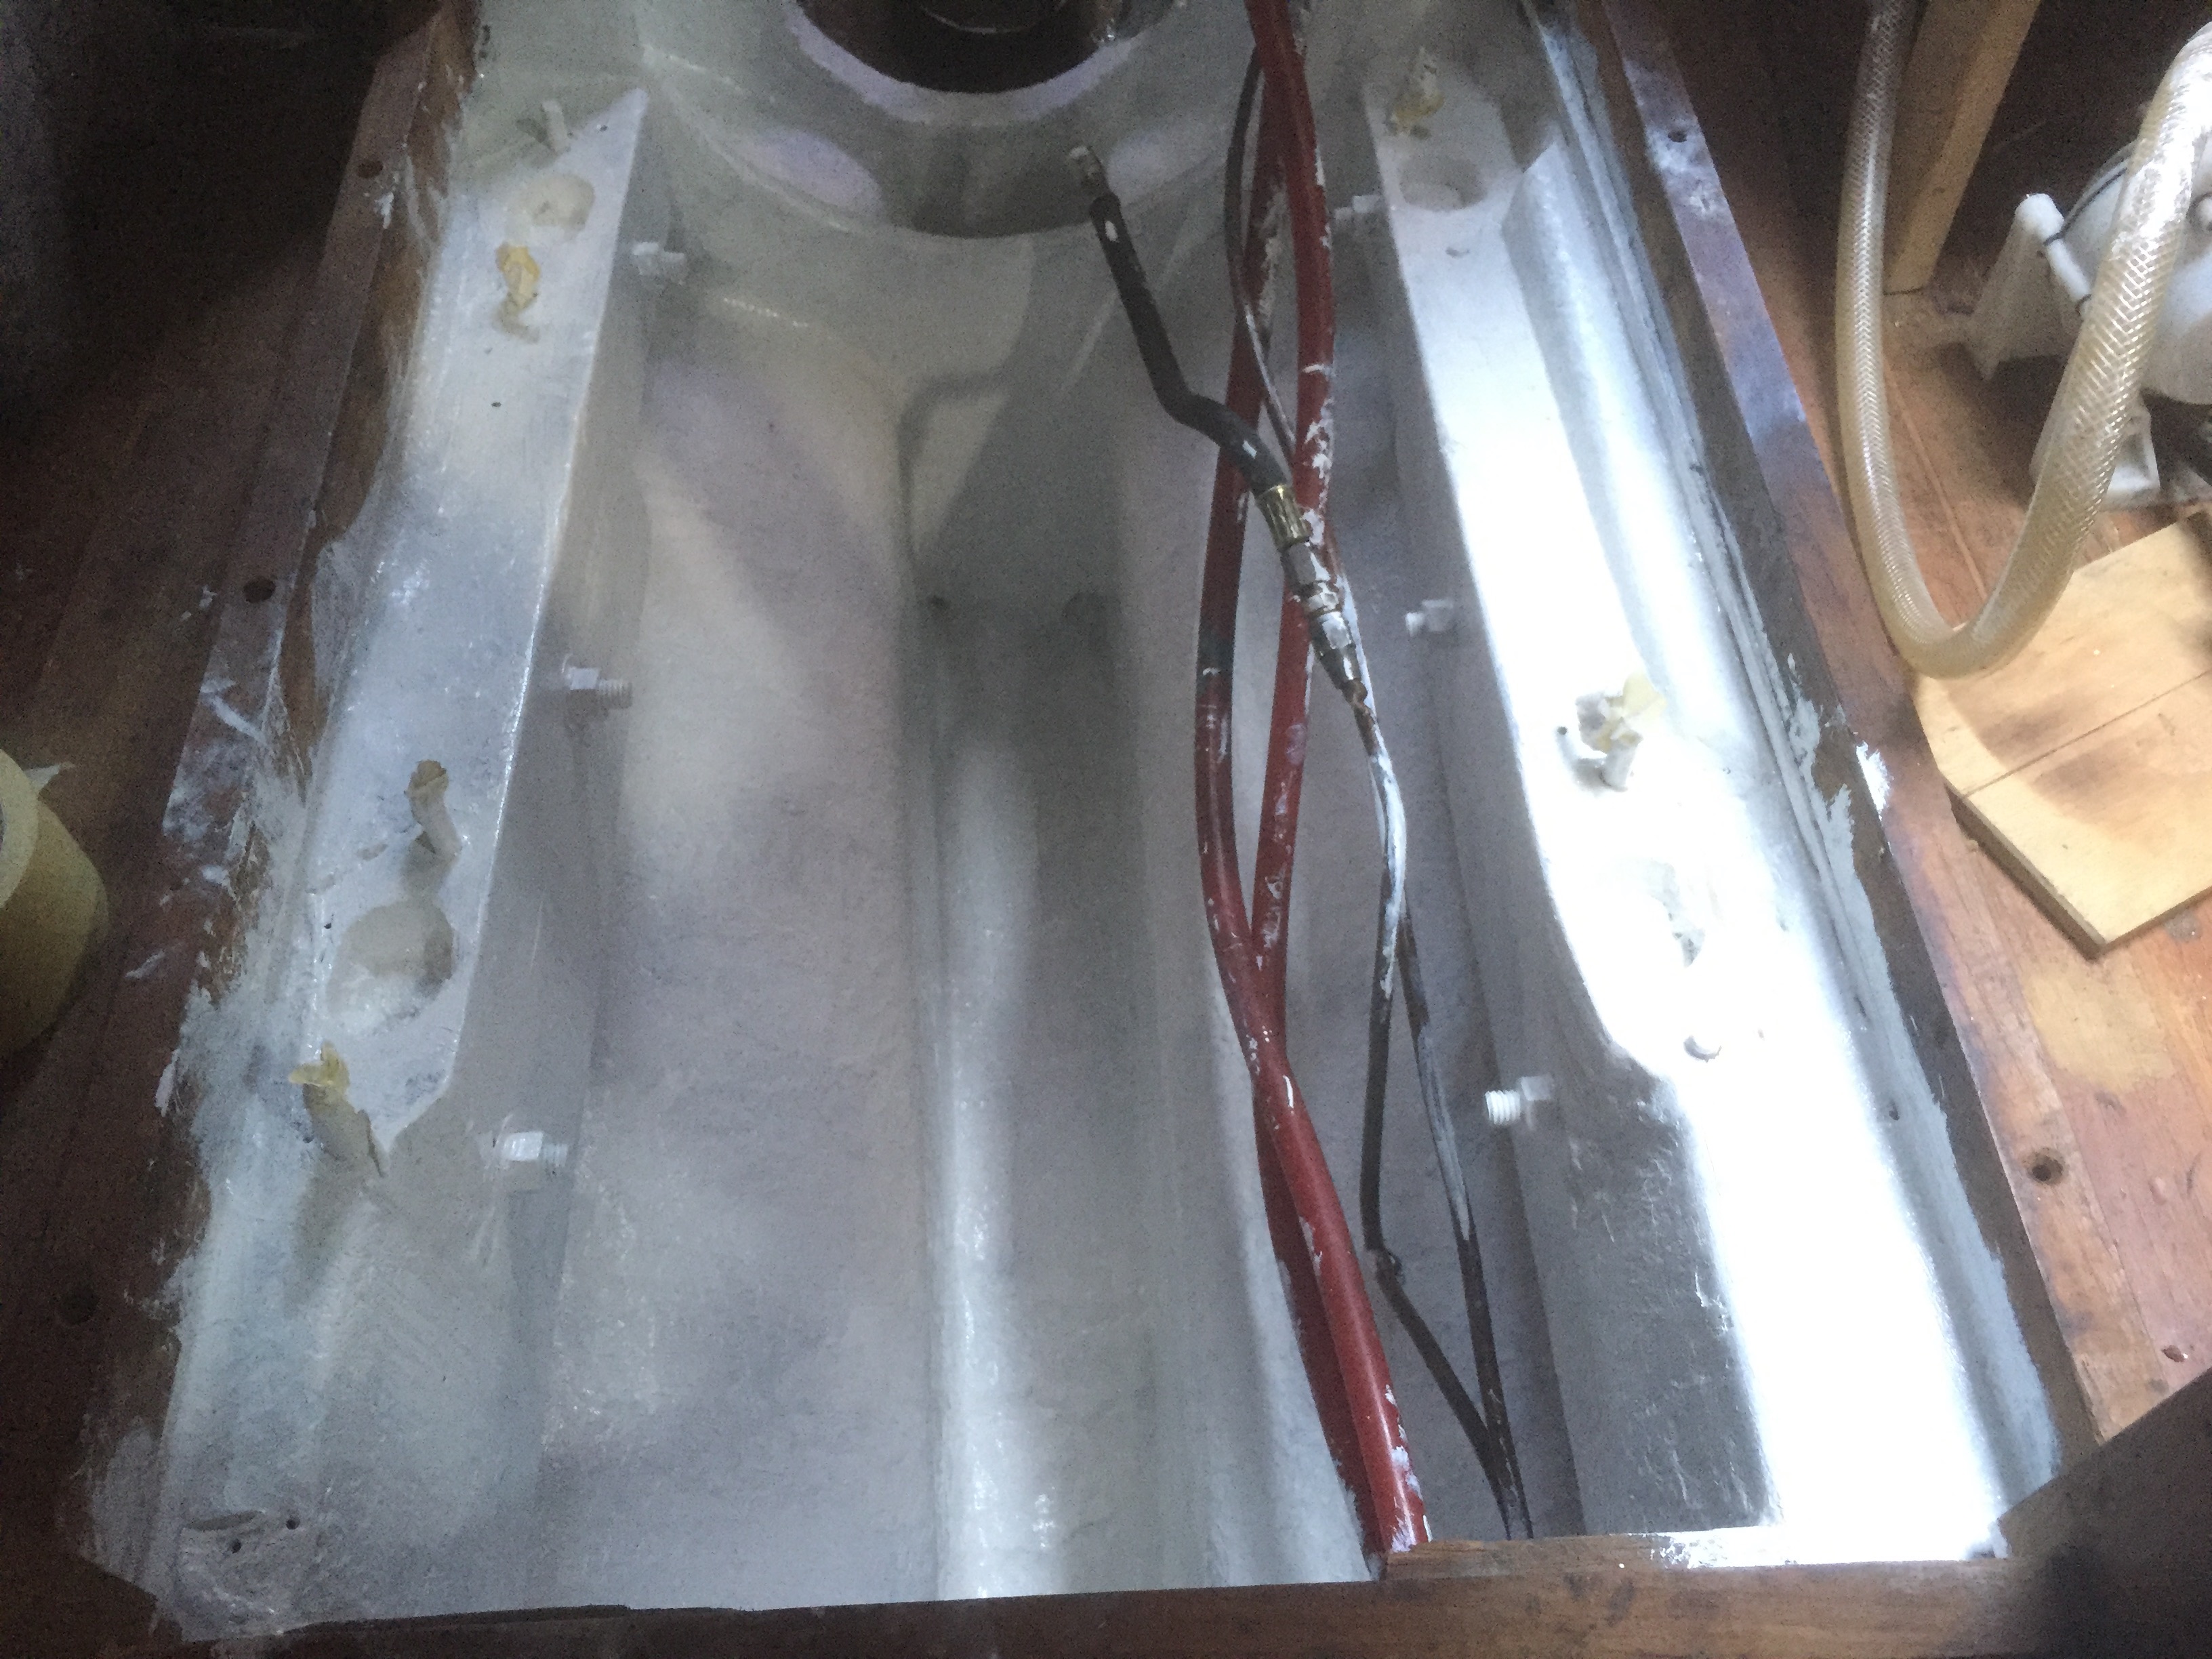
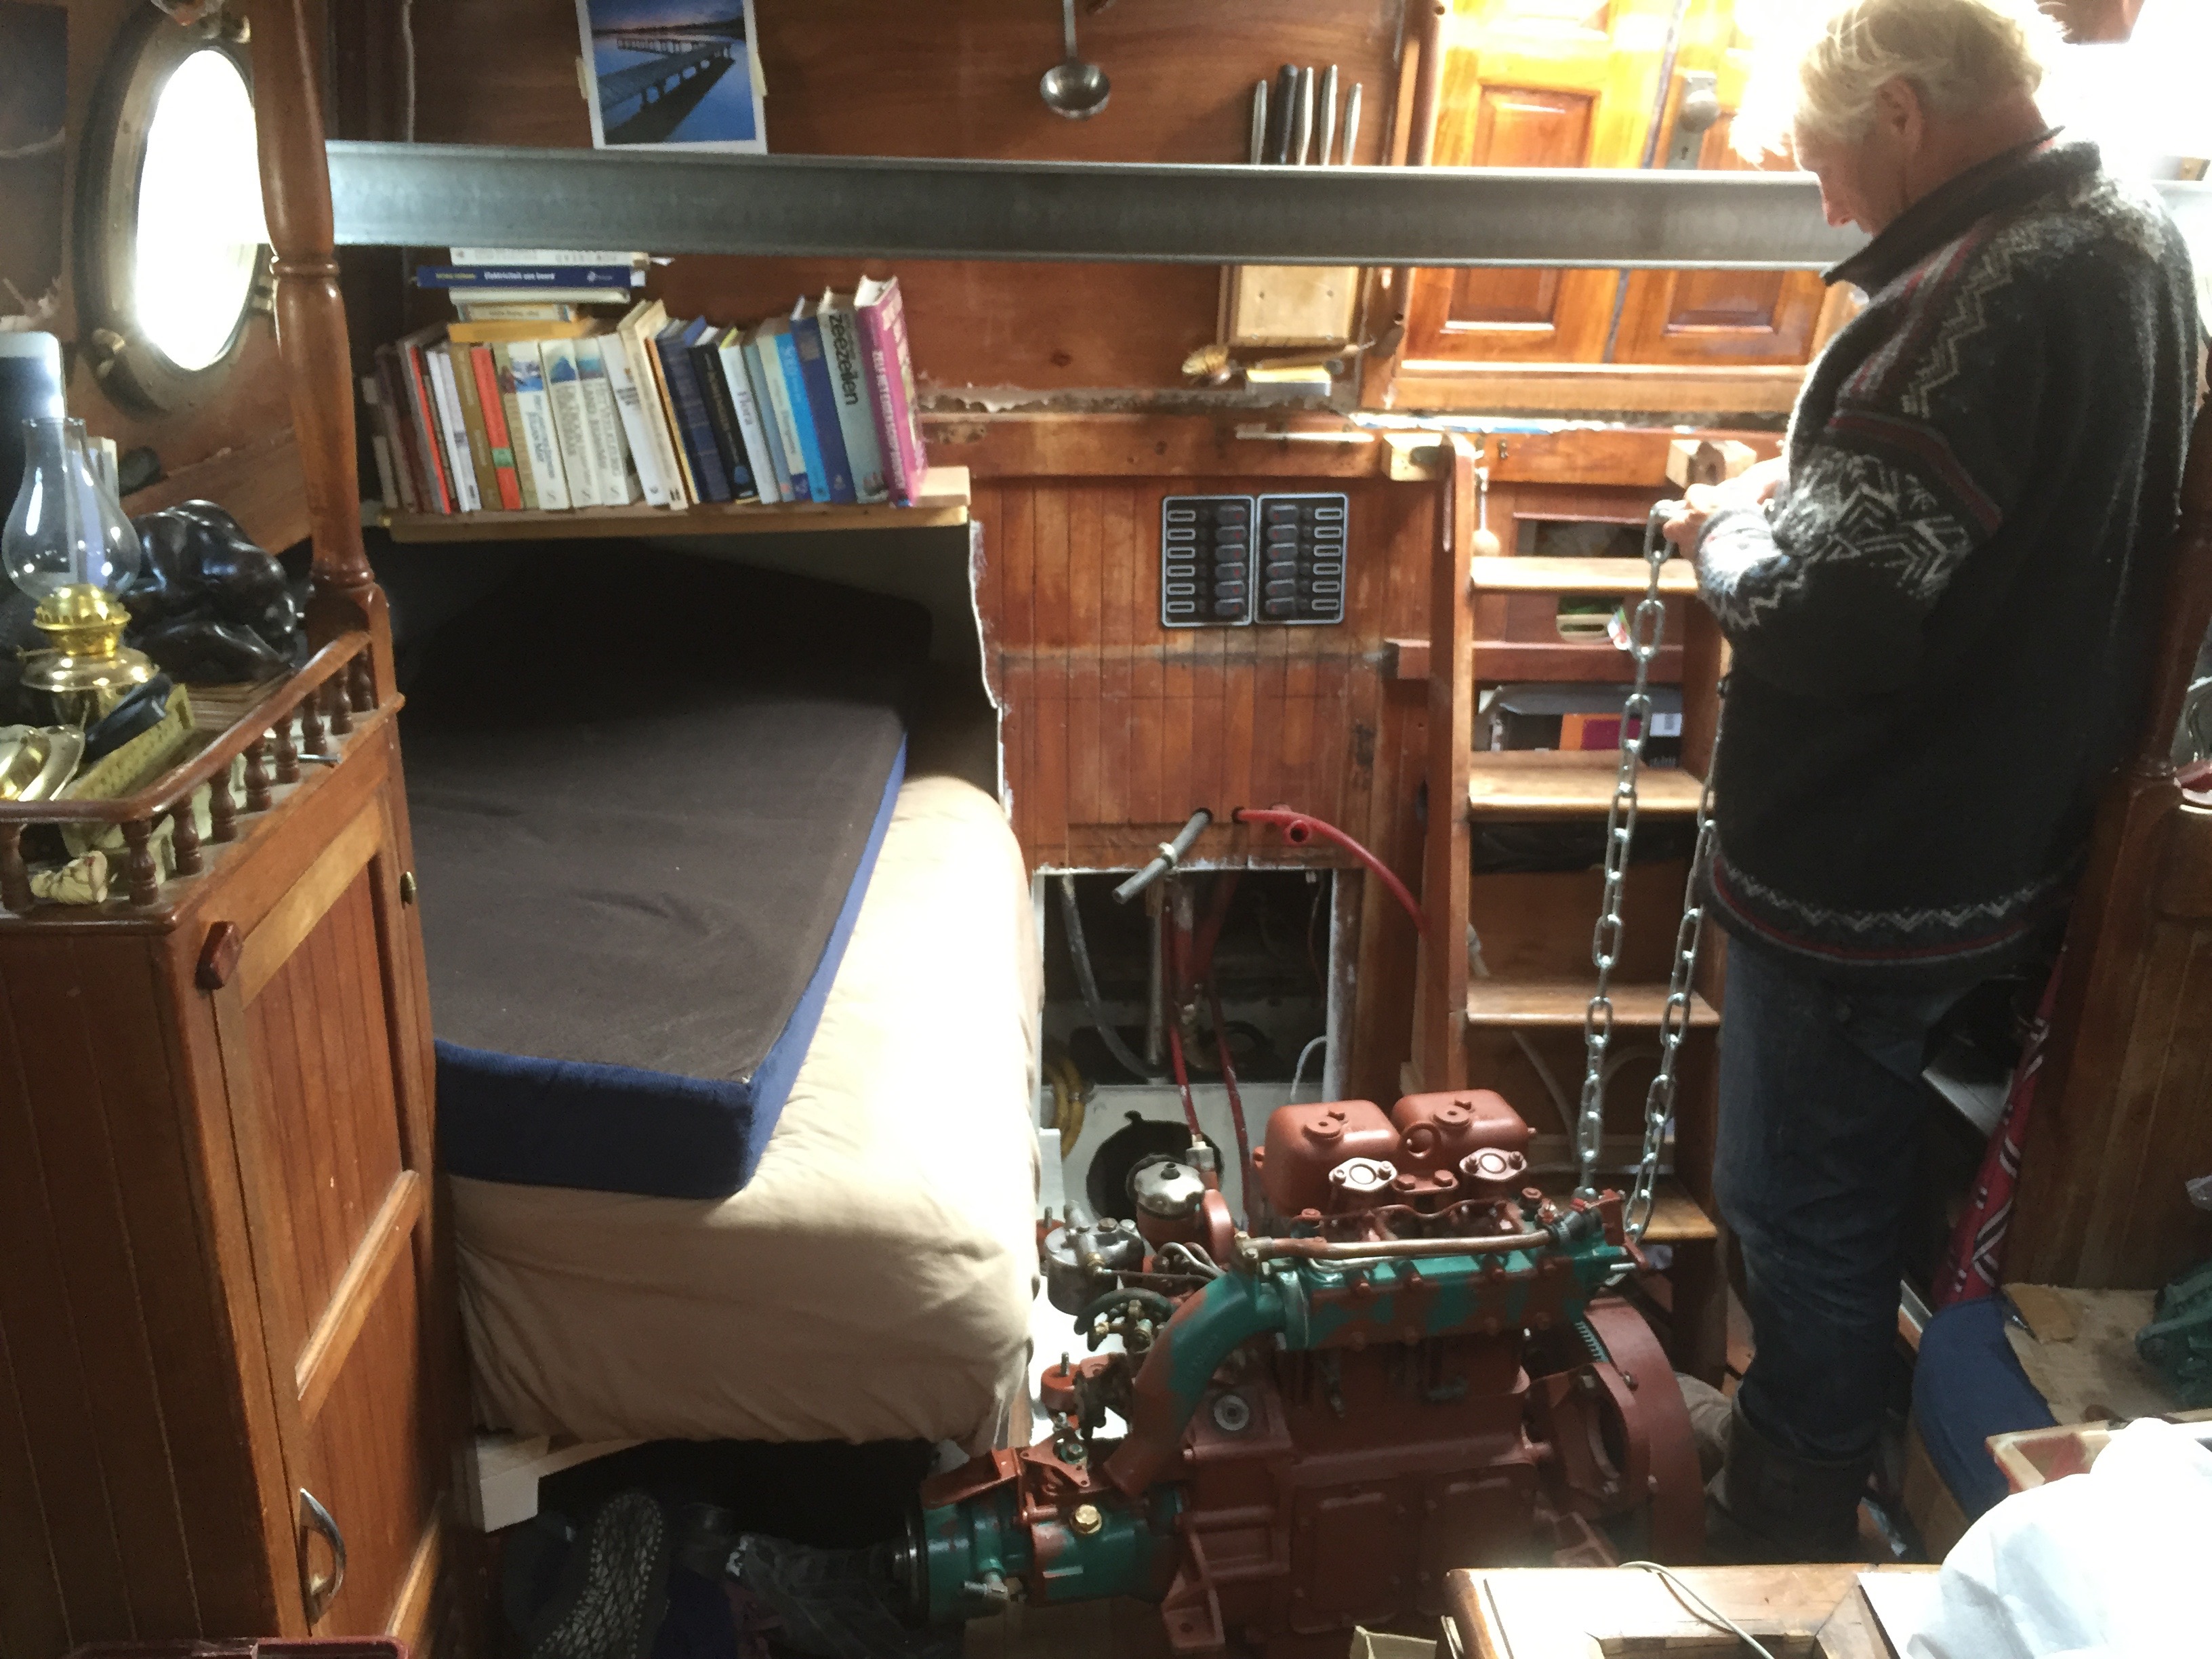
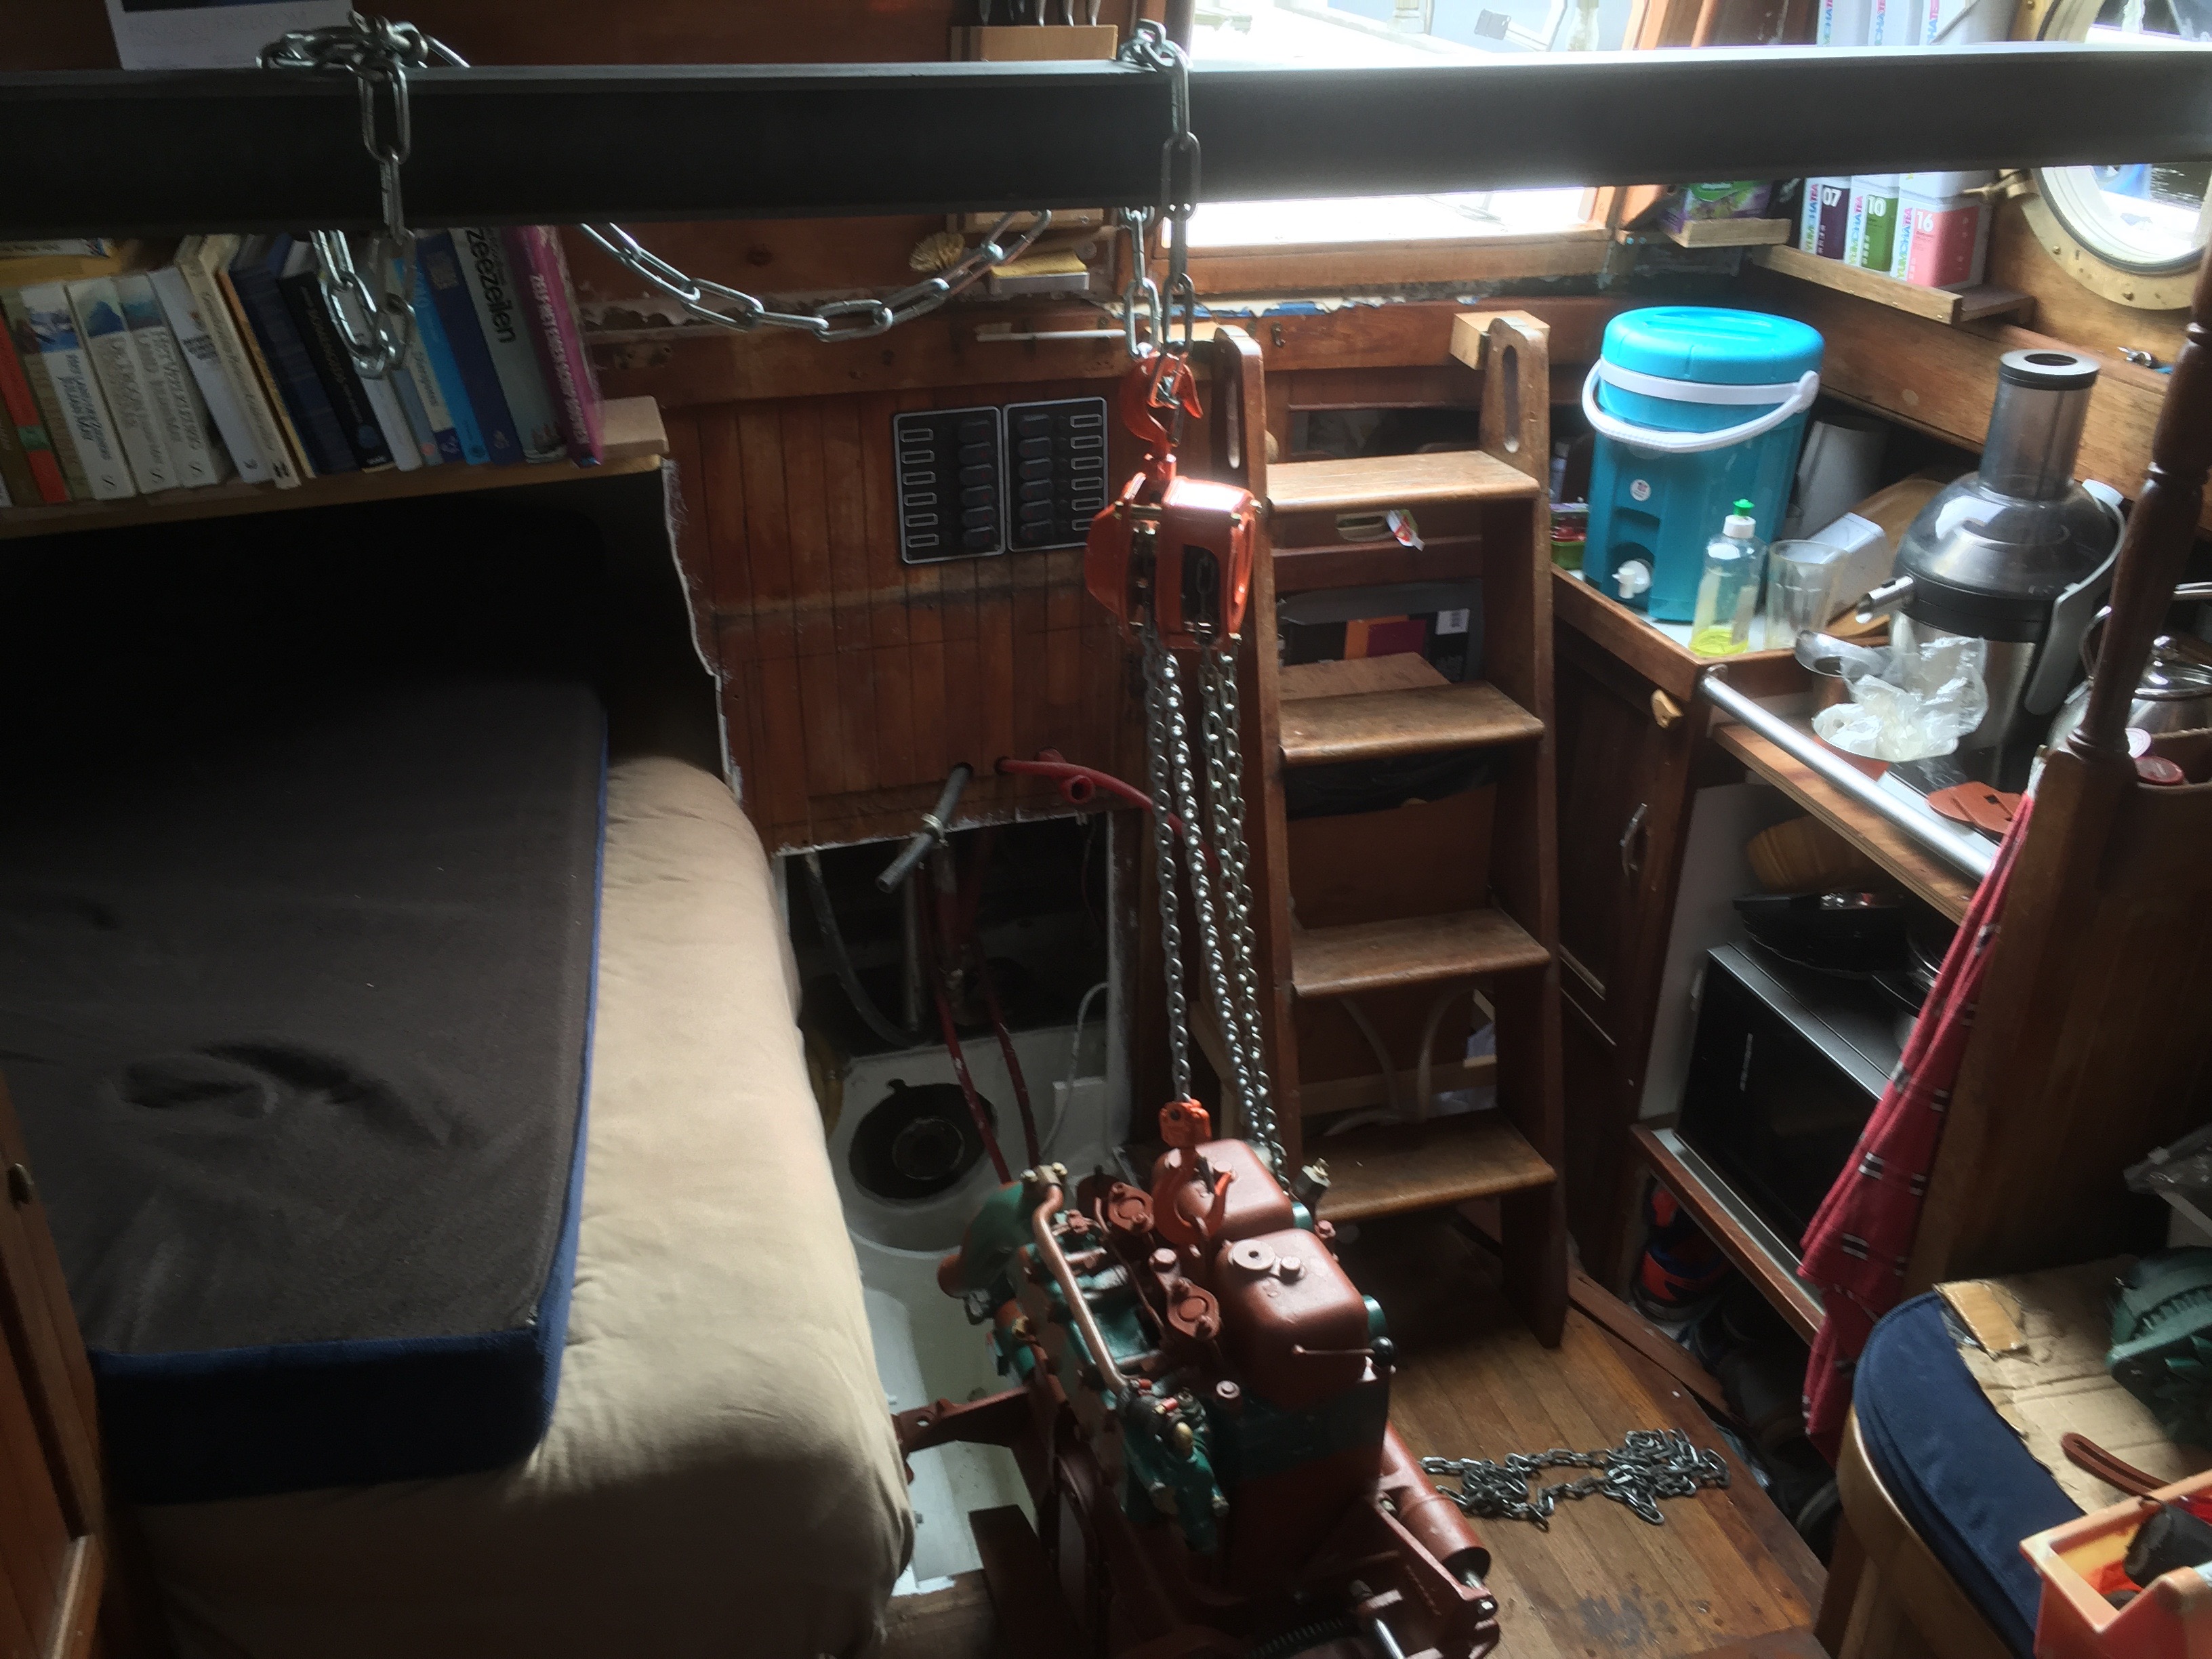
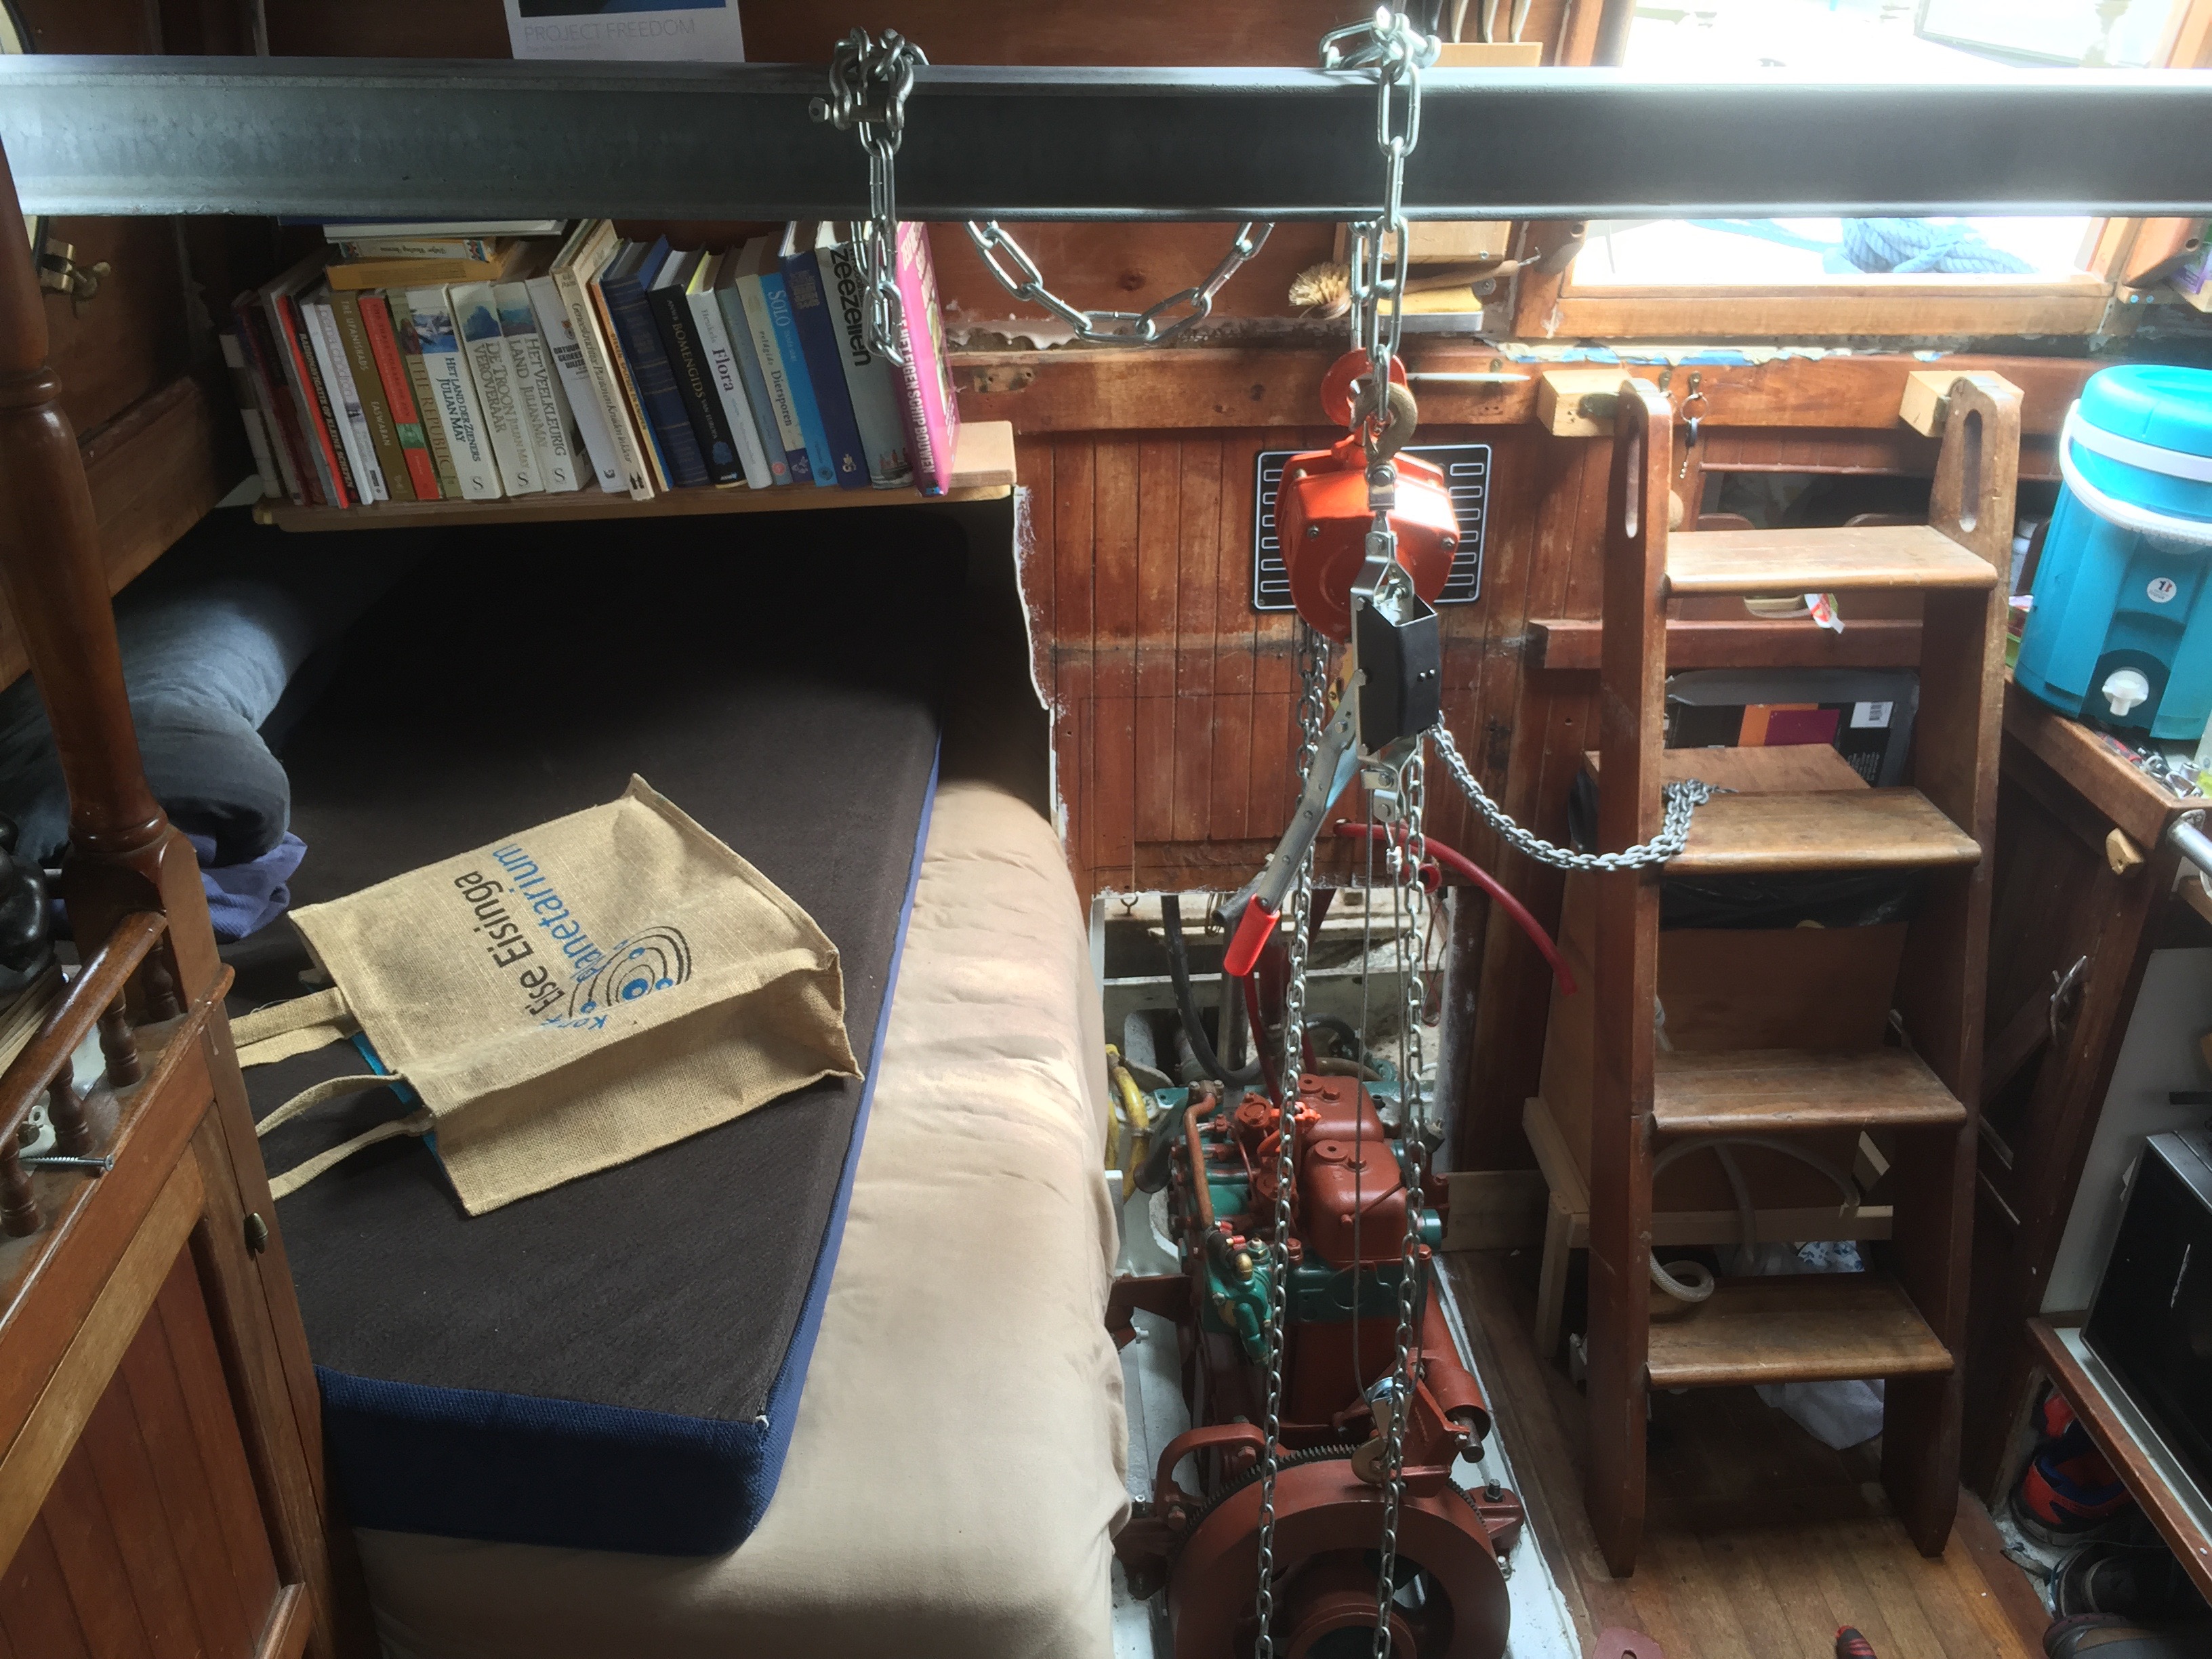
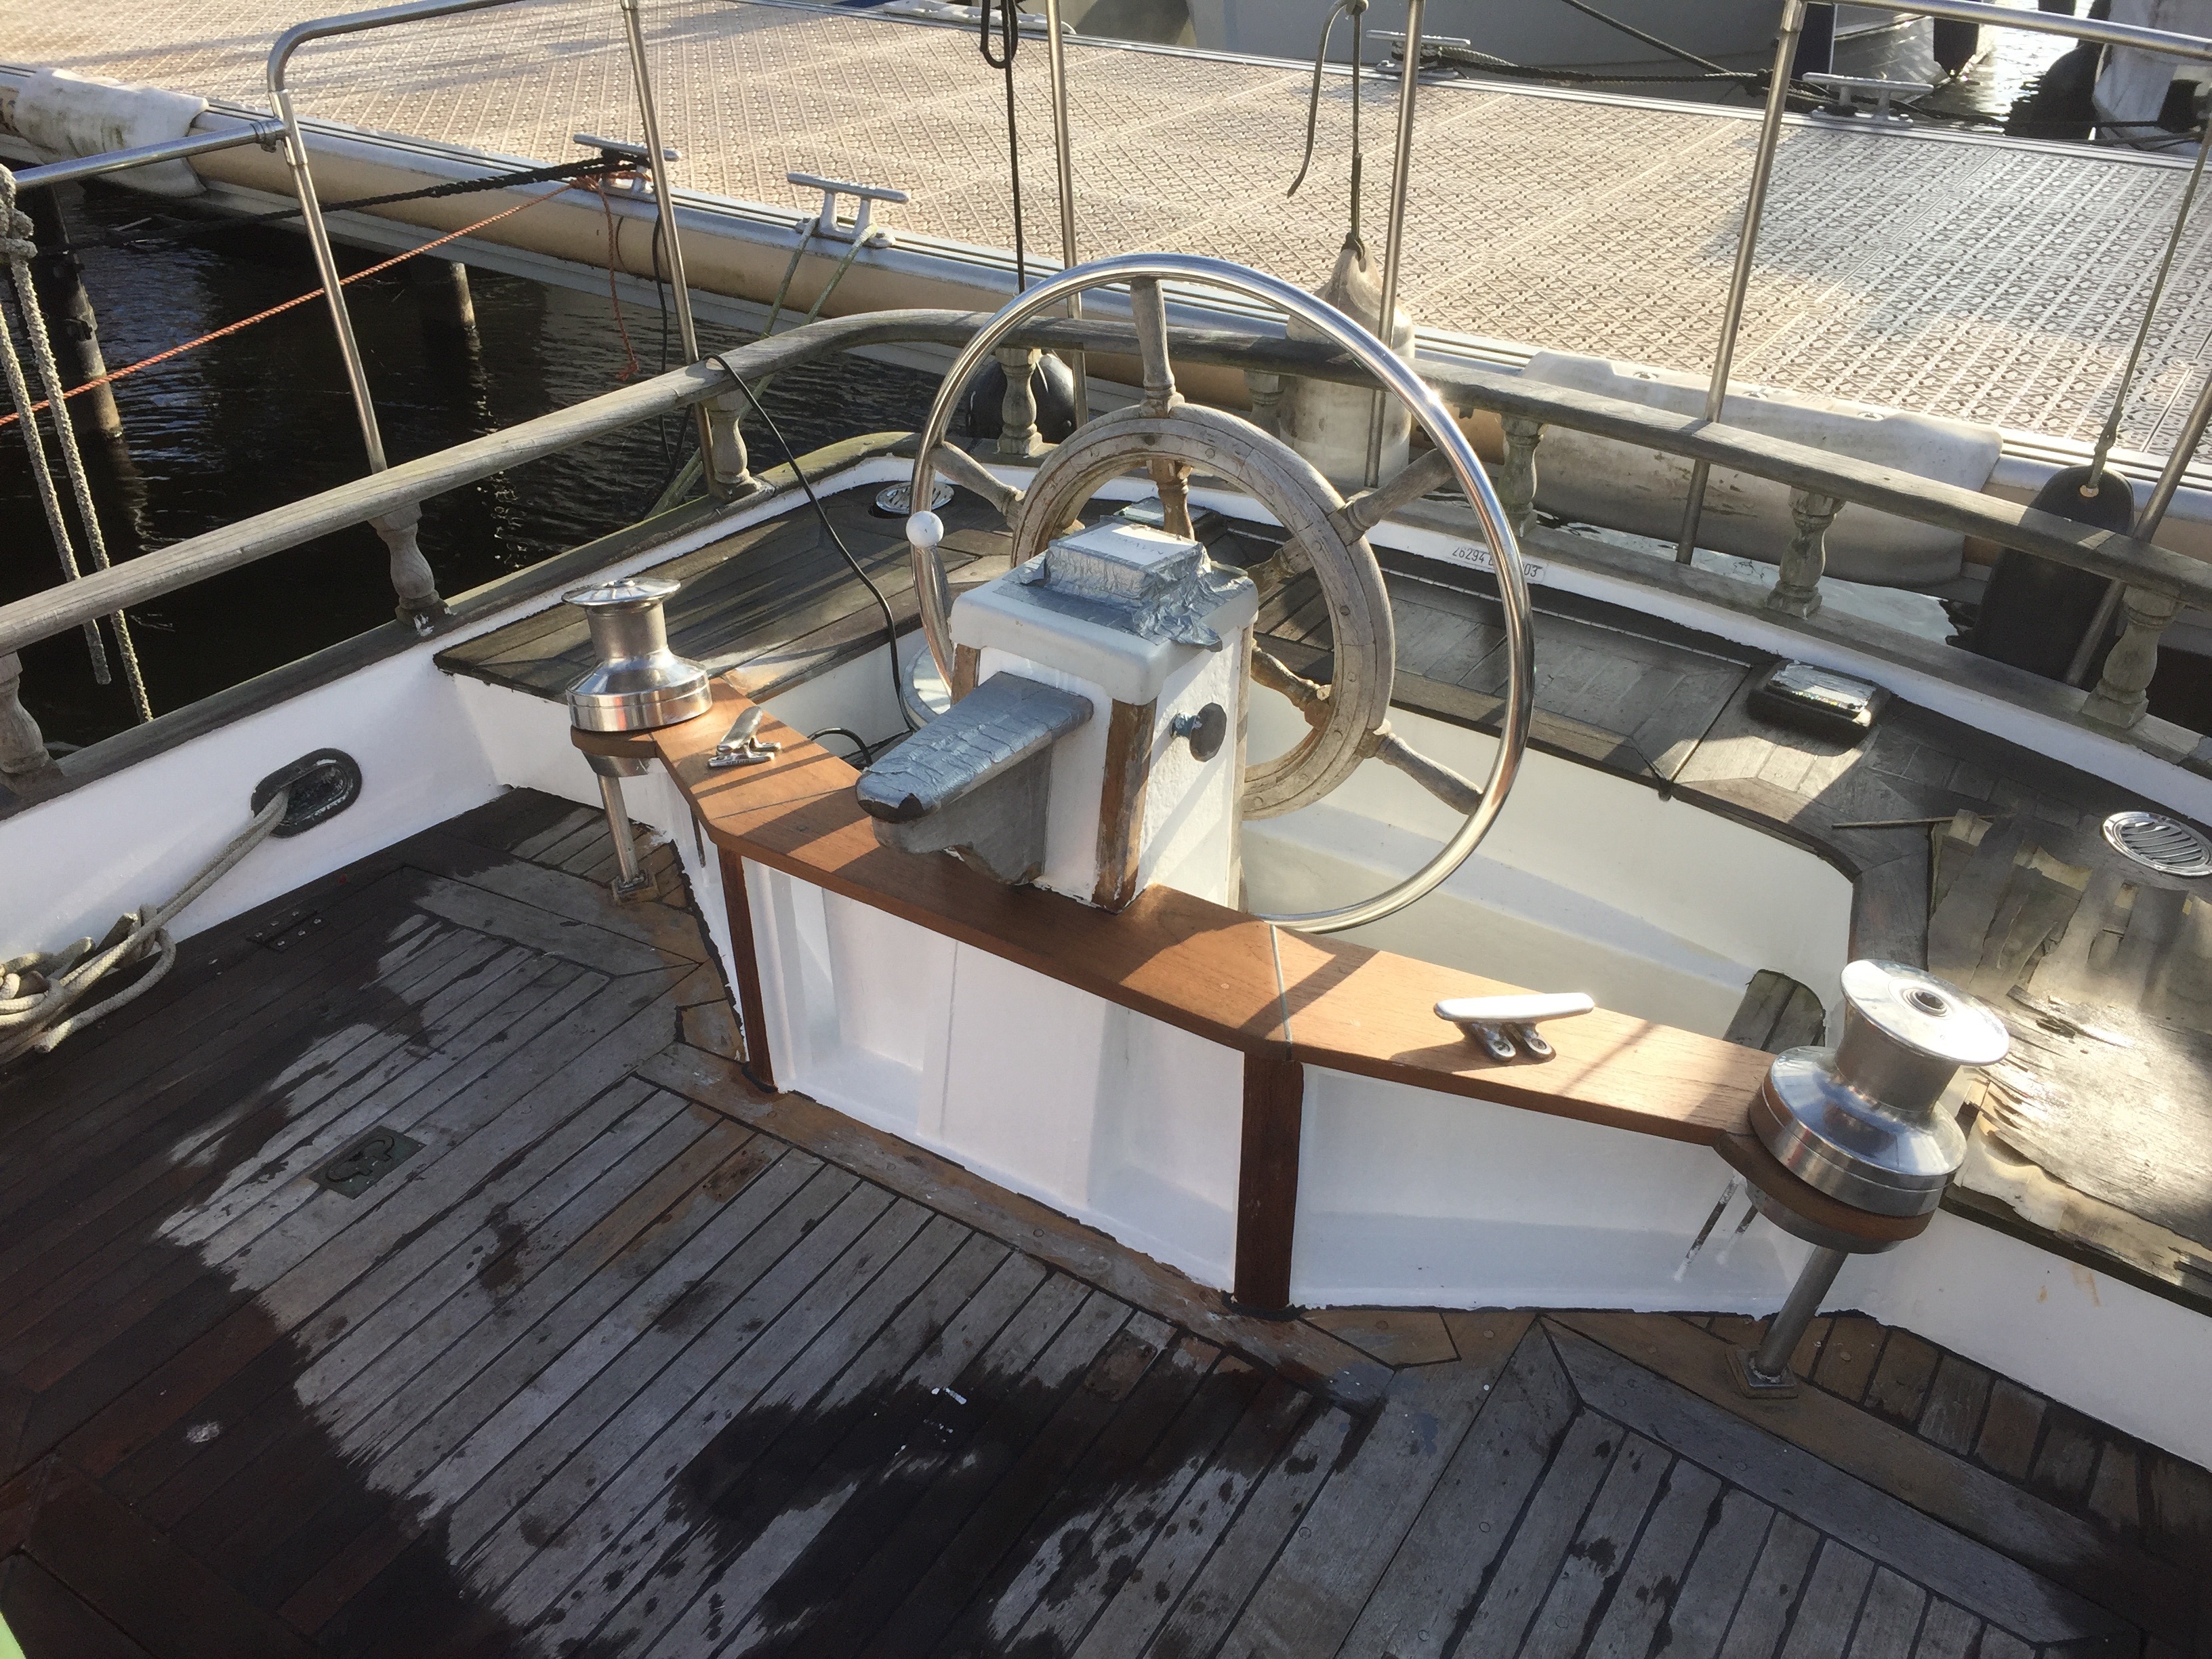
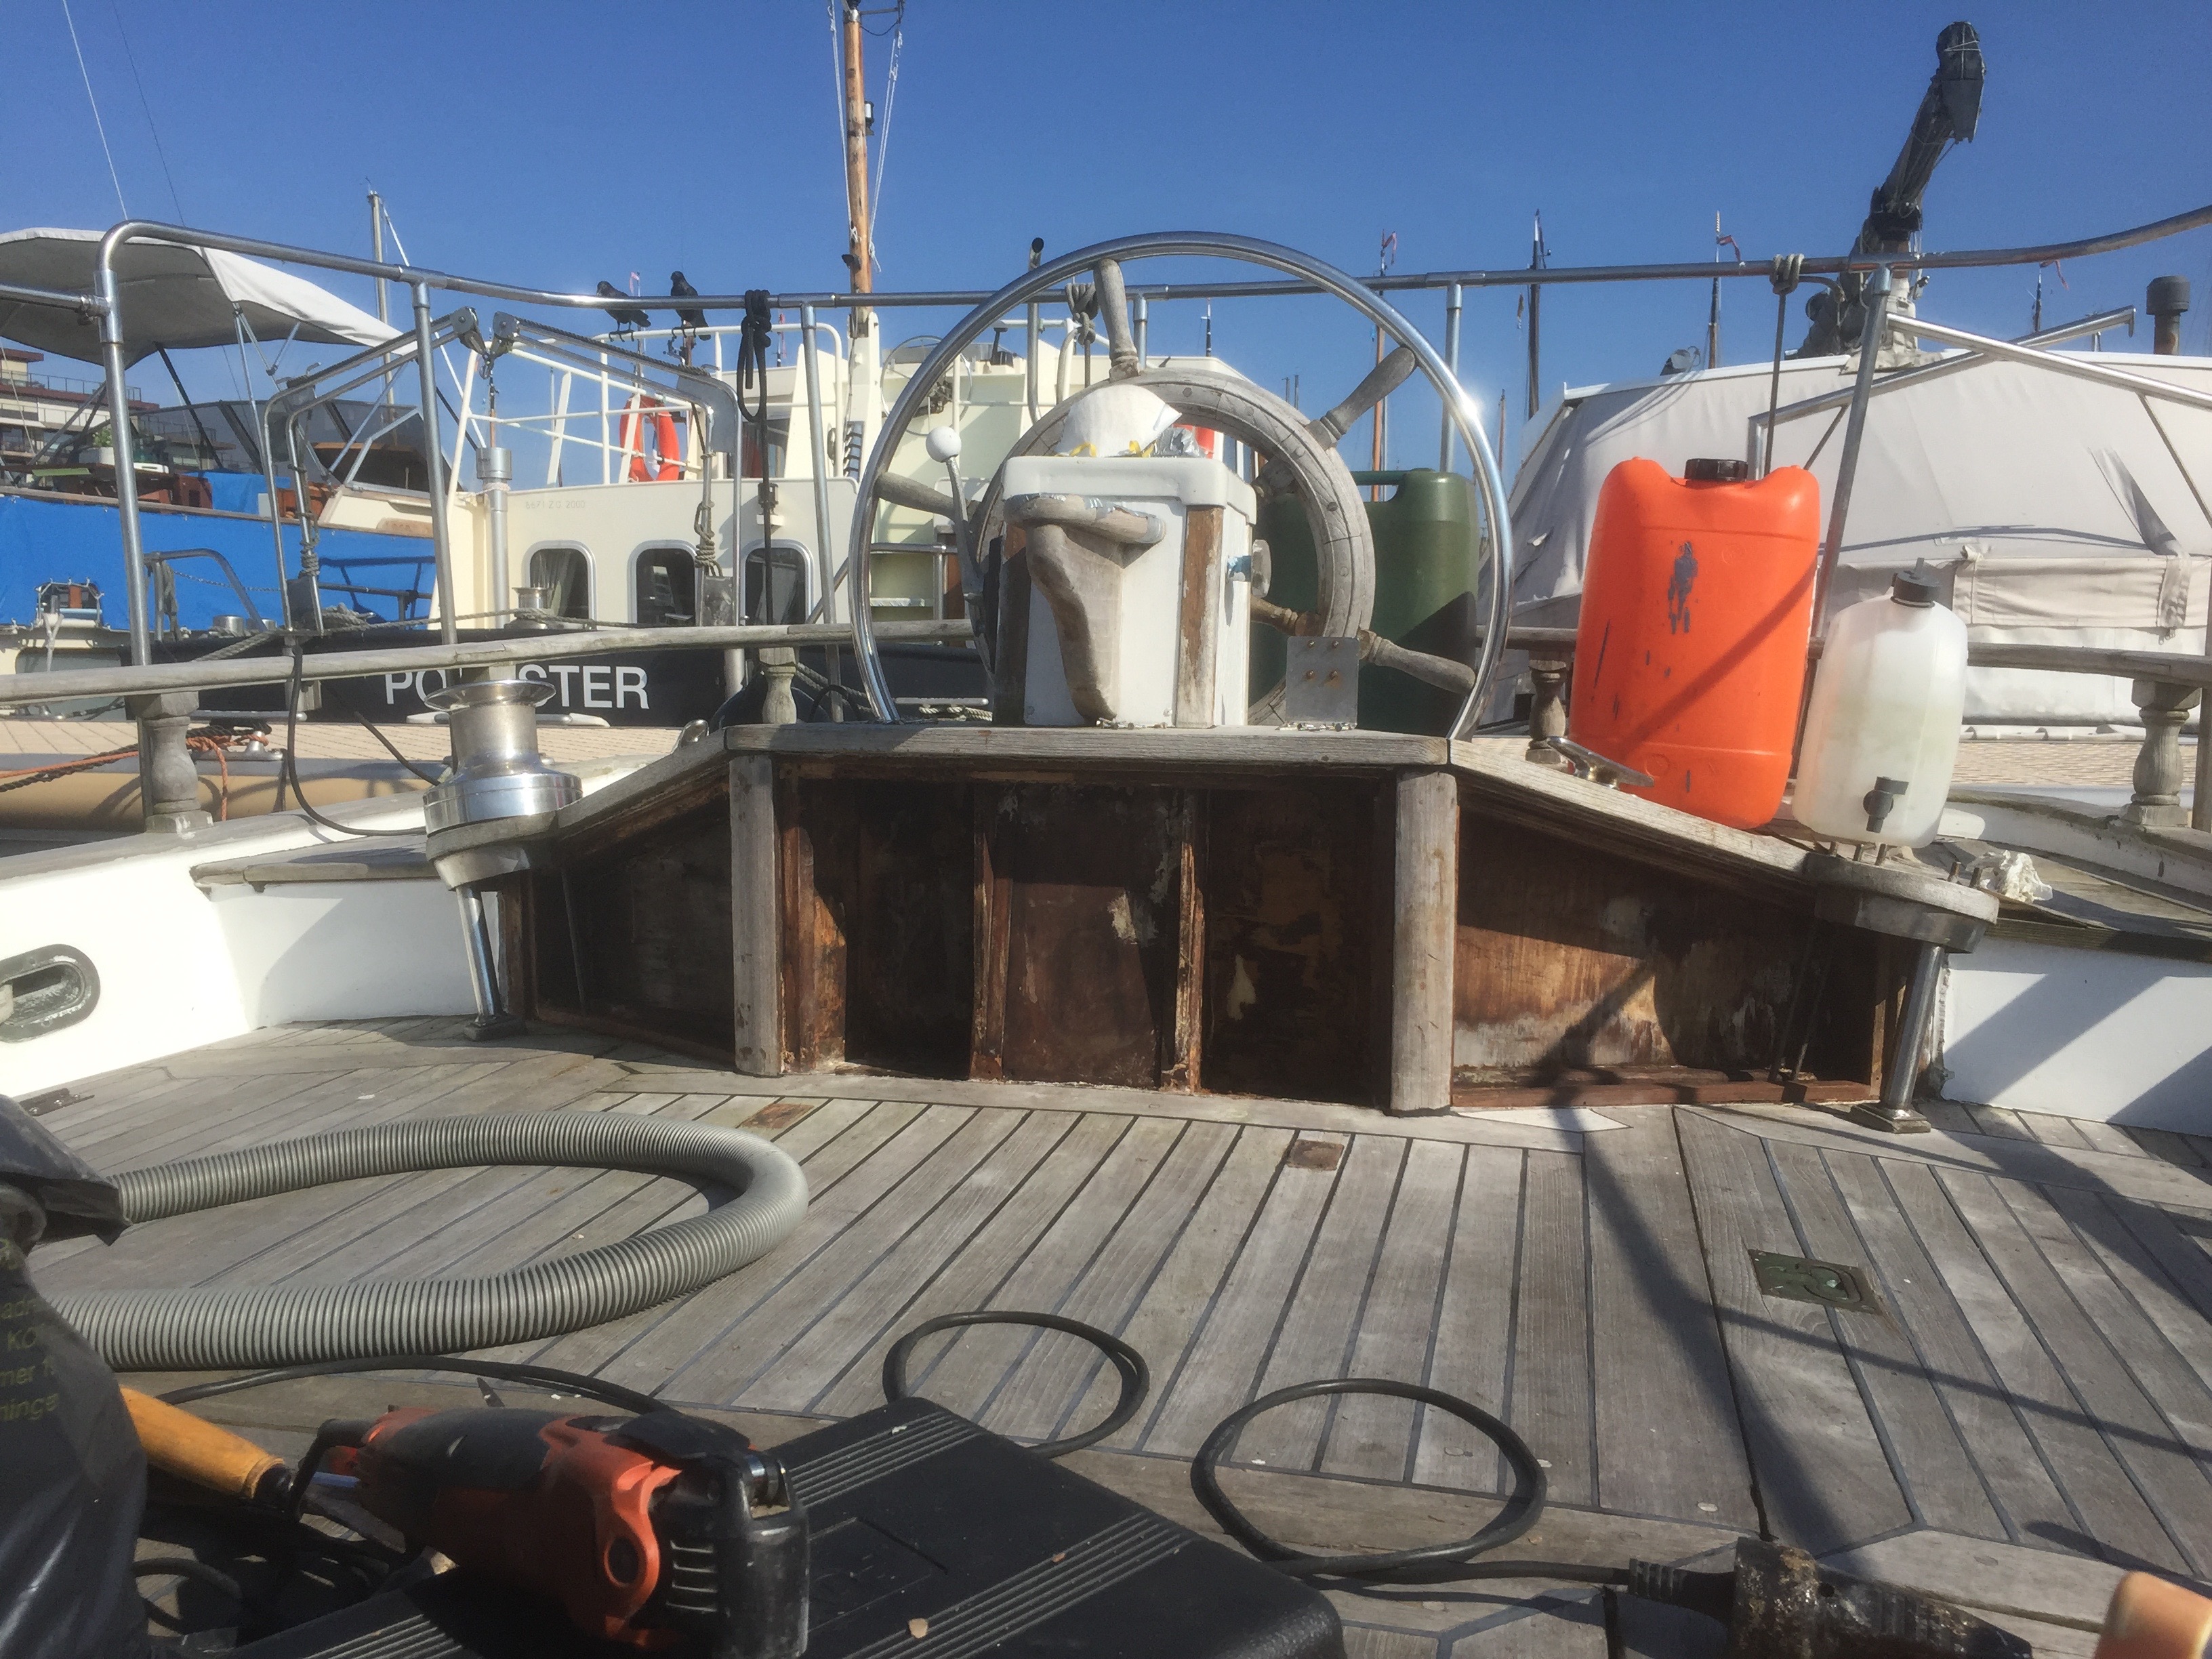
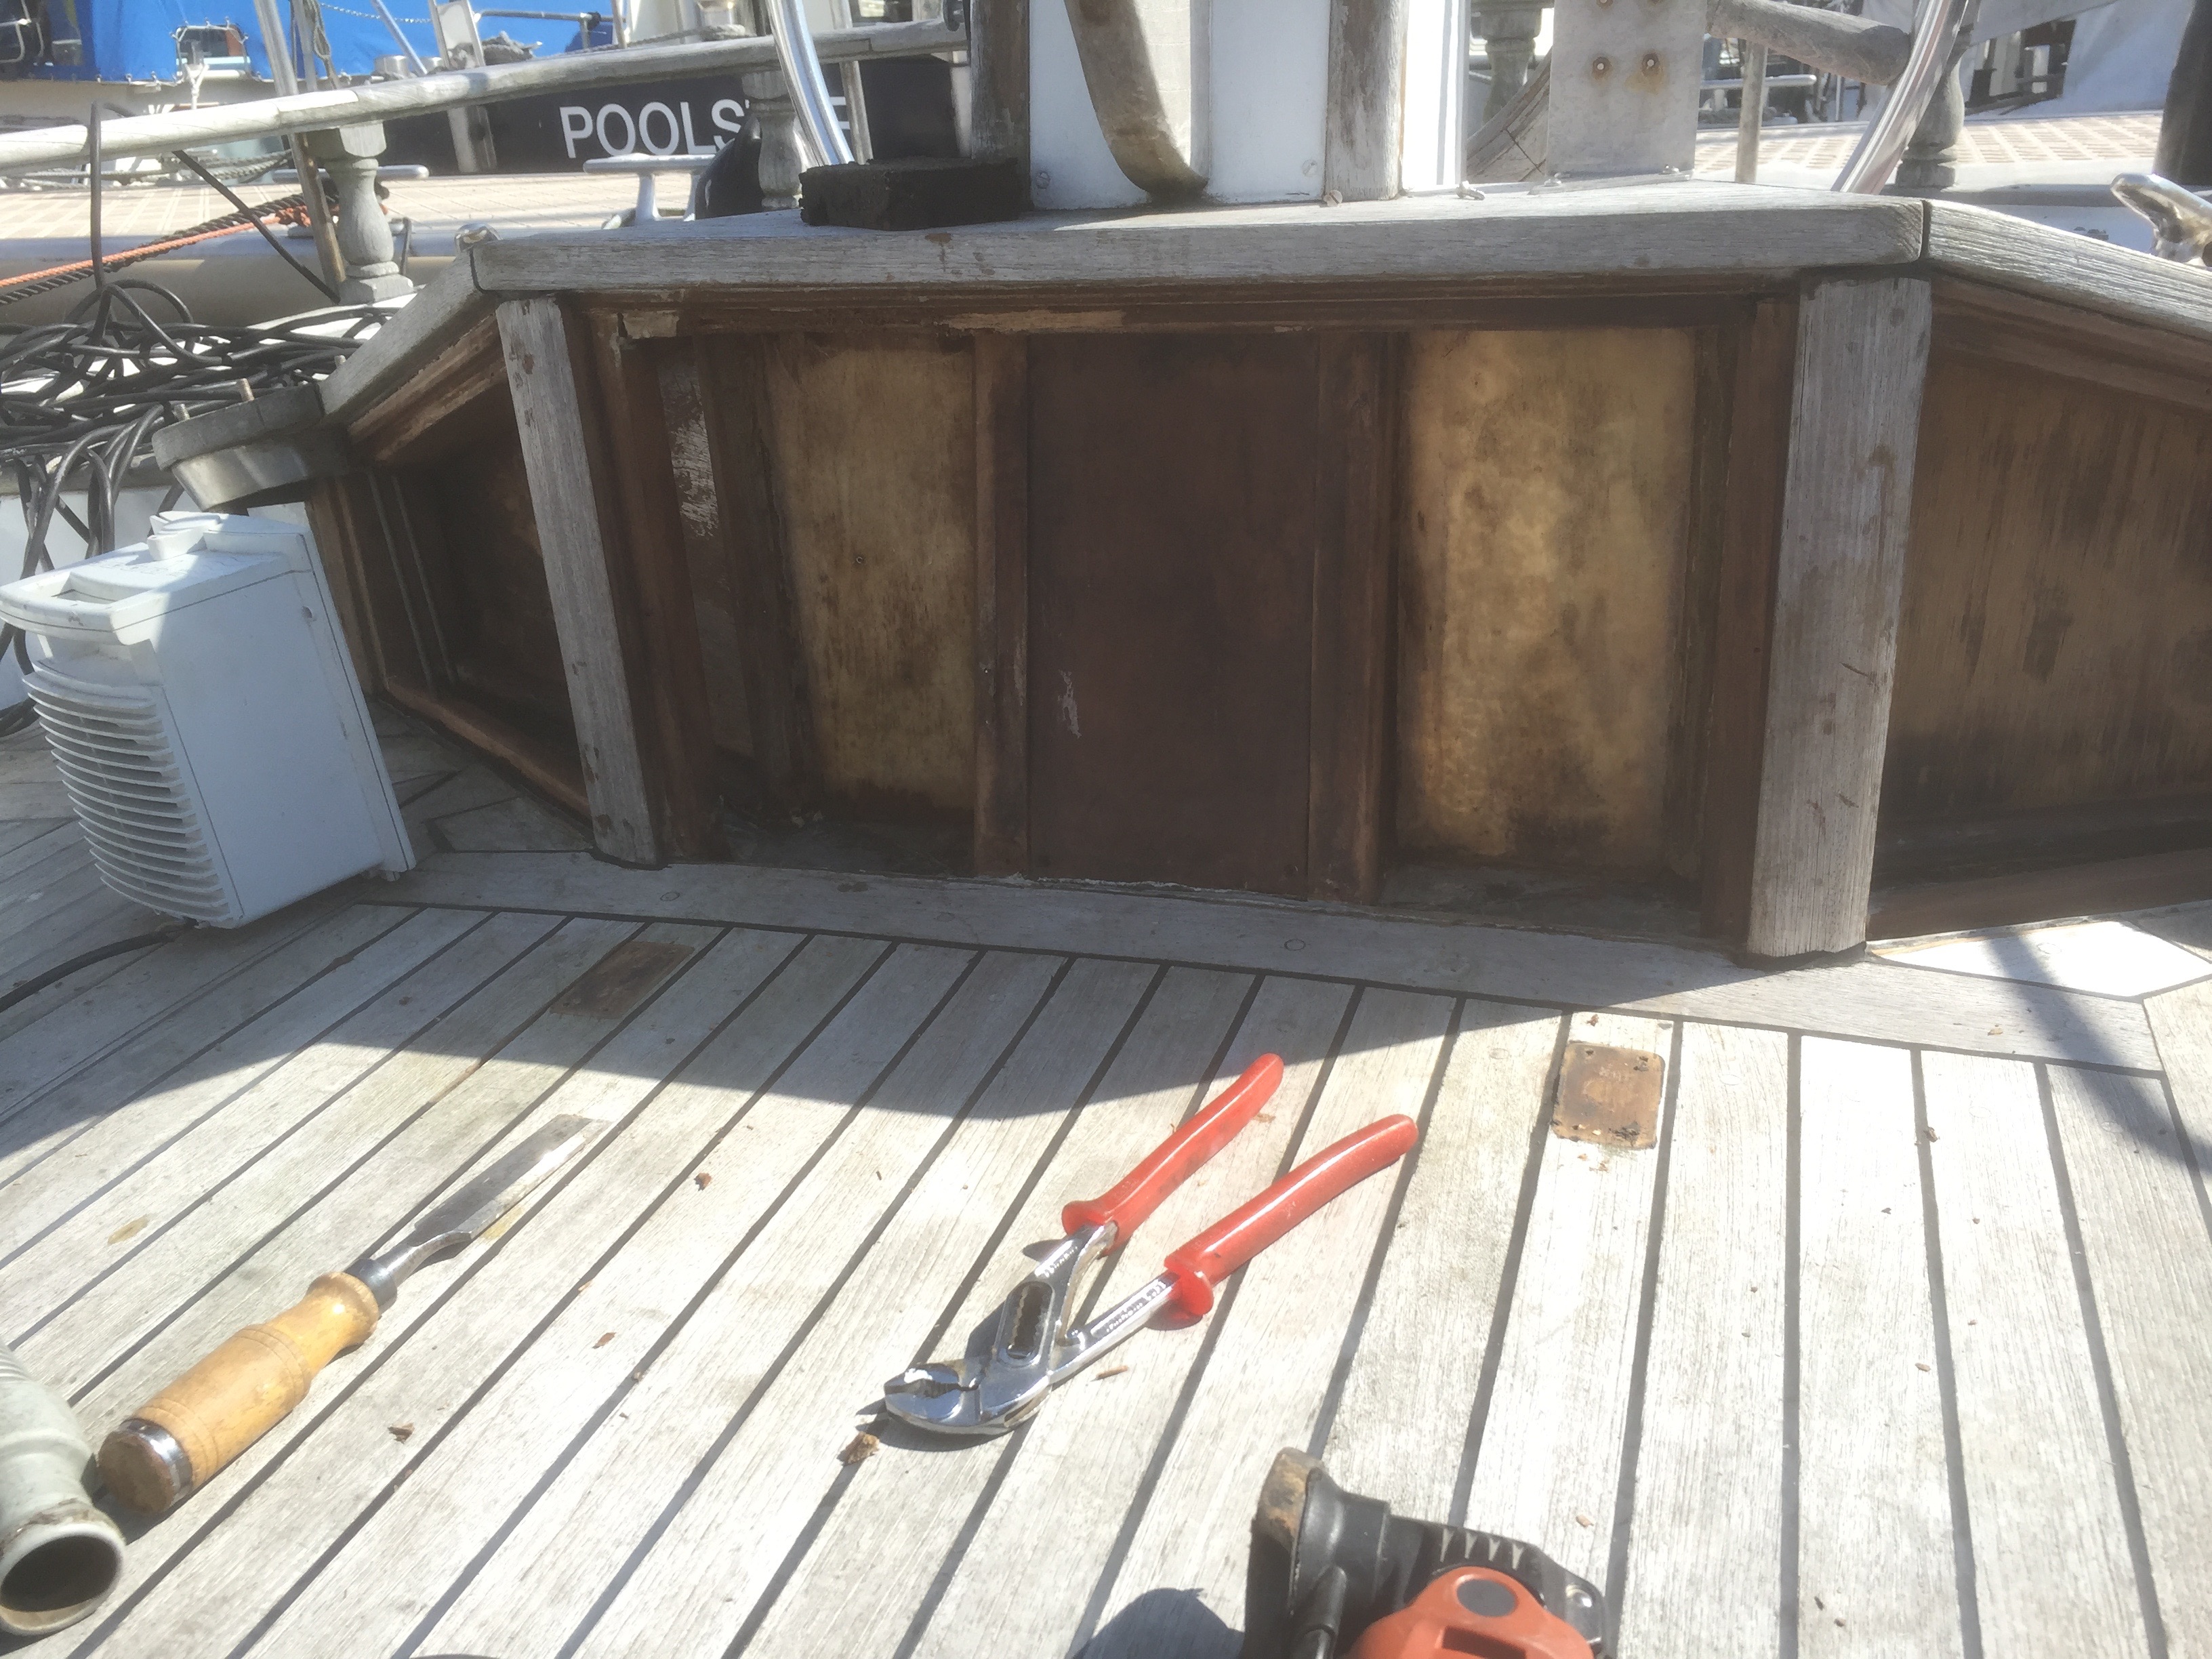
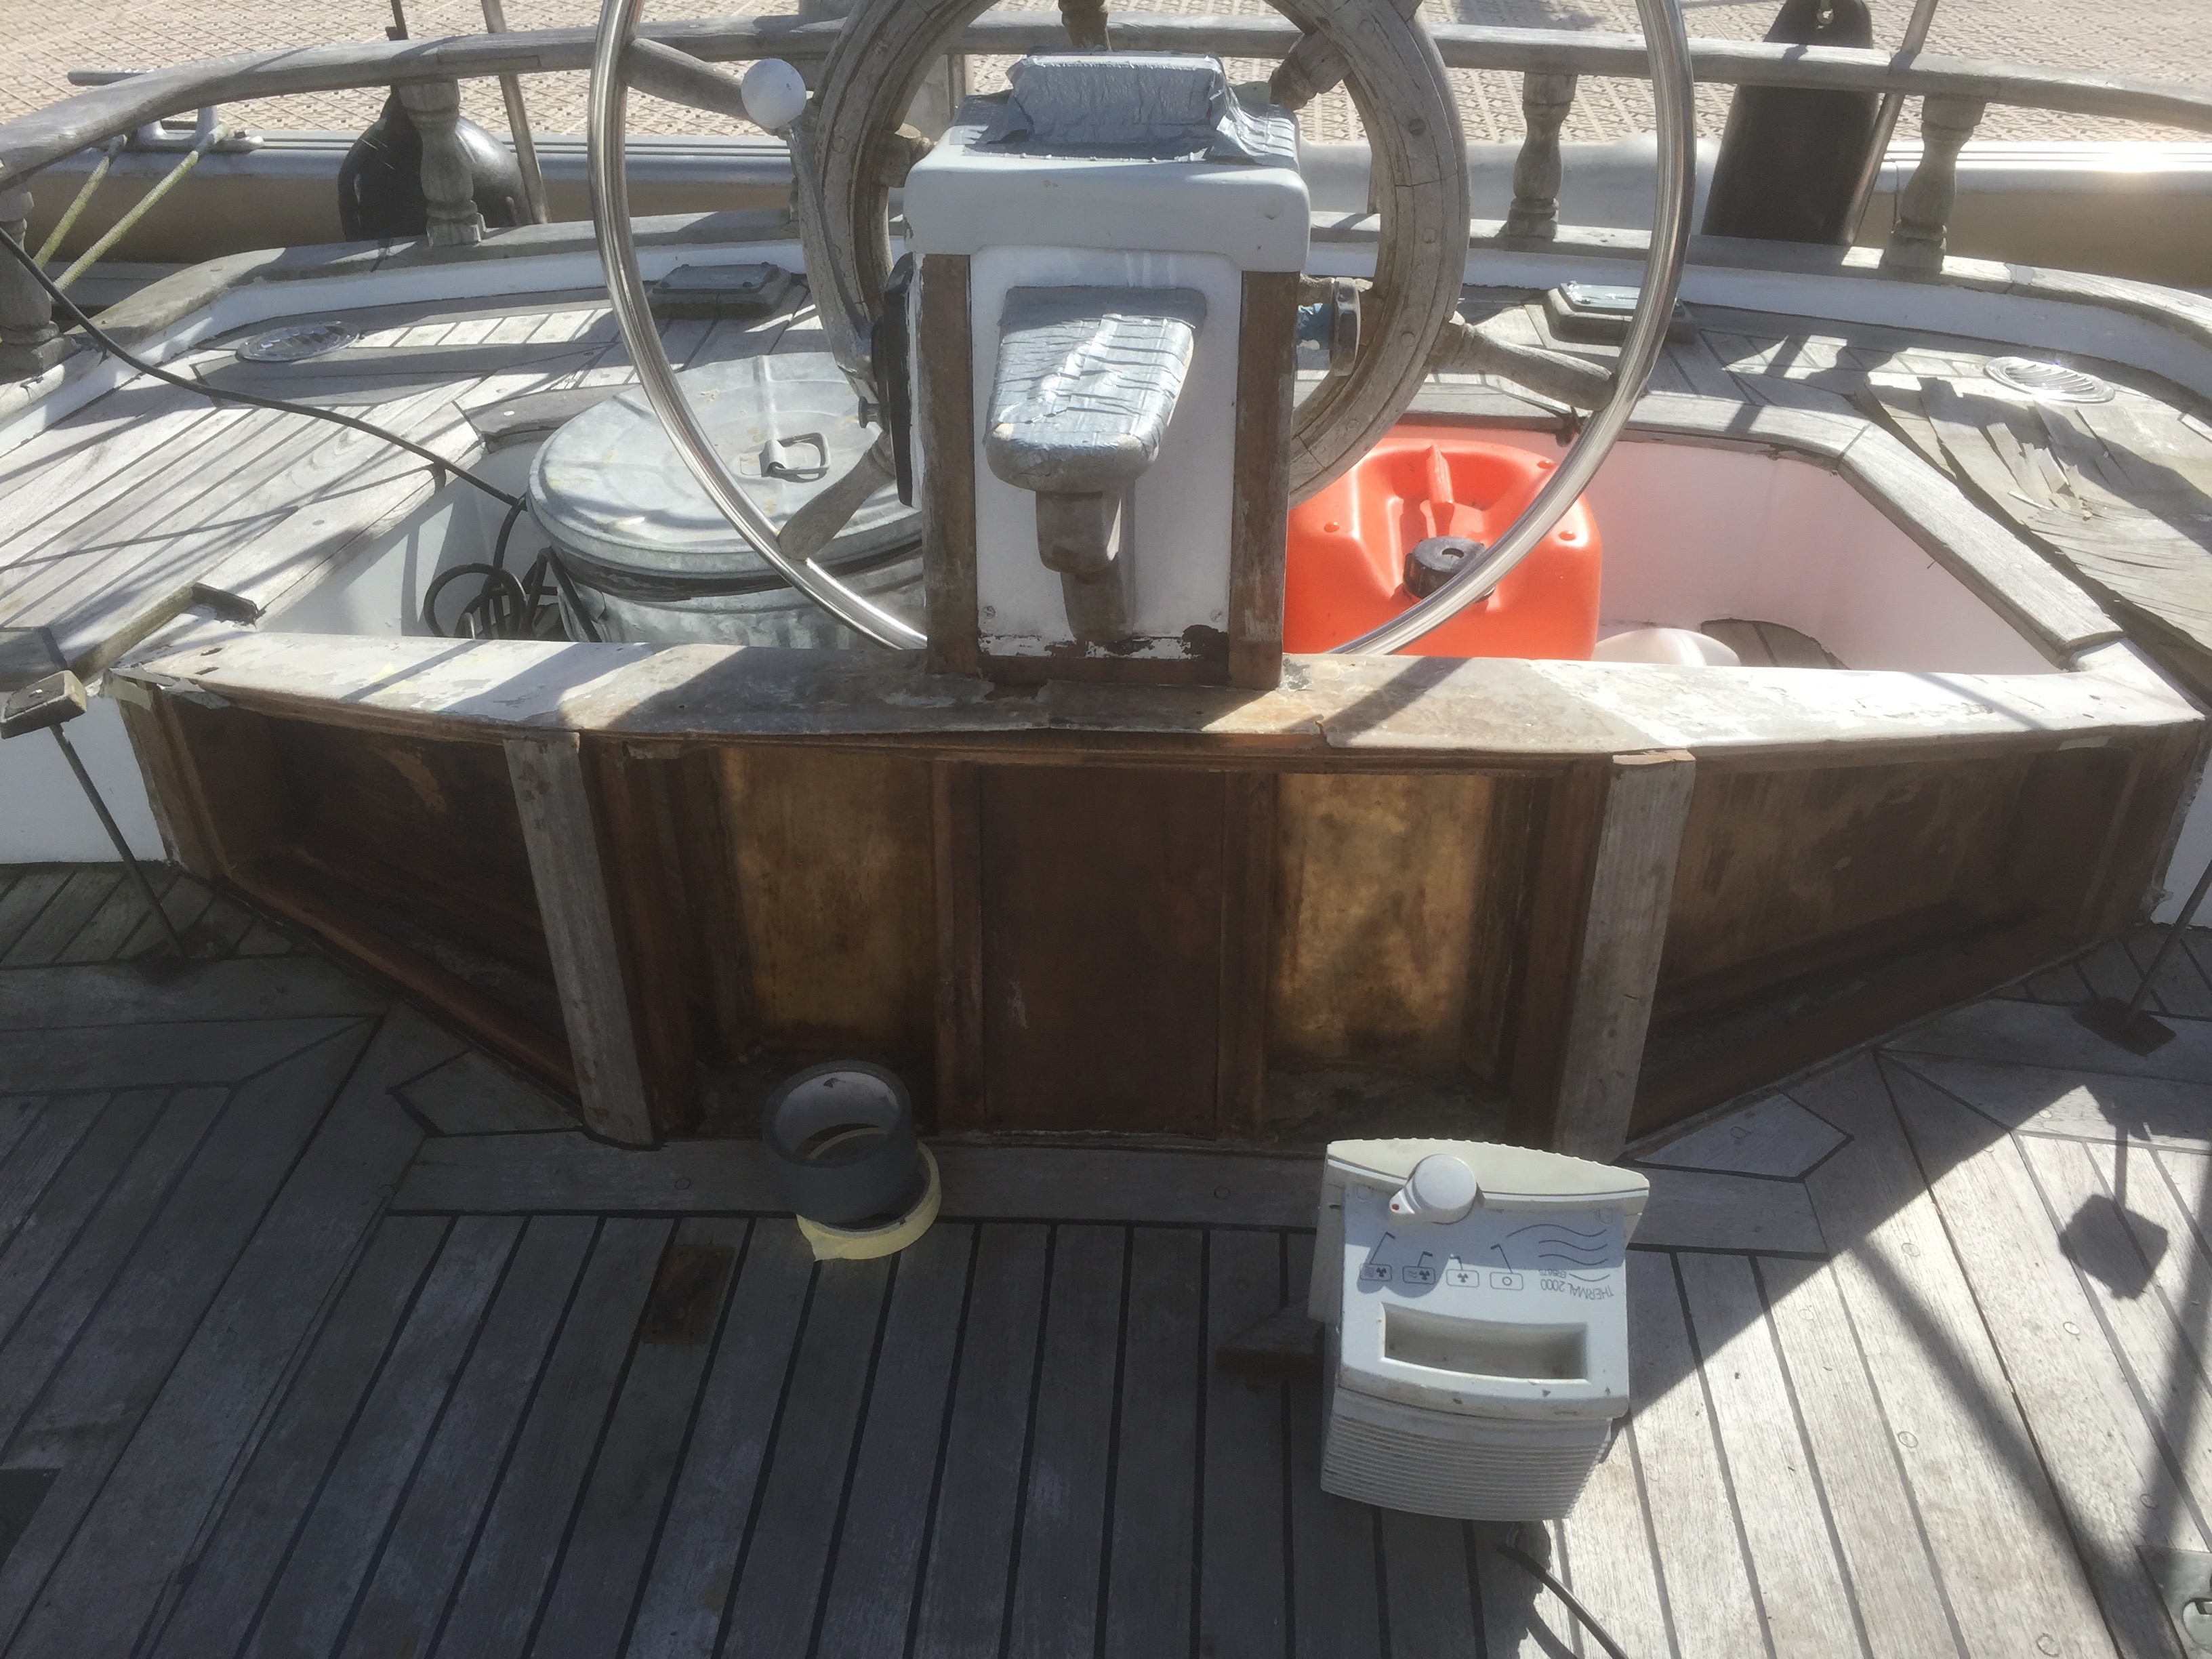
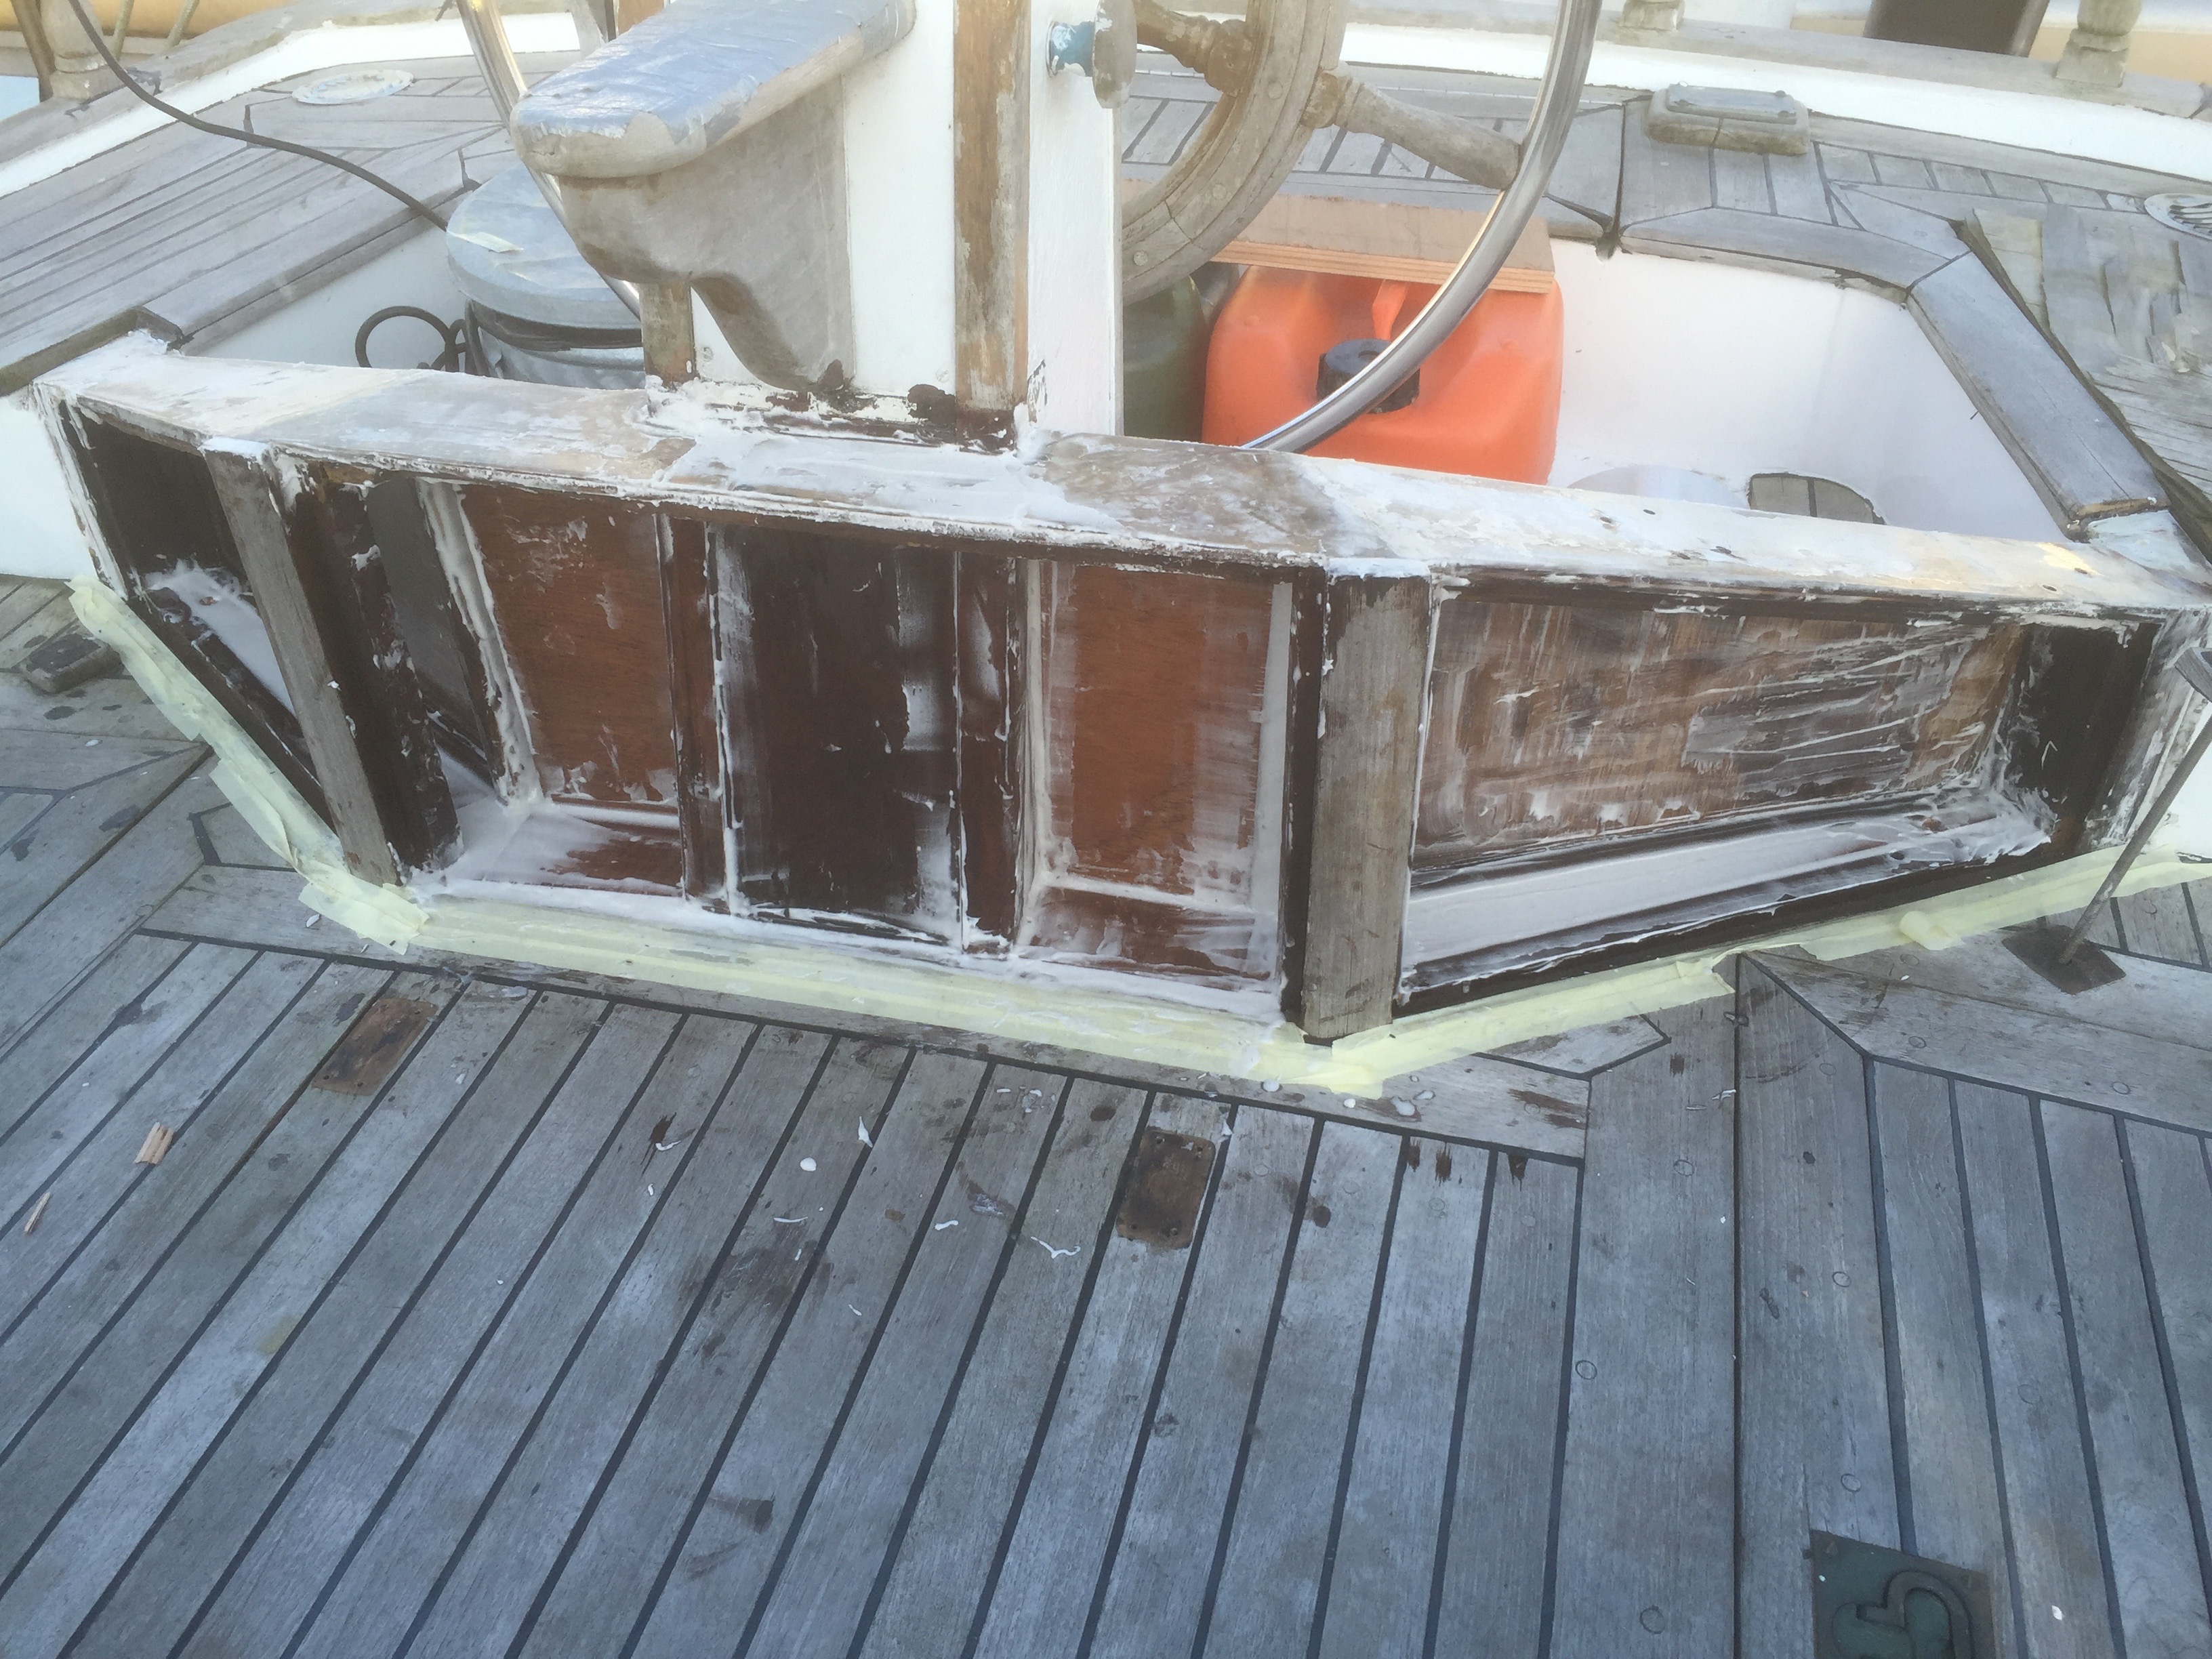
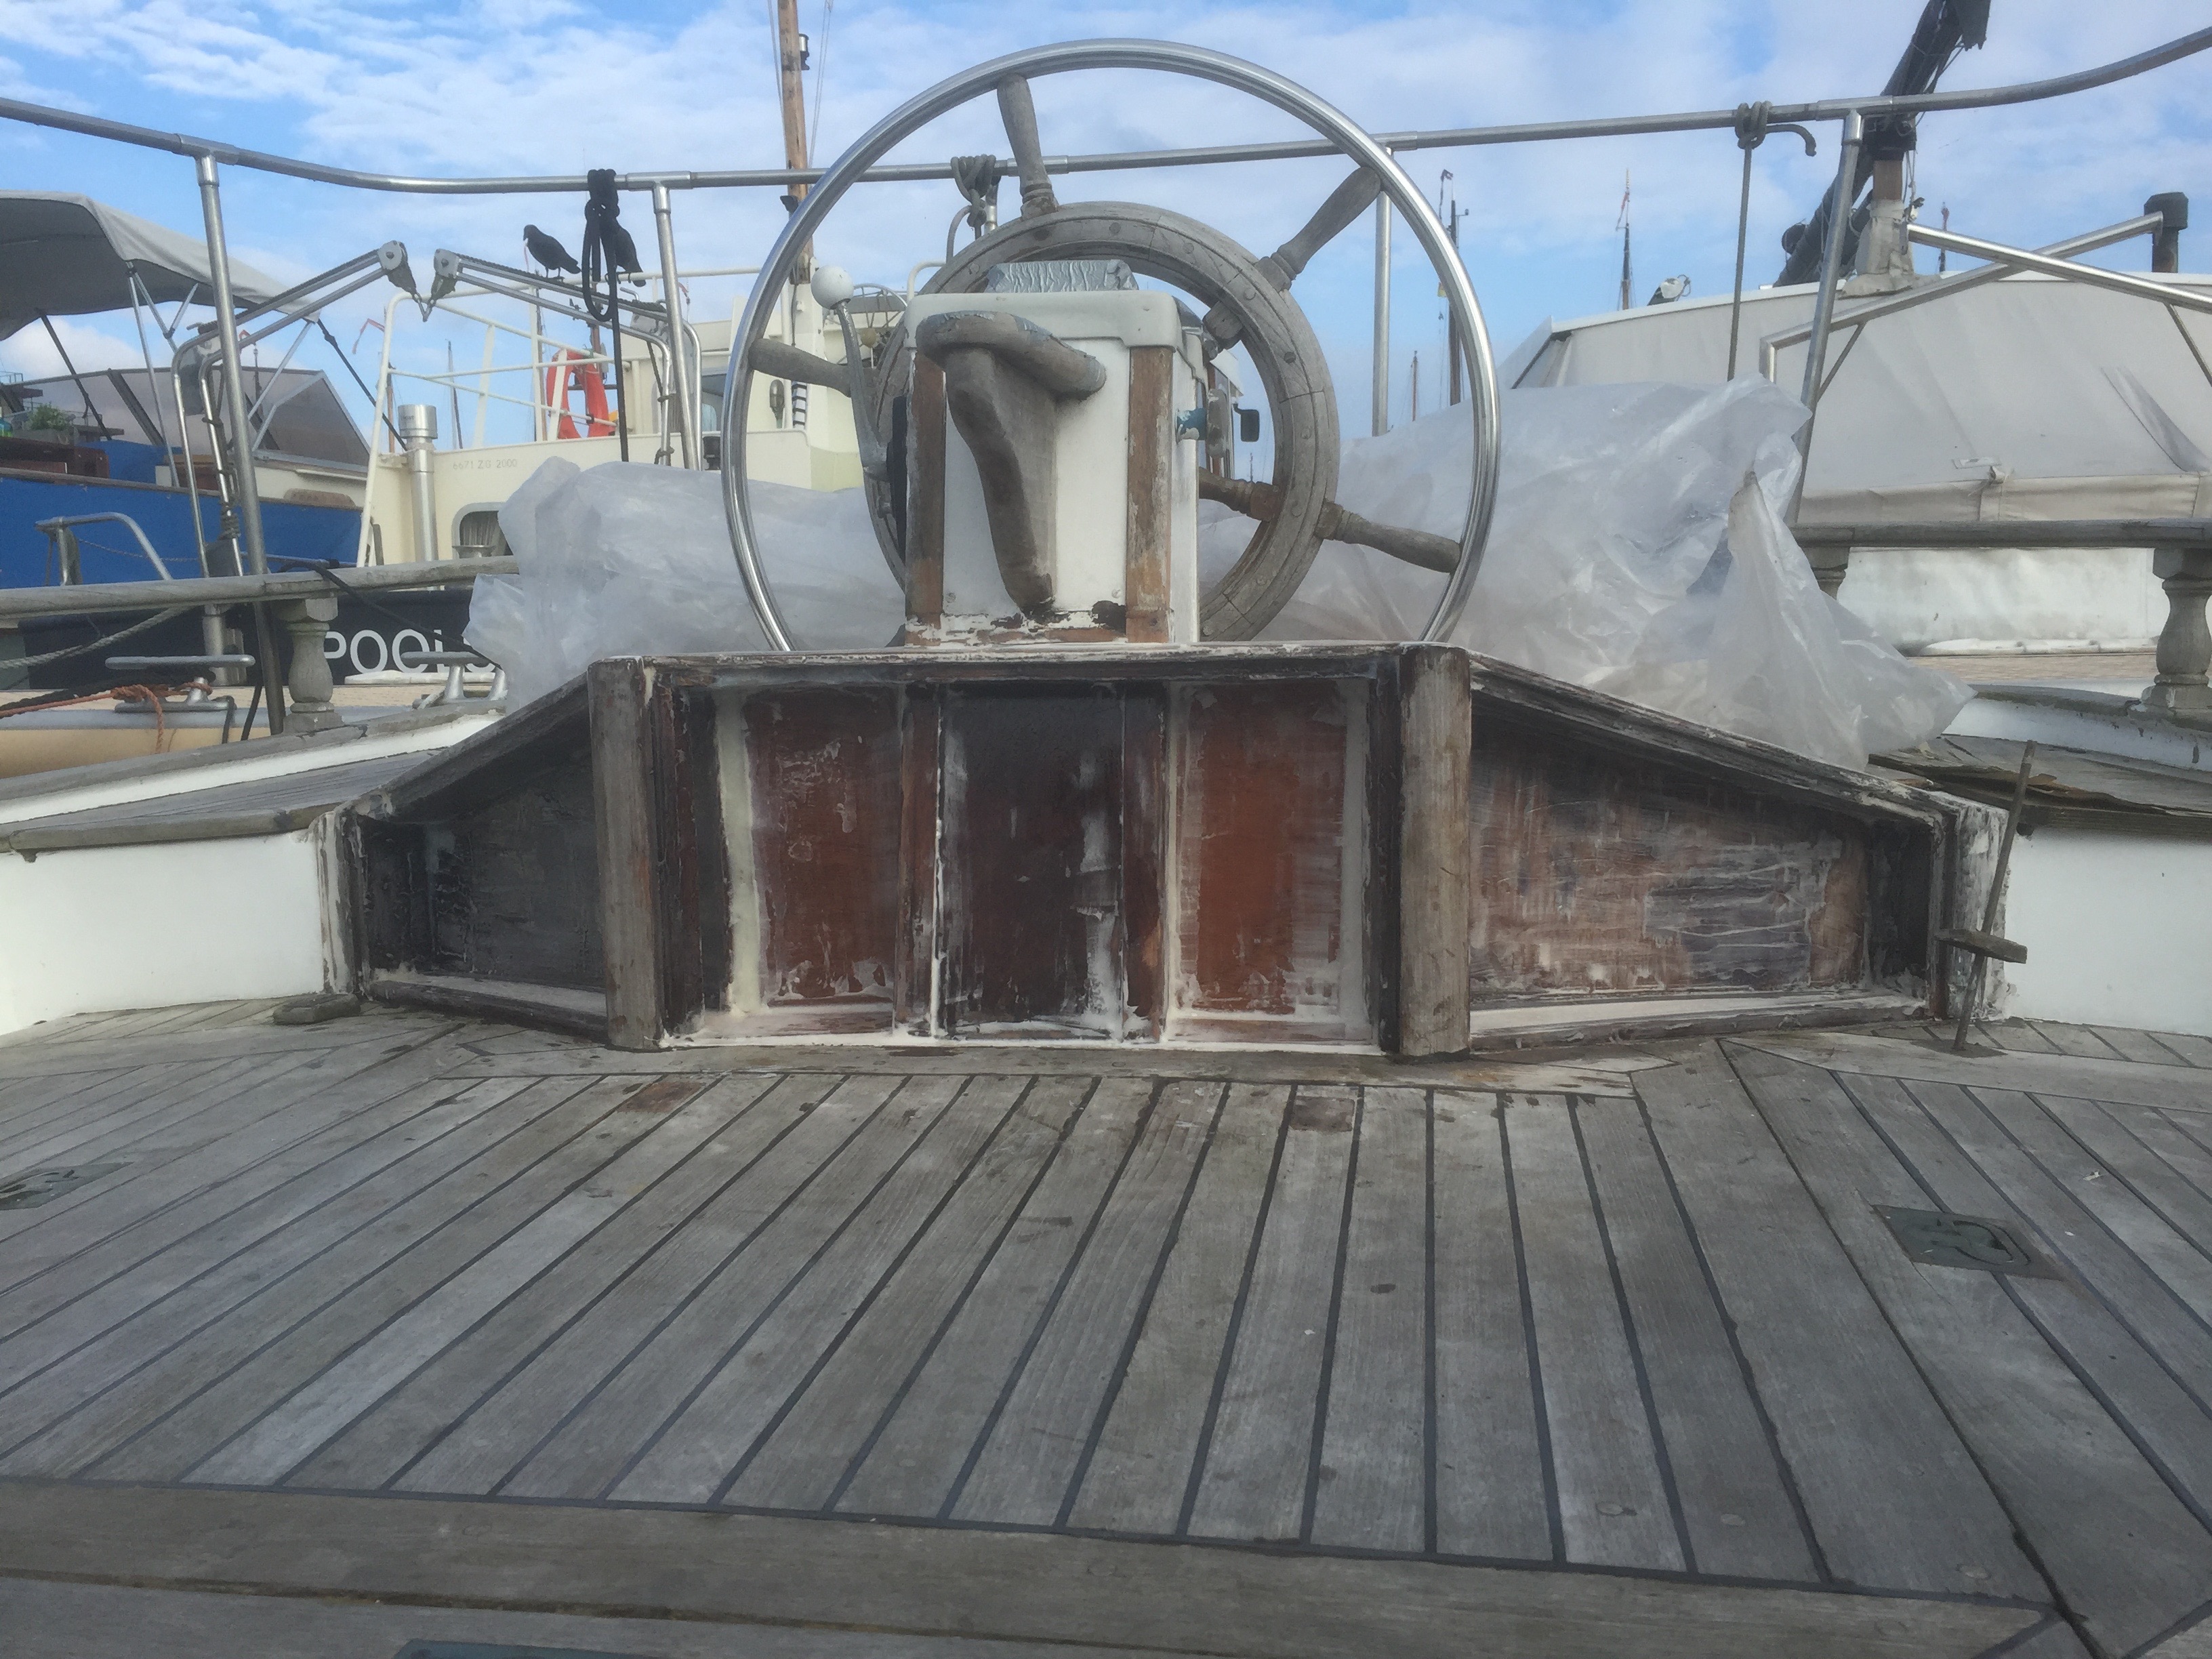
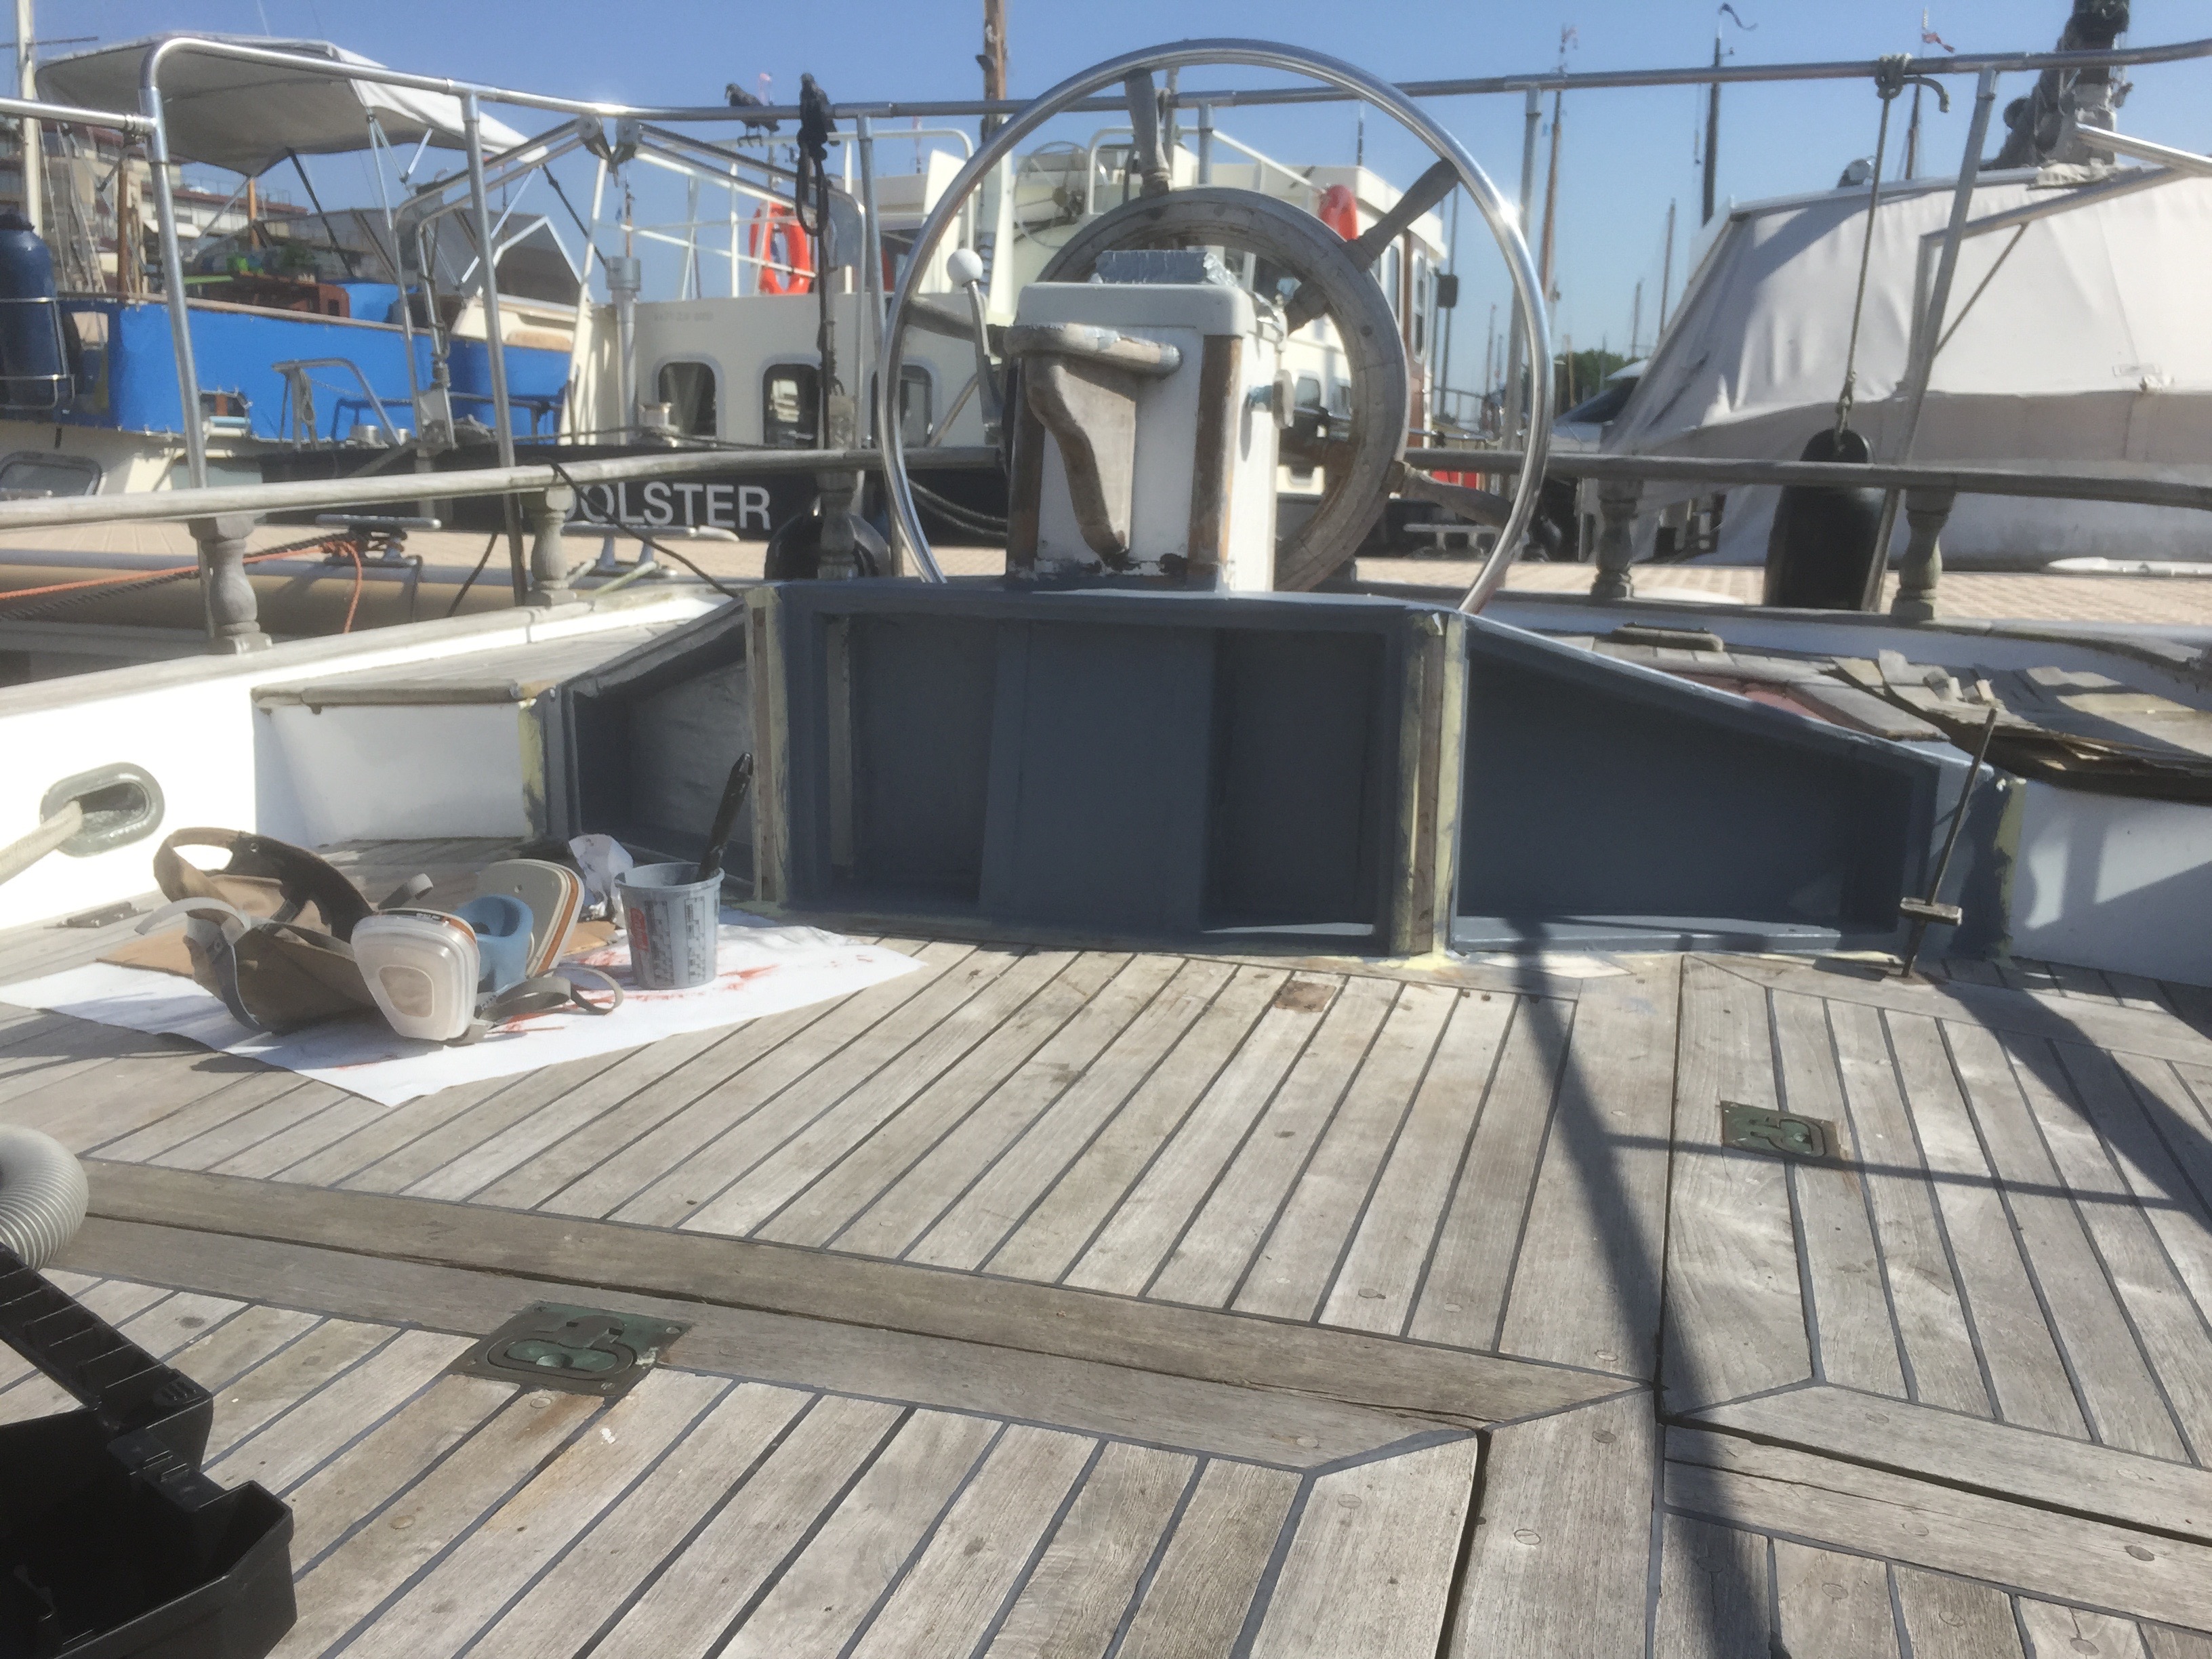
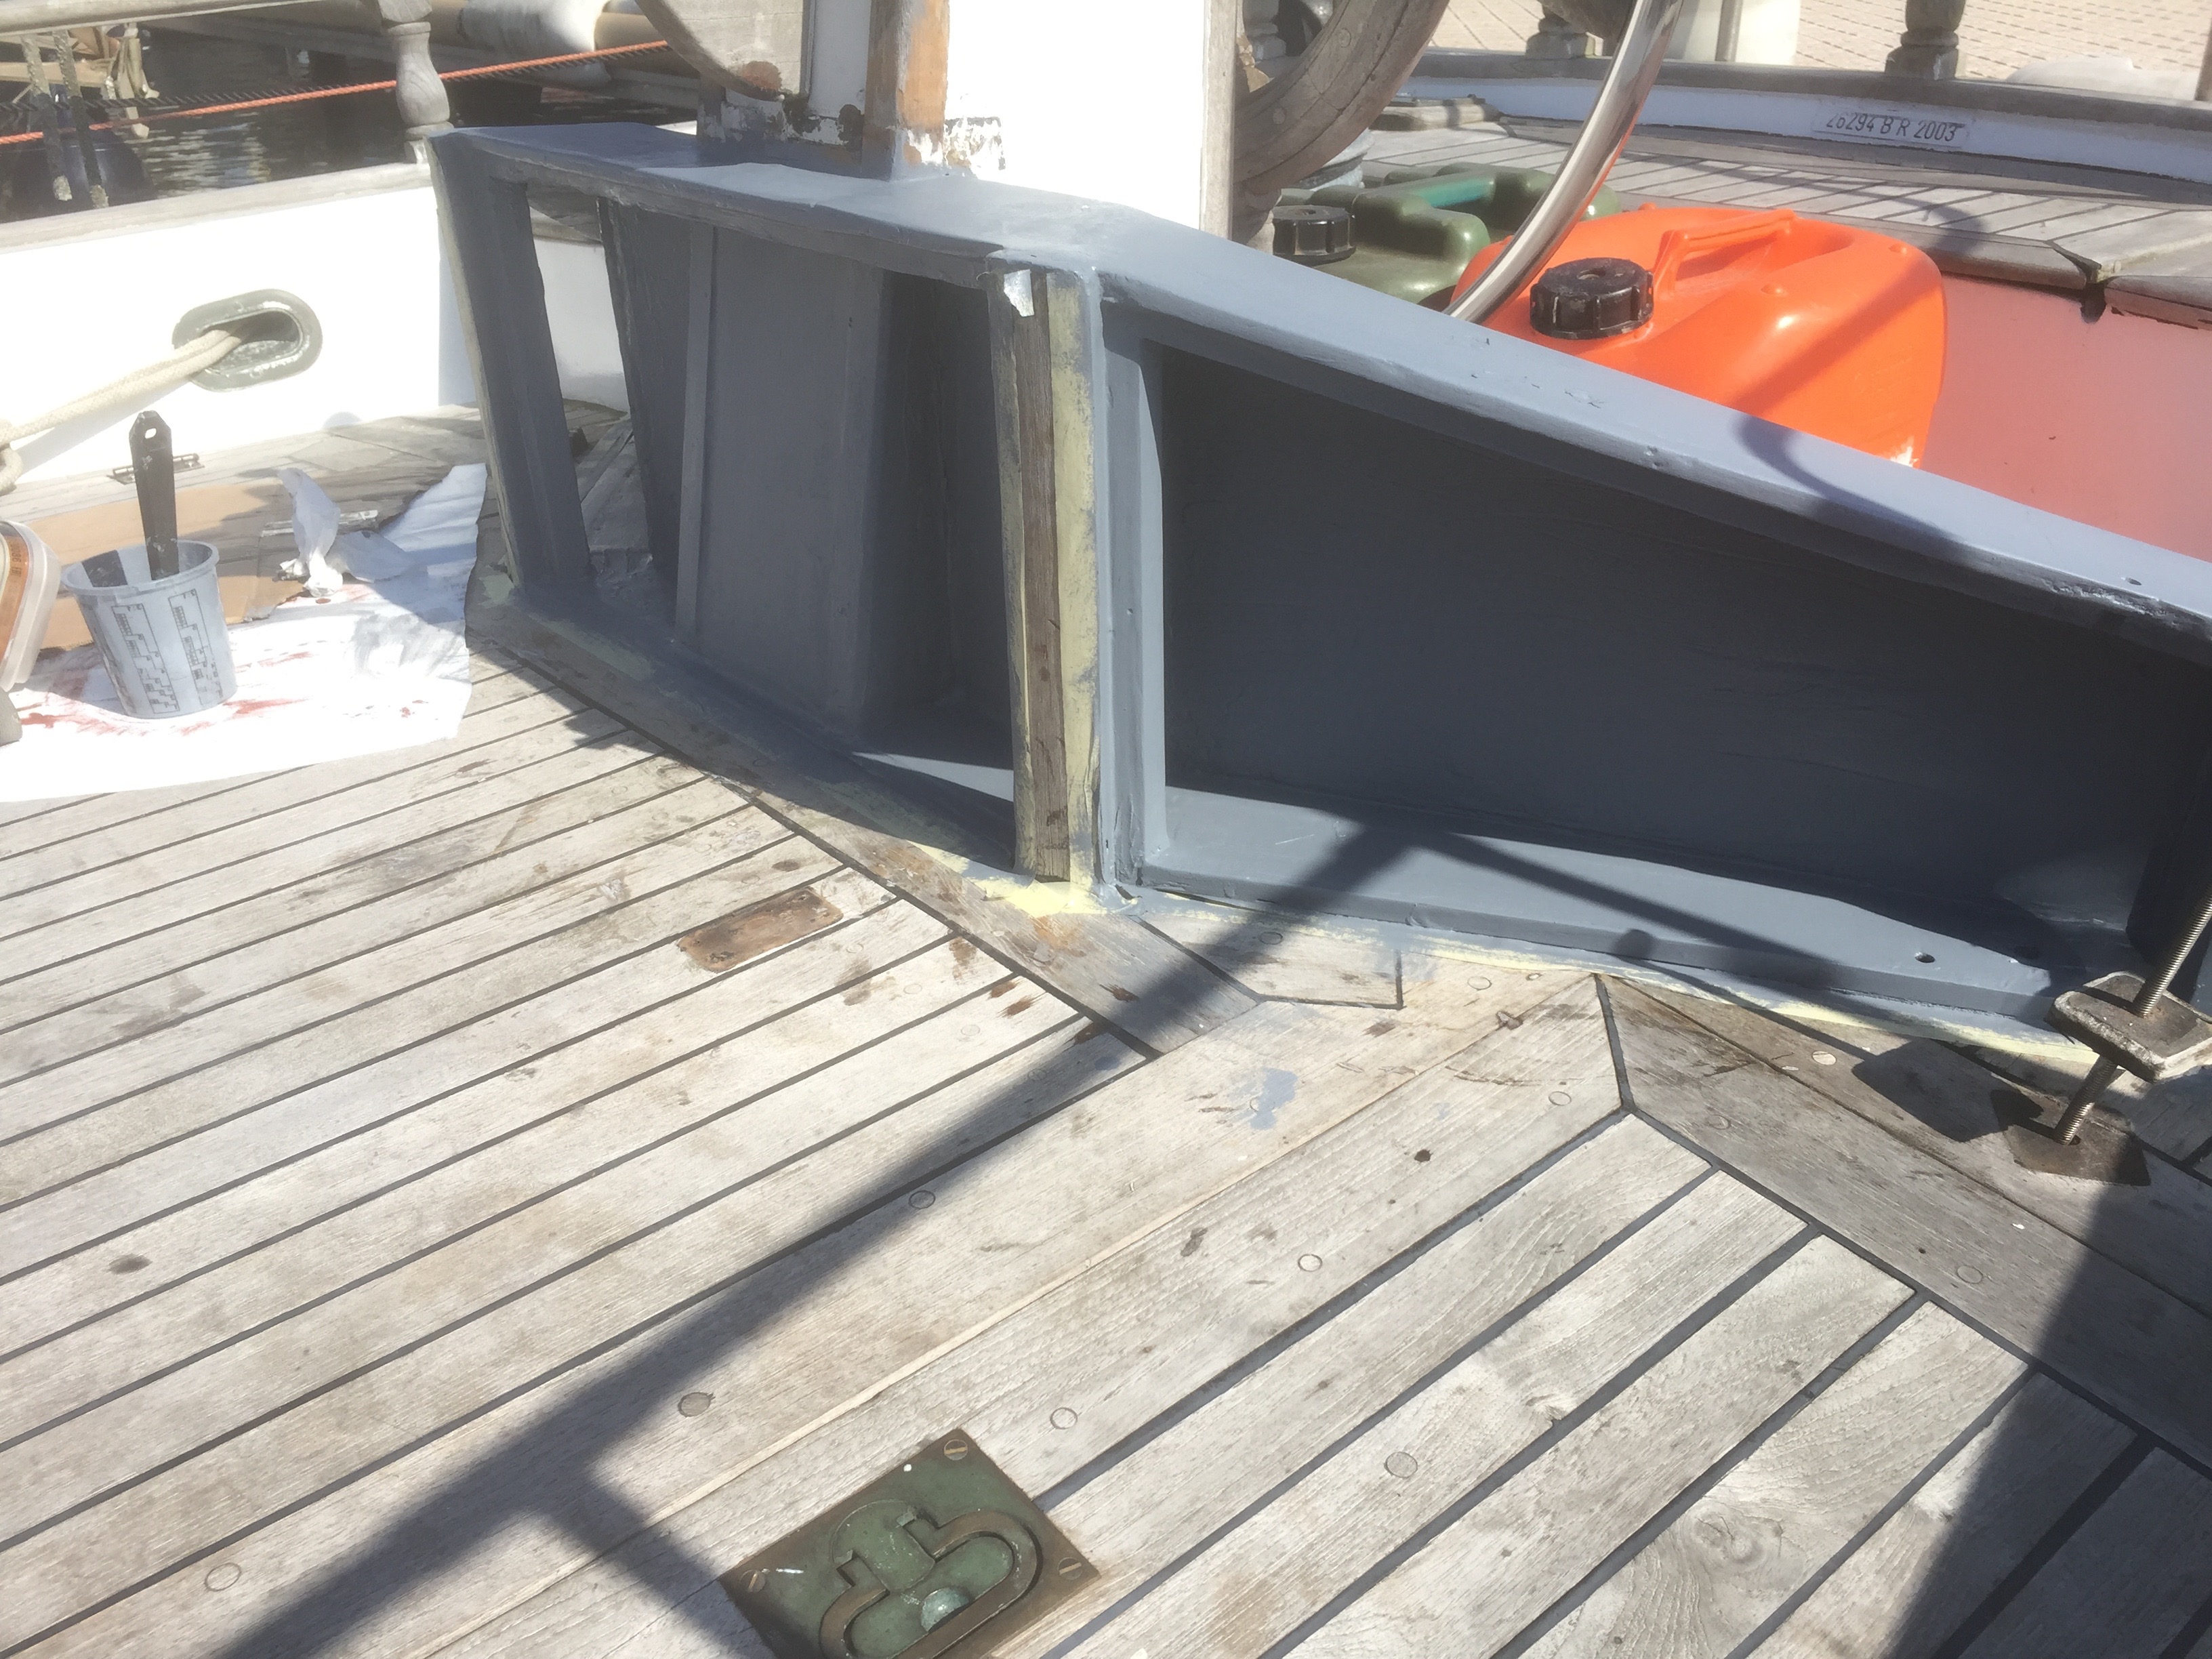
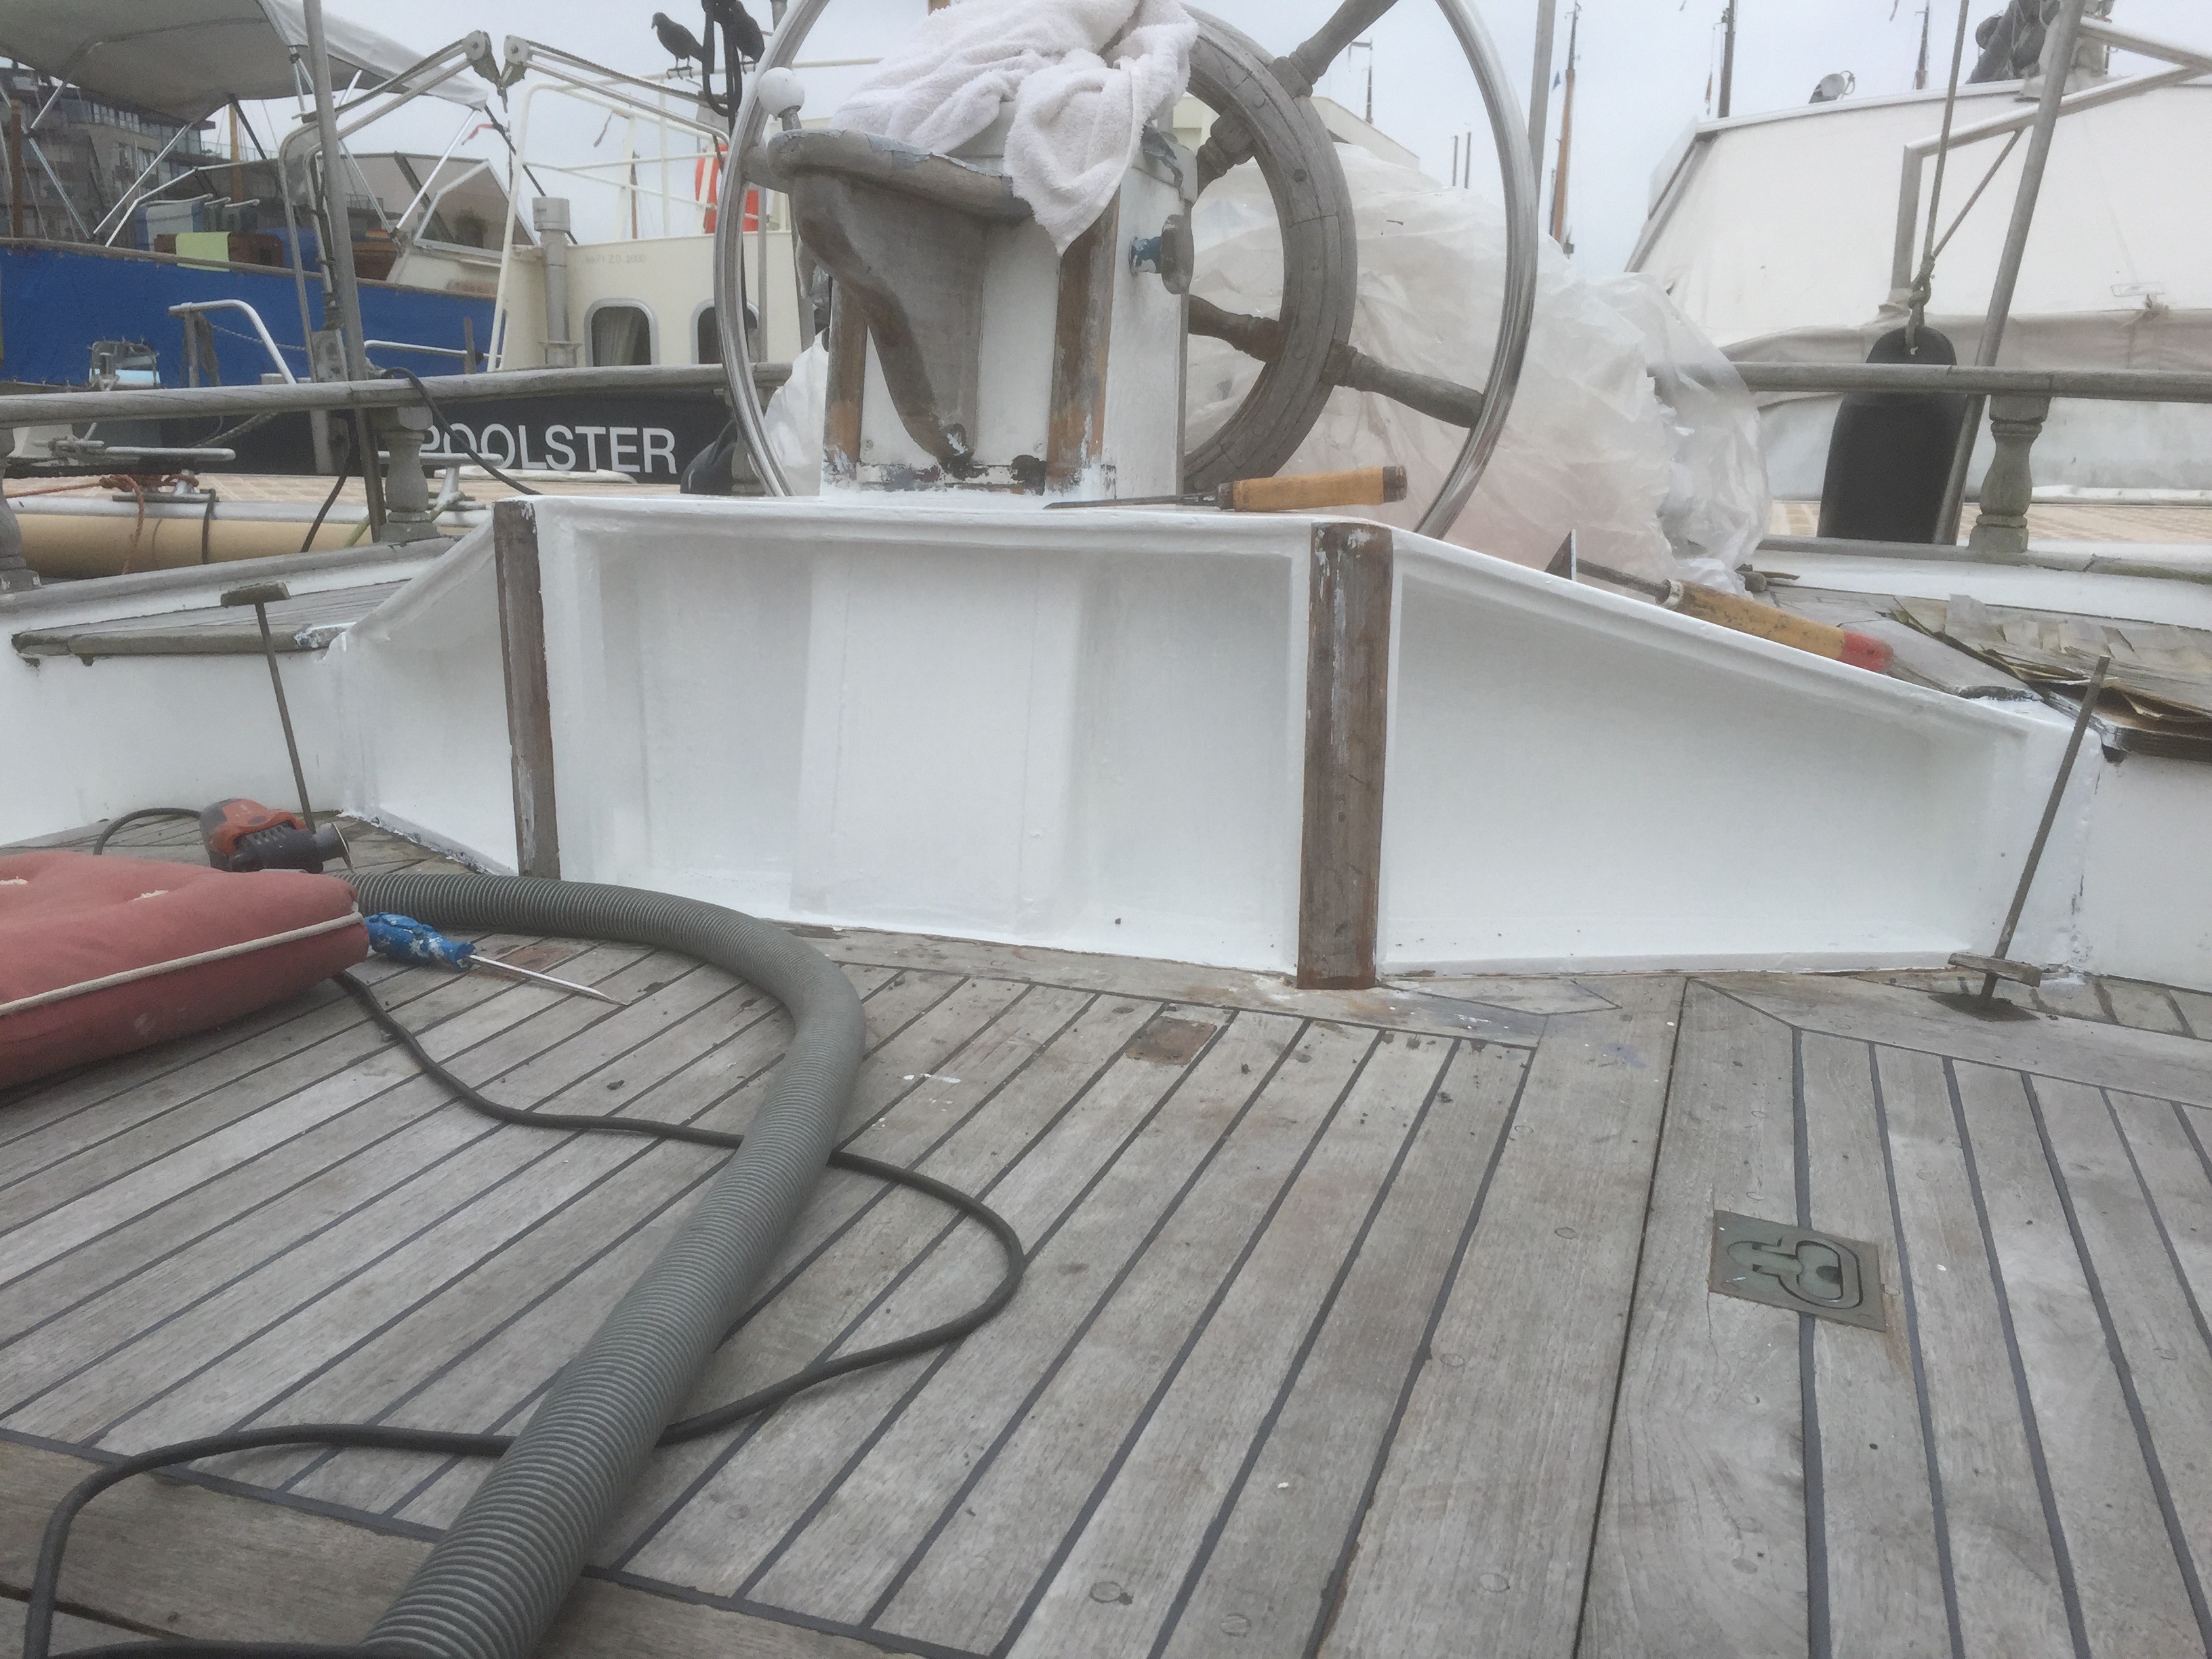
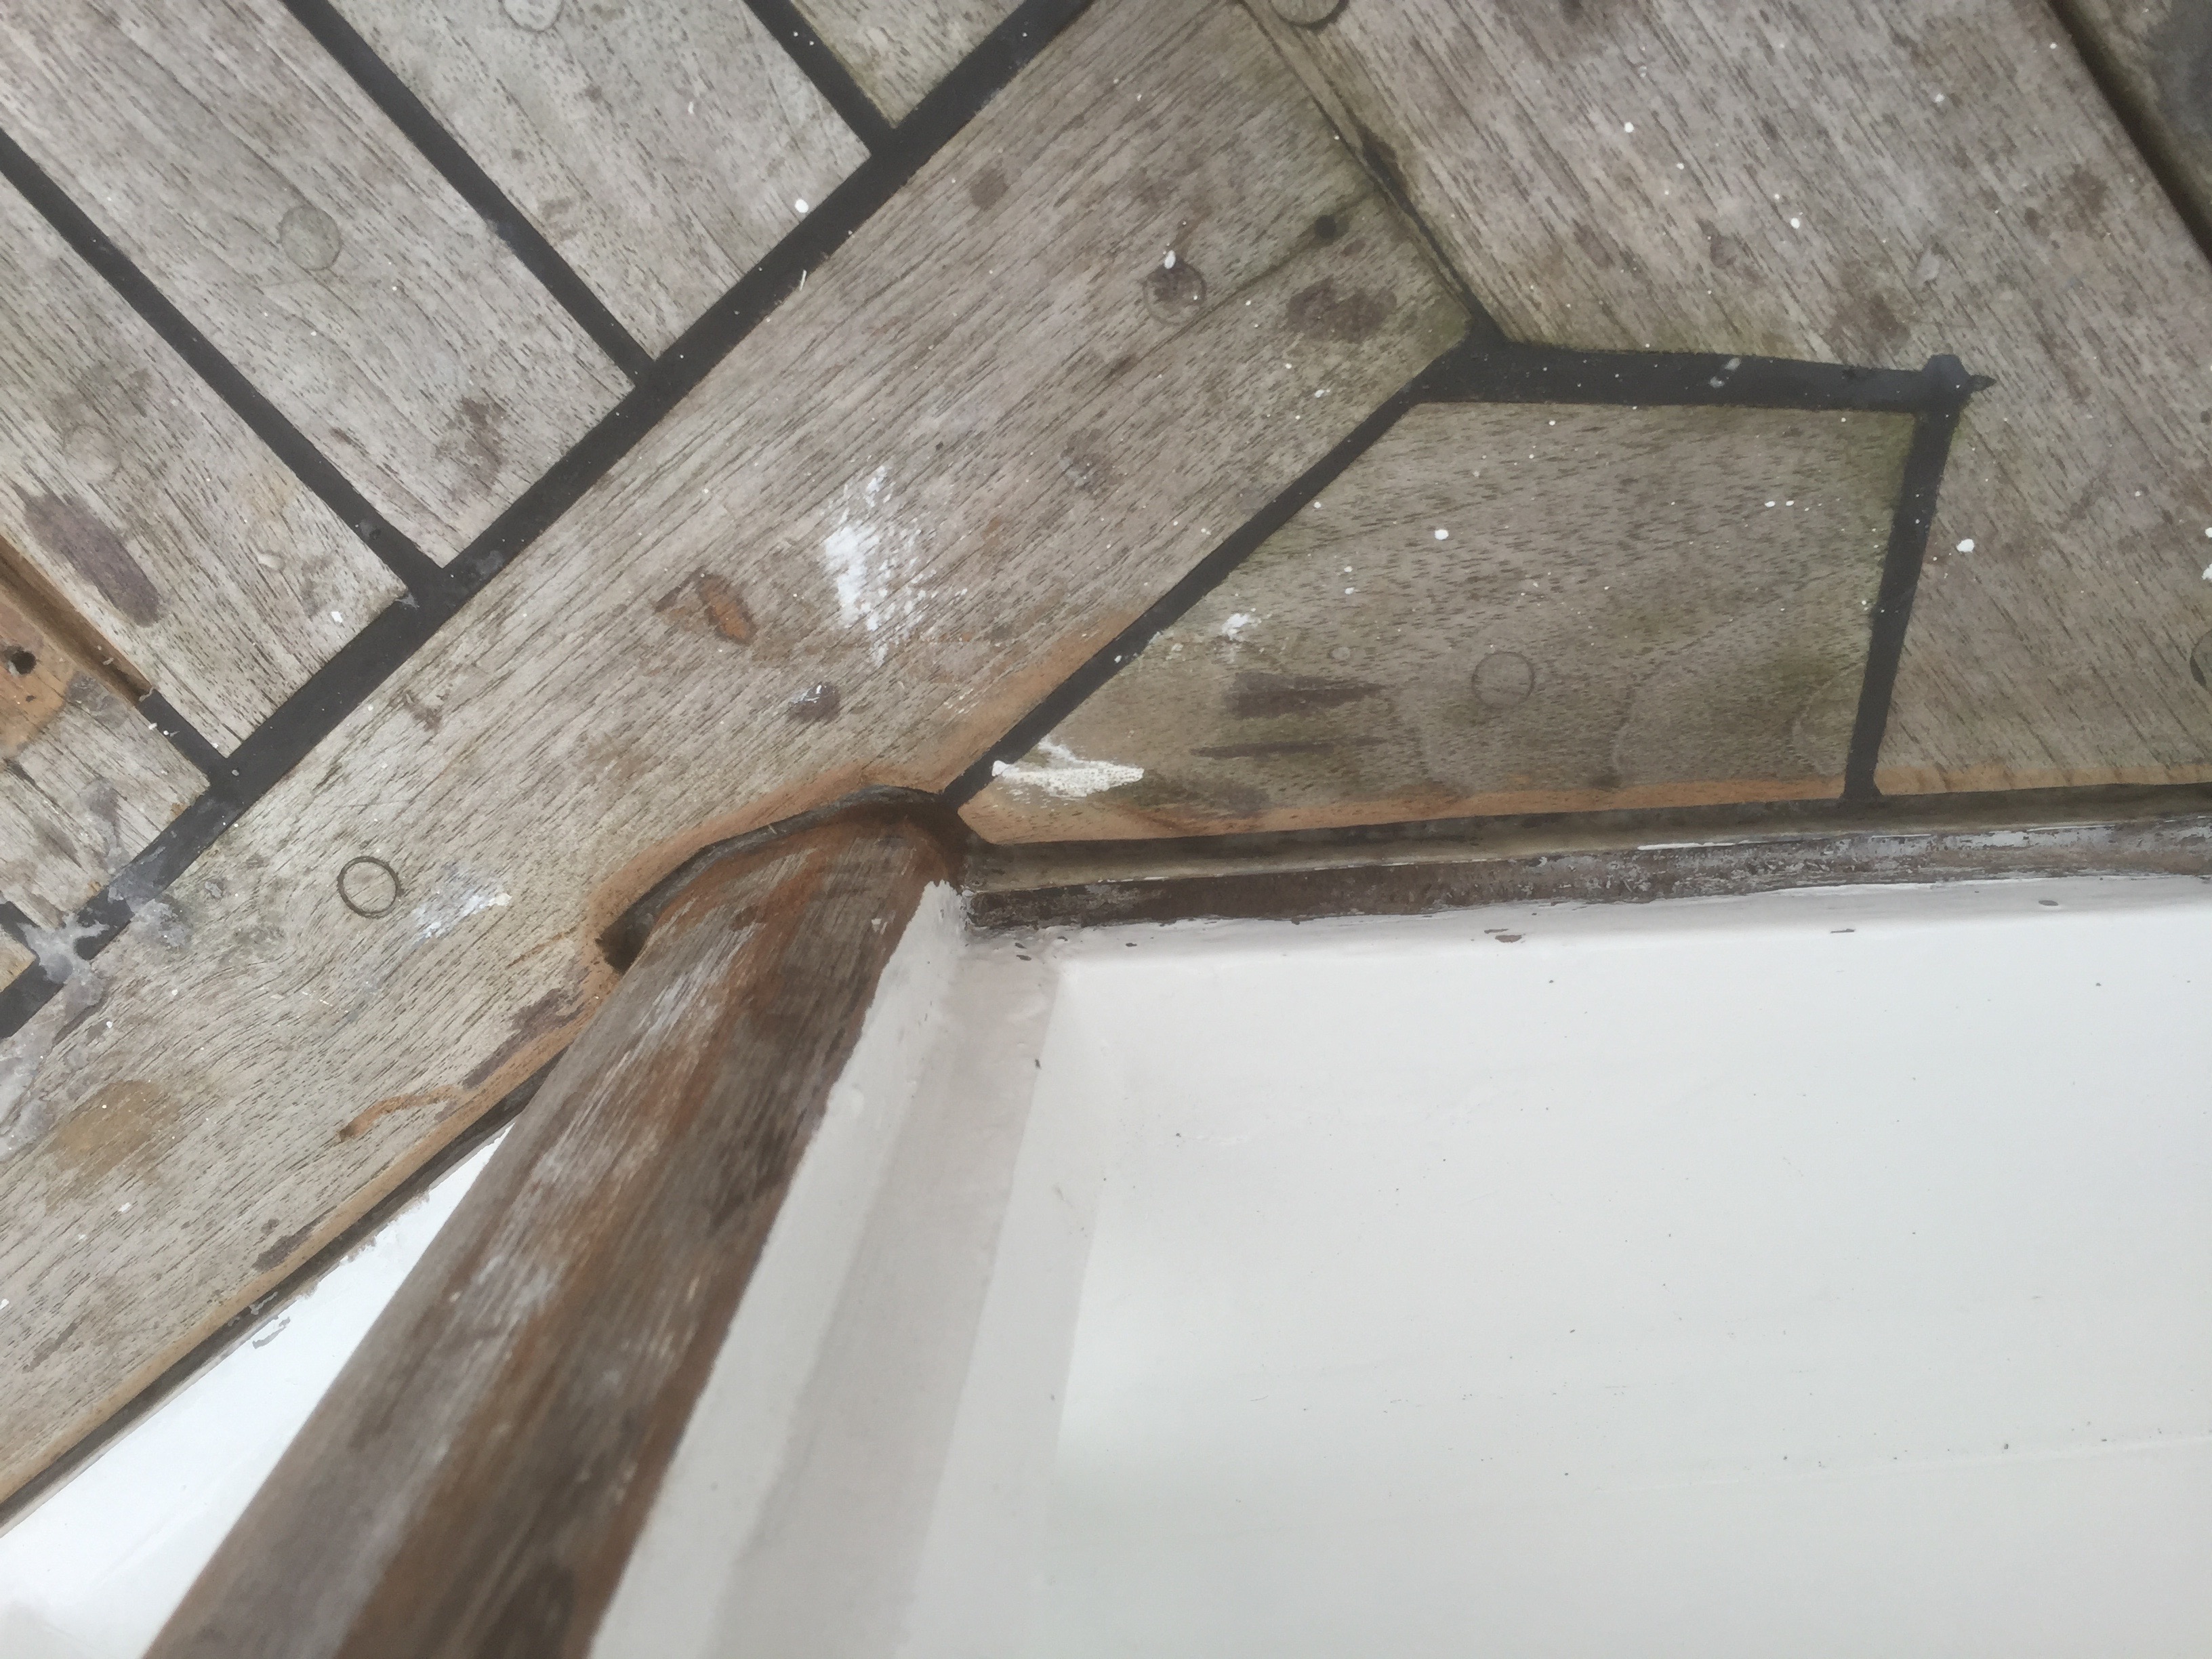
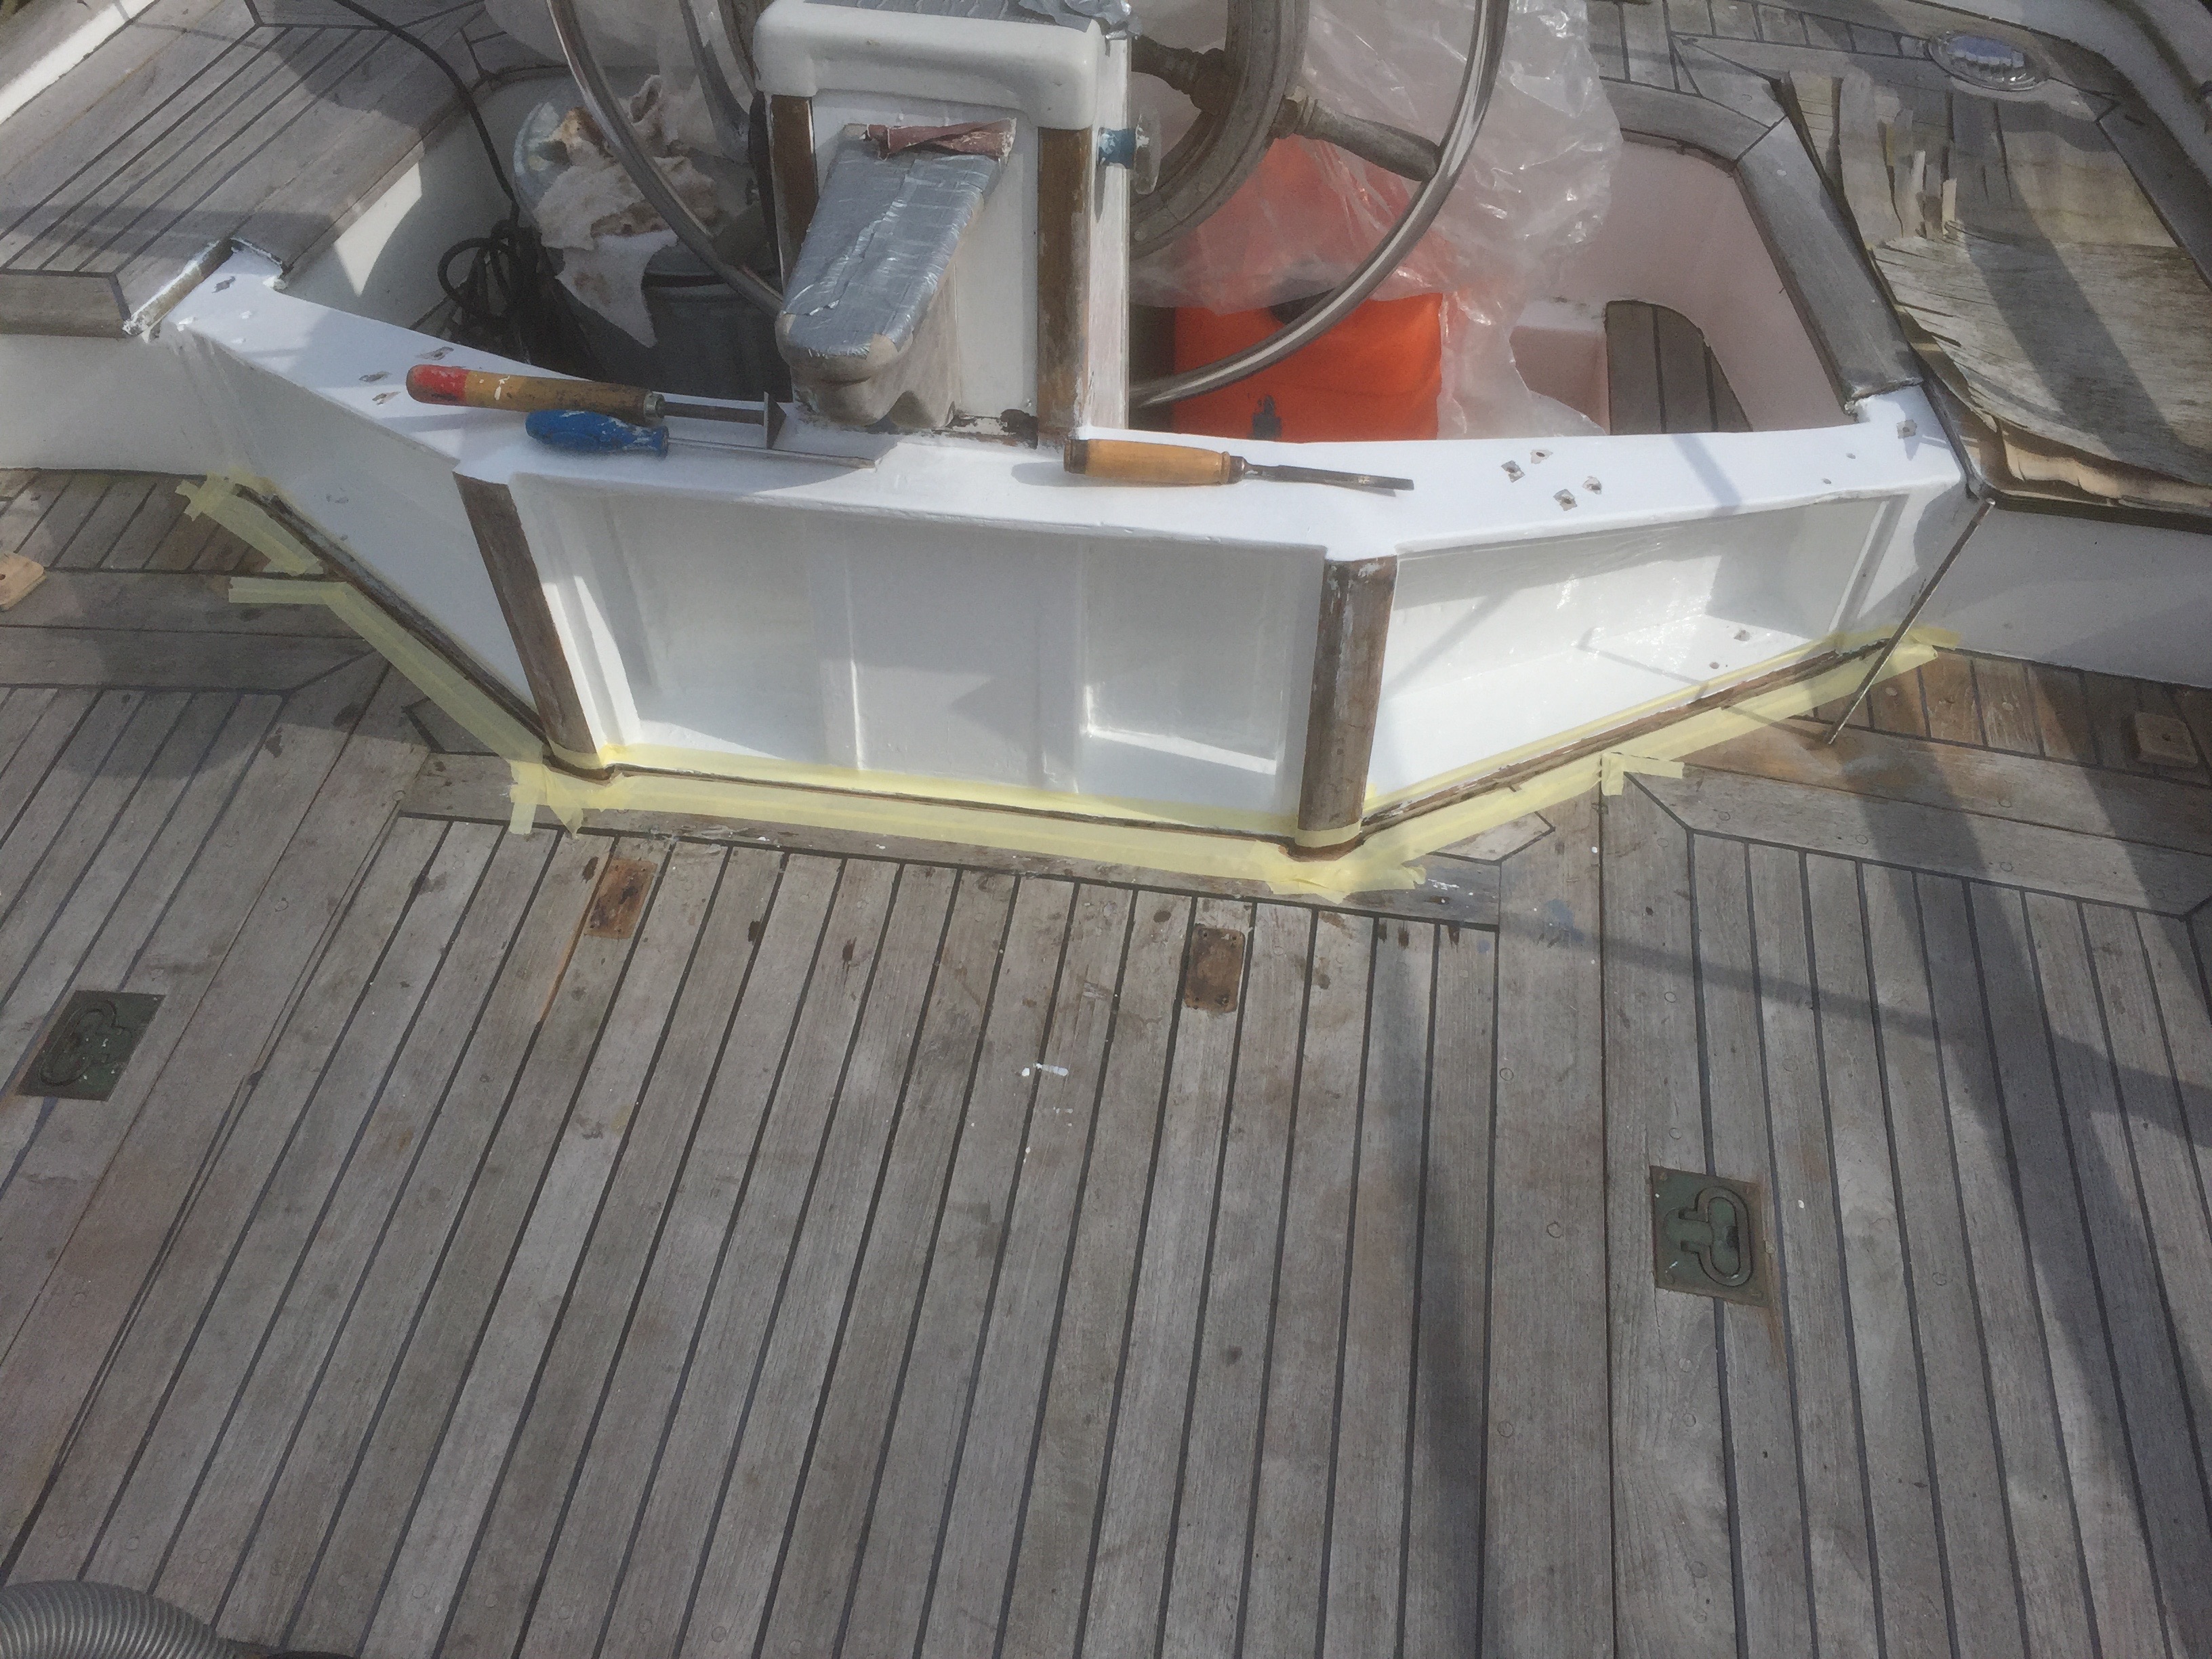
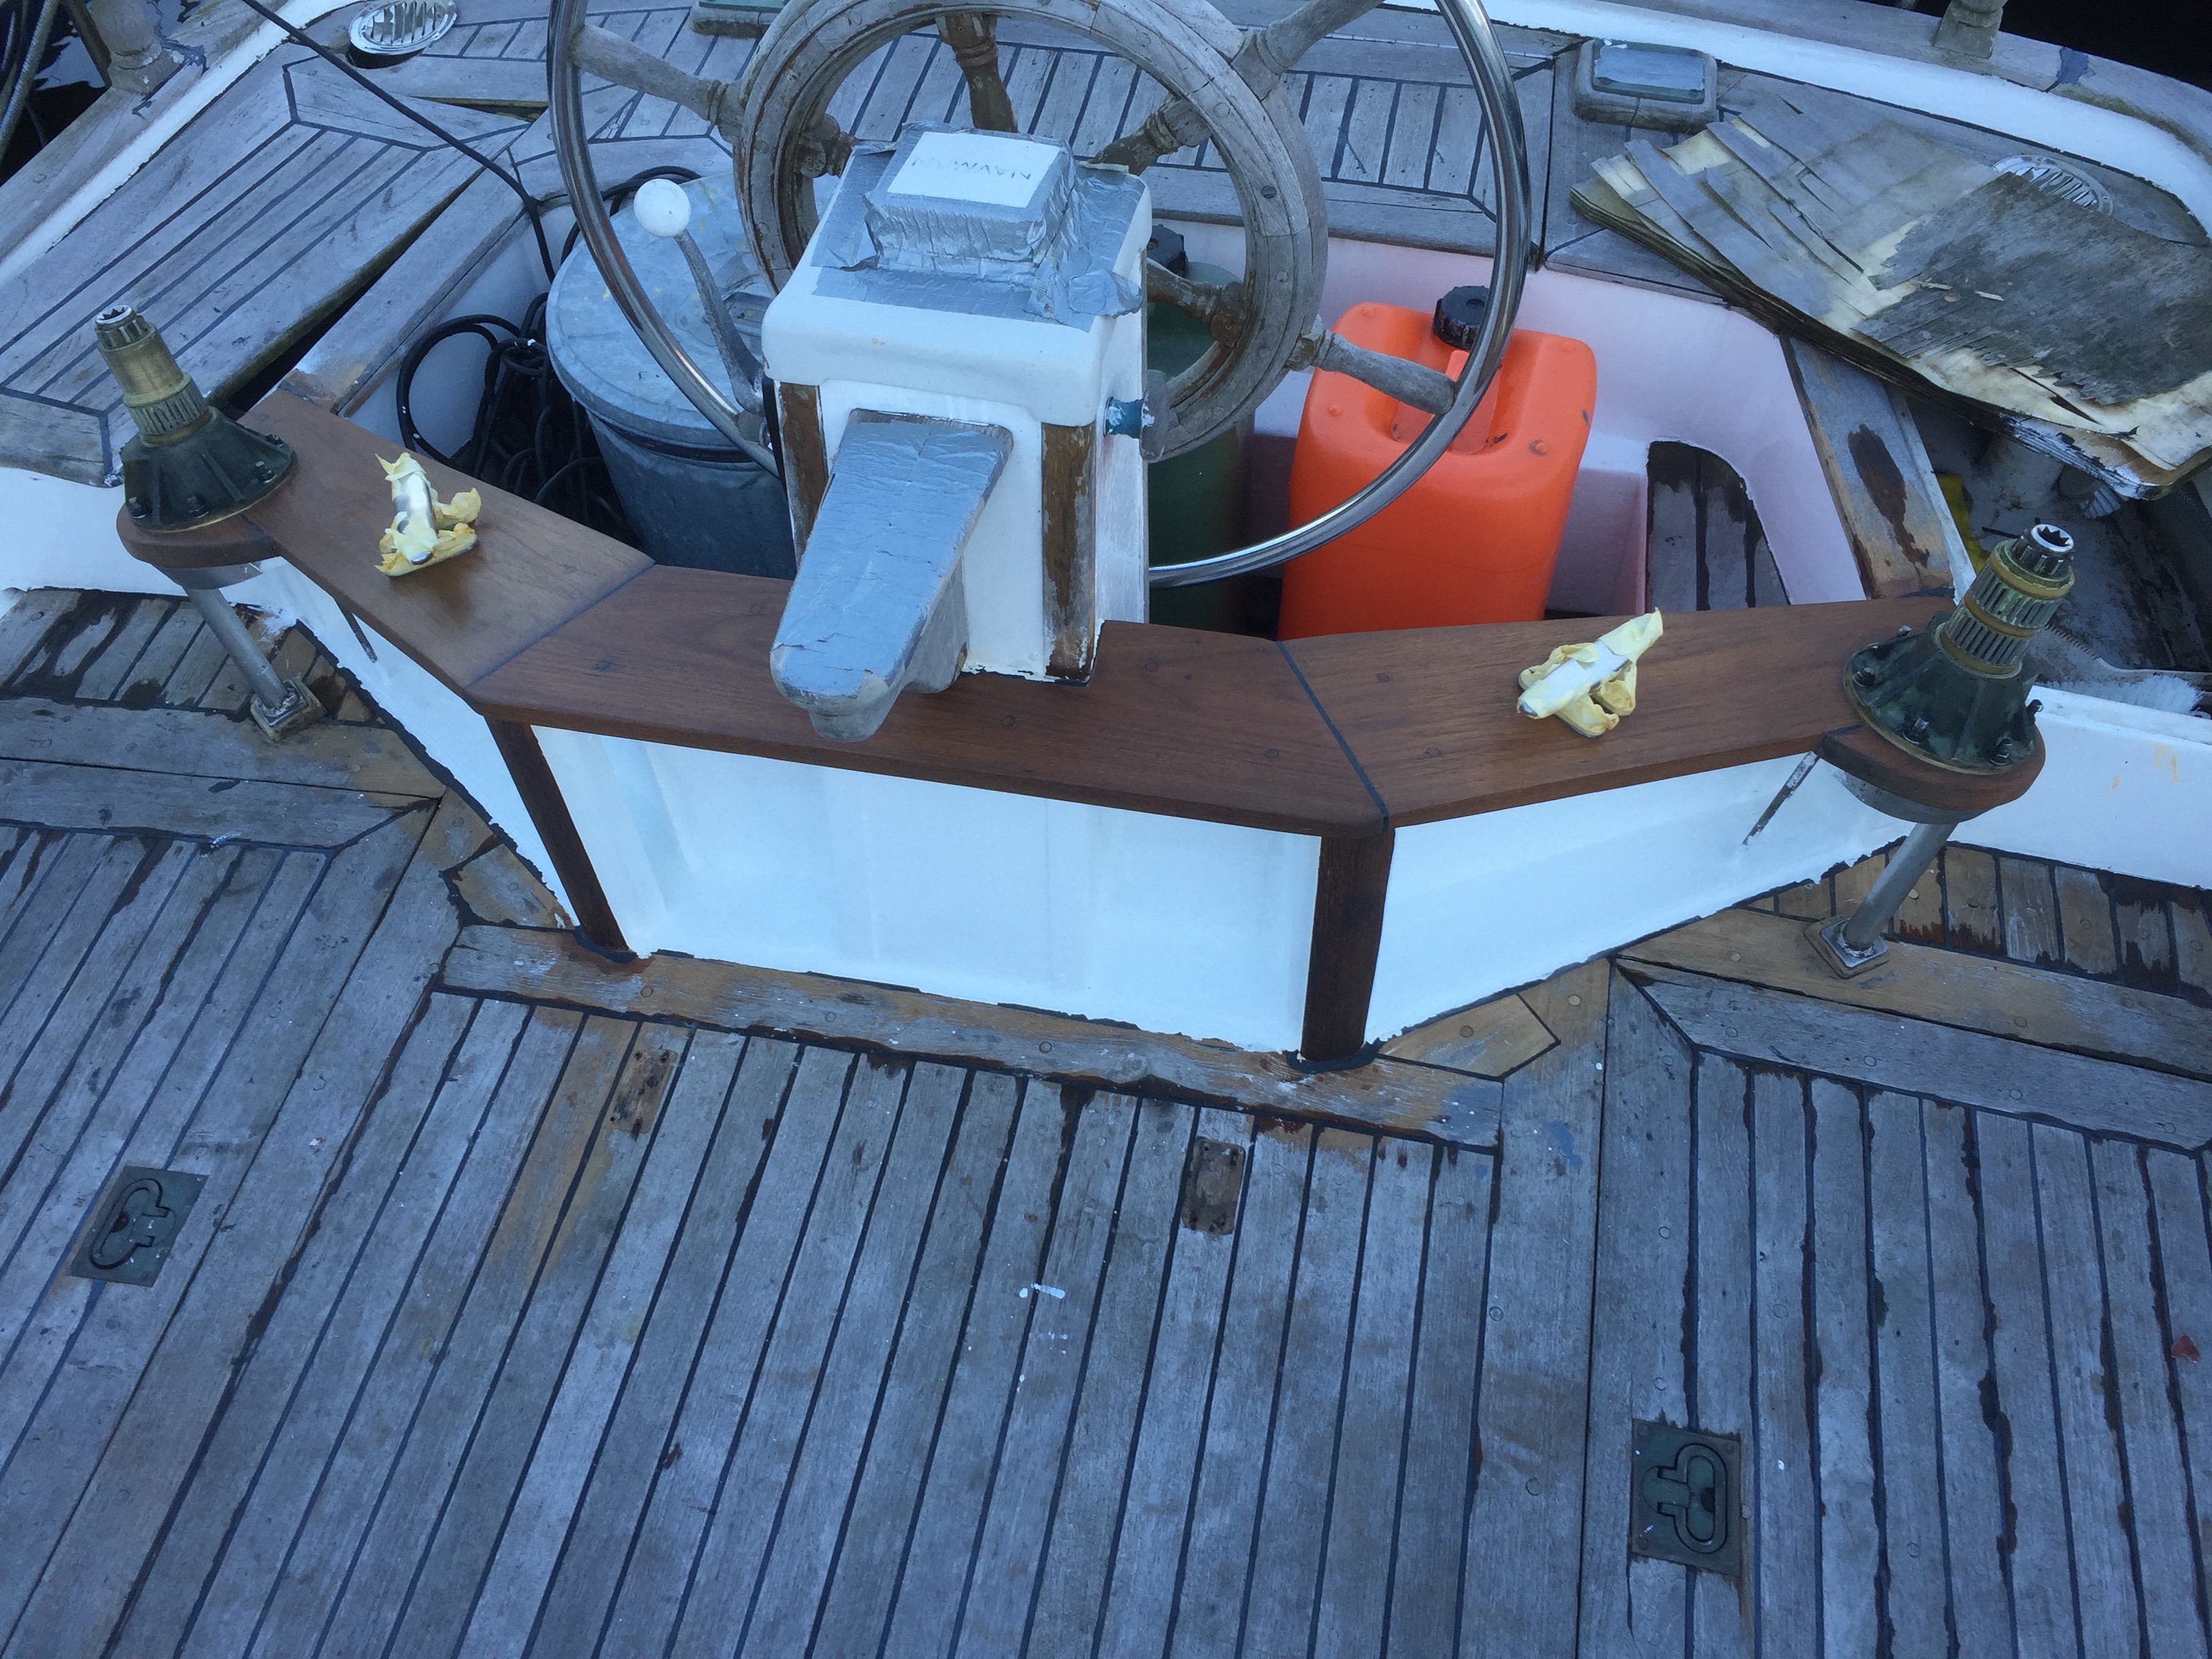
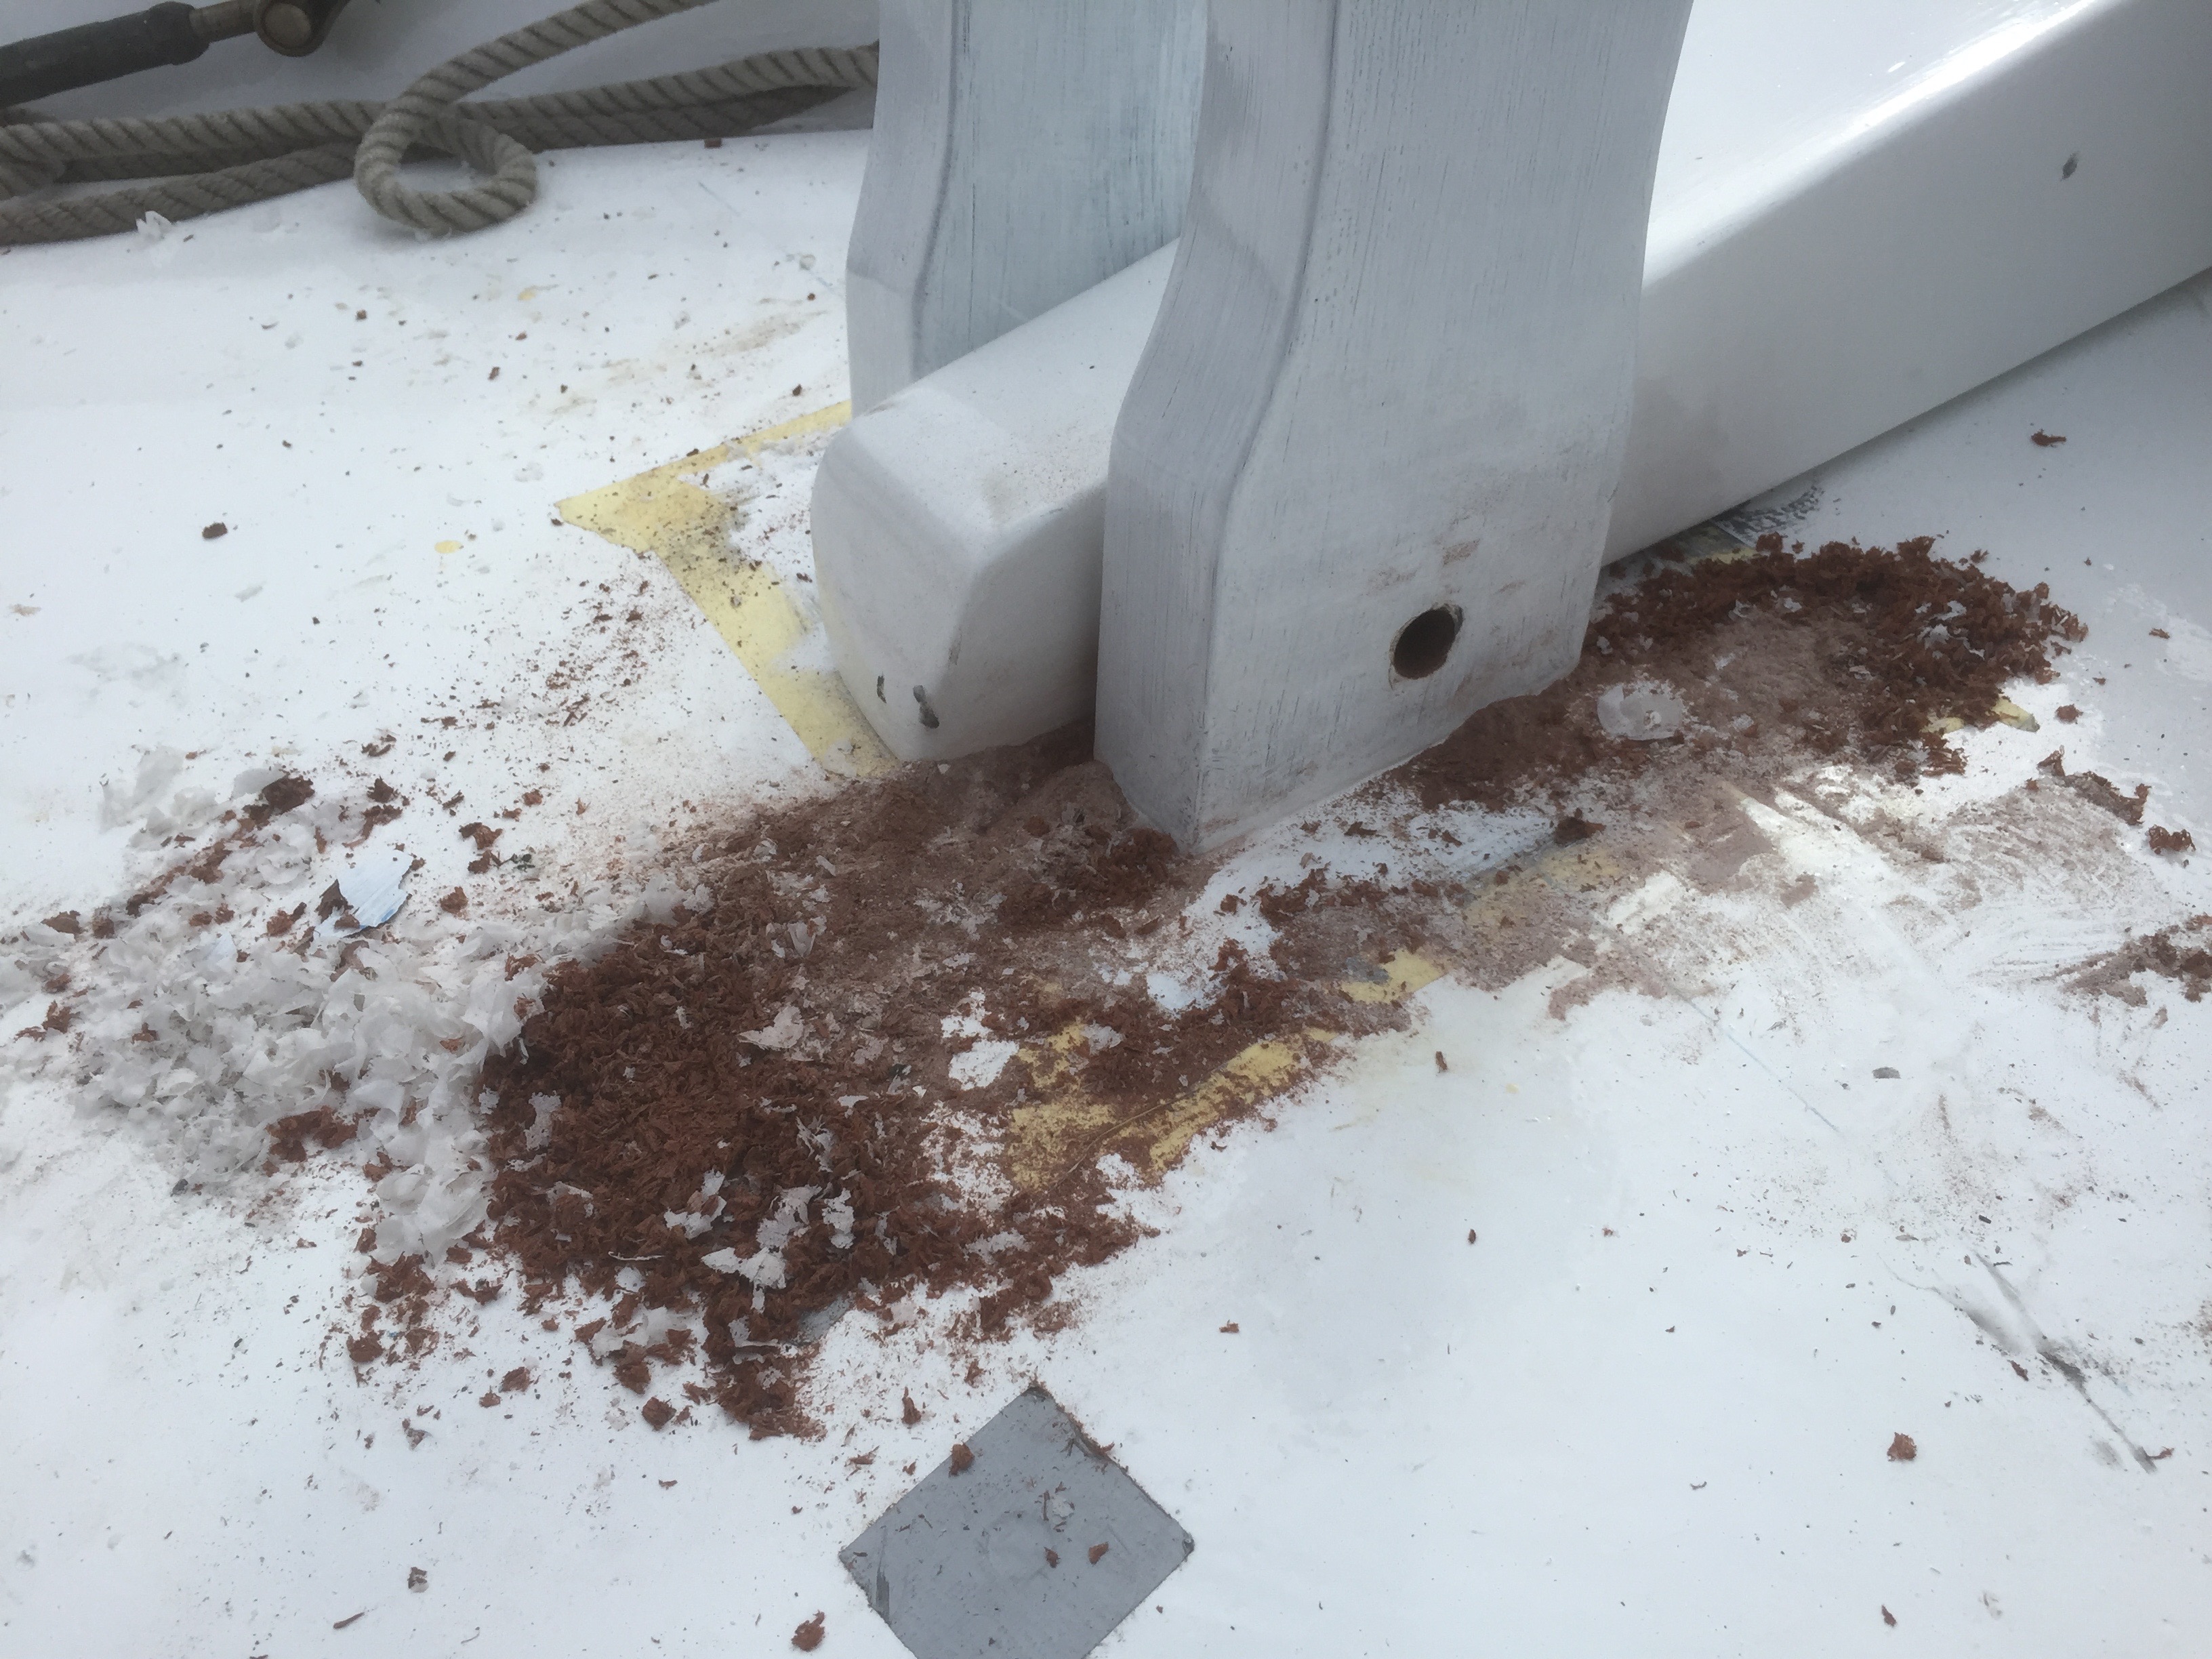
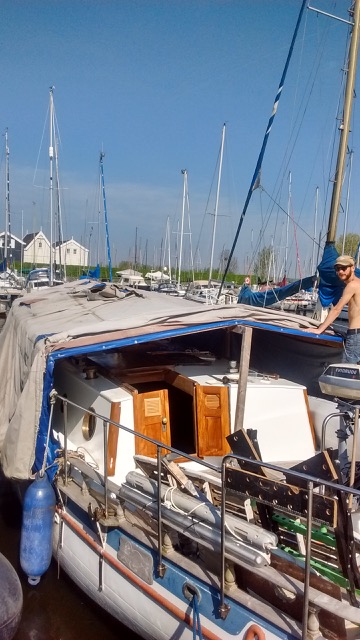
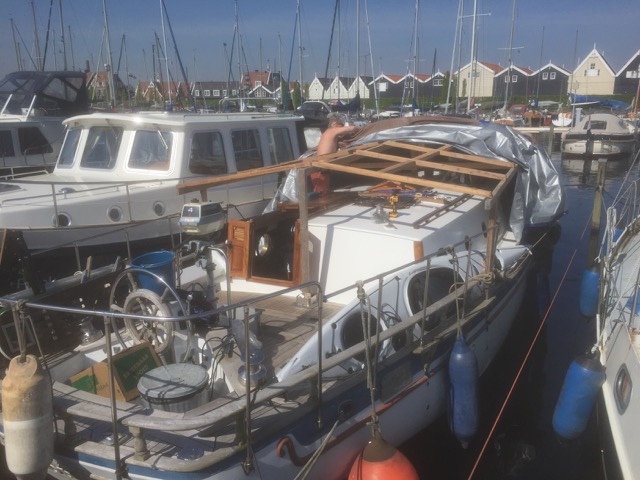
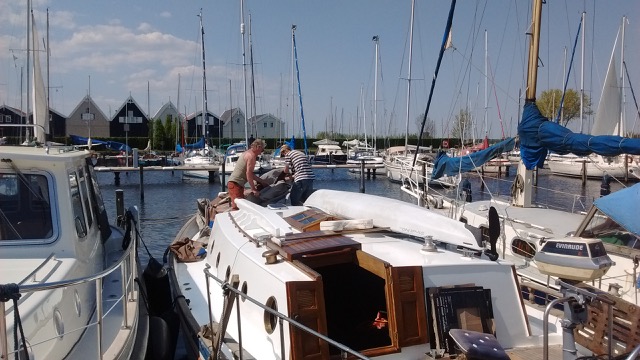
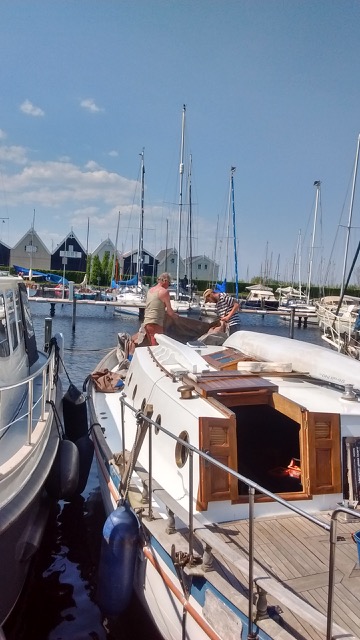
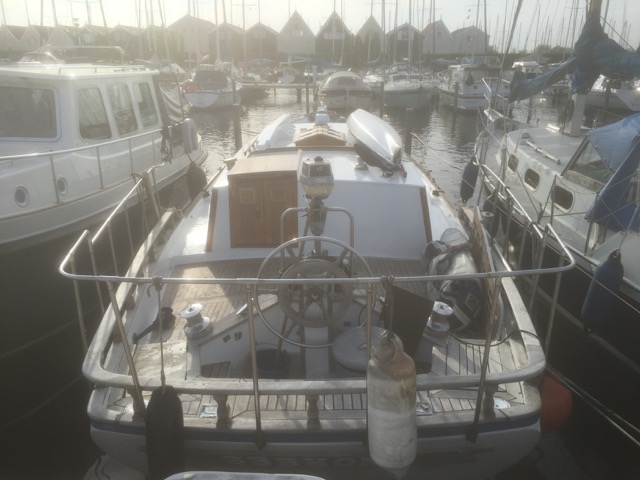
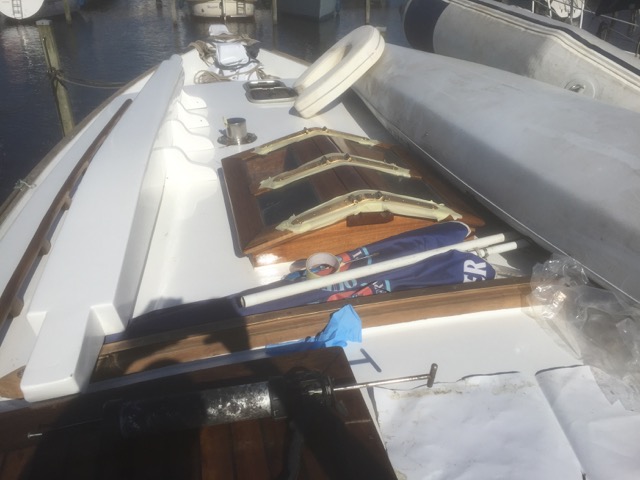
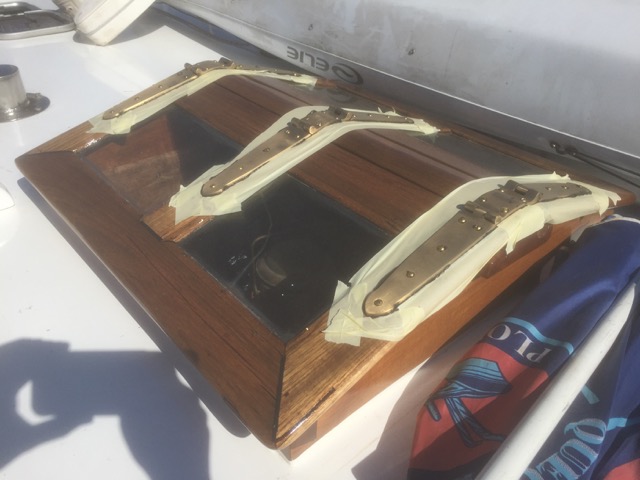
But now that the whole upper side of the boat is finally finished it was once again time to start work on the engine. So in the beginning of July the engine was taken out of it’s spot and further inspection began. This was also a good excuse to clean the bilge (the part of the ship below the engine) and repaint it with a bright white color. This way one can easily see if the engine is leaking oil, or when water is coming into the bilge indicating other leakage.
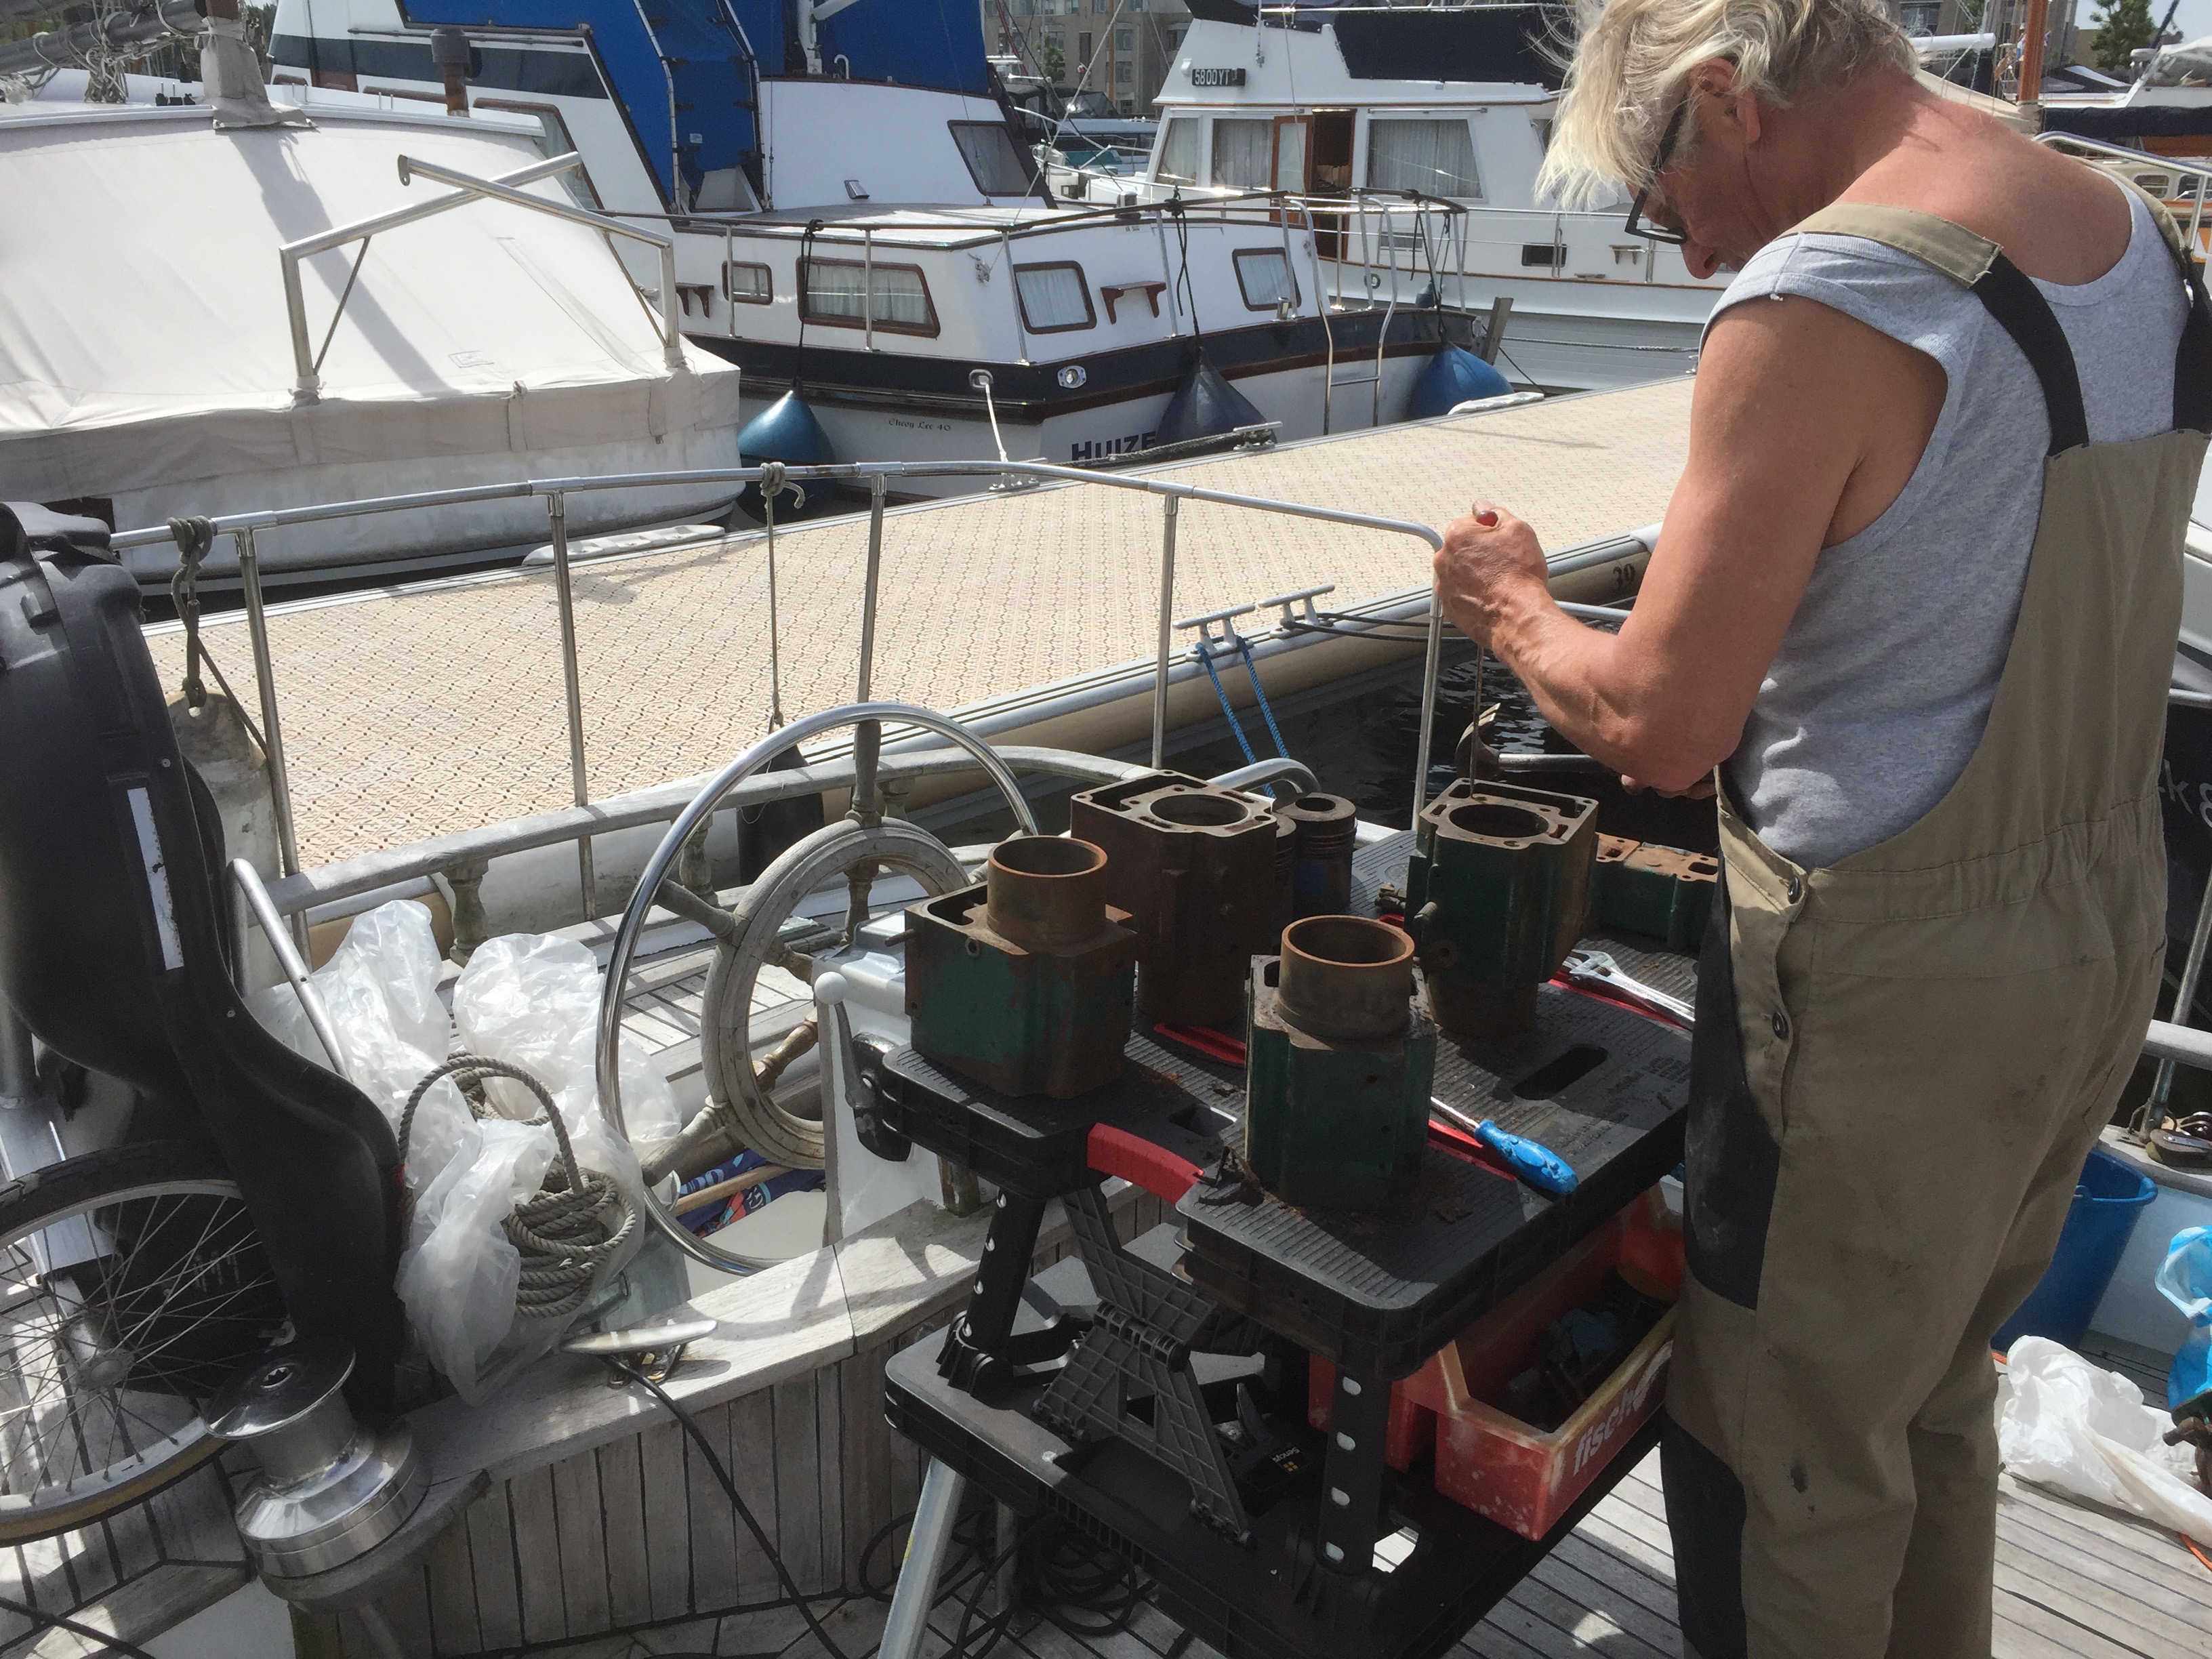
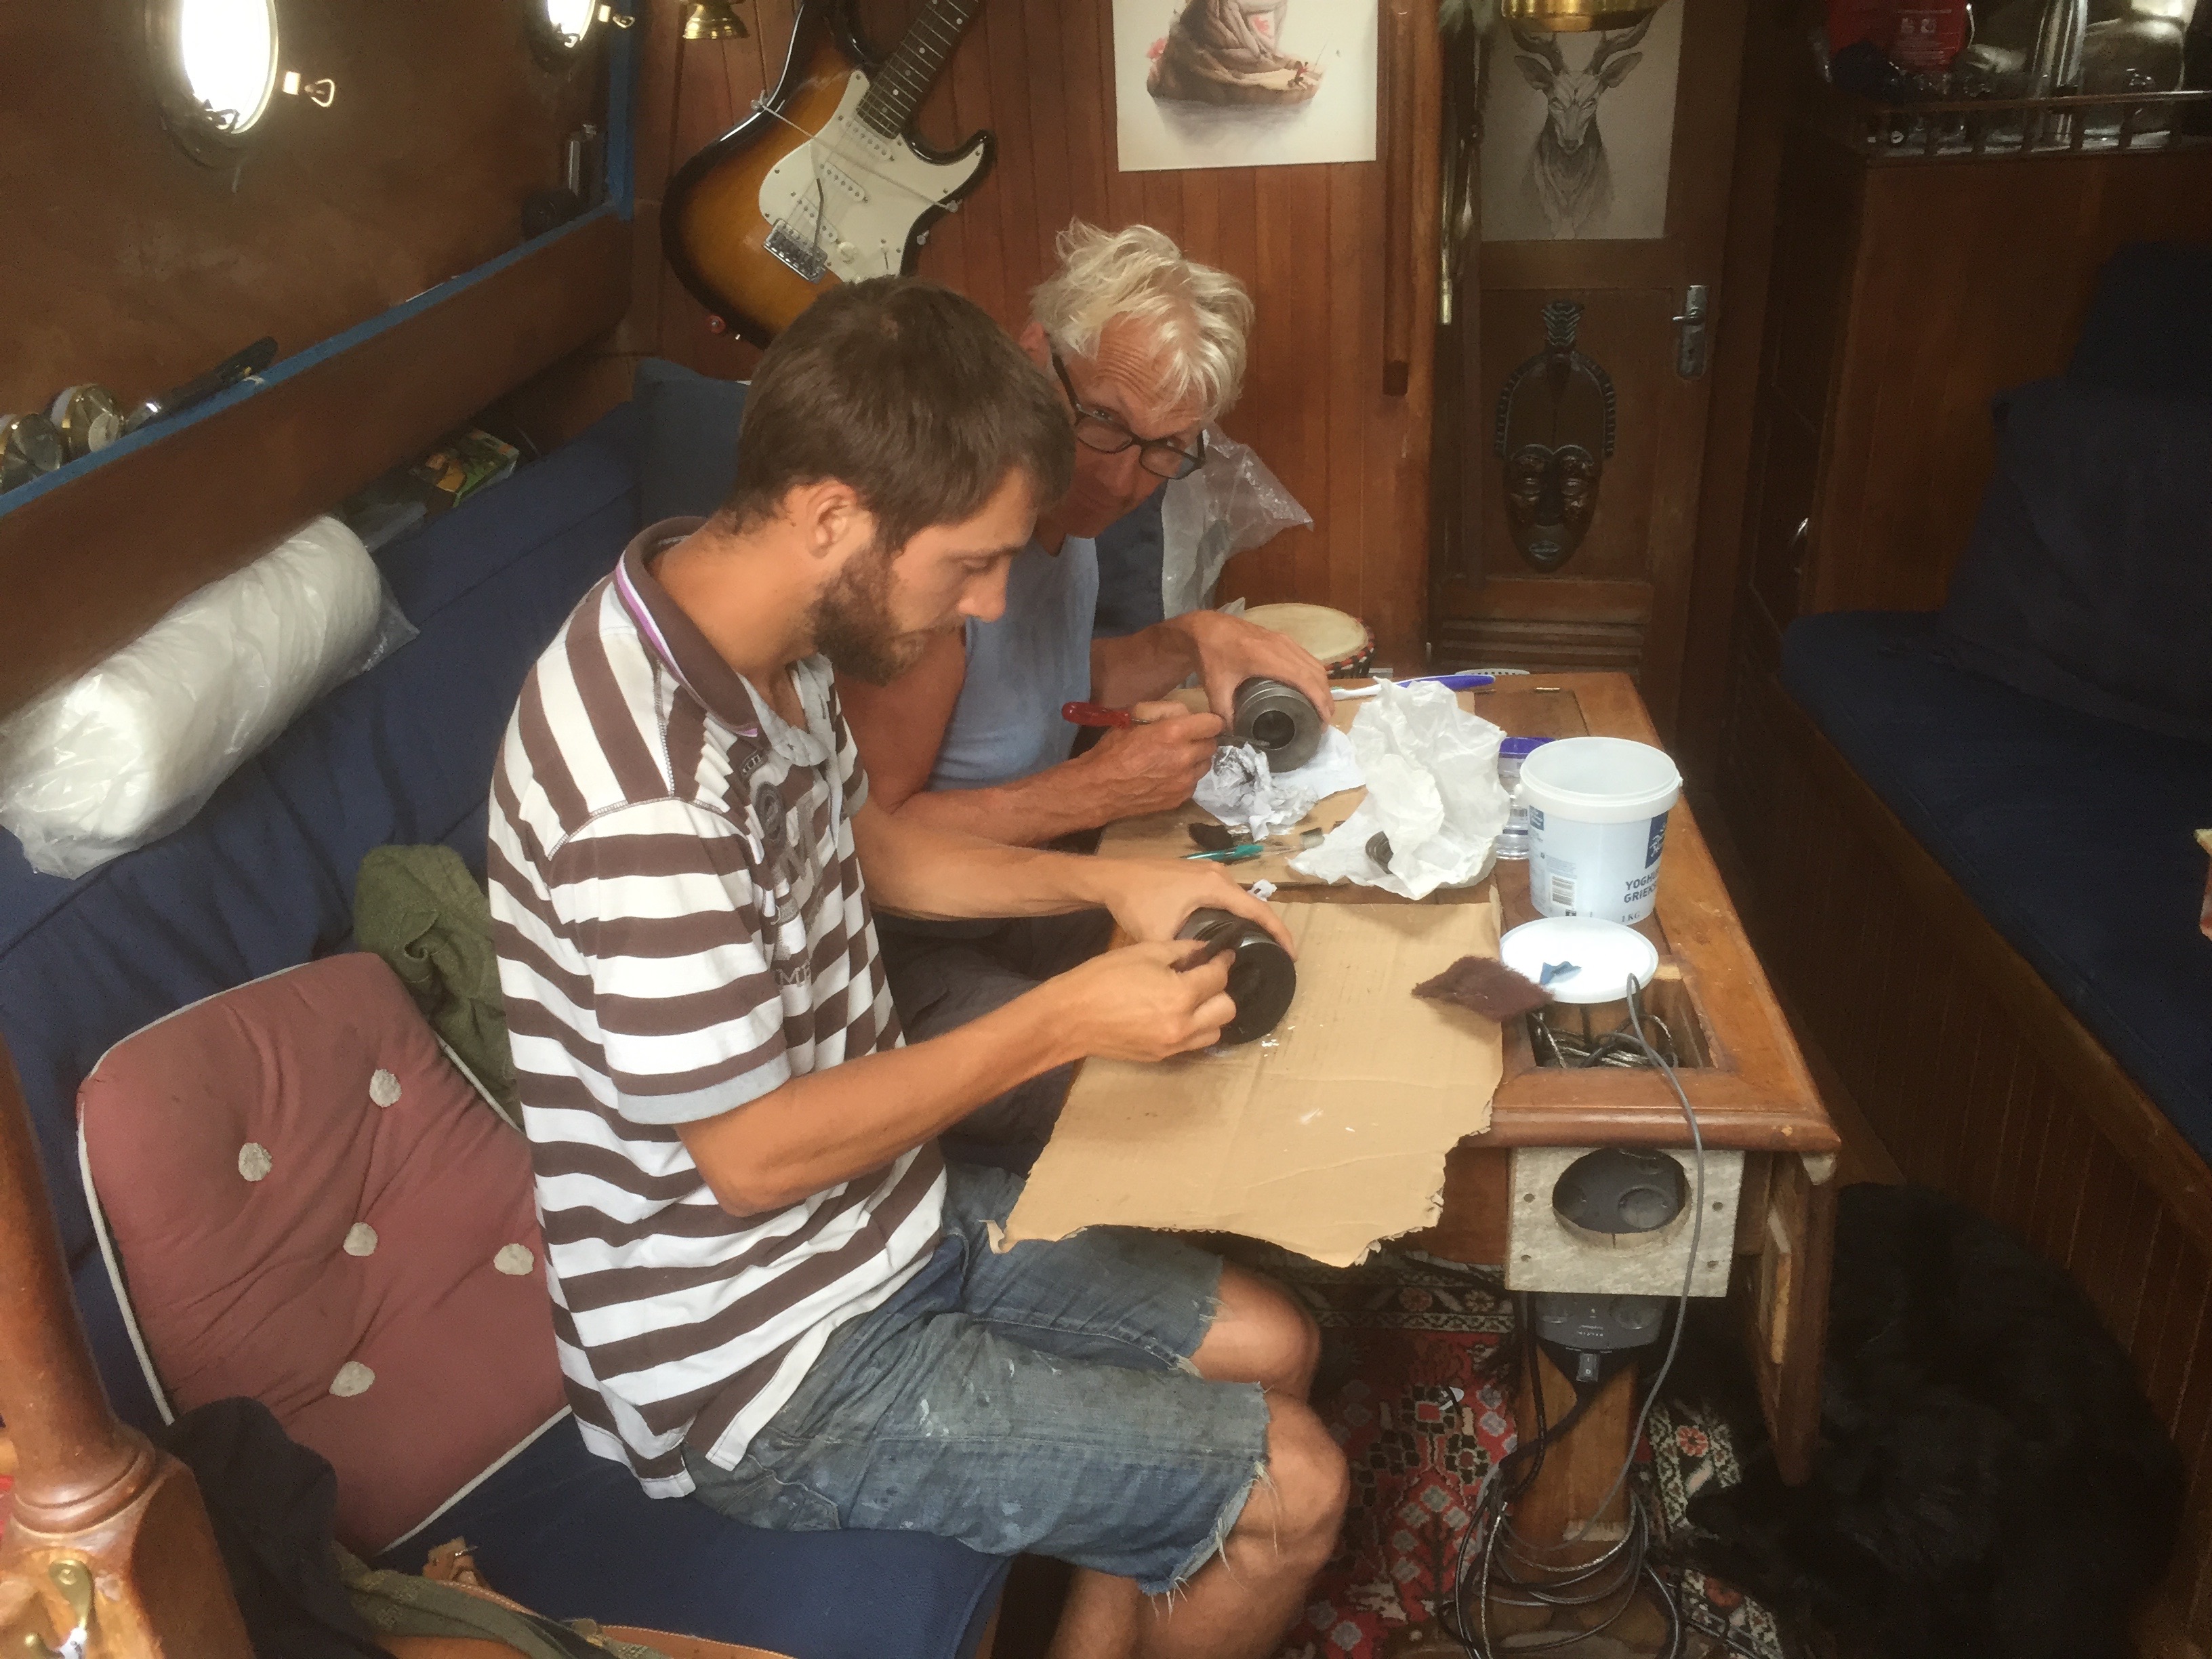
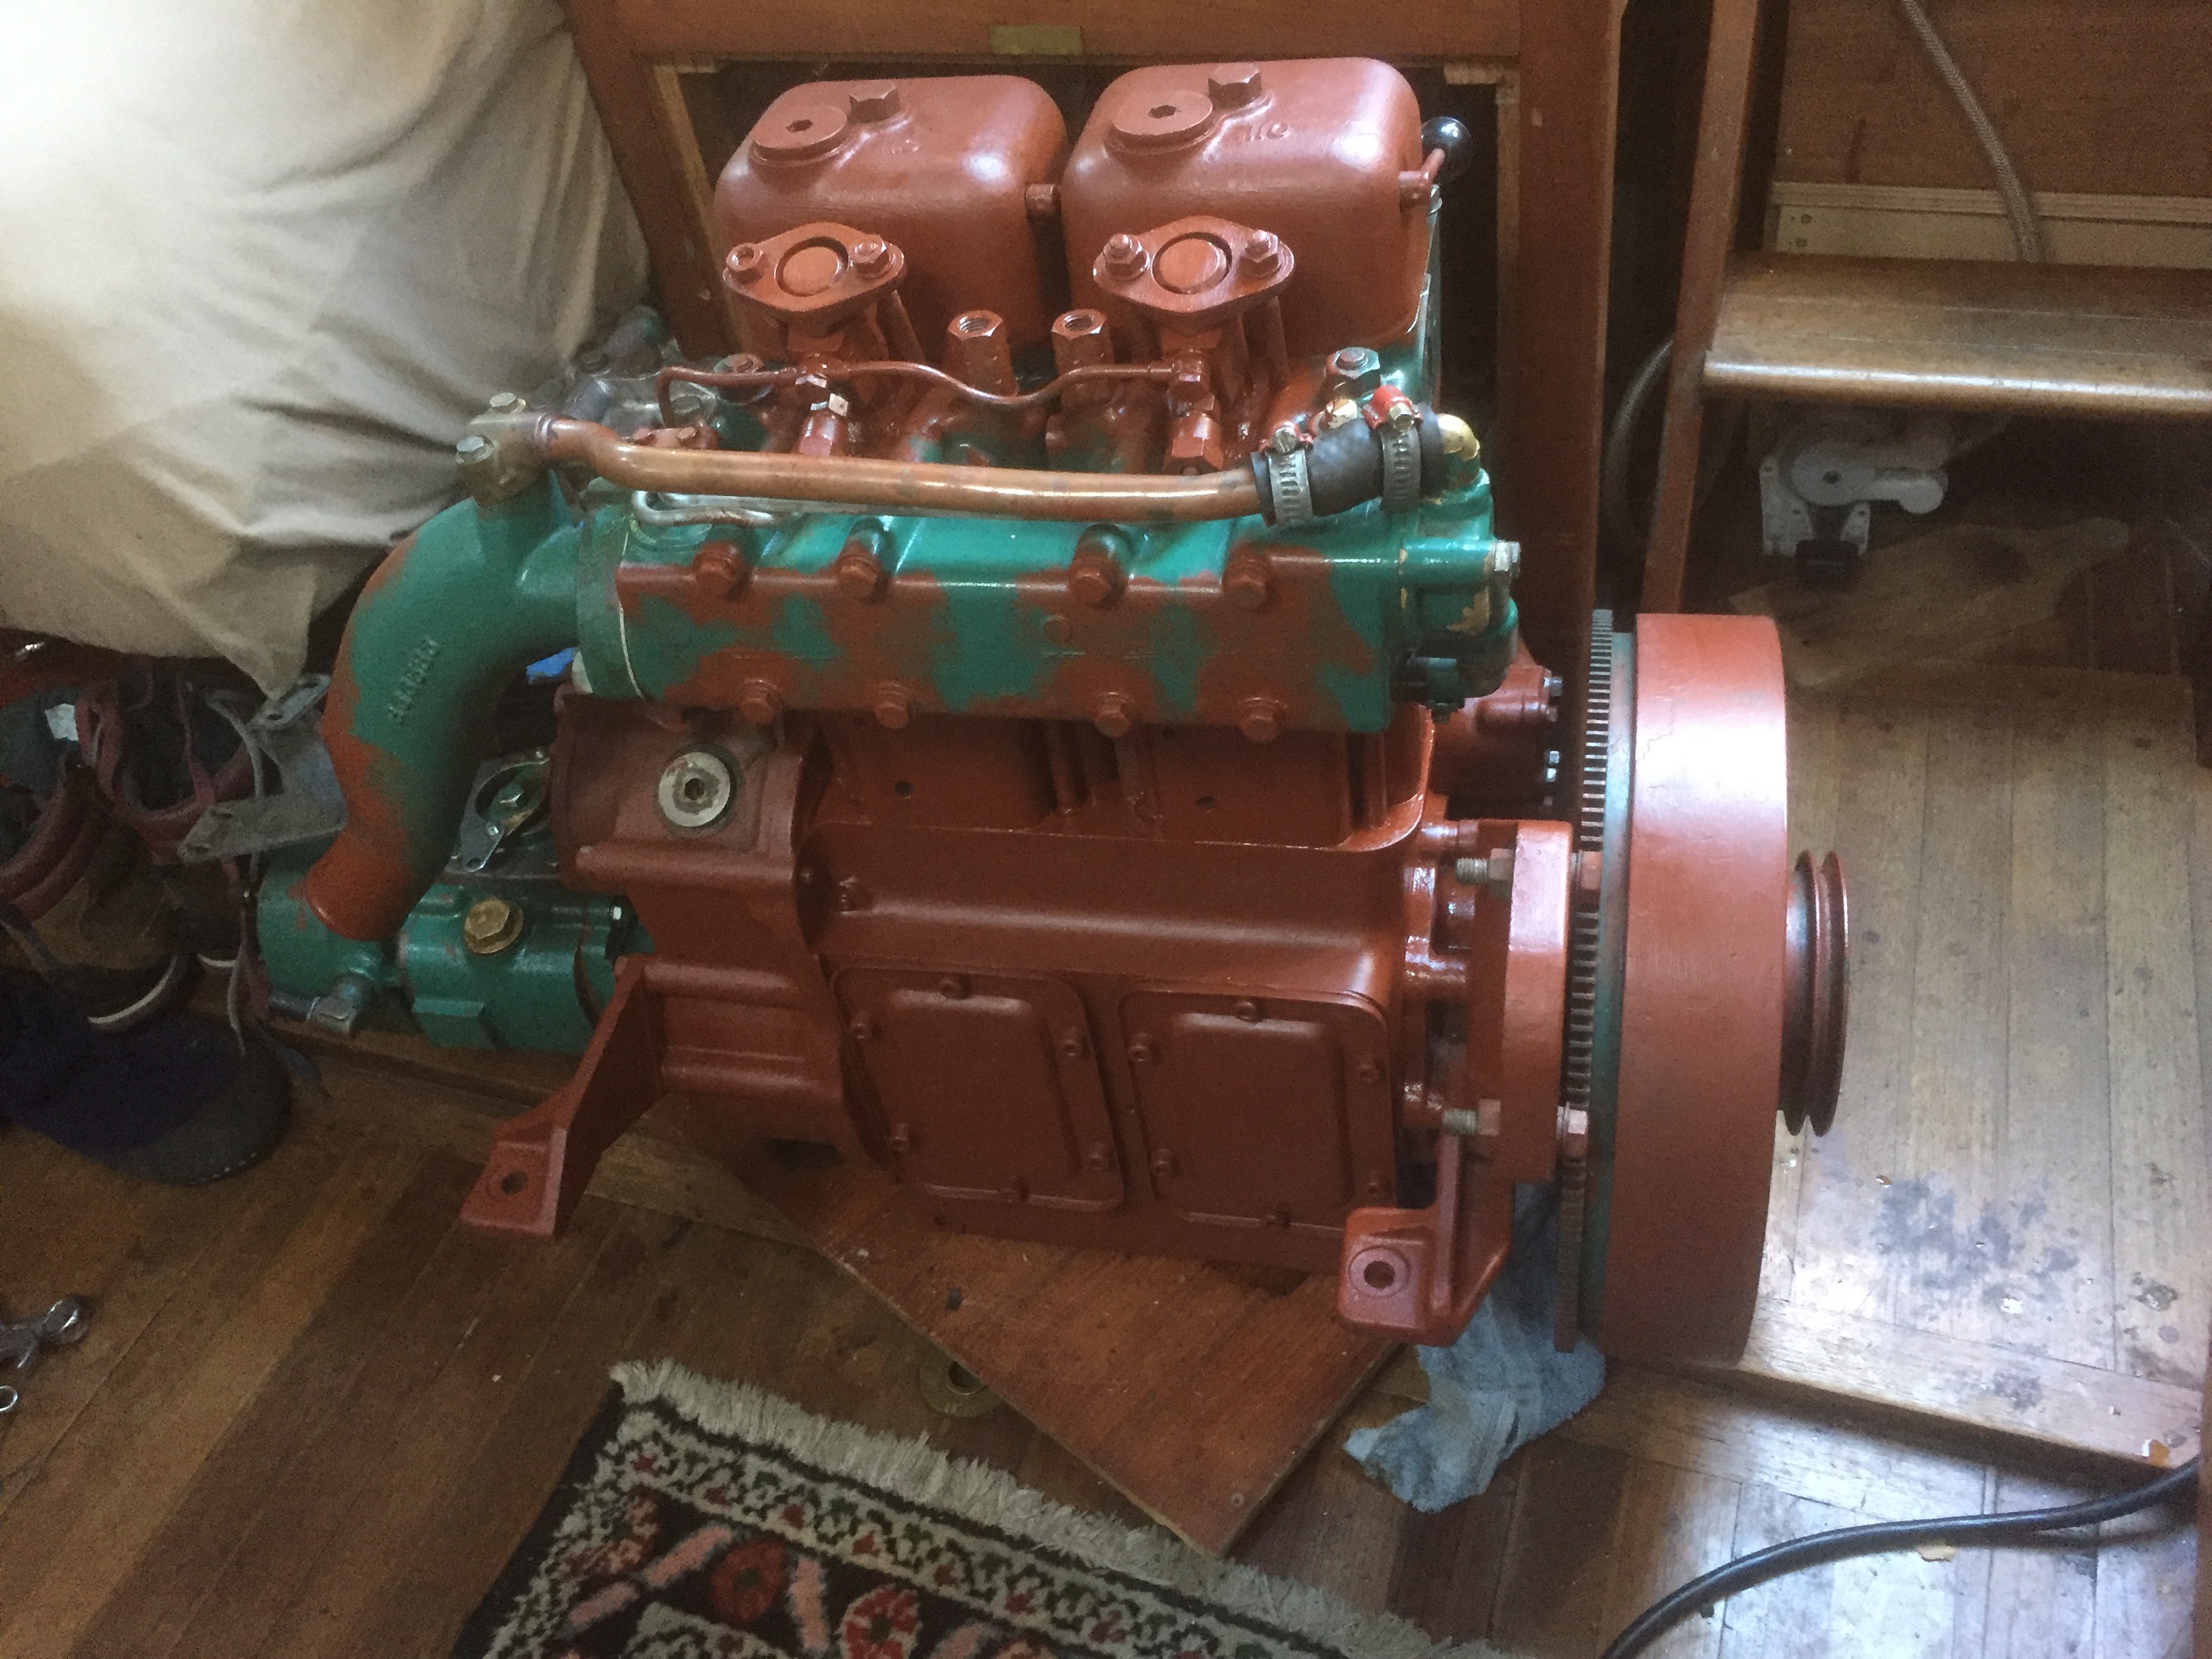
We decided that if we where going to repair this engine, we were going to do it without any constraints. Meaning we where going to do a complete overhaul to make the whole engine truly as good as new. We had acquired an almost identical engine from which we could take the parts that needed to be replaced.
The definition of a completely overhauled engine is the following: “An overhauled engine is an engine which has been removed, disassembled (torn down), cleaned, inspected, repaired as necessary and tested using factory service manual approved procedures. The procedure generally involves honing, new piston rings, bearings, gaskets, oil seals.”
So that is exactly what we did, and then some!
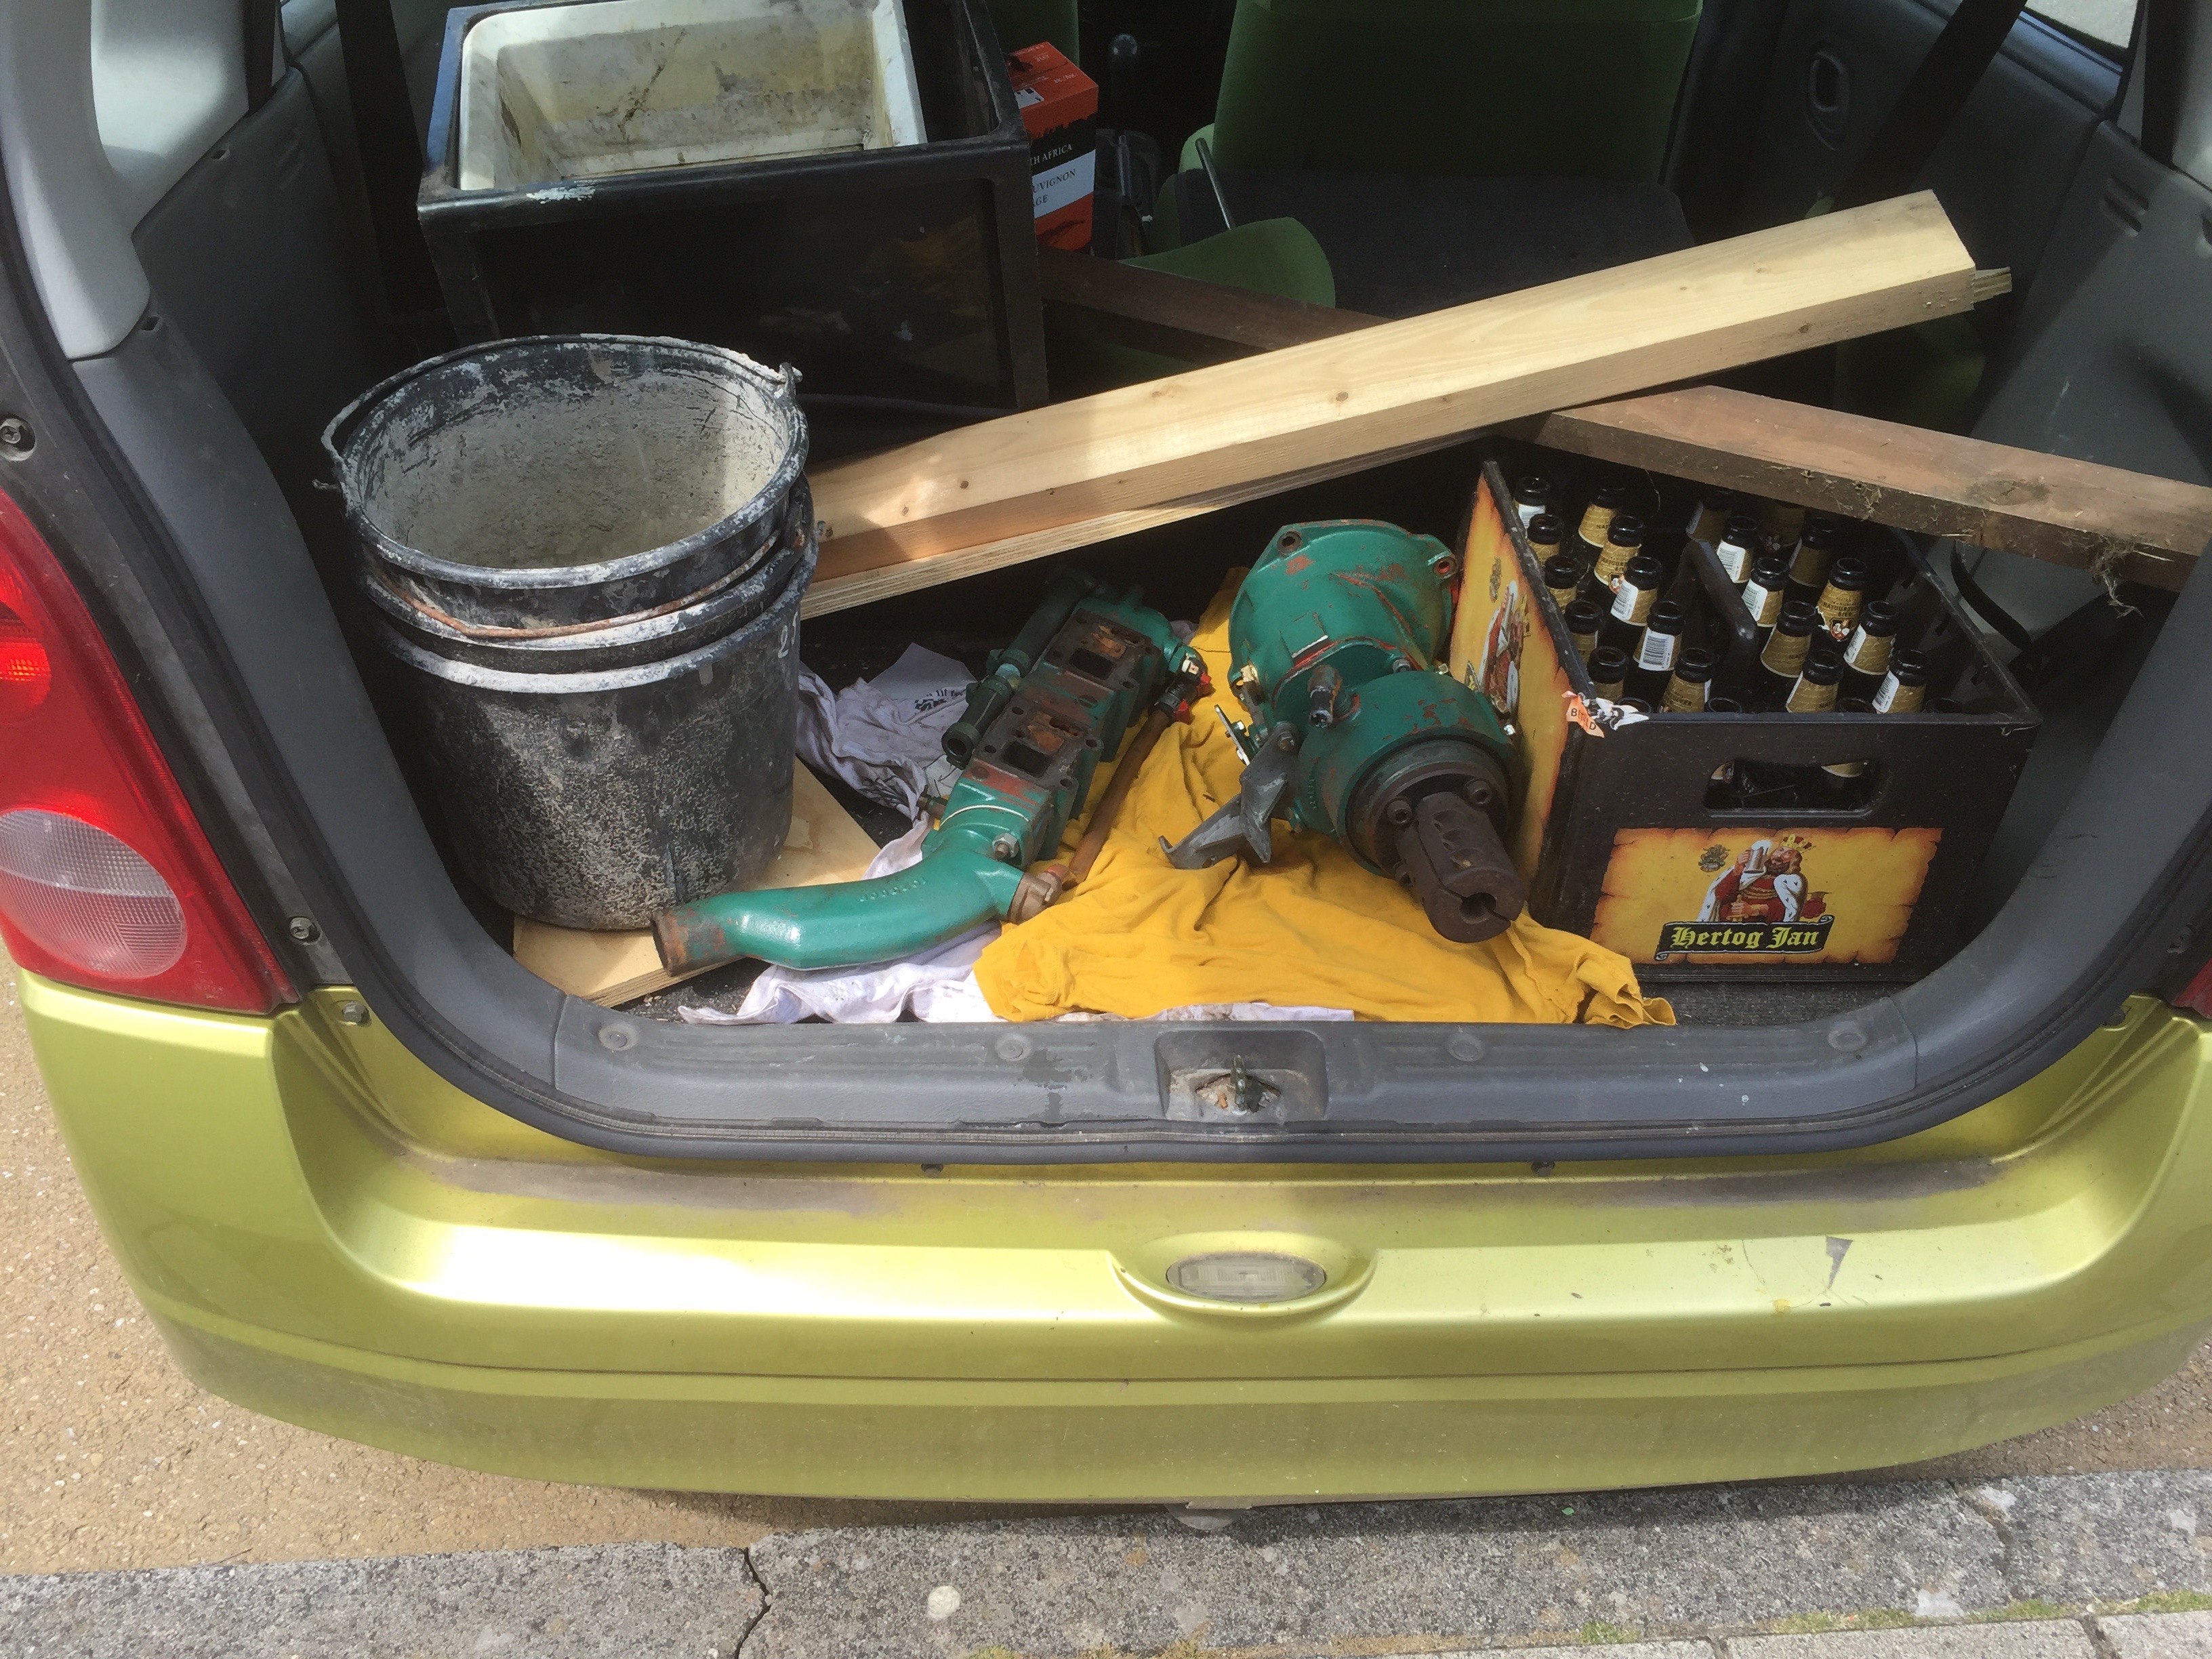
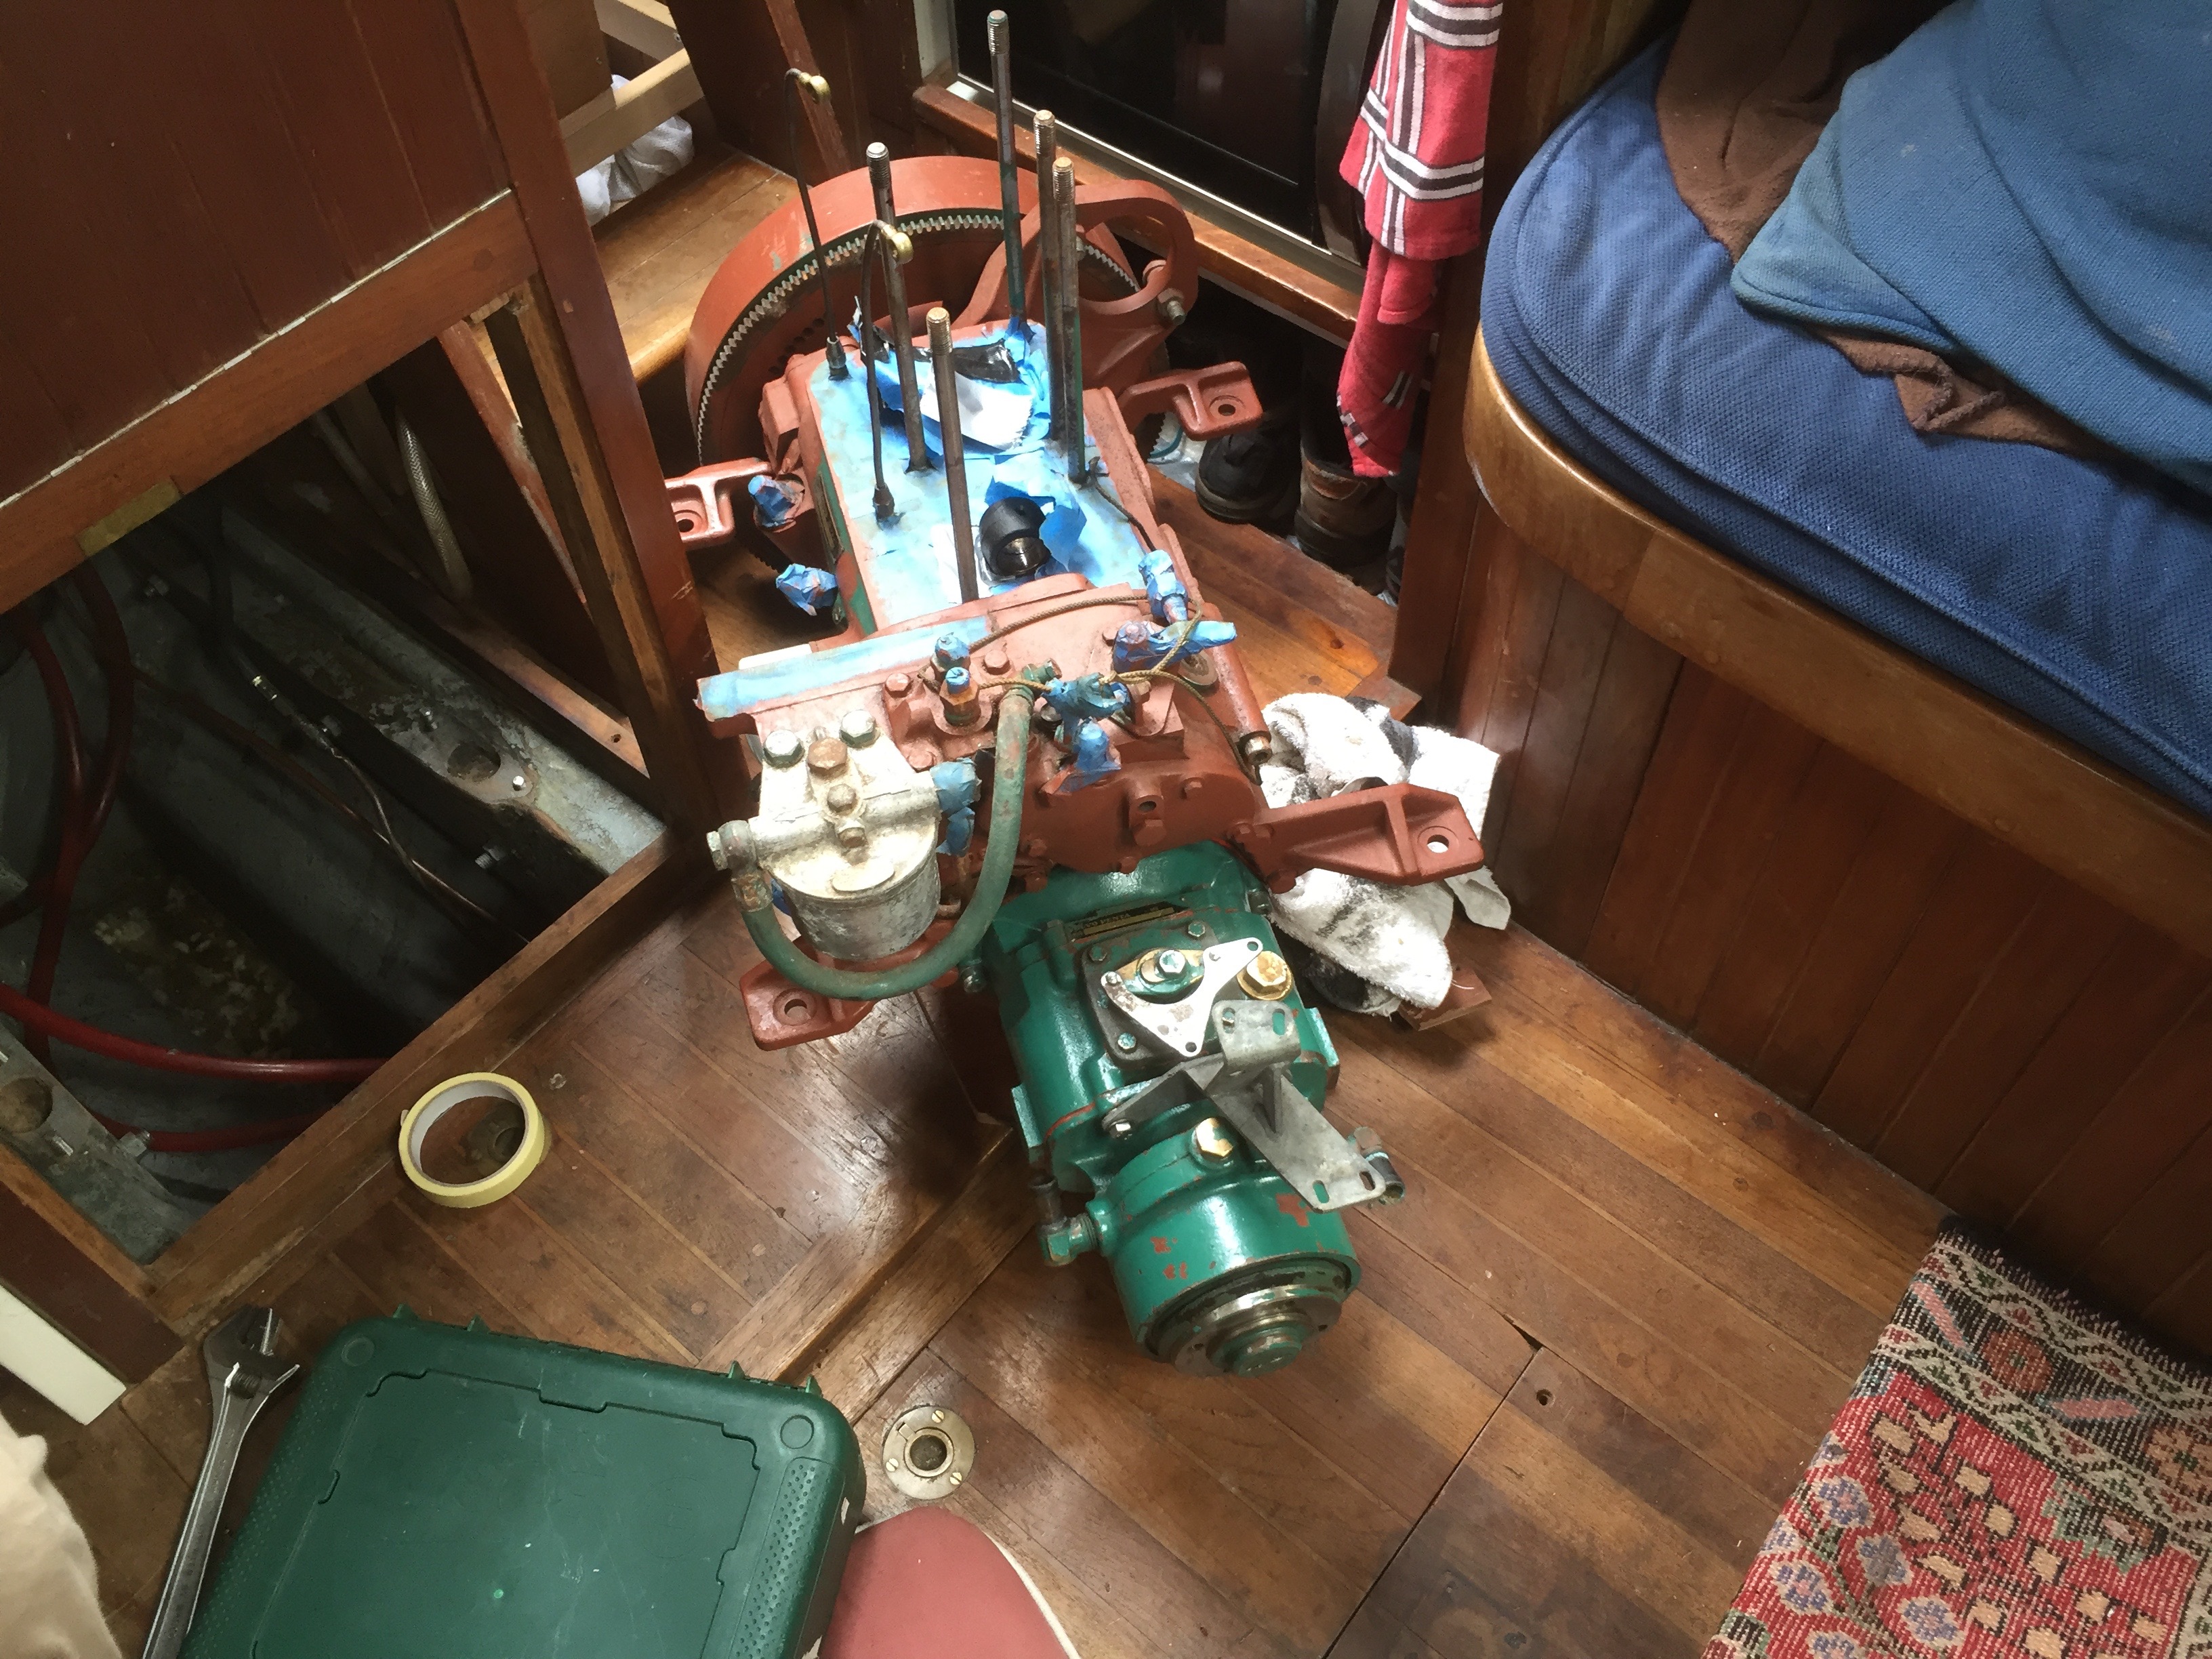
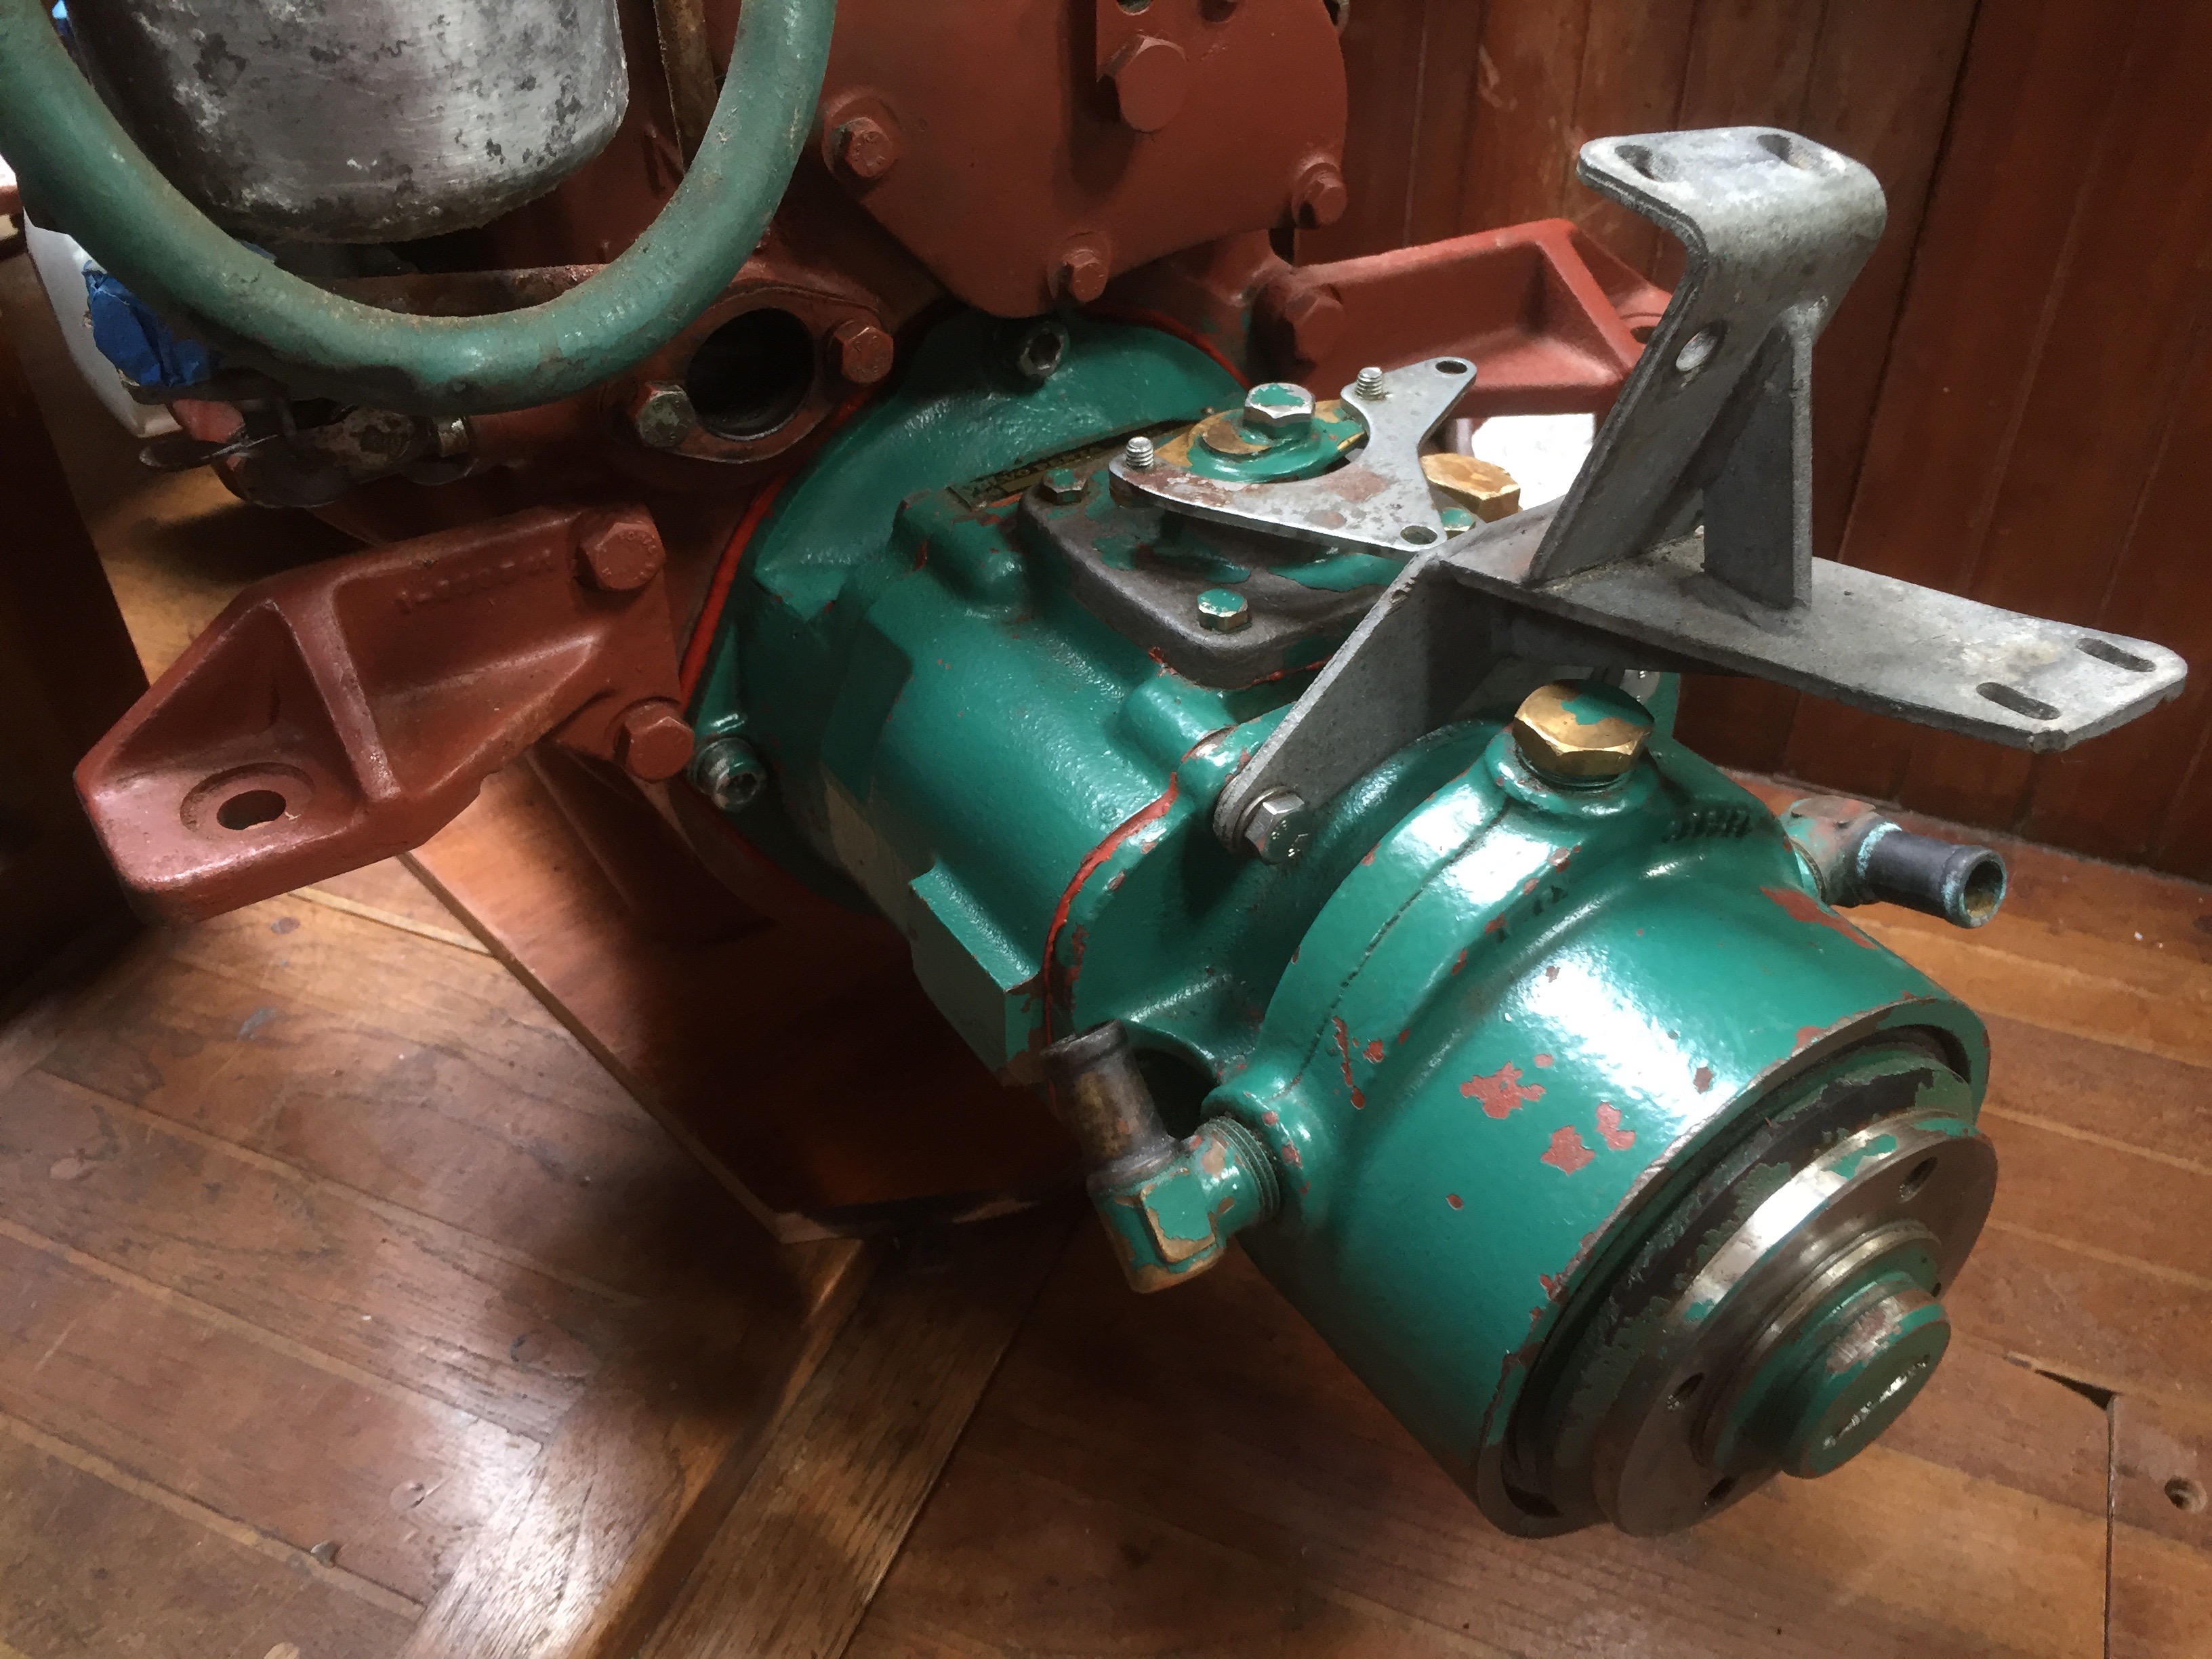
Literally all the parts were disassembled, cleaned, repaired or replaced. Some of the work like honing the cylinders and restoring the cylinder heads we could not do ourselves, so those parts were brought away and were restored by professionals who had the specific tools needed for those tasks. Other parts were replaced by new (Volvo Penta) parts like the piston rings, fuel atomizer, engine rubbers, fuel filters, oil filters and of course all the gaskets, oil seals etc.
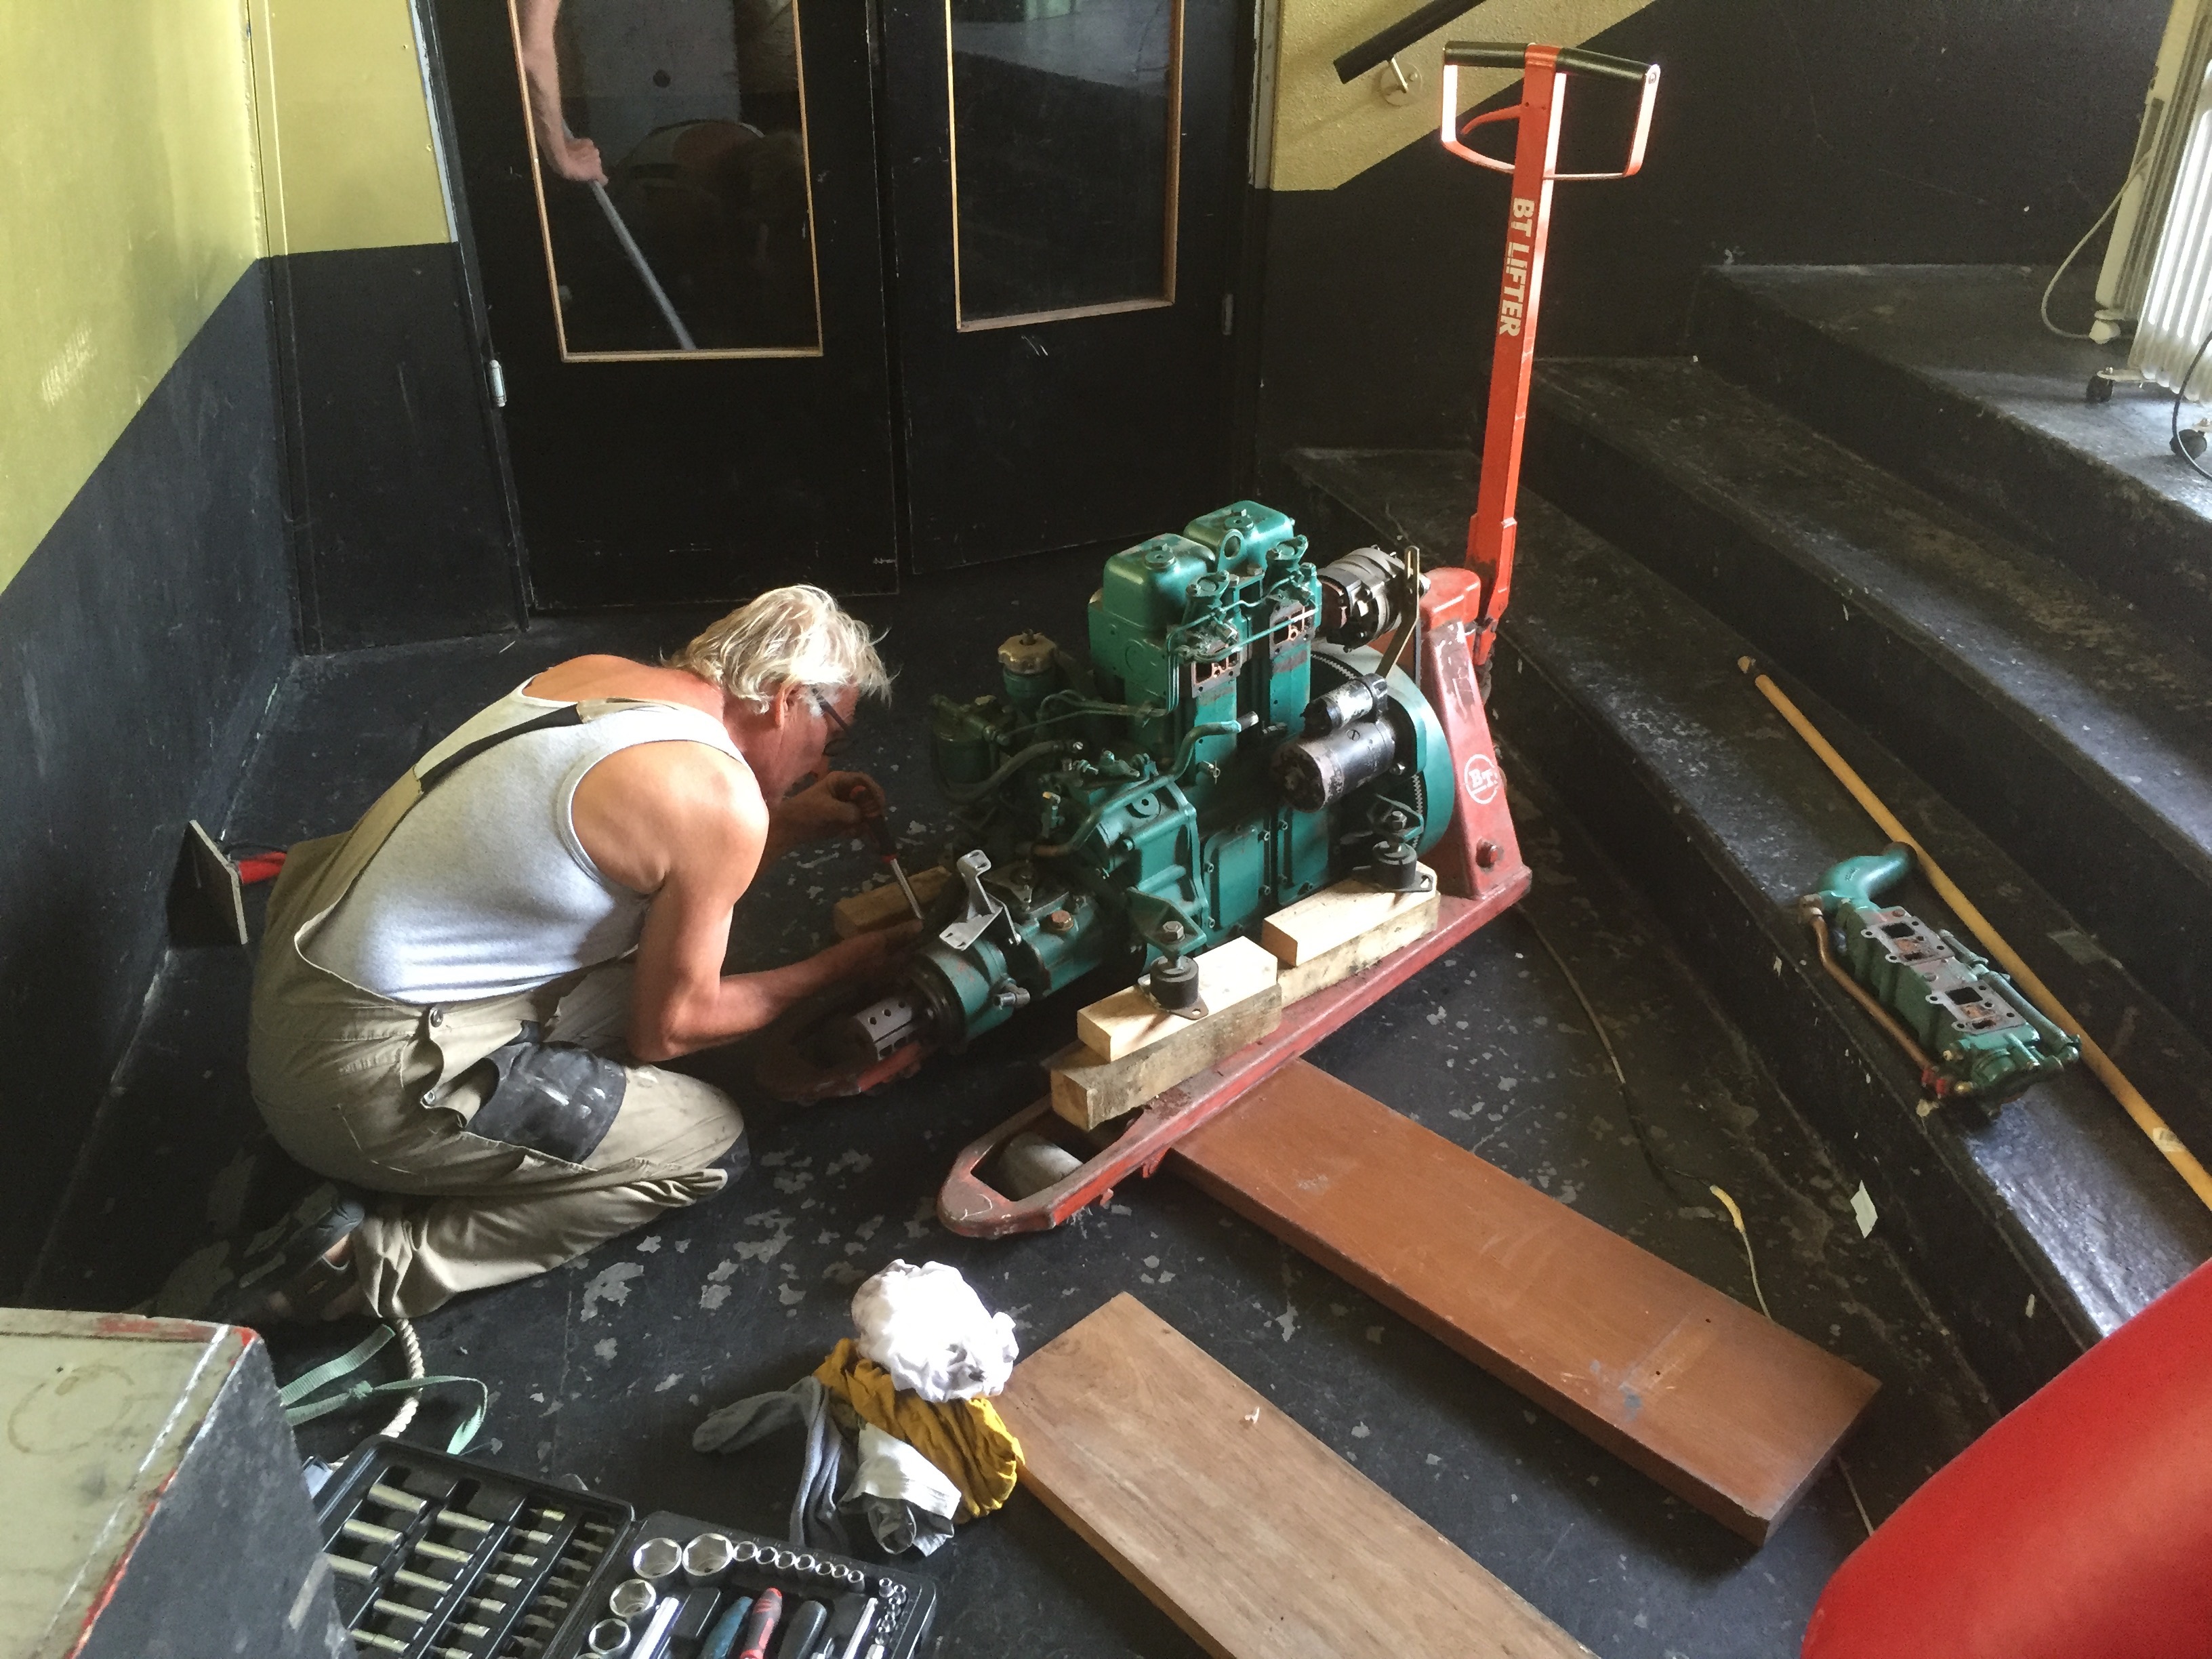
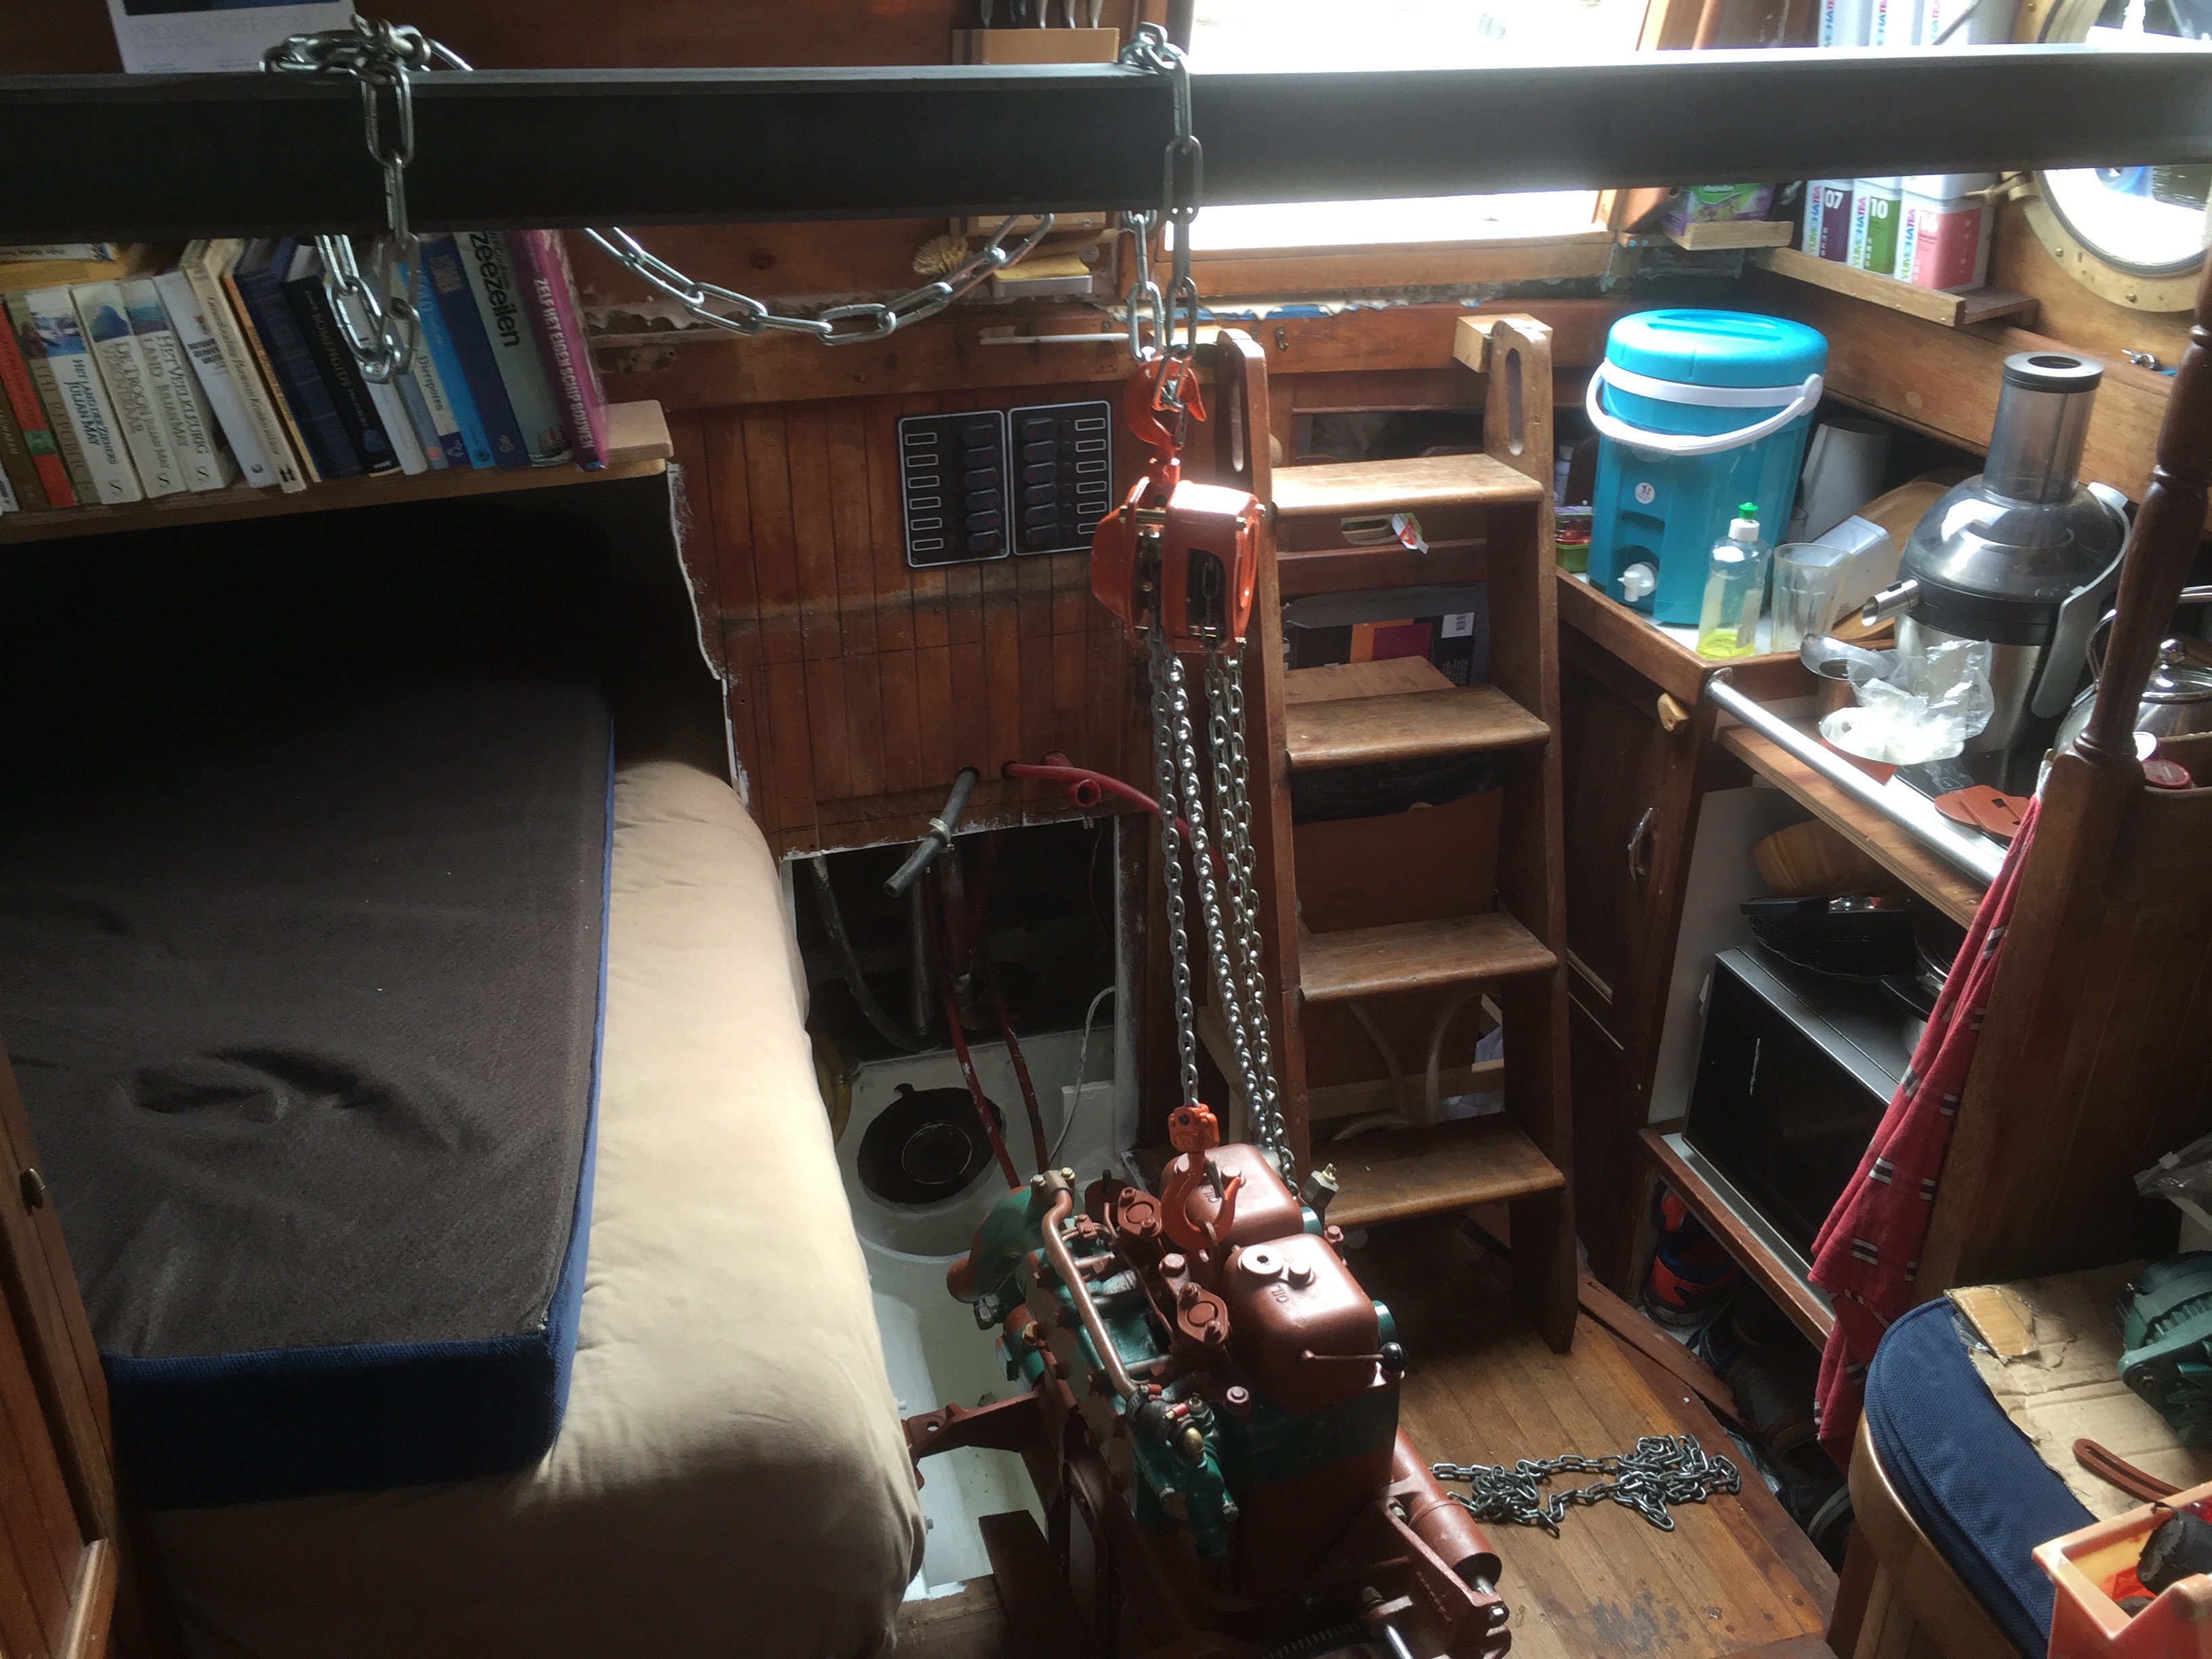
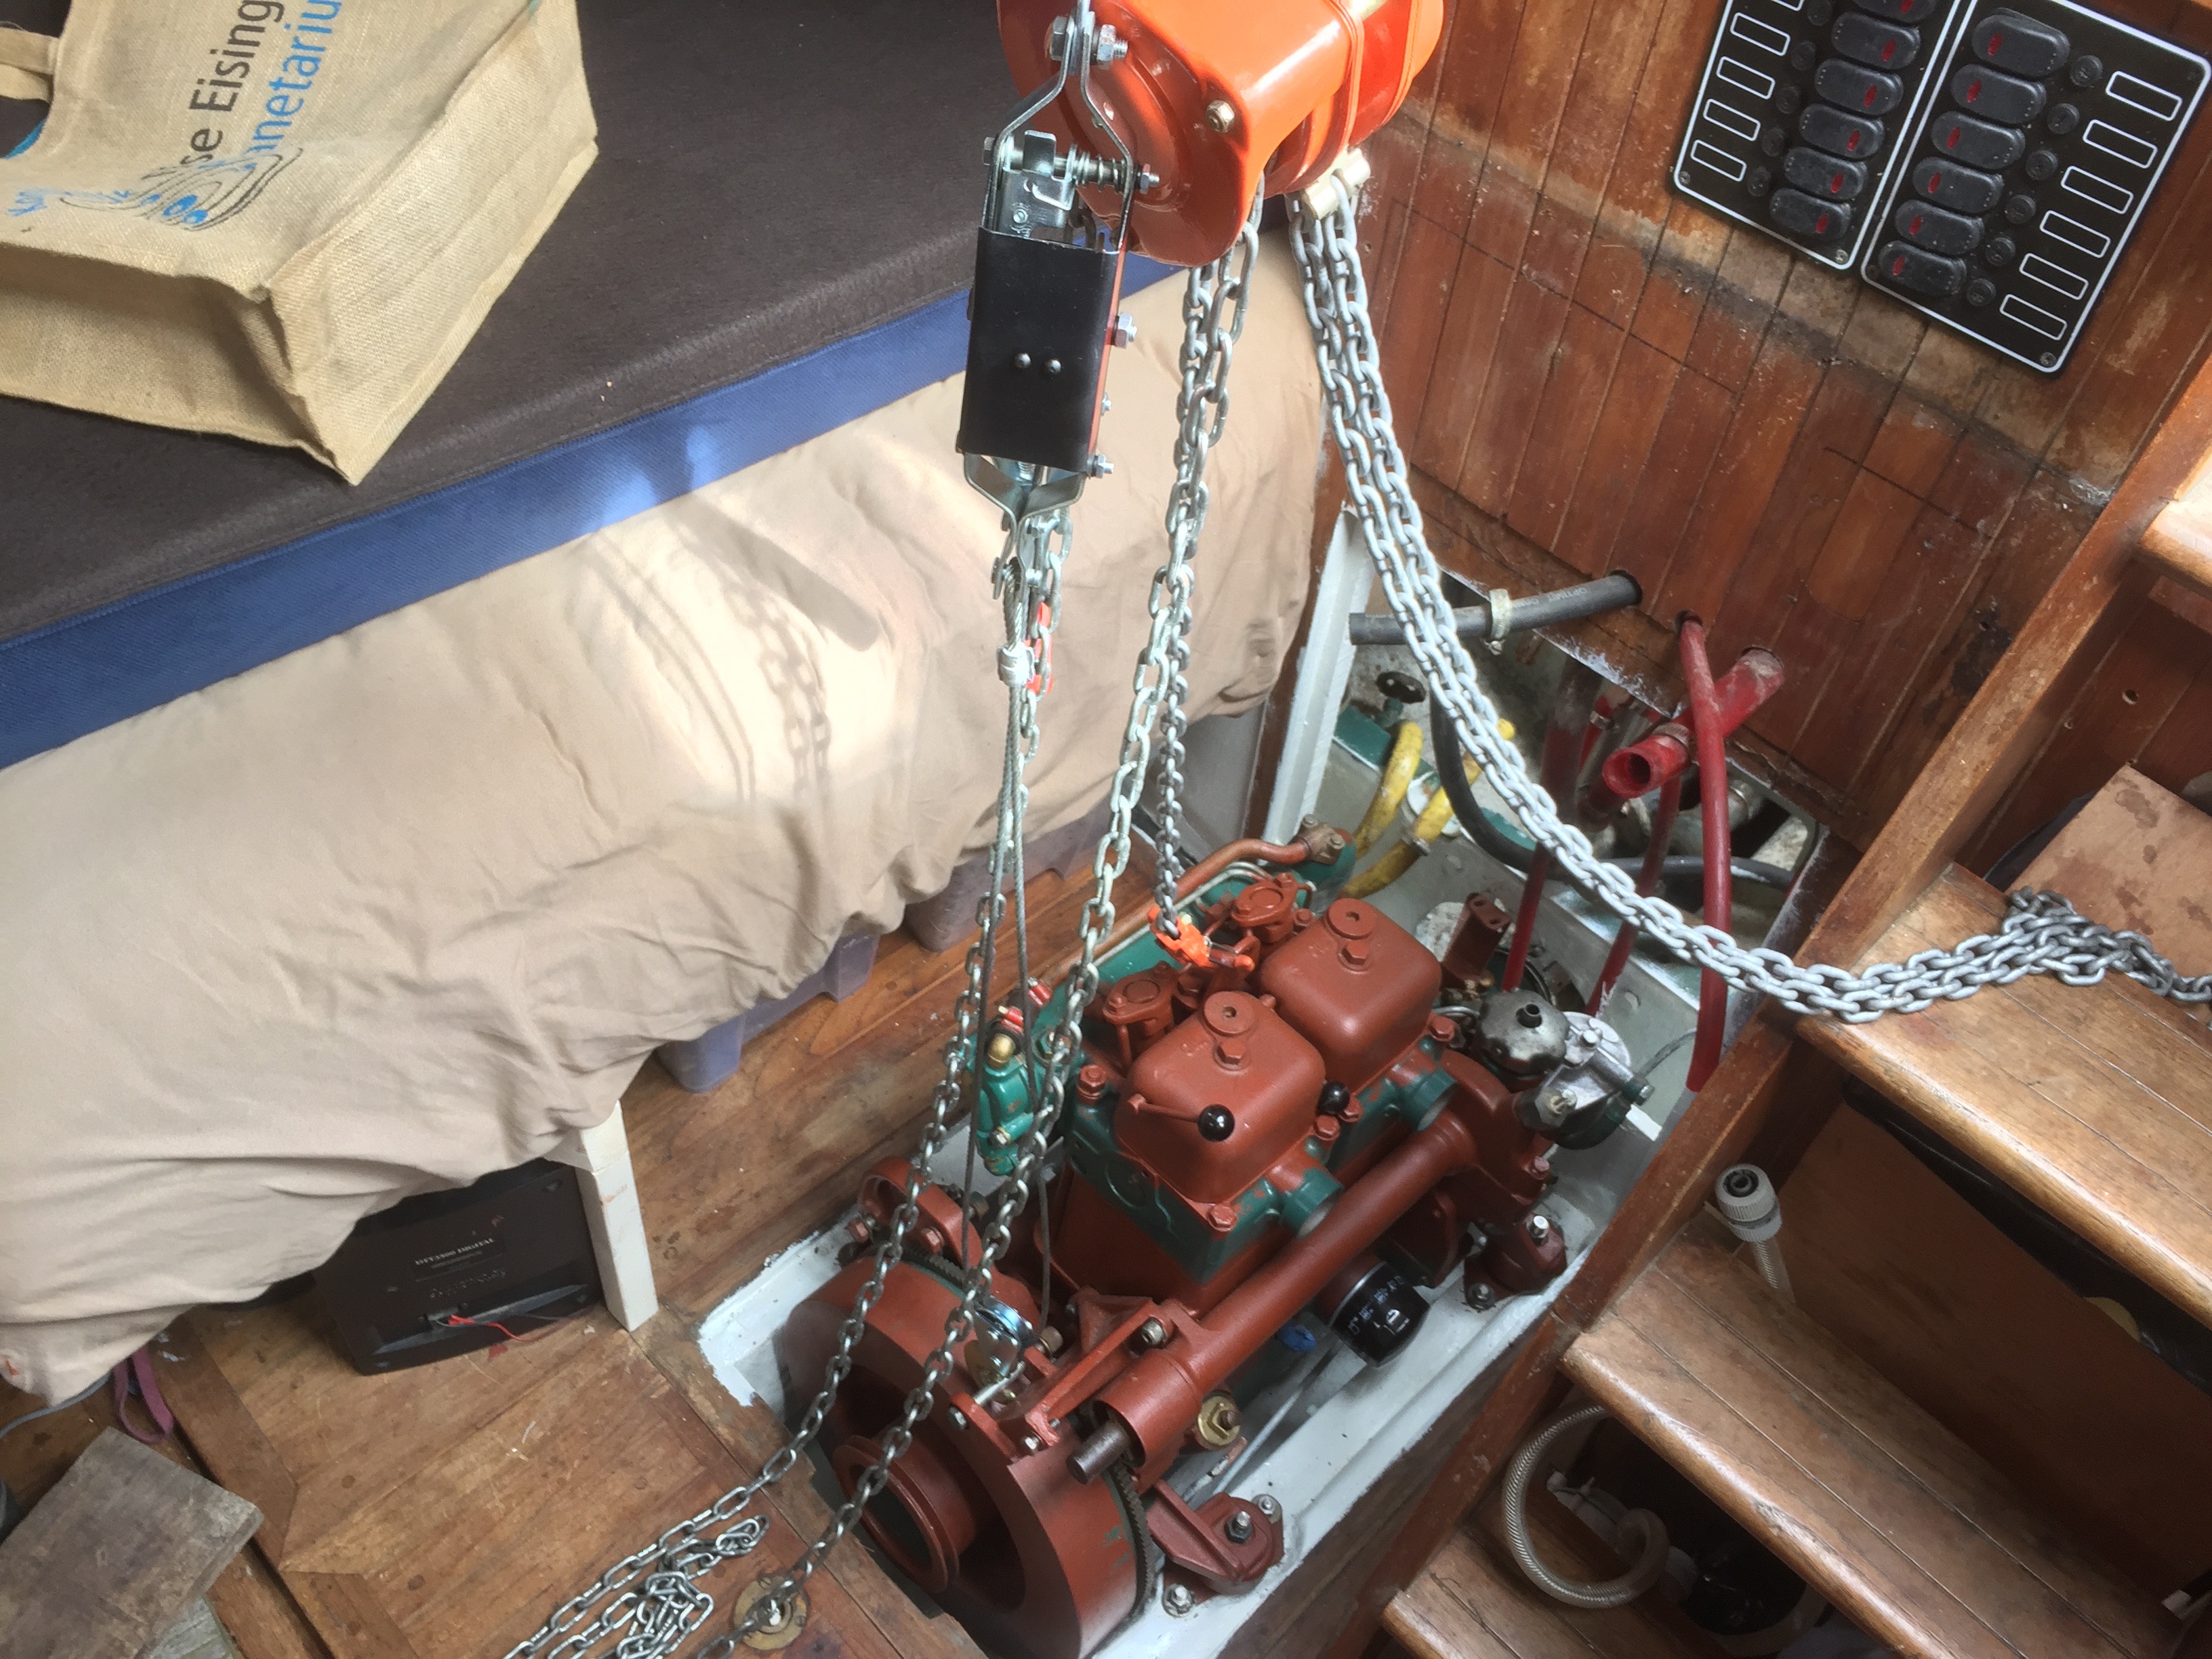
Getting the engine back in position was quite a challenge given he fact that the whole engine block was now back to it’s original size and weight (which is around 260 kilogram). With a 3 meter long heavy-duty steel construction beam, a manual hoist which could handle 1 ton of weight and some wooden blocks we created a support system to hoist the engine into place.
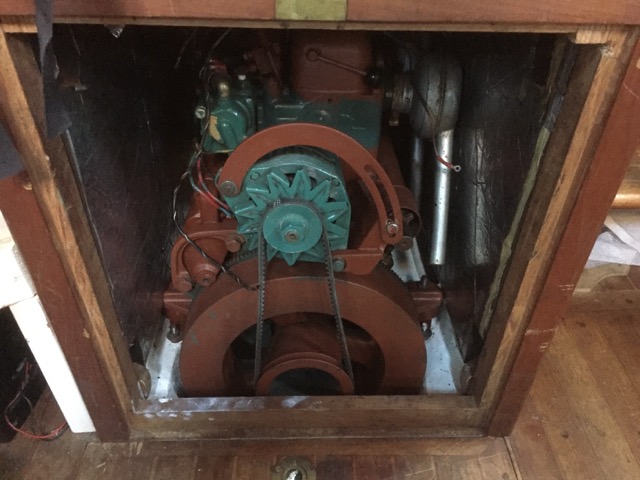
Now 3 months later (October, 2016) the engine is once again back where it belongs, in tip-top condition and ready to go for a spin.
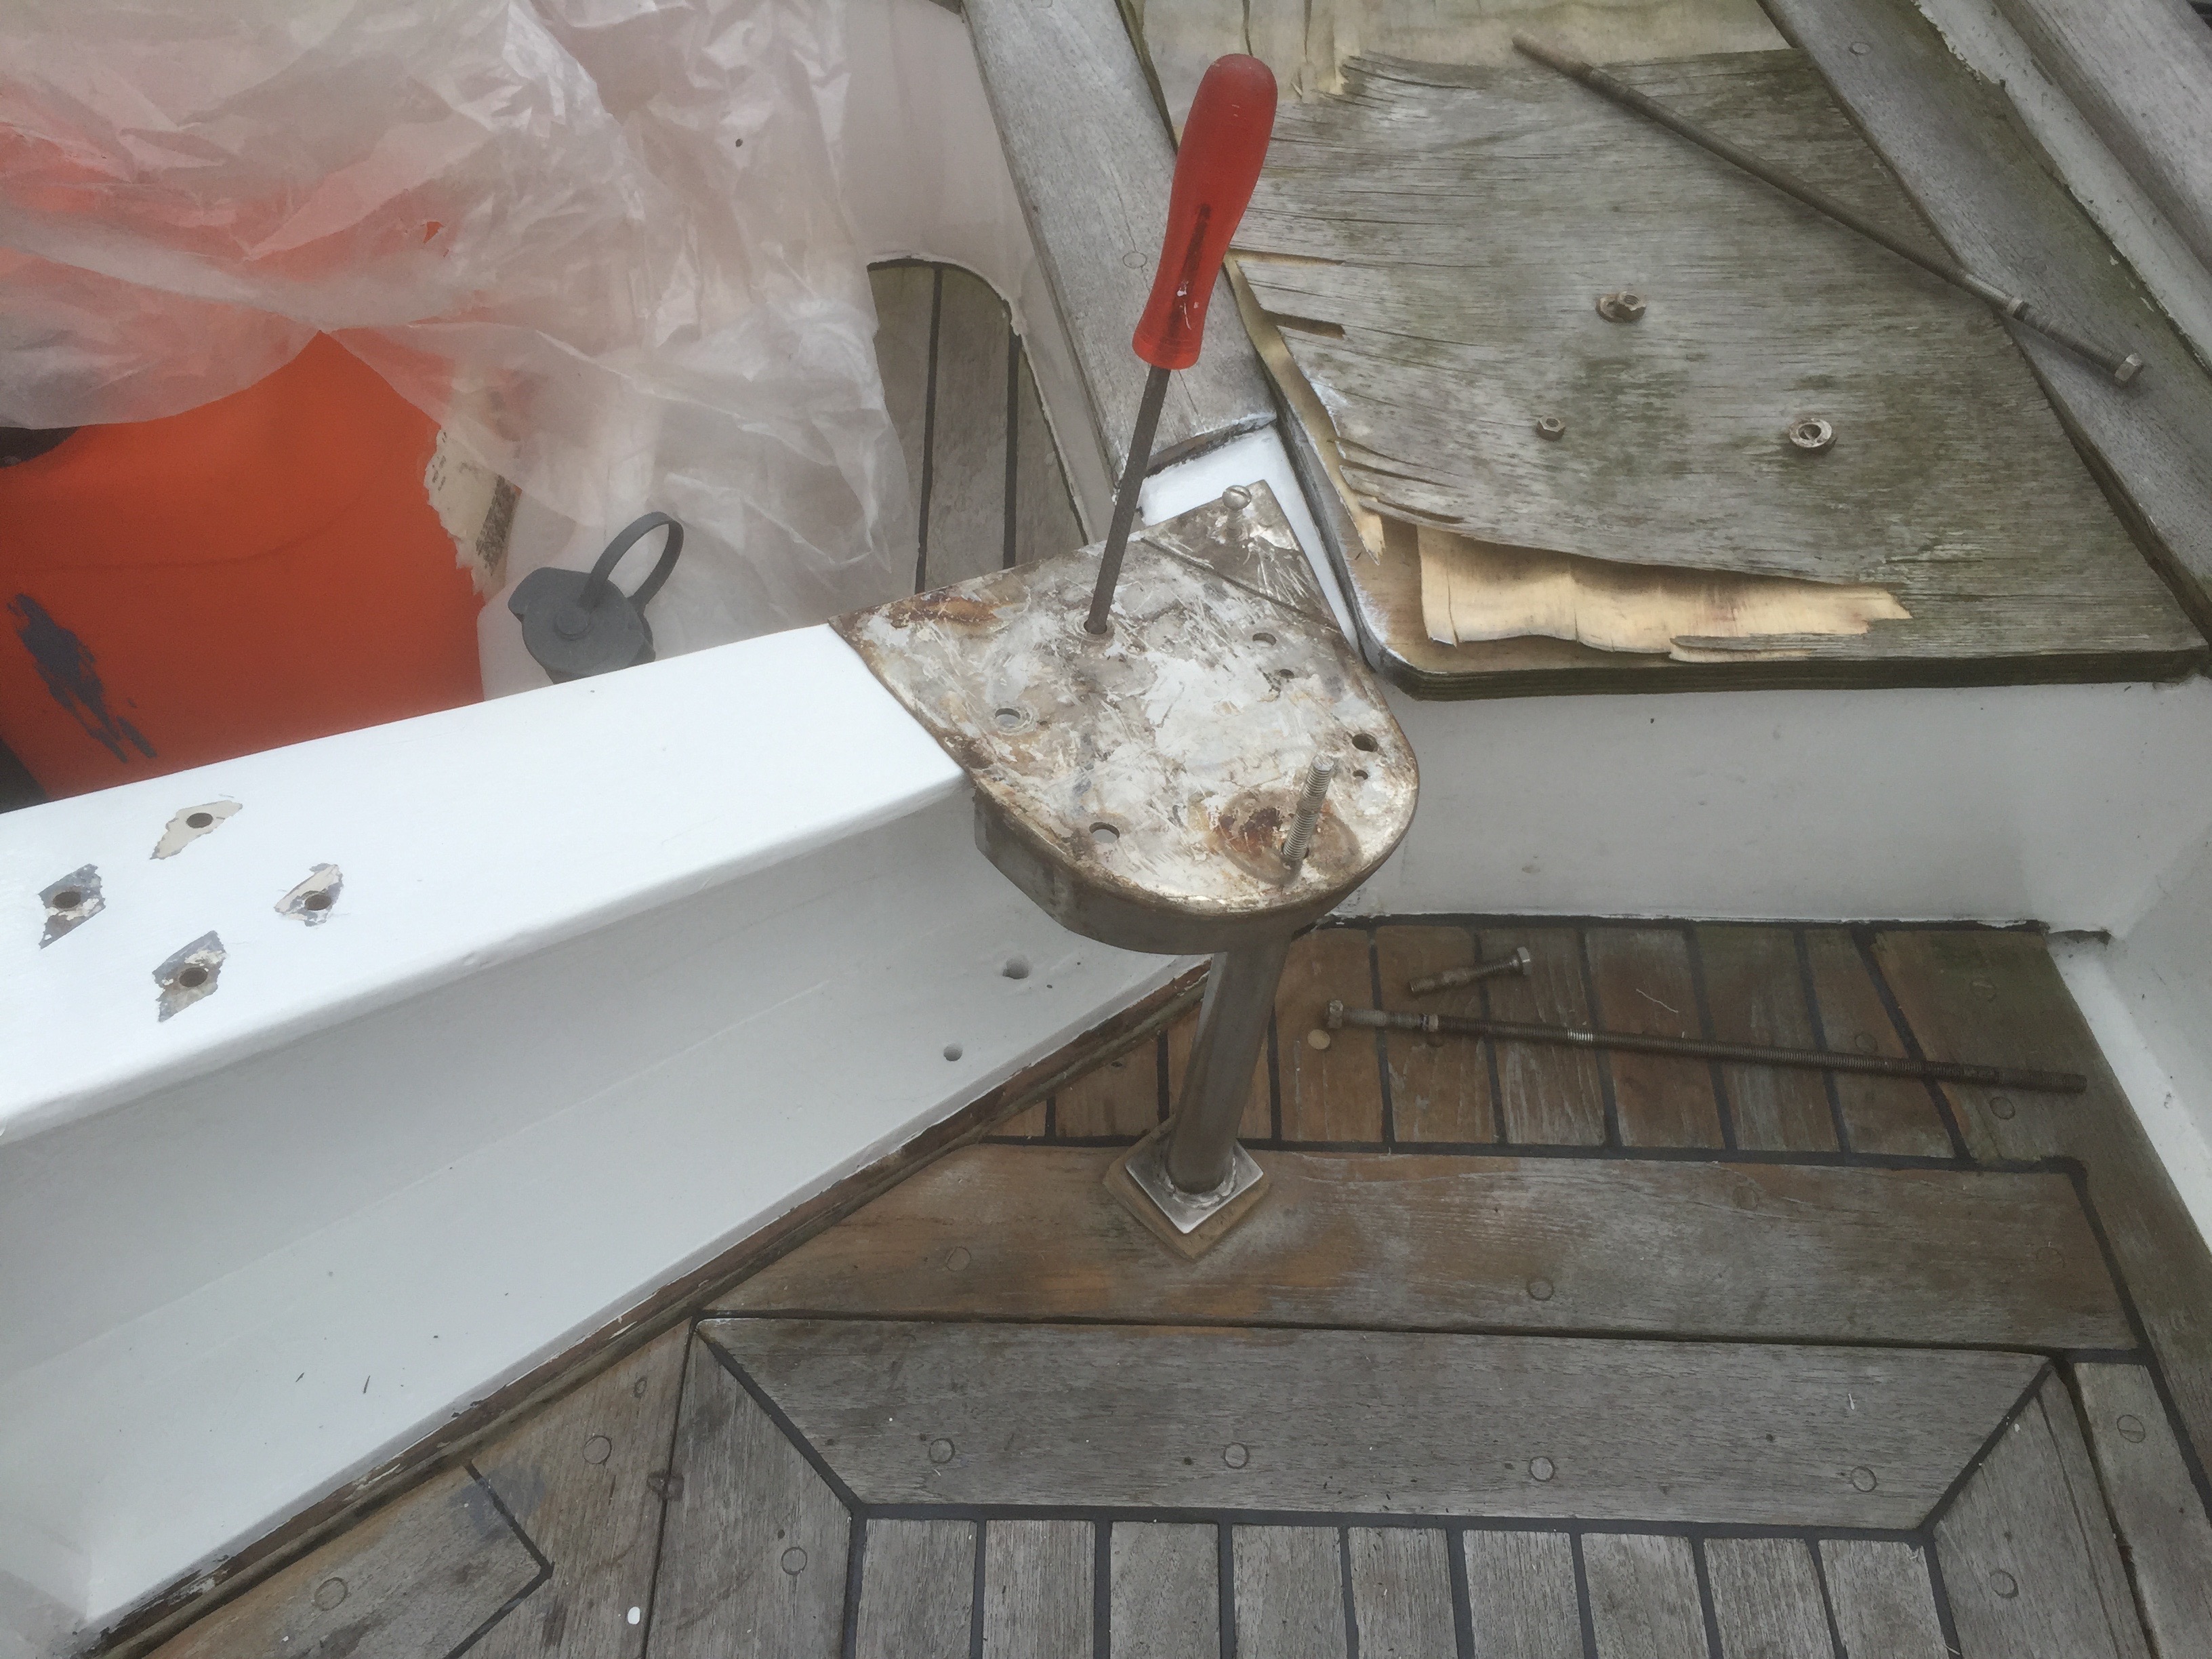
We still have to do some minor work before we can take it for a test drive, like connecting up the diesel tank and hooking up the electrical systems etc. Also the diesel tank itself is very old and rusty and will likely need to be replaced. But more on those topics next time….

Restoration of the cockpit

While waiting for the necessary parts to be delivered to finish the motor revision I decided to start further restoration of the cockpit. For some time now it was apparent that rainwater was leaking from somewhere around the cockpit. I had an idea of where this leak might be, so got out the multitool, hammer and chisel and started hacking away. Lo and behold behind the first few layers of dry wood there was more than a full trash bag of rotten wood. There even was a puddle of water lying around there behind the wood, so it was definitely time for some restoration work.
After most of the rotten wood was removed and the rest of the wood was well and dry, it was time for some layers of epoxy, together with some new pieces of wood here and there. When everything was filled up and watertight the first layer of two component primer was applied, were after 4 more layers of two component white paint finished the job. Of course some caulk was also applied to make all the seams watertight.
After that the teak boards on top were sanded, cleaned and set in teak oil for a beautiful finish. As always the whole process took much more time than was expected, but the end result was satisfying none the less.

Finishing the main cabin and the bowsprit

Back in August some final touches to the bowsprit and the main cabin where done.
Mainly, the air vents where permanently placed on top of the cabin and some small paint touch ups.
The beams that supports the bowsprit also still needed some layers of paint before the bowsprit could go into position.
Plus, the walking boards that go on top of the bowsprit also needed to be replaced.
Many thanks to my dad for helping, because placing and mounting the bowsprit would have been impossible on my own.
When the bowsprit was in position we still had to drill an enormously long hole into the beams and bowsprit to fix it in position with a stainless steel bolt. Luckily my dad had the tools to get the job done. After that the stainless steel cables could be hooked up, to fix the bowsprit further into position. The last step was placing the walking boards including the guard rail onto the bowsprit and bolting the whole thing down.

A washing machine aboard the Seadog

A washing machine is a luxury item and thus not a “must have” onboard a sailing vessel.
Most people just take it for granted at home, but aboard it’s definitely not standard.
Despite that fact, to make life as easy as possible I decided that the Seadog could have one.
I already had the perfect spot figured out. Only problem was that it really needed to be an extremely small machine to fit it in there.
If I could get a machine with the right dimensions, then it should fit inside the bathroom, replacing the laundry basket.
Dirty laundry could then be put directly in the washing machine and when it’s time to wash, just add detergent and startup the machine.
Well, after some research I found the perfect fit. This machine does it all. It washes, it dries the cloths, has multiple programs, and has the door on top of the machine. Only 180 euro,- and exactly what I needed.
The bathroom did need some minor remodelling and a sturdy wooden frame to support the machine, but in one day after receiving the machine it was ready to spin.
Drying your cloths aboard a boat can be petty tricky because of the fact that if they drop they might fall into the water, sink, and drown.
So I also ordered some special stainless steel clothes pins that are perfect to hang cloths on the guard rail of a boat. Check out all the photo’s below.

Removing the tarp

Yes, it finally happened! The tarp has been removed and the Seadog is shining in the sun. And I seriously mean shining in the sun (see the photo’s).
Next up, I will need to do some small repairs and preparations so that the bowsprit can be permanently placed on the bow of the ship. The bowsprit is now temporarily stored on the cabin roof together with the kayak. Very happy with that kayak right now. See my previous post about my latest kayak trip here: https://theseadog.life/2016/05/22/kayak-trip-to-elburg-nl/
Also some minor tasks still need to be done to make sure everything is completely watertight and safe. For example the roof window and entrance of the cabin might still leak with extreme rainfall.
After the bowsprit has been permanently placed I will have to add some anti slip to the deck beside the cabin as well, because if those parts of the deck get’s wet it’s dangerously slippery.
And of course the next big project will be to get a running engine, so the Seadog can head to open water!
But for now another big milestone has been achieved..