Seadog Haul Out (2017-10)
Tips, tricks and stories about living aboard and sailing around the world

Although I kept and stored all the old rigging to reuse with the new mast, I still decided that in the end it was a better to just buy completely new rigging.
Sure, it costs a lot of euro’s to do so, but this way I can be sure that when the winds are blowing strong the mast will stay on the boat and nothing will break (which would have dire consequences when under sail).
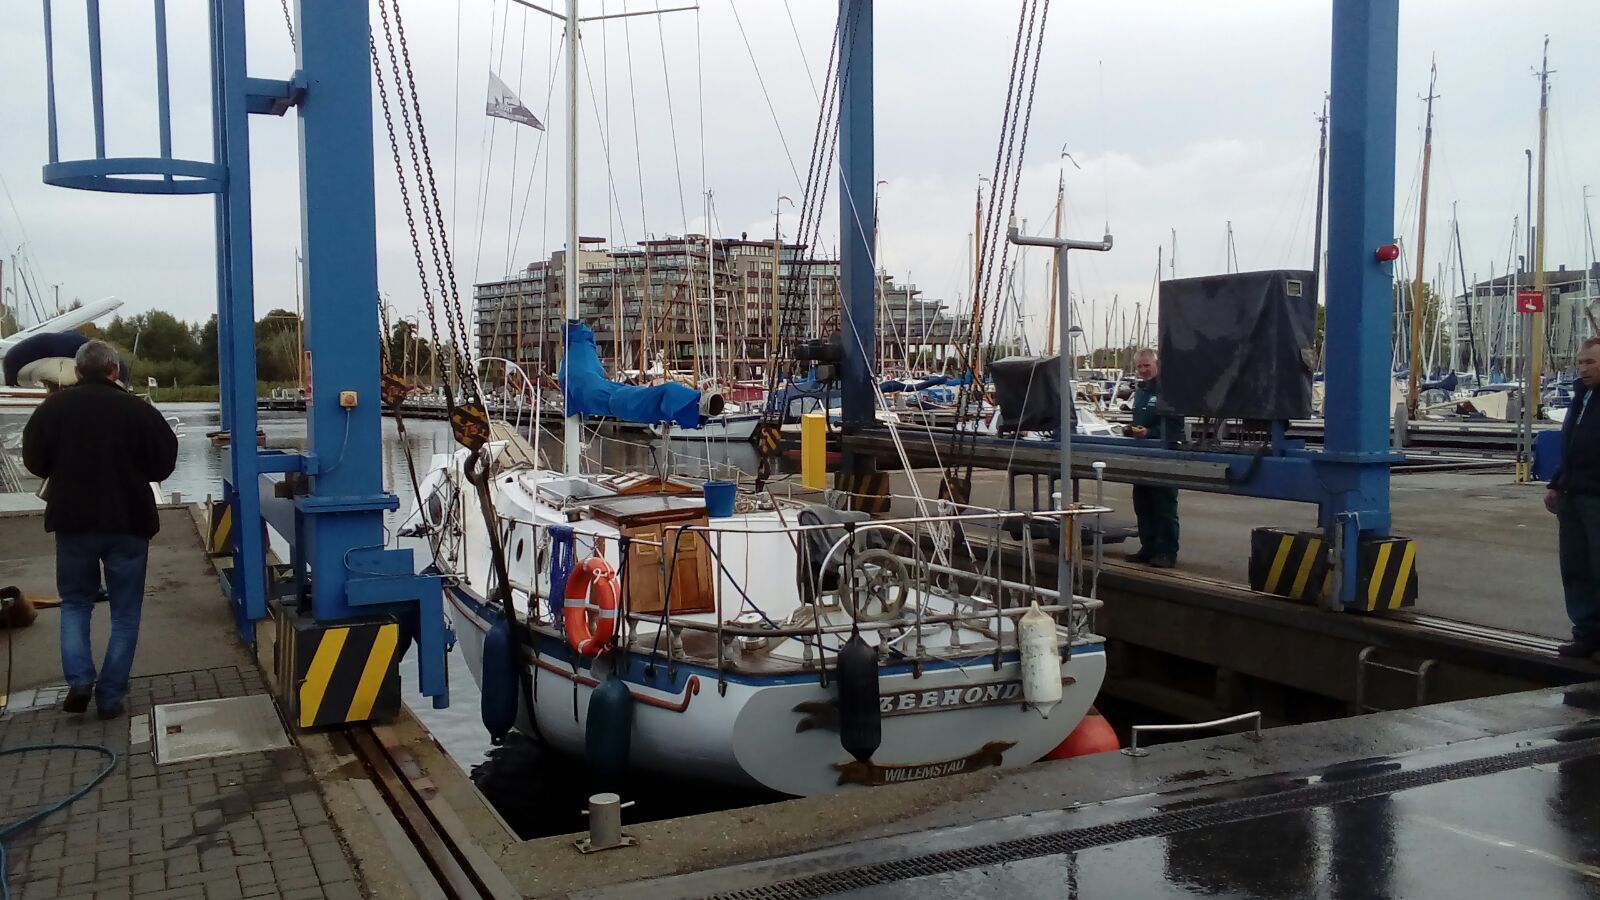
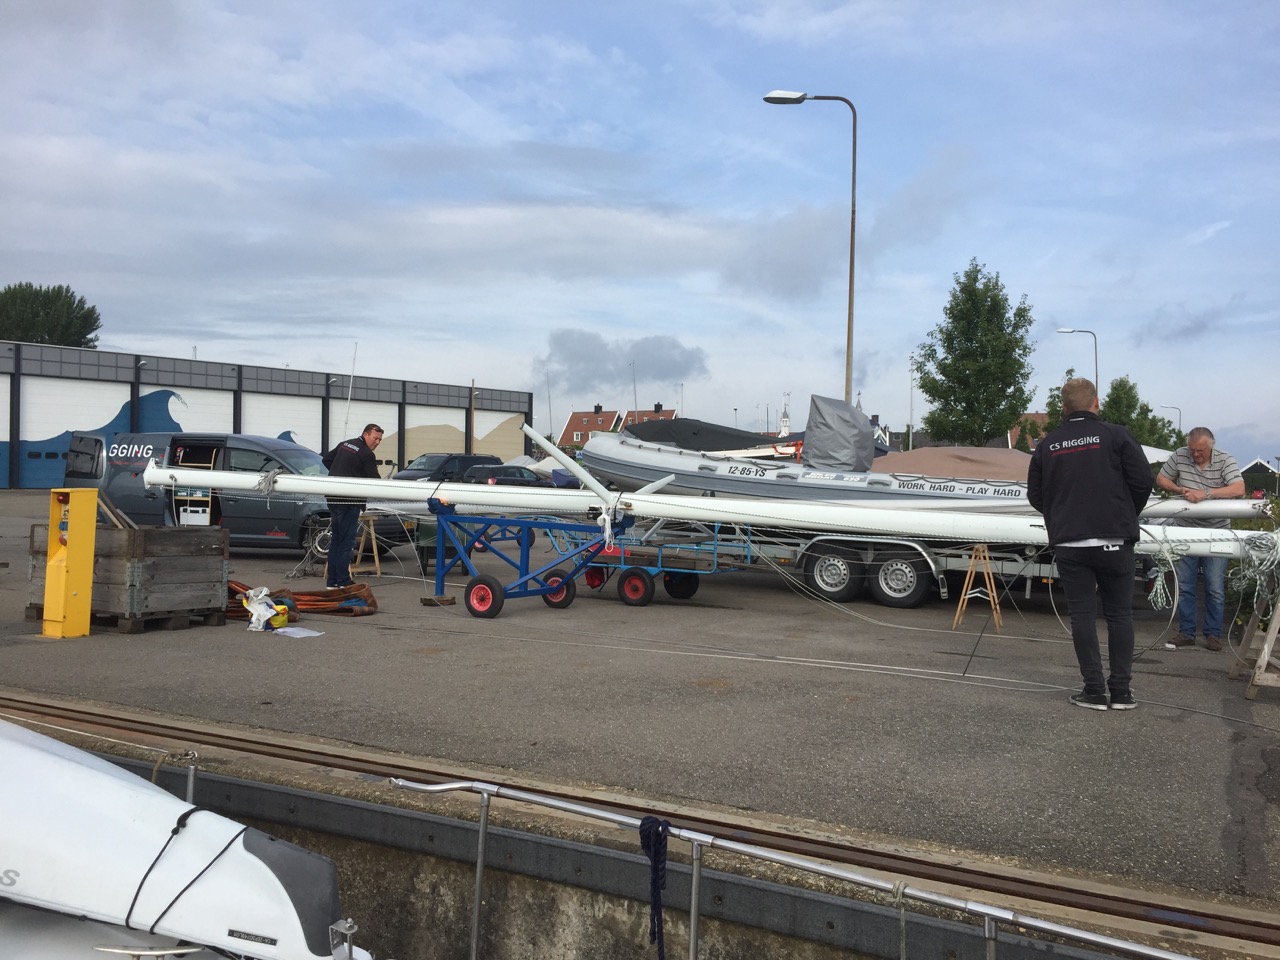
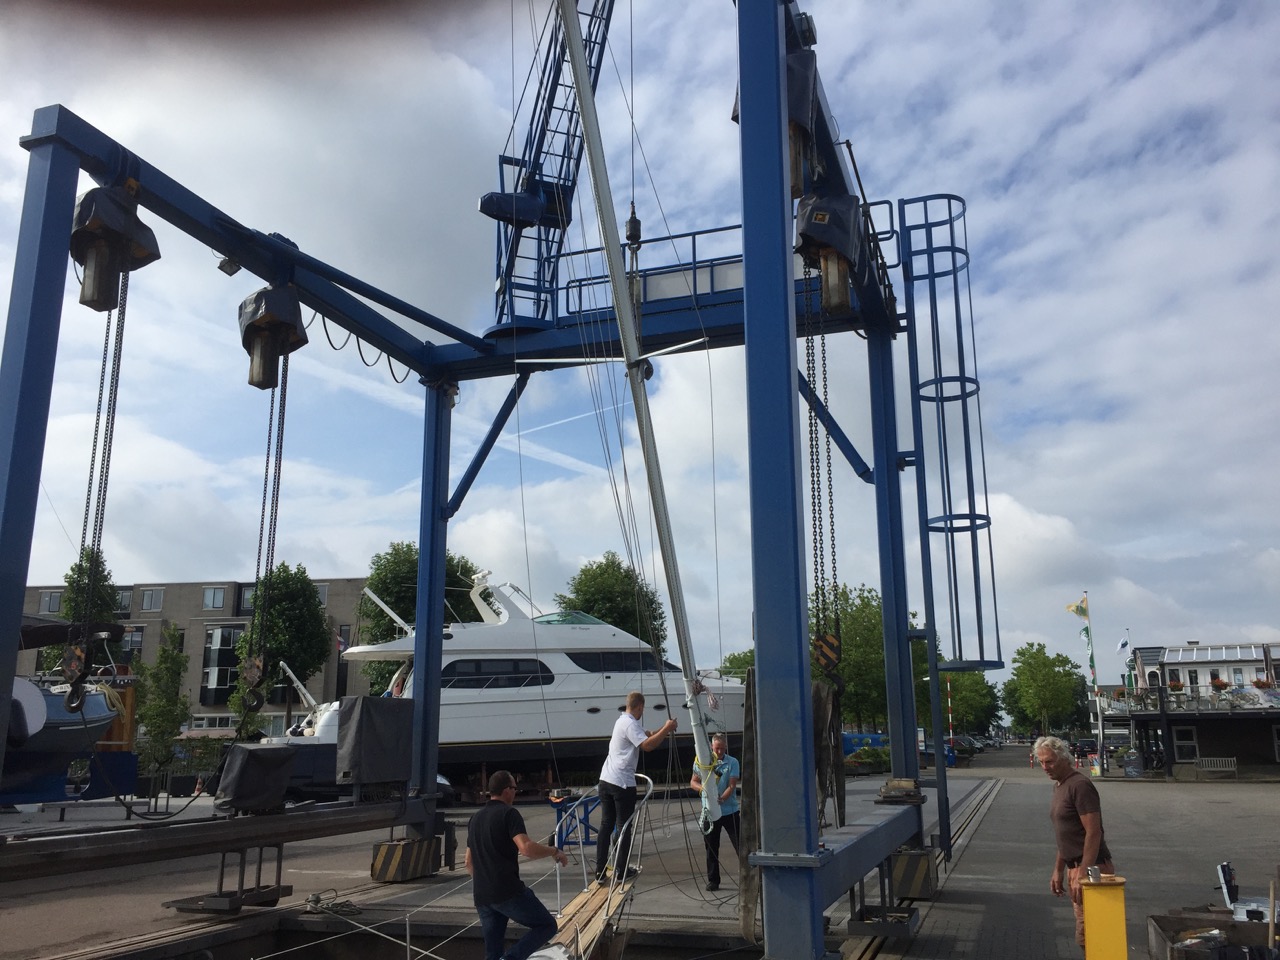
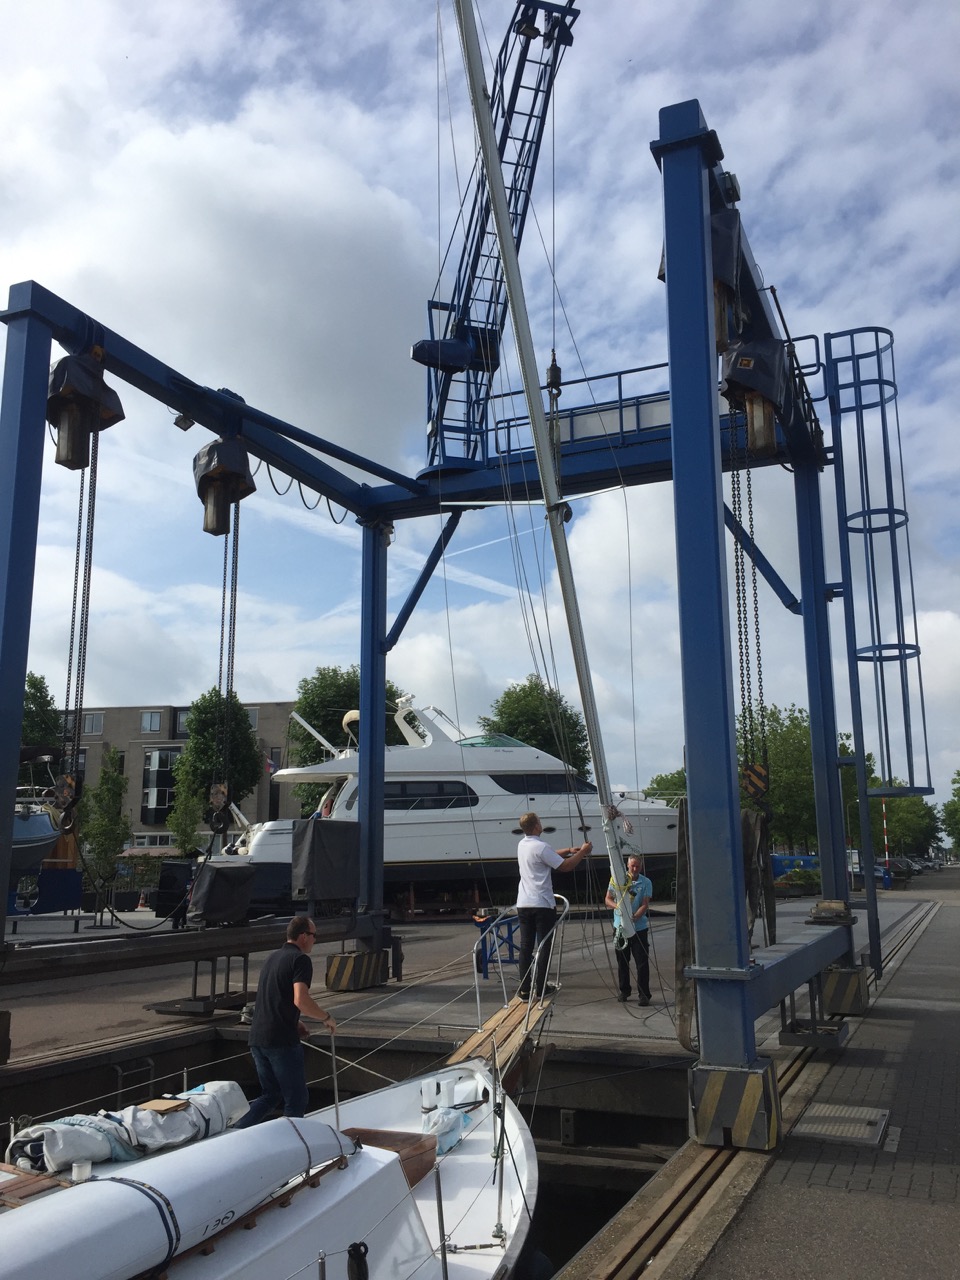
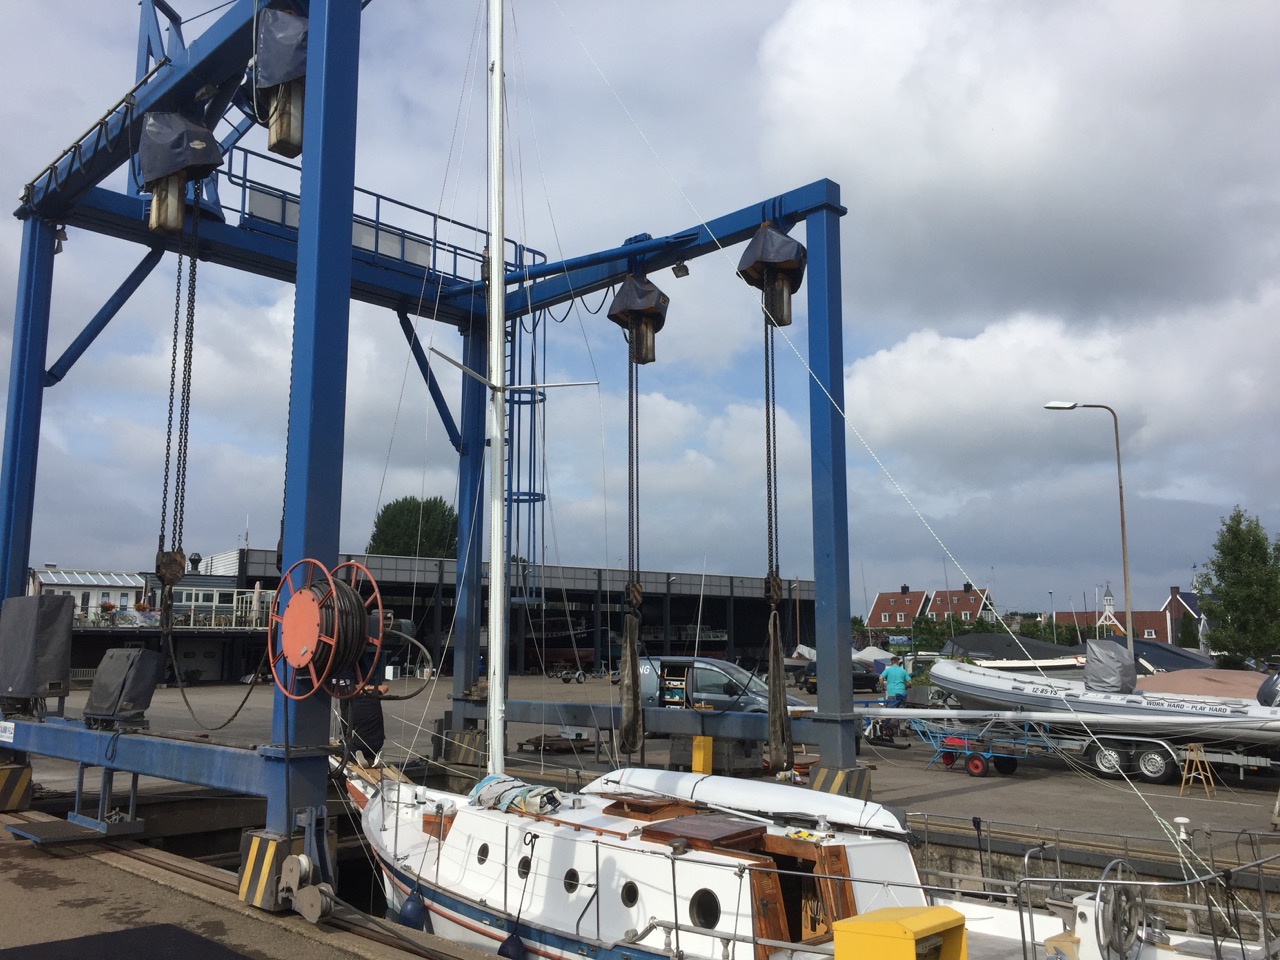
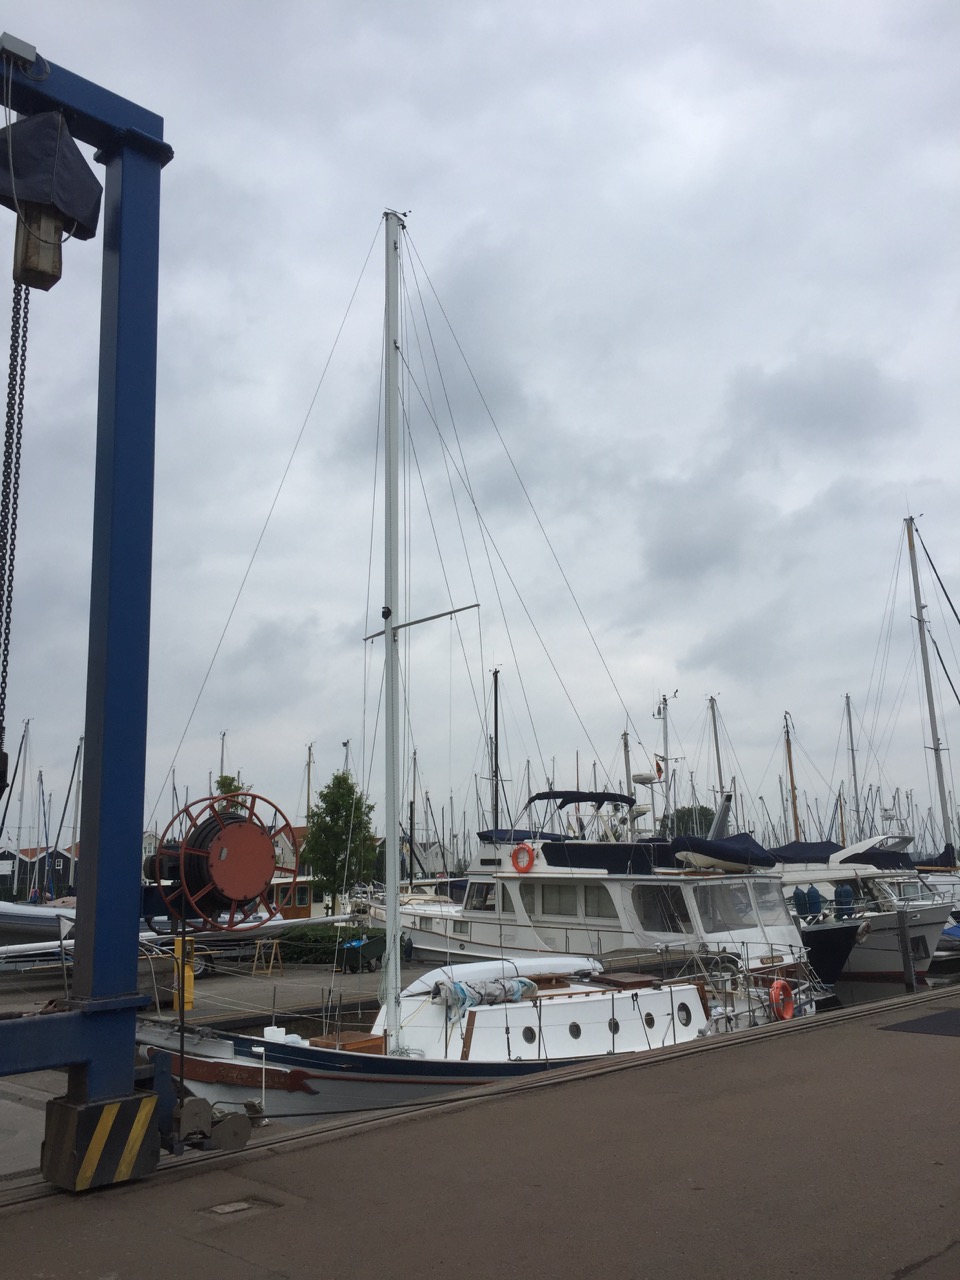
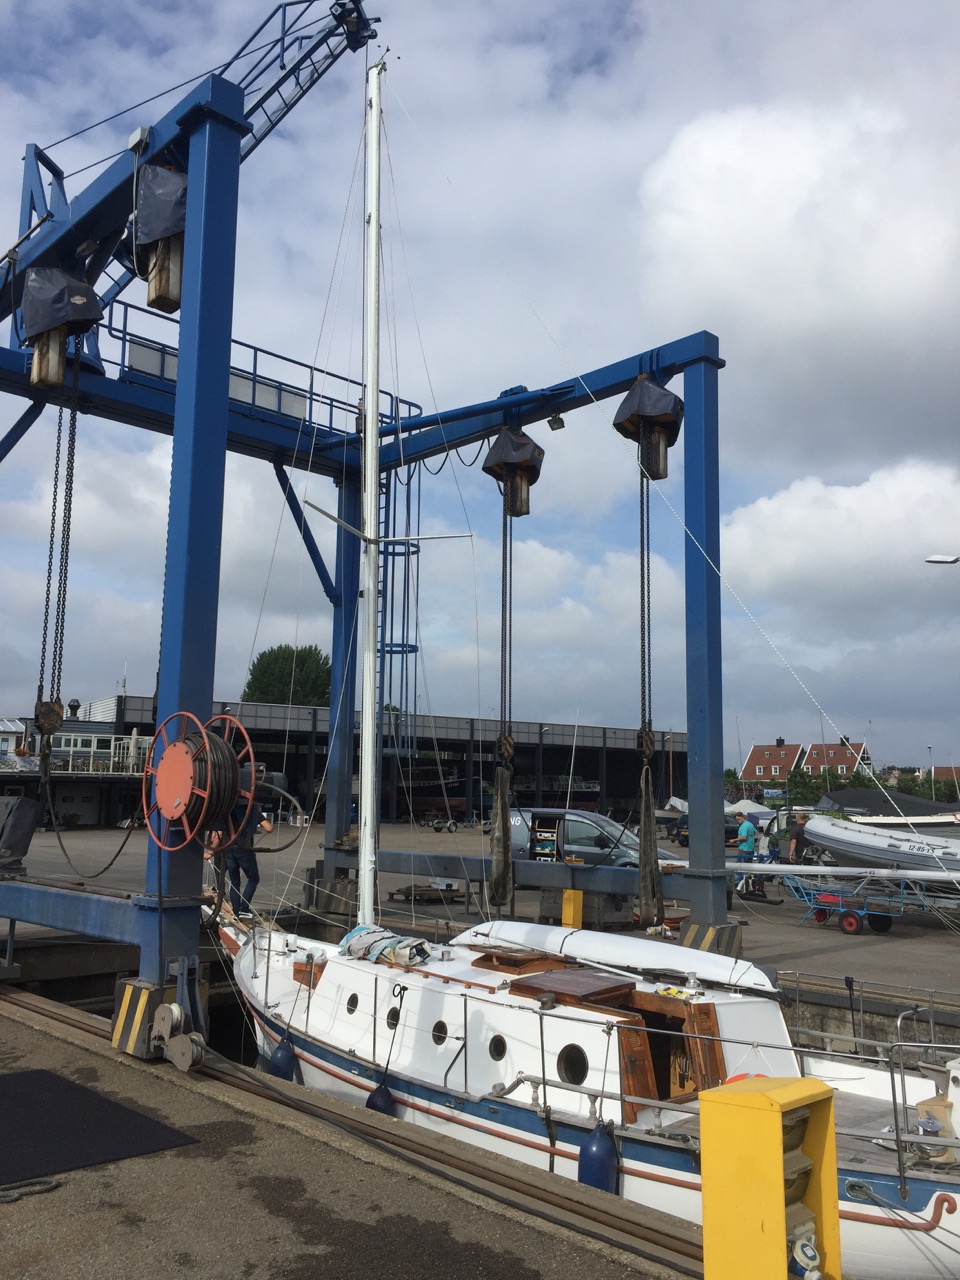
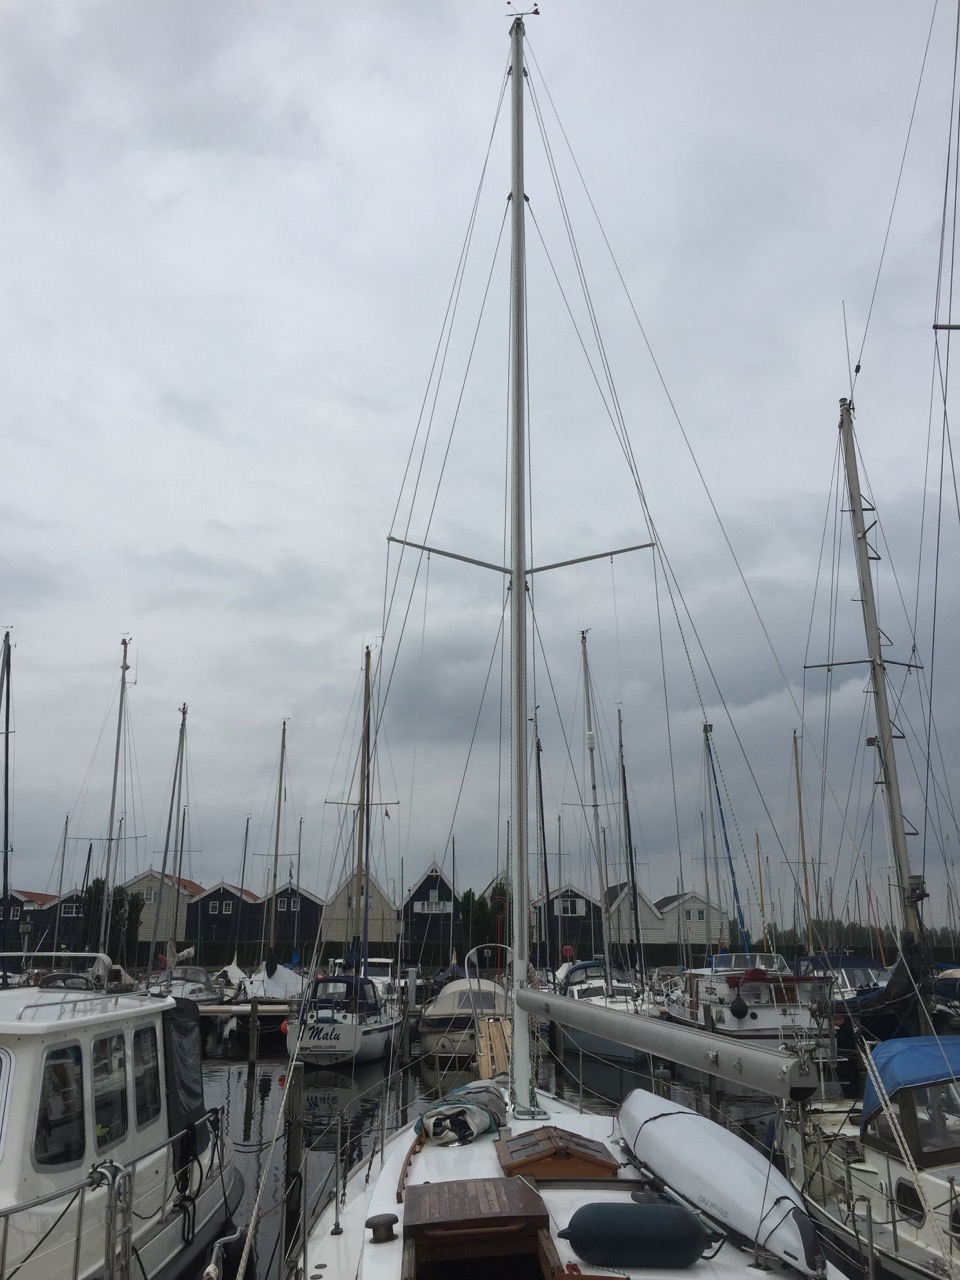
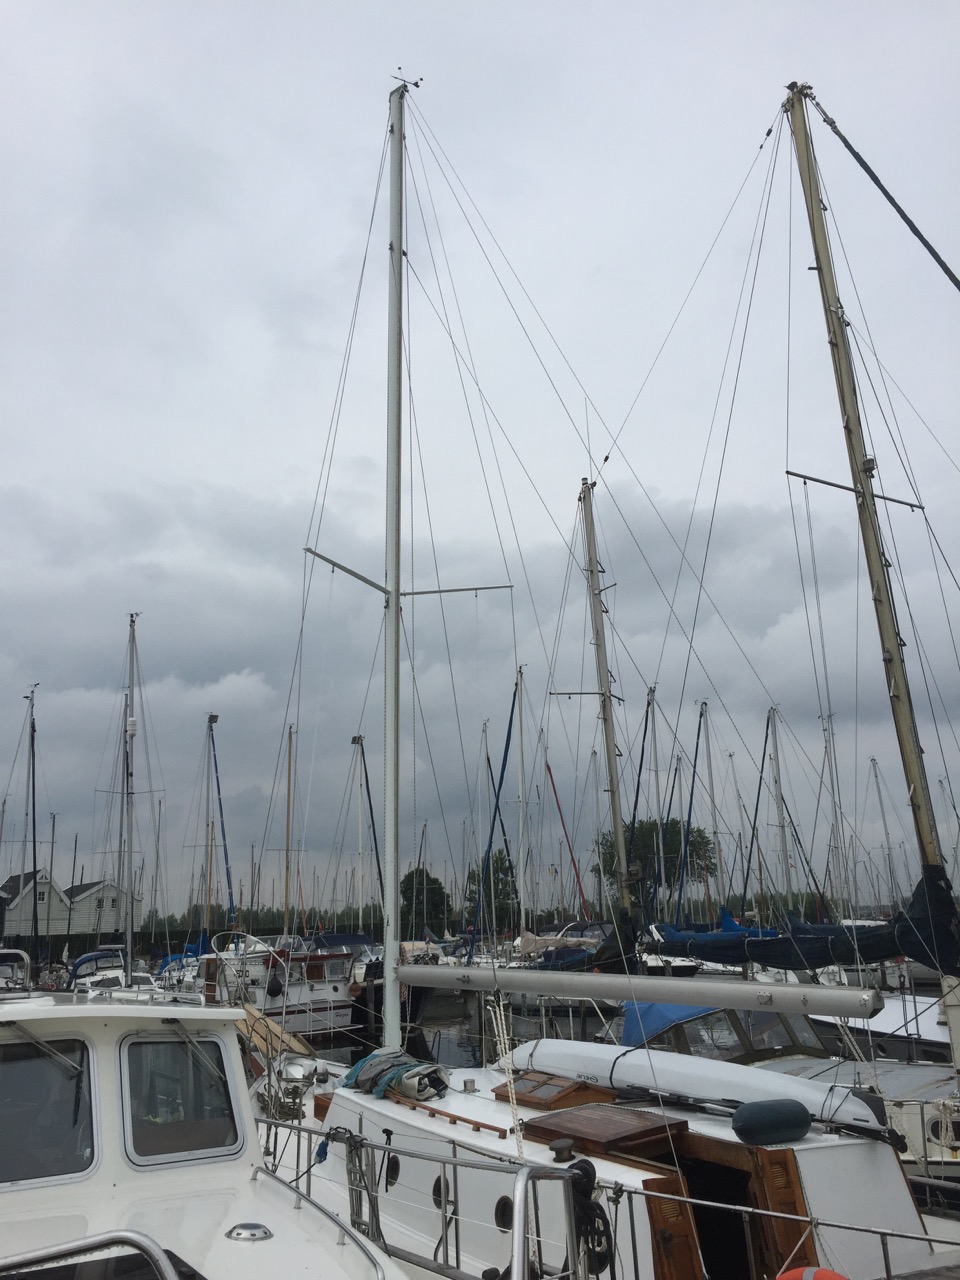
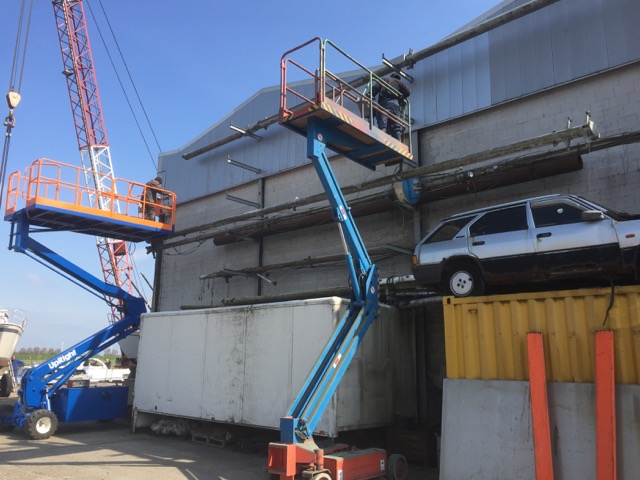
I hired a company to do all of the rigging onside (at the marina), which meant that within 3-4 hours the mast was standing on the boat and all the rigging was done.
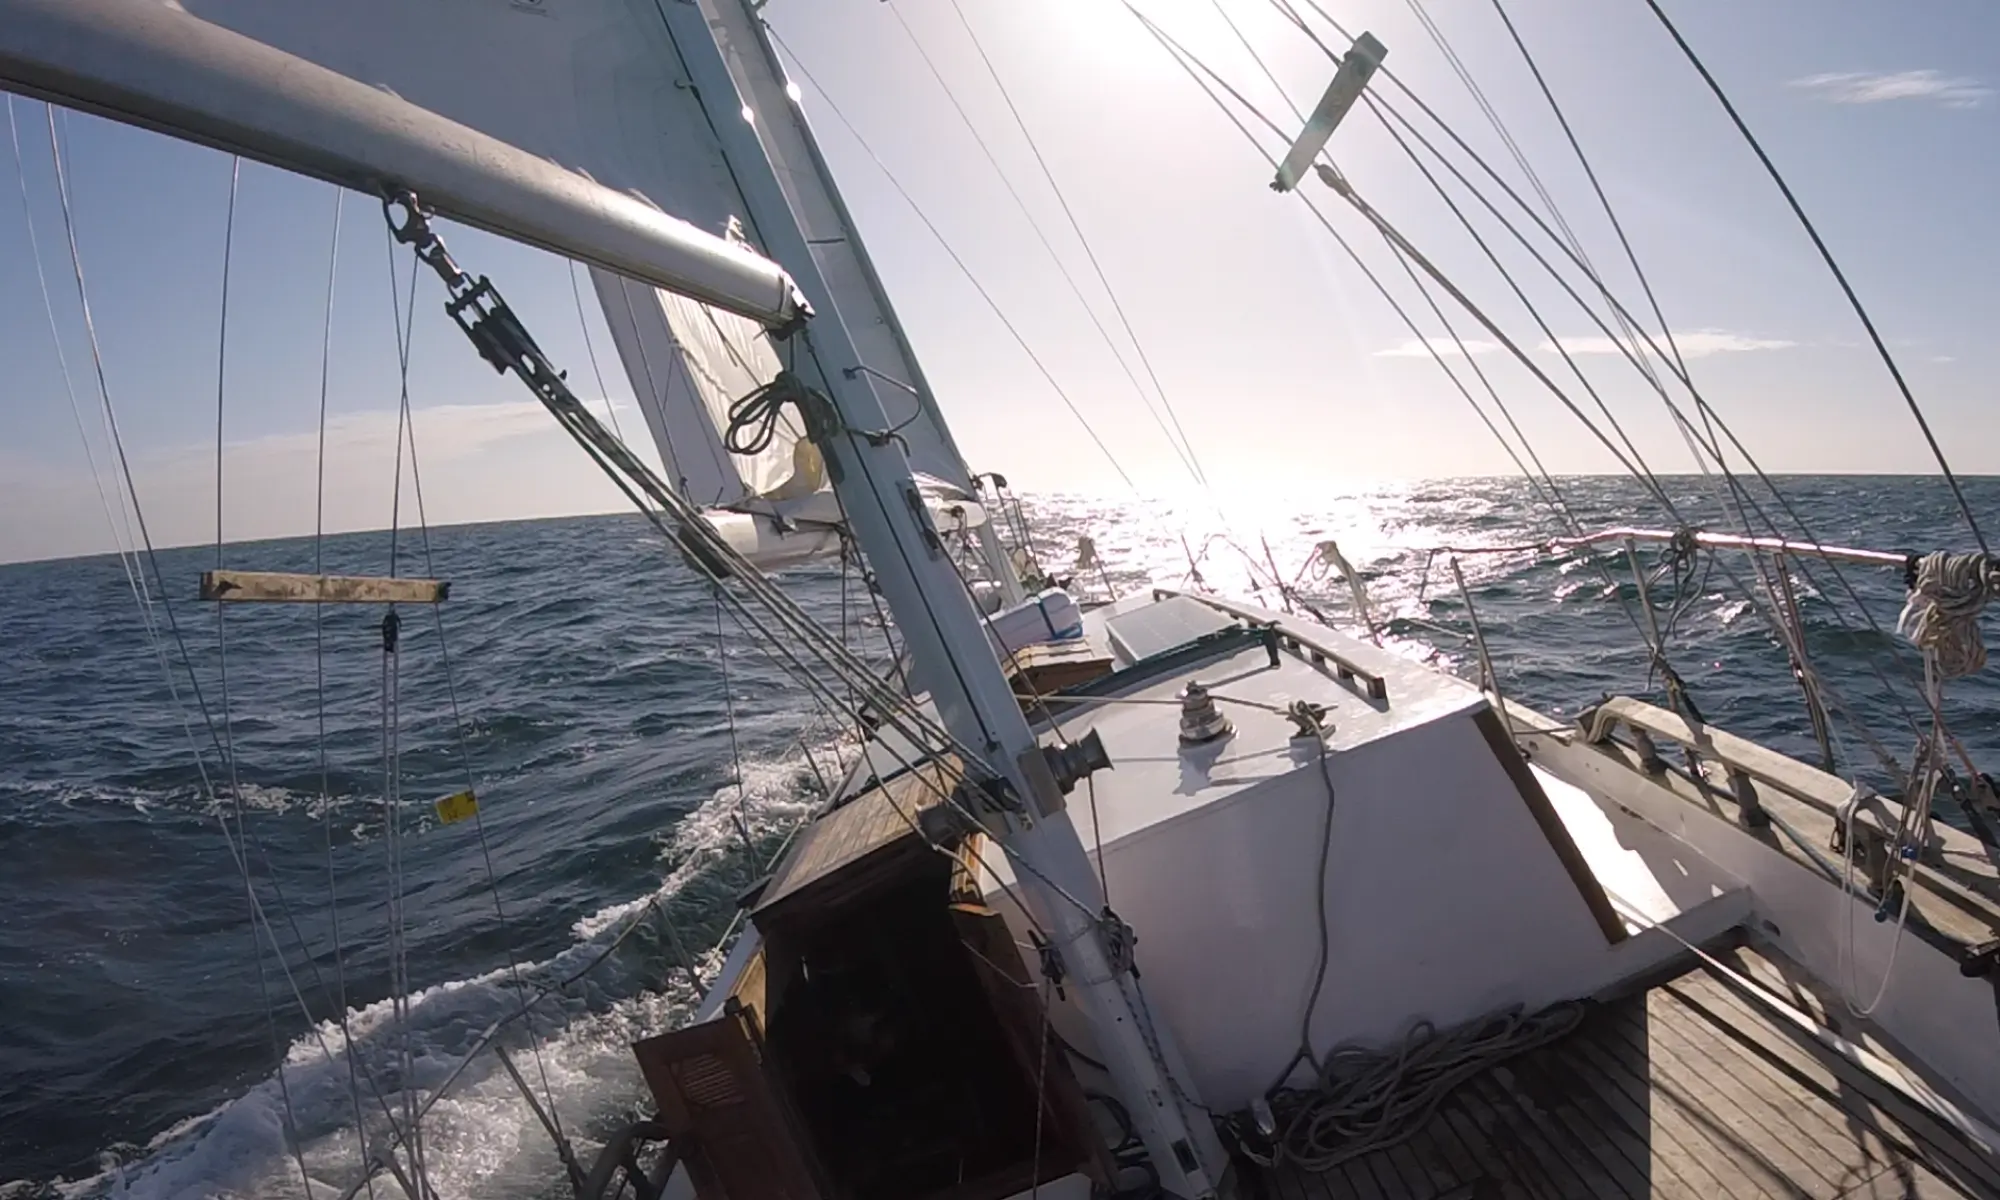
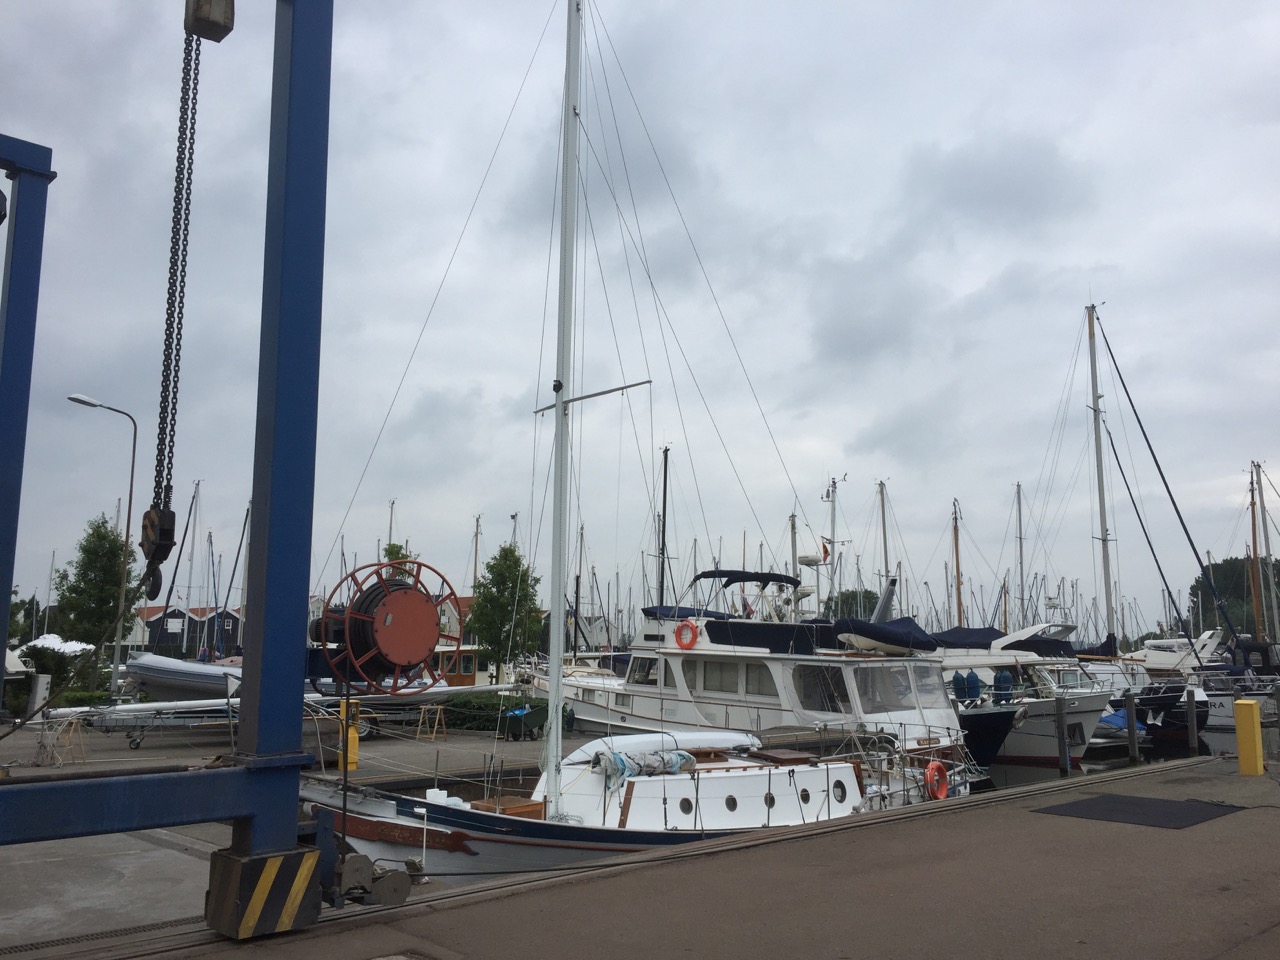
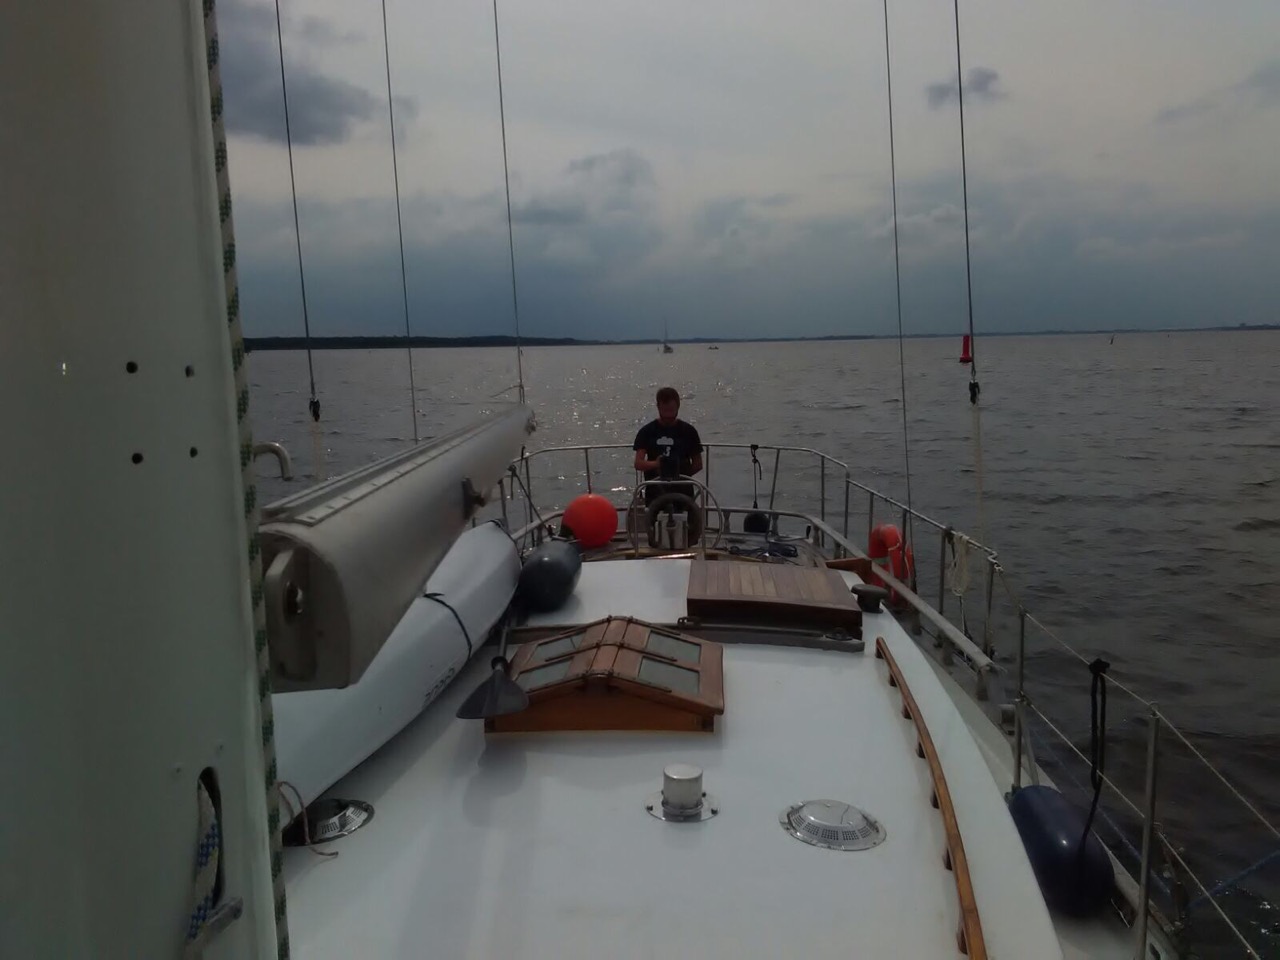
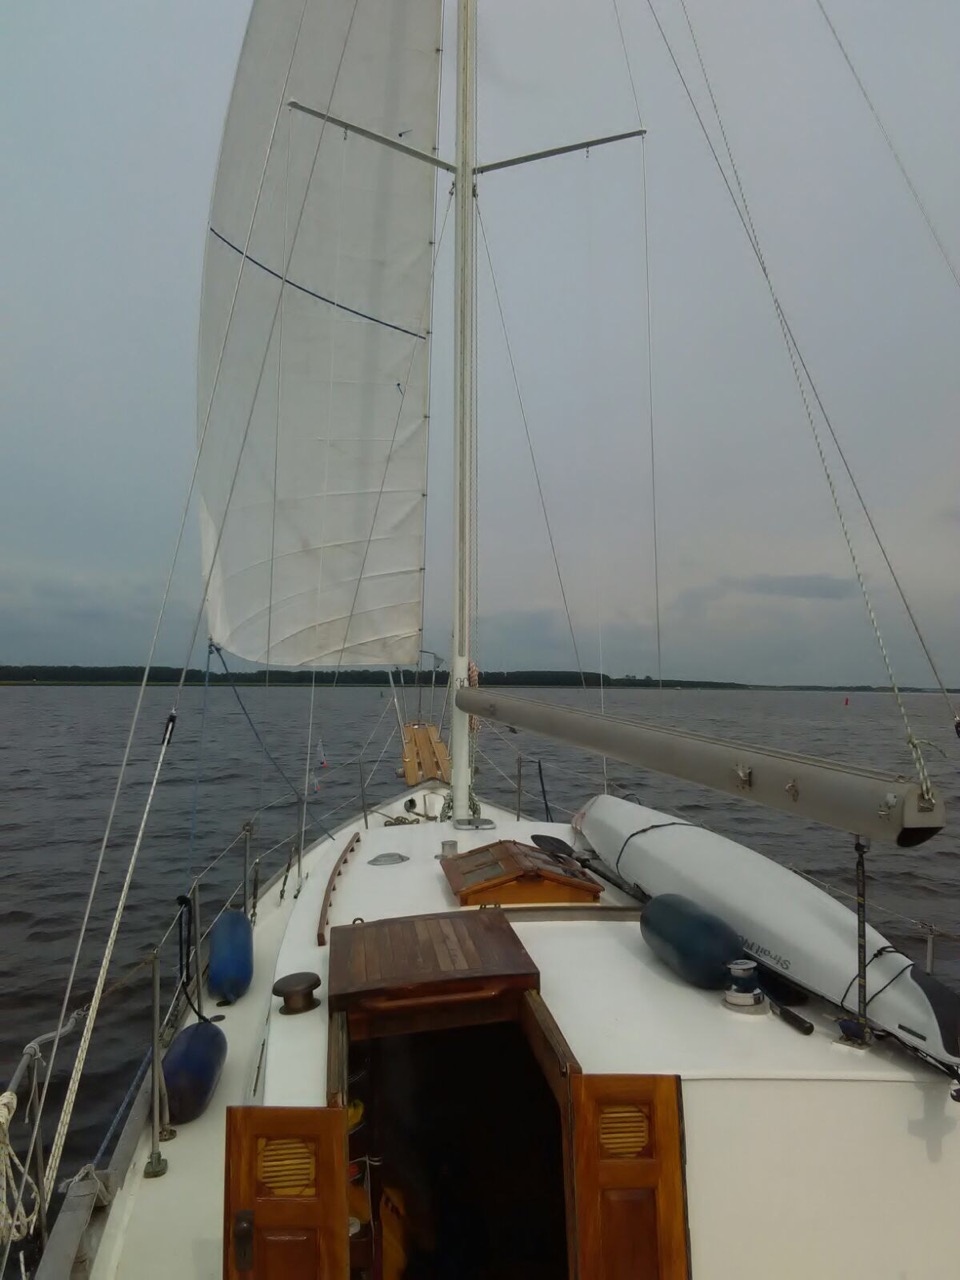
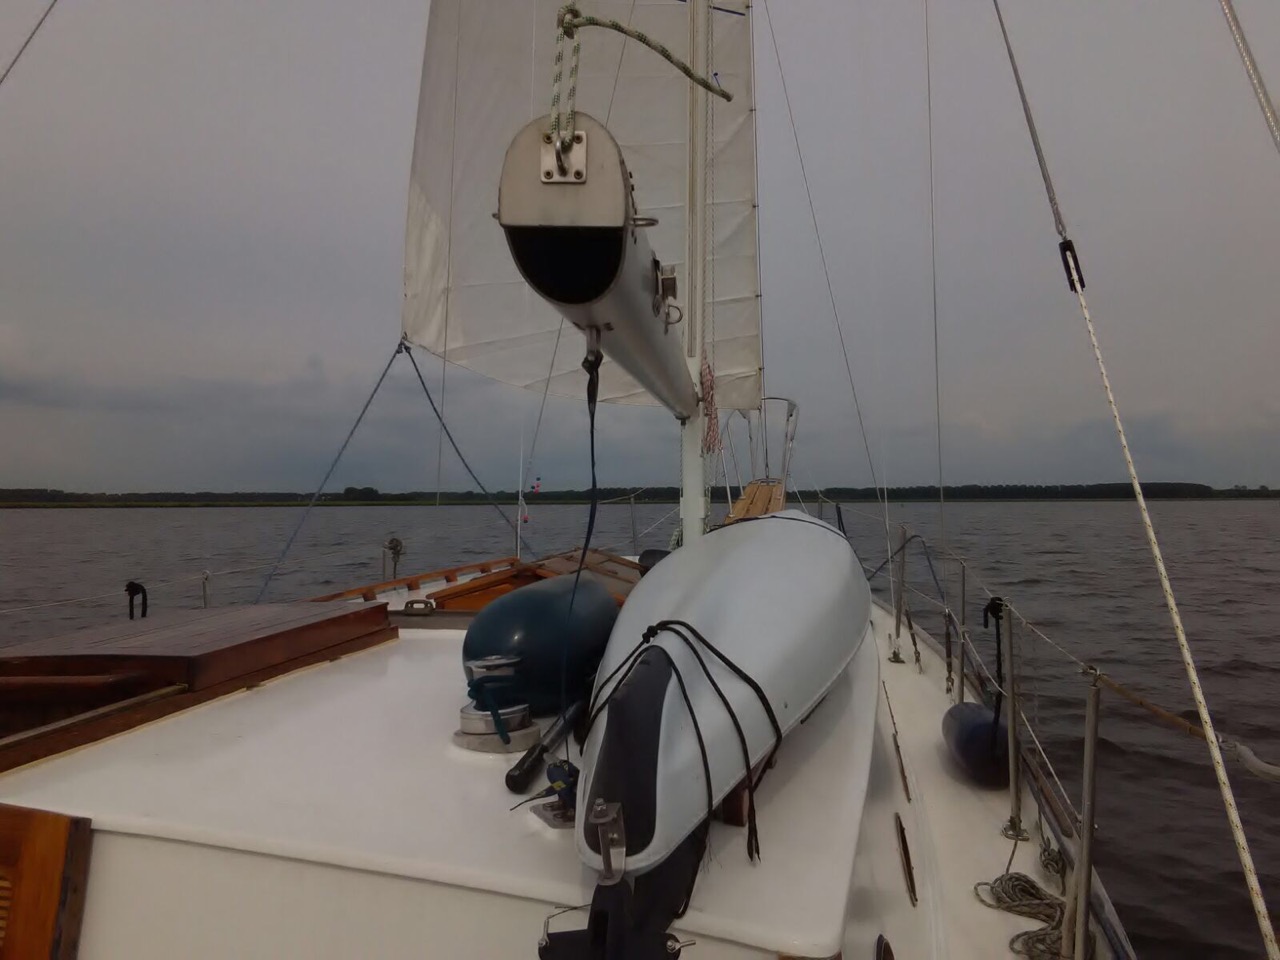
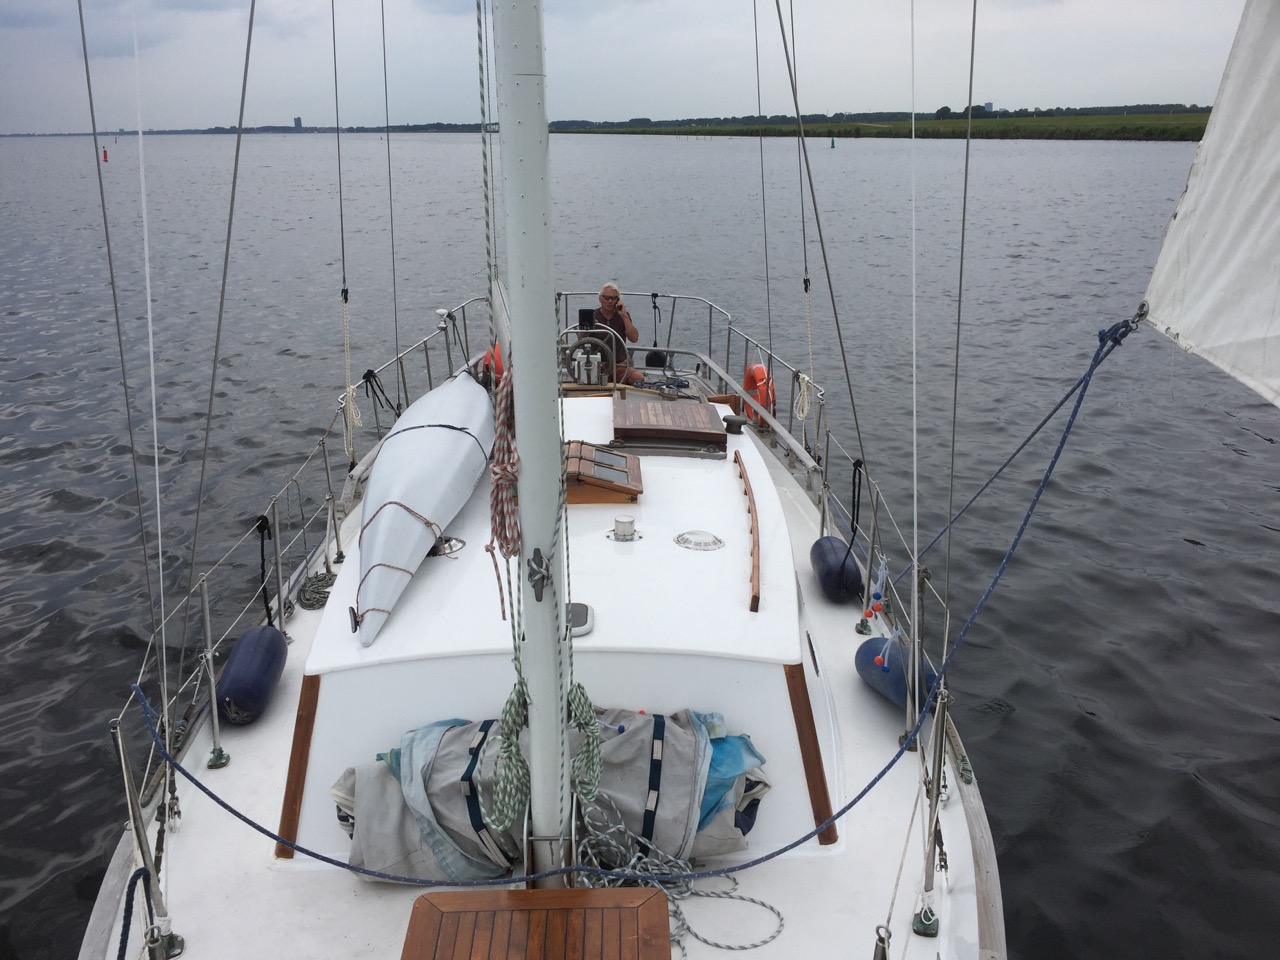
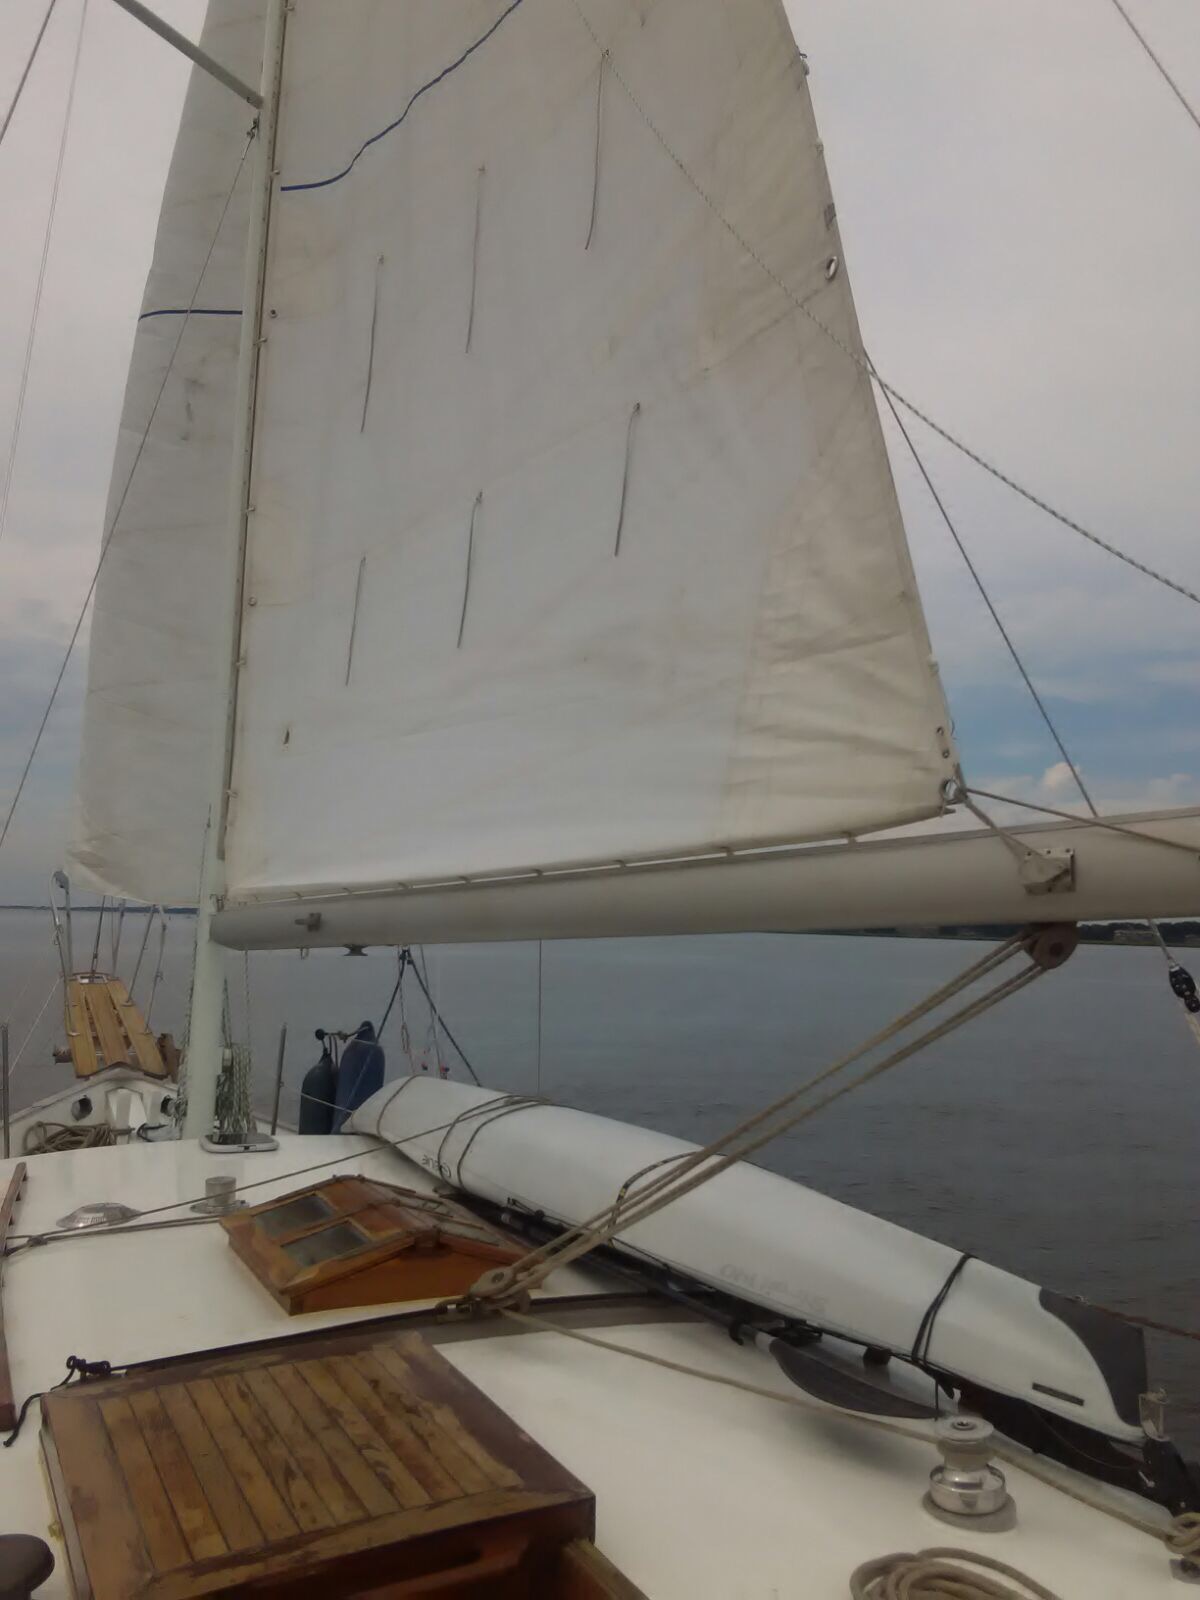
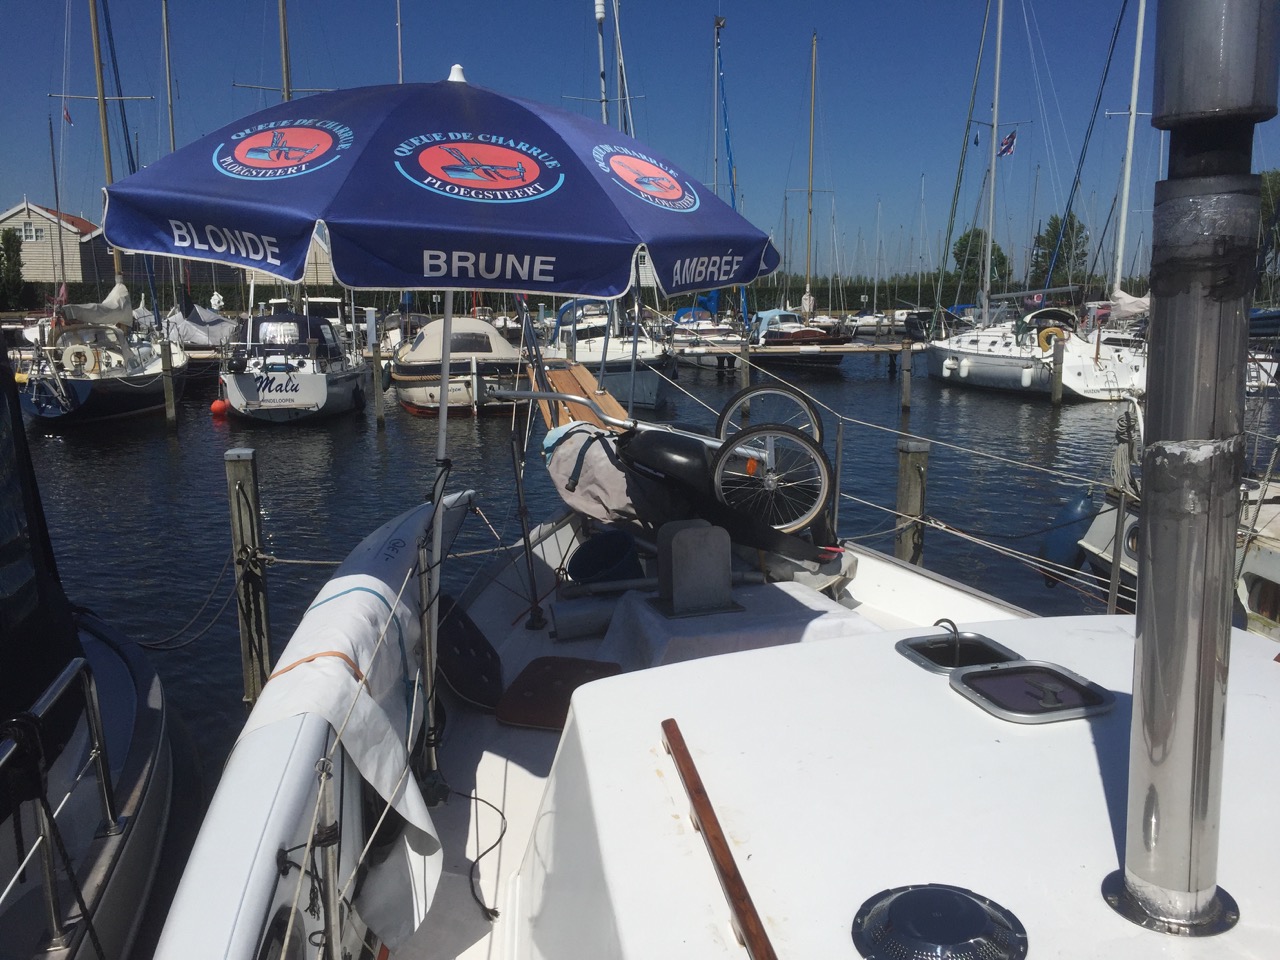
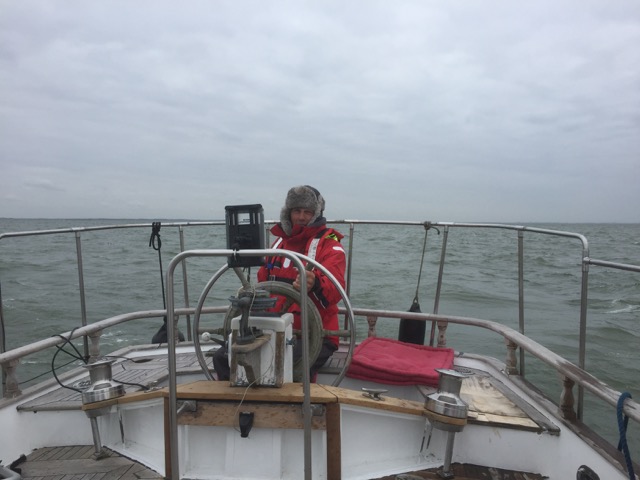
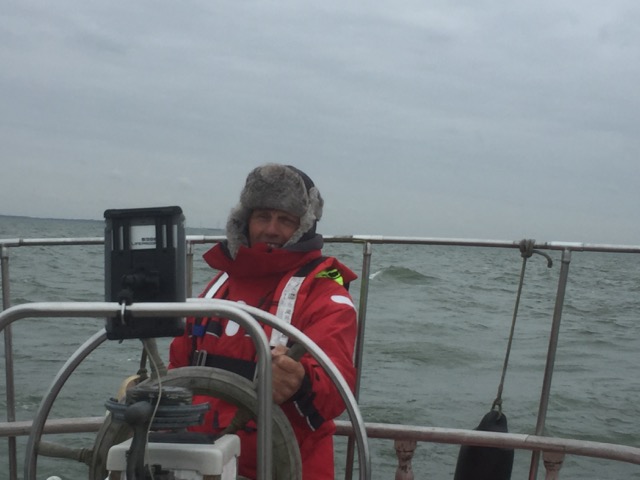
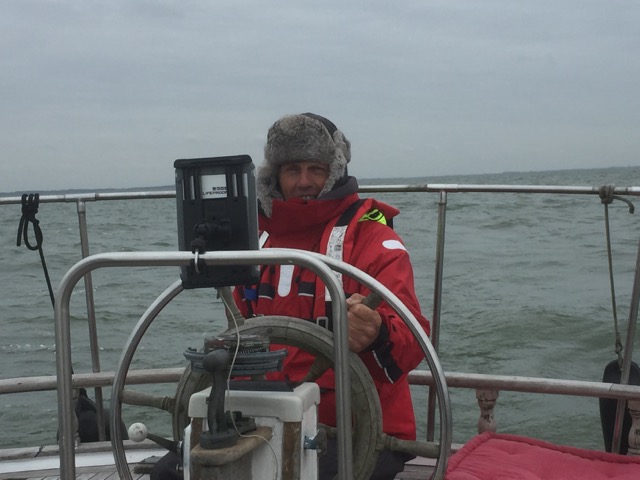
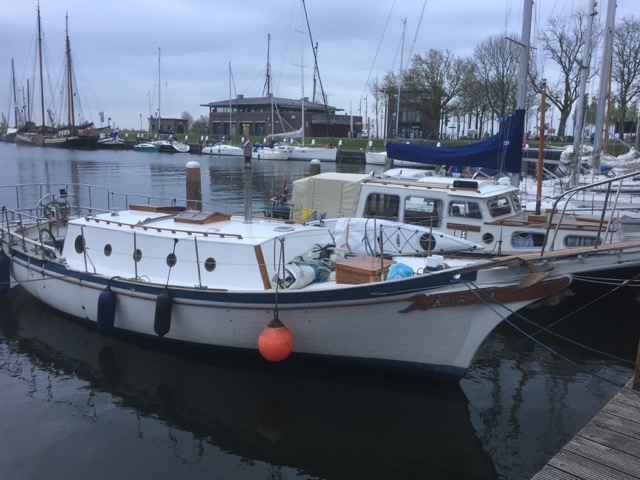
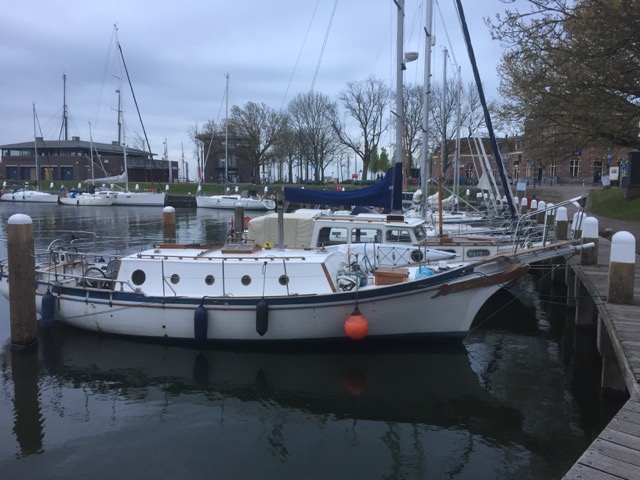
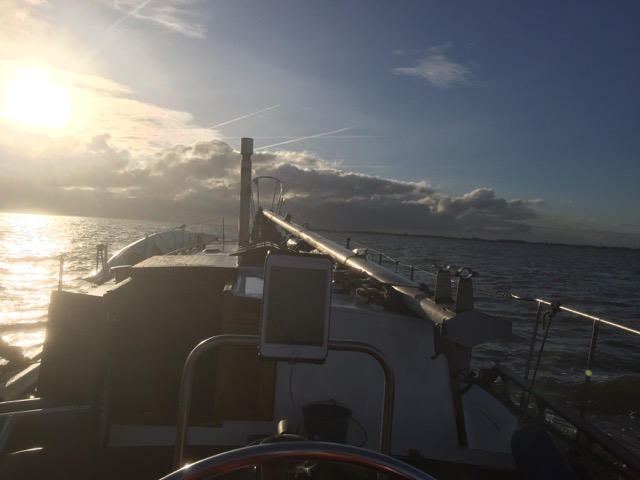
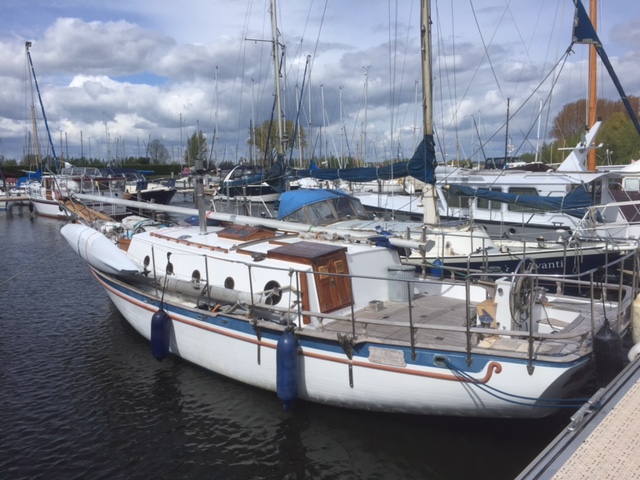
On the same day we took the Seadog out to the lake and hoisted up the jib (front sail). And even with wind speed’s of only 2 Beaufort Seadog was going quite fast.
We couldn’t yet take up the main sail because not everything was ready for that yet. But a few days later we also took up the main. That day there was even less wind, but Seadog still kept on moving. And at the end of the day wind speed’s went up to 3 Beaufort and we were speeding through the water!
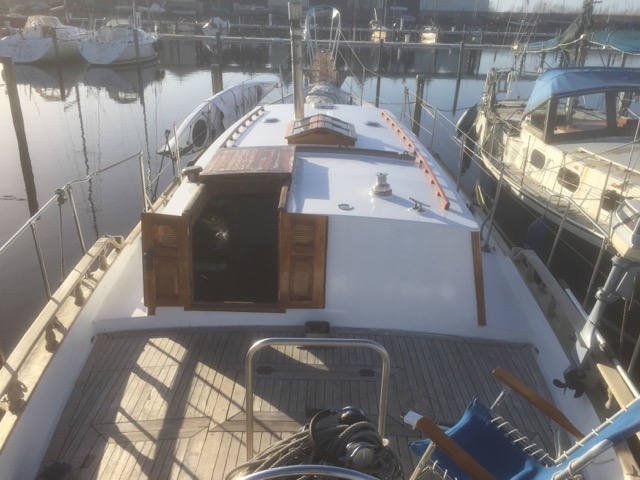
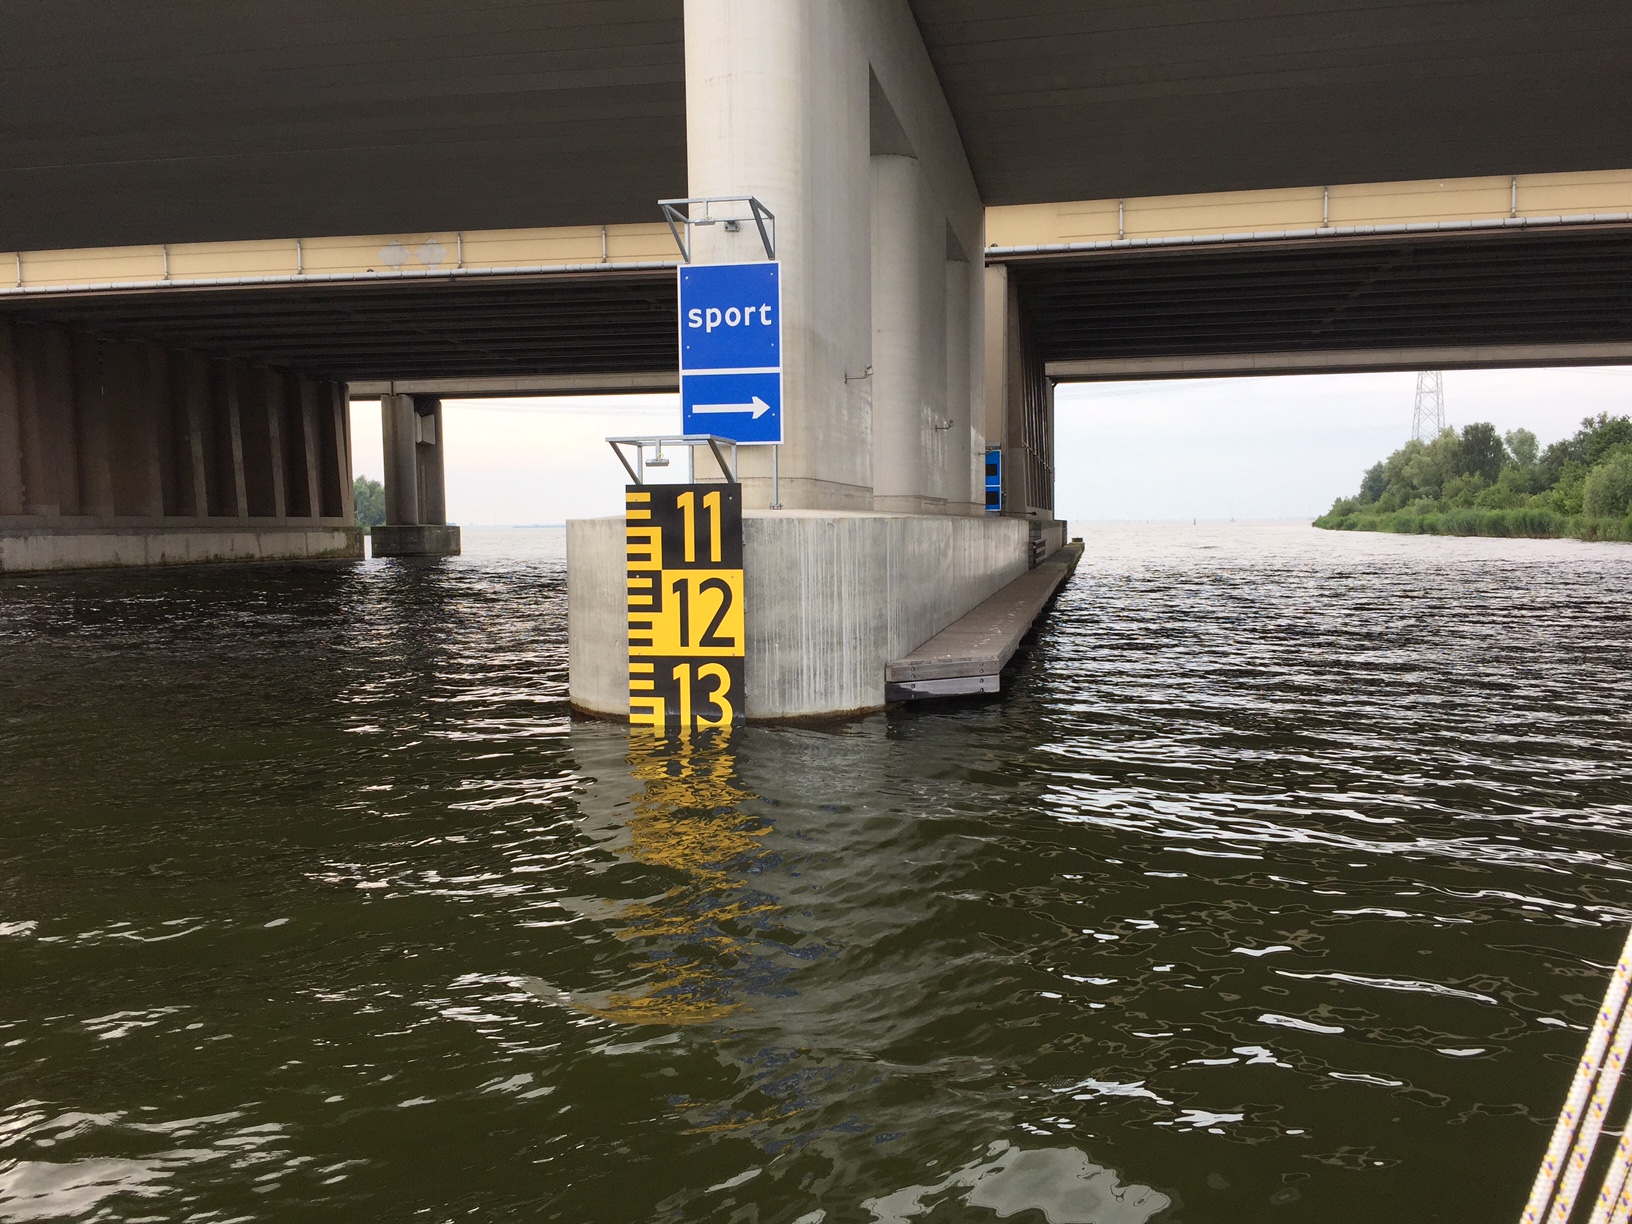
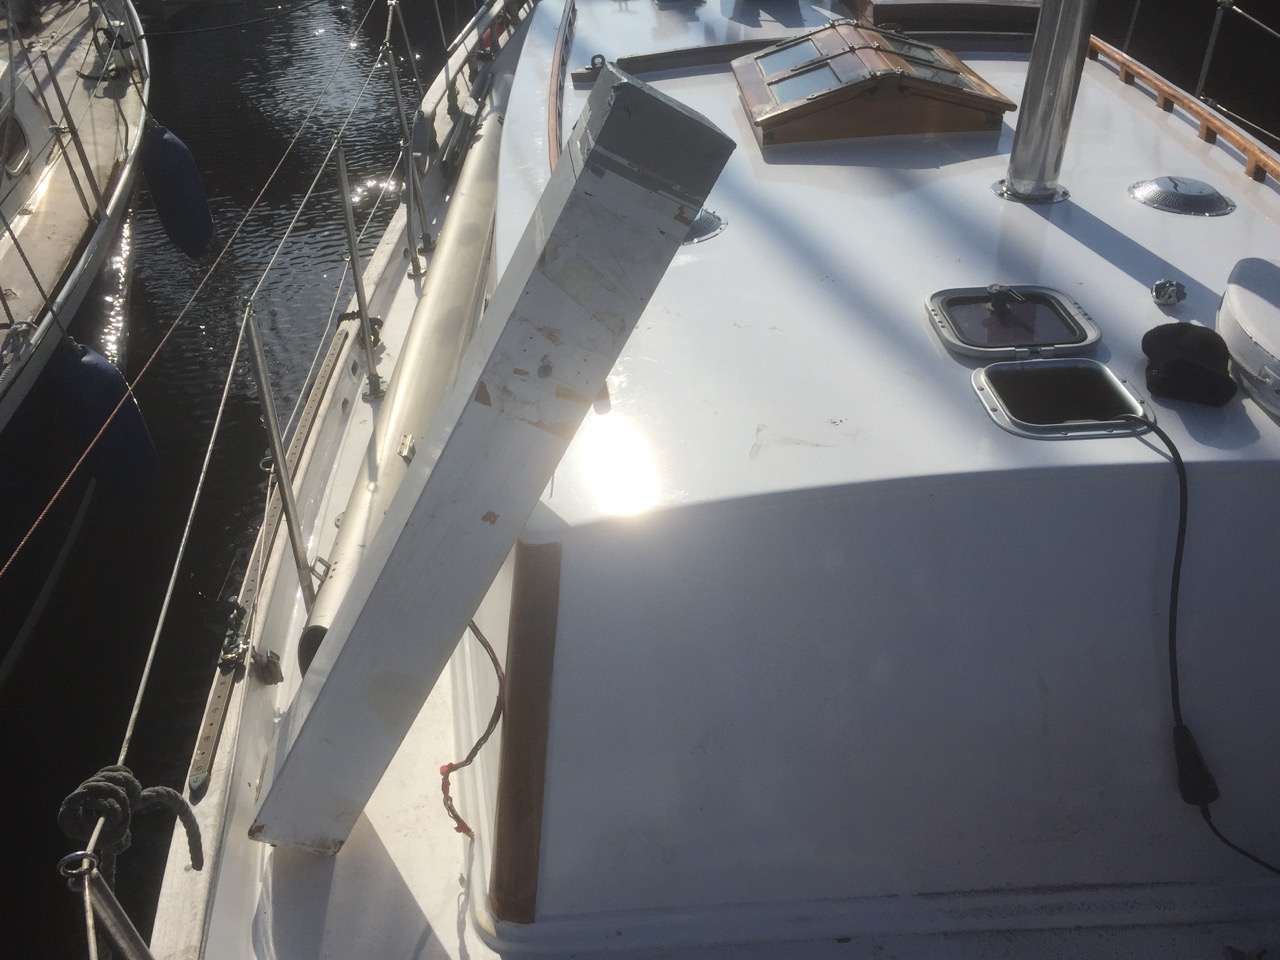
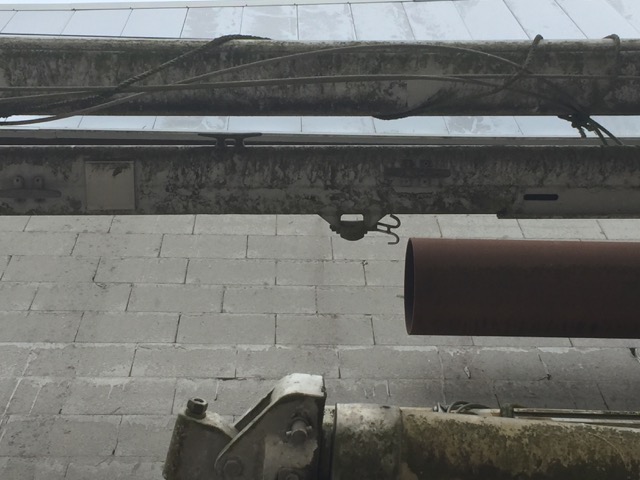
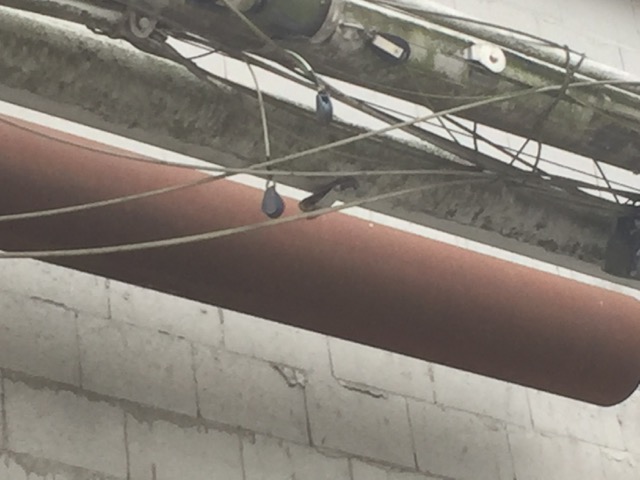
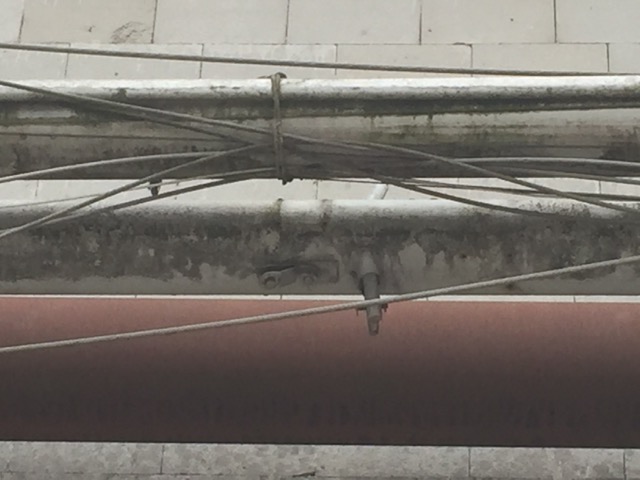
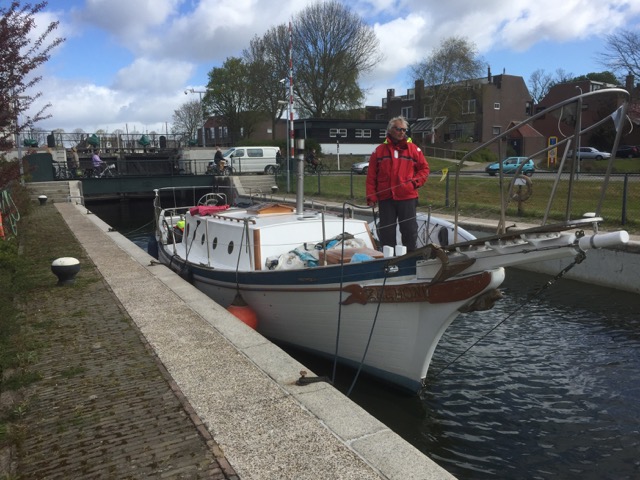
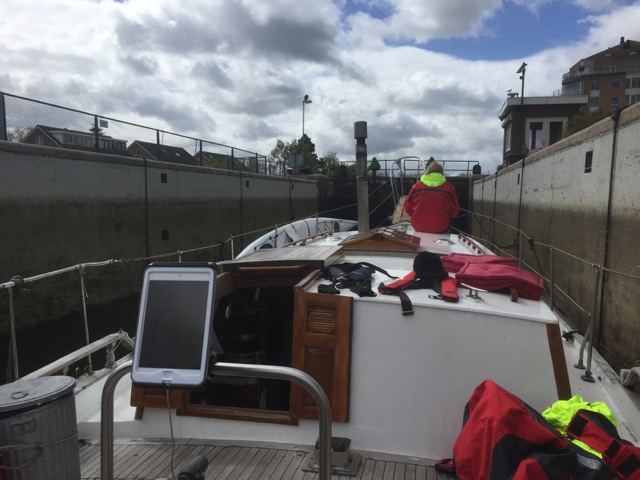
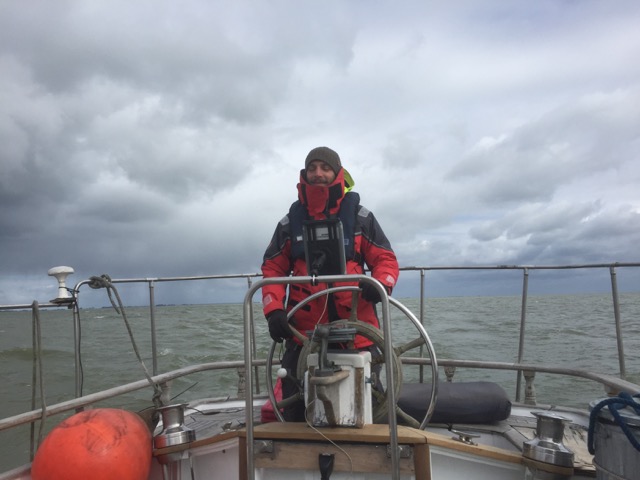
The mast hight for the Seadog now is 12.65 meters, and the bridges at the Gooiermeer have a hight of 12.80-13 meters.
Which means it’s going to be quite intensive every time we go under the bridges. Especially if there are big waves, but the first test runs went good, so I guess there’s nothing to worry about….
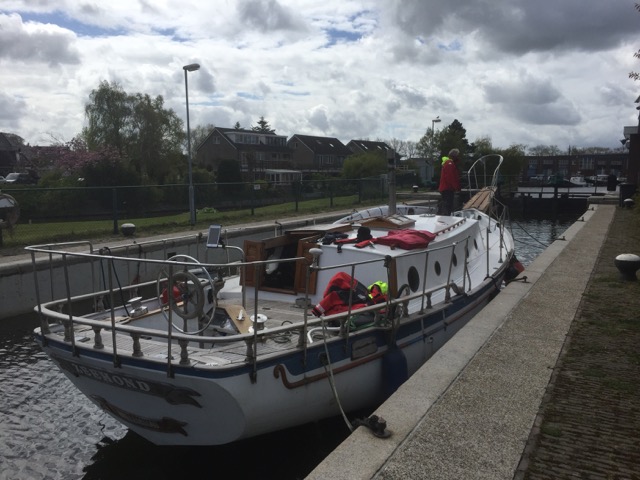
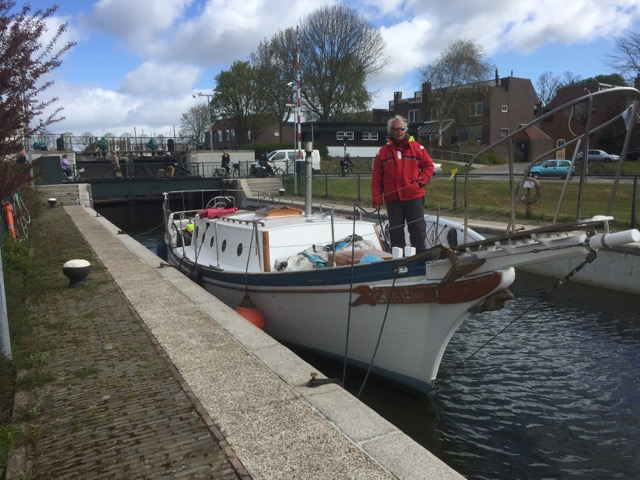
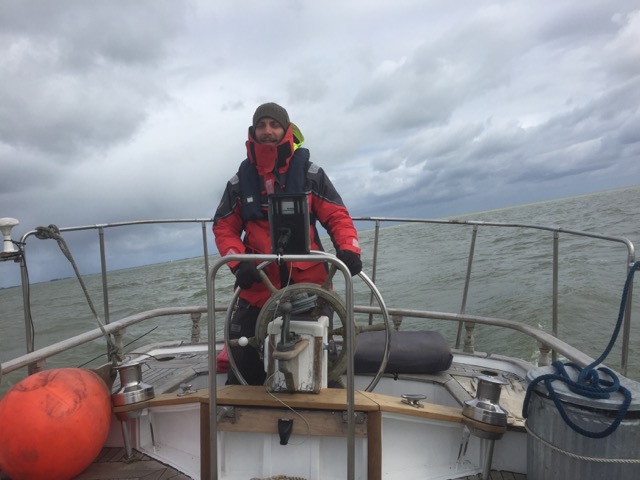
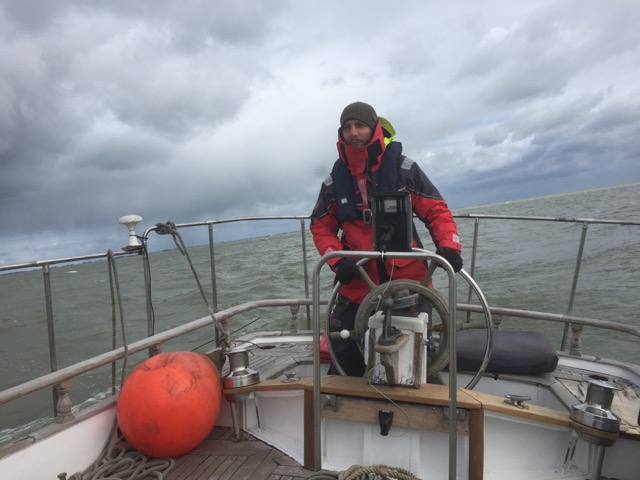
As always there’s still a lot to do, but from now on it’s also time to go sailing now and again 🙂 (finally)!
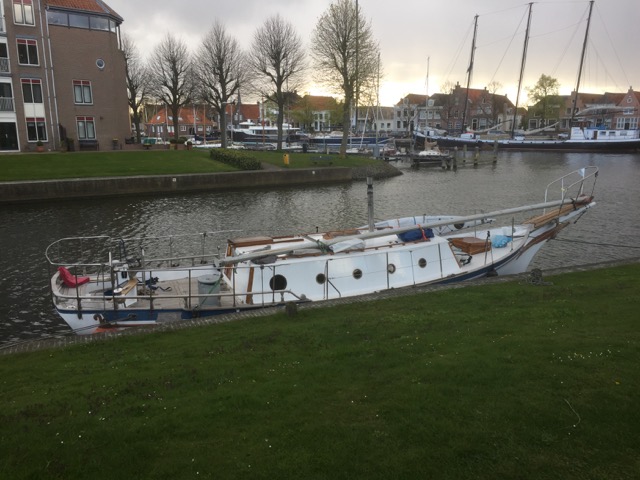
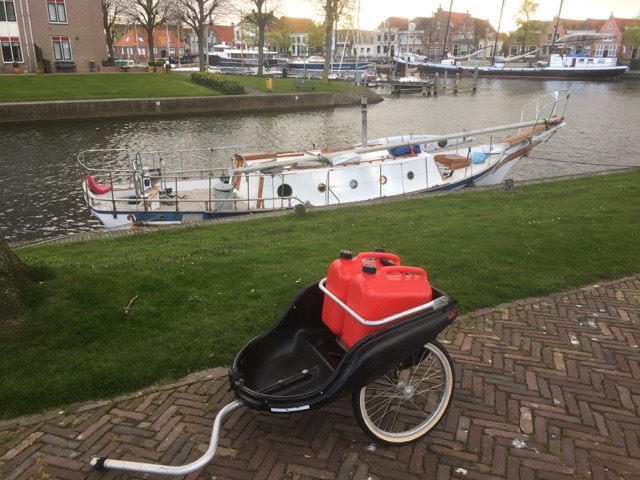
It’s taken more than a few weeks (more like a few months), but the Seadog can Sail!
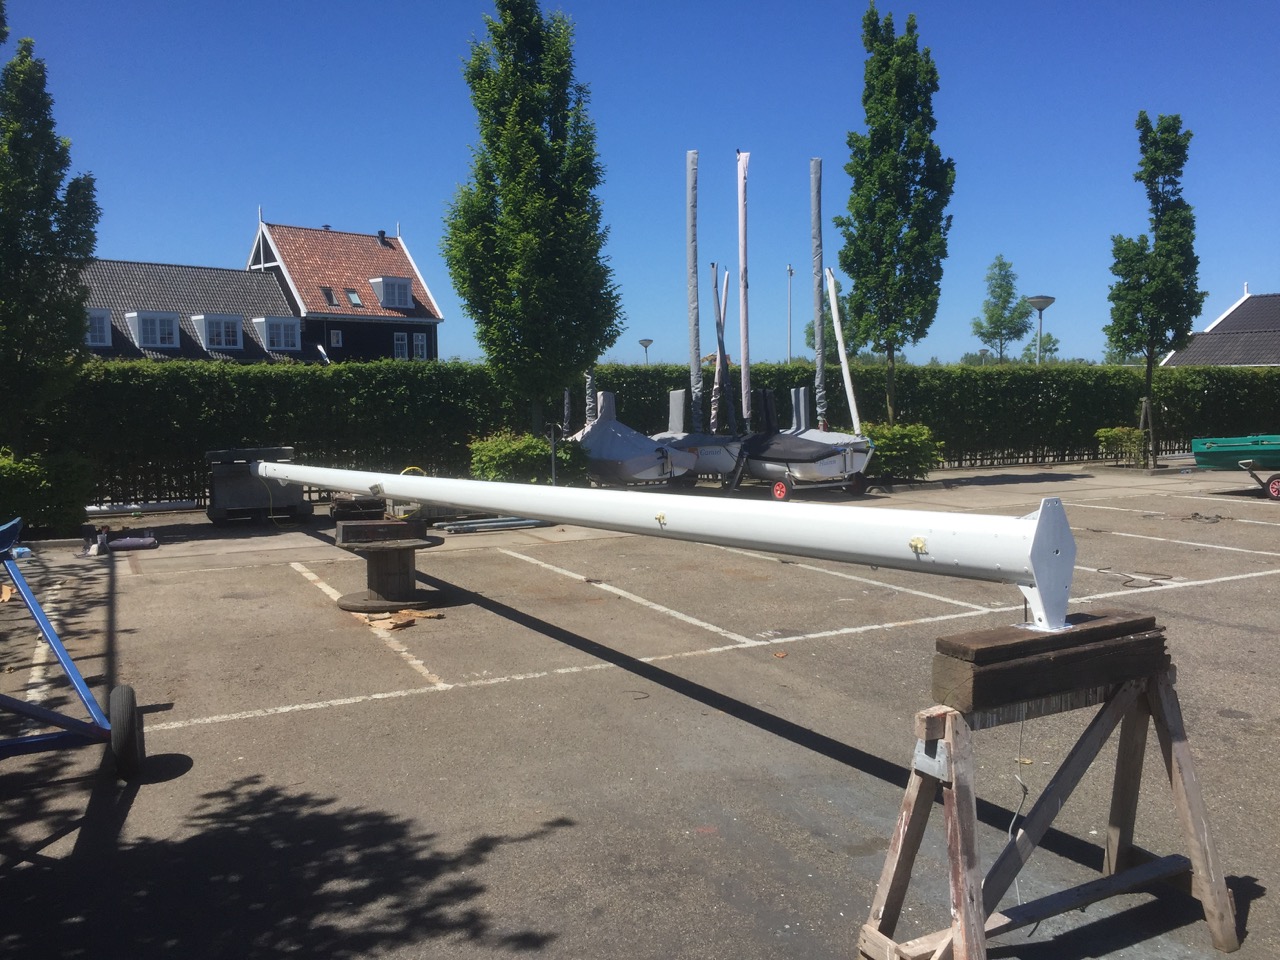
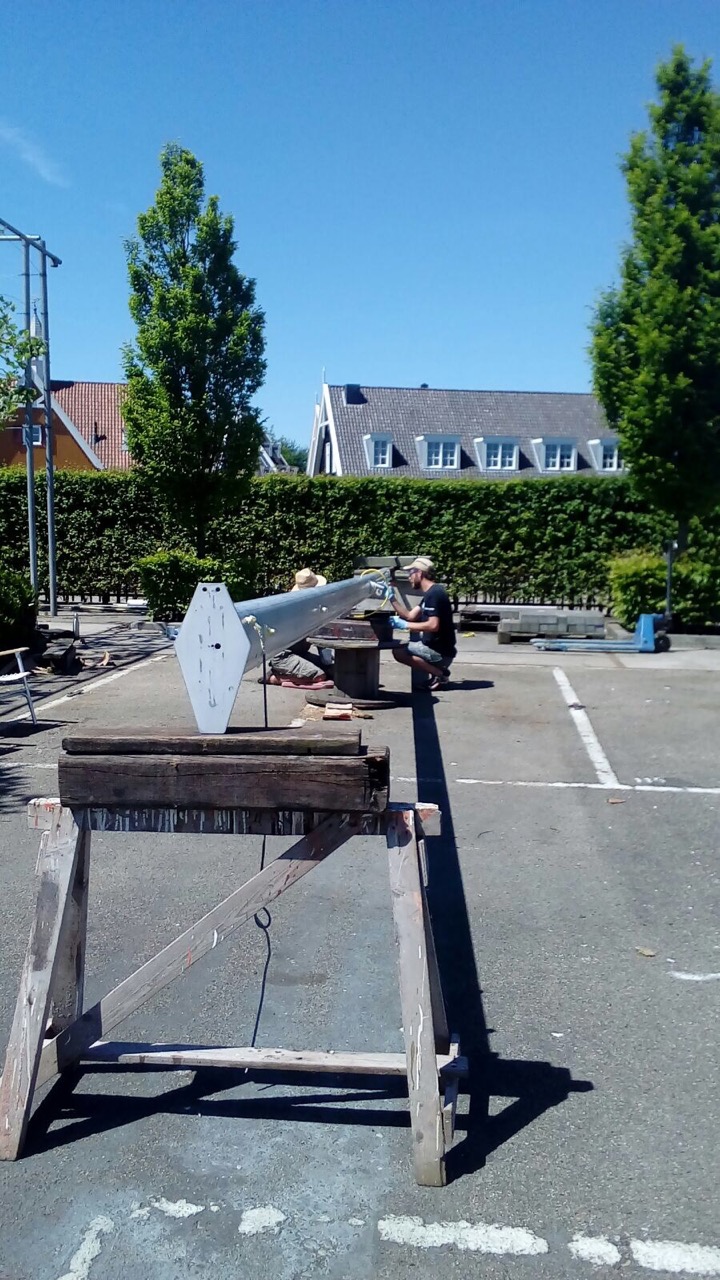
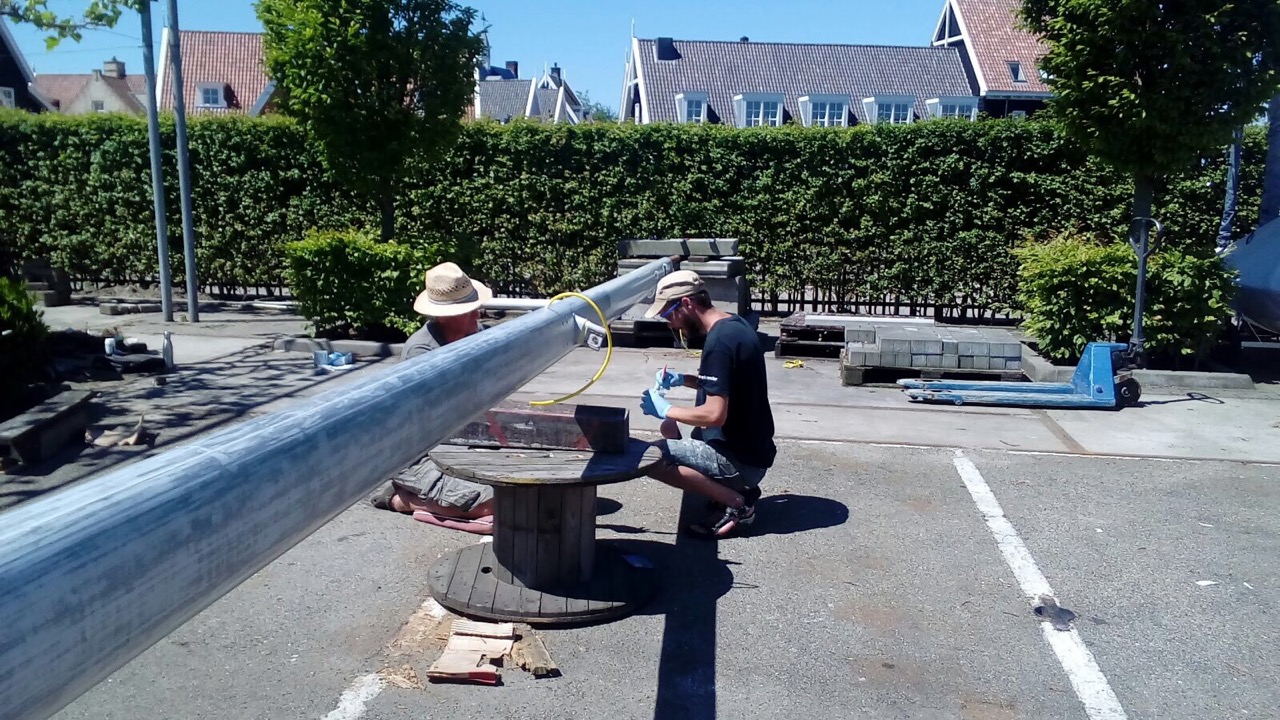
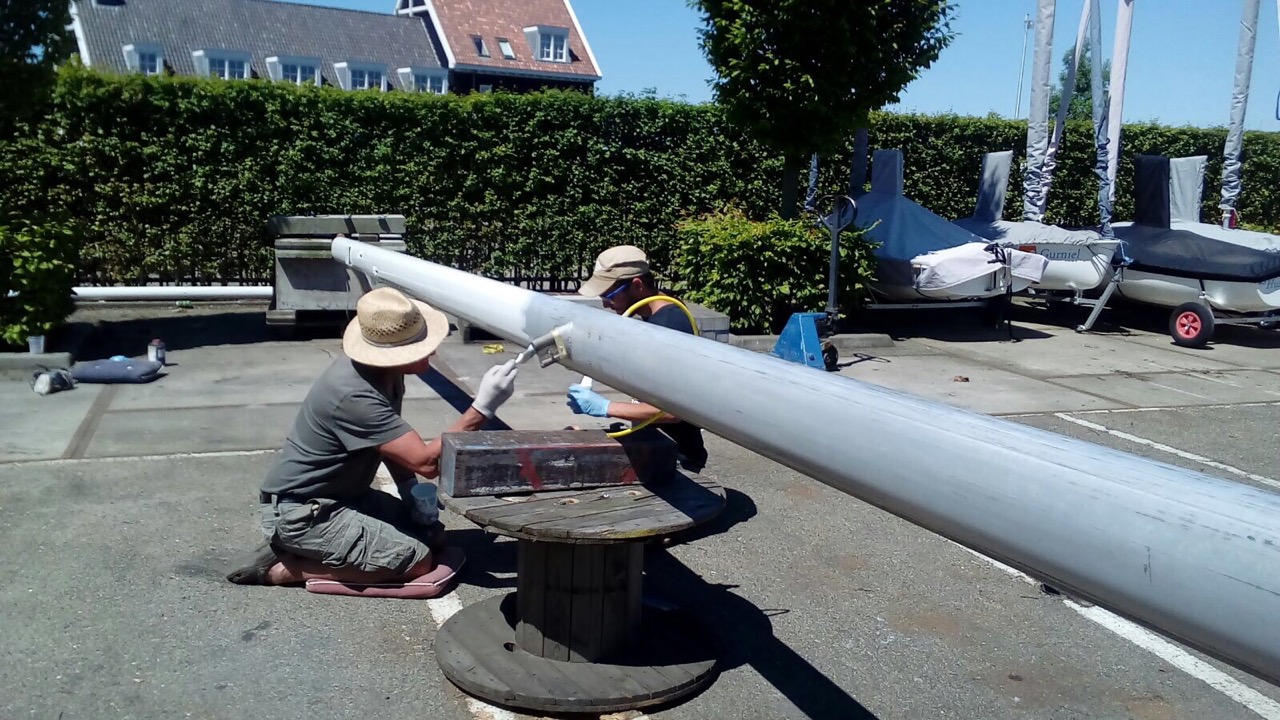
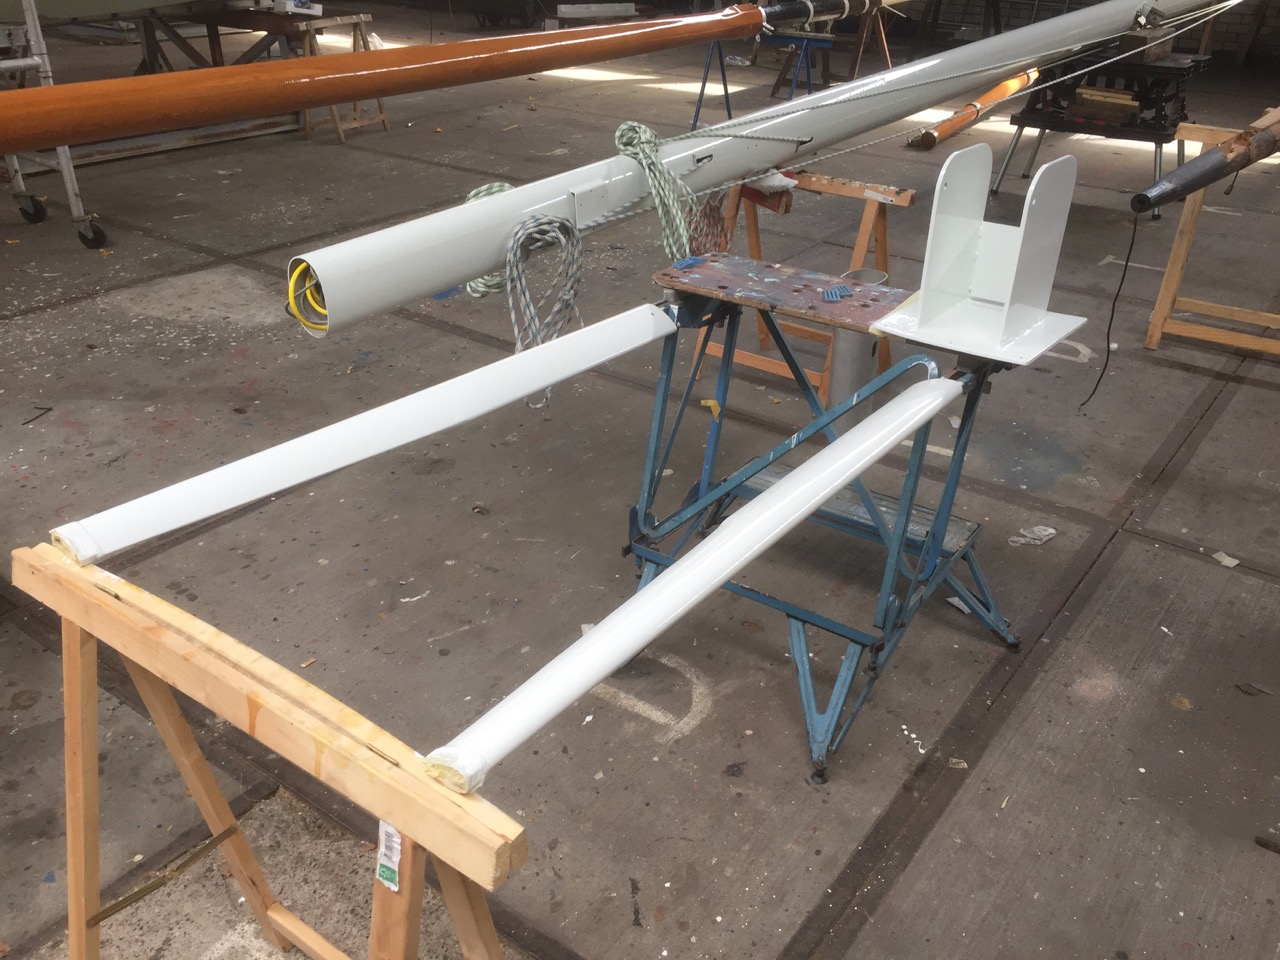
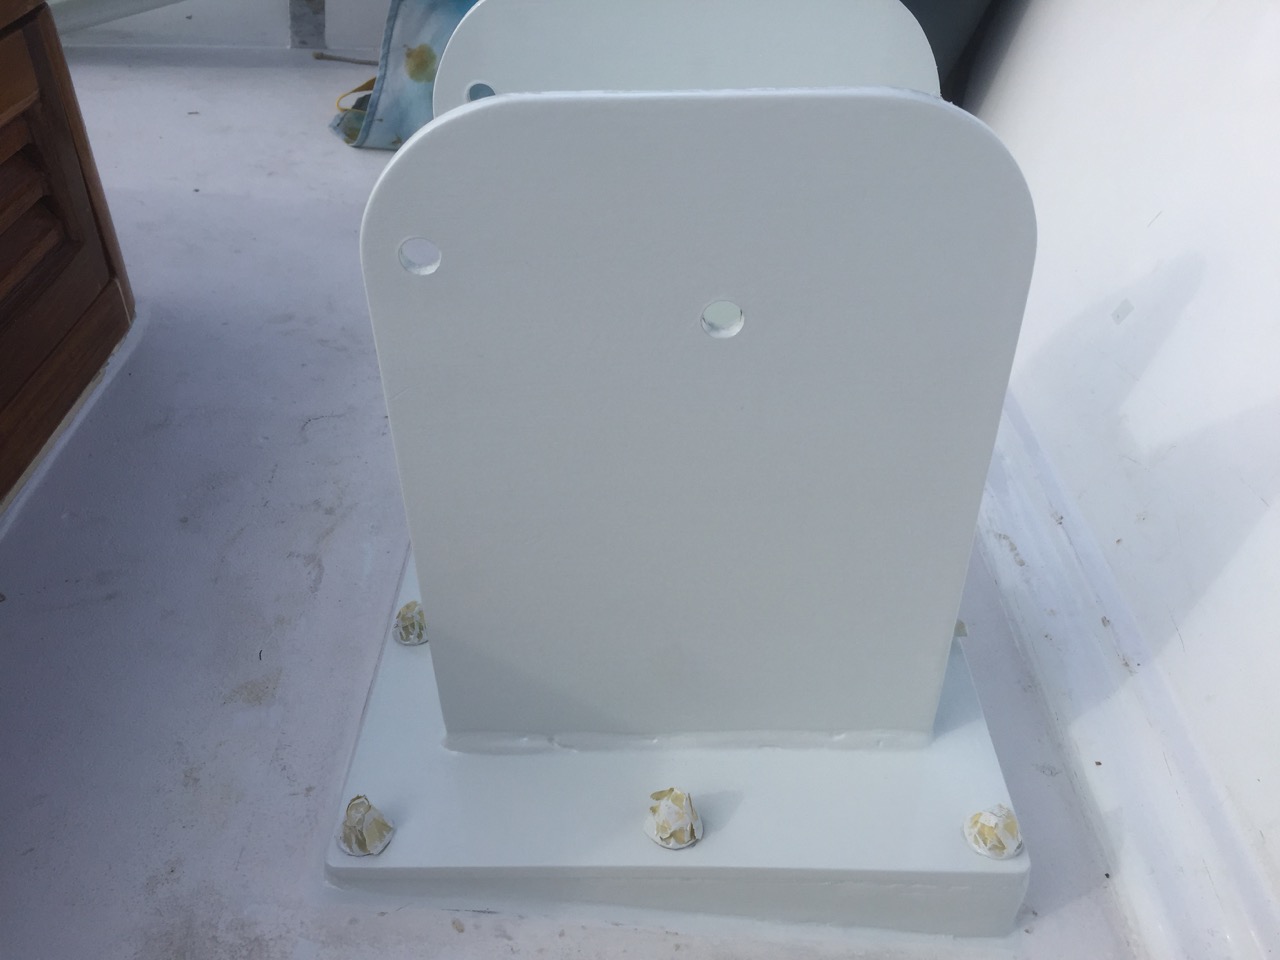
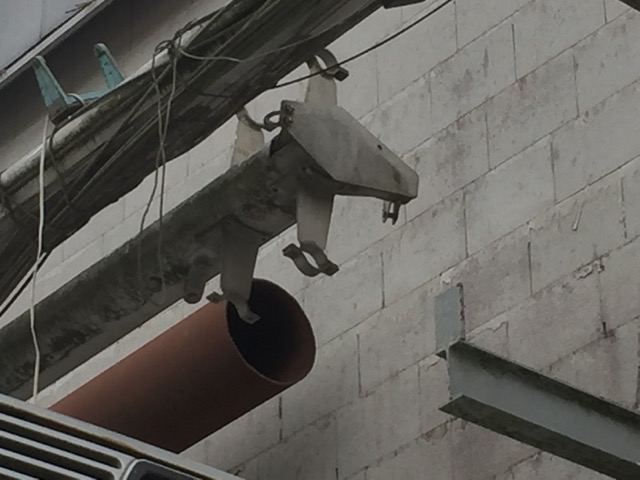
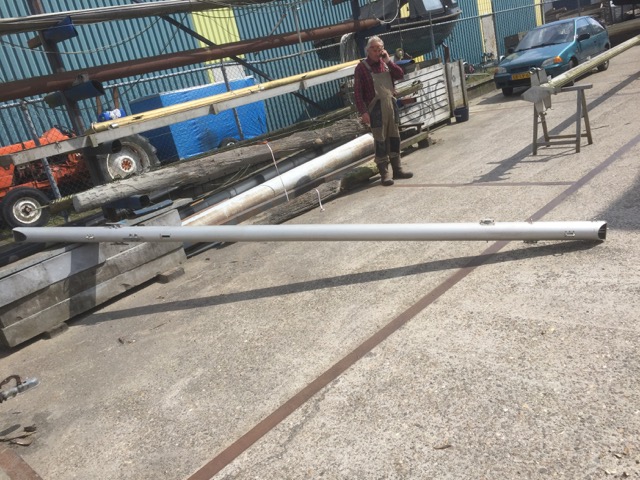
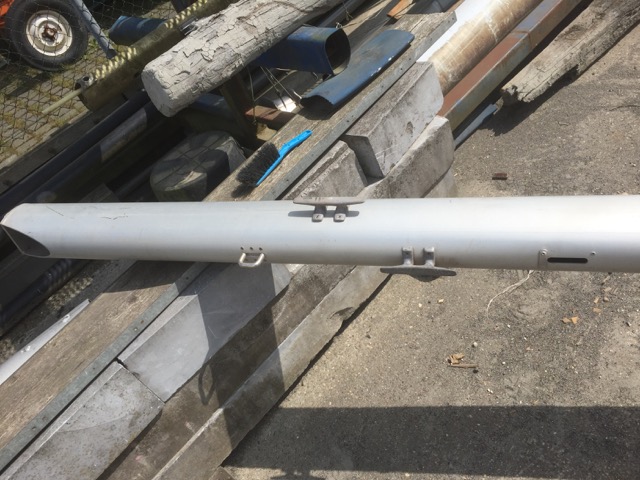
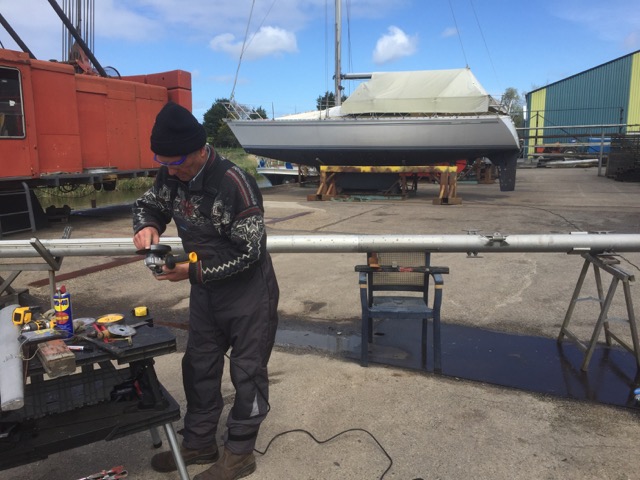
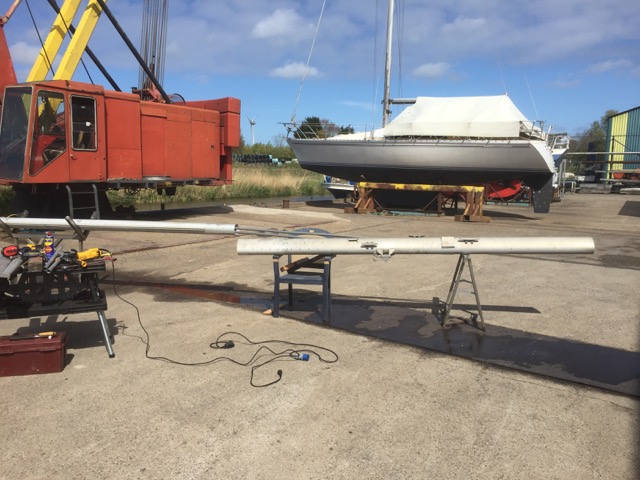
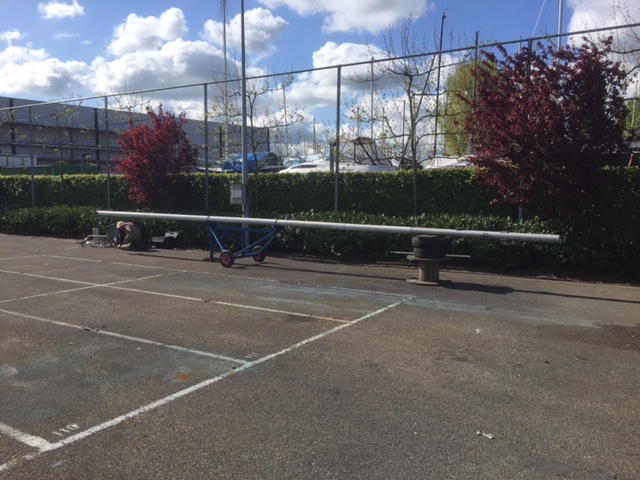
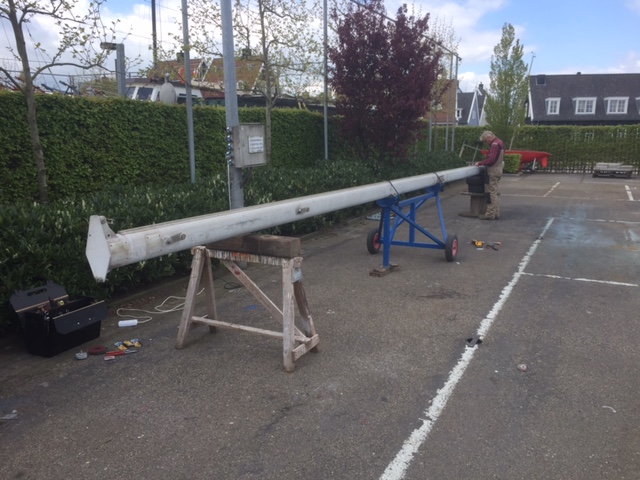
We had to build a custom mast foot and I decided to paint the new mast white.
It’s not really necessary to paint an aluminium mast, and it’s also not easy because paint does not want to stick to aluminium. But I’m very happy with the result and this means I can also paint the second mast with the same color white to make it look identical to the main mast.
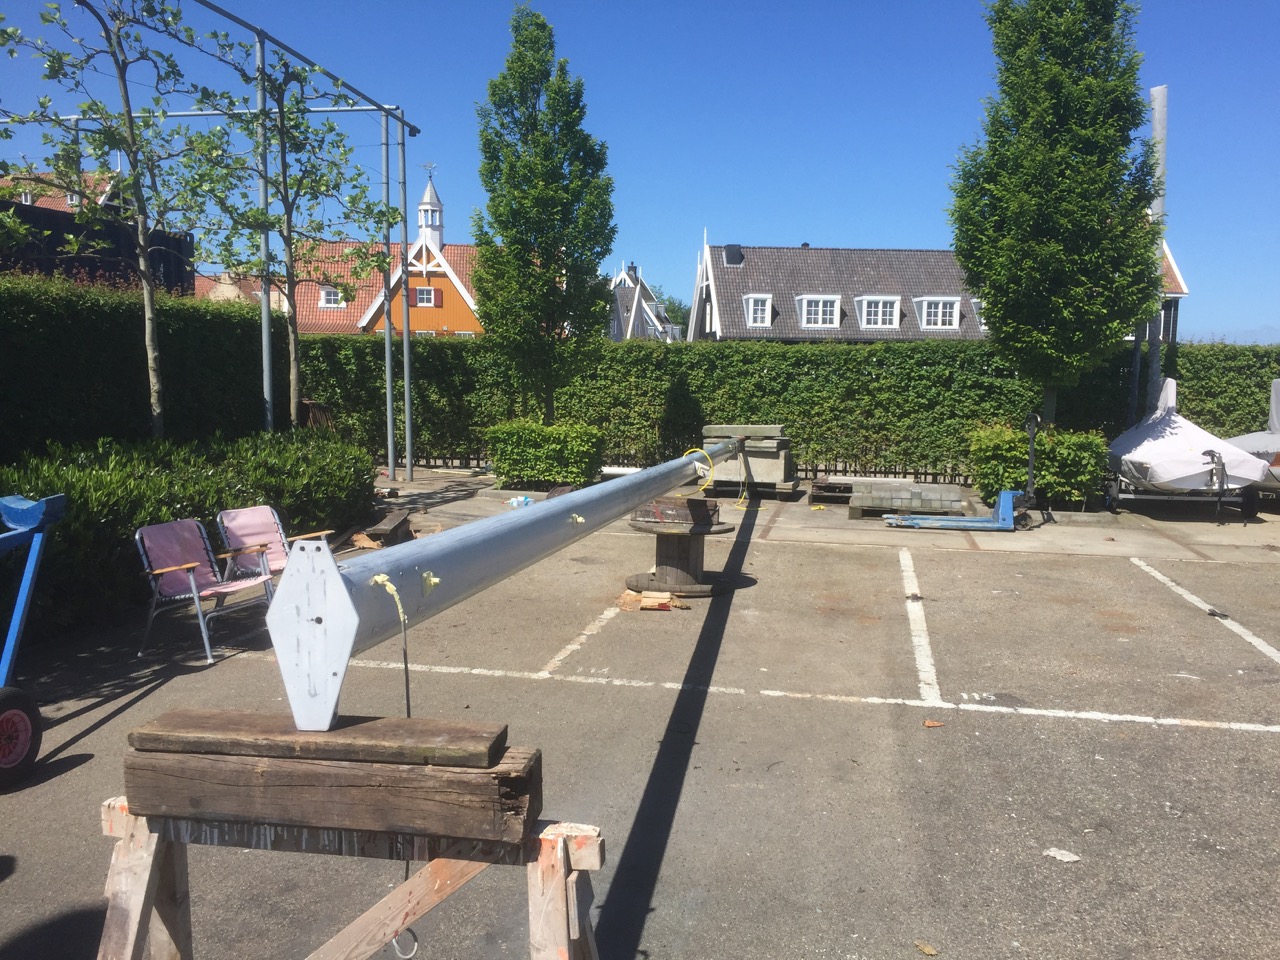
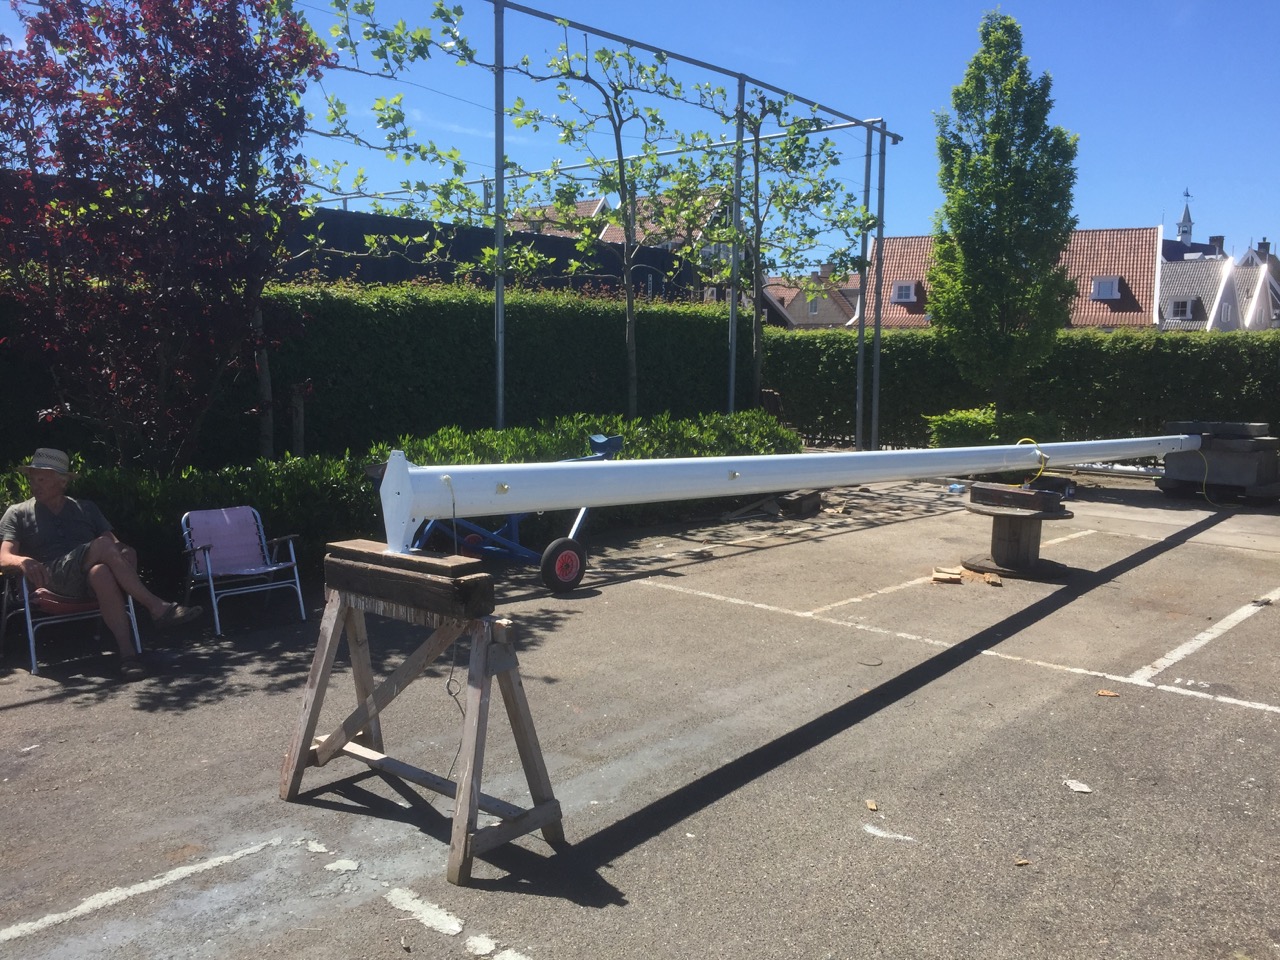
See some pictures below of the process. The next post will show when the mast was hoisted onto the boat and the first time we took here for a sail.
Building custom mast foot


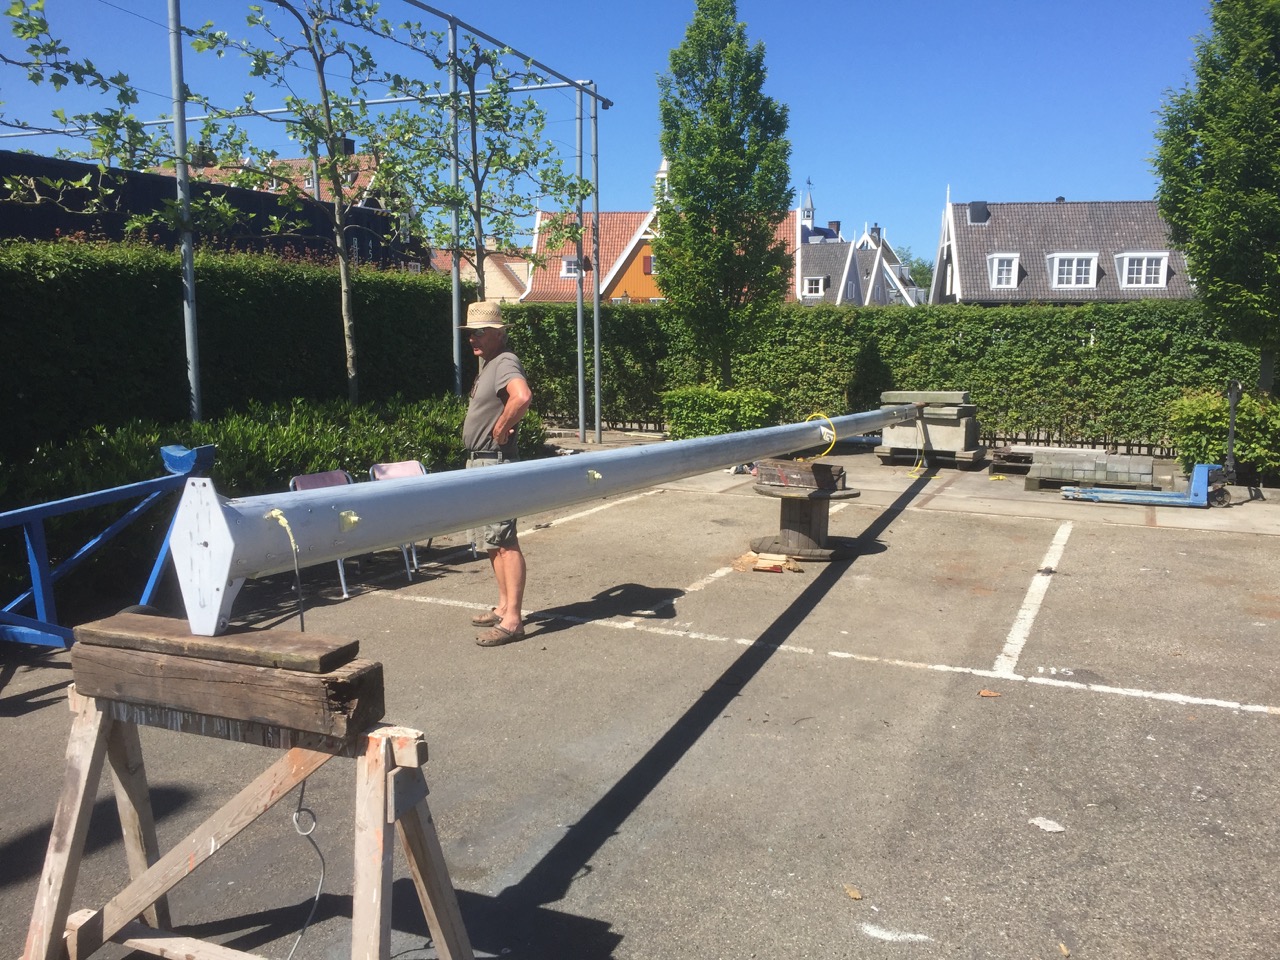
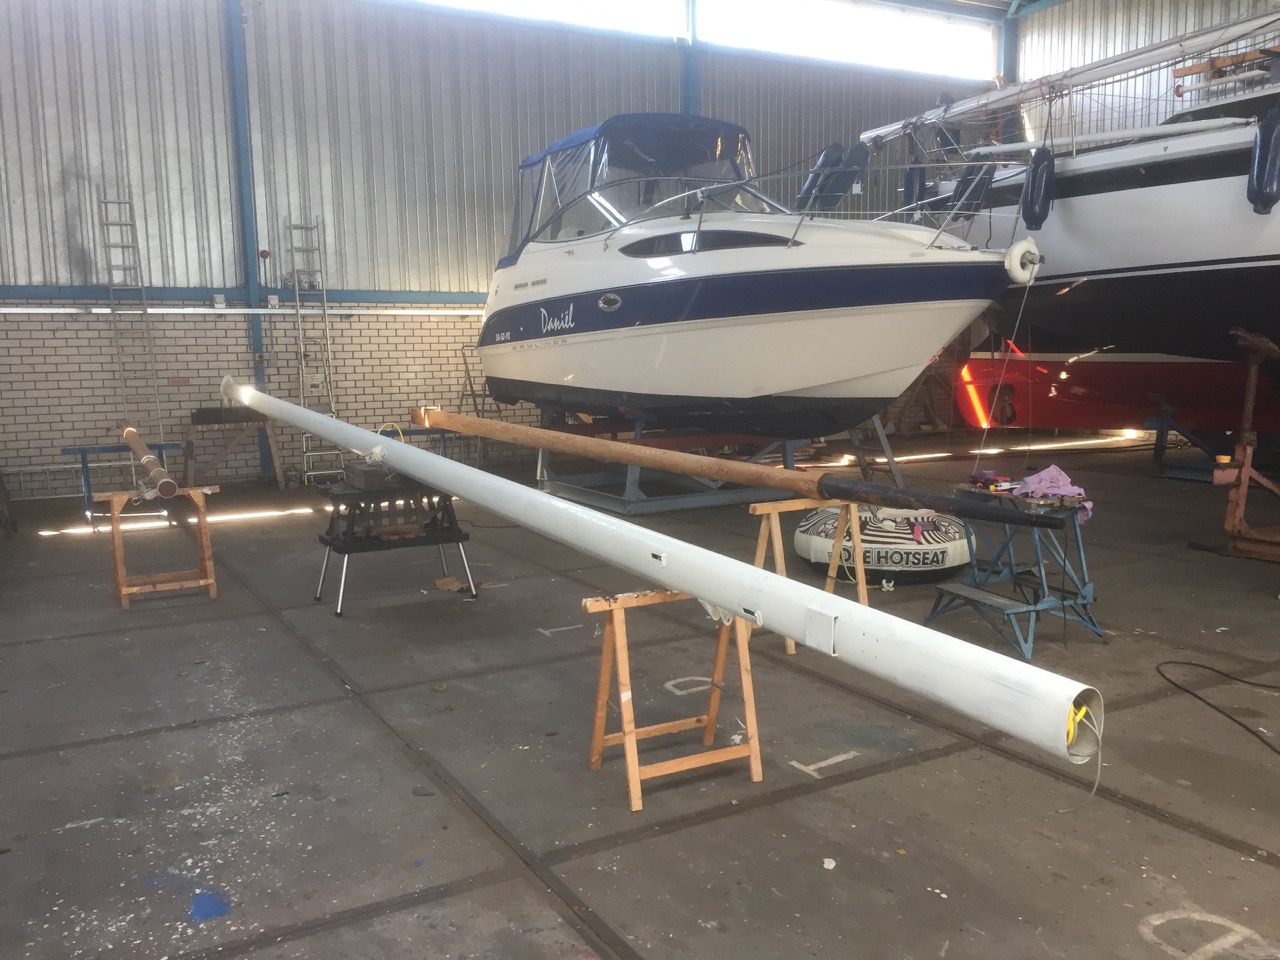


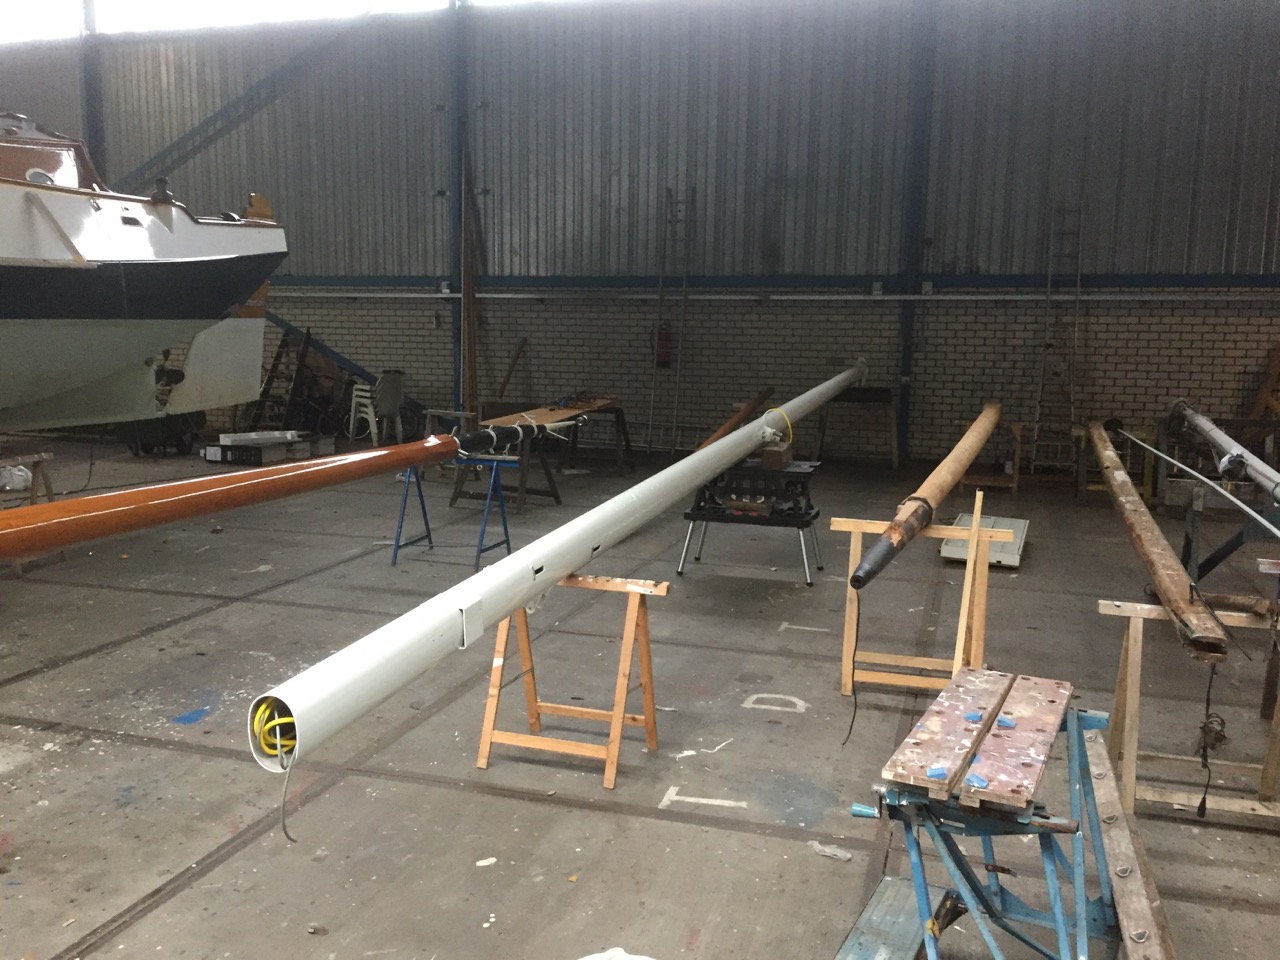
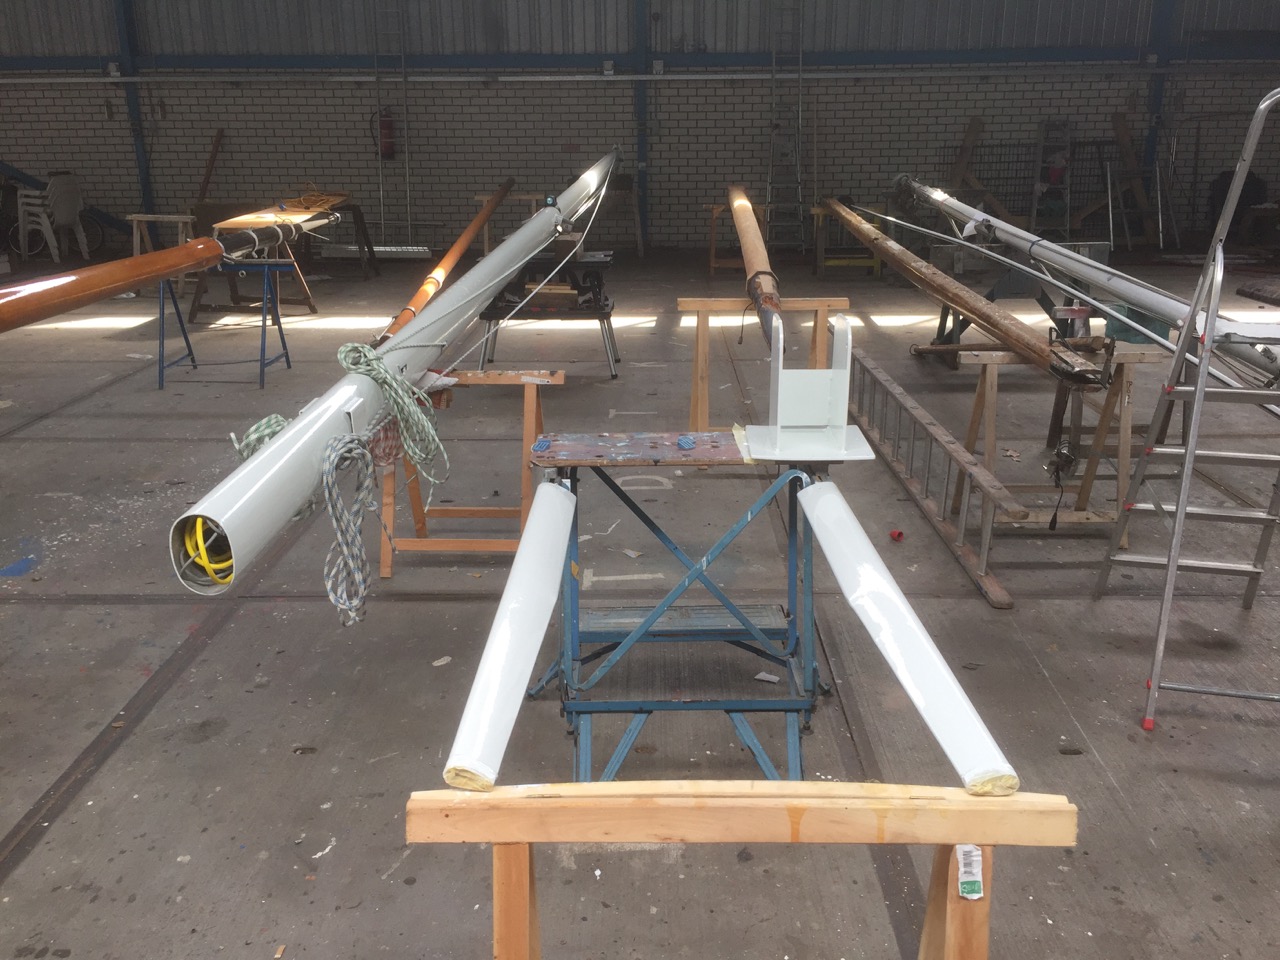


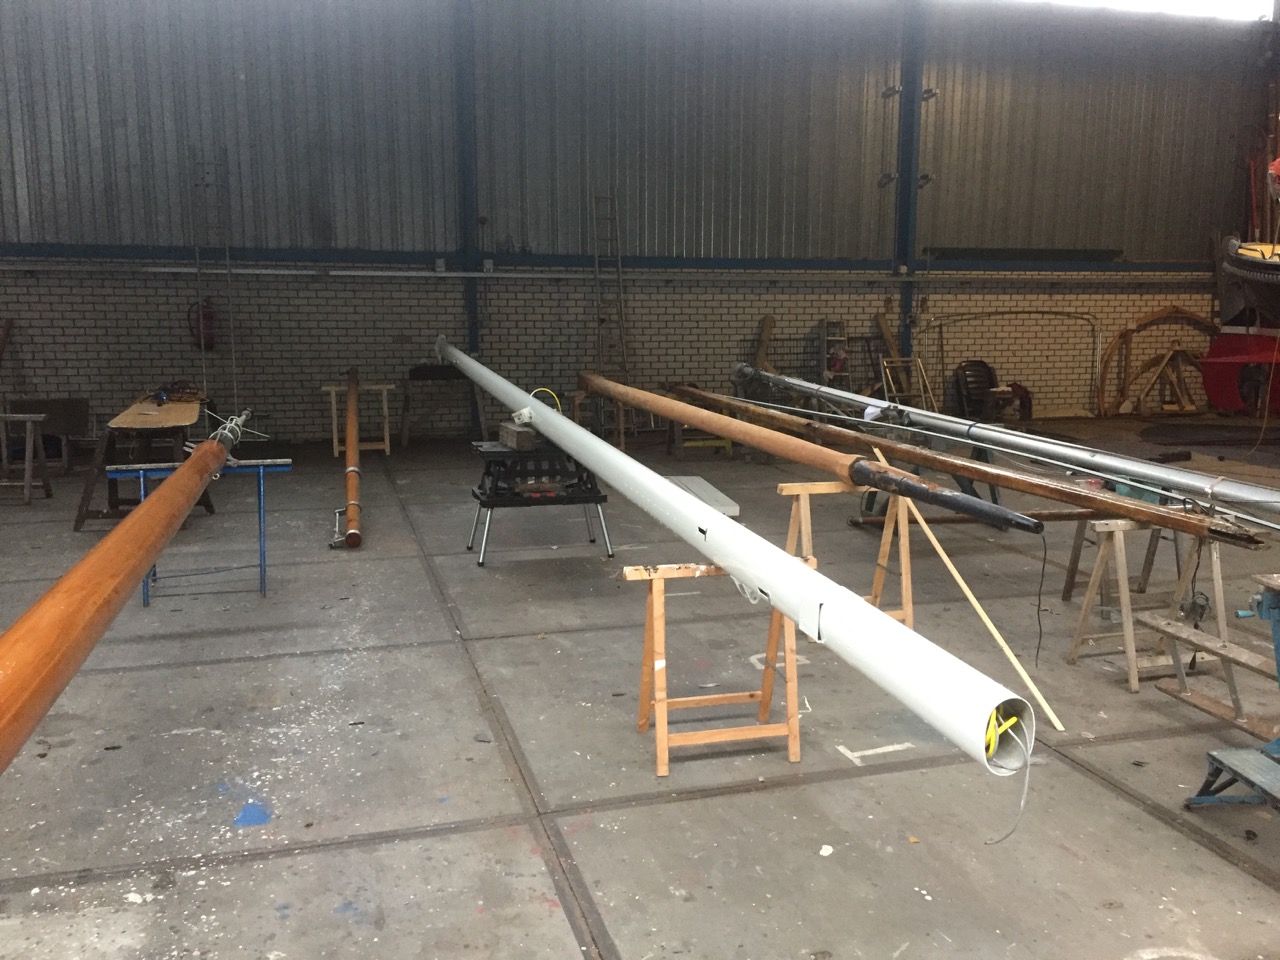
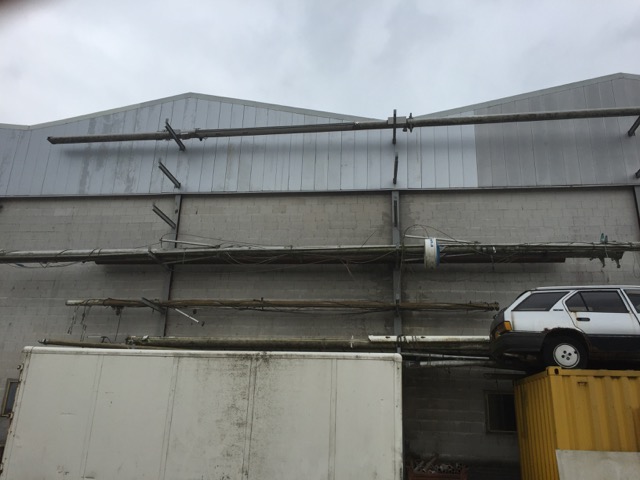
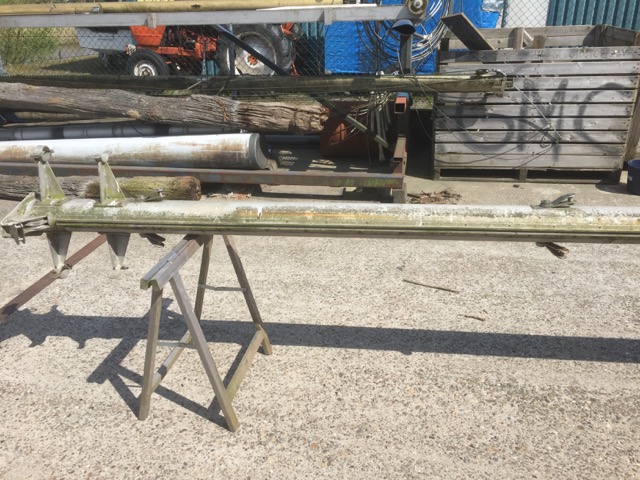
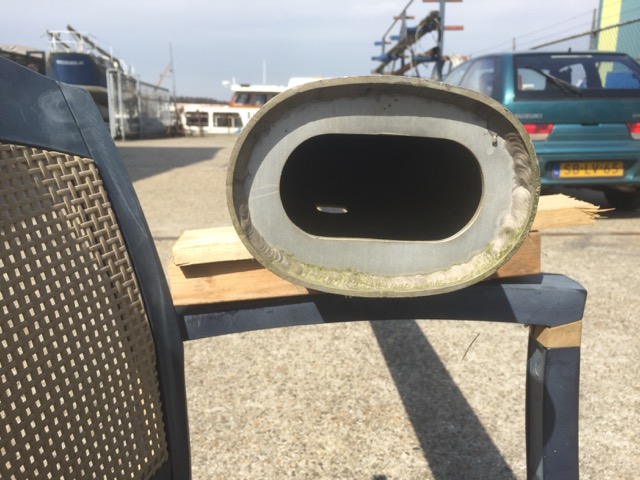
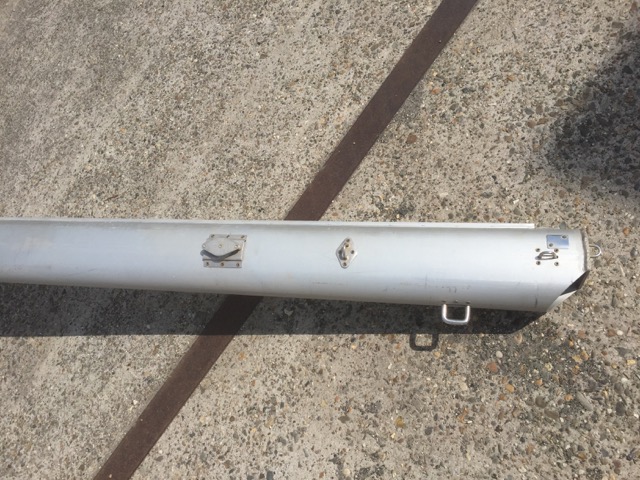
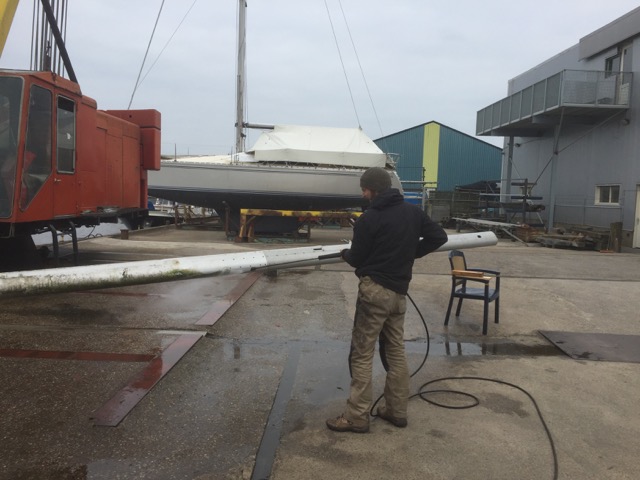
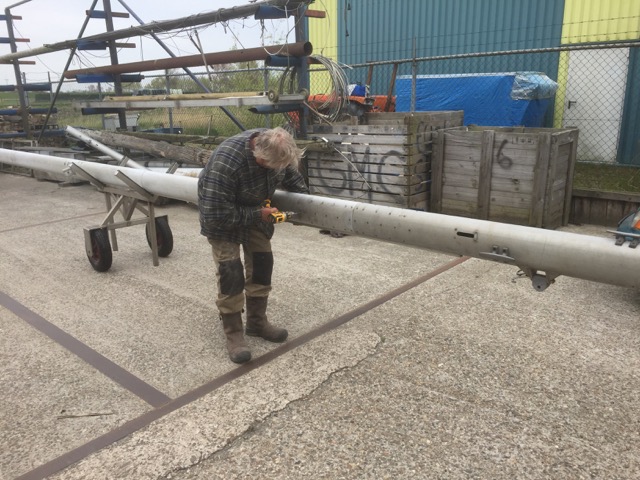
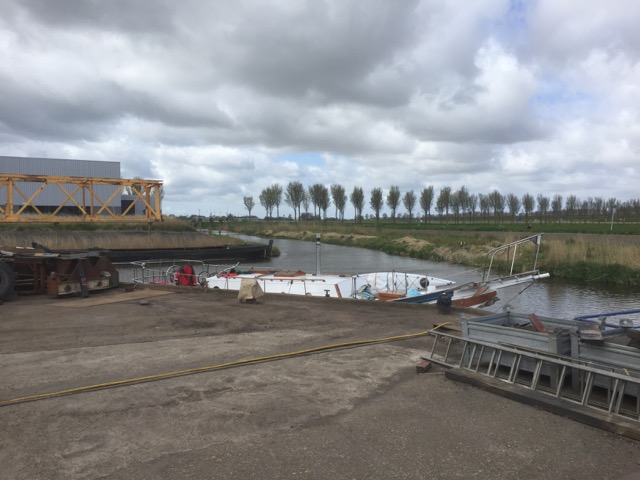
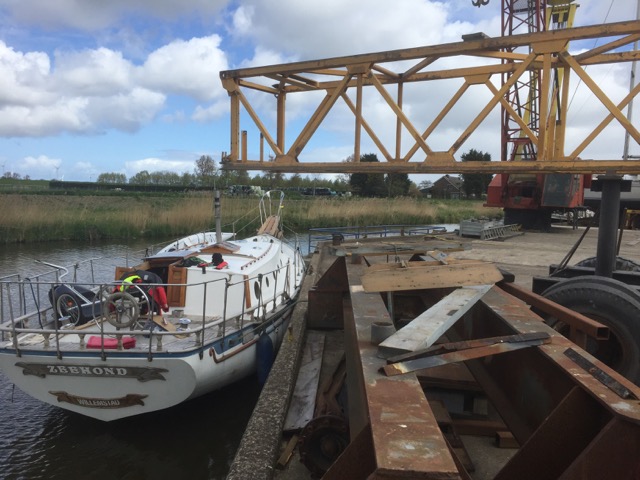
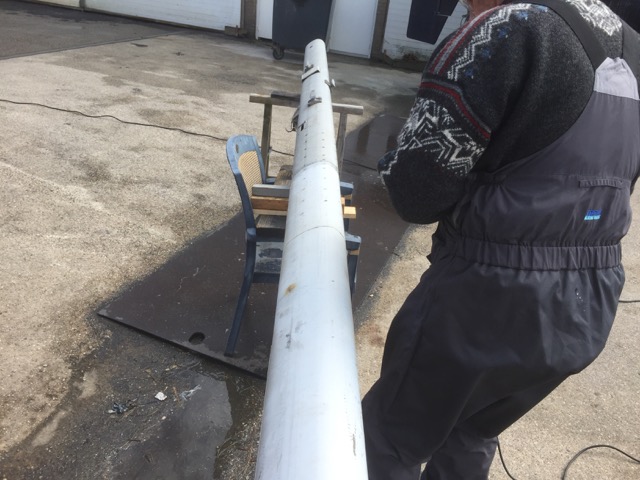
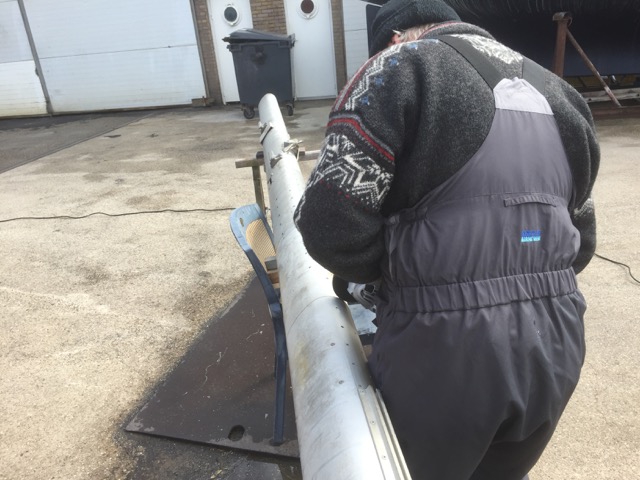
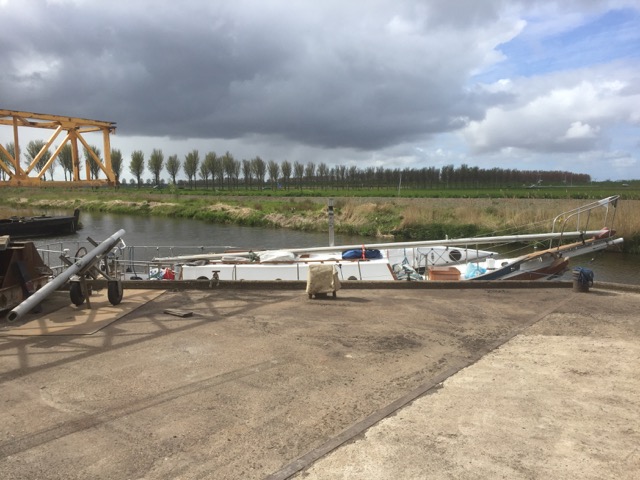
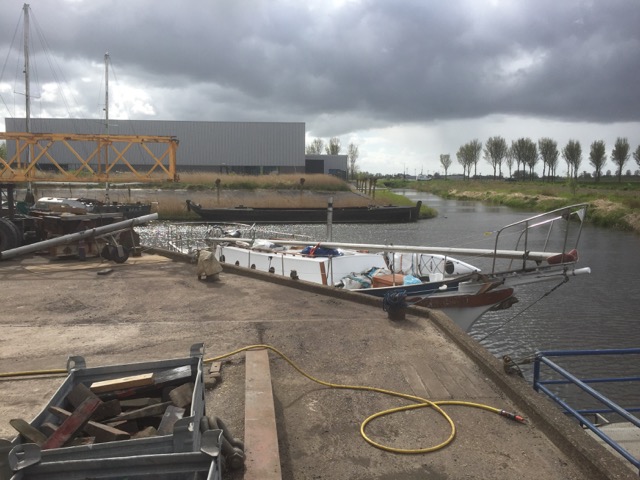
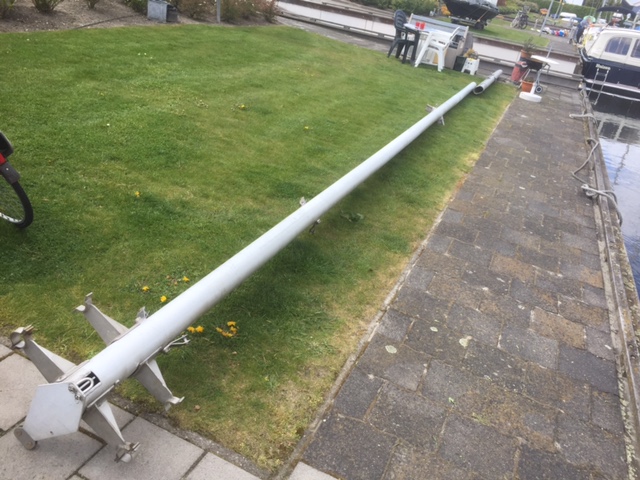
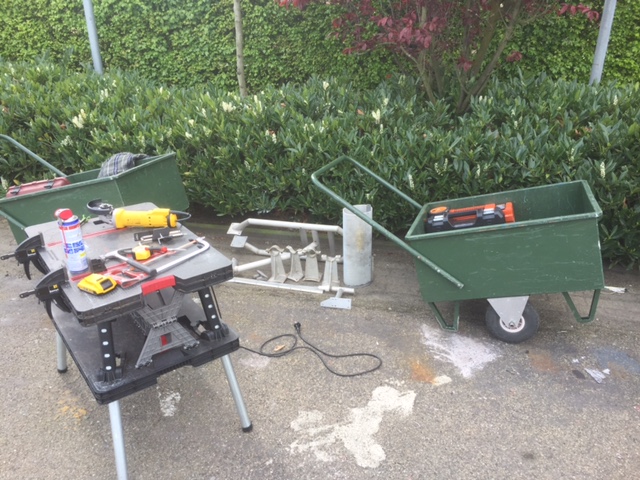
A few weeks ago my father found a secondhand aluminium mast that would be perfect as the main mast aboard the Seadog.
It has been laying around besides a warehouse at a shipyard for more than 15 years. But it actually has never been used before, so structurally it should be as good as new.
Also, this mast is build extra sturdy when compared to most other masts of this size.
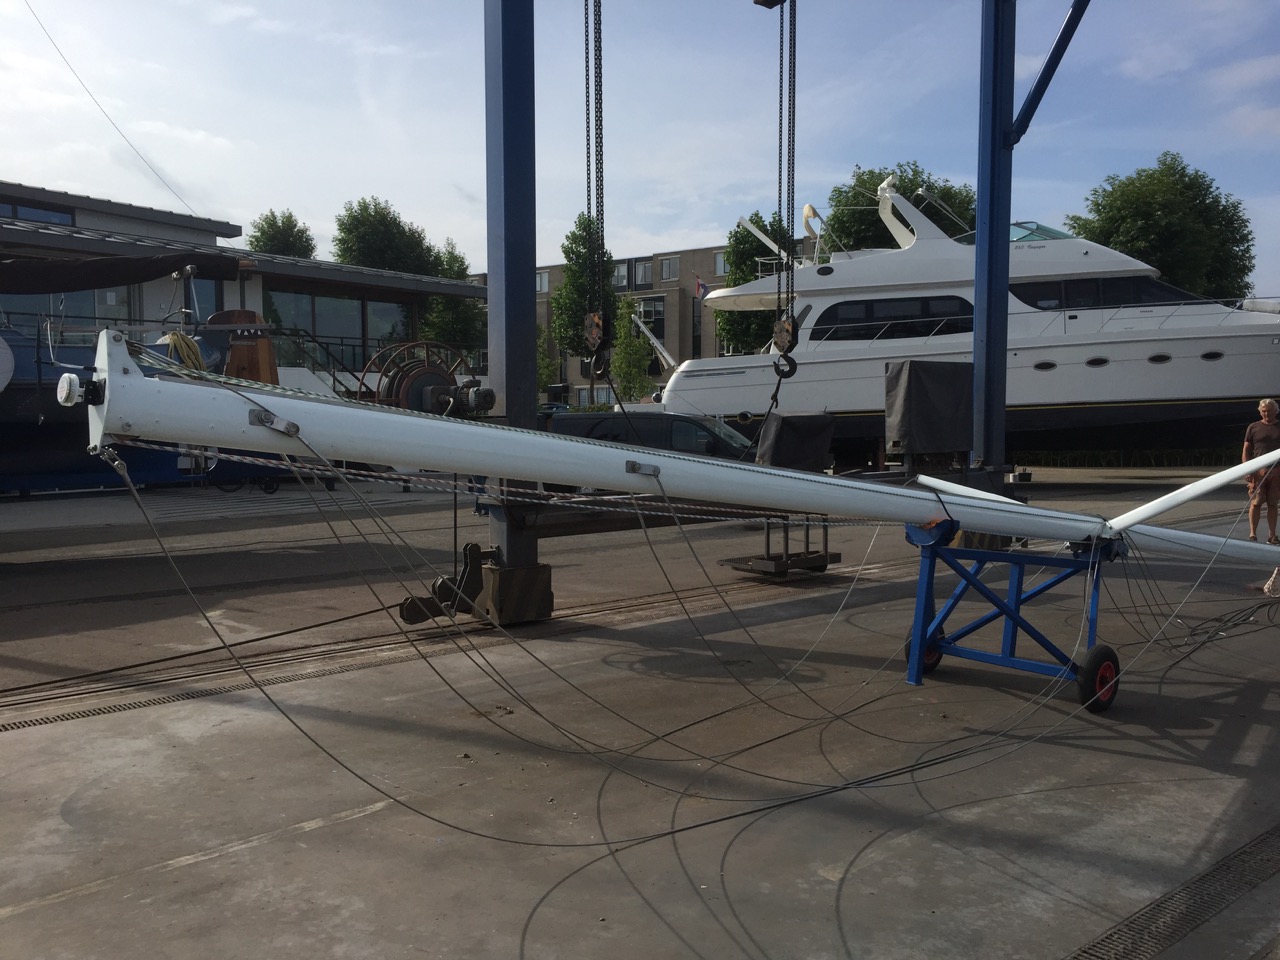
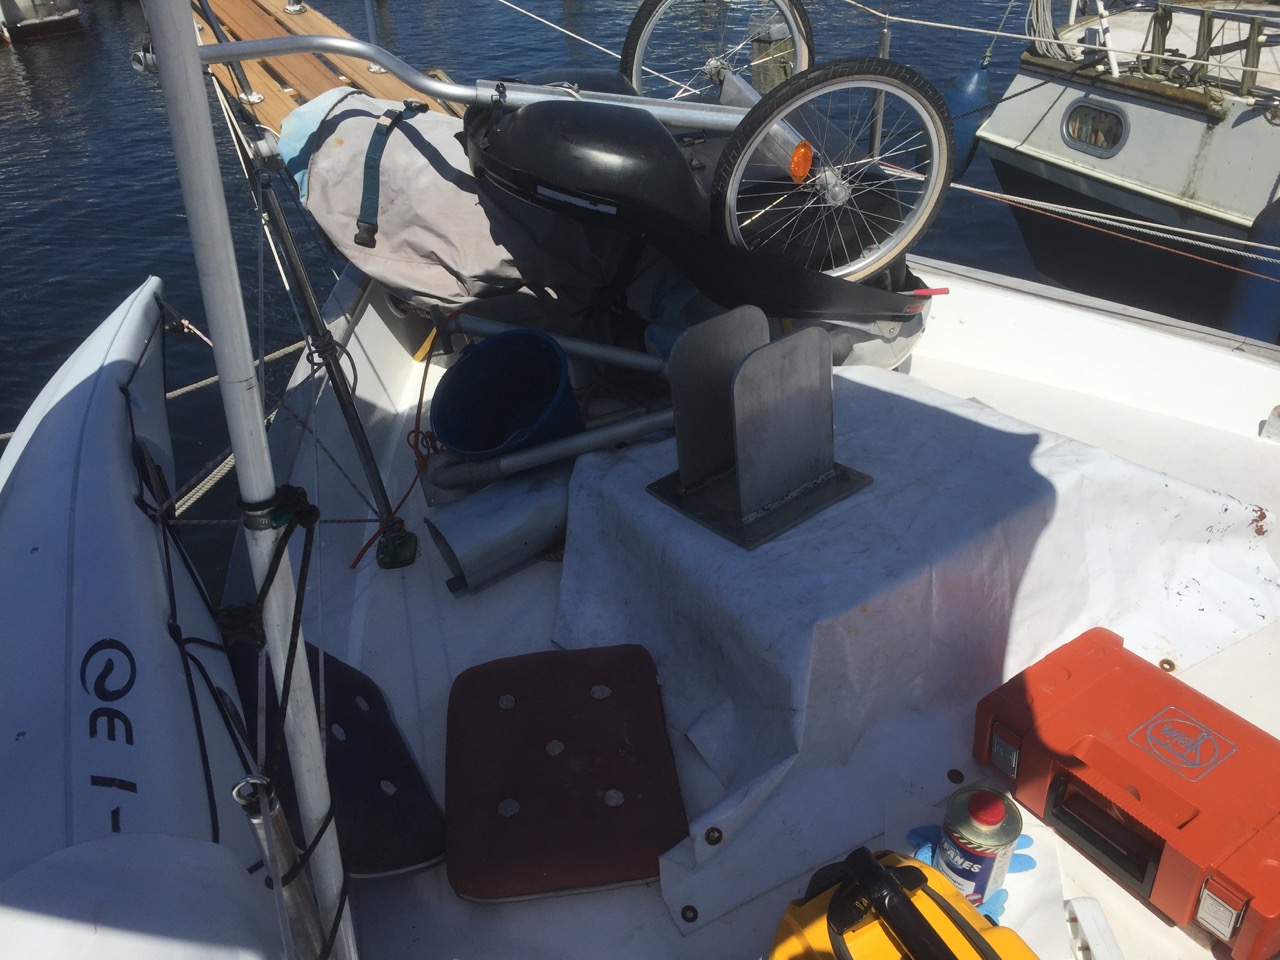
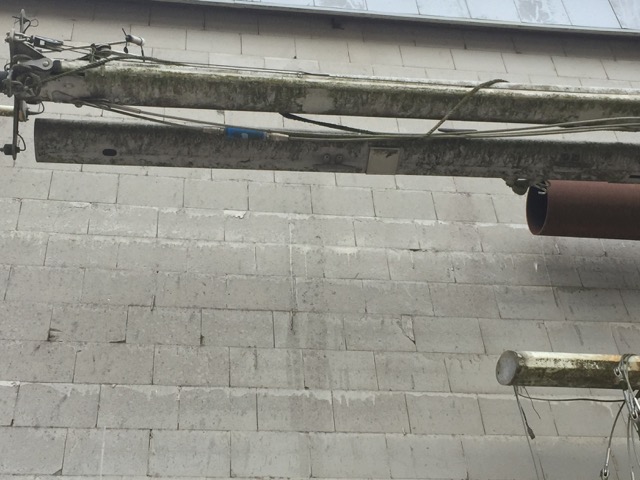
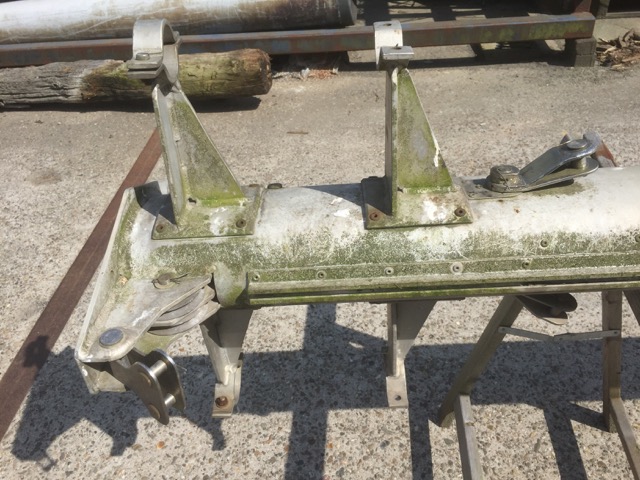
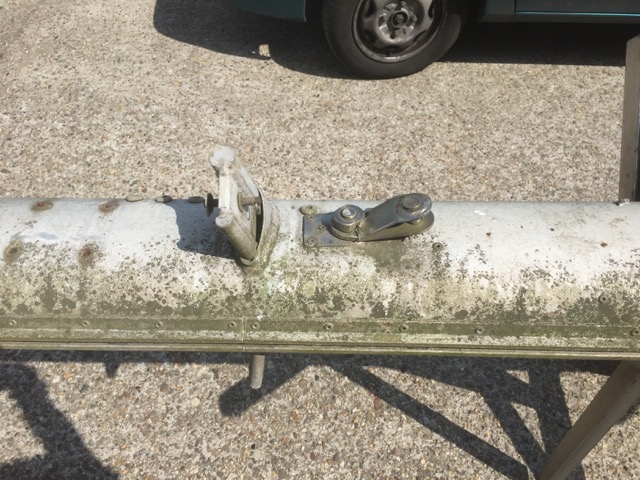
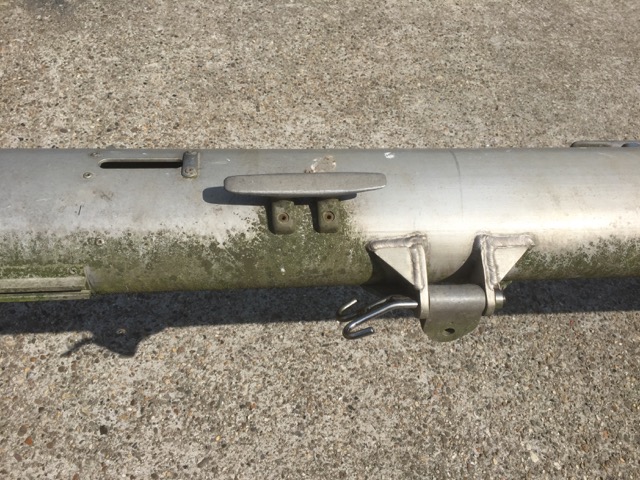
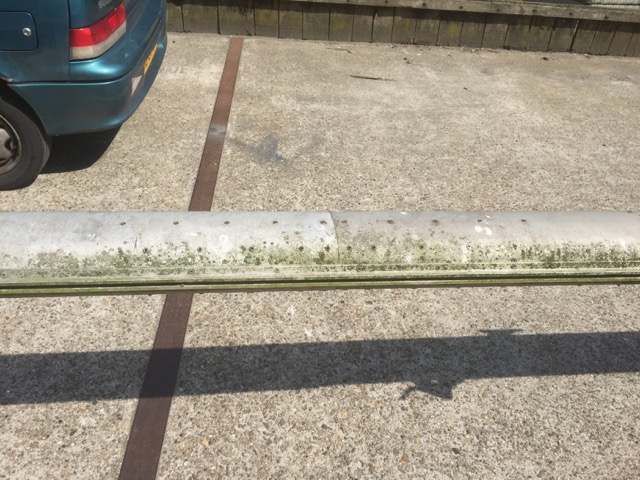
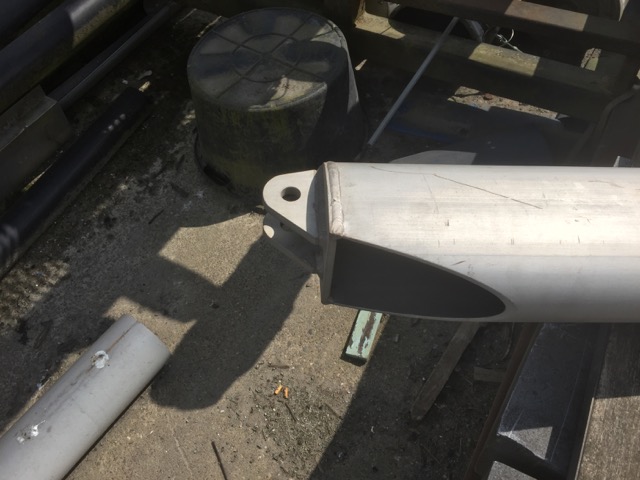
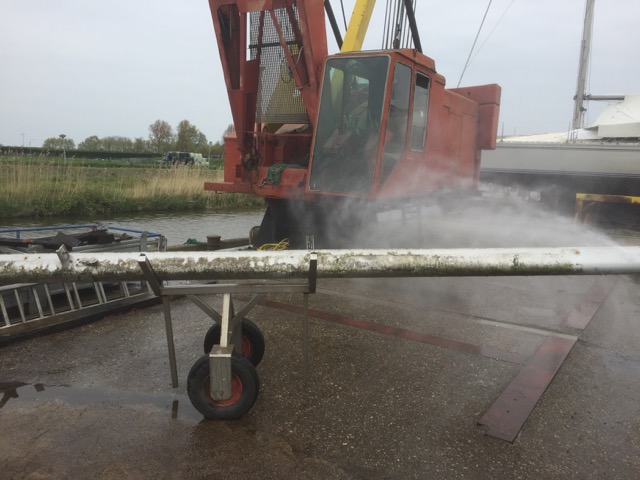
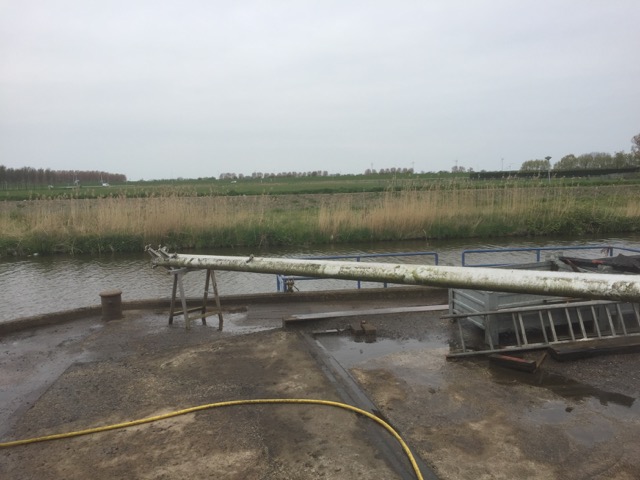
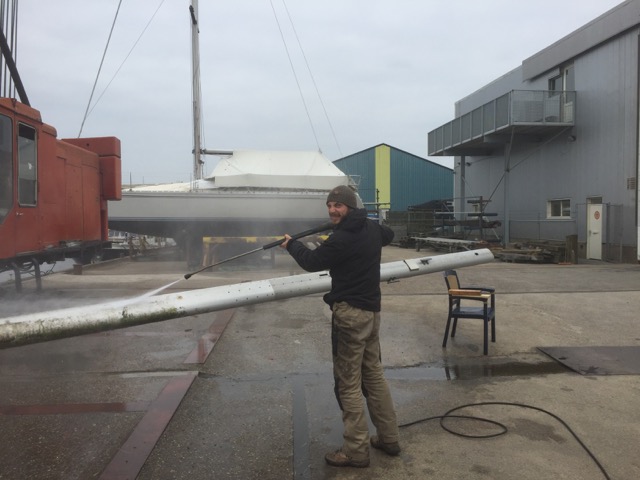
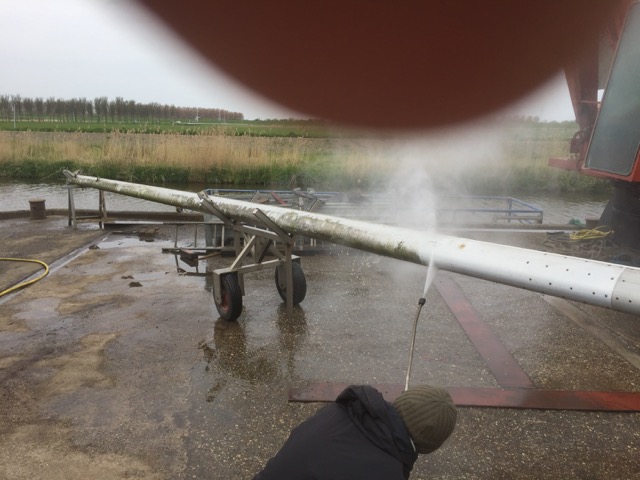
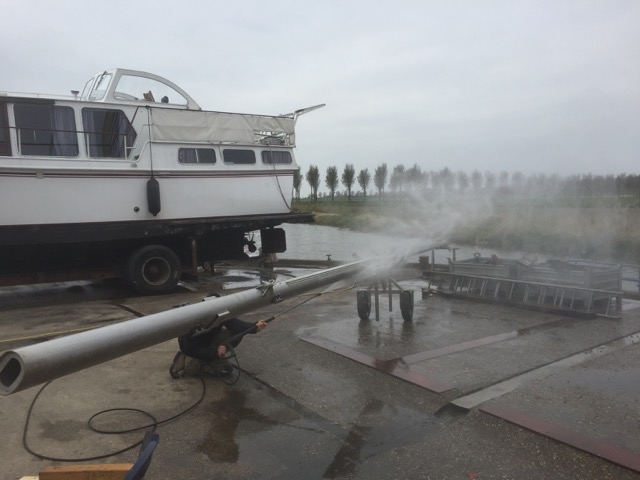
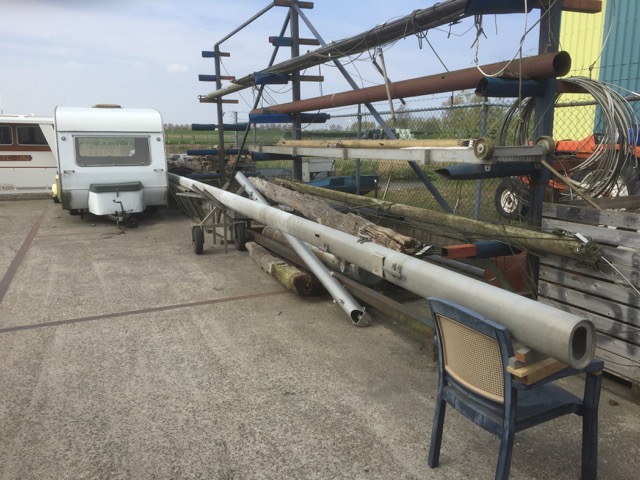
The downside is that there came no rigging and very little fittings with this mast. Plus it’s still about 1.5 meters to long and looks a little dirty (see photo’s below).
But we decided this was the way to go.


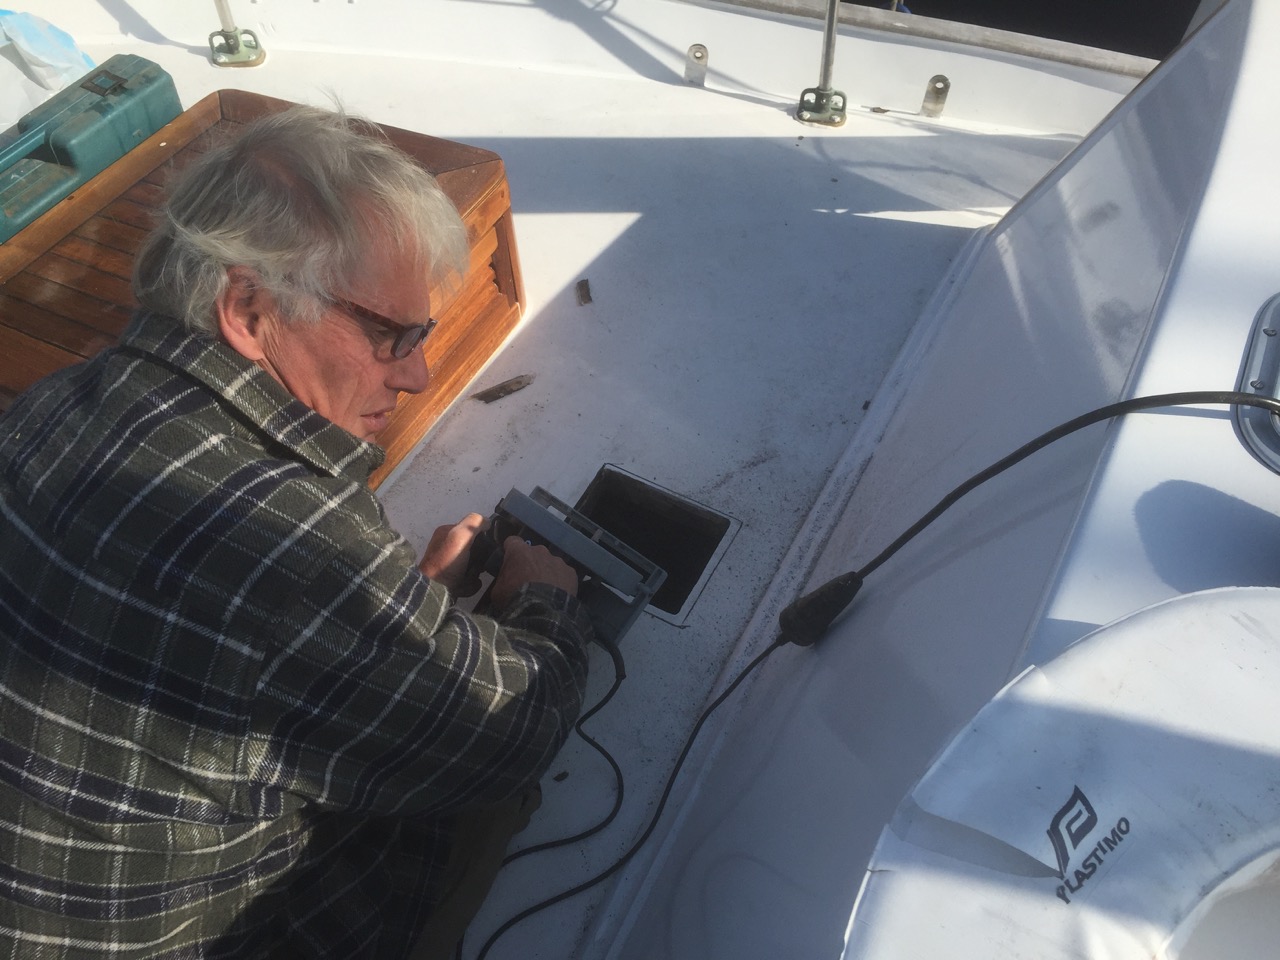
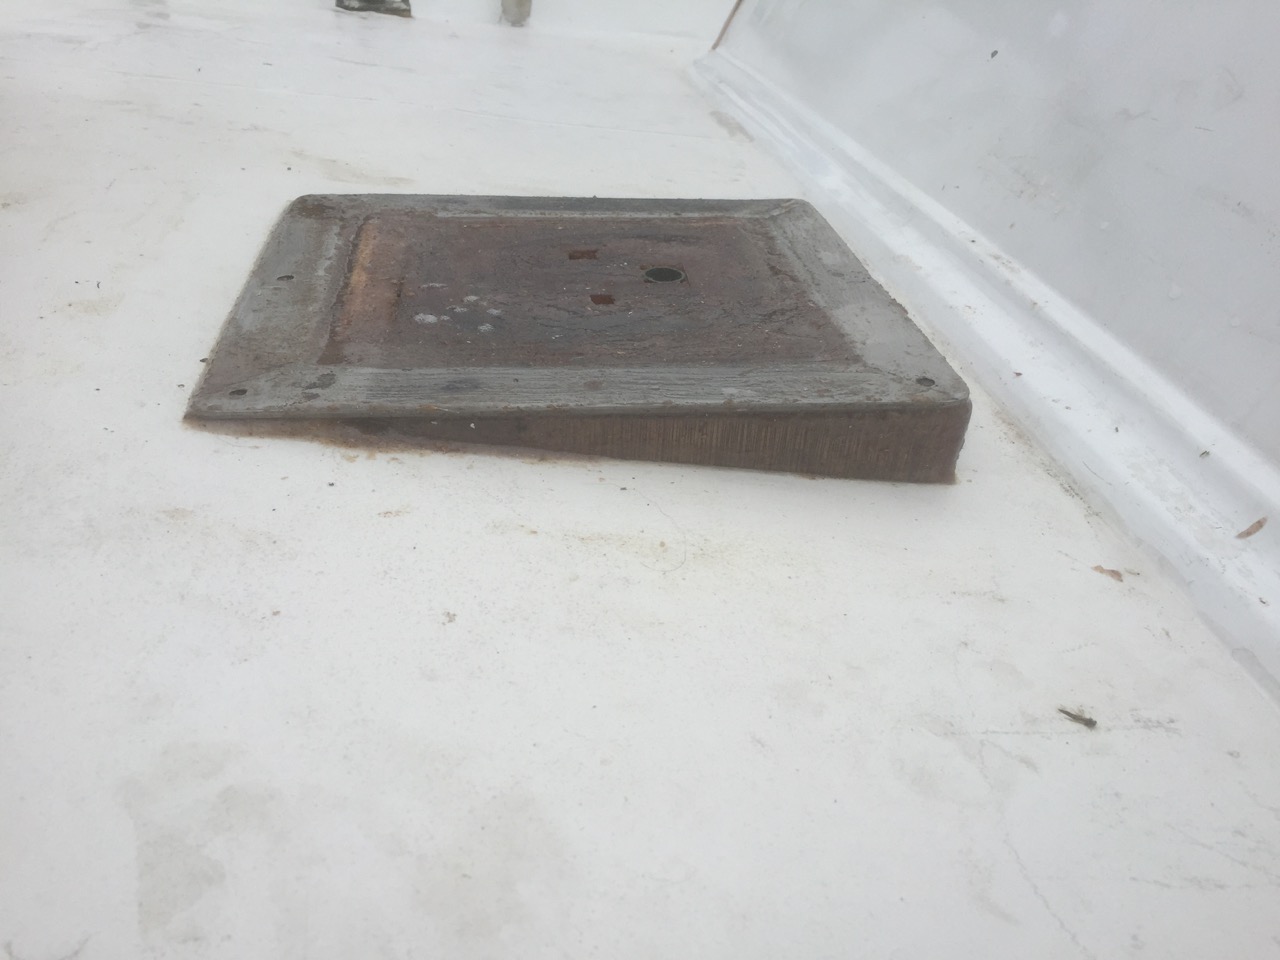
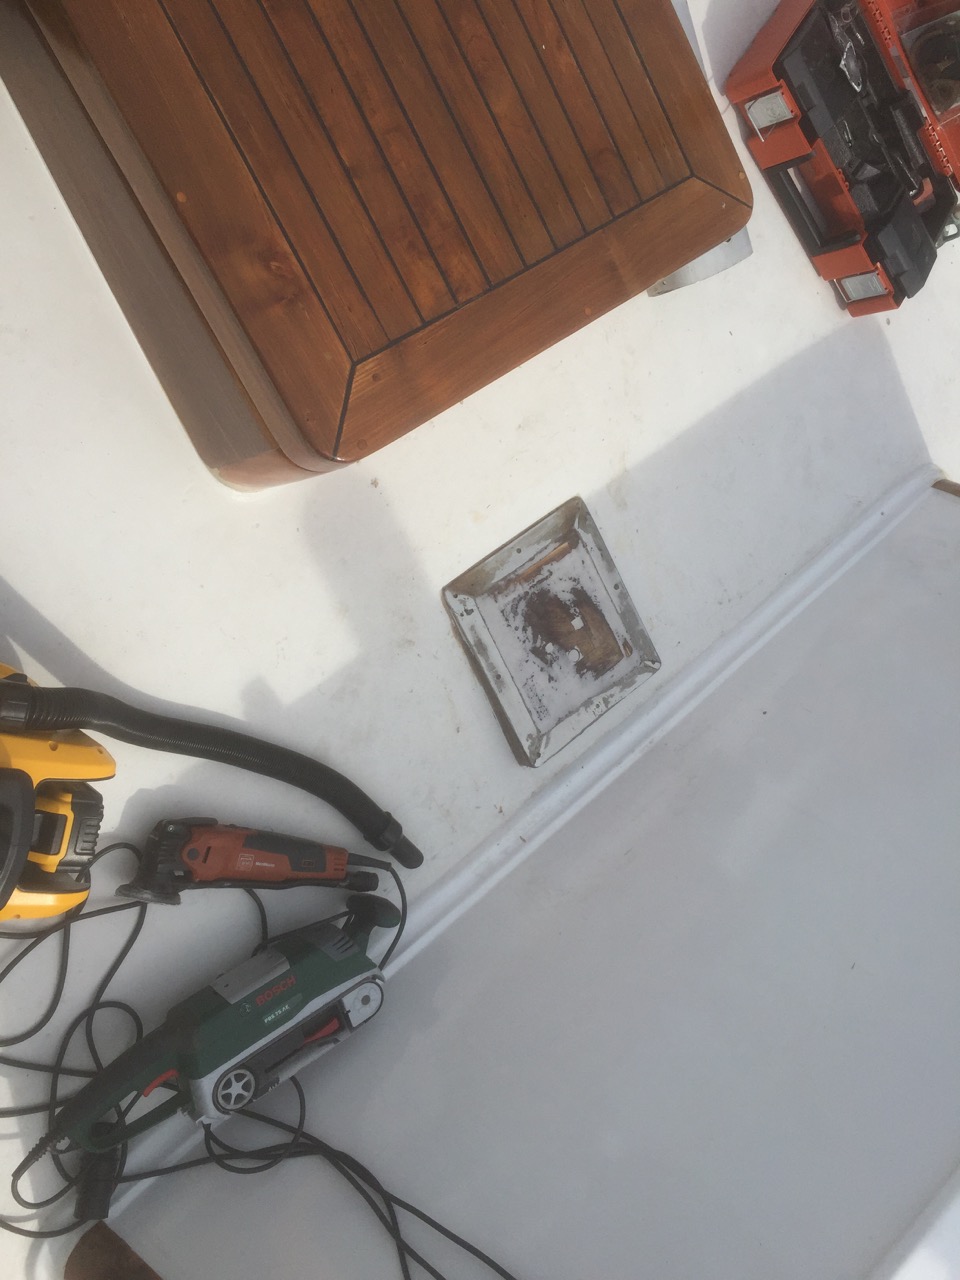
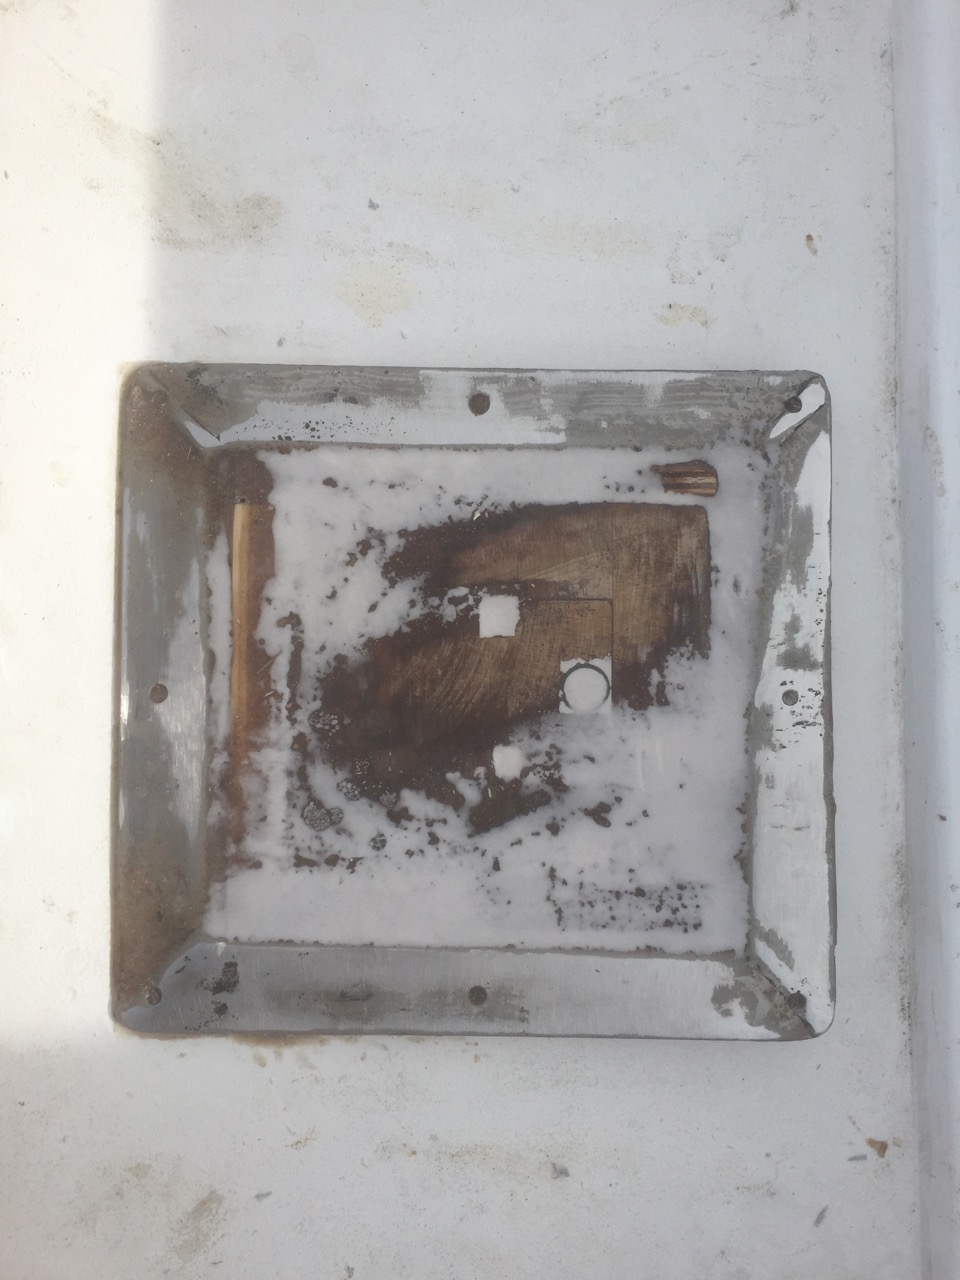
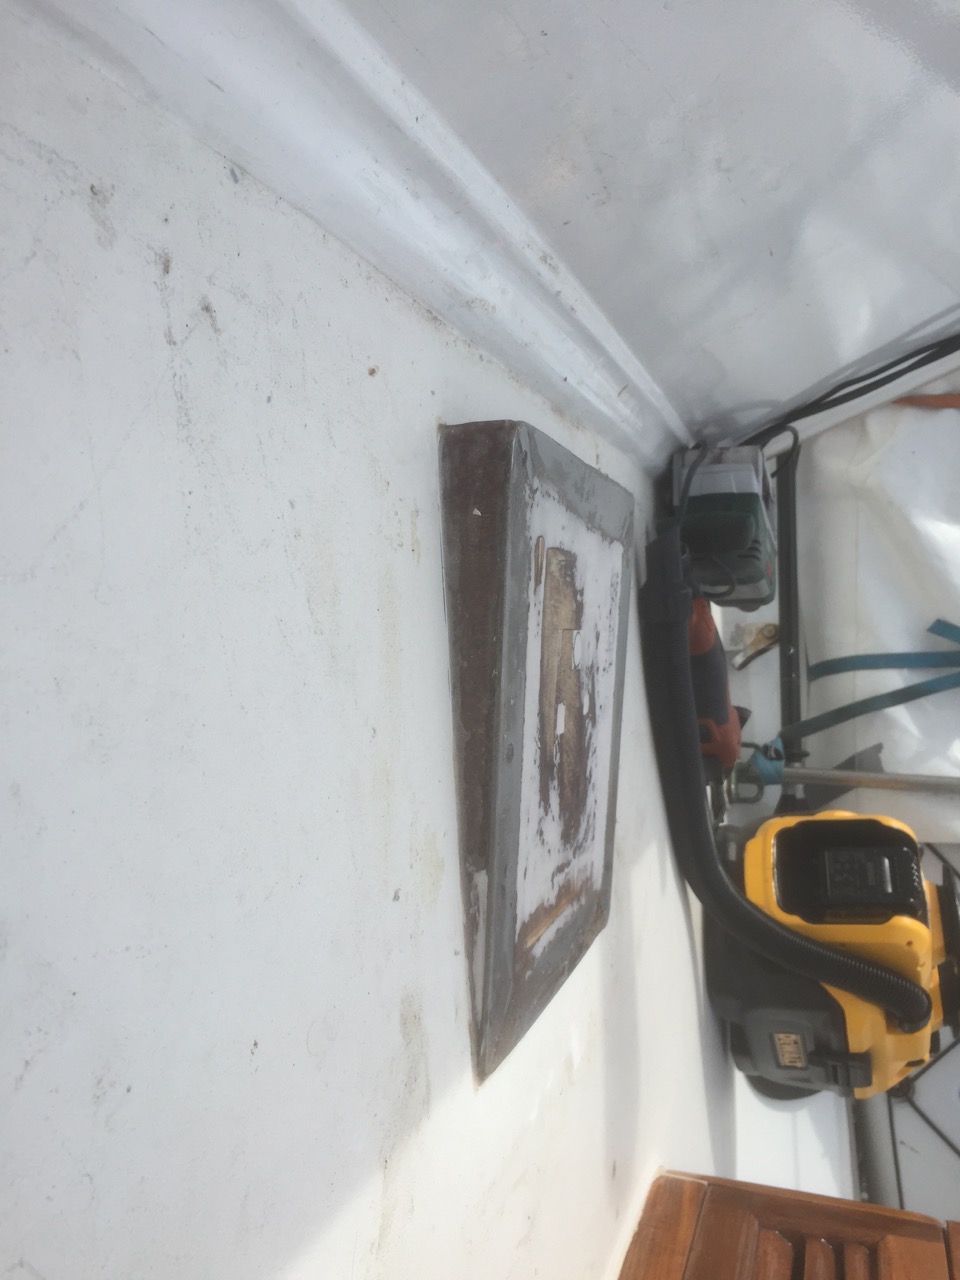
Somehow rainwater is still leaking from somewhere above deck along the hull next to the bed inside the cabin (and onto the mattress). So back in March some minor tasks were done along the inside of the hull to prevent any leaking water from touching the mattress.
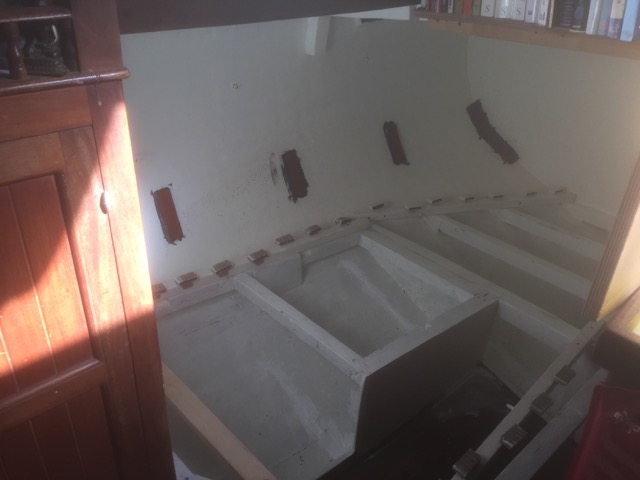
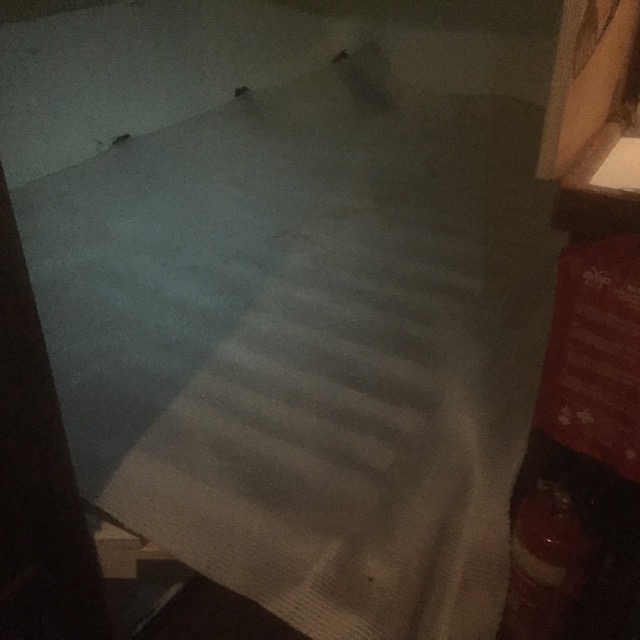
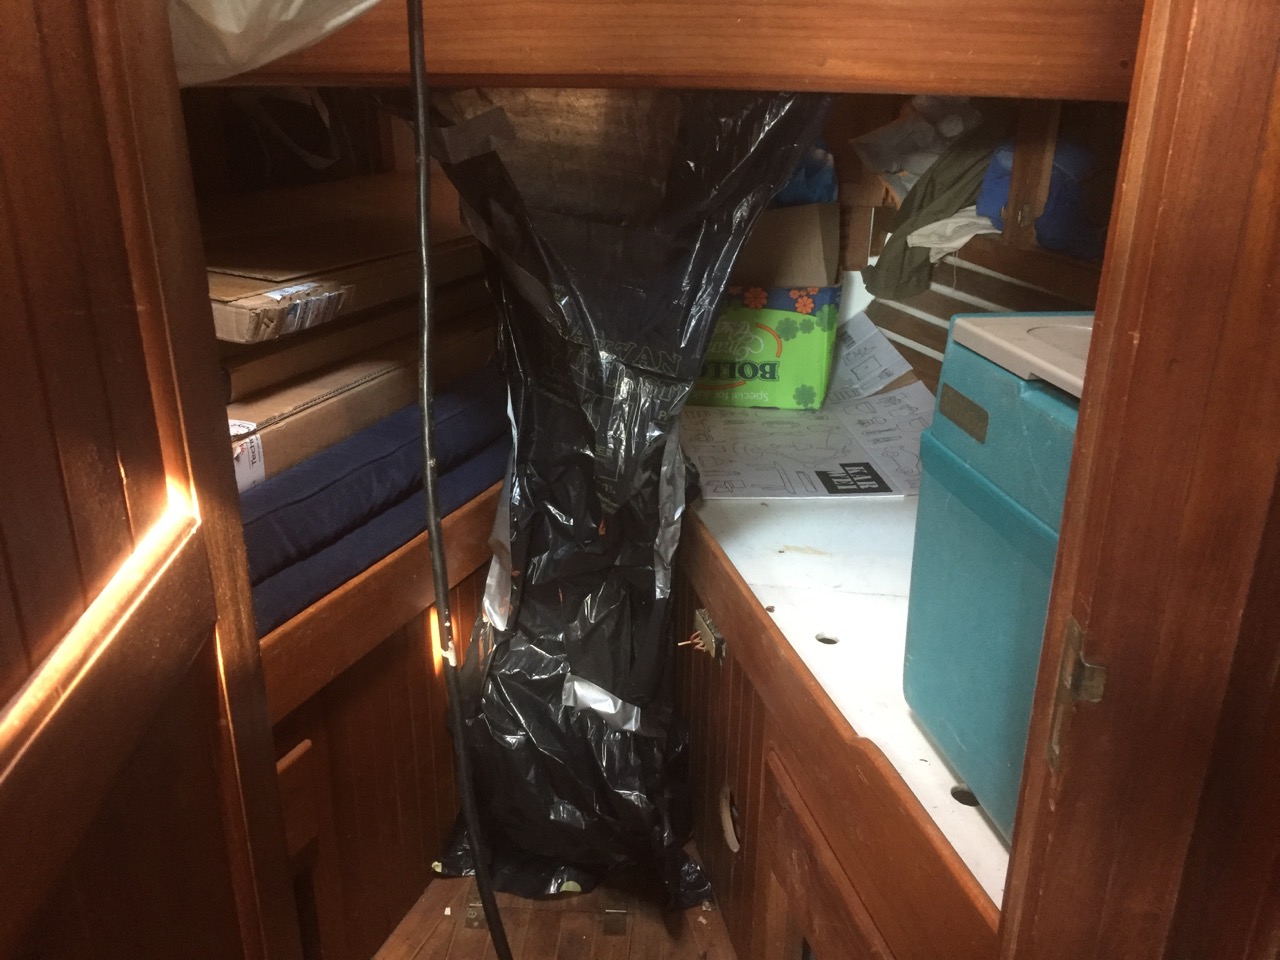
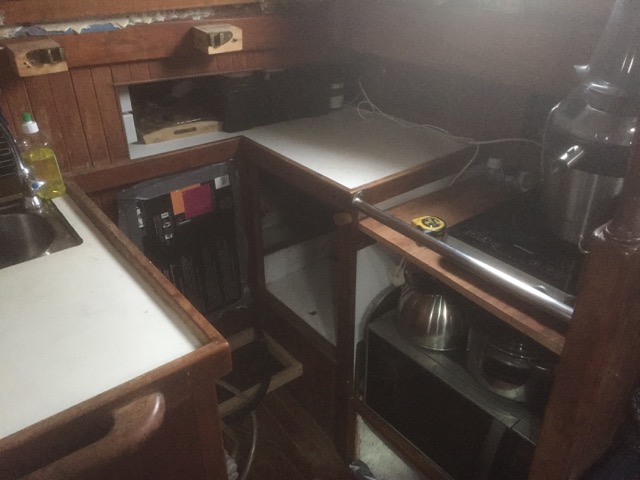
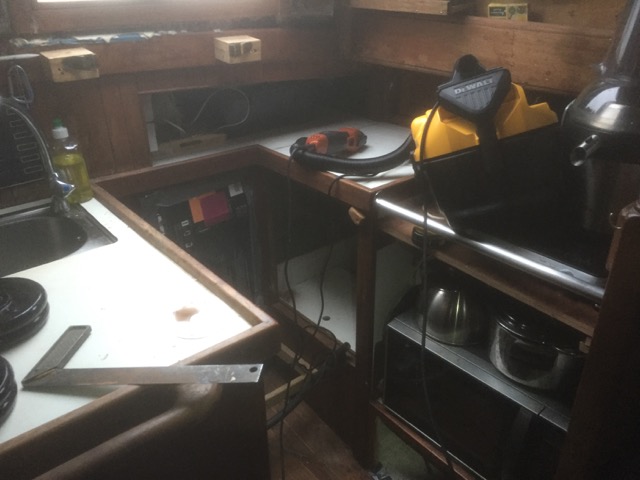
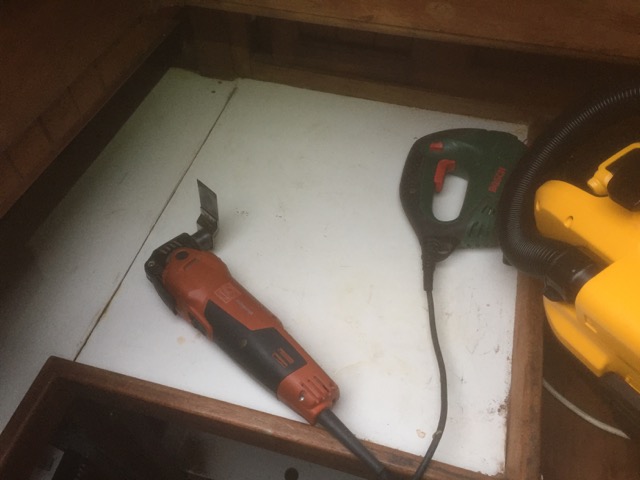
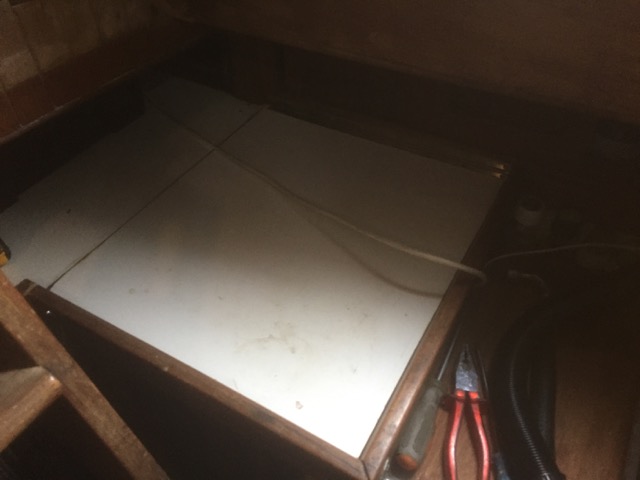
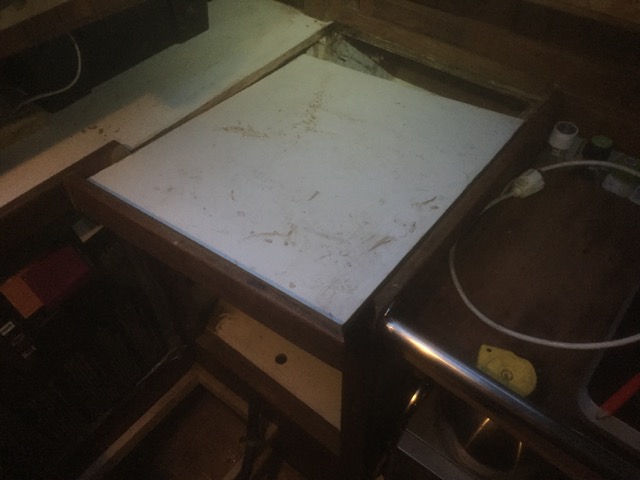
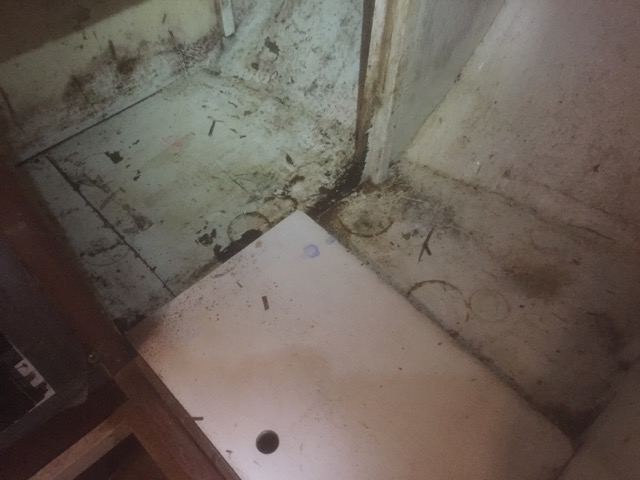
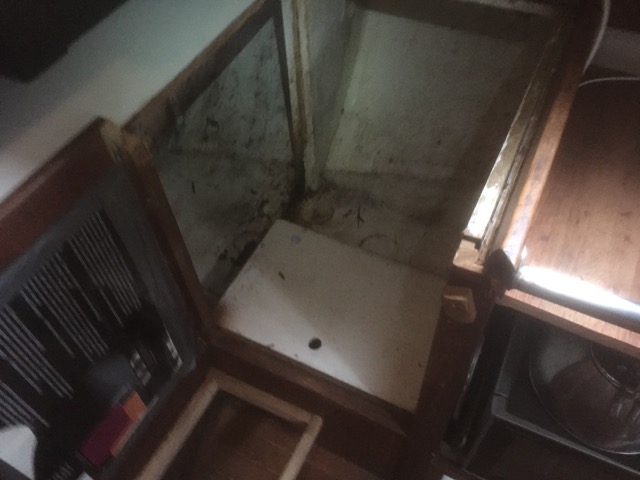
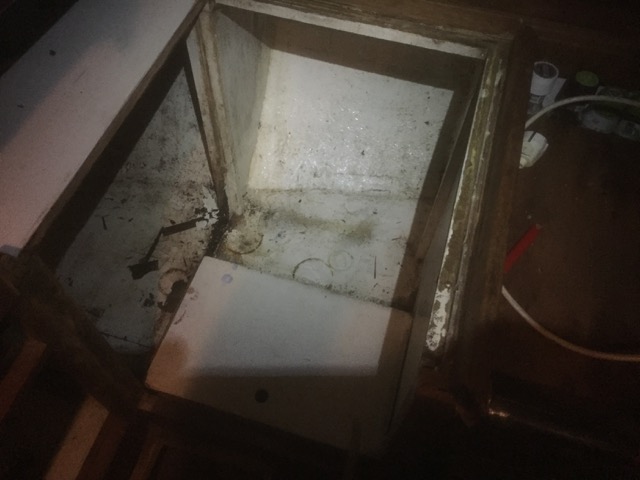
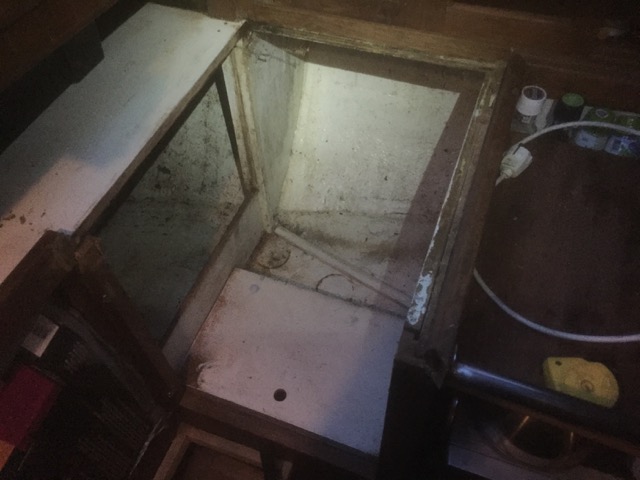
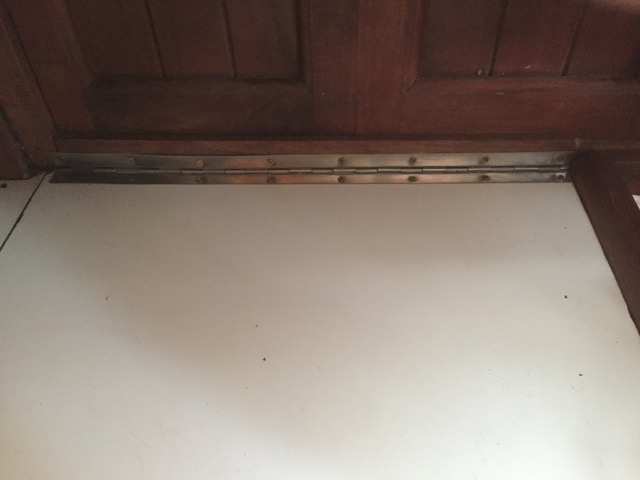
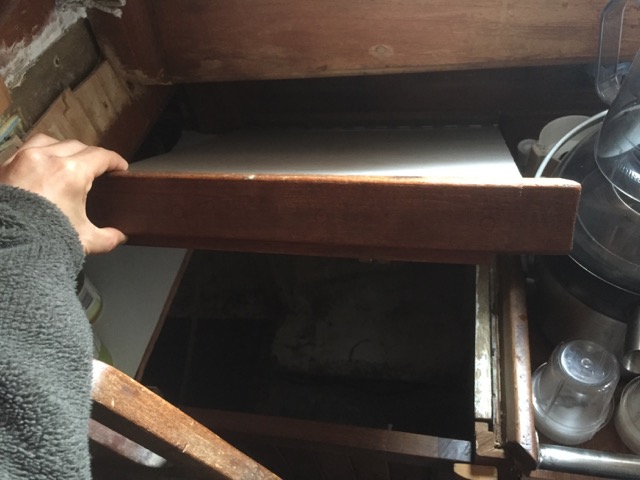
When that was sorted out, work was started on the next project; A build-in fridge. The plan is to build this fridge inside the kitchen counter. On purpose I already had saved up some space underneath the kitchen counter, next tot the stairs. This cabinet couldn’t be used anymore because the stairs now block the door, so it’s perfect to create a top opening hatch to access a build-in fridge. The cabinet perviously had the old paraffine tank (that was used for cooking on the paraffin stove) in there, and also had some leaking problems. So that’s way it so tremendously filthy in there. But after the new fridge box is created, insulated and installed I plan to clean everything down there and give it a nice new coat of white paint.
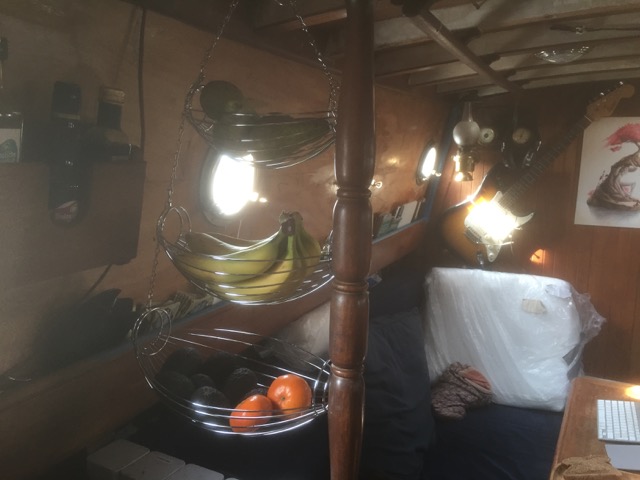
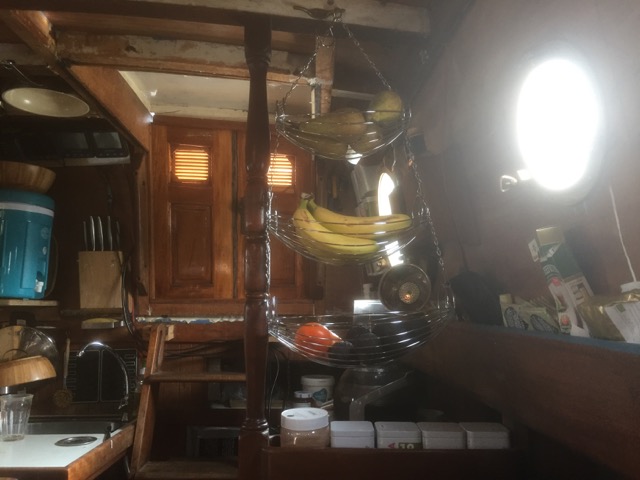
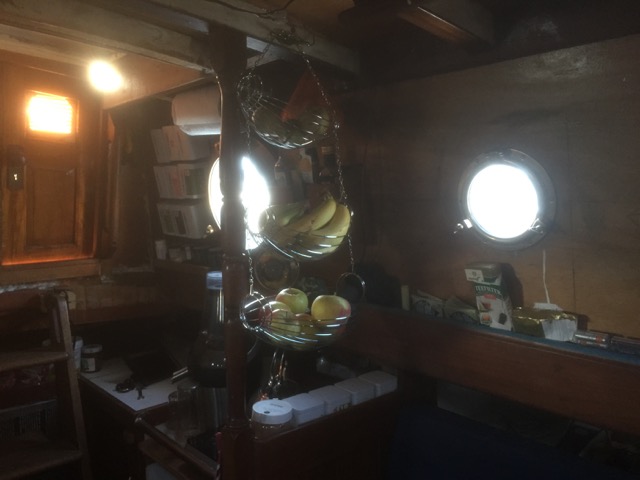
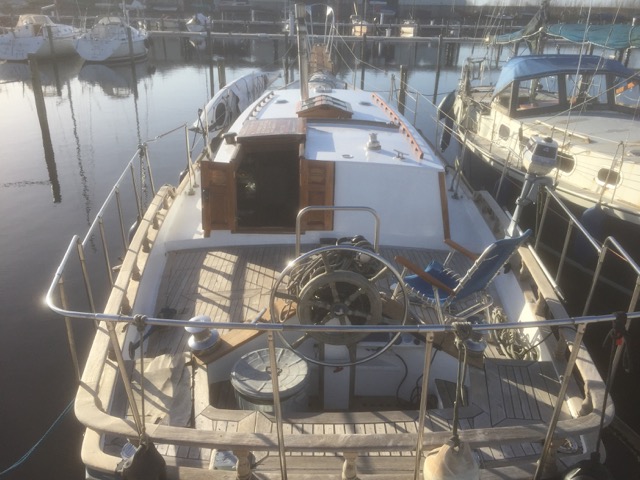
Some other minor updates about the life aboard the Seadog are a few new additions to the equipment aboard. Mainly some new handy dandy hanging fruit baskets, and two beautiful nautical folding chairs.
Also a lot of work has been done with the 12 volt DC, 230v AC electric systems and navigation equipment, plus the solar panels are ordered and will arrive in a few weeks, but more on that in upcoming posts.