Repairing the bowsprit

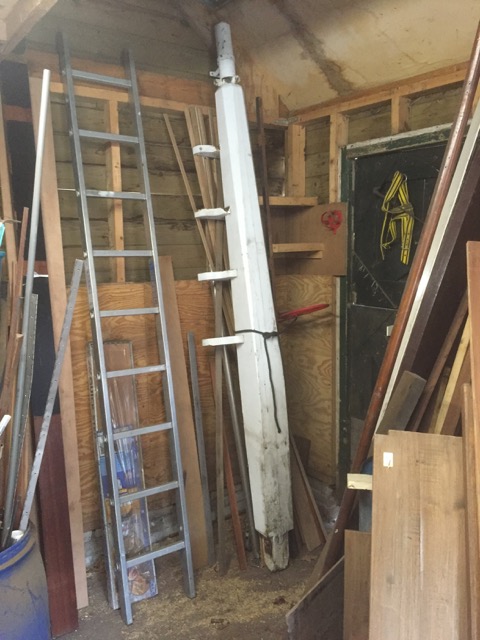
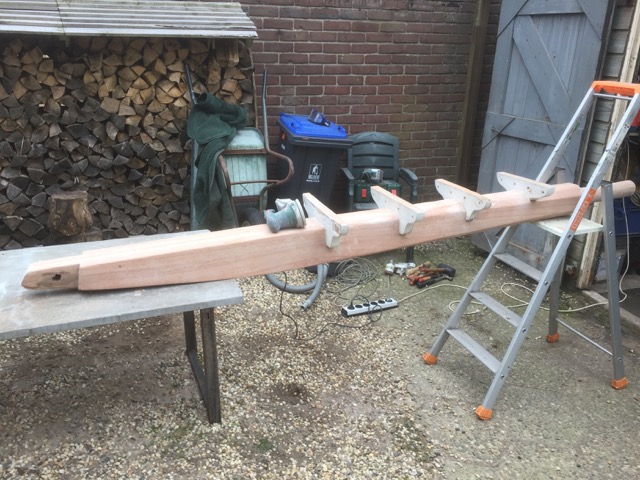
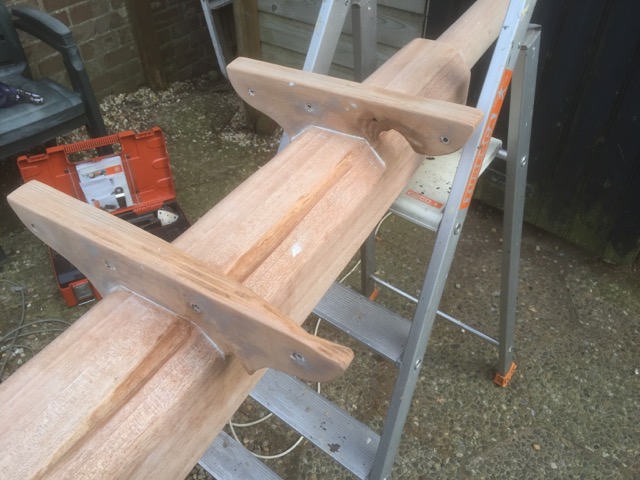
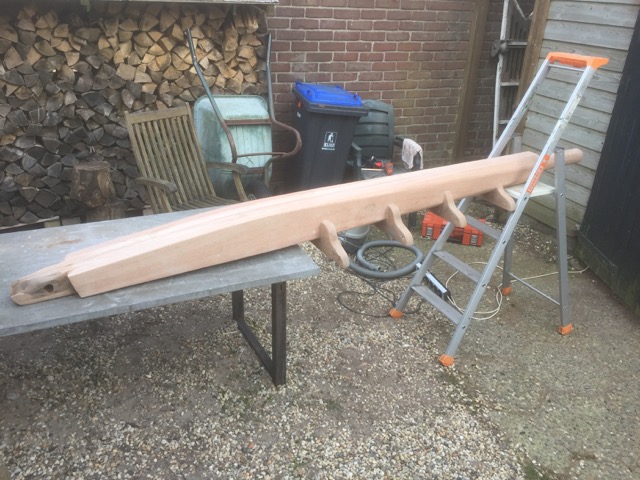
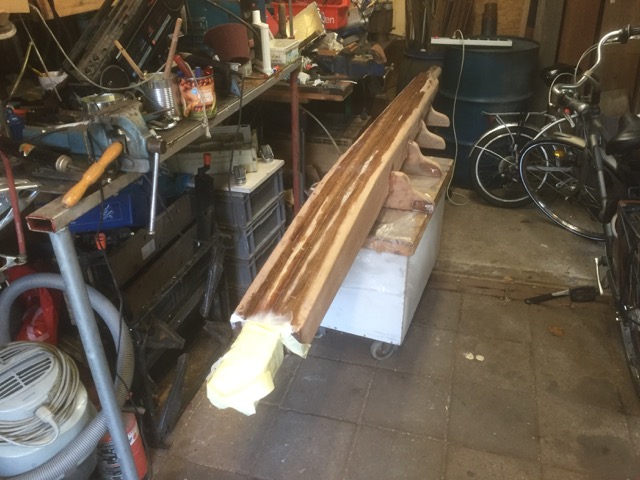
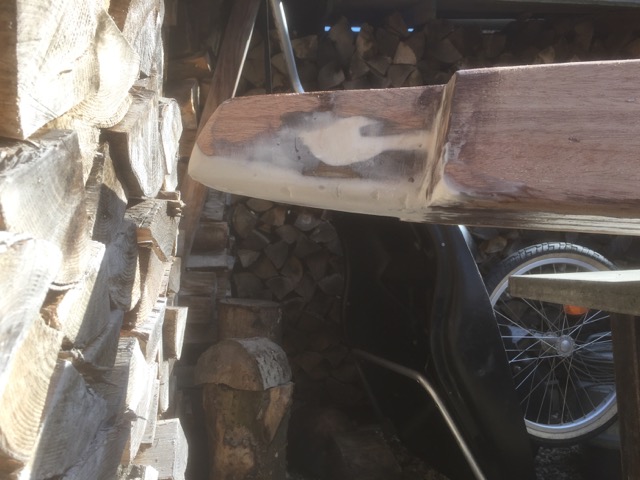
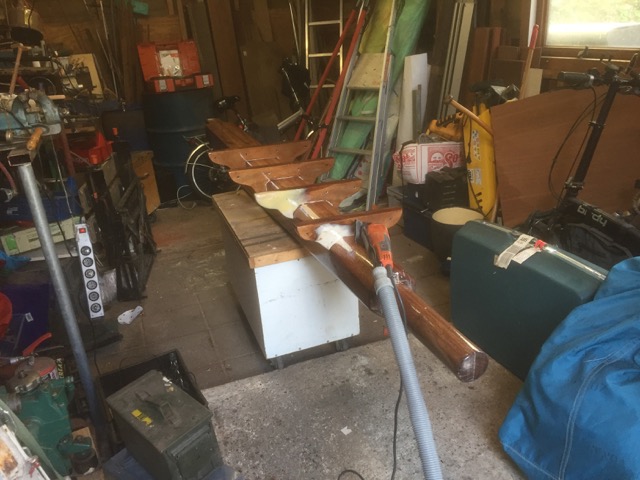
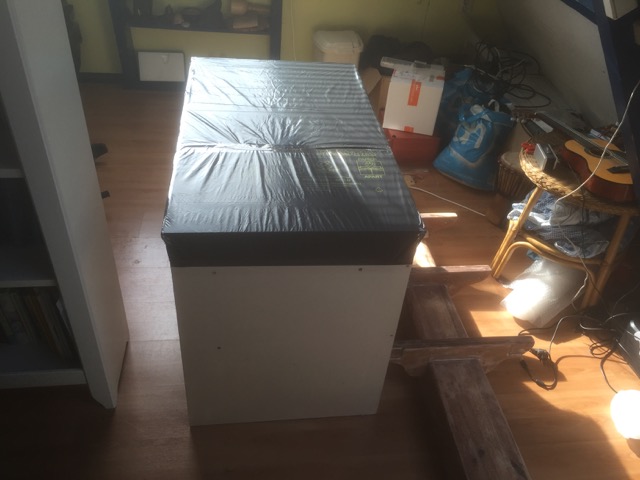
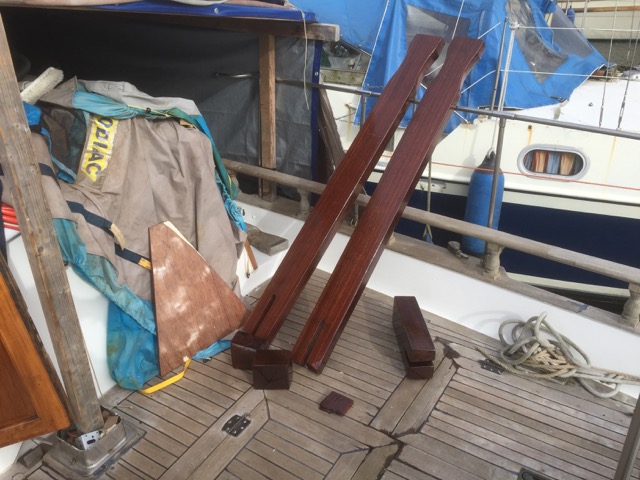
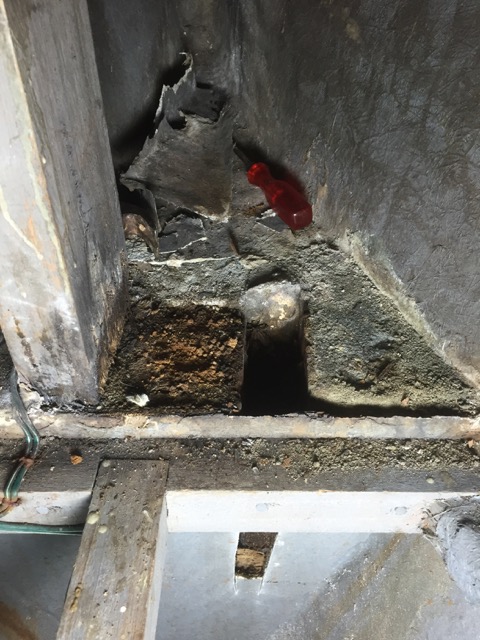
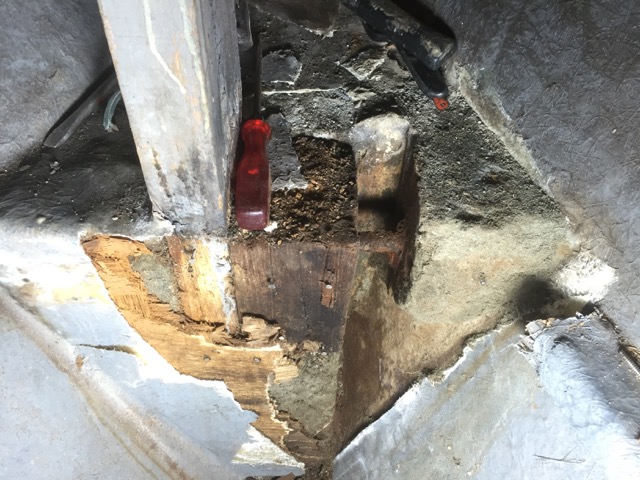
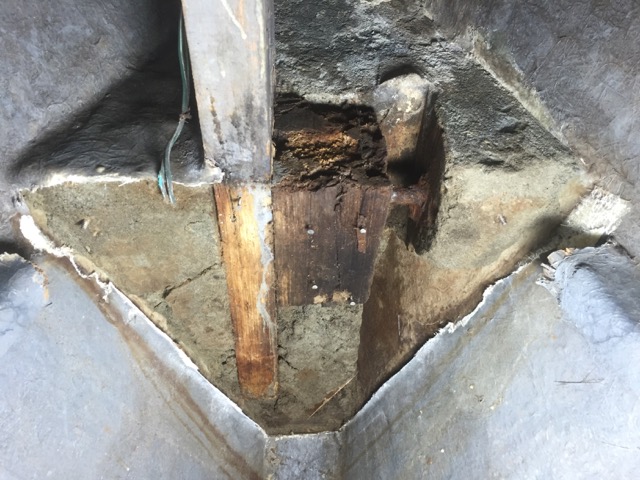
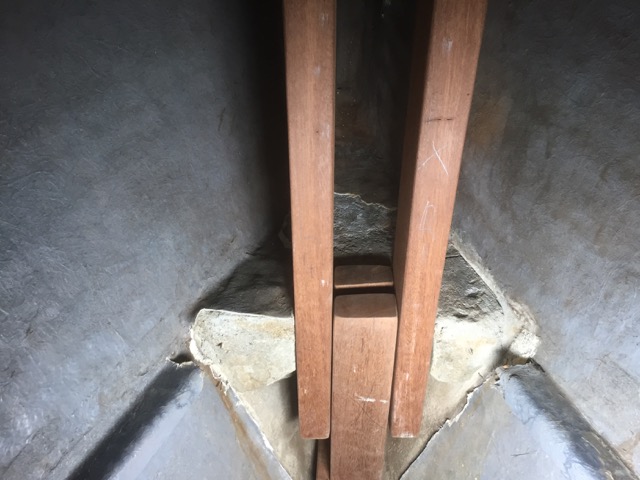
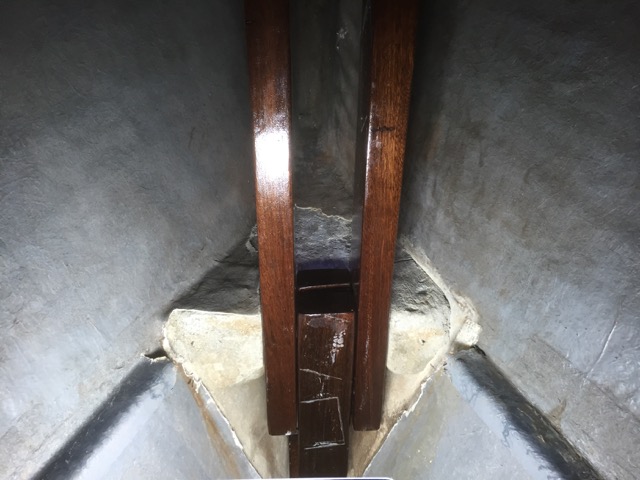
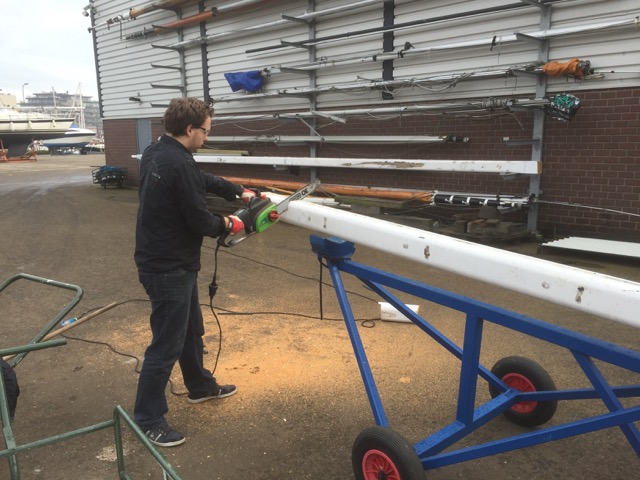
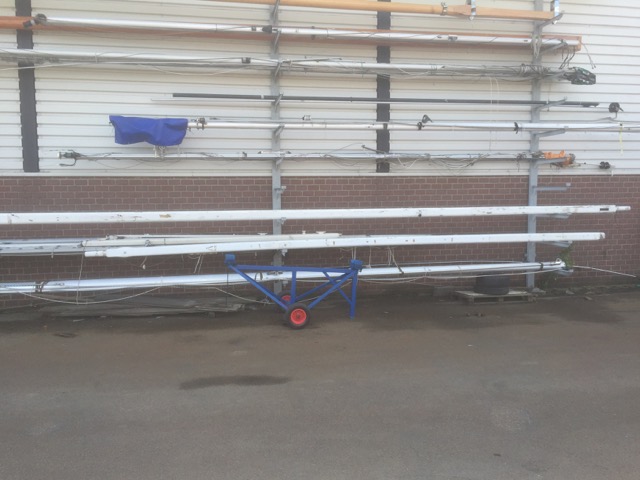
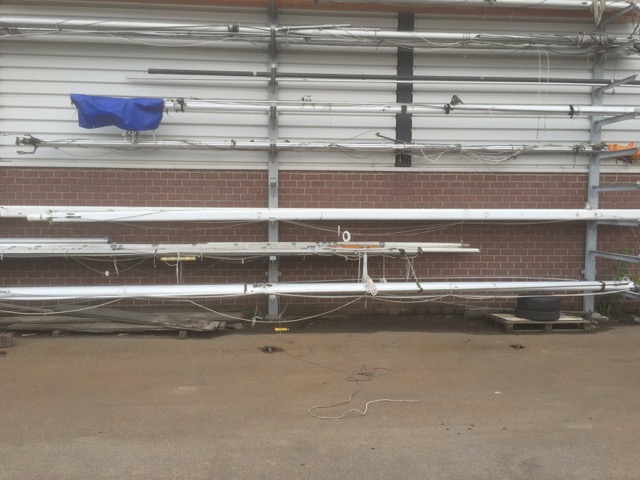
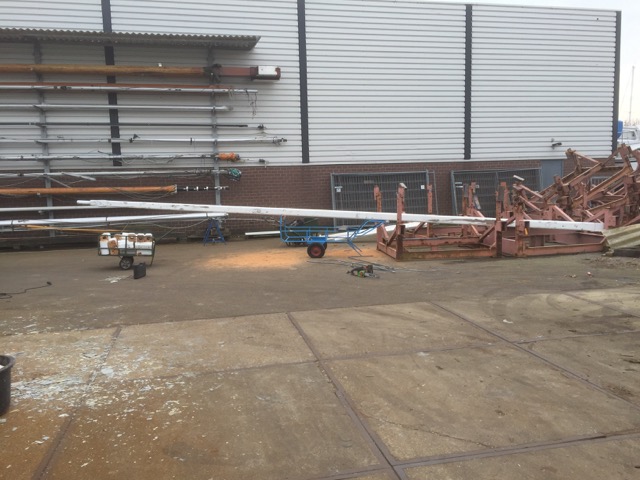
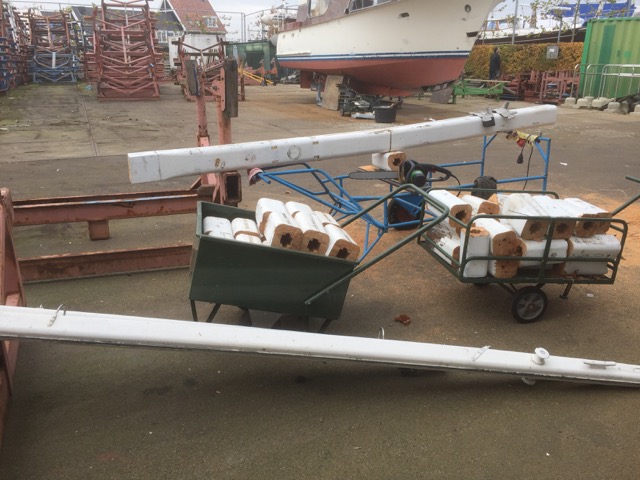
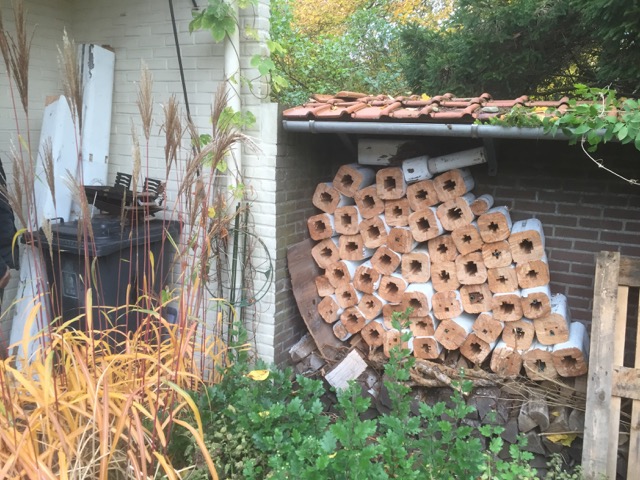
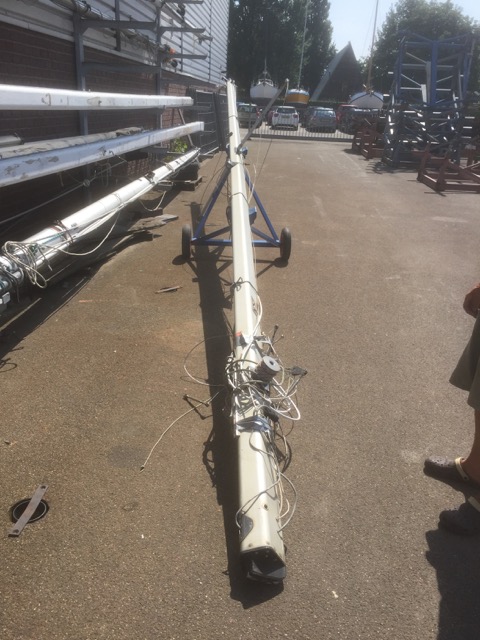
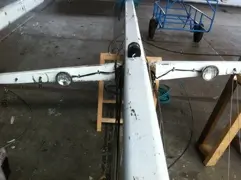
Now that the beams that hold the bowsprit in place have been restored, it’s time for the bowsprit itself to be restored to it’s former glory. The bowsprit has been standing in my parents shed for a couple of months now, which means the wood should be perfectly dry. I have been postponing this project for a while because the wood needed to dry, but also because I knew this was going to be a lot of work. My parents have sold their house (which of course also includes the shed) so the bowsprit needs to be out of the shed and on the boat before the end of April, which created a welcomed deadline for me to get going on this project.
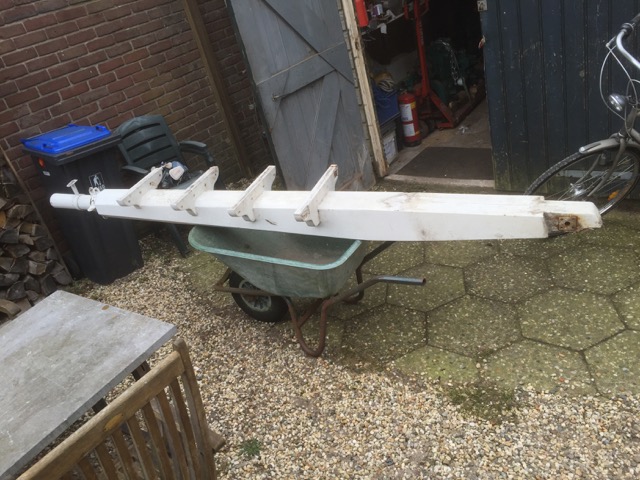
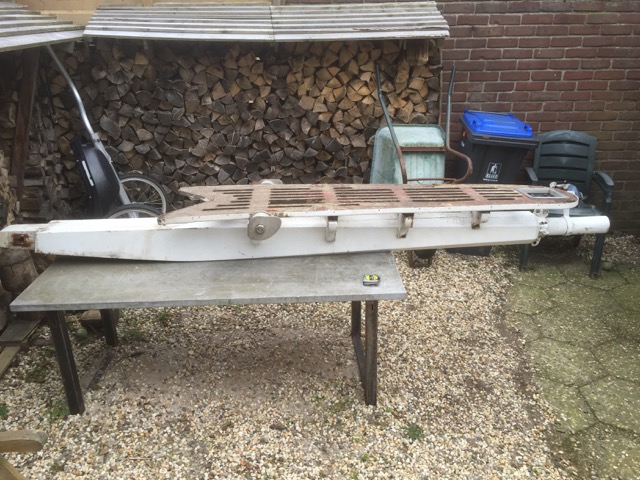
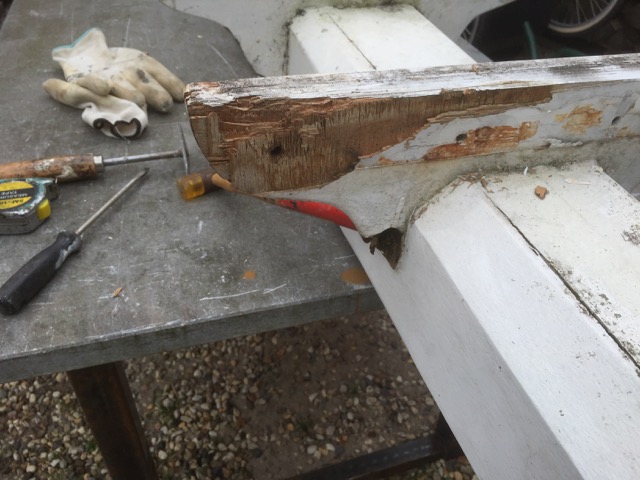
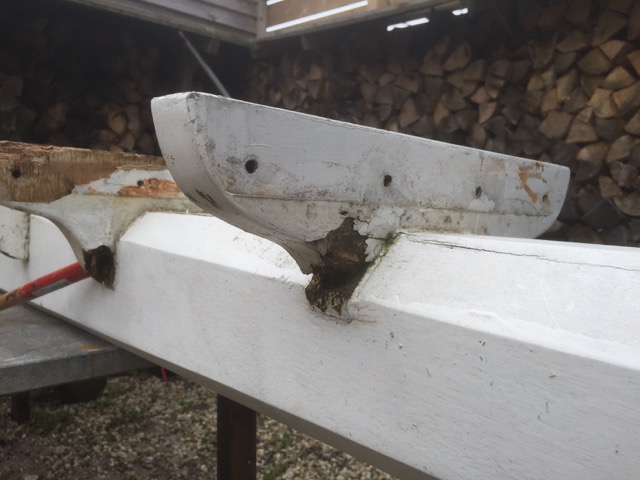
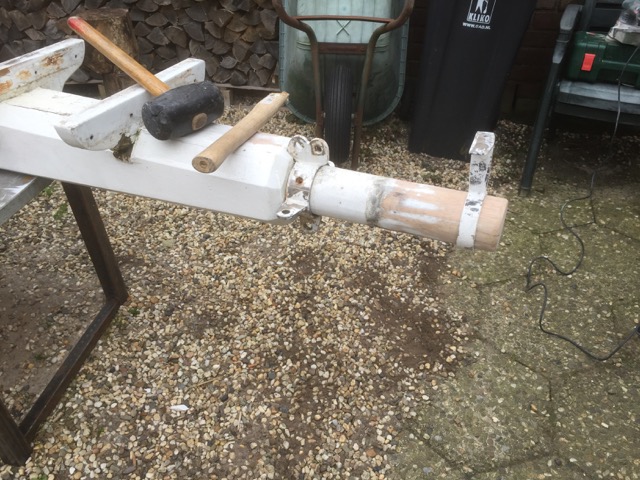
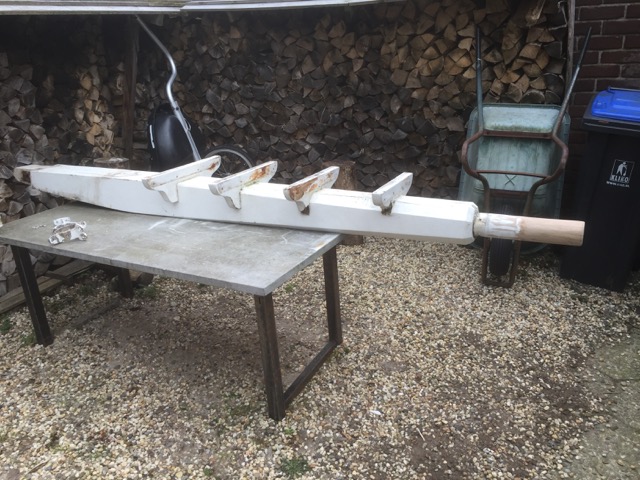
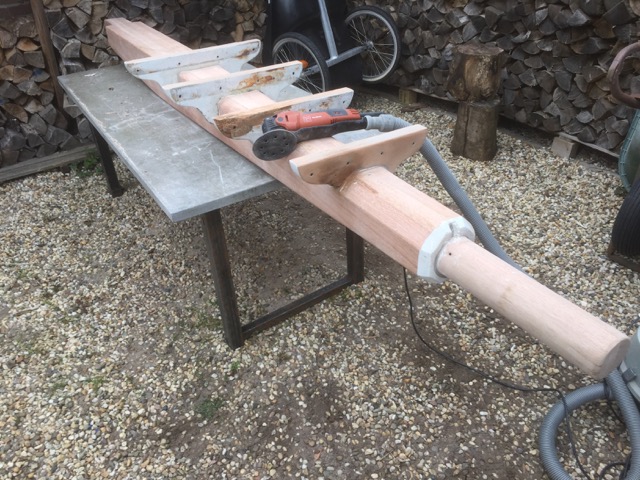
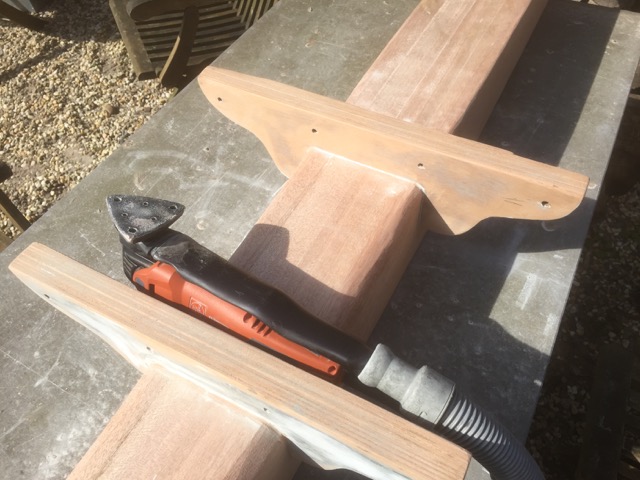
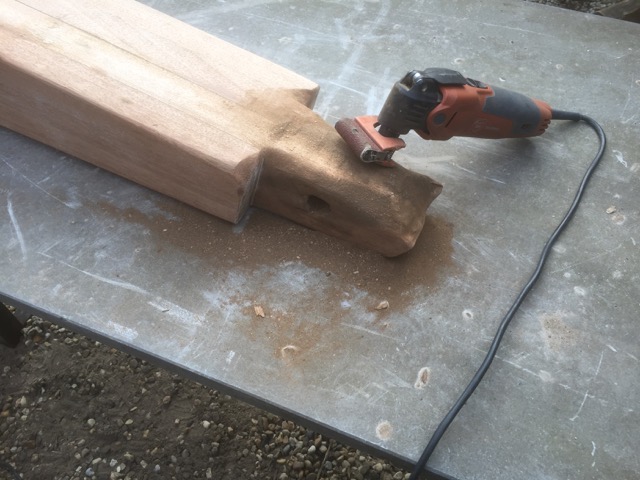
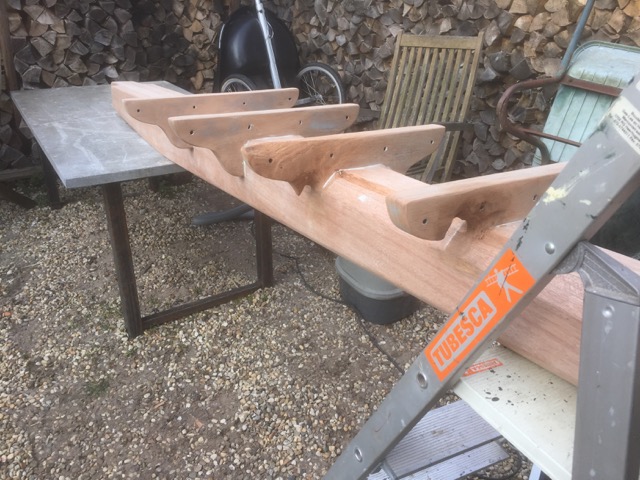
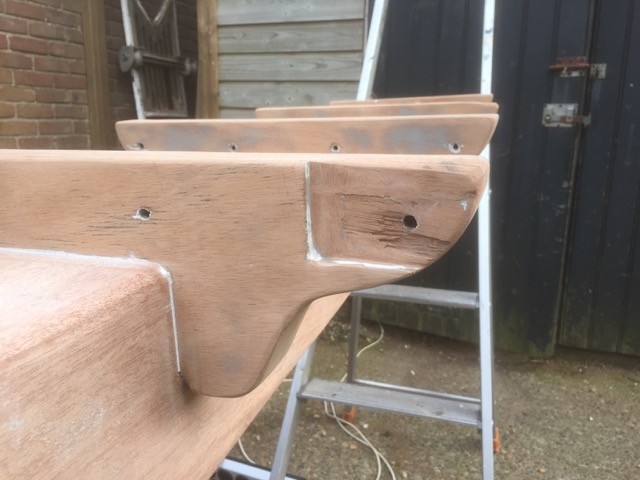
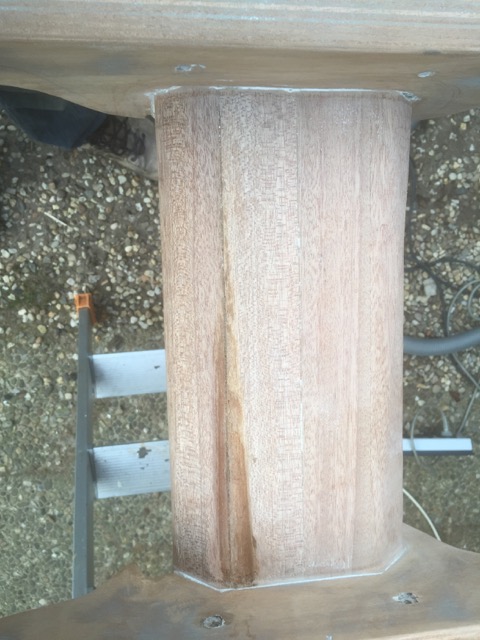
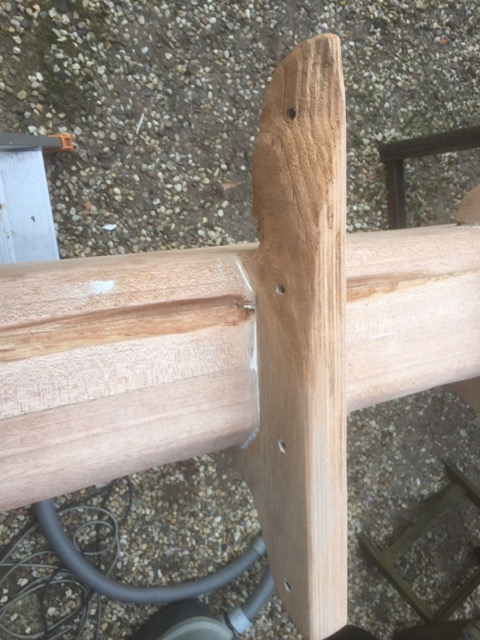
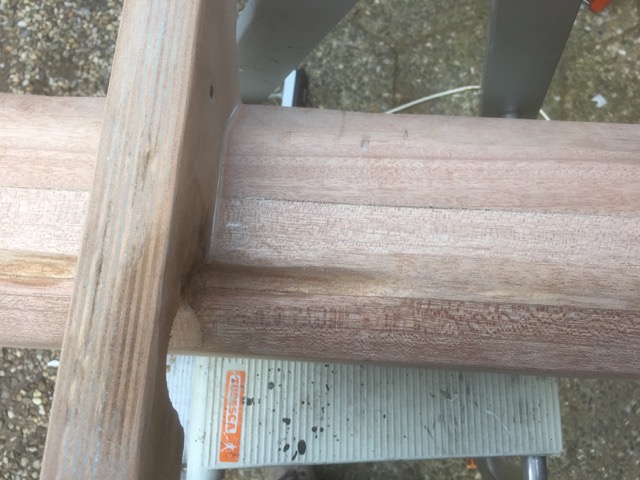
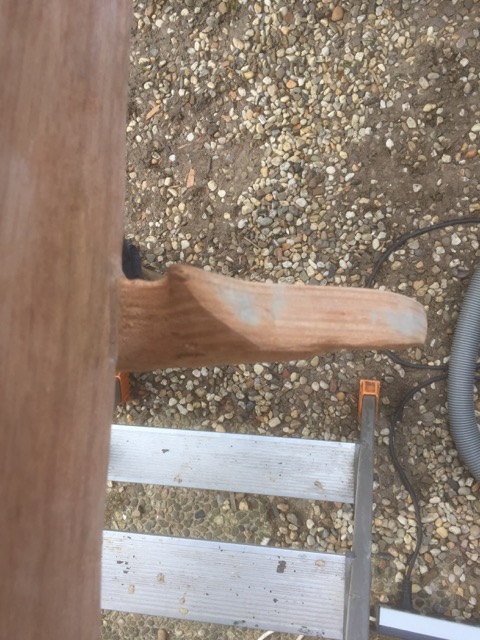
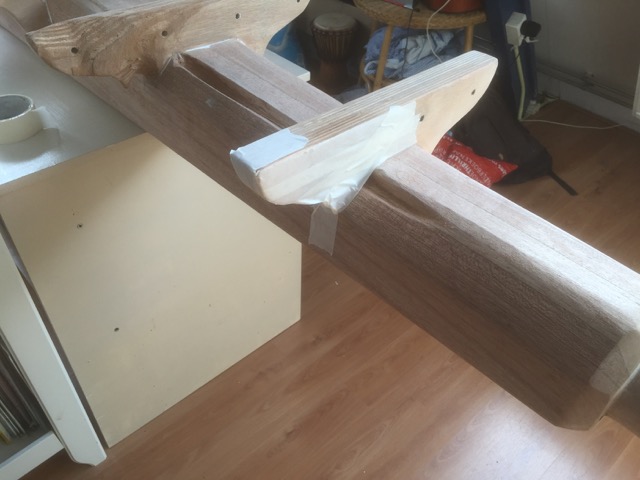
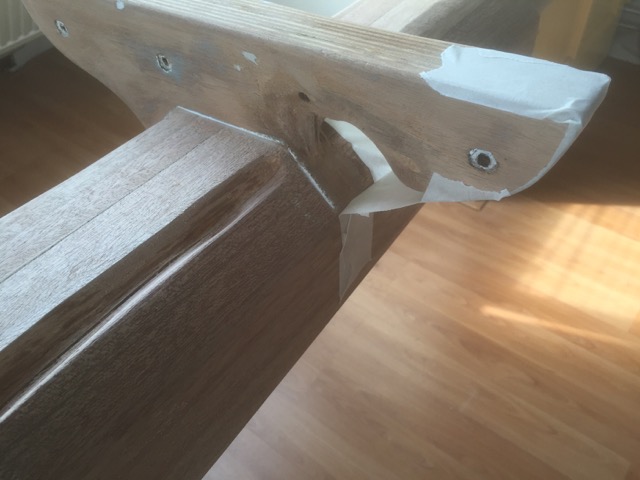
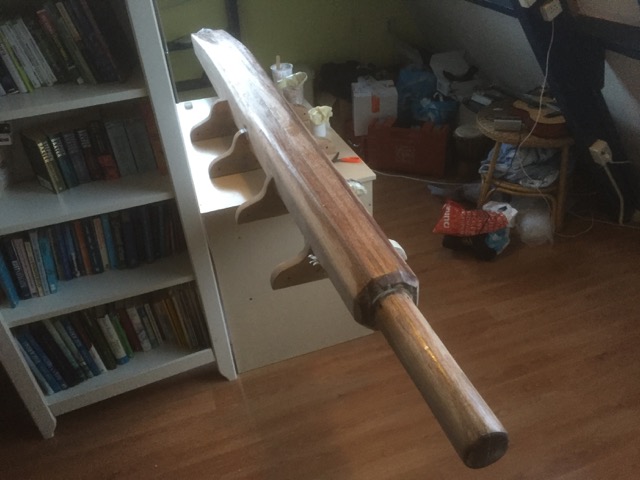
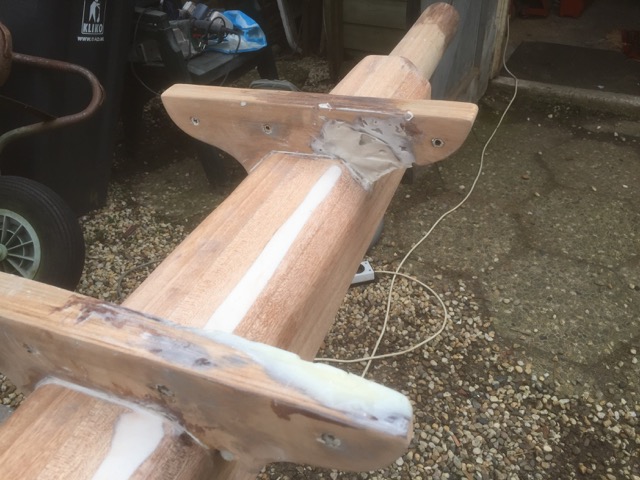
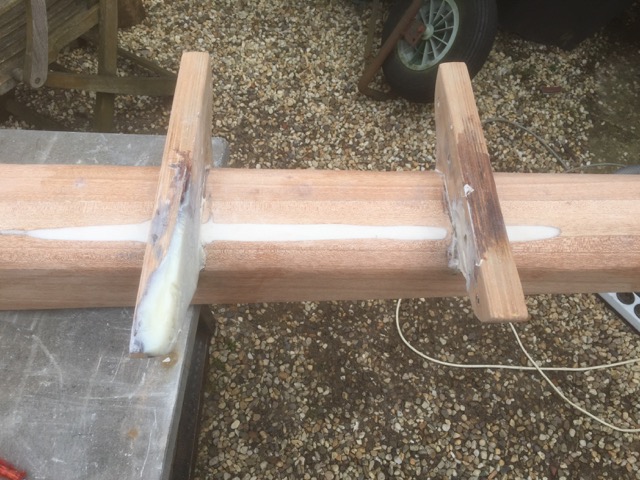
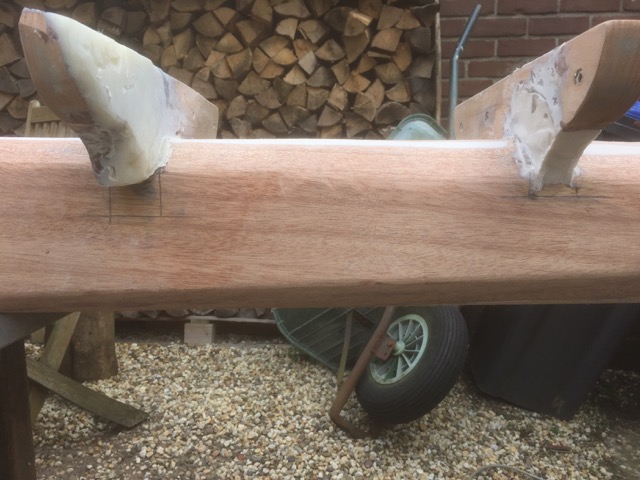
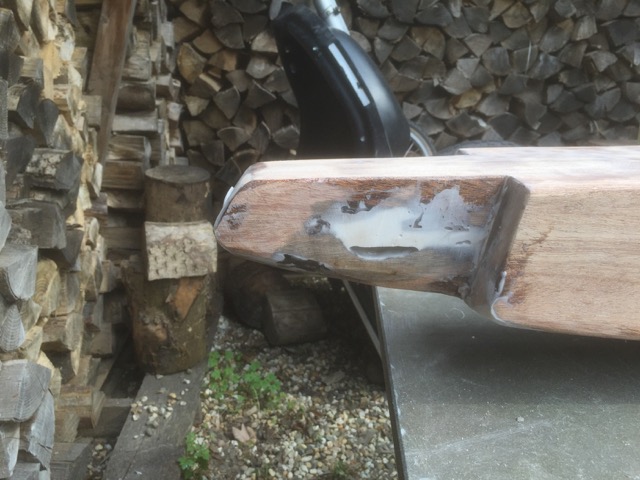
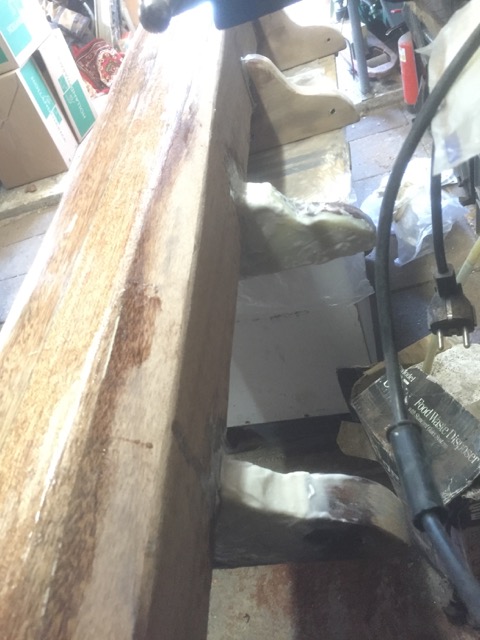
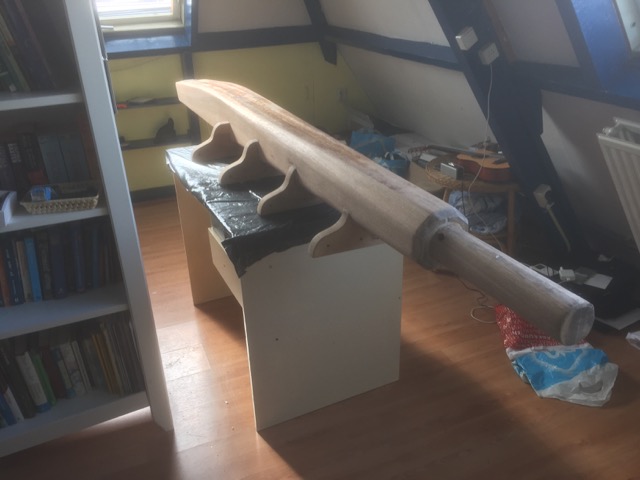
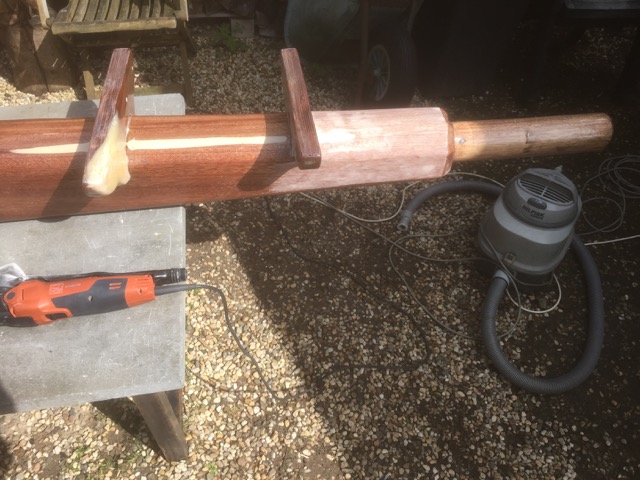
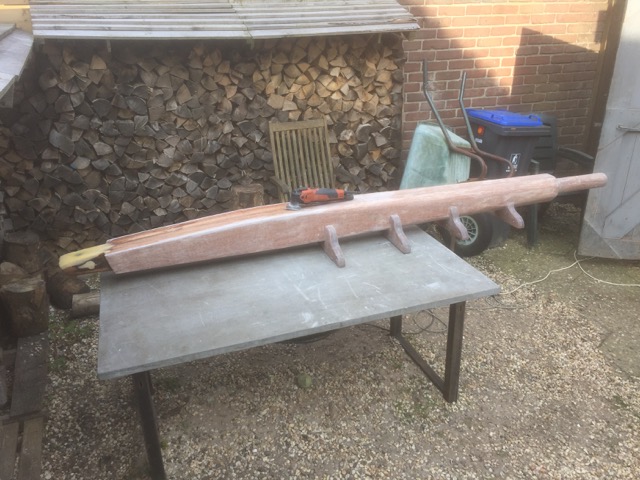
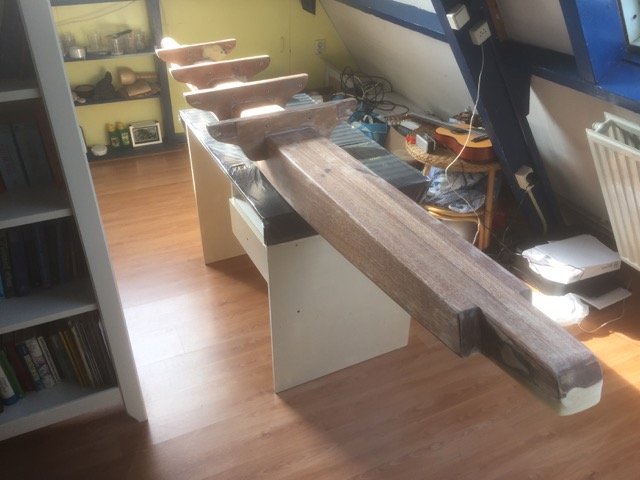
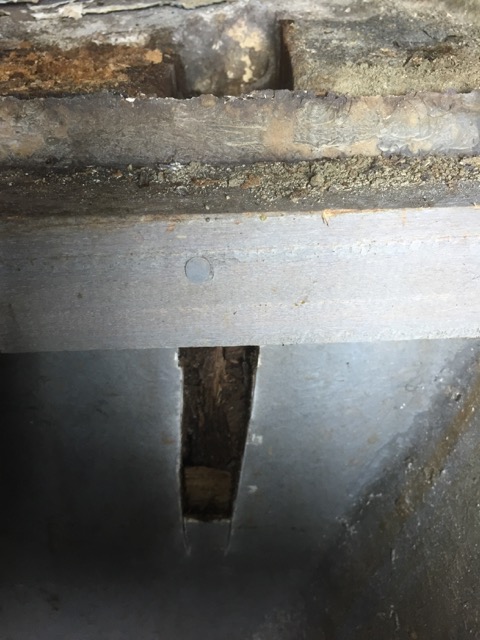
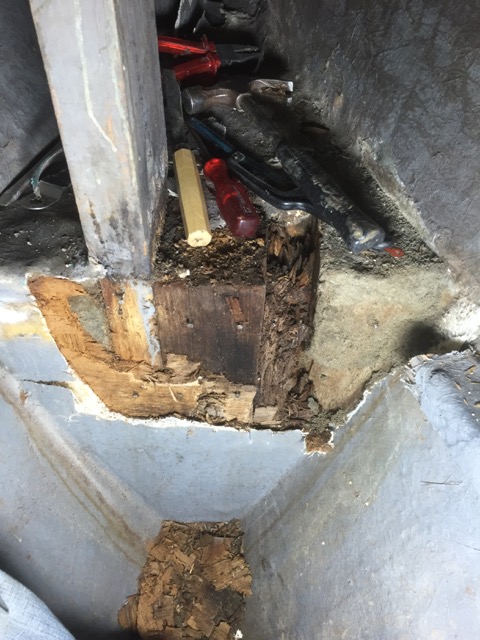
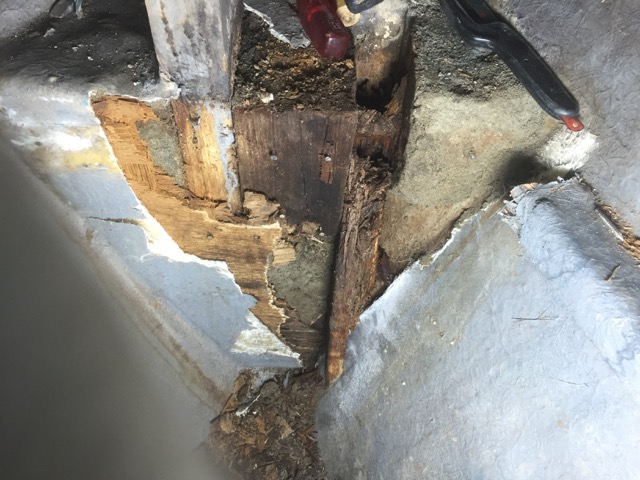
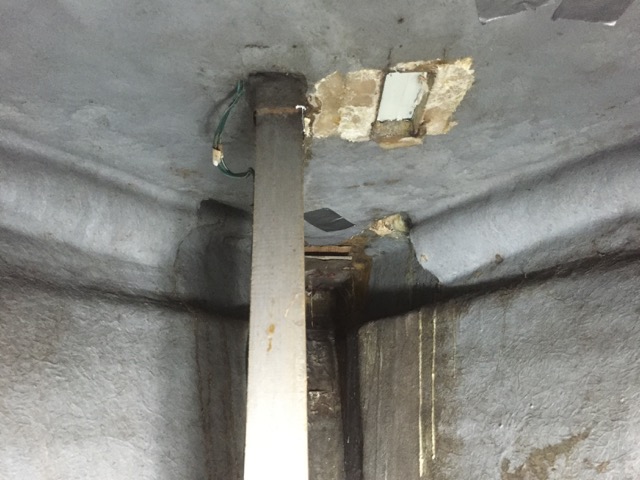
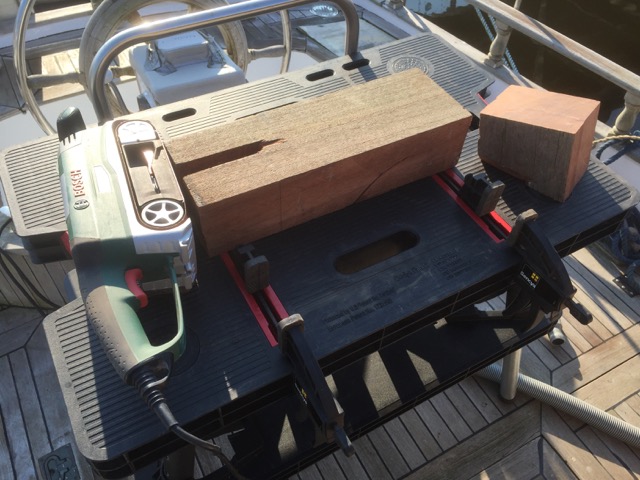
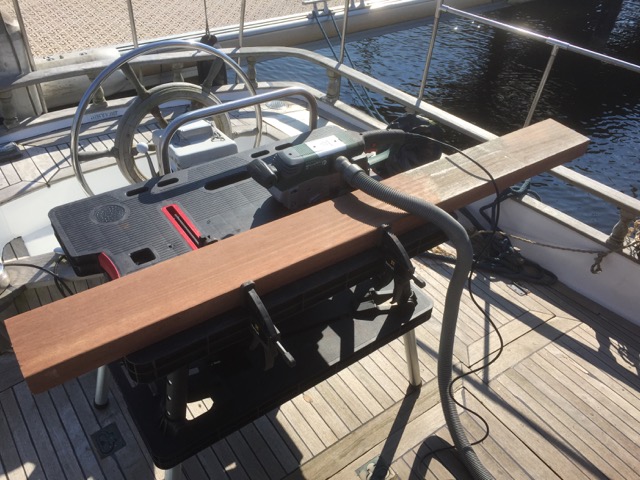
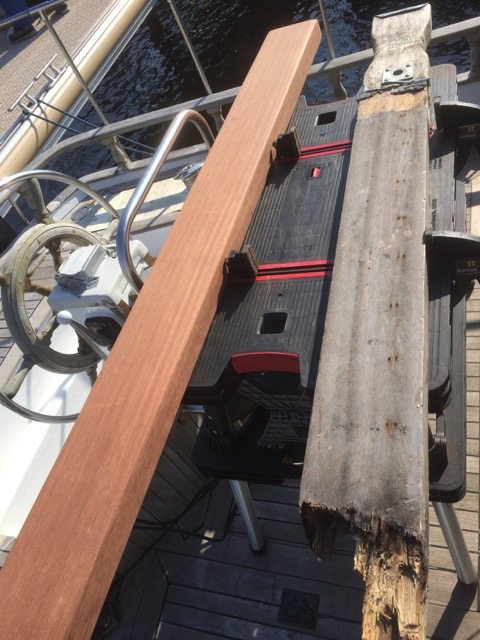
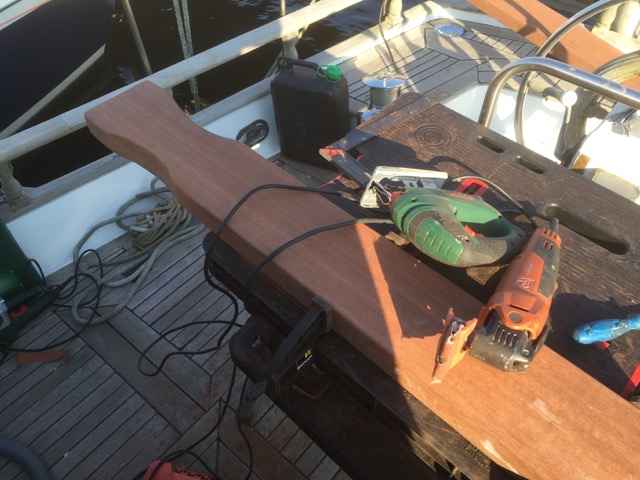
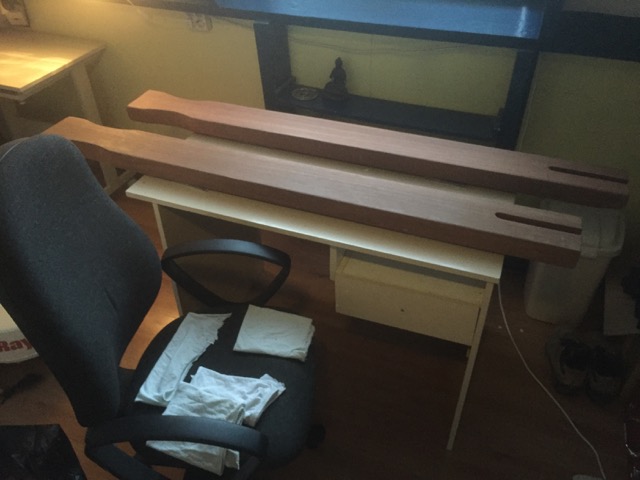
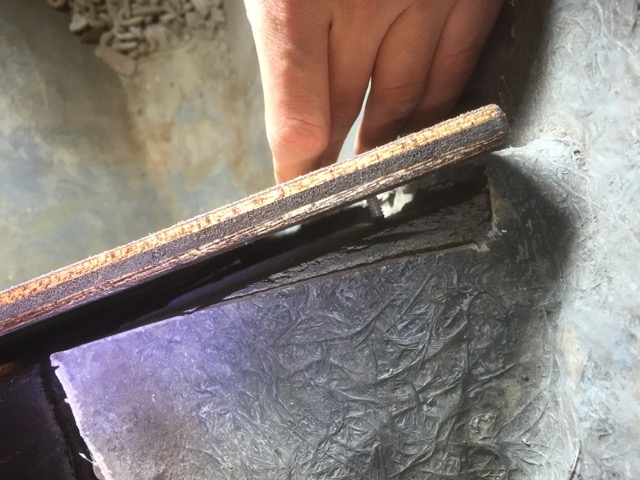
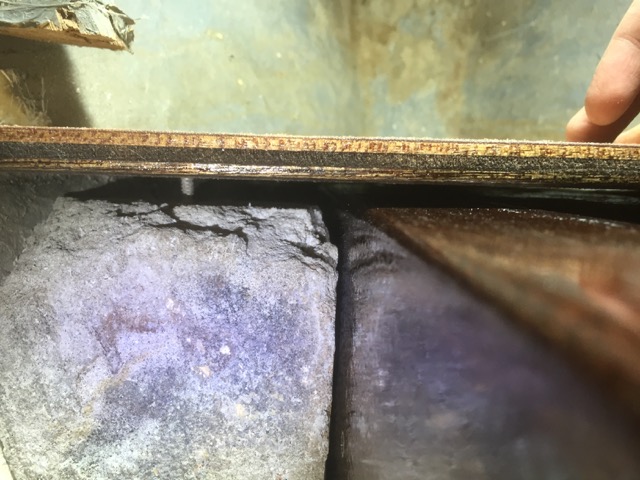
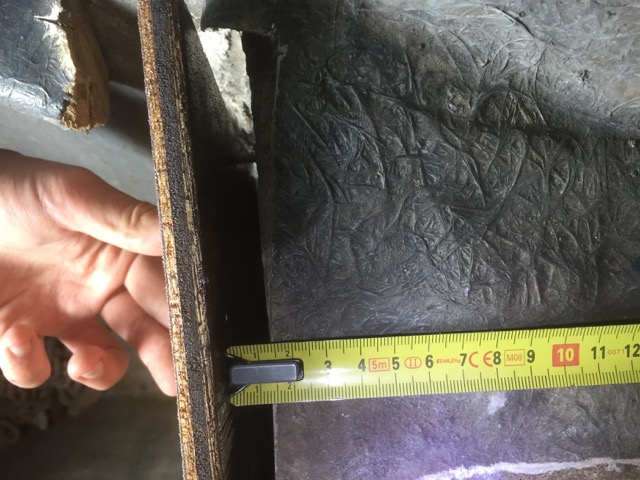
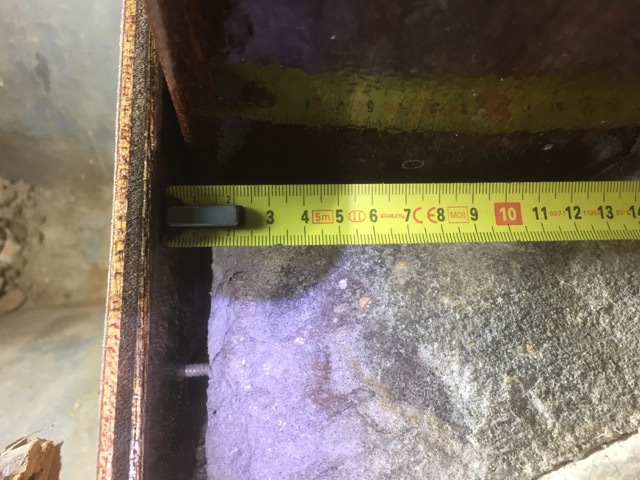
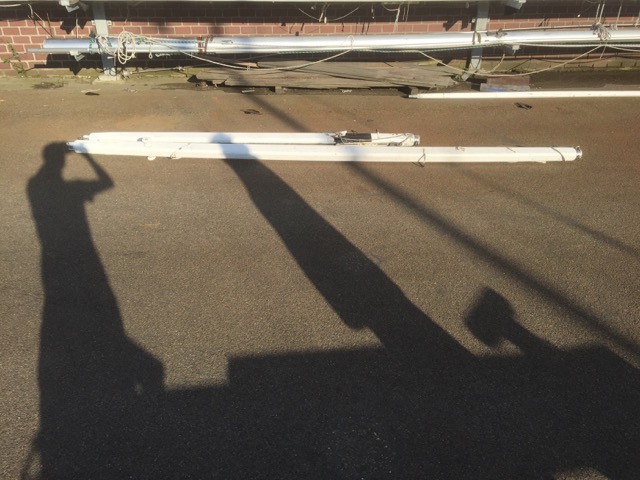
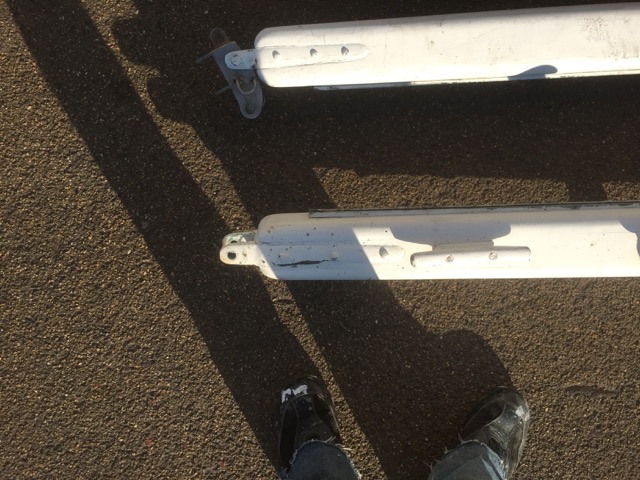
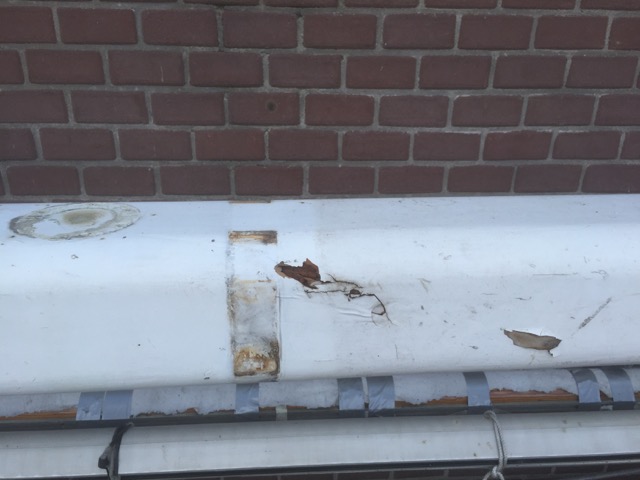
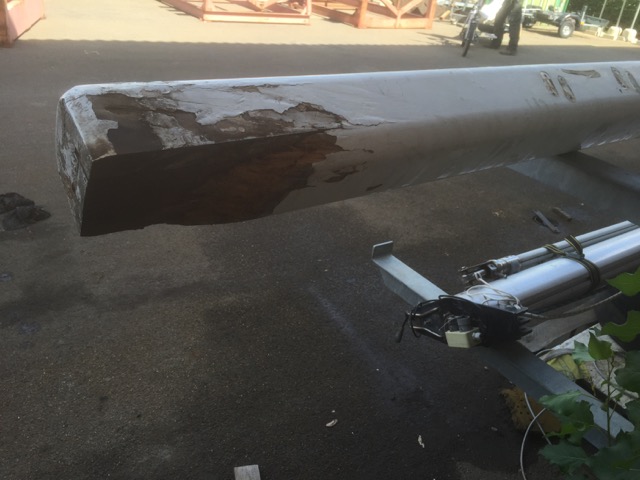
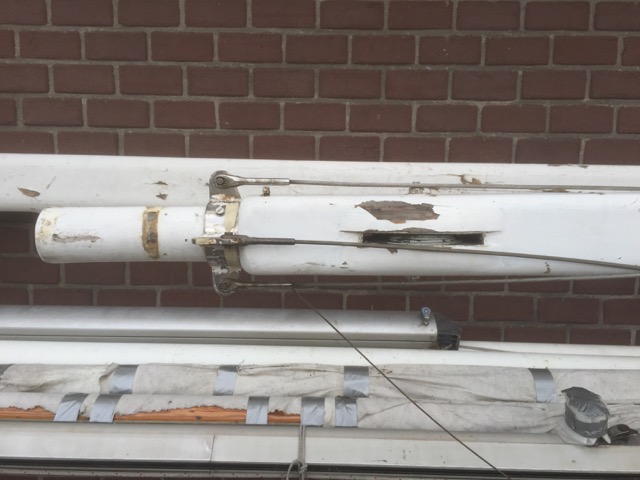
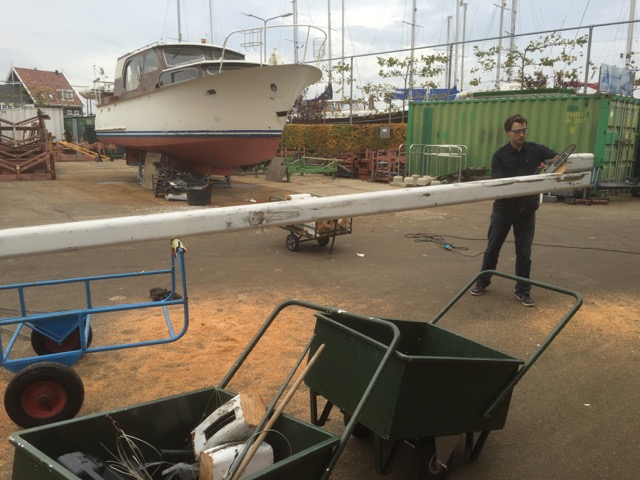
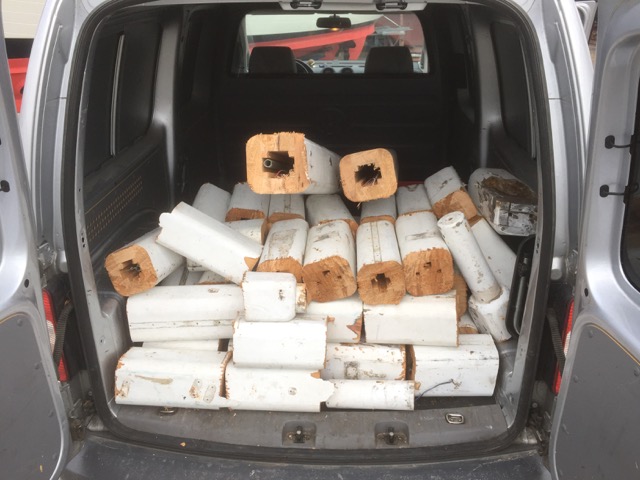
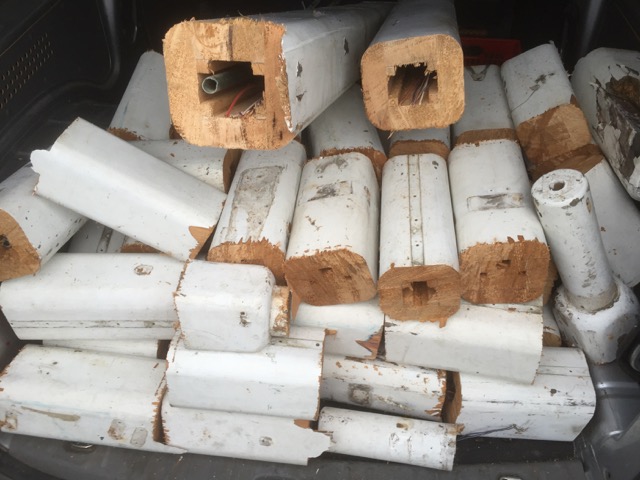
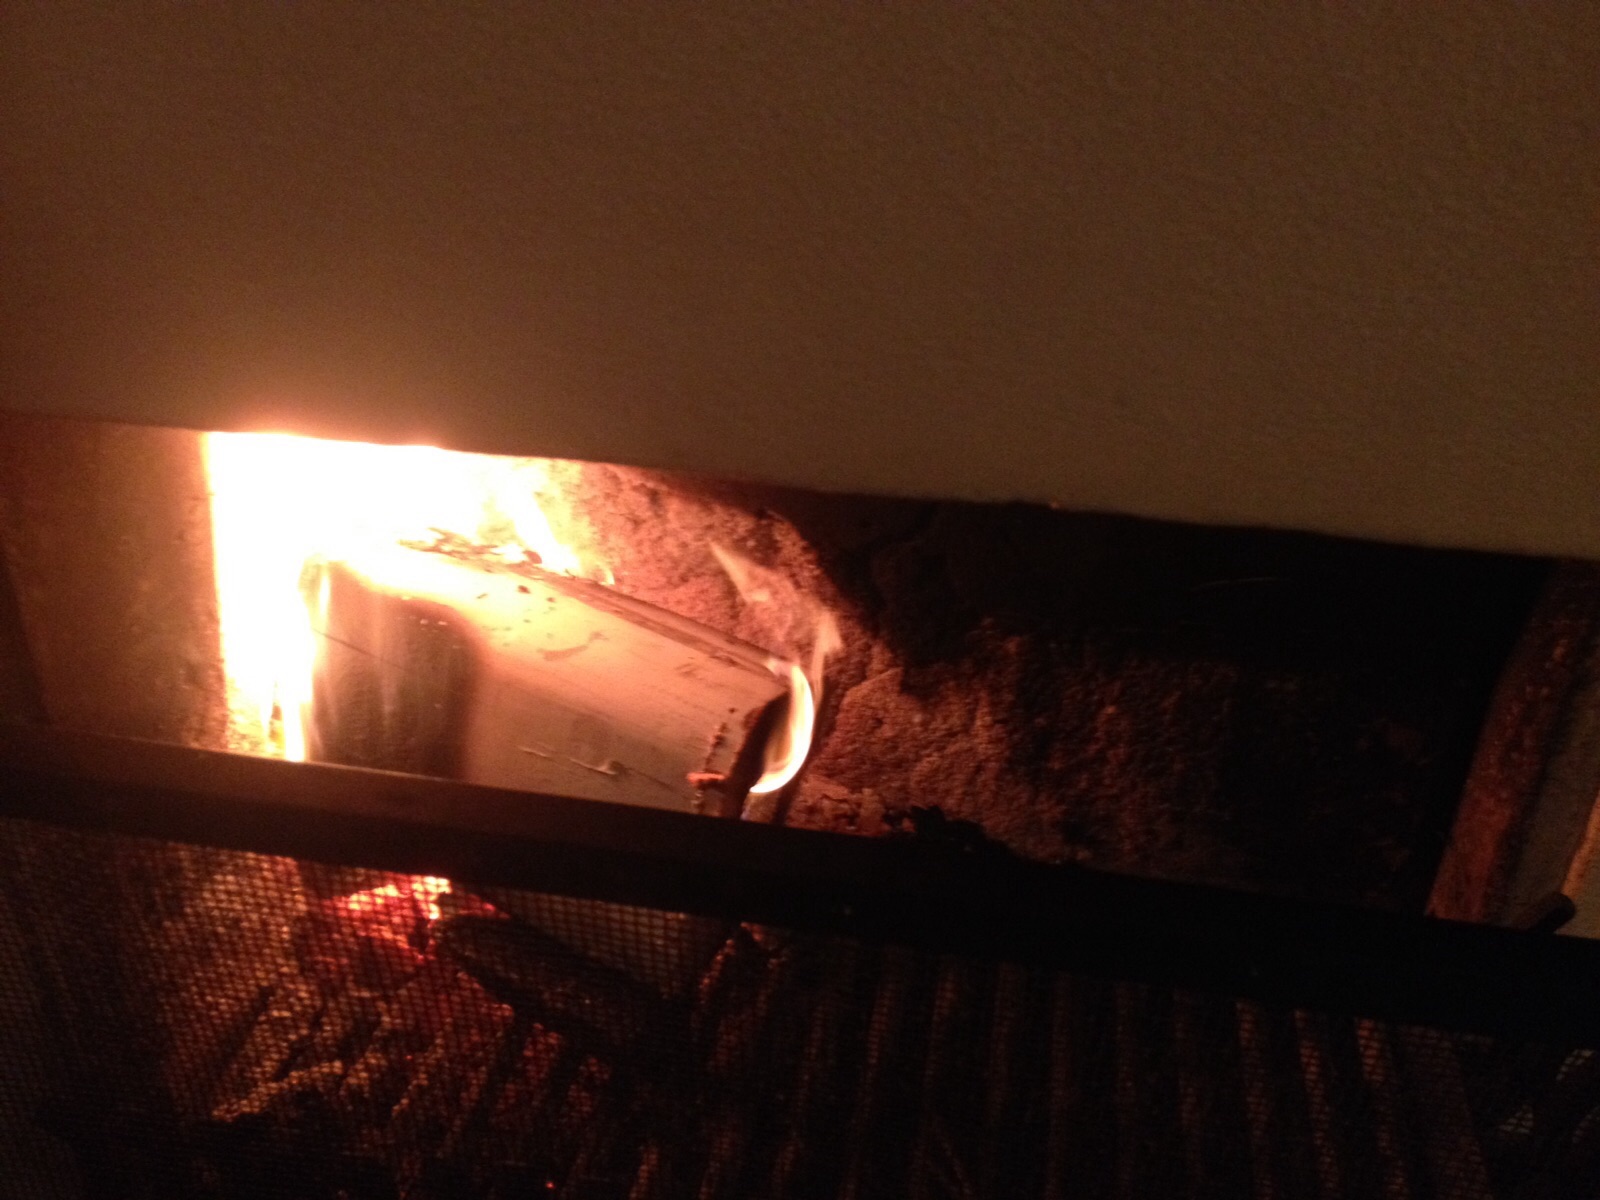
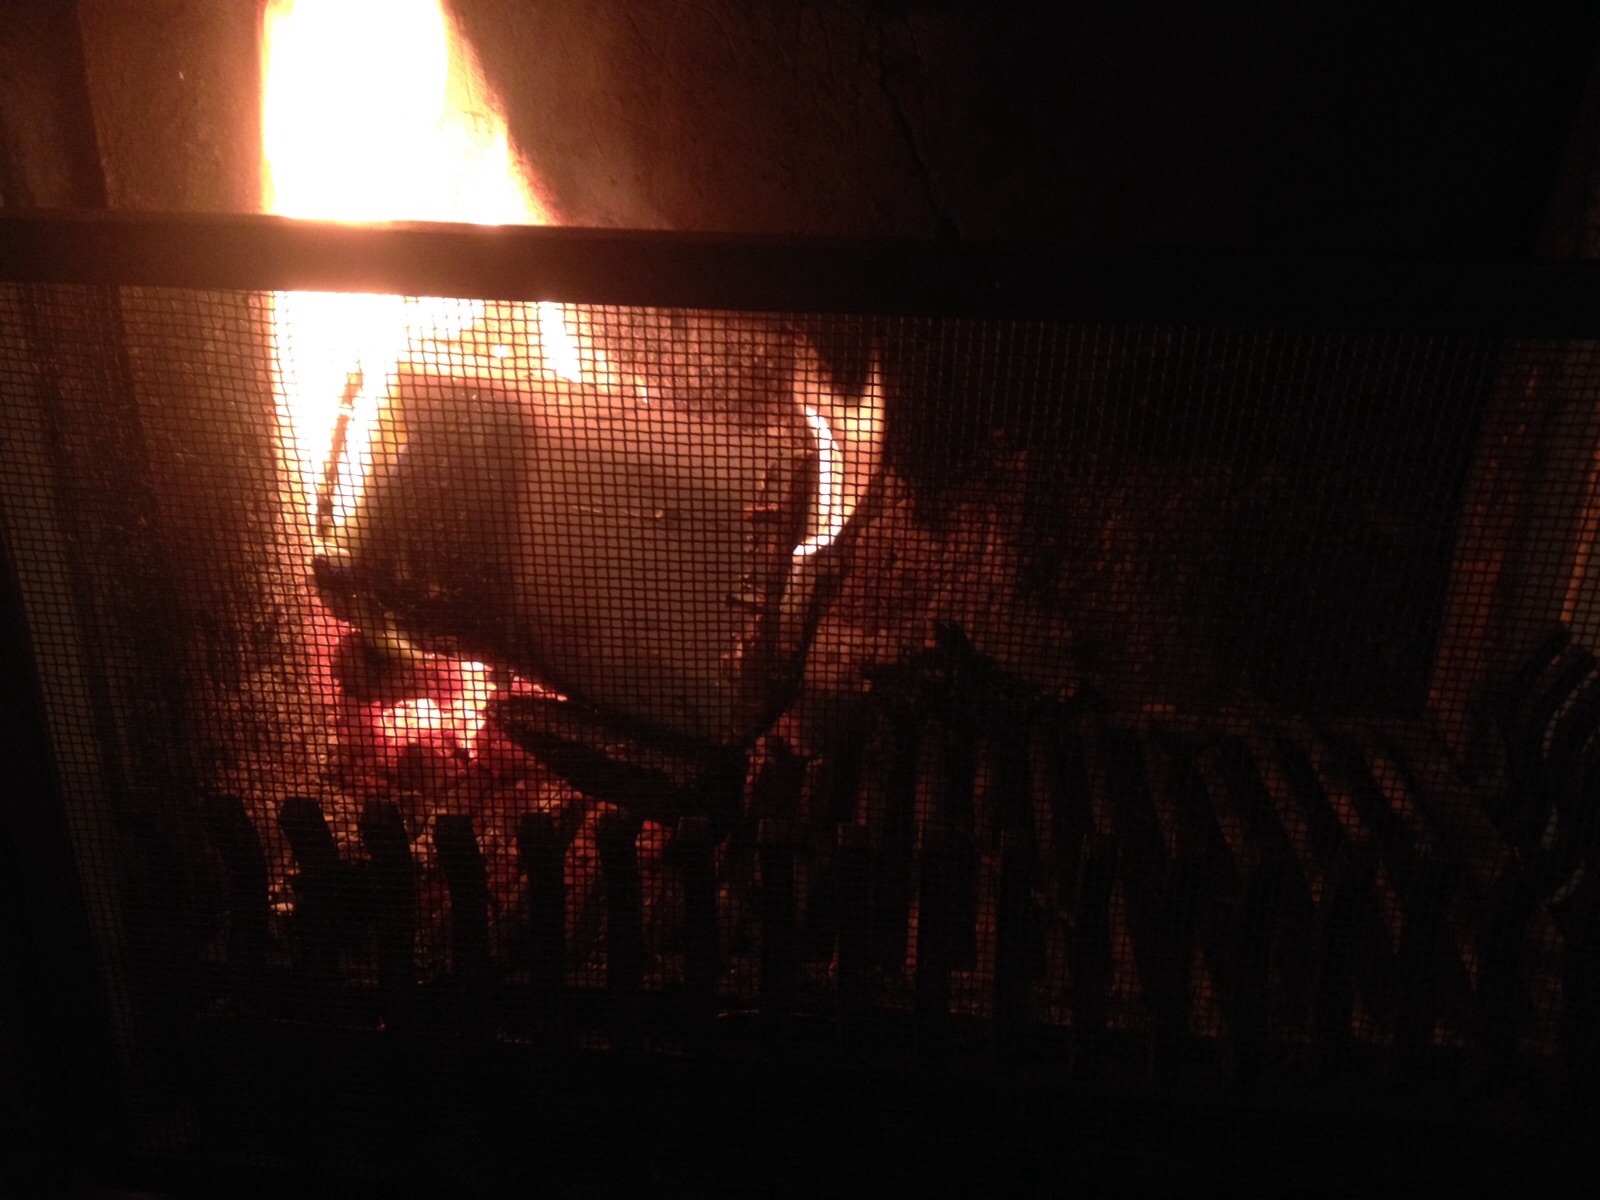
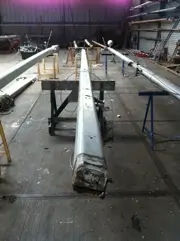
As you can see in the photo’s there where some pretty bad spots on the bowsprit that needed to be repaired. First the bowsprit needed to be stripped of the old layers of paint, to see how bad a shape the thing was in. After a day of grinding and sanding it was clear to see there where some pretty bad spots here and there, but on the whole it seemed very doable.
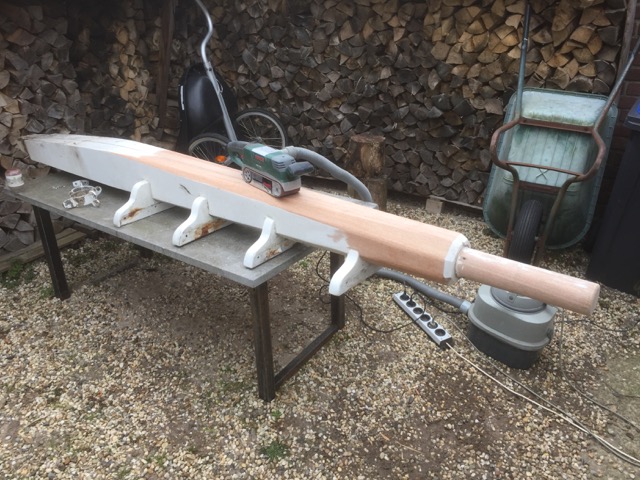
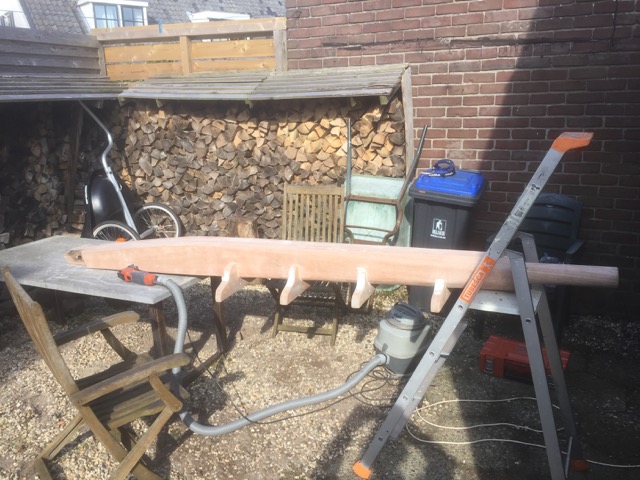
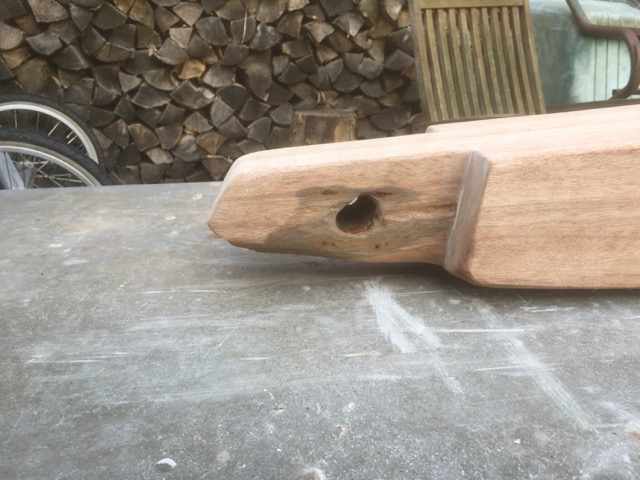
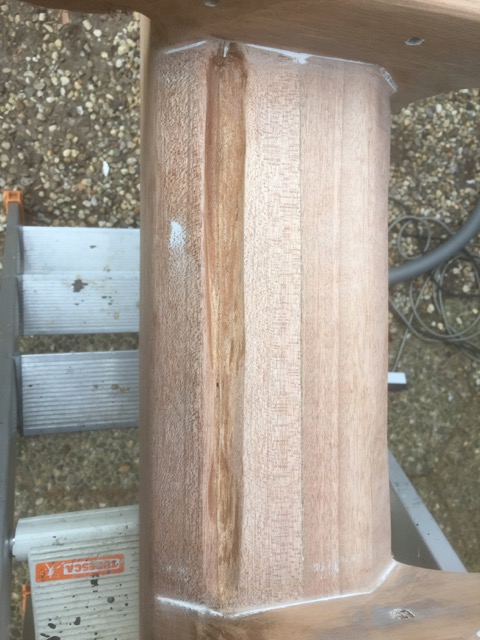
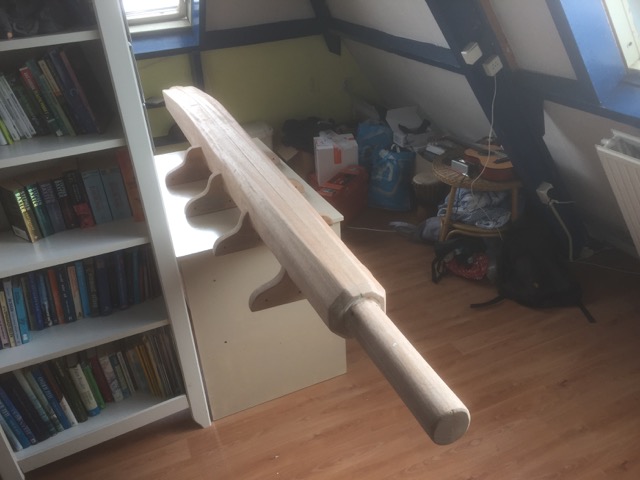
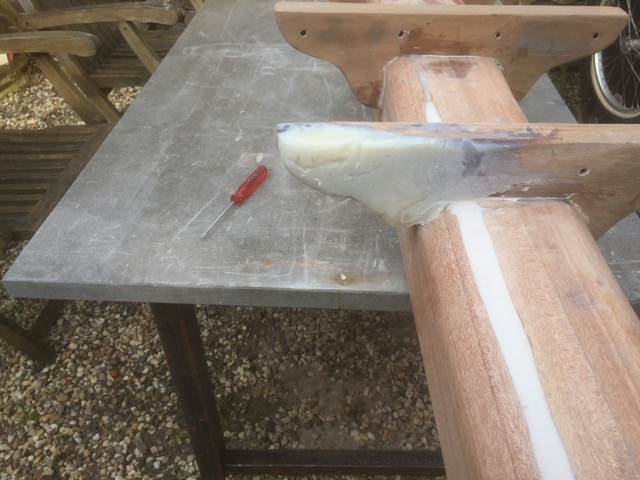
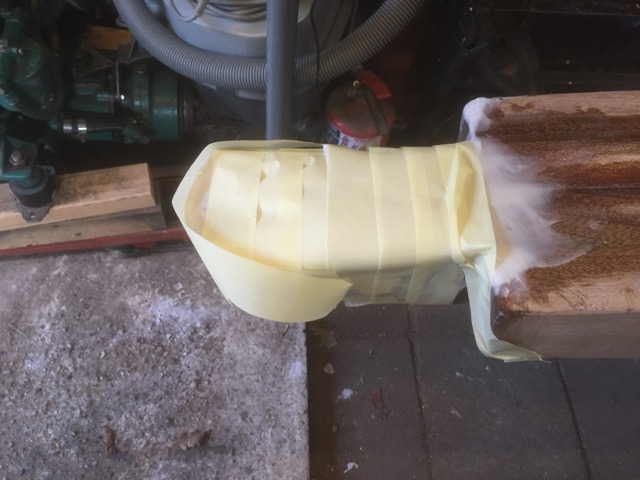
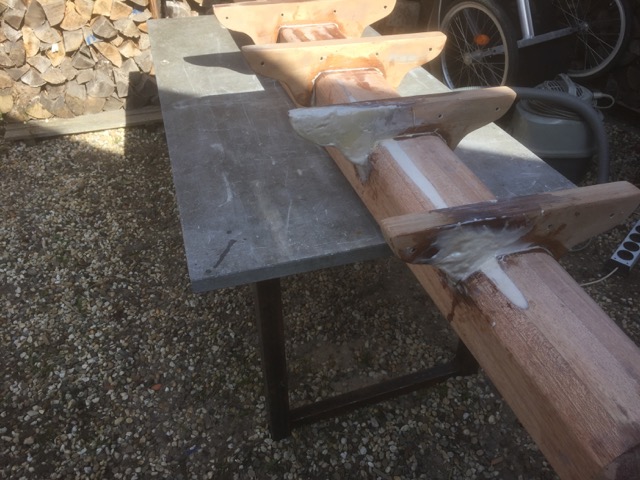
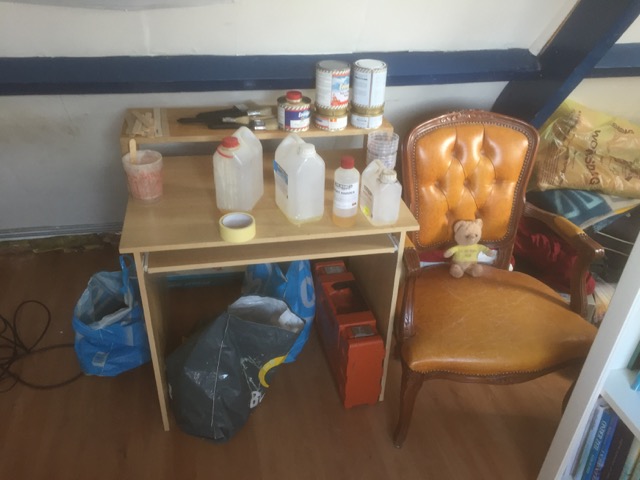
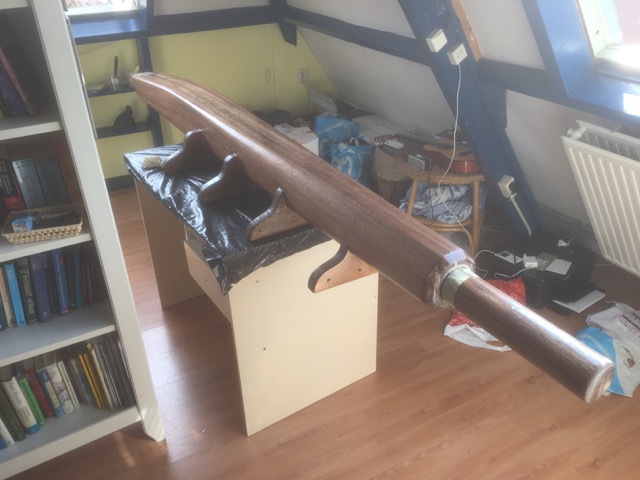
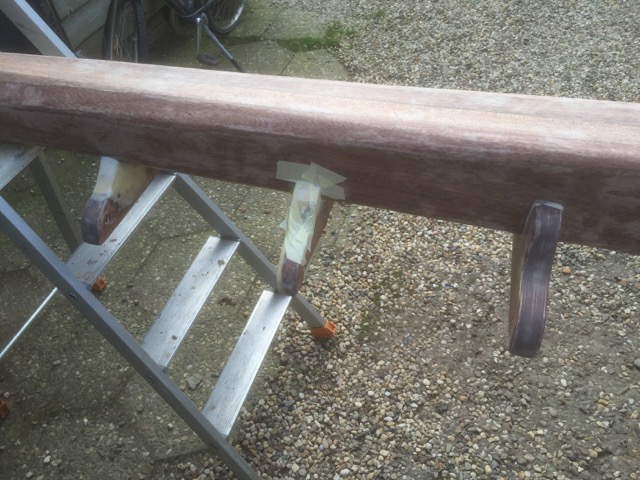
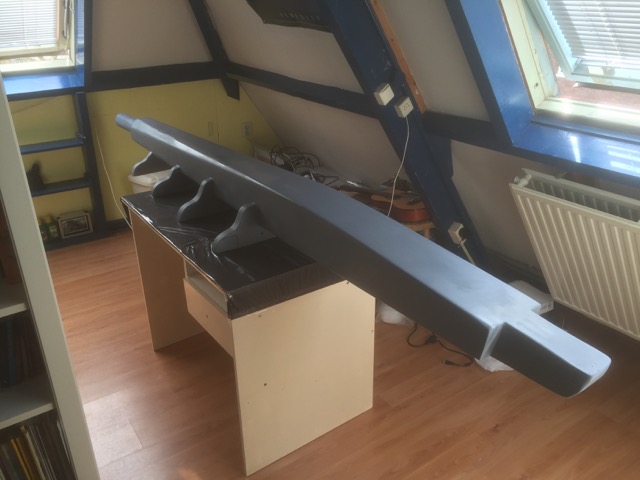
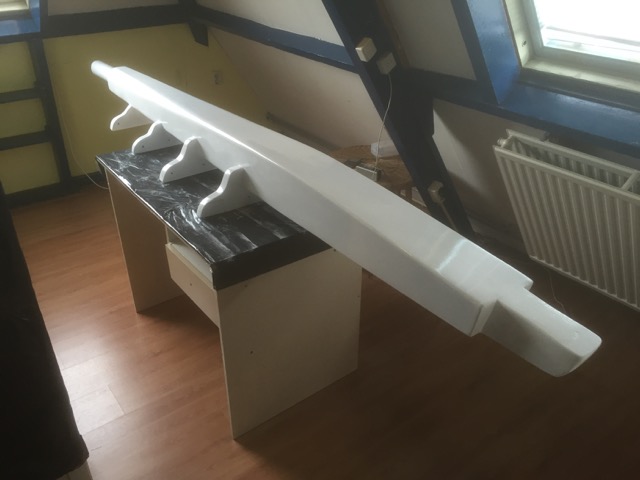
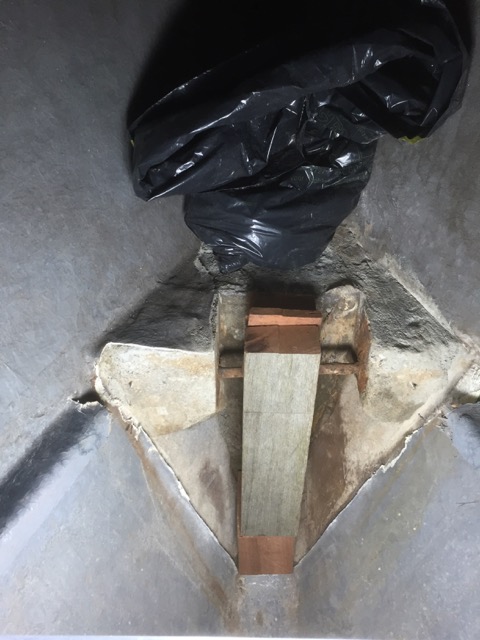
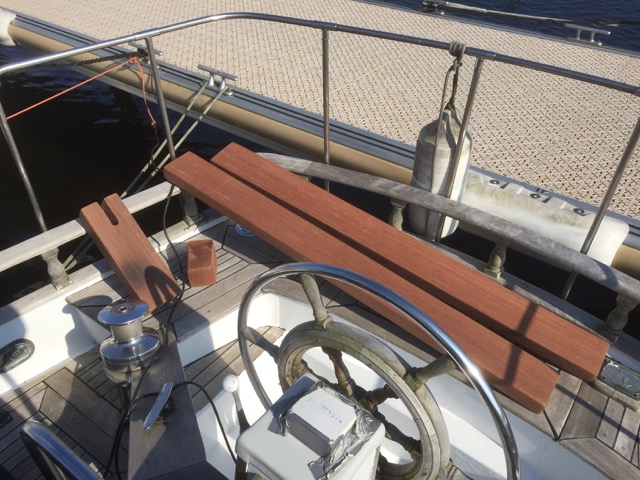
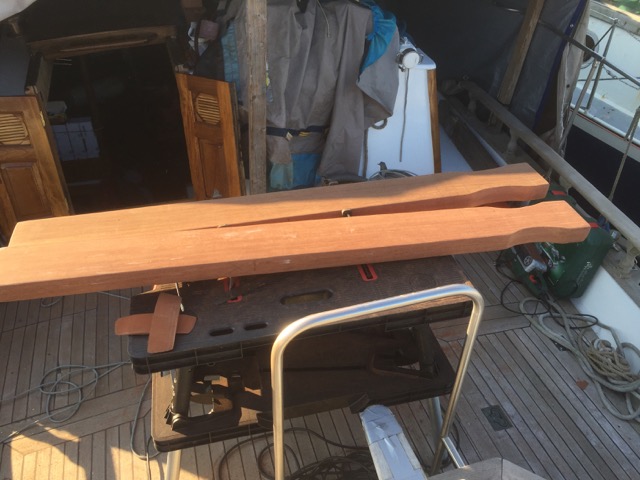
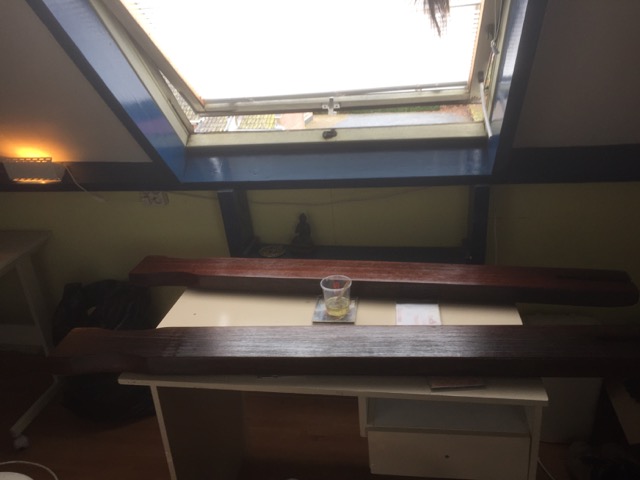
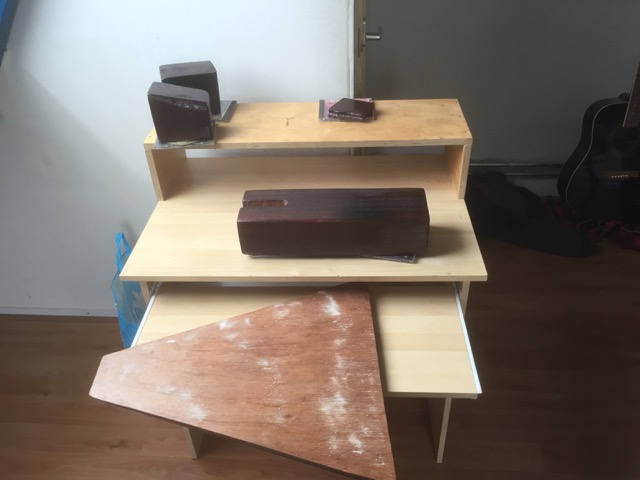
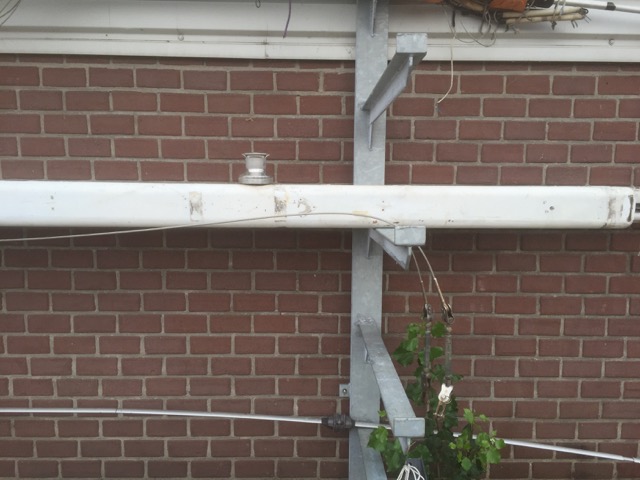
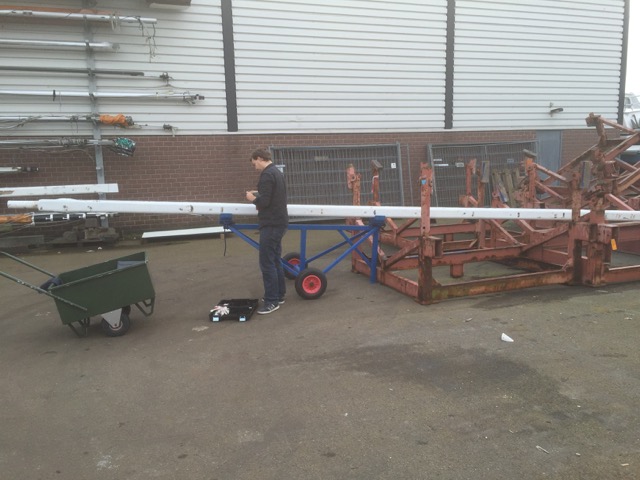
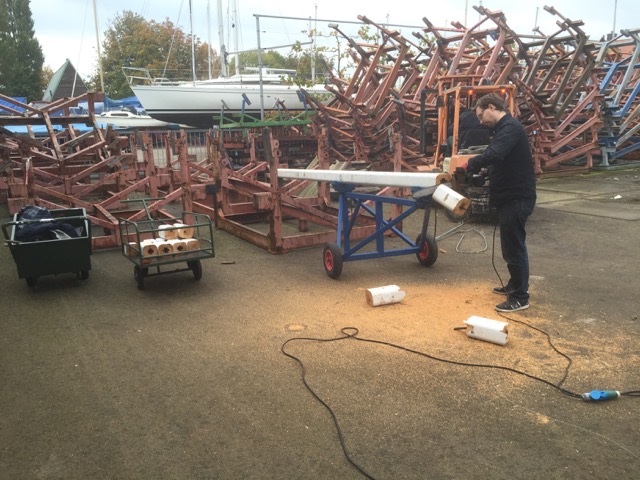
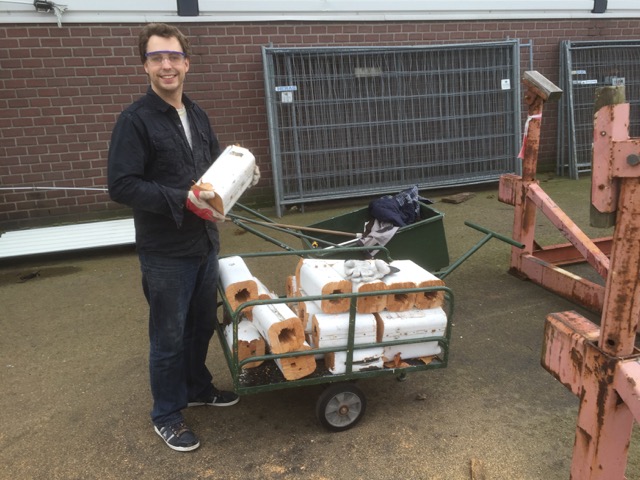
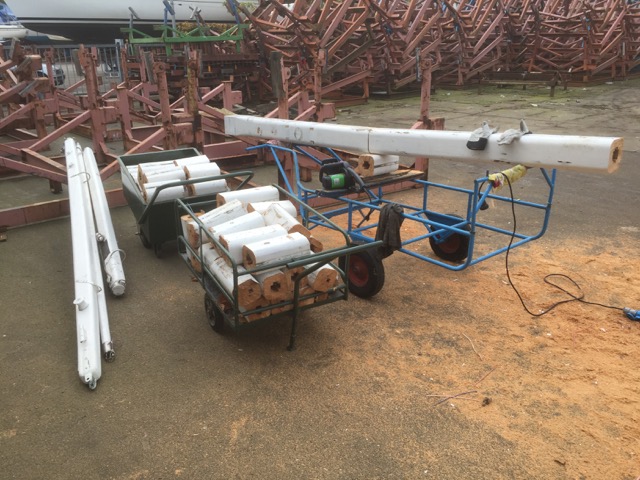
So after some more preparations (like some more sanding and degreasing etc.) once again the epoxy buckets were taken from storage and where mixed together with some powder to create a putty that could fill in the big holes. The thing was sanded again with a smaller grain (p120-p180) and coated with 3 layers of pure epoxy to fill in the smaller cracks and pinholes. Then again some sanding needed to be done with an even smaller grain (p220) after which the first (primer) layer of paint could be added. After that the first two white layer of paint could was added and then it was again time to sand with an even smaller grain (p320). See the last picture for the result end result. Well actually it’s not the end result as of yet, because another 4 layers of white paint still need to be added (with one more sanding session in between), but most of the (hard) work has been done, and it seems all will be finished before the deadline.
Then the bowsprit, plus all my other stuff that is still in my parents house (and shed) will be transported aboard, at which point all I own will officially be aboard the Seadog. Also i’m hoping to finally remove the tarp in the beginning of May, which will be a very joyous event indeed. Because after almost 5 years of being sheltered the roof of the Seadog will then finally see sunshine once again. So hopefully the next post will have some photo’s of the Seadog (and me as well) bathing in the sunshine.

Bowsprit beams

In late February the Seadog finally got it’s bowsprit beams (the beams that hold the bowsprit in place) replaced. As you can see it the photo’s those original beams where in very bad shape indeed and in need of quick replacement. Especially because the boat is tied up to those beams.
The beams are about 1.70 meters long and reach all the way from the keel of the boat through the deck. There they were placed in a big piece of concrete that also fills a portion of the hull in the front of the ship. I guess that concrete block is also there for some extra ballast.
The two wooden beams go up through the deck for about 50 cm to hold the bowsprit in place and also dubbed as two polls to tighten the ropes that tie up the boat.
One of those beams was already visibly rotten and even broken off on the top of the deck while we where removing the teak deck a while ago. The other beam still seamed o.k. so the boat was tied up to that one beam.
After closer inspection in February I was kind of shocked to see the real state of affairs. That second beam was indeed also pretty rotten beneath the deck, and you could easily (by hand) break the beam apart. Not good, considering the boat was only tied up to that one beam…
So another project was started. Luckily my dad had a perfect enormous wooden hardwood beam standing around. That thing was so huge it did not even fit in the shed (which is not a small shed by far). Because it had been standing around outside we first needed to cut it in two big pieces so it could stand inside to dry for a while (which we did a few weeks before this project started). After that we also removed some of the surface of the wood, to expose the inner perfectly dry (and beautiful) wood core. And so that’s the wood we made two new beams with. We did have to bring the wood to a friend of my dad, which had a big enough saw table to cut the beams into the two new pieces.
After removing the original beams and also removing some concrete (plus some sanding and cleaning etc.) the beams could be fitted and created to exact measurements. Some more sanding of the beams was done and then they were transported (with the help of my sister’s car) to the attic of my parents house. There they were treated with a few layers of epoxy and after drying (outside temperatures where still to low) they were transported back again.
Now it was time to permanently place them through the deck into a new concrete base. But a few other thing needed to be done before this could happen. First, a smaller wooden forelock needed to be made with on top of that a “little” middel beam to hold the two big beams in place and fix them on the steel pipe that was inside the original concrete base. Also a new wooden plate was made to seal off the base, so that concrete could be poured into that base and left to dry. Then that concrete base would become one huge block with the bottom of the beams inside of it and so they could not move another inch. Another wooden block was made to also fix the beams in place directly beneath the deck. This block was fixed to the deck and the beams with epoxy.
Before this while project started I made (see the pictures below) some 3D drawings and measurements to make sure everything would fit according to plan. We did alter the base for the beams in the sense that we used more concrete and less wood, but this 3D blueprint did come in handy and to be sure we had all the correct measurements.
After all the preparations were made my dad was there to help. We placed everything into place and started poring concrete, plus filling and glueing with epoxy. The whole process went pretty smooth and the end result is even better than the original construction was. Next project will be the bowsprit itself, but more on that in the next post.

Into the fire you go!

Well there’s no turning back now, the Seadog will be getting a set of new (second-hand) aluminium masts. As you can see in the pictures below the old wooden mast where in pretty bad shape and even though they could have easily been repaired, it would have taken a lot of work and will always have needed extra maintenance.
So we borrowed the chainsaw from my dad and chopped the two masts into small pieces for easy transport. This new form factor also makes the wood perfect for it’s next function, which will be firewood!
A friend of mine (Bart) was nice enough to help out, and his parents could use the extra firewood for the coming winter. So we loaded up their car and resupplied their firewood pile.
Back in Juli I did actually already found and purchased a very cheap second-hand (relatively small) aluminium mast which can be used as the (mizzen) aftermast at the back of the boat. But I am still searching for a good mainmast so if anyone knows of a place to get a second-hand aluminium mast of approximately 12-14 meters please let me know!

Stripping the masts

Today we striped the masts. After we were done we started work on the cabin walls again. The left wall is now gone. Hopefully we can start the rebuilding of the wall this weekend. We decided to go with 3 cm thick wood and then impregnate the wood with Epoxy.