Applying the last layers of 2 component paint to the cabin

Overview of painted cabin

Side view of painted cabin

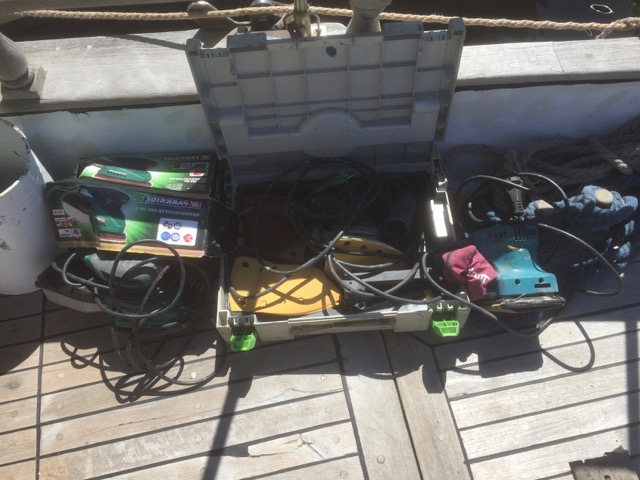
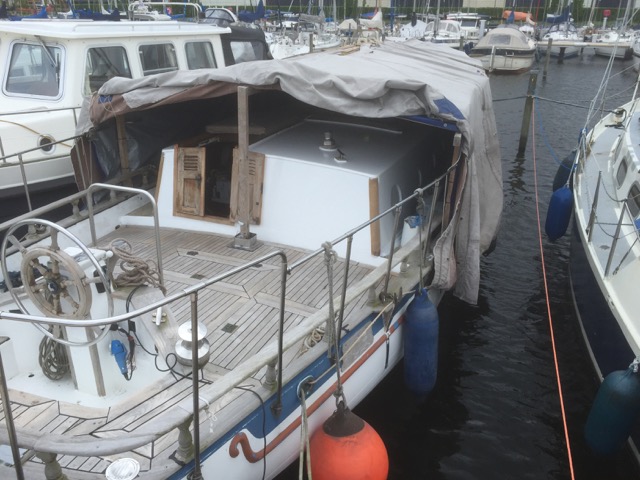
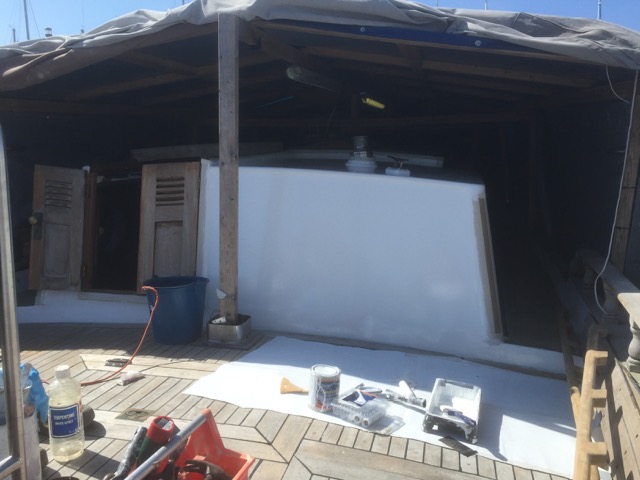
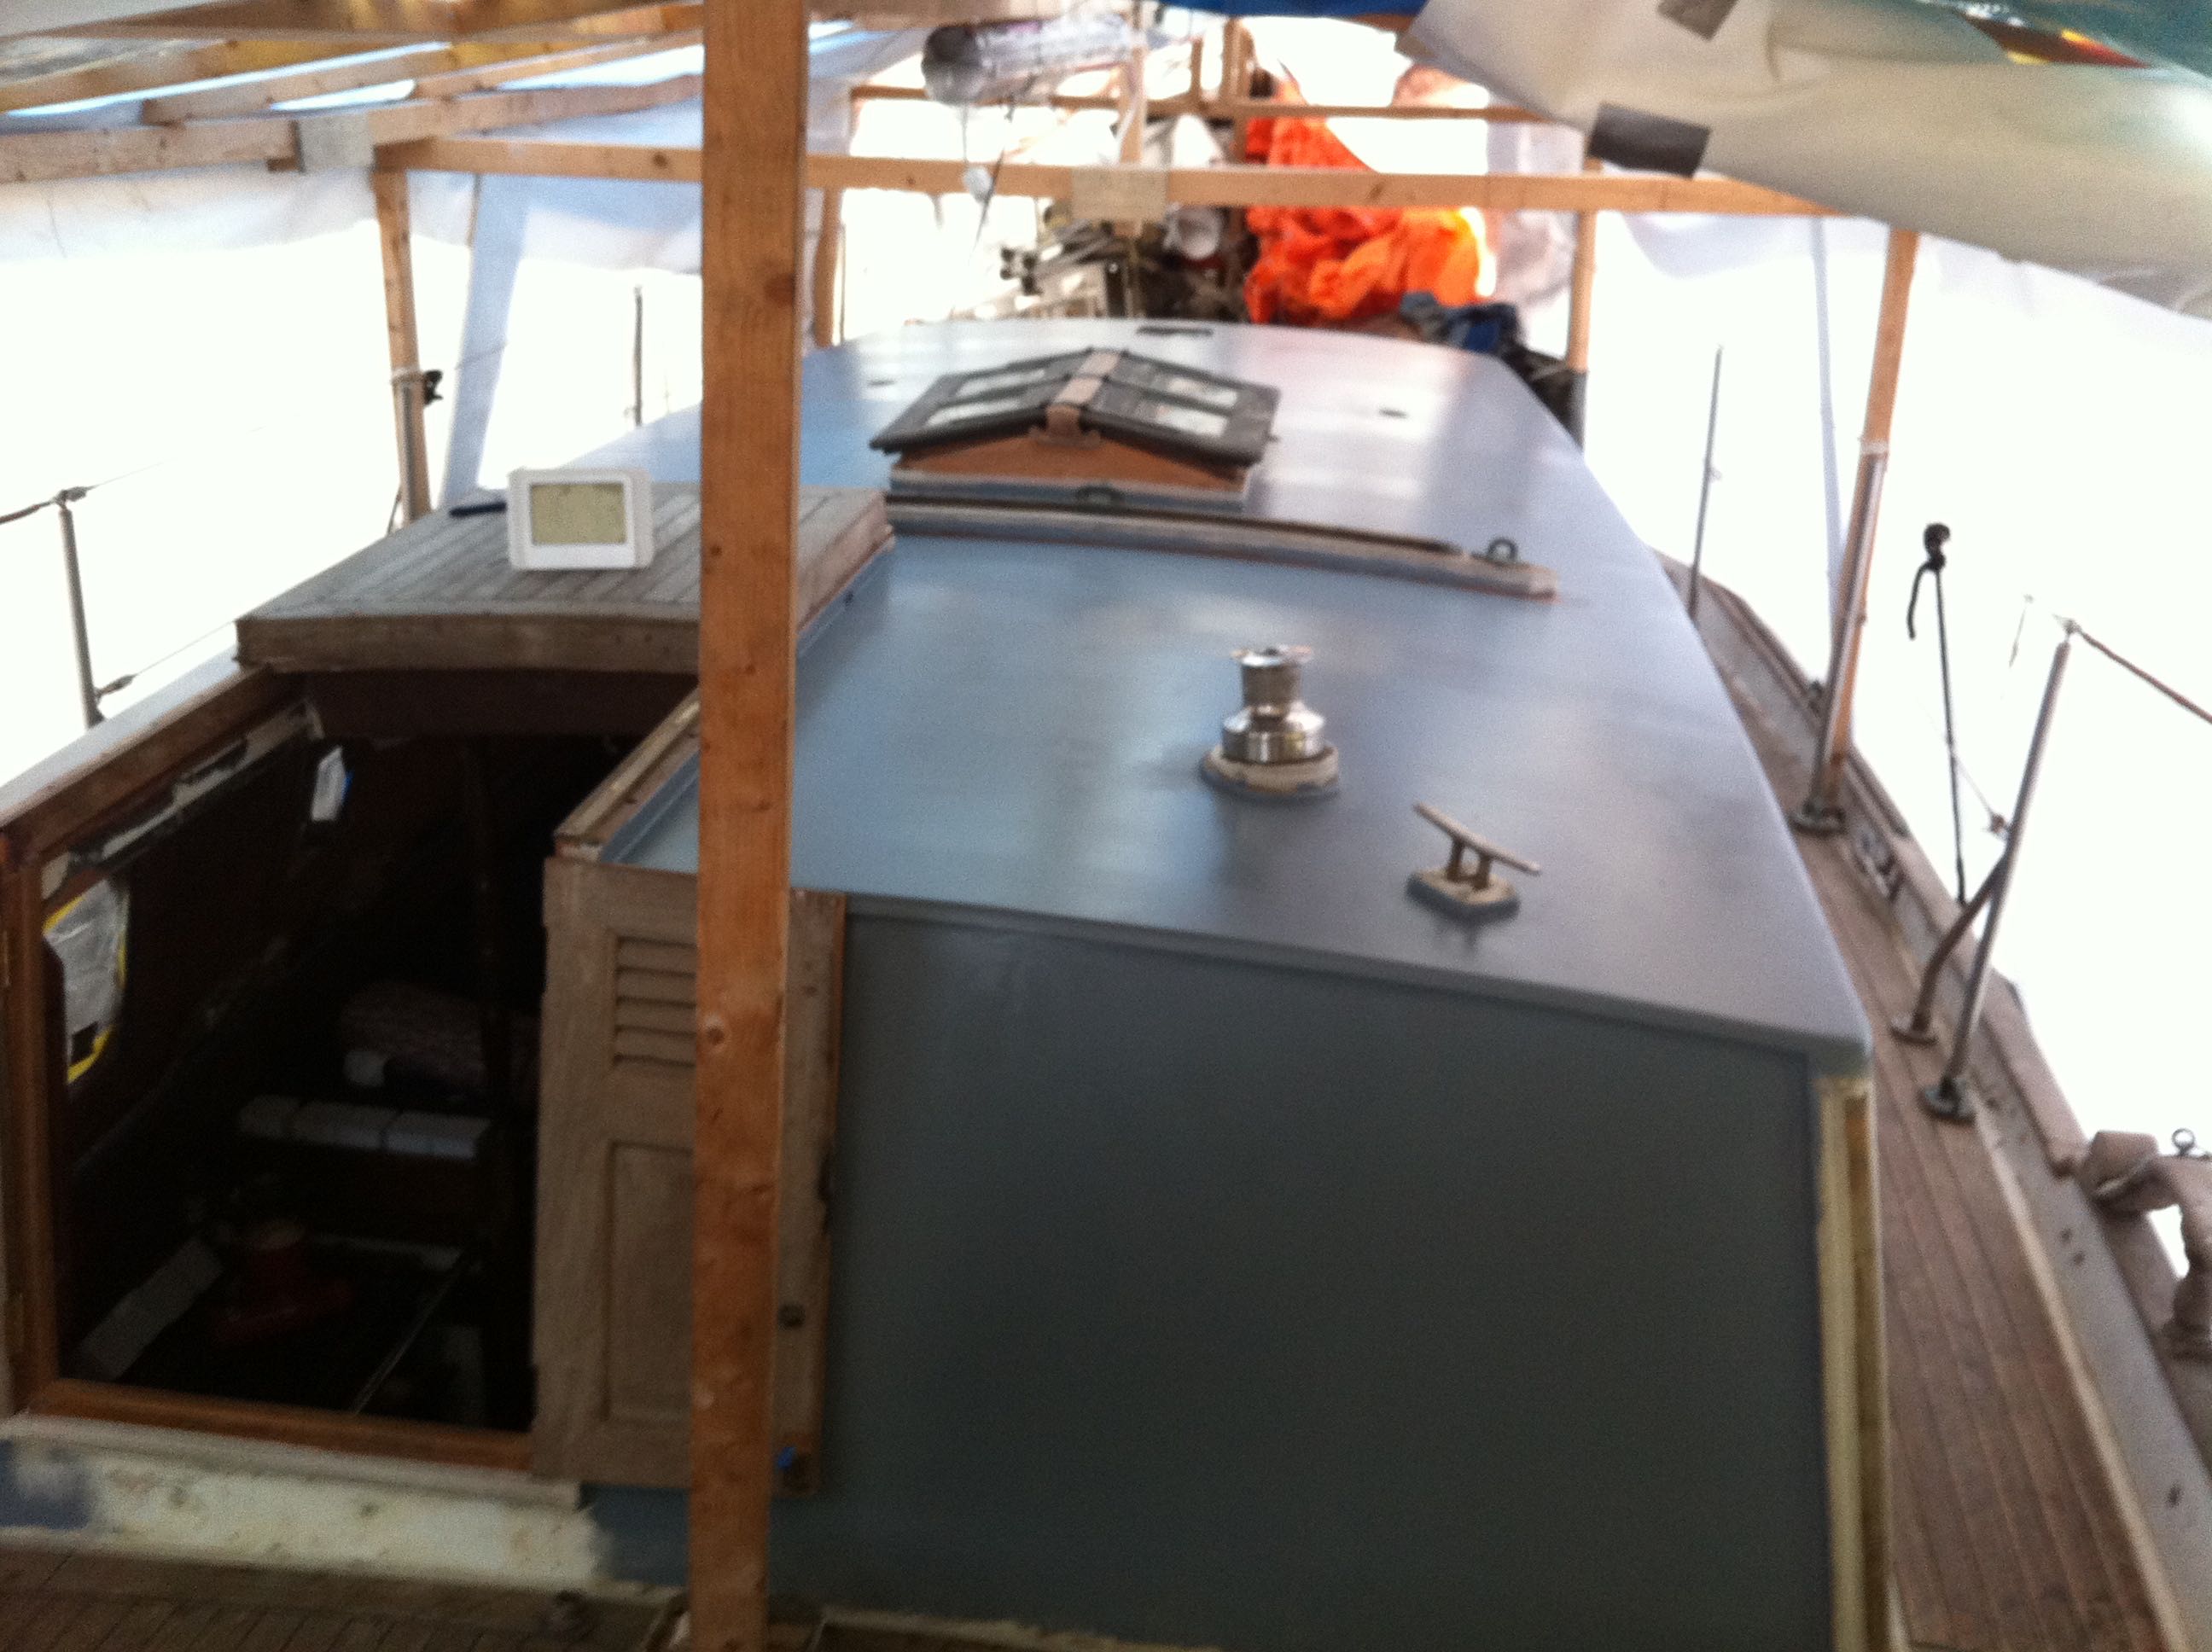
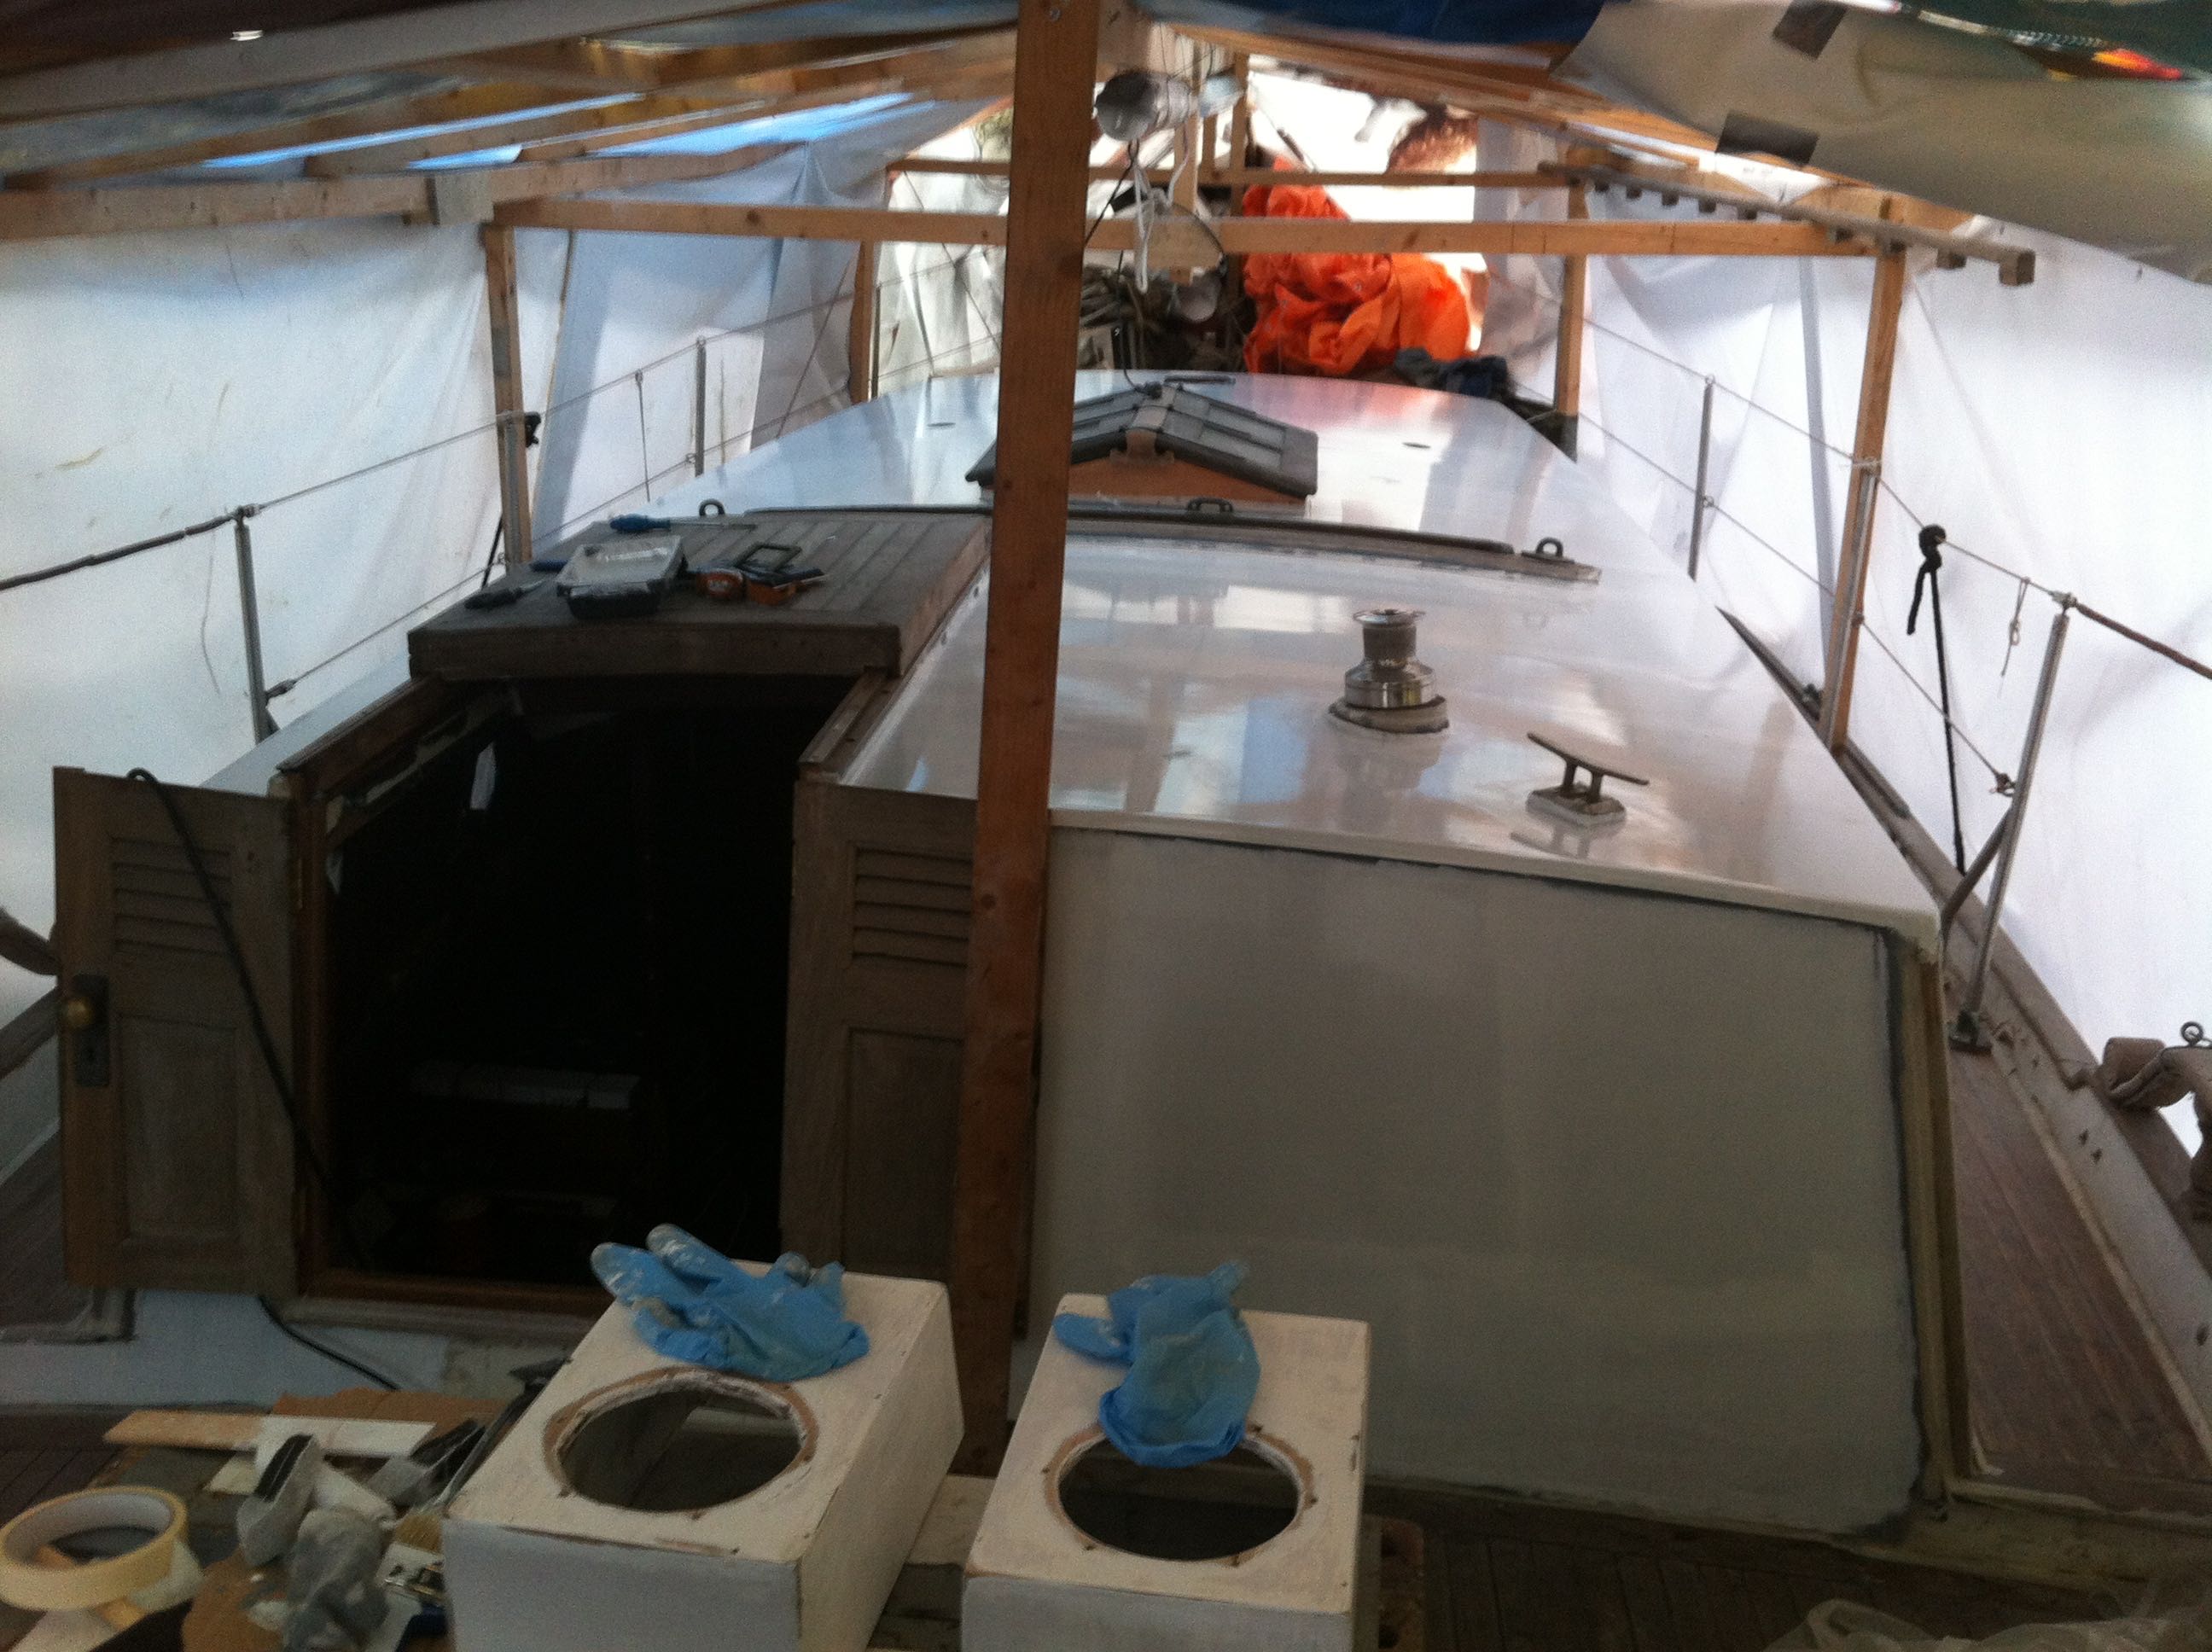
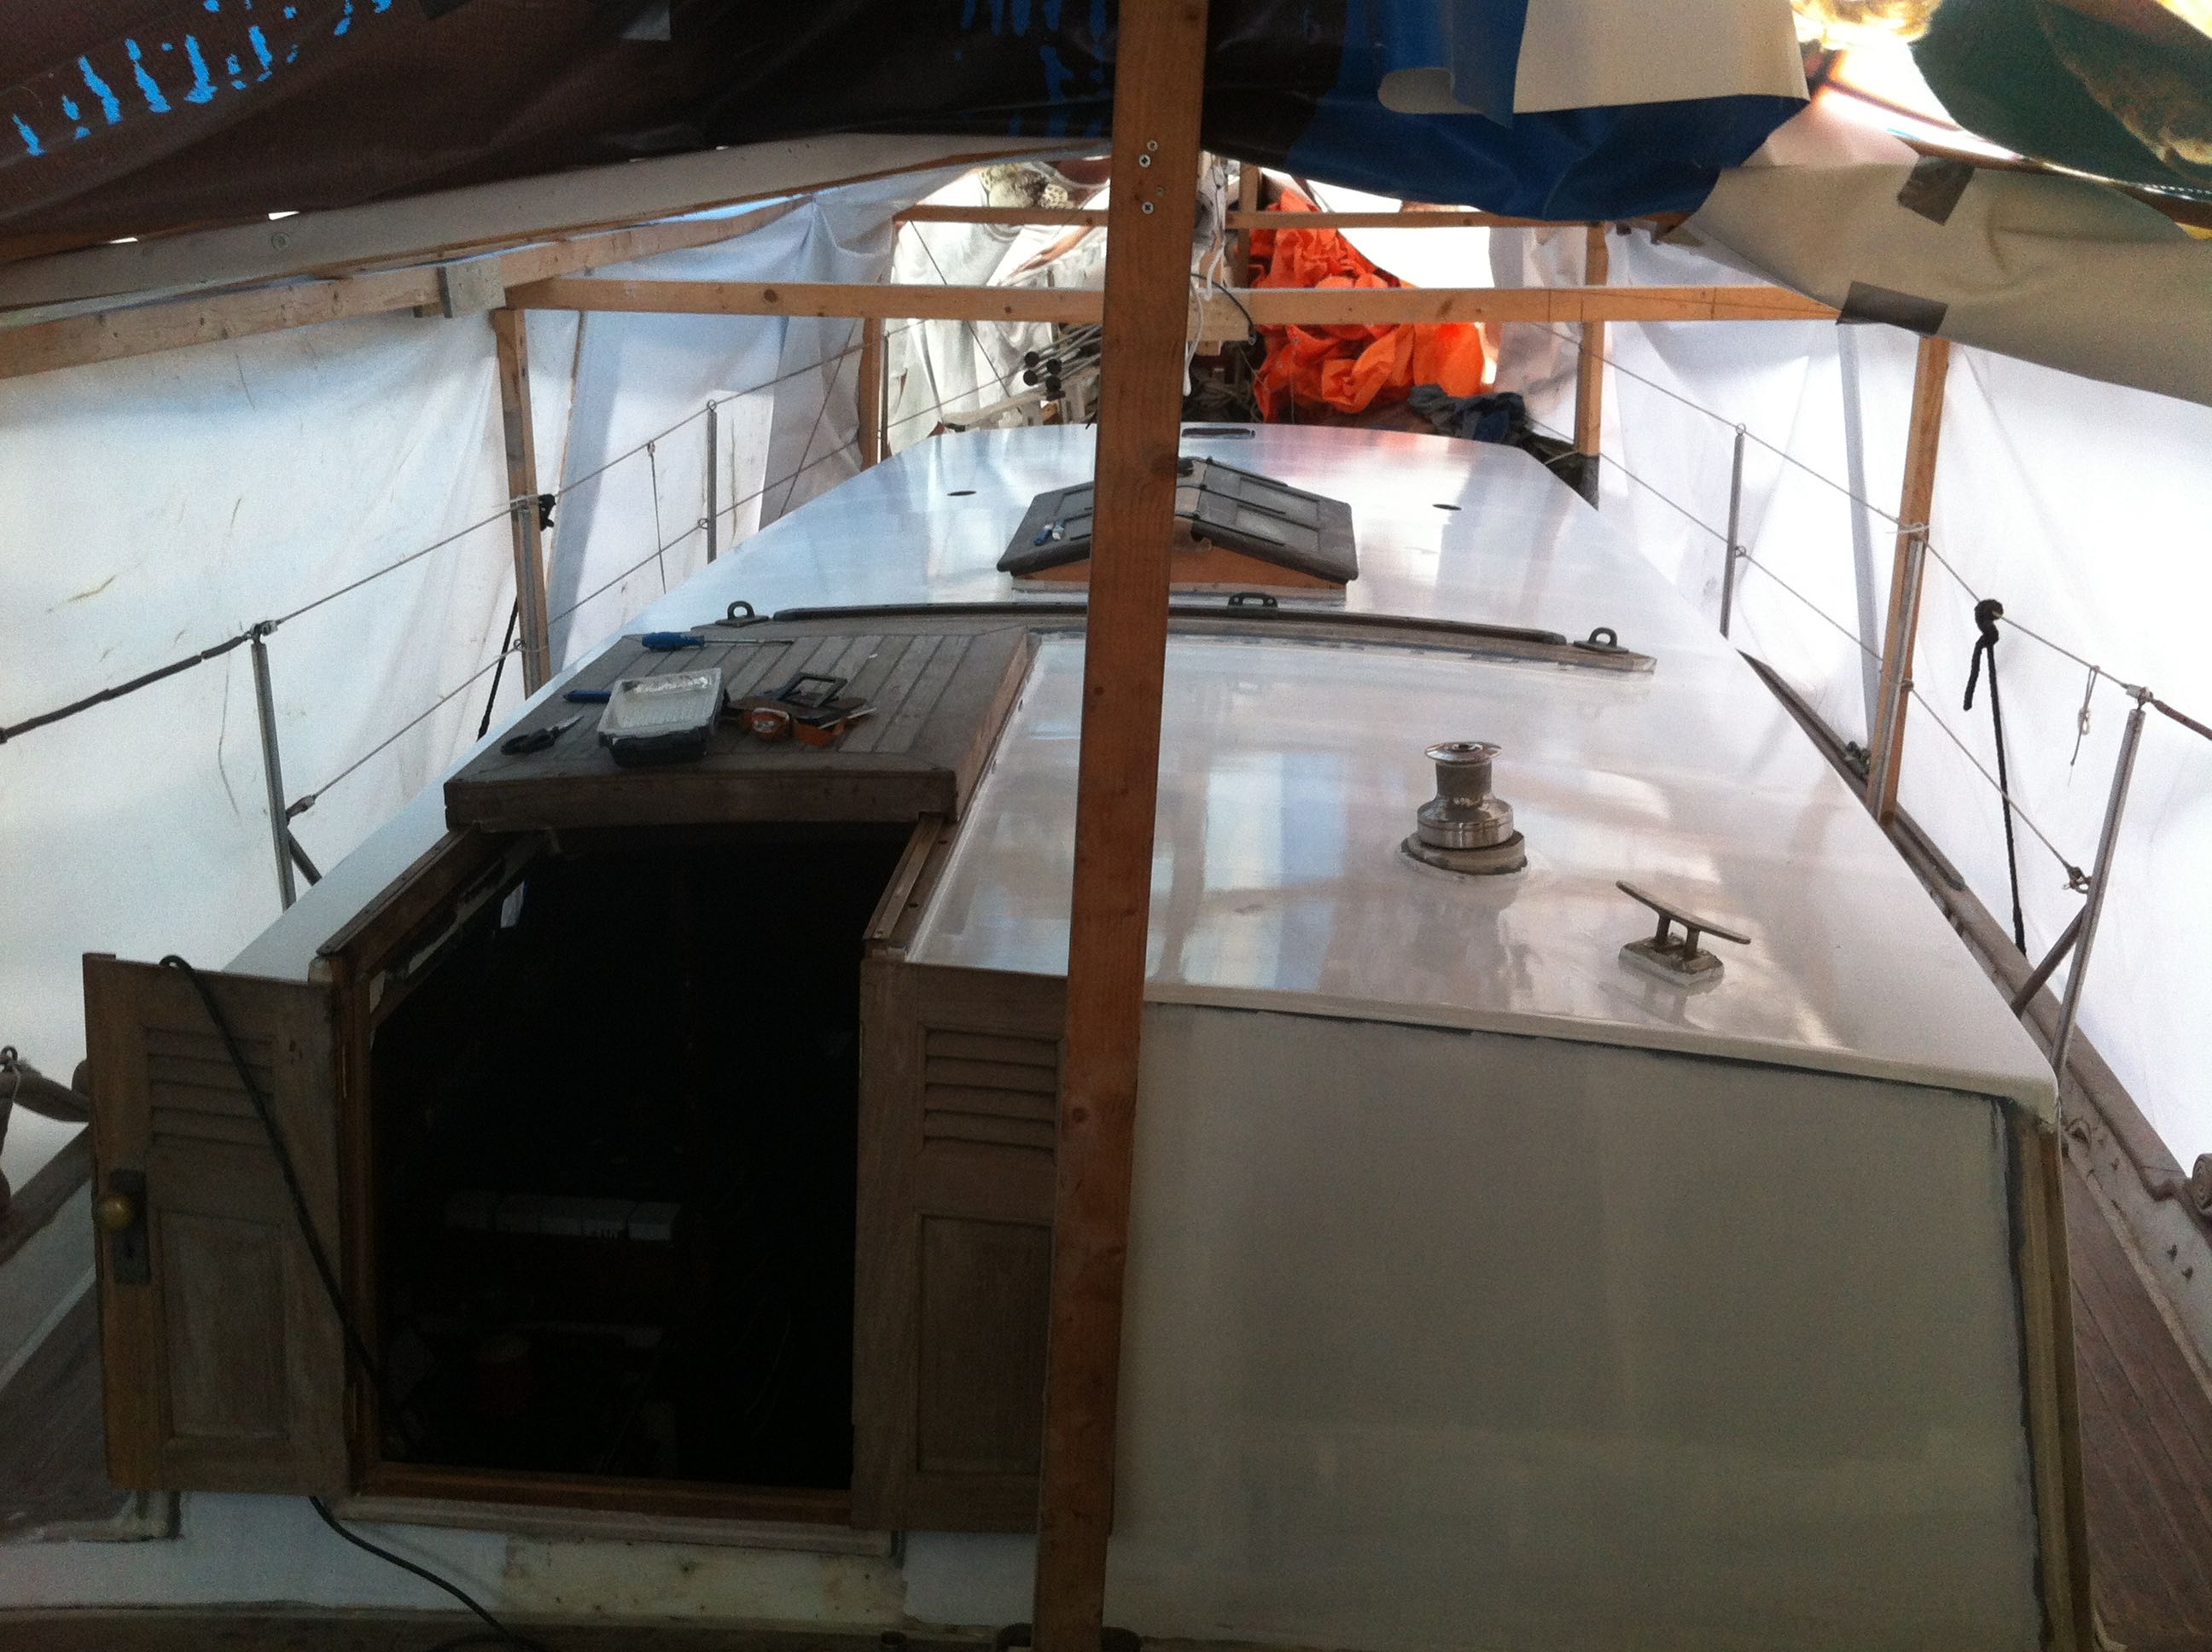
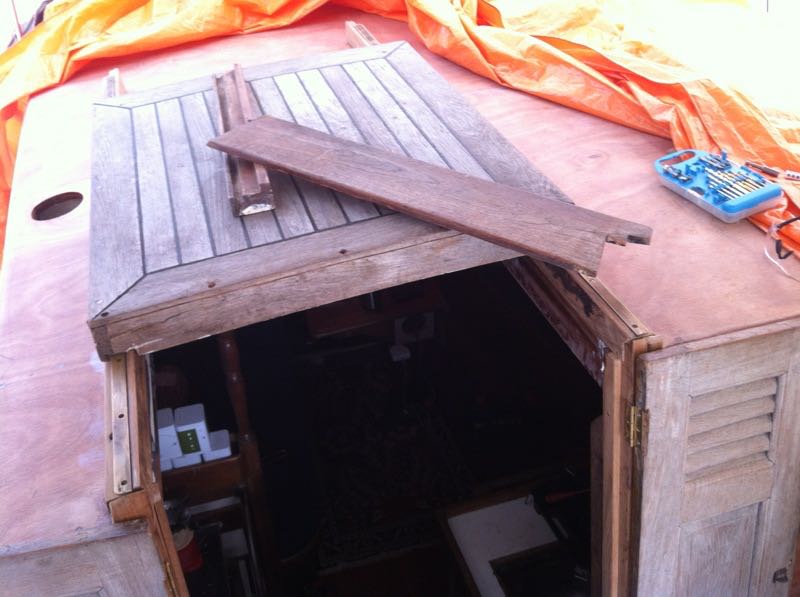
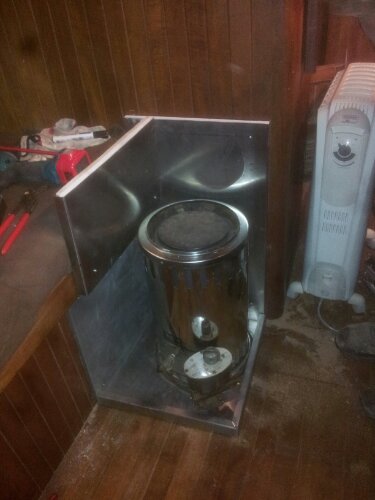
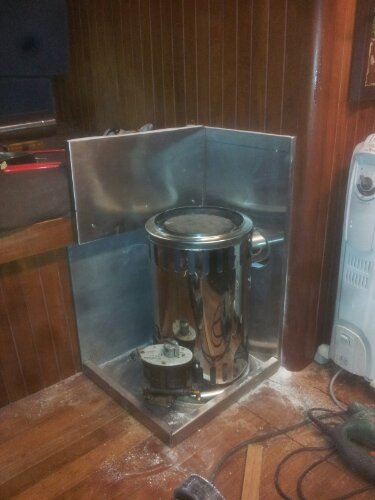
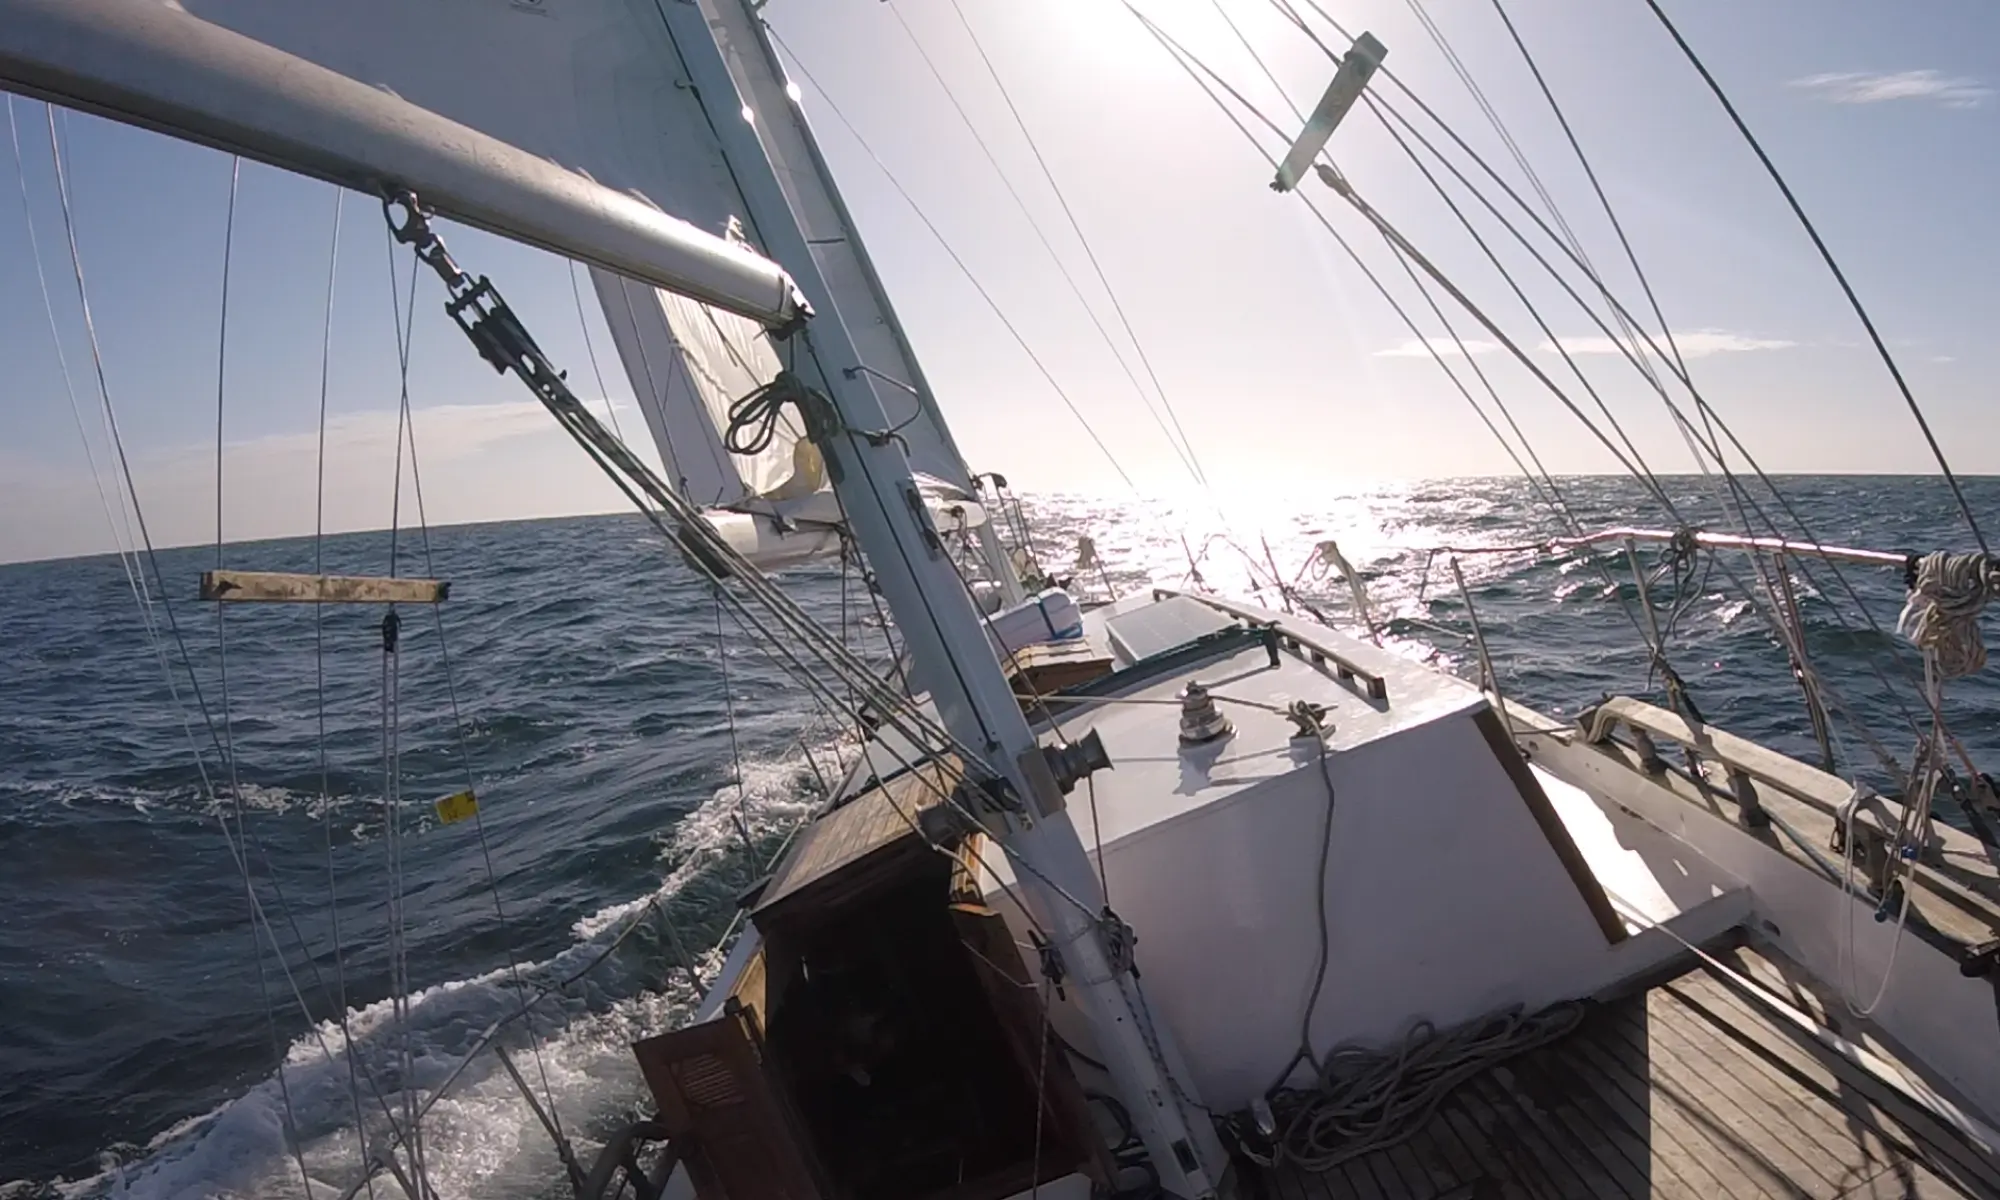
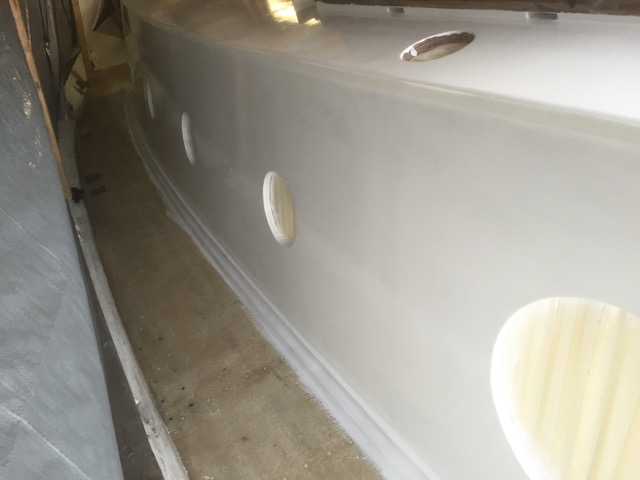
Before the tarp can be removed from the boat, the cabin needed at least two more layers of paint. So, back in April me and my father were hard at work to finish the cabin.
First the cabin needed to be sanded again. This needed to be done to make sure the new layers of paint adhere to the old layer (that was painted on almost half a year ago). The outside temperature for painting with 2 component paint was finally warm enough again (around 20 degrees celsius), and so we could paint multiple layers after each other, without having to sand in-between the new layers. This can be kind of tricky, because you only have a small window of time before you can add a next layer.
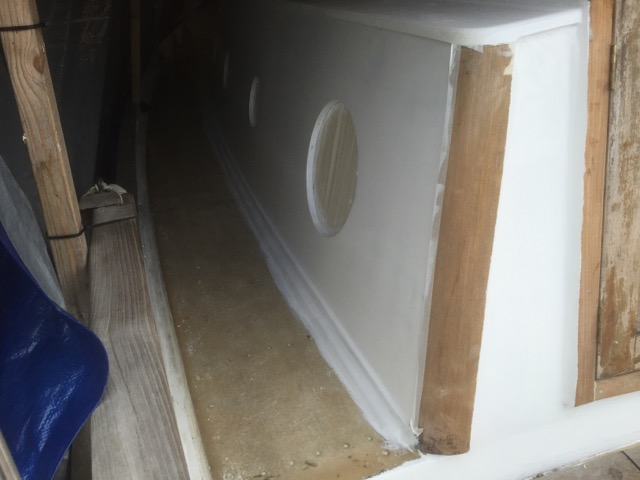
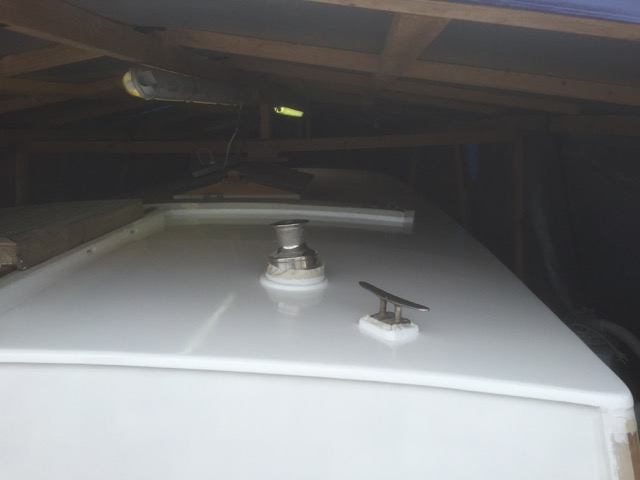
Add the next layer to early and the underlying layer will not dry correctly. Add the next layer to late and the new layer will not chemically bound to the underlying layer. This means that if you wait to lang, you have to sand again before a new layer can be applied. The 2 component paint we used had a time window of 24-48 hours between layers (with ideal temperatures between 20-25 degrees celsius), so we could paint one layer a day. See the photo’s for the end result.

Time to get the paint out of the bucked

After the cabin was coated with 5 layers of epoxy it was sanded once again, and ready to be painted. We used a polyurethane based yacht paint from a dutch company called Epifanes. Before applying the (white) base layers, a primer (see grey layer in the photo’s) was uses to create a better bond with the epoxy and also to fill up any pinhole etc. After that 2 layers of the white polyurethane based yacht paint was painted on to create the finished painted cabin. I did actually want to put 4 layers of paint on the cabin, but after being in a pretty horrible car accident I was kind of out of it for a while, so that was no longer possible because the temperature where getting to low. So that will have to wait till next year.

Back in business

It’s been a long time since the last post and a lot has happened, but I won’t be going into too much boring details. The bad news is Seadog is still not ready to sail, but the good news is that the last couple of weeks a lot of headway has been made. I will firstly be posting some of the photo’s and short stories of the stuff that has been done in the last two years, beginning with the finishing touches of the cabin, like the entrance as one can see in the photo’s below.

Going with the current

We didn’t really trust the existing (very old) electric cables that where still in the boat so we decided it was time to replace the whole electric system. We started with the 230v AC system and the 12 volt DC system will follow later.

Installing a new diesel heater

We decided to replace the old diesel heater that came with the boat. After a long search we found the beautiful Refleks diesel heaters that are sold by Rietpol (Holland). Rietpol is a shipyard which was established in 1936 in the old village Spaarndam in The Netherlands. They import these heaters from Denmark and then customise them for example with a little window, radiator coil or a cook plate.
We only went to the shipyard for some information about the choices there where, but left the same day with a secondhand heater that the they had overhauled. Still left a hole in our budget, but is was a good investment nonetheless.