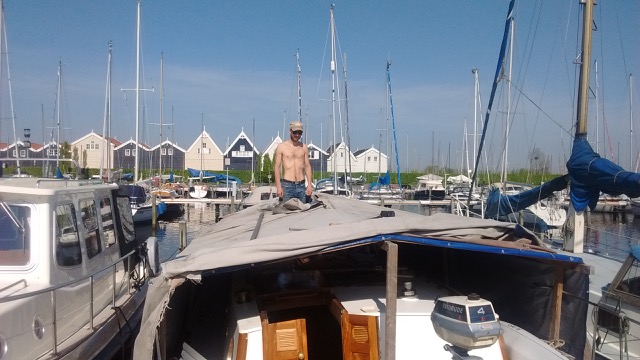
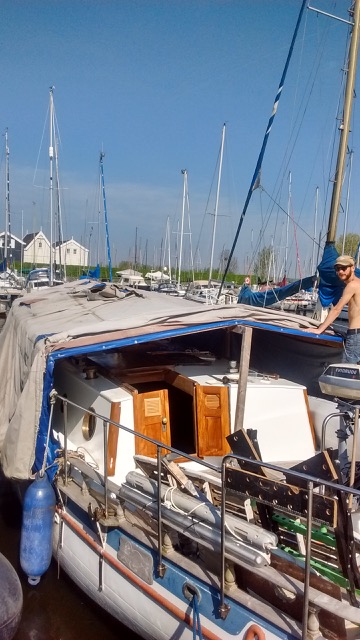
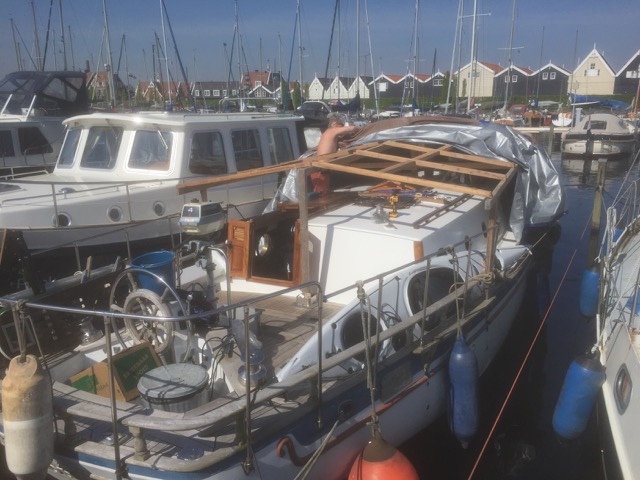
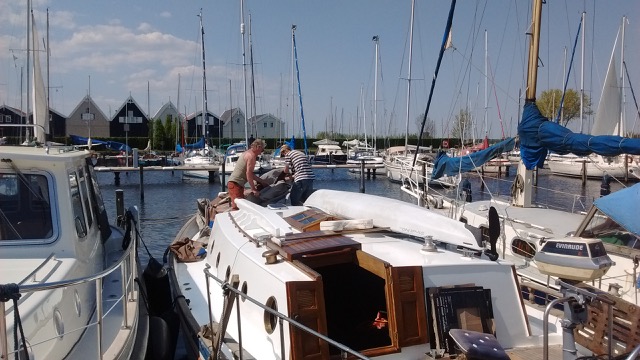
Removing the tarp
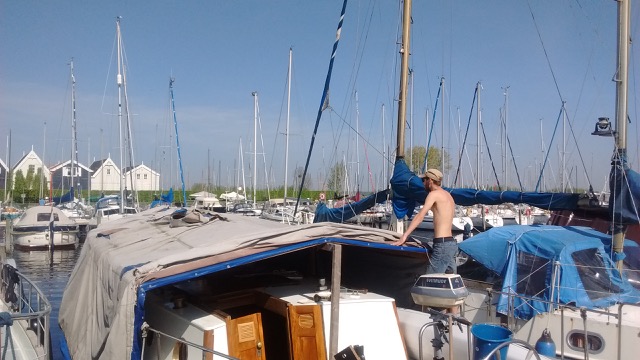
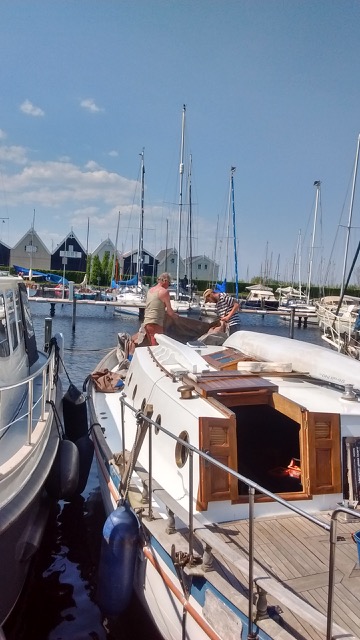
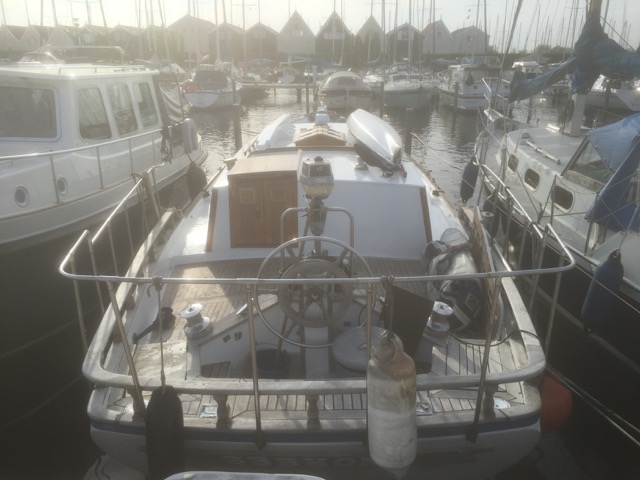
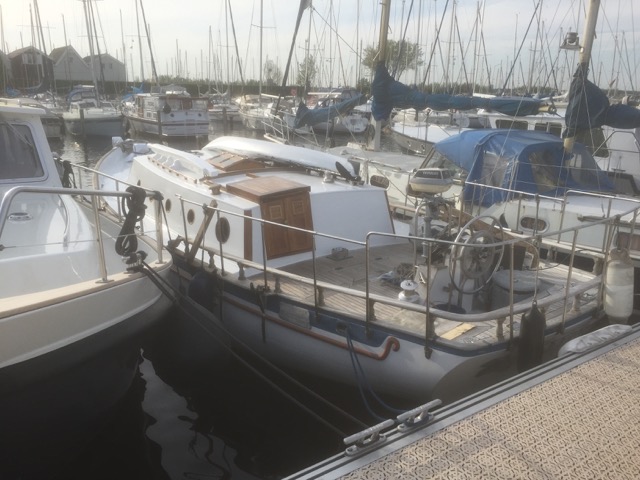
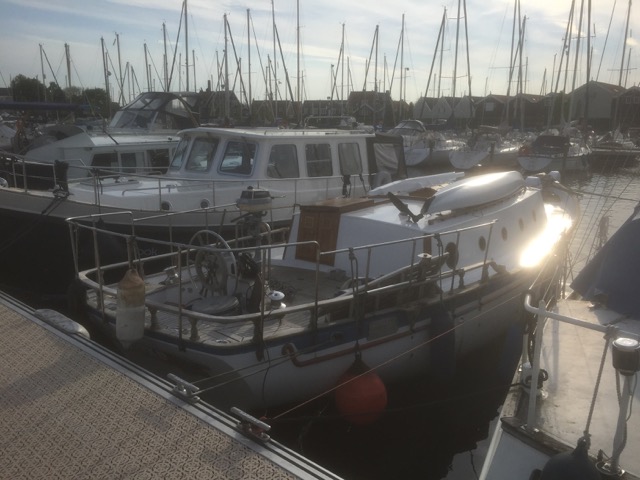
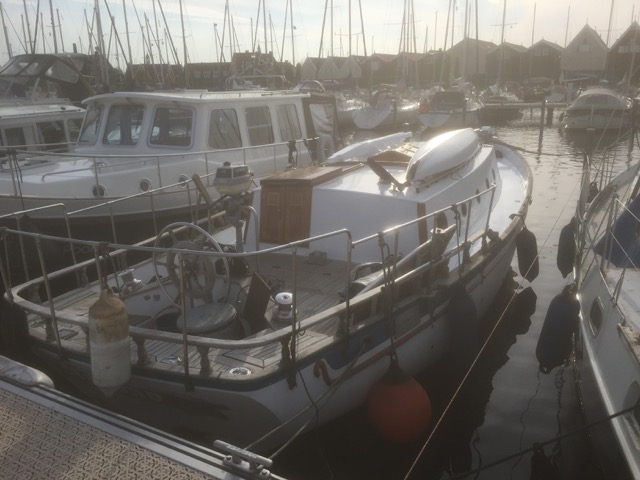
Yes, it finally happened! The tarp has been removed and the Seadog is shining in the sun. And I seriously mean shining in the sun (see the photo’s).
Next up, I will need to do some small repairs and preparations so that the bowsprit can be permanently placed on the bow of the ship. The bowsprit is now temporarily stored on the cabin roof together with the kayak. Very happy with that kayak right now. See my previous post about my latest kayak trip here: https://theseadog.life/2016/05/22/kayak-trip-to-elburg-nl/
Also some minor tasks still need to be done to make sure everything is completely watertight and safe. For example the roof window and entrance of the cabin might still leak with extreme rainfall.
After the bowsprit has been permanently placed I will have to add some anti slip to the deck beside the cabin as well, because if those parts of the deck get’s wet it’s dangerously slippery.
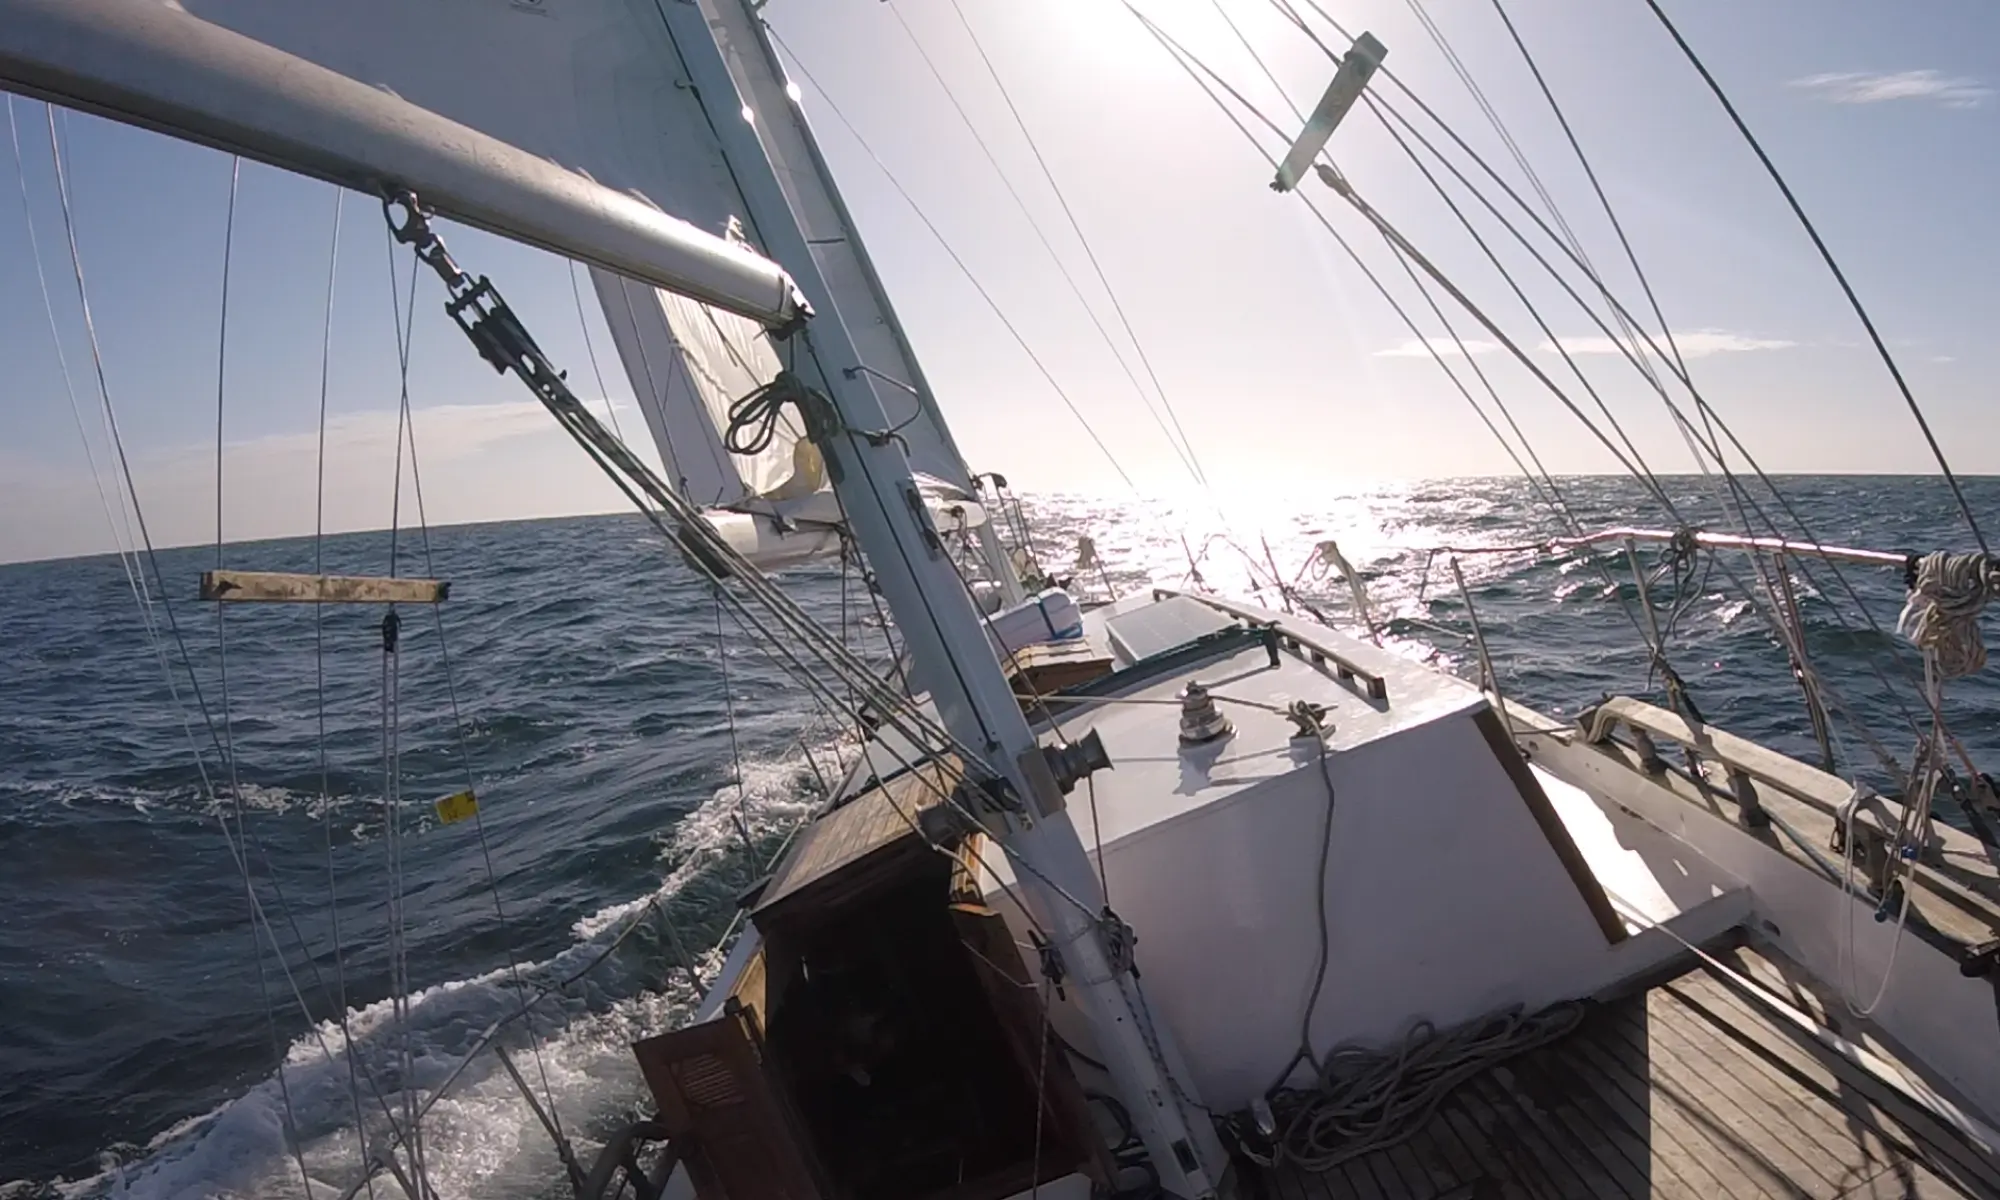
And of course the next big project will be to get a running engine, so the Seadog can head to open water!
But for now another big milestone has been achieved..


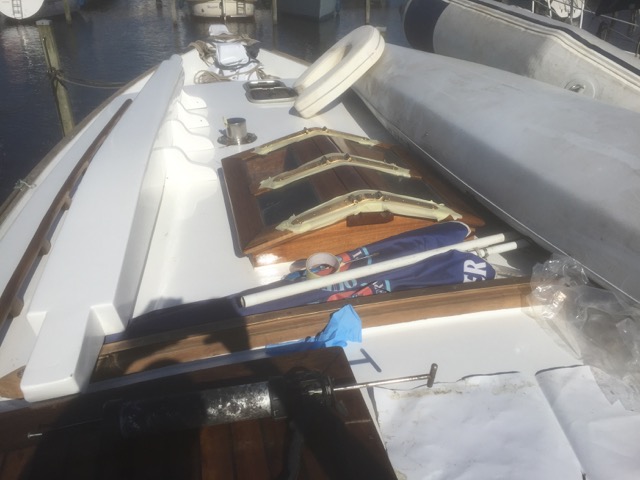
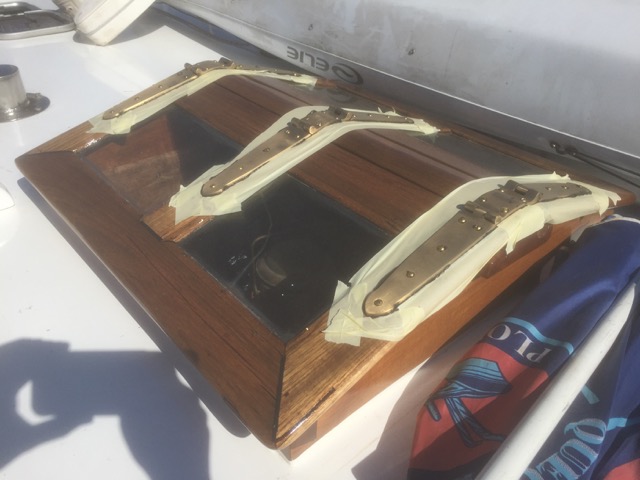
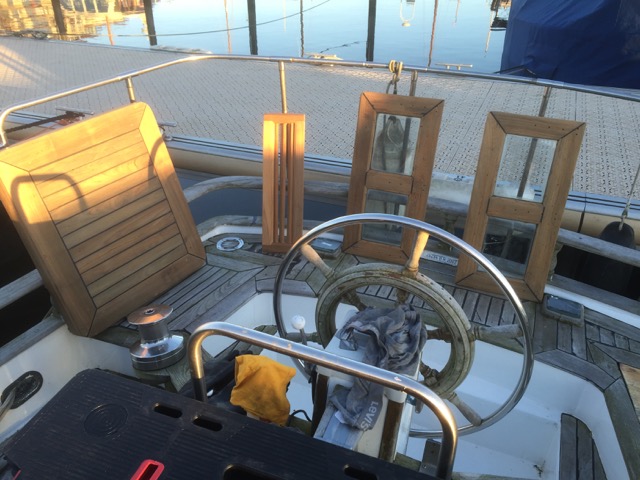
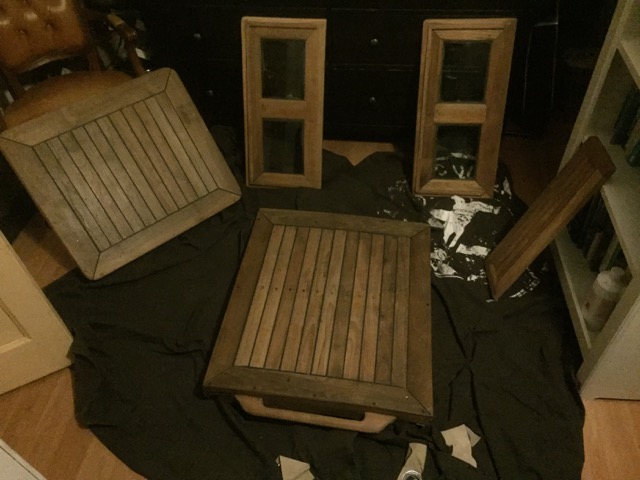
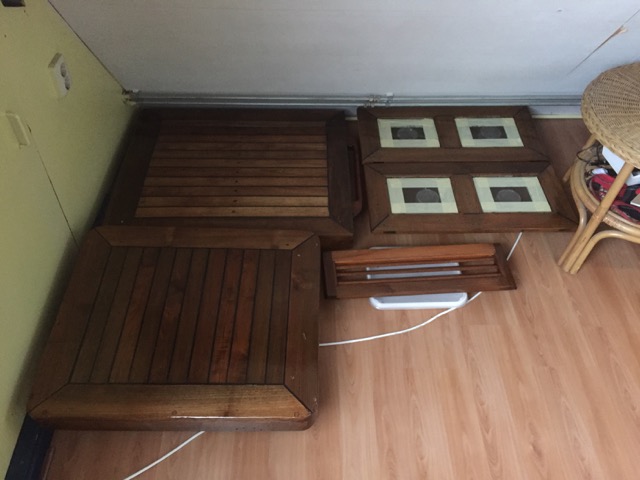
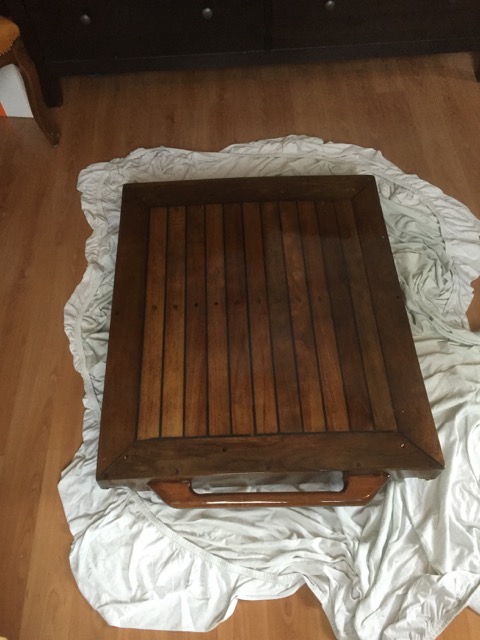
Last (big) varnishing project
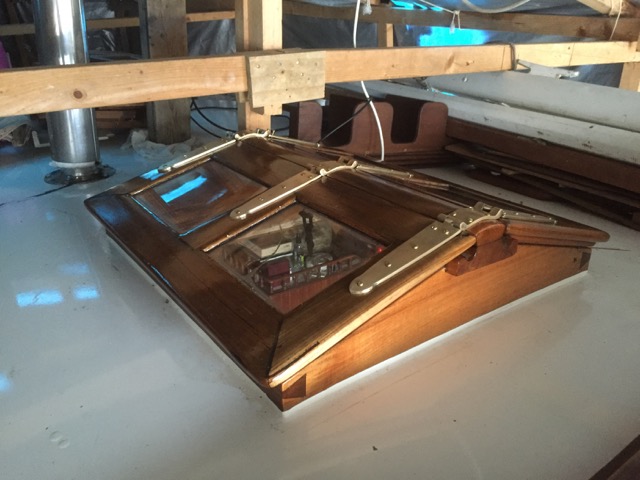
Back in January I finally finished the work on all the hatches of the boat. One hatch still needed some repairs, but the others where already prepared for varnishing a few month before. So after re-caulking that one hatch and degreasing all the wood it was time to get the varnish back out of storage. Because it was still much to cold outside, the hatches were transported to my parents house where I could work more easily in the attic.
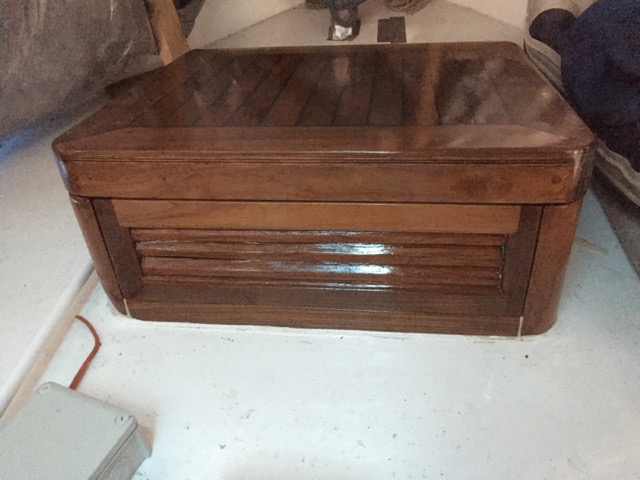
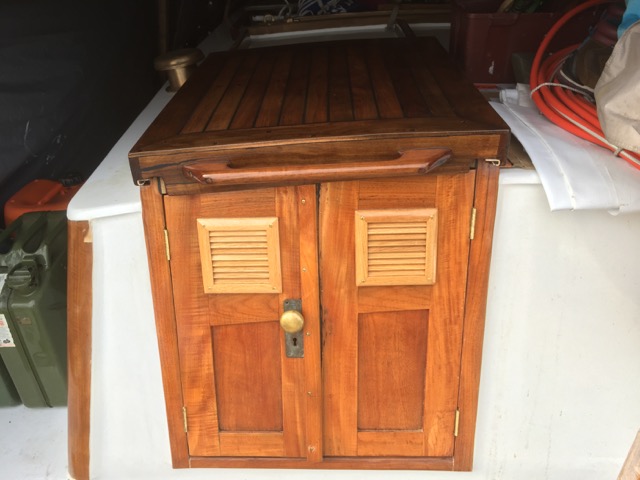
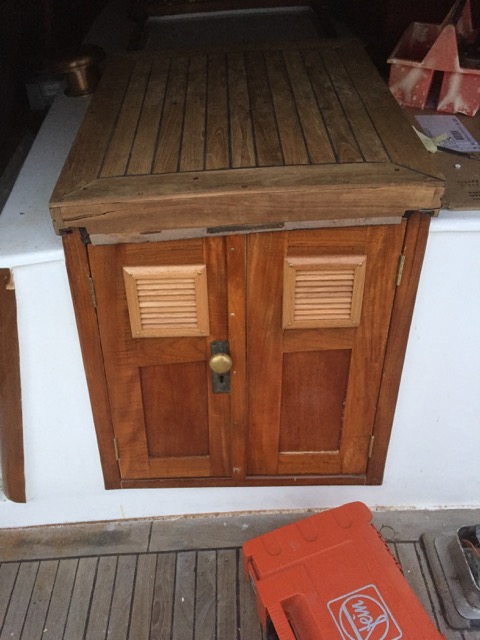
After applying 3 layers of specialised teak sealing varnish and another 5-8 layers (depending on the cracks in the wood) of extra uv-protecting two component varnish these hatches are well protected for the coming years and will only need some new maintenance layers now and then.
Because the varnish needed to be sanded between each additional two layers of varnish this project took a while, but then end result is very satisfying. The brass hinges on the hatches of the cabin where cleaned up and polished to give it that finishing touch.
Practically all the surfaces on the outside of the boat are now either vanished or painted (and coated with epoxy) in more than 8+ layers which means there is no reason to keep that tarp over the boat anymore.
Well actually there are still some minor (plus one big) things to do, but more on that in the next post. But one thing is for sure, this summer (or maybe even this spring) the Seadog will finally sail again!
The devil is in the details
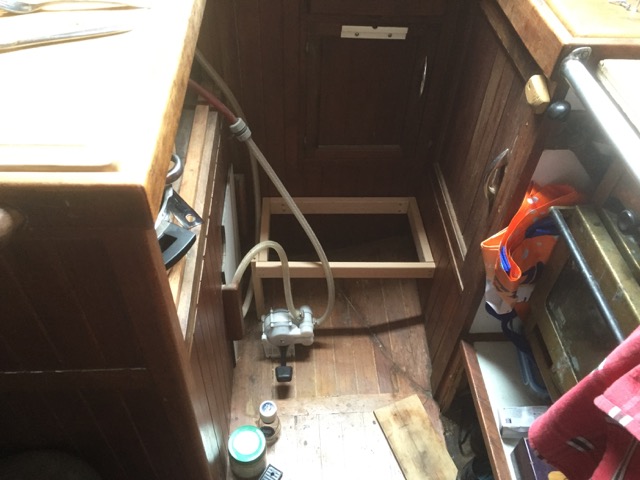
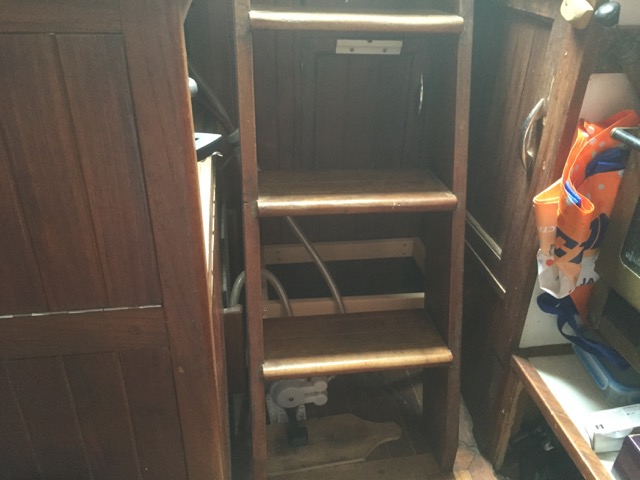
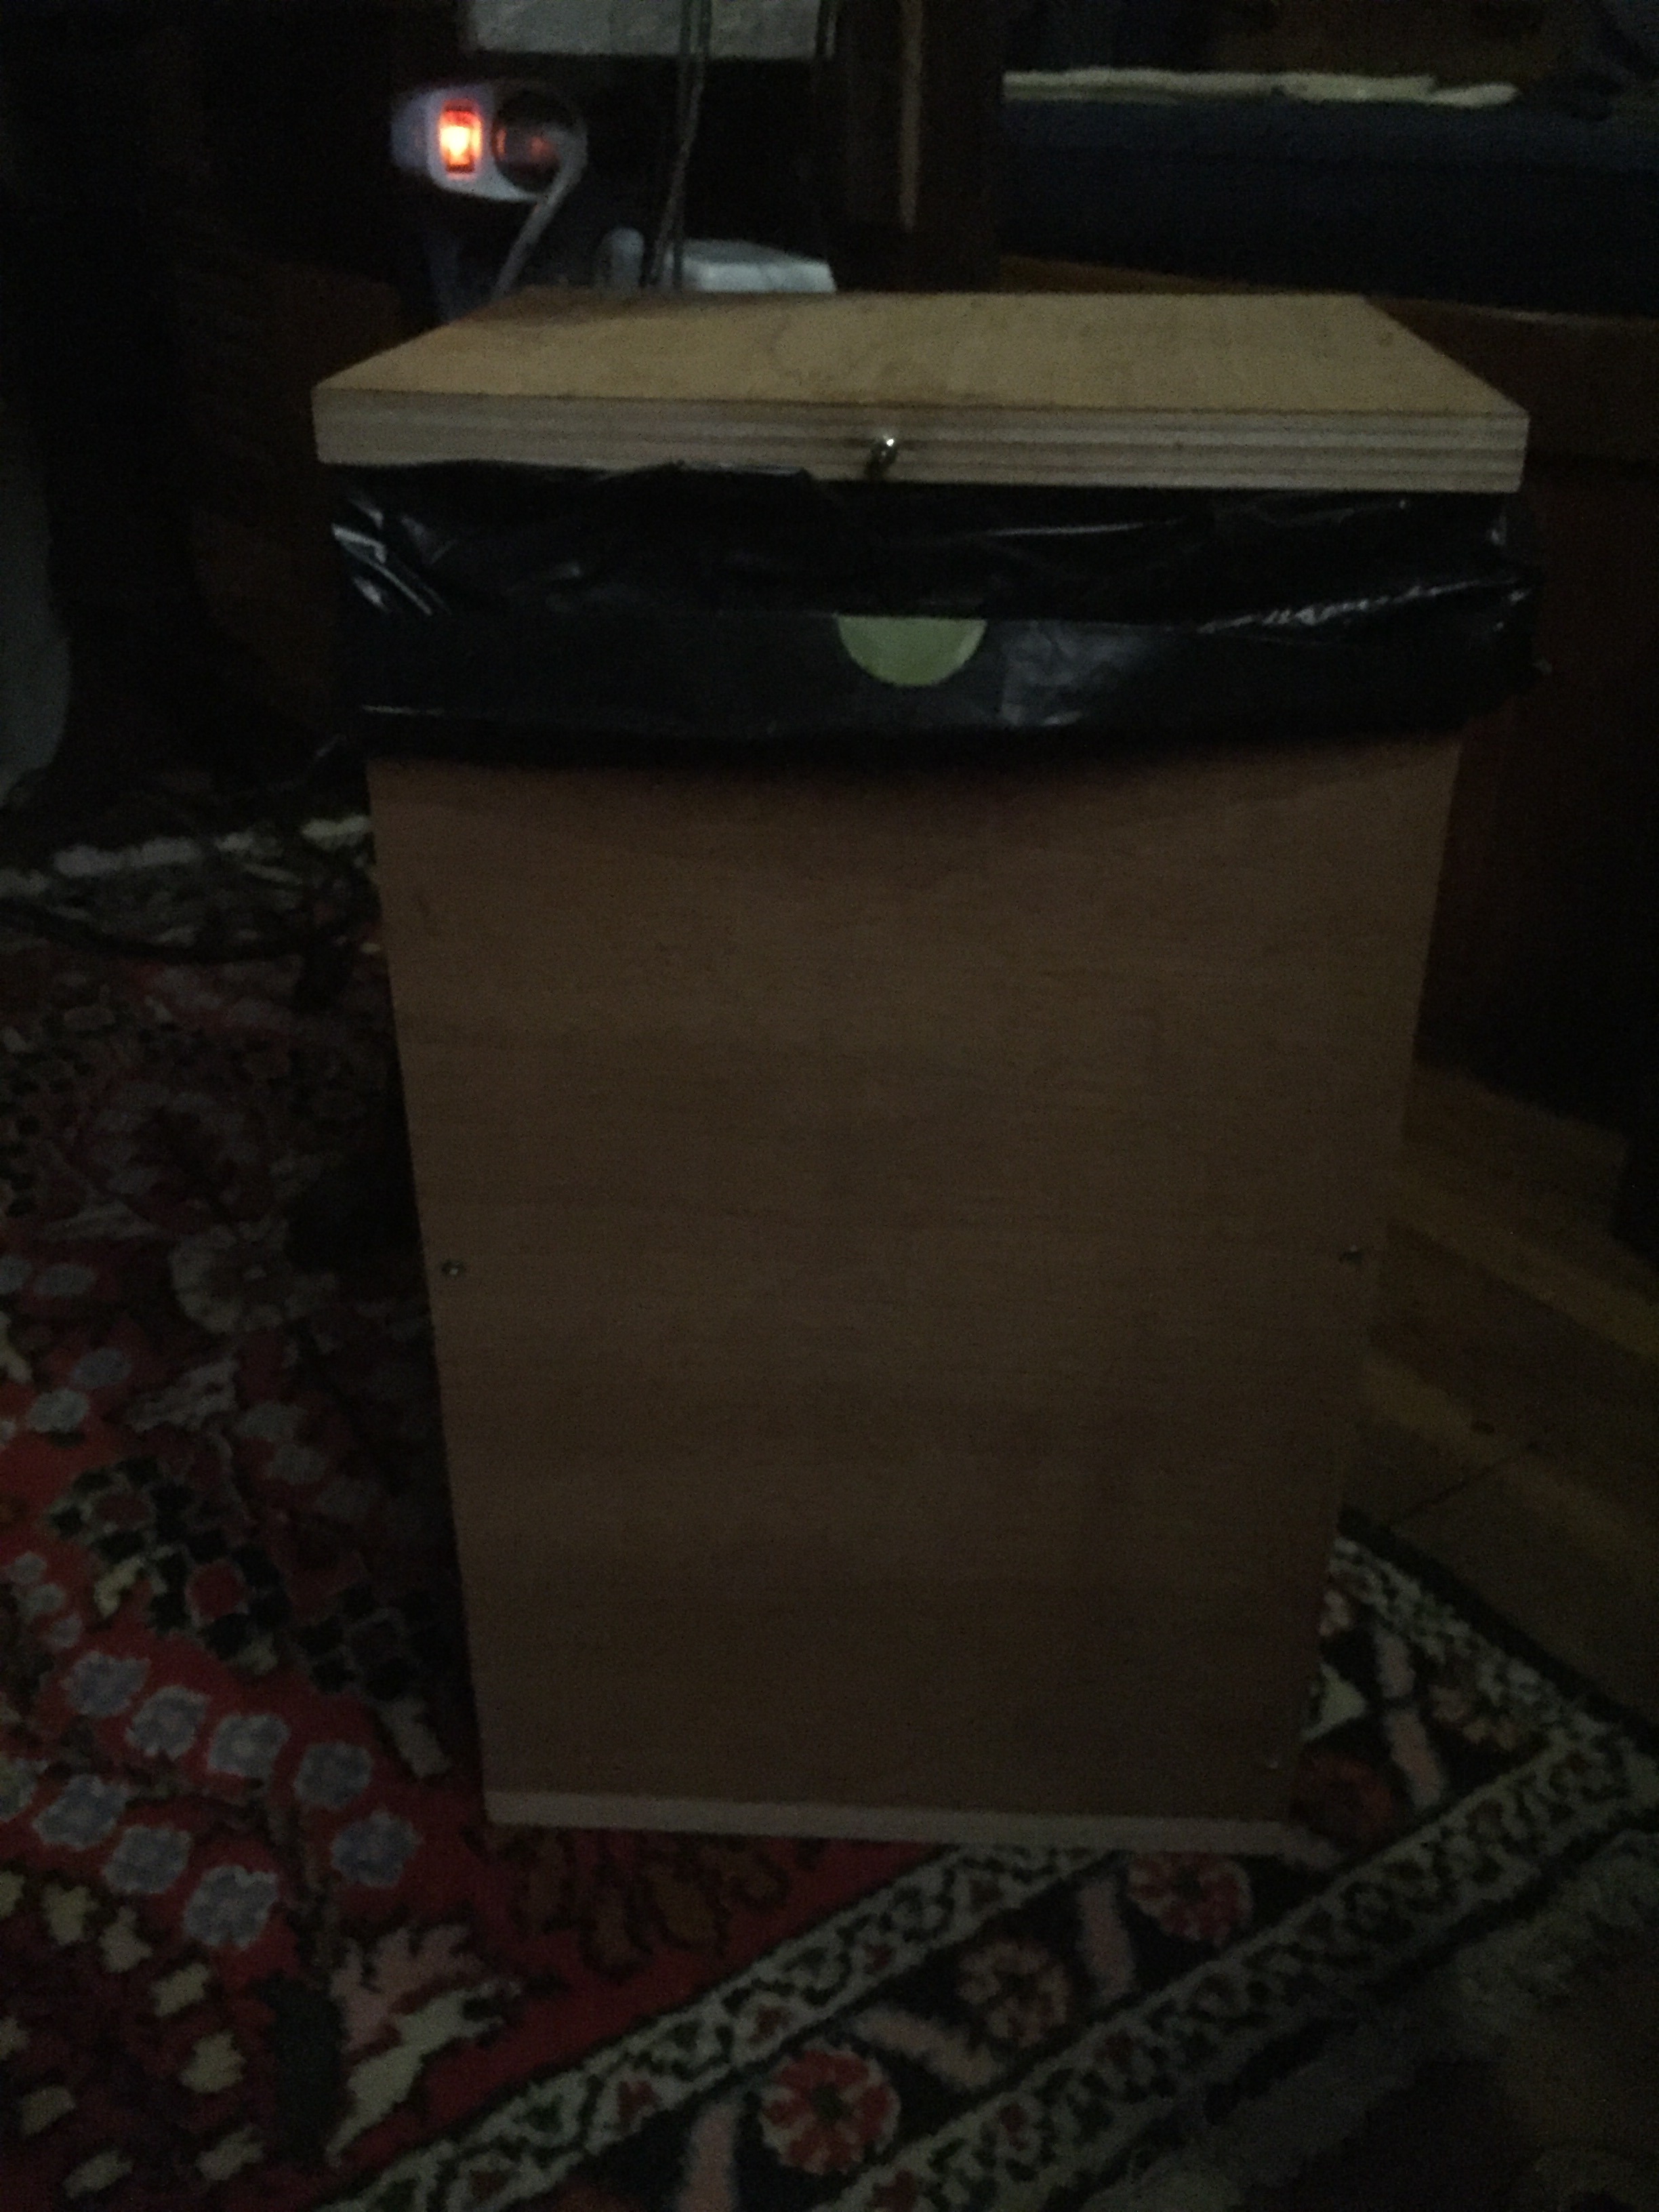
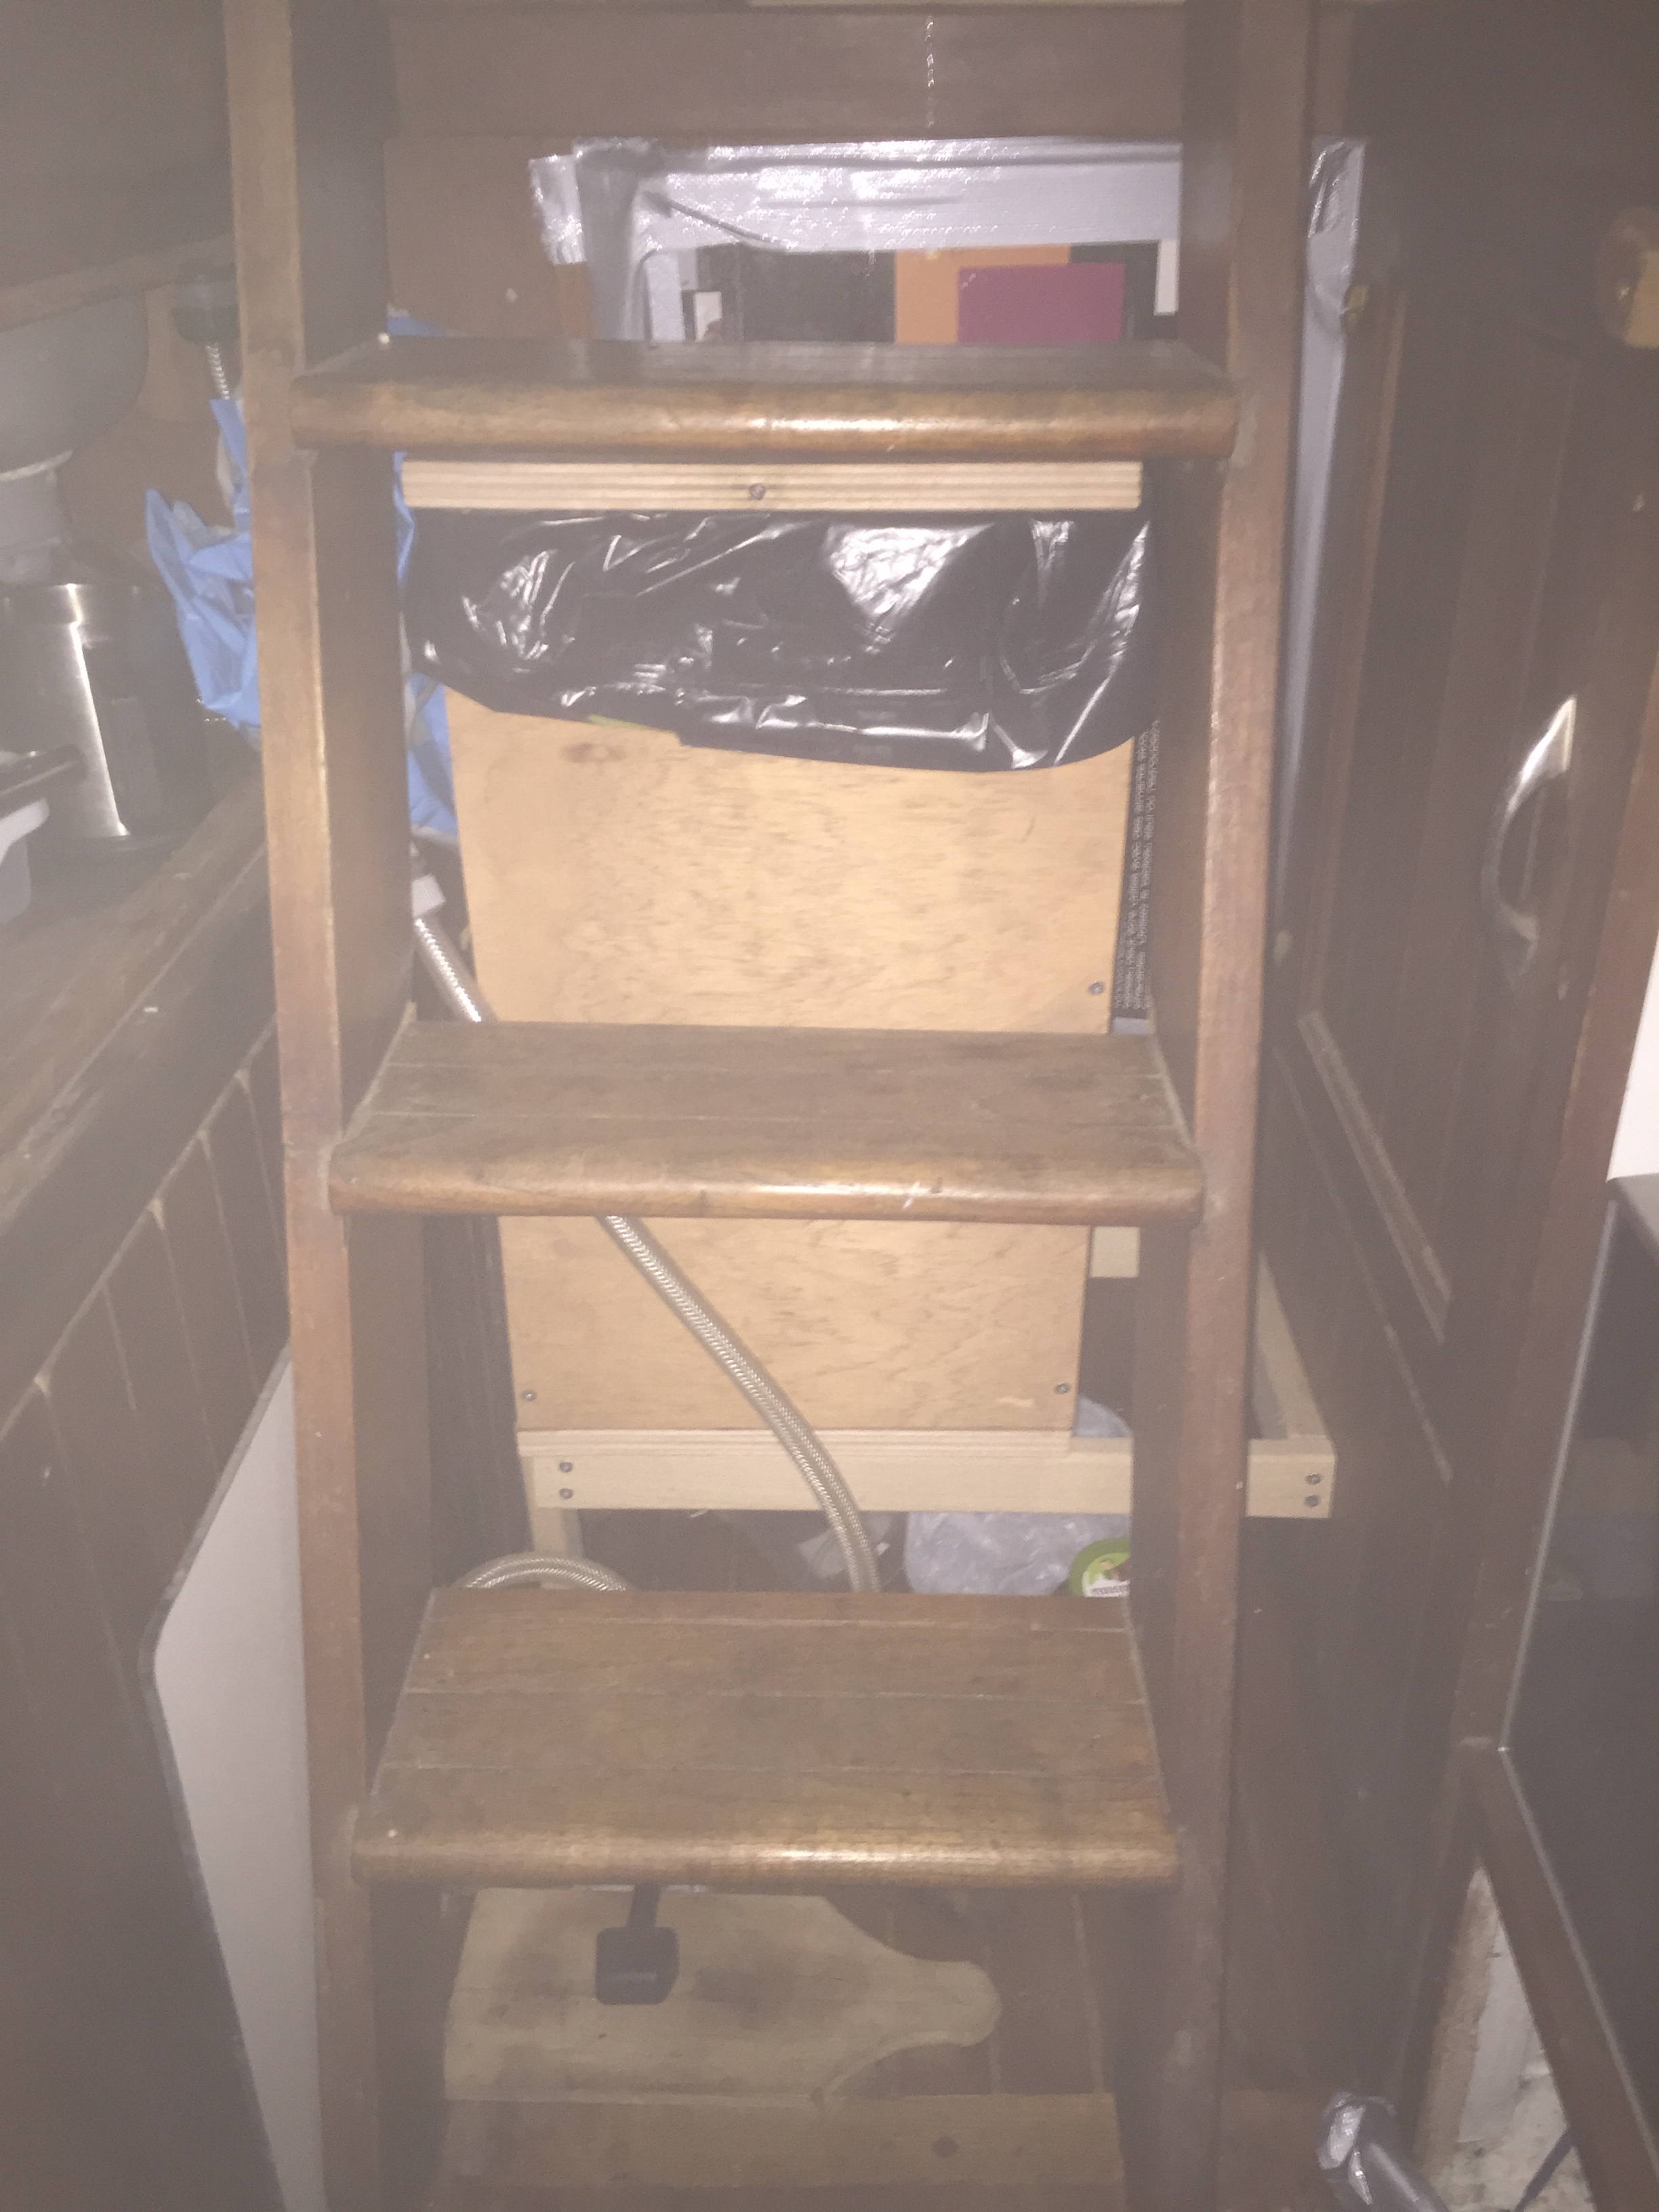
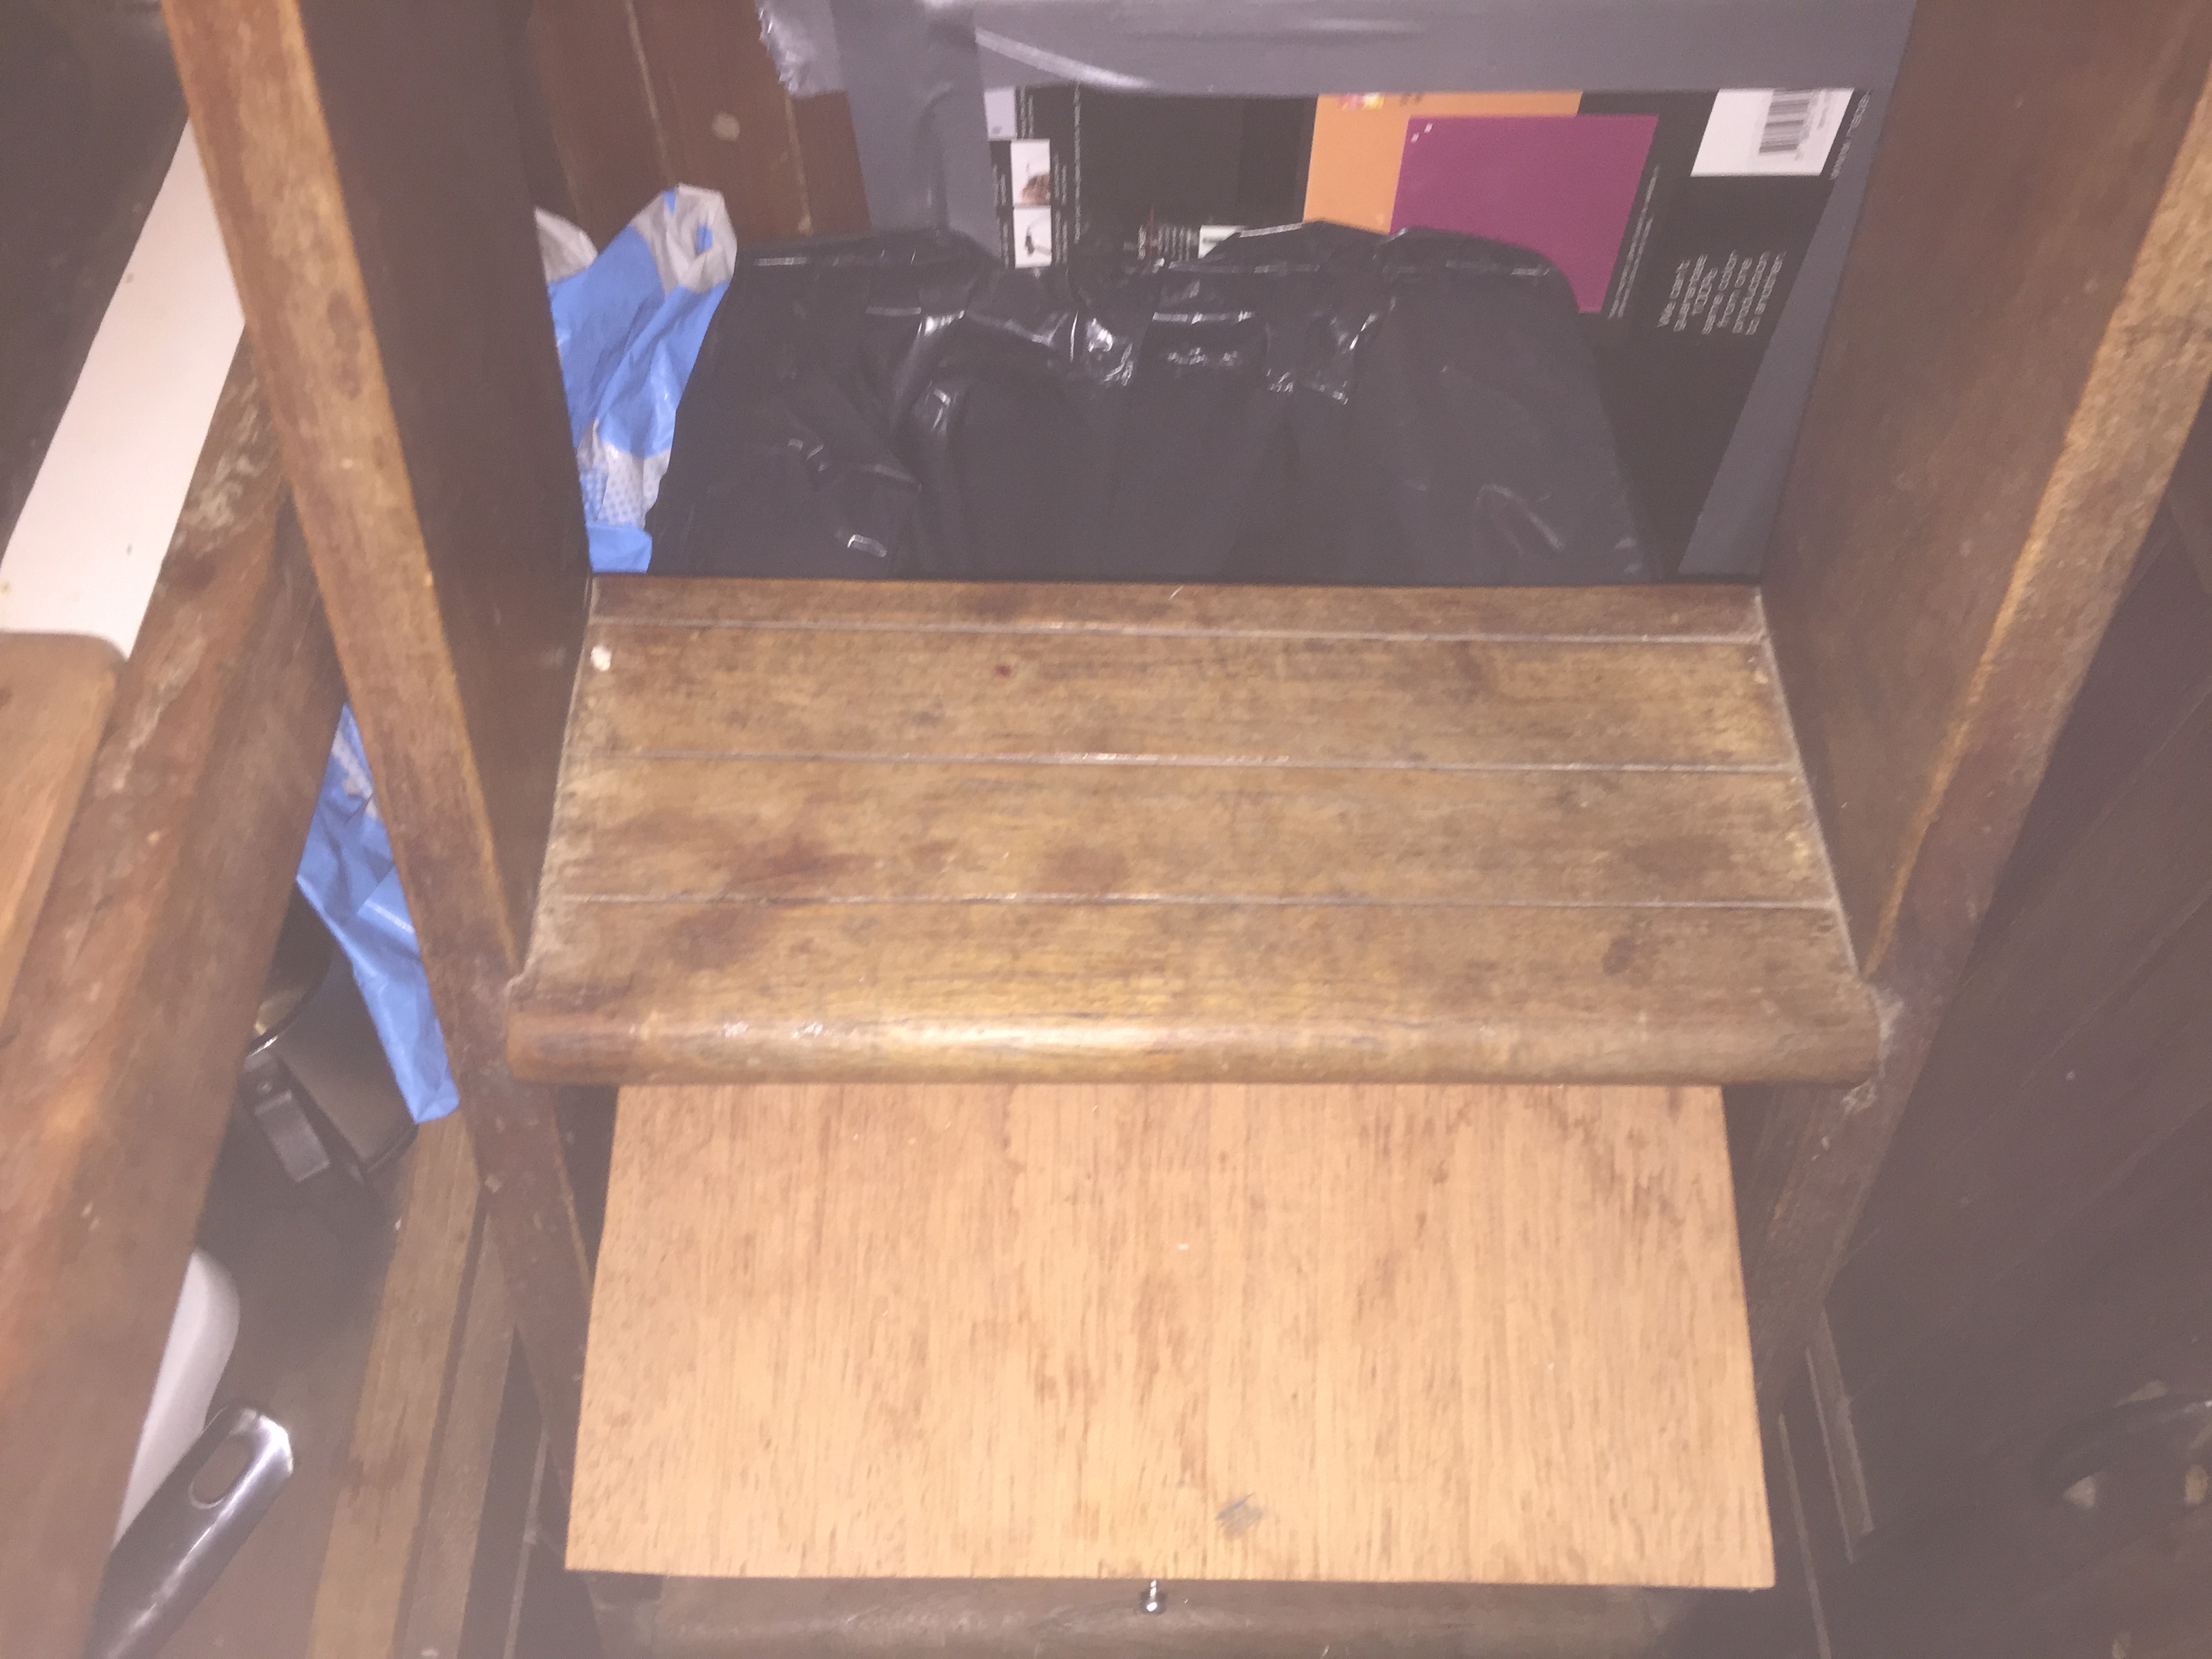
Back in October I finally had some time for the smaller tasks that I wanted to do. The garbage can in the galley was always standing in my way, and that garbage can was also meant as a temporary solution because I wanted to build a new garbage can in the galley somewhere. I decided the best place would be under the entrance so I went to work. First there needed to be a little platform for the garbage can to stand on, because the floor is not flat on this point of the boat. On the upside this means that I can also store stuff under the garbage can, so works out even better. With some extra plywood that was lying around I then created my own personal custom garbage can to place on that platform. It still needs some sanding and paint to make it beautiful as well as practical, but for now it works perfectly on that spot and the capacity of the garbage can has now also increased by a factor of two. So all in all, a very good improvement.
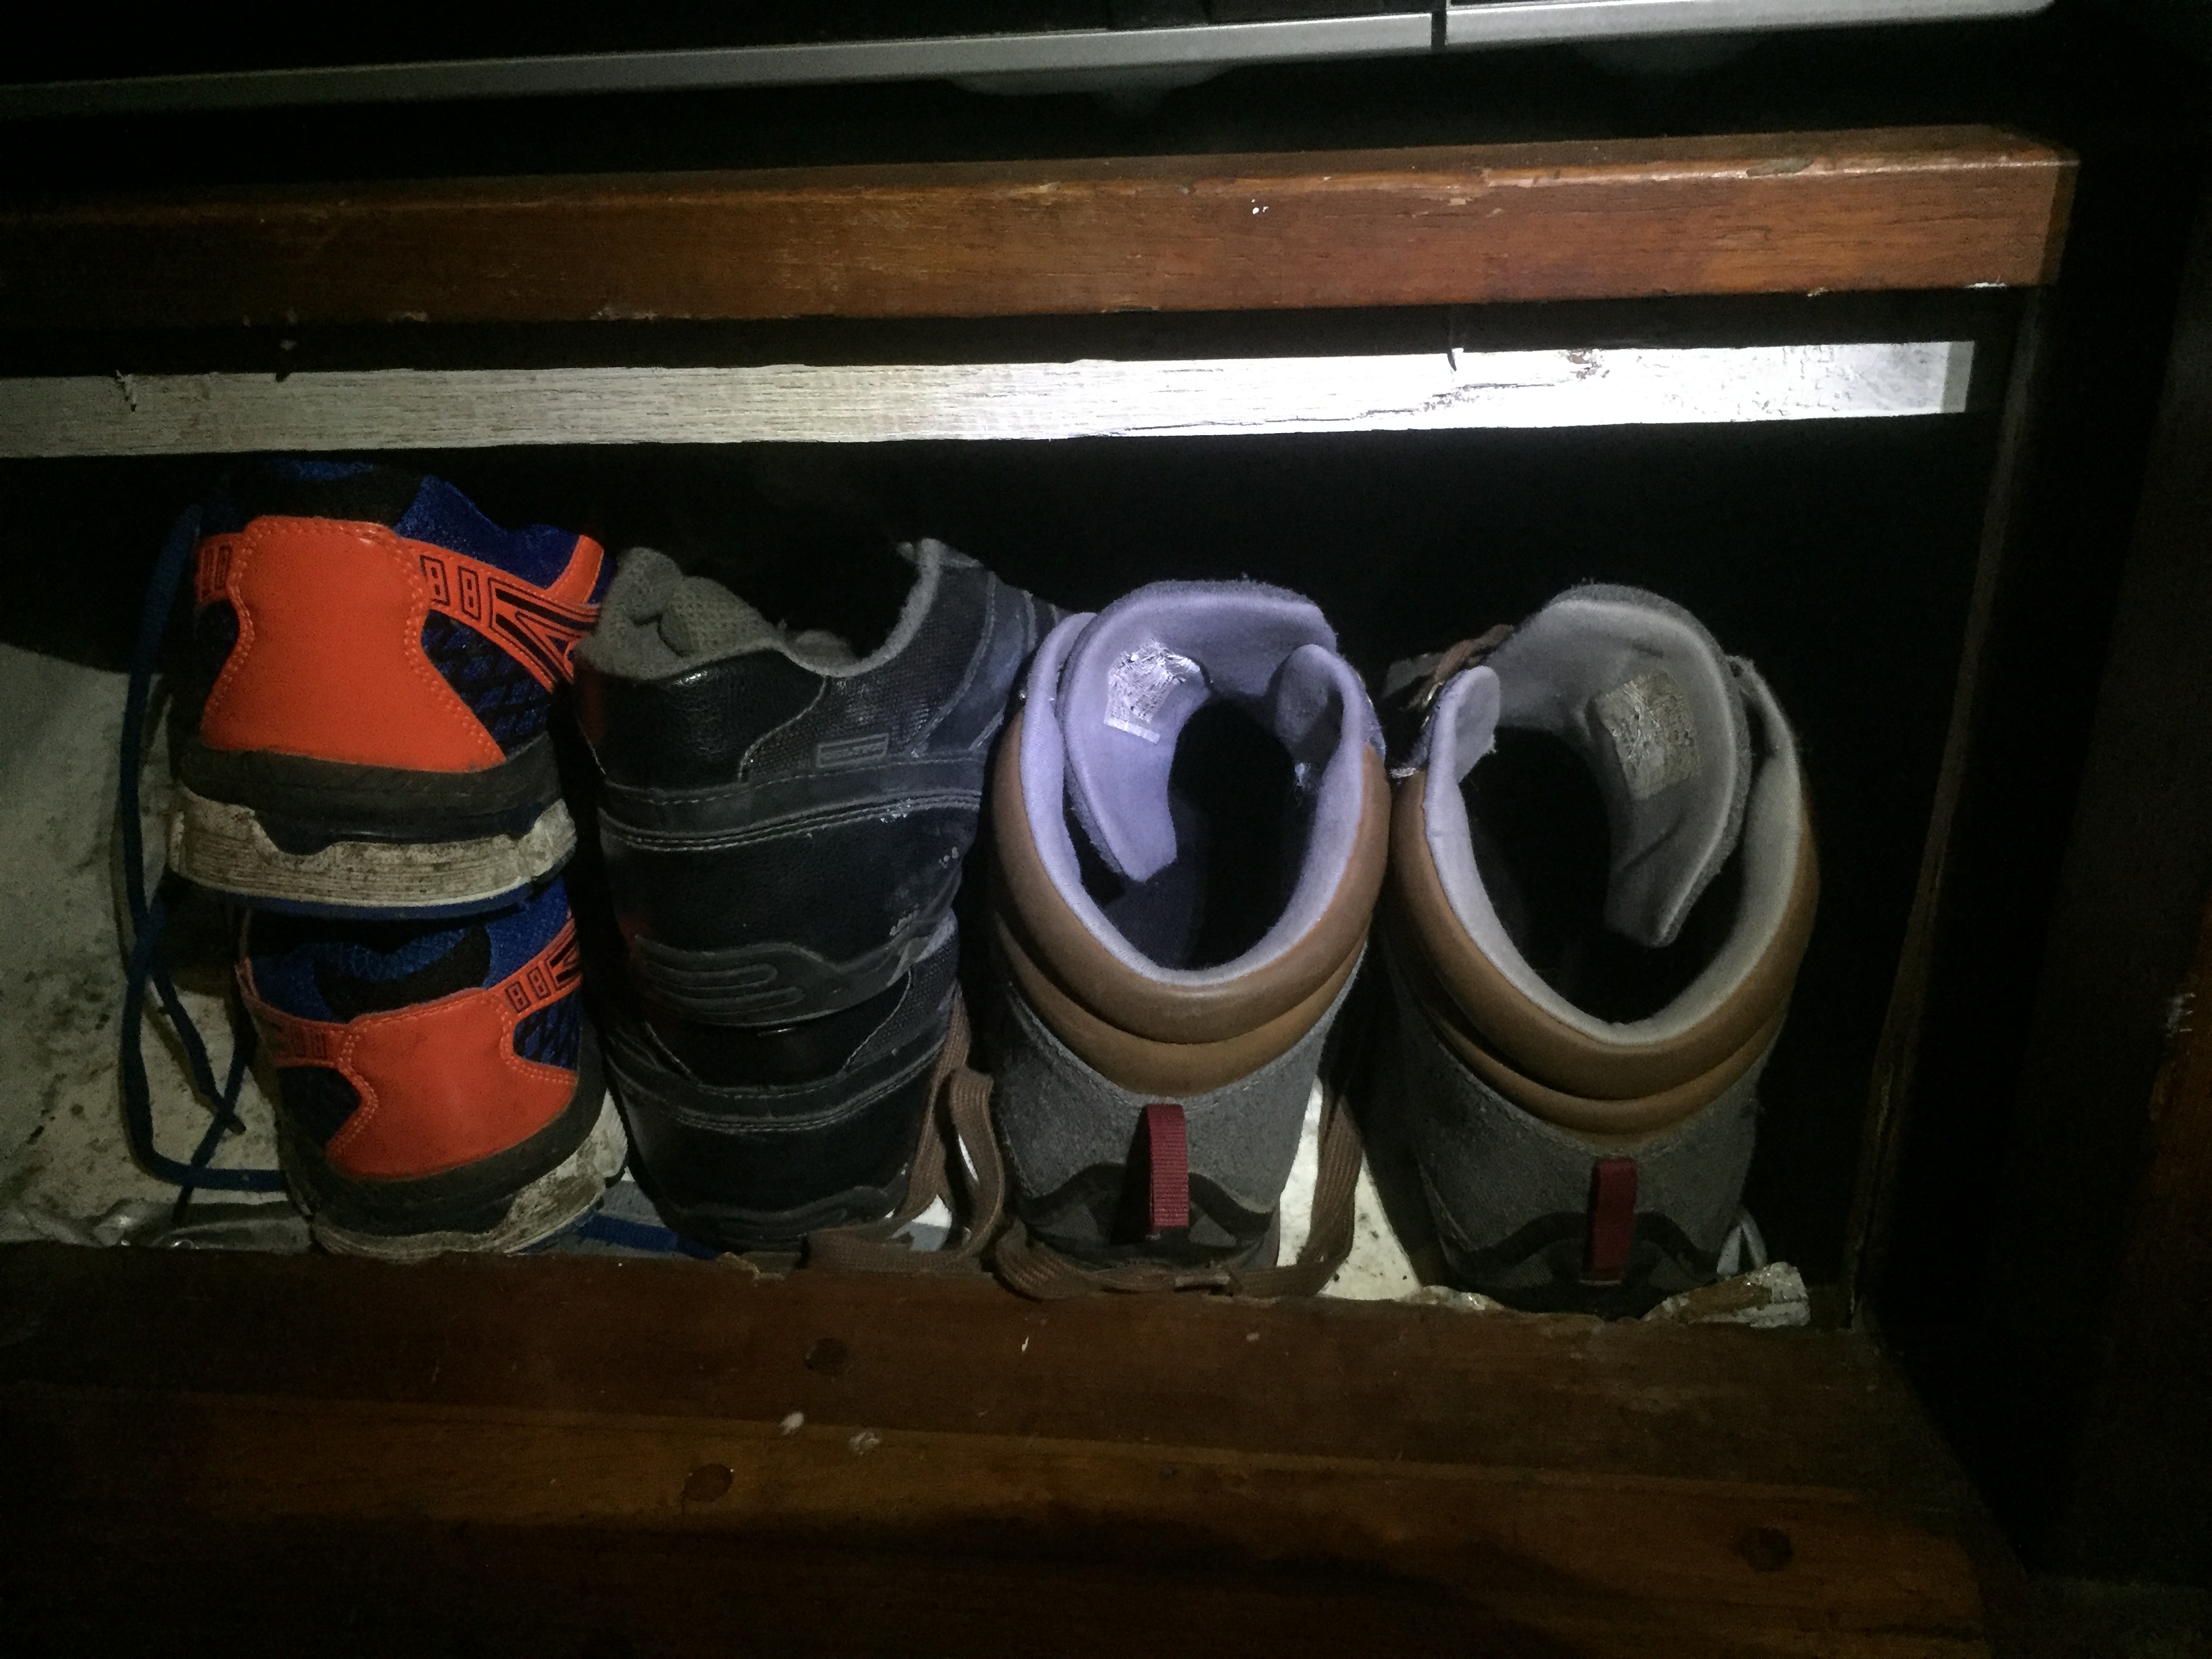
Next, there has always been a space beside the galley that was not accessible because they made it so that the bottom of that space could be flat. So I thought I might break out some of the wood on the side of that space so I could maybe store my shoes there, which where also always standing in my way. Turns out that space was perfect for storing ones shoes, so happy me!
After a little cleaning and sanding I decided to paint that space with some of the white paint I had lying around to make it look a little cleaner.
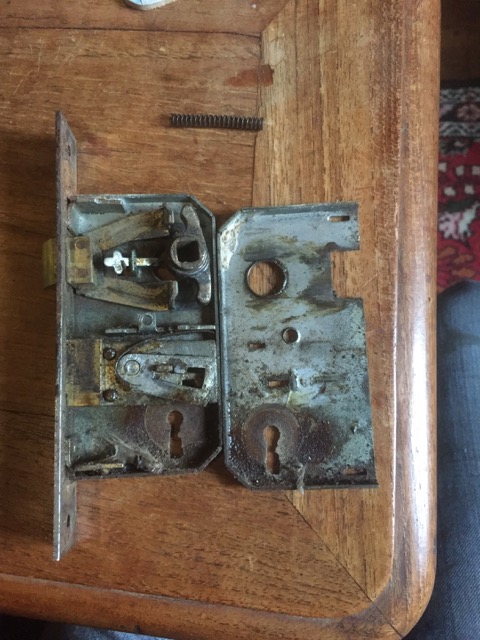
Another thing that needed to be for a while was fixing the lock of the entrance doors and making it so that the hatch and doors of the entrance could be closed nicely. Problem was the doors were switched (on purpose) when rebuilding the cabin. This needed to be done because the whole entrance was placed from the right side of the boat to the left side. But that meant the lock was the other way around now as well. Luckily with these old locks you have the option of switching the doorpin, so after some pealing around that actually worked quite easily. I wanted to keep this old luck because I want to polish it up like all the other brass on the boat and make it shine like new. But that task will have to wait because winter was coming and it was time to start another big task. More about that in the next update.


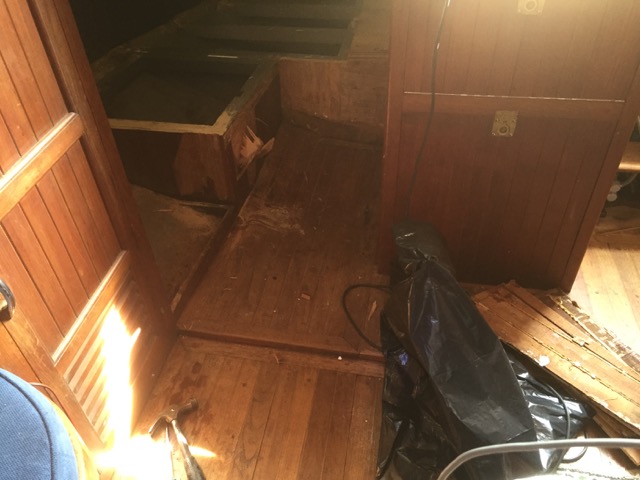
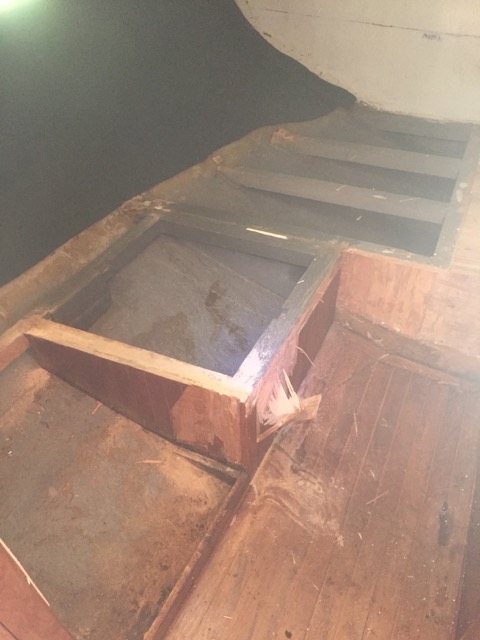
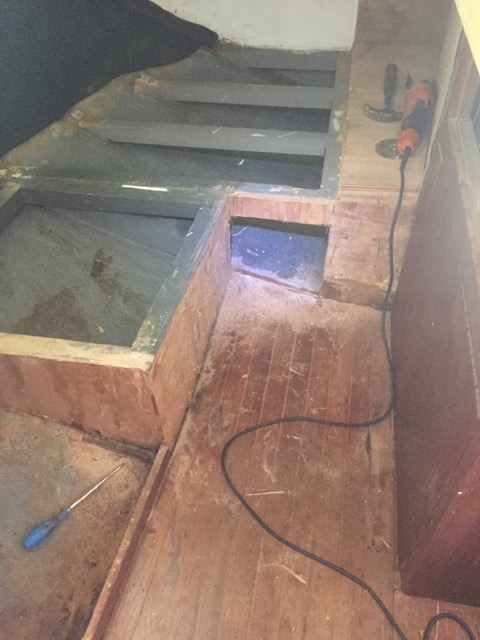
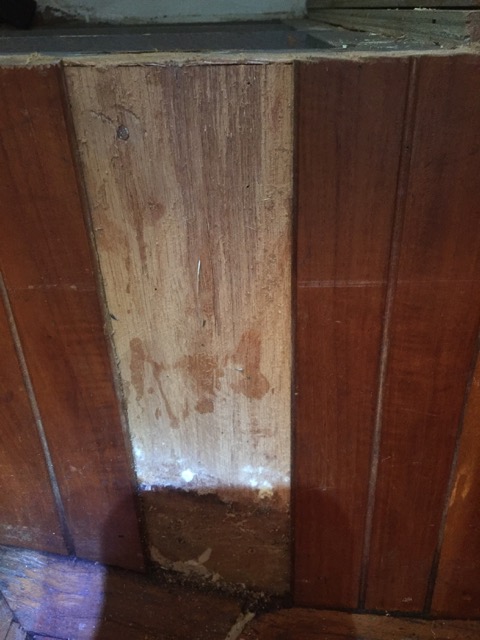
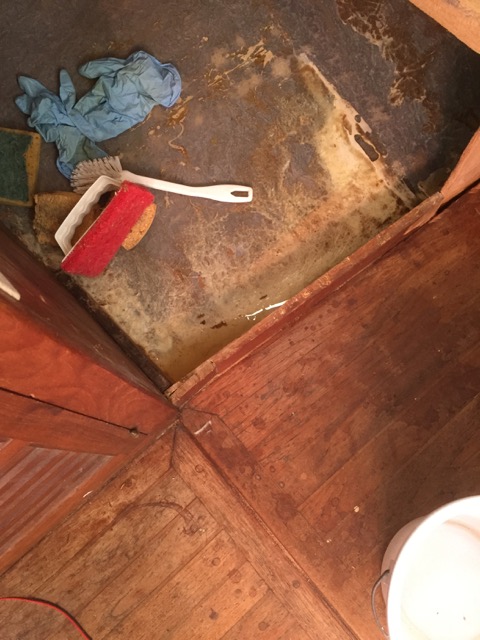
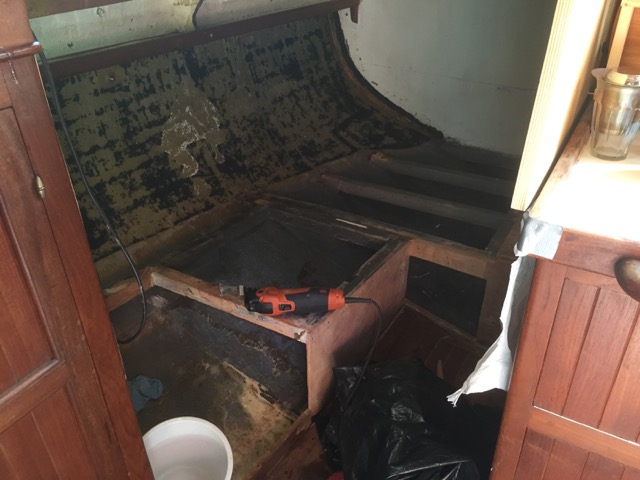
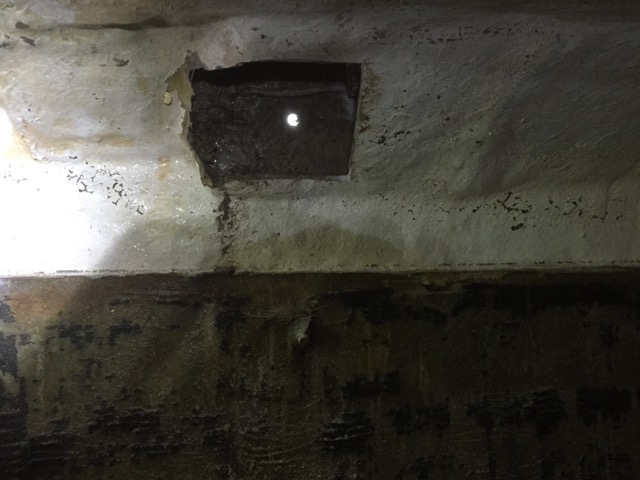
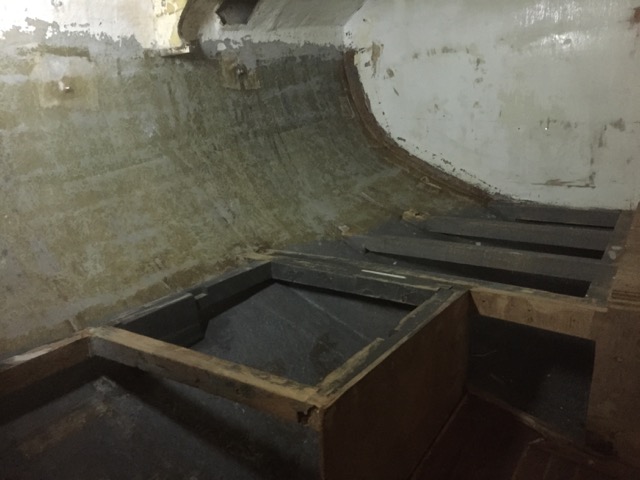
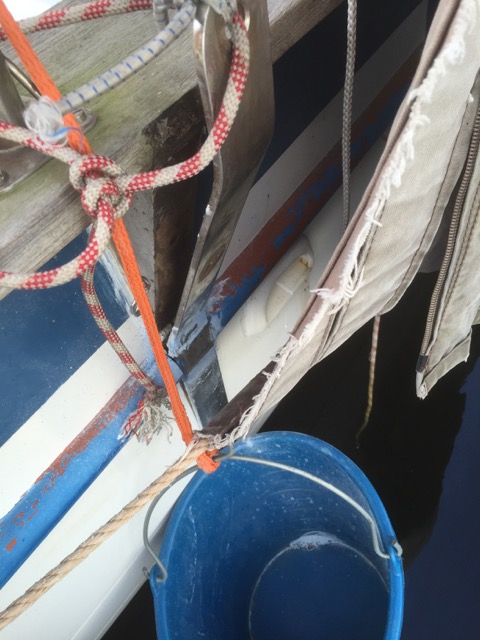
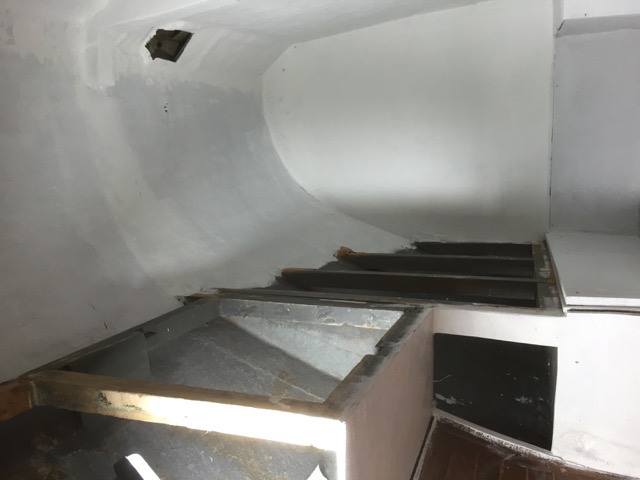
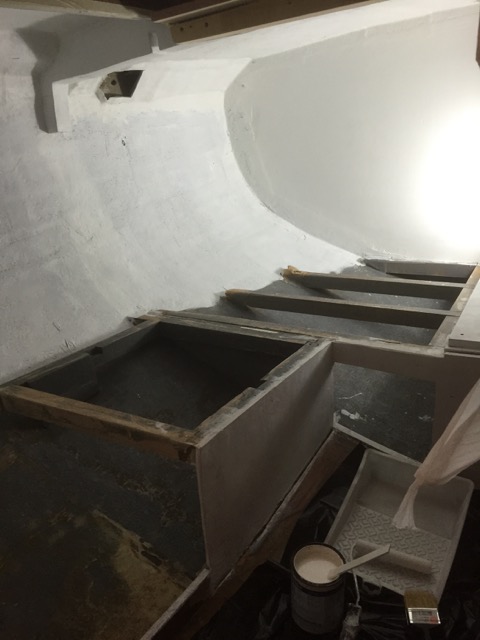
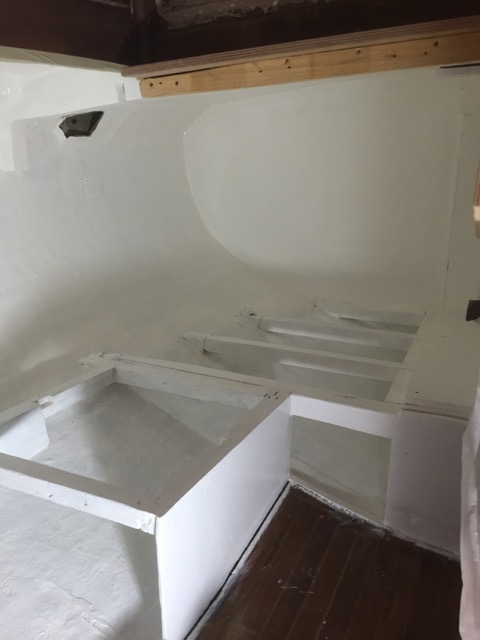
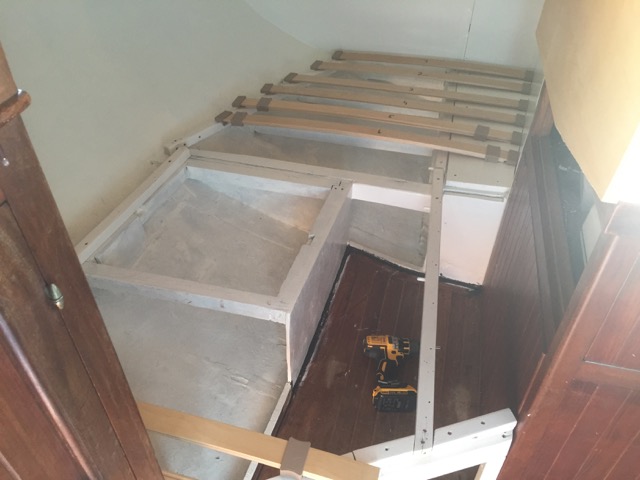
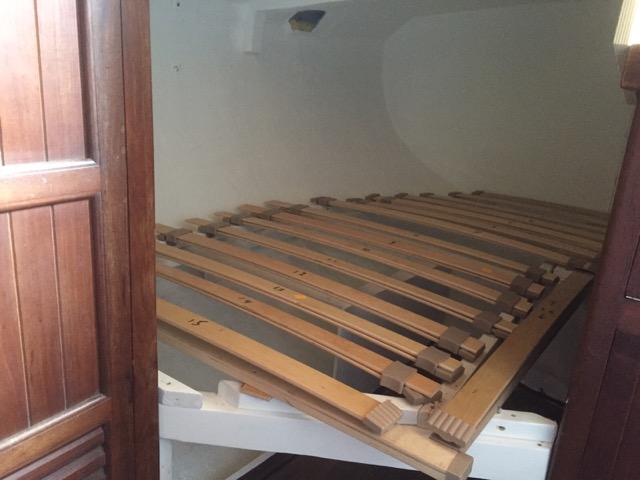
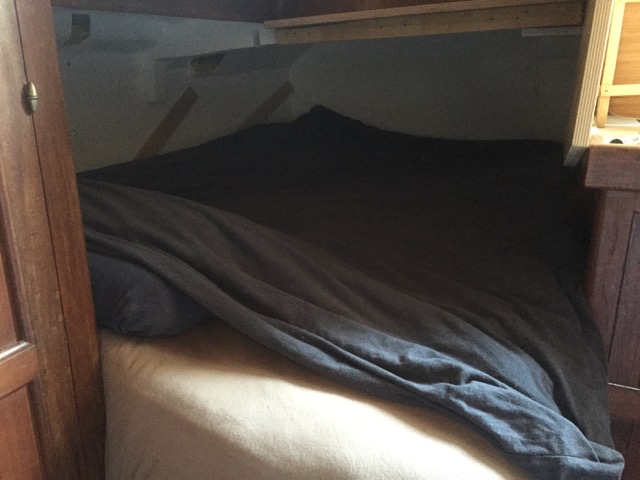
Fixing some nasty leakage
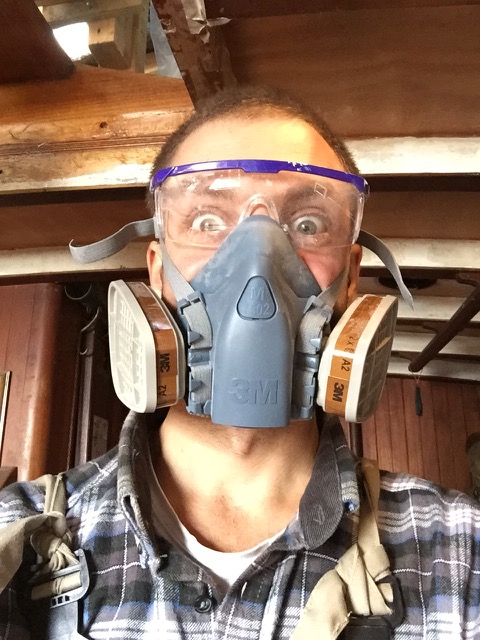
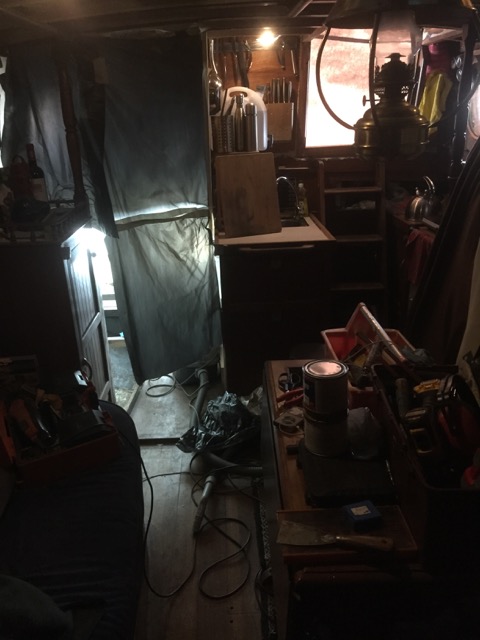
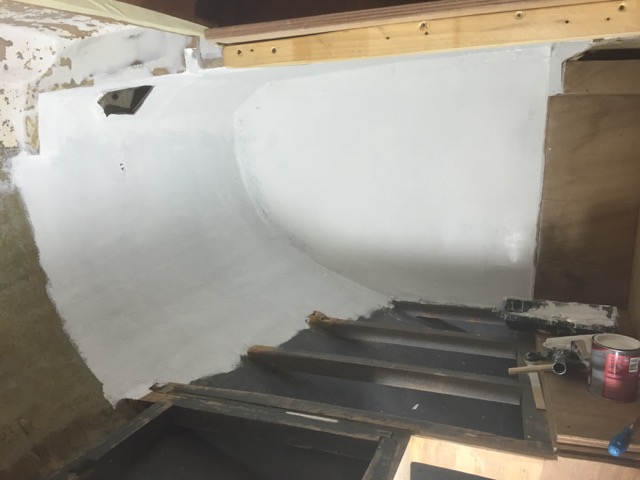
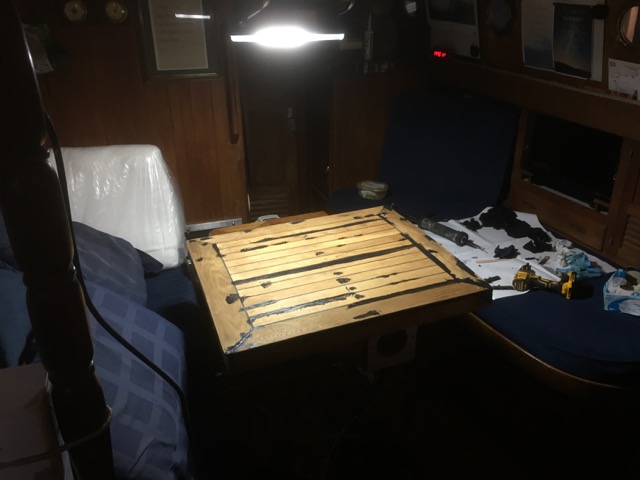
Back in September I already posted the short video of the work that was done to fix some nasty leakage that was creeping in from the side and top (deck) of the boat. Because this meant I had to totally dismantle and remove the bed from its place this also meant I could redesign and clean things up around (and under) there.
This whole project took almost two weeks to finished which meant I had to sleep on the couch for a while, but it was certainly worth it!
I also had a small vacation in those weeks for a few days while helping my parents sail their new boat to their new home, so I did have some leisure time in there as well.
If you want to see my parents new boat check out this post:
And to see the full story about the leakage check out the video and the pictures below: