It turns out that buying new solar panels and a big battery bank, plus all the other electronic equipment that is needed aboard a boat (like battery charger/inverter, multiplexer, GPS, plotter, log depth sounder, etc.) costs a lot of money. Especially if you’re talking about marine grade products.
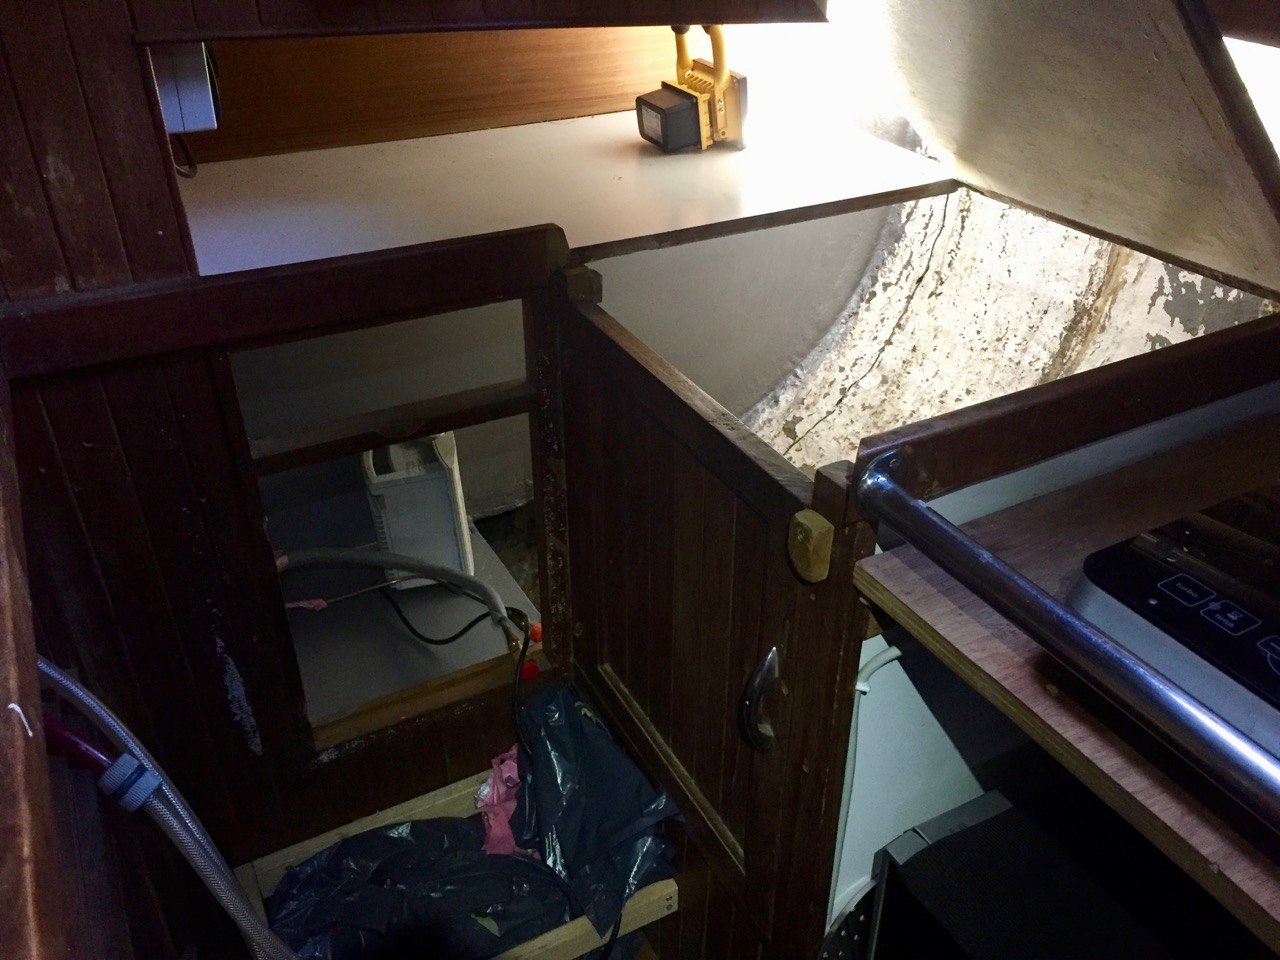
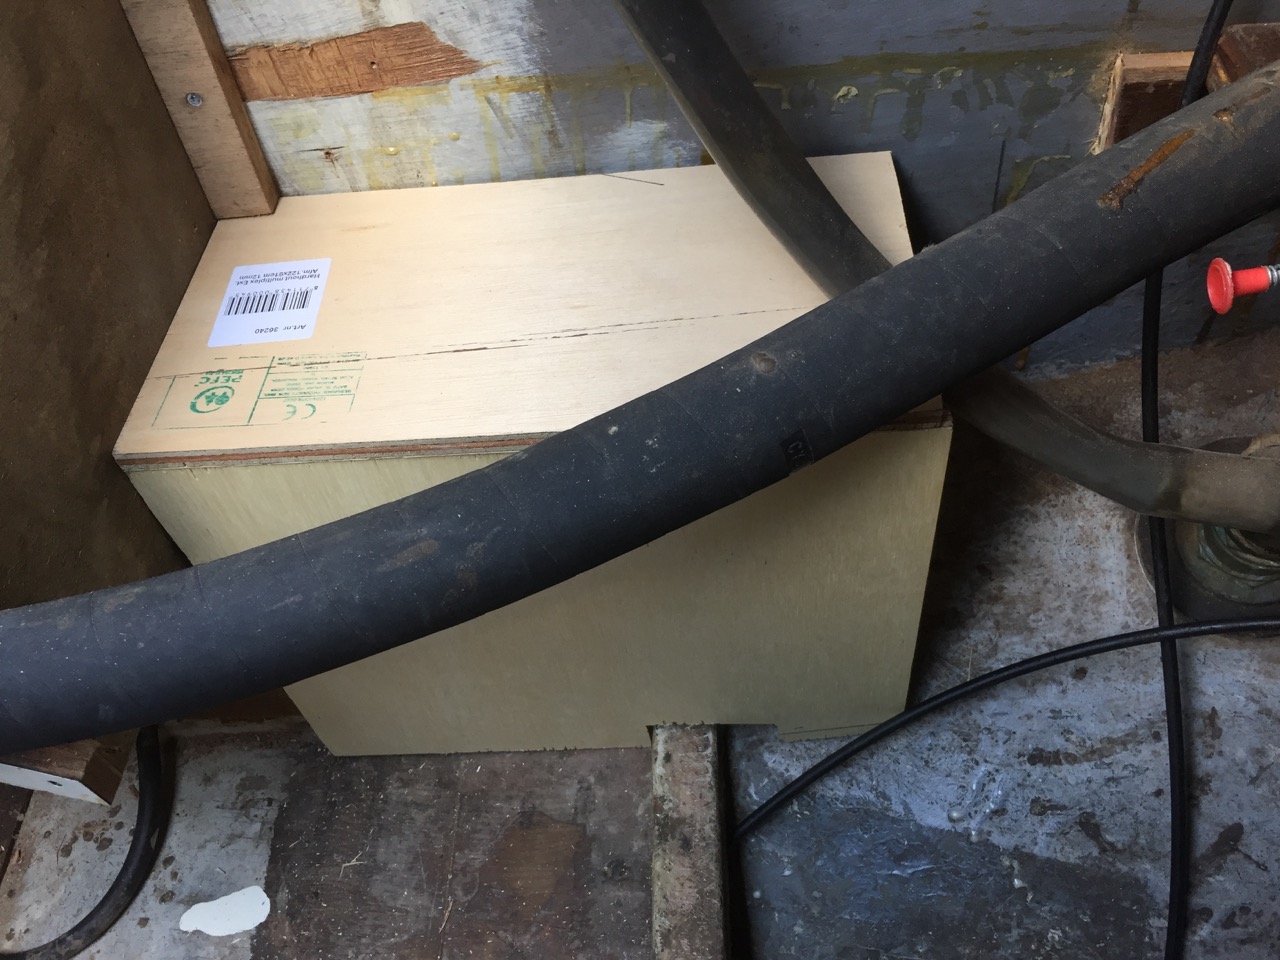
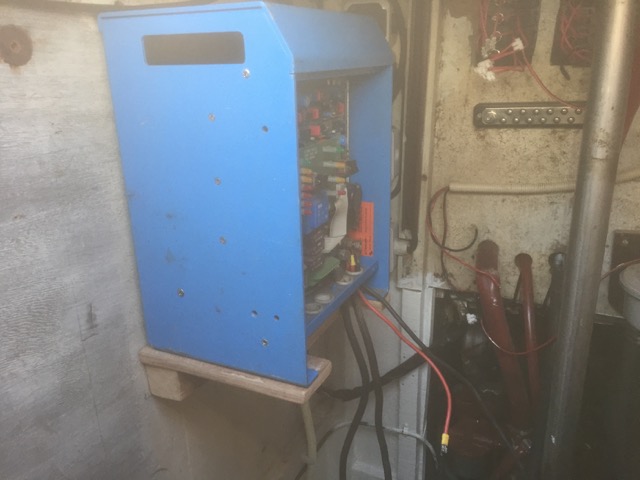
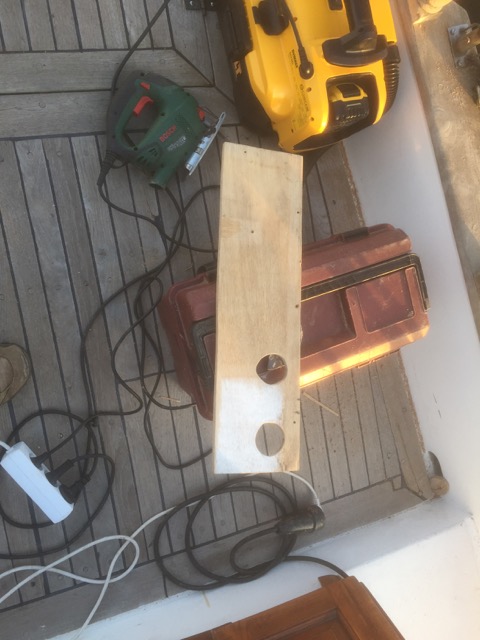
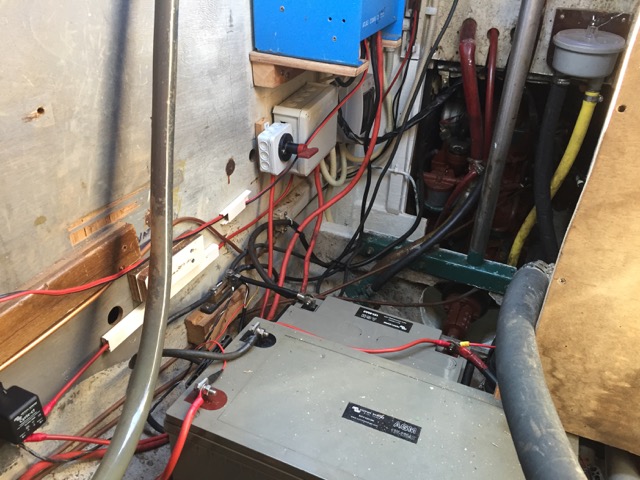
Just kidding, of course I knew the amount of money all that stuff was going to cost me, but I always try to spend as little money as possible (while still trying get the best possible quality). Luckily my parents recently got a boat that had a pretty good DC/AC inverter that they didn’t use. Which also came with a big battery which was still in perfect condition. Although the inverter was rather old (and not a pure sinus inverter) I will be able to use my induction cooktop with this installation, so for now it suits me just fine. So after some measurements and planning of where all the future electronic equipment needed to be, I grabbed a piece of plywood, made a little shelf to support the inverter and screw the inverter into place.

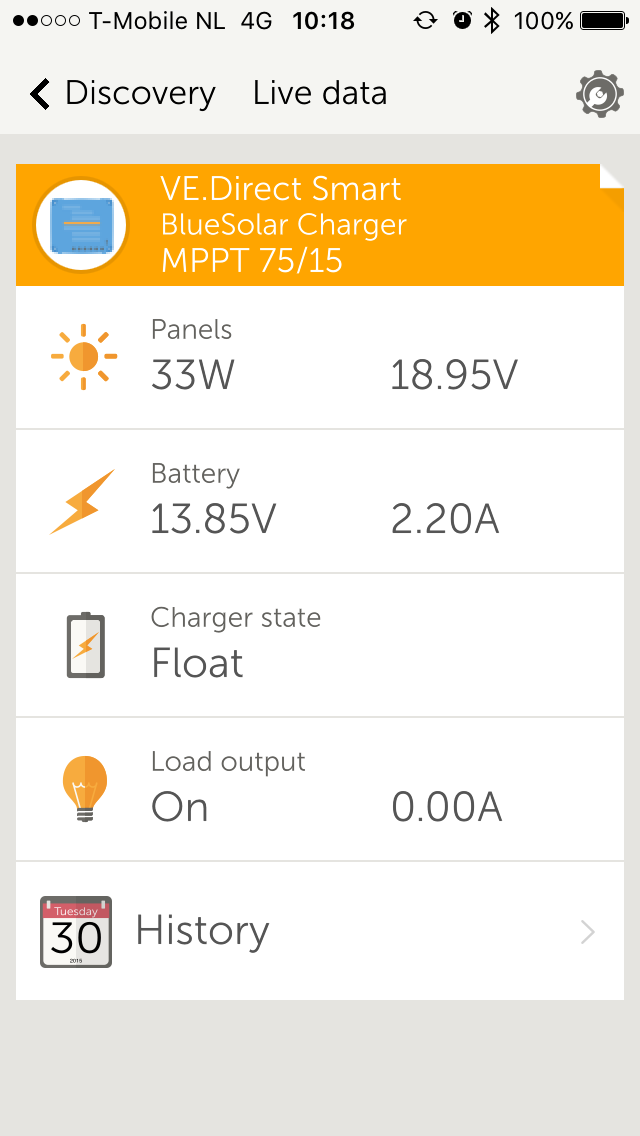
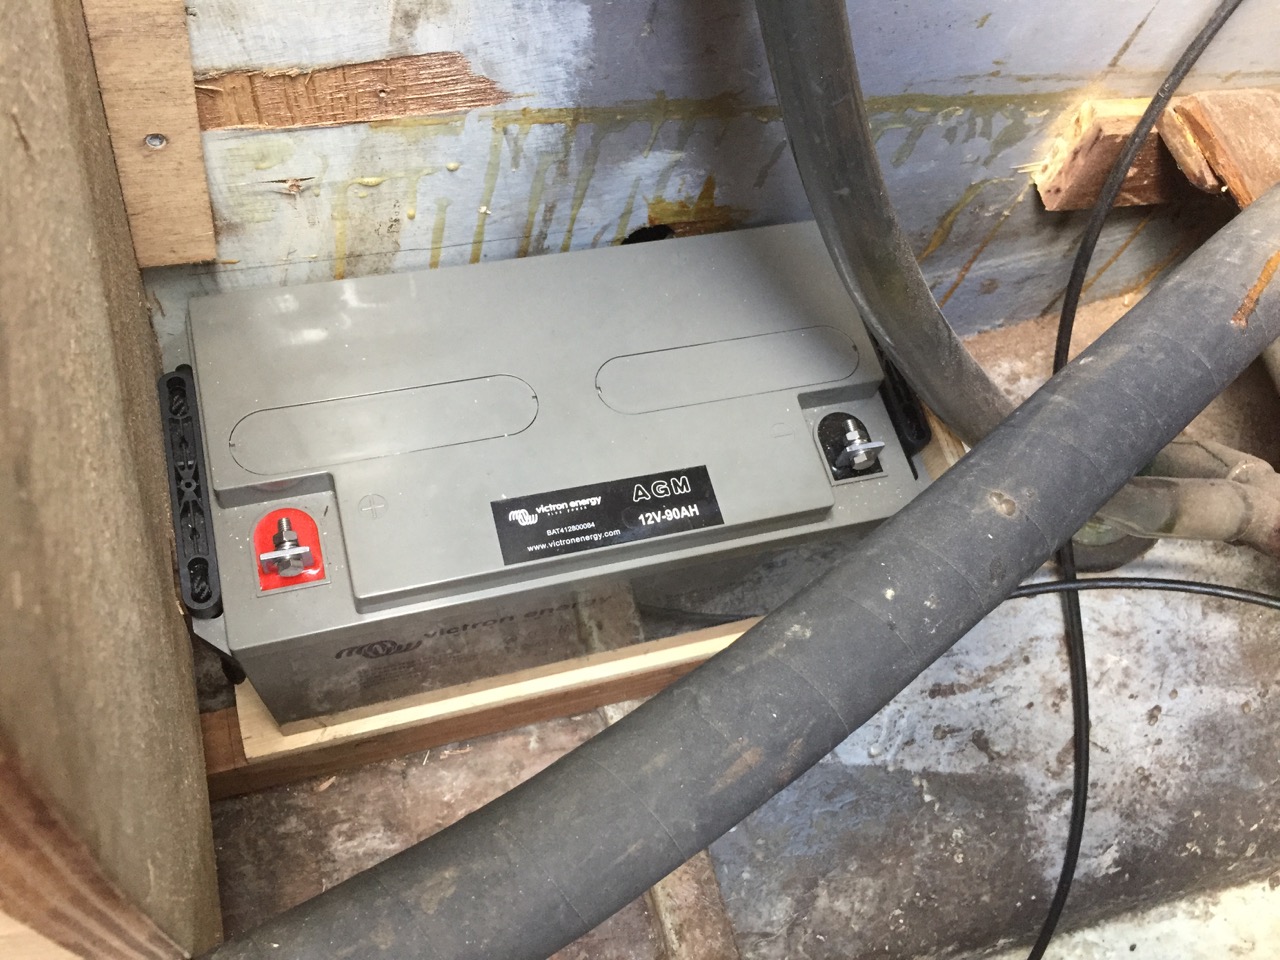
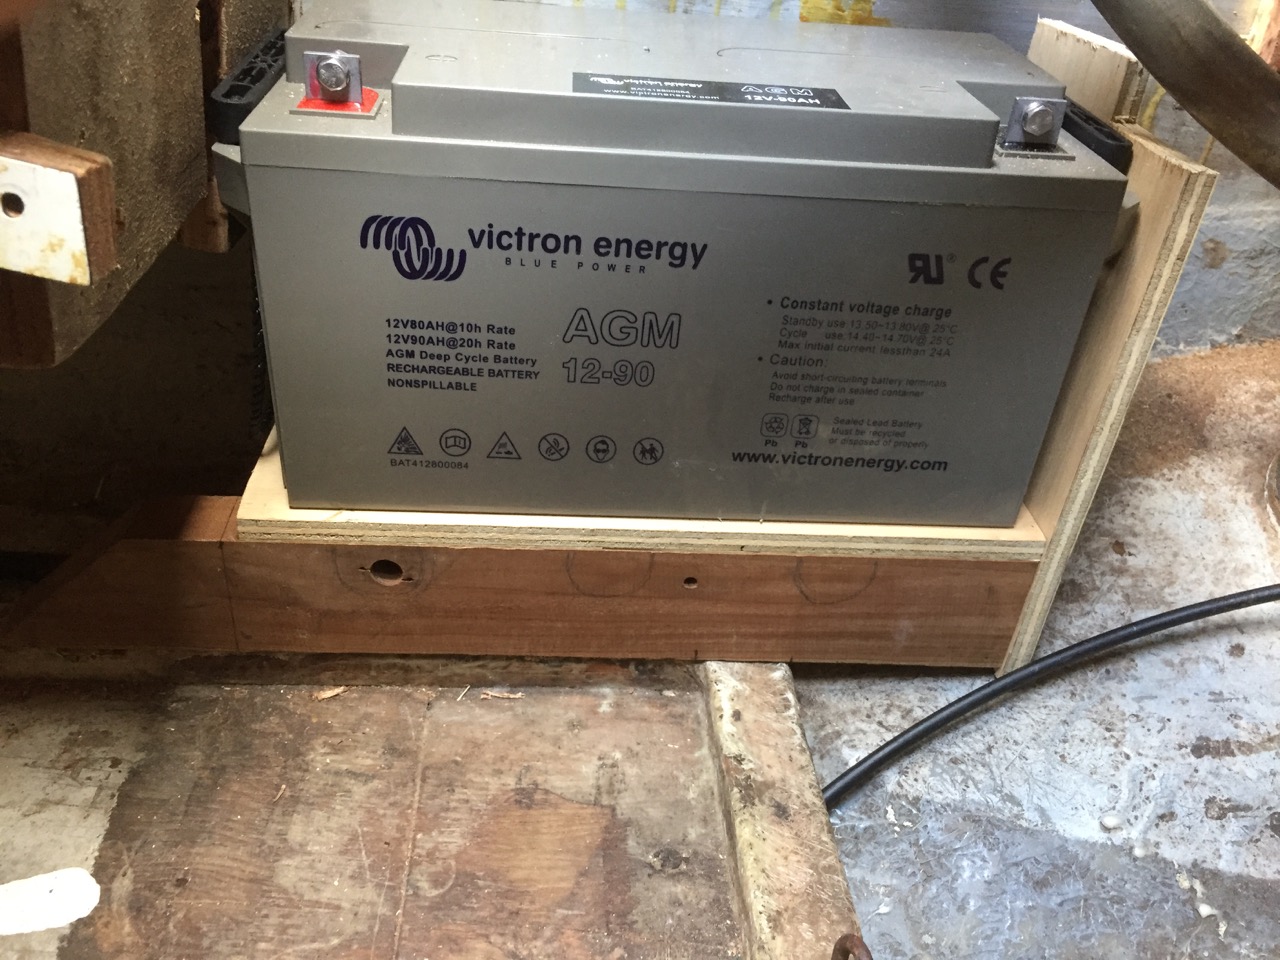
After hoisting in the battery and connecting it up to the charger/inverter and the switch panel, I finally had a working 12V service battery that could be used to power all the electronics aboard.
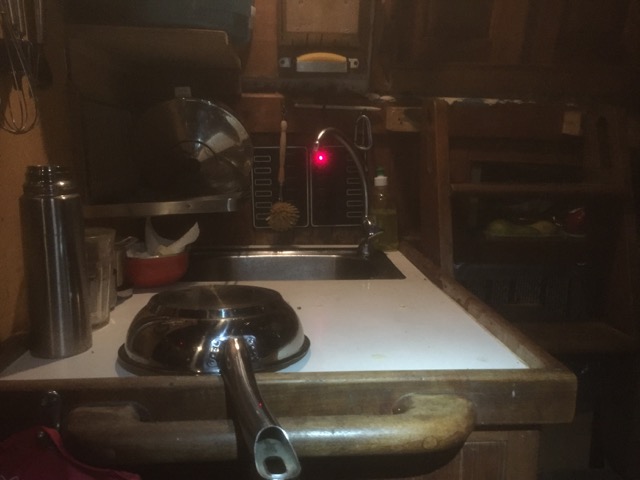
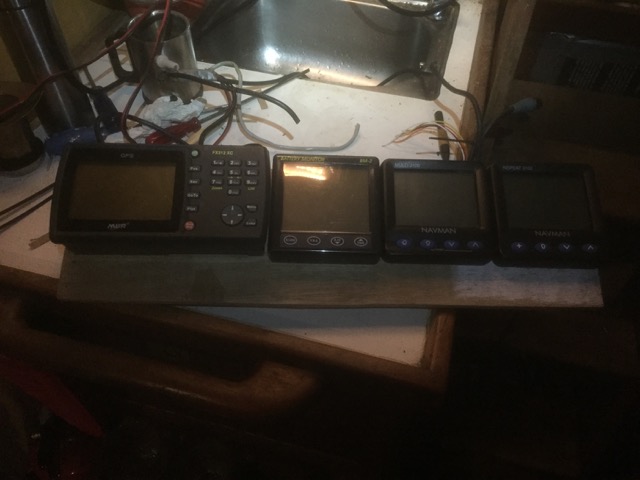
Now it was time to test out the depth sounder and log that came with the boat. Turns out they both still work!
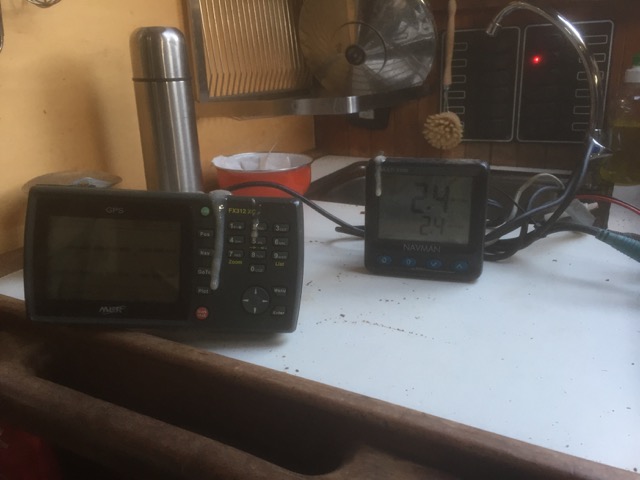
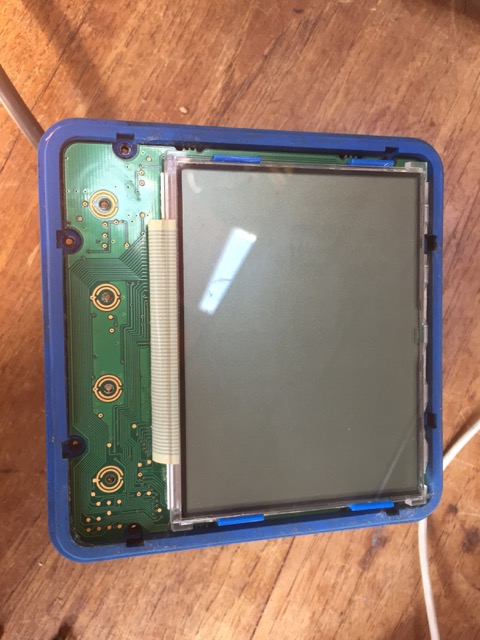
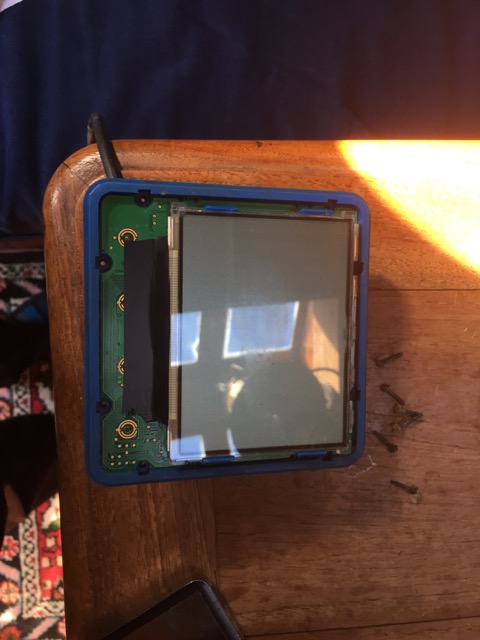
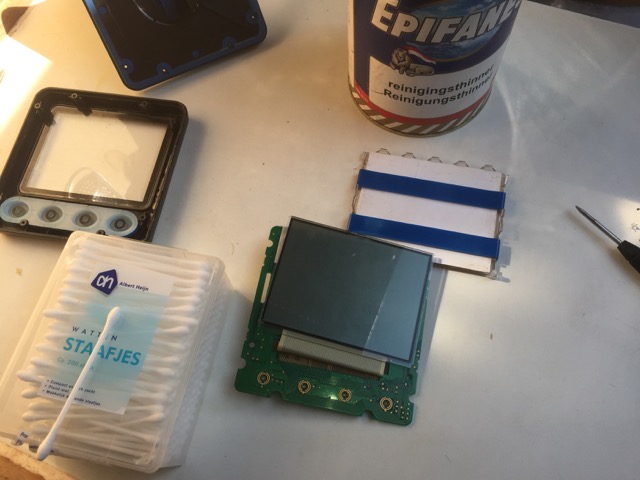
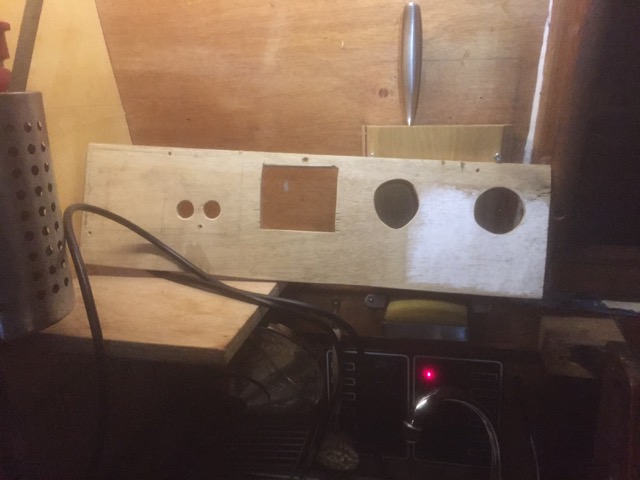
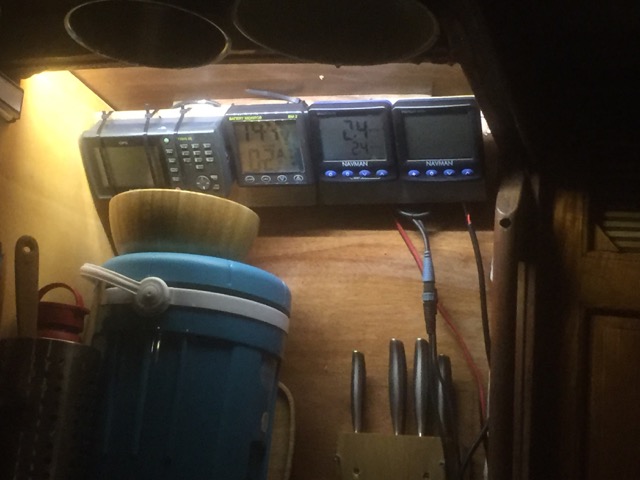
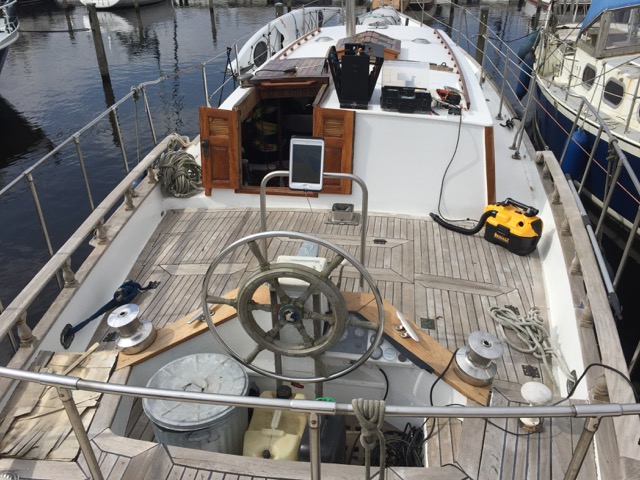
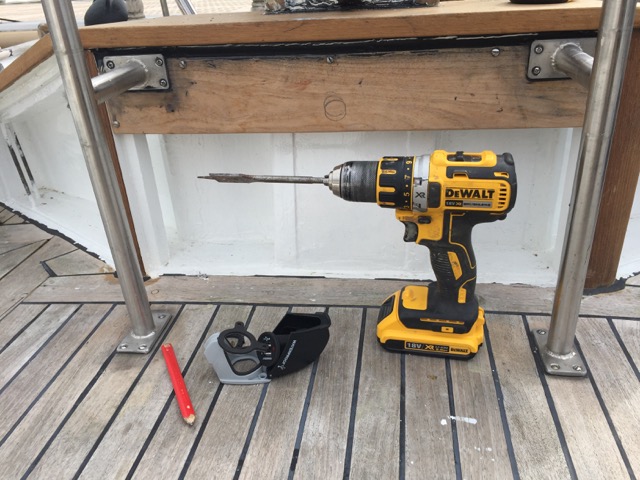
Sadly the two repeater displays (one for inside the cabin and one for outside in the cockpit) where not functioning anymore, but I did find an article online that describes how to fix that problem. I did try to repair them right away, but that did not work out. For now, I won’t be needing those repeaters anyway. Because I bought a multiplexer with wi-fi, which enables me to send all the navigational data to my iPad (or any other laptop, tabled or smart phone device). The old GPS unit that came with the boat does work though. Which means I can use that GPS unit with its own antenna, to get a good GPS reading into the navigation software on the iPad. I quickly made a simple navigation station from another piece of plywood, so I could hang all the navigation equipment in one place.
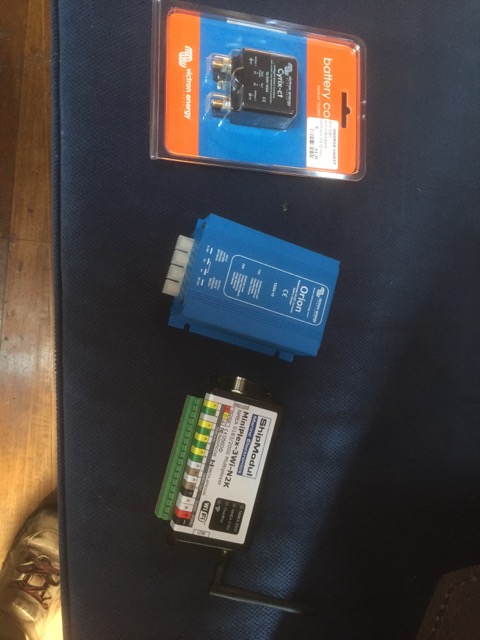
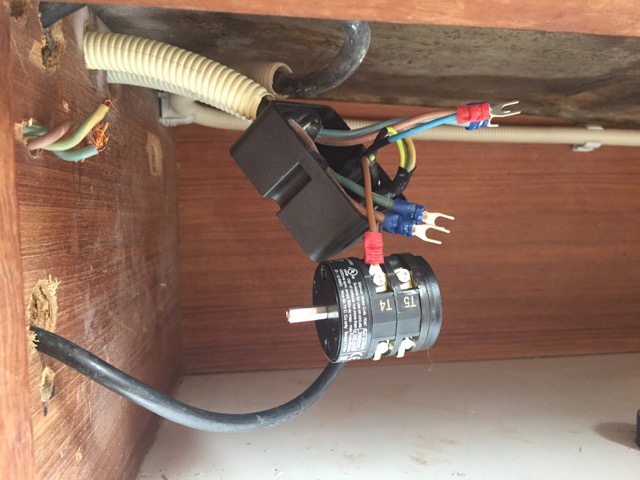
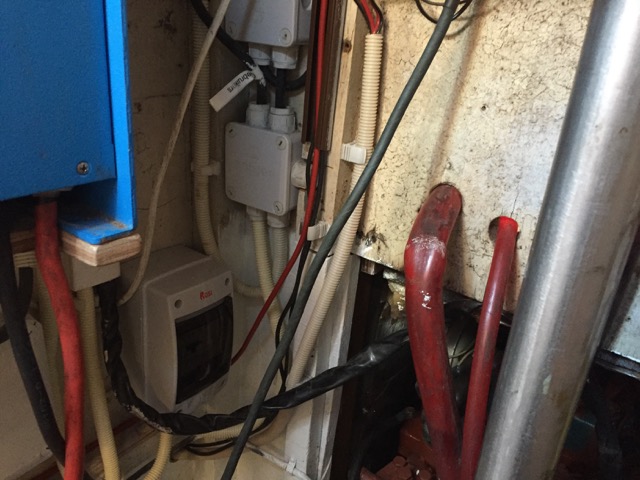
So I did have to buy some new equipment like the multiplexer, a DC to DC converter (to convert 12V to 20V for powering my monitor and laptop with DC), and an automatic switching relay (which enables the service battery to be charged when the motor is running). Also I bought a rotary switch to manually switch between shore power and inverter power (for the 230V AC system) and installed a marine grade RCD (residual current device) safety switch.
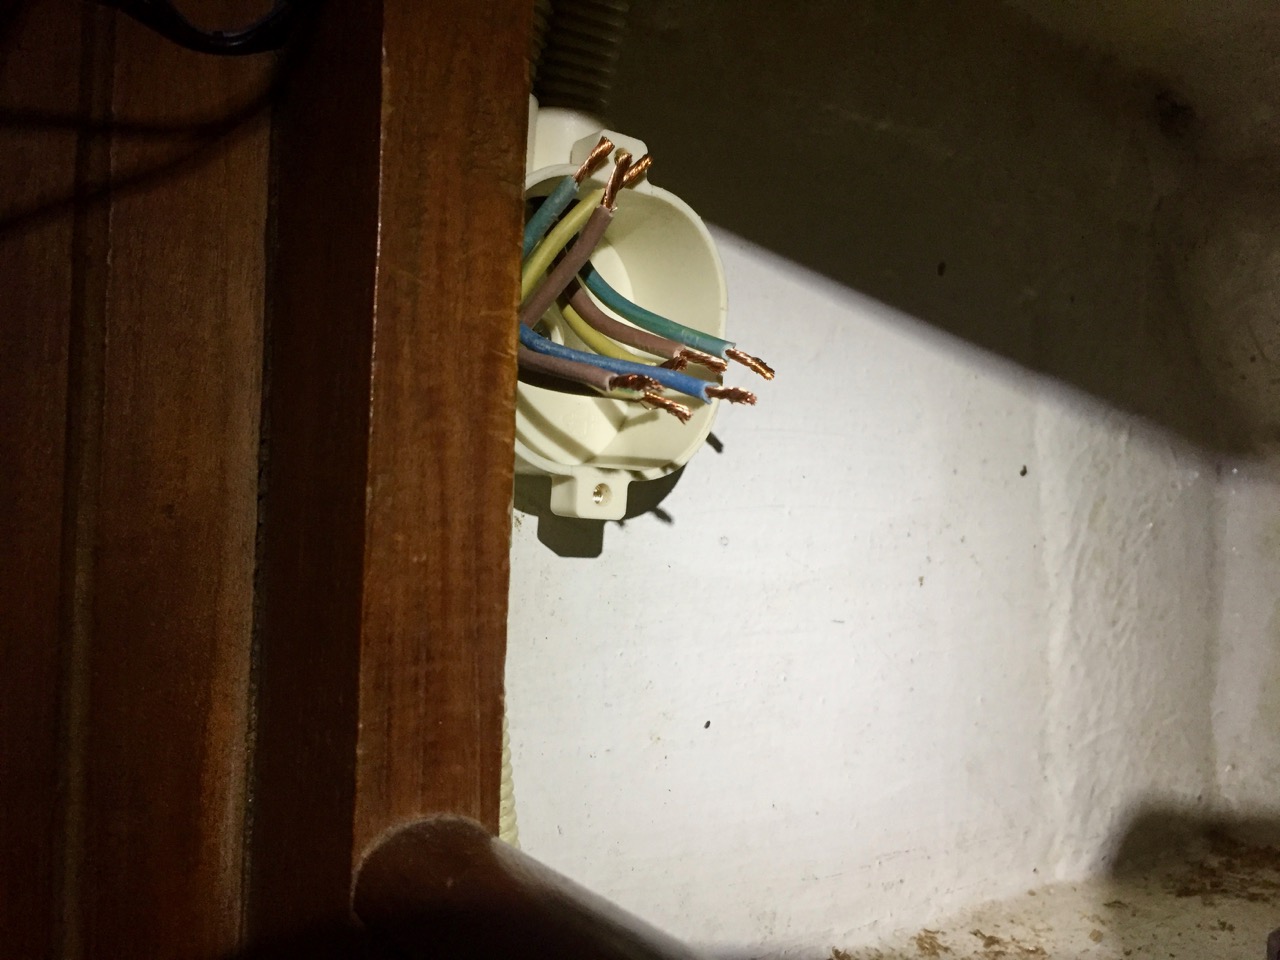
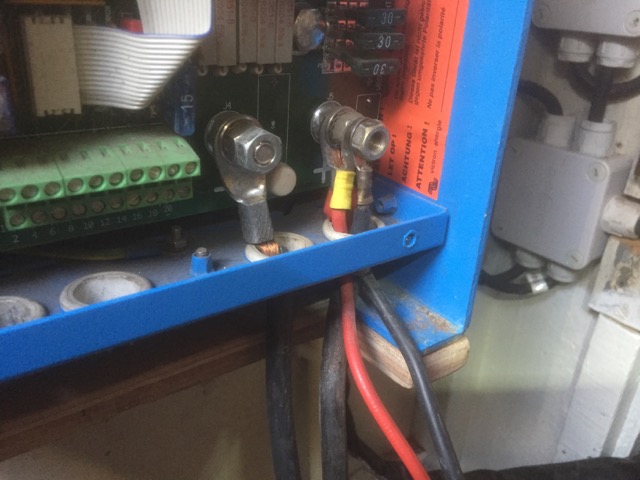
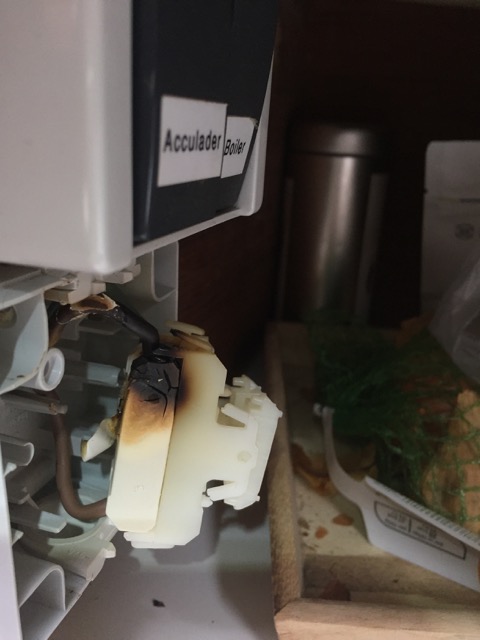
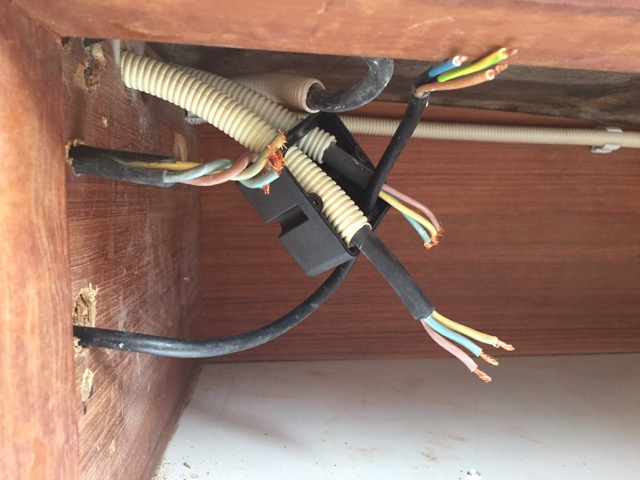
It’s a good thing I went and installed that new rotary switch, because the old setup where I had a normal AC switch installed to turn off all my AC power almost set the boat on fire!
Apparently that switch could only handle up to 10 amps, and aboard the Seadog that appears not to be enough, which caused that switch to cook itself!
That only goes to show that if you do everything yourself you better be knowing what you’re doing (especially with electrical systems). Luckily for me this didn’t end with my boat in flames. But I did learn my lesson and started to read up some more about electronic systems and safety aboard sailing vessels.
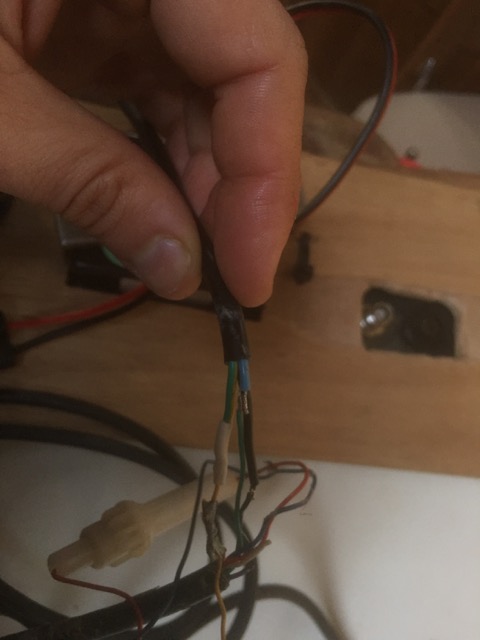
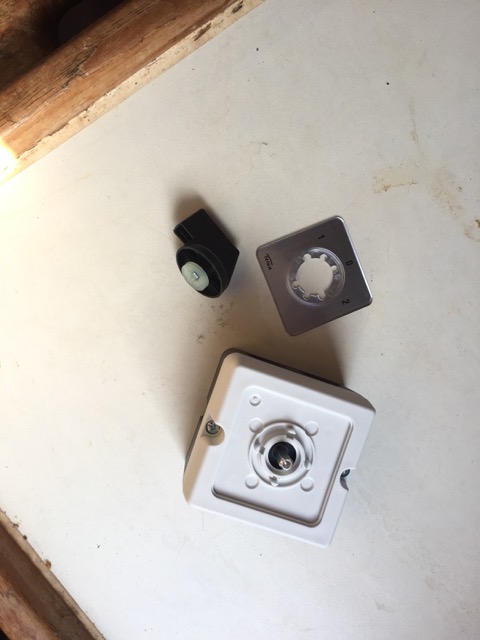
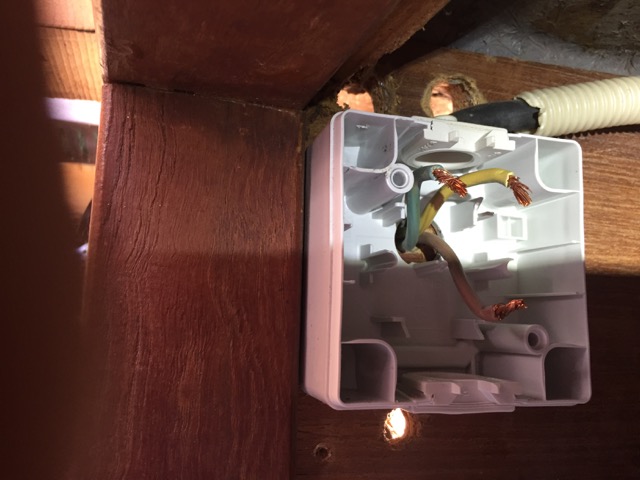
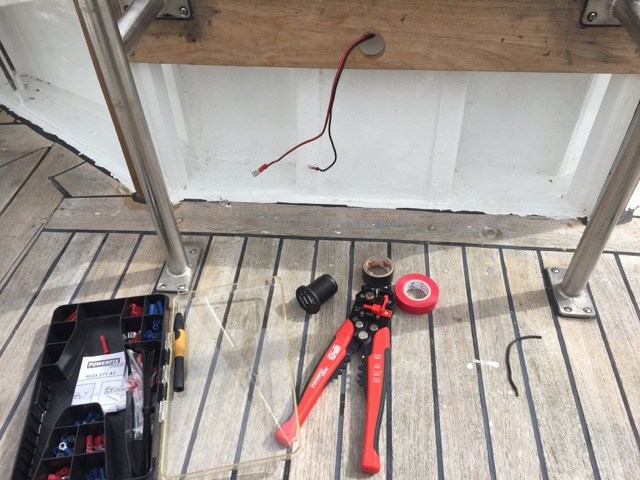
This new switch can handle up to 30 amps, which is more than enough, so that will not be happening again. I would really recommend everyone who is doing their own 12V DC or 230V AC installations aboard to buy and read up about electronics aboard boats. It really helped me understand the inner workings and gave me the confidence that I knew what I was doing. There are some pretty strict rules to follow especially with electrical system aboard a boat, which might not always be what you would expect. Please note that in some of the pictures the cables are still looking very messy, but believe me when I say that when all work was done everything was properly connected and fixed tightly and properly together.
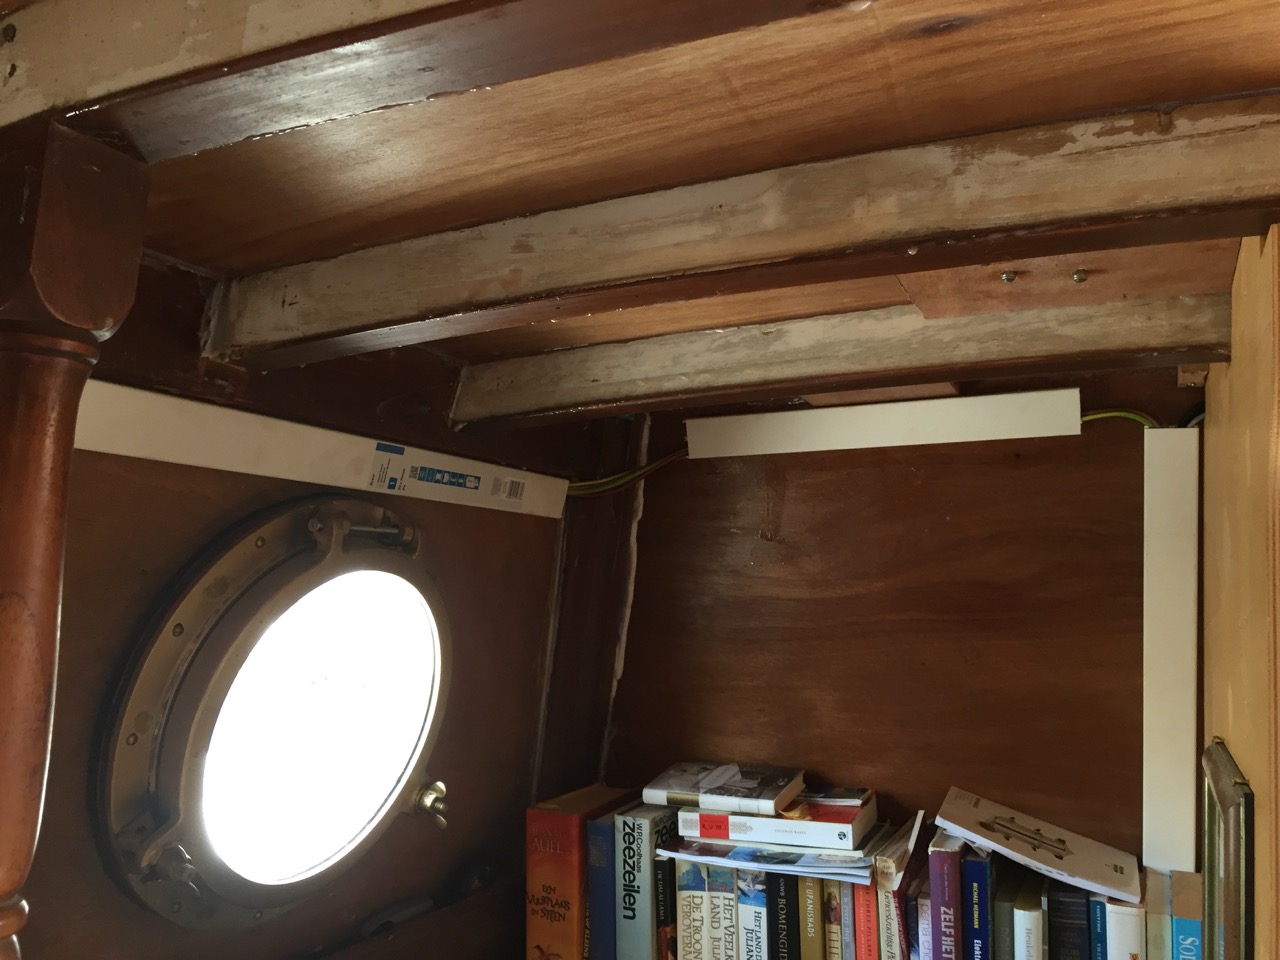
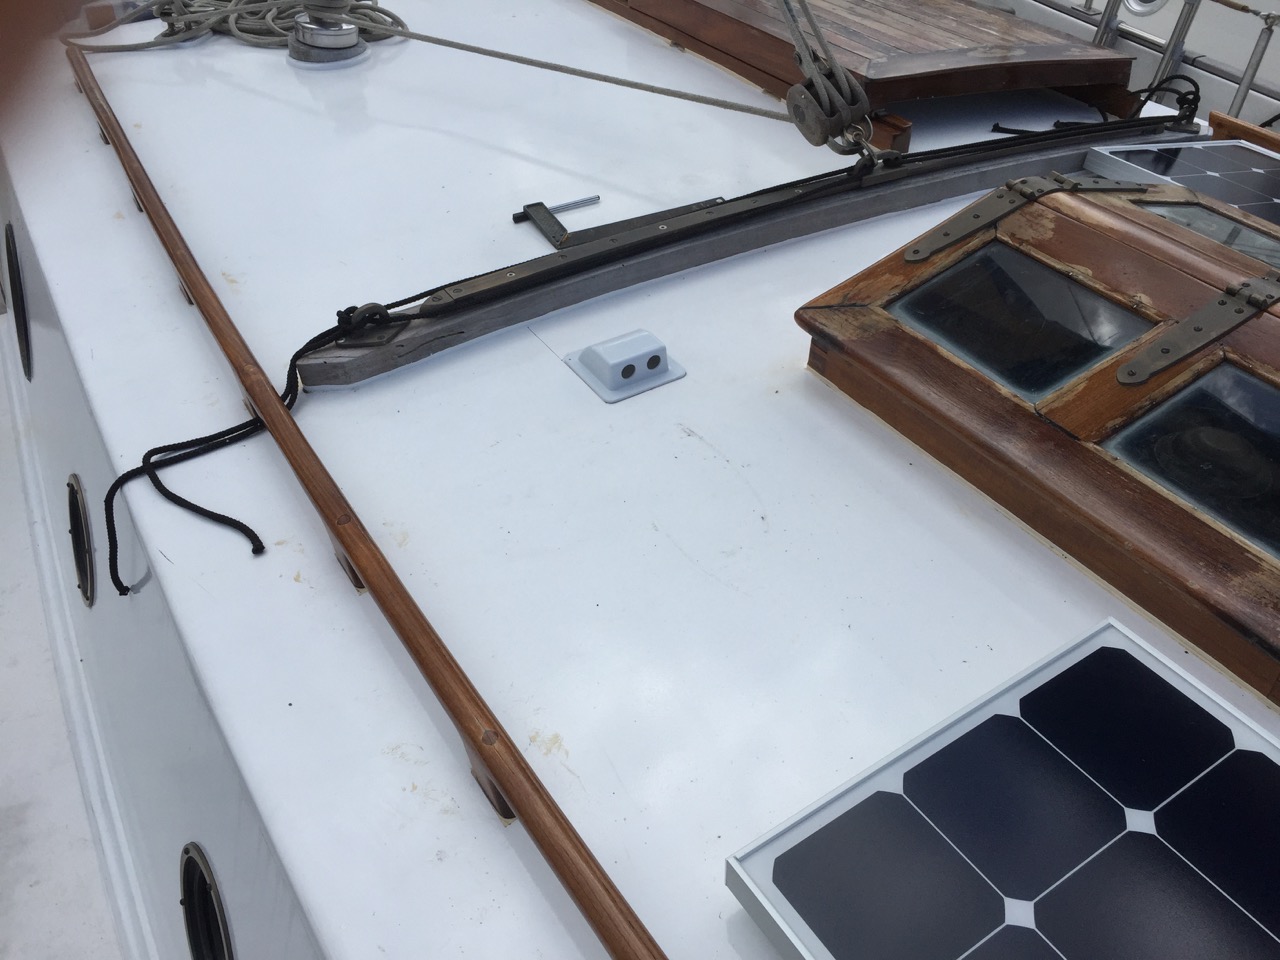
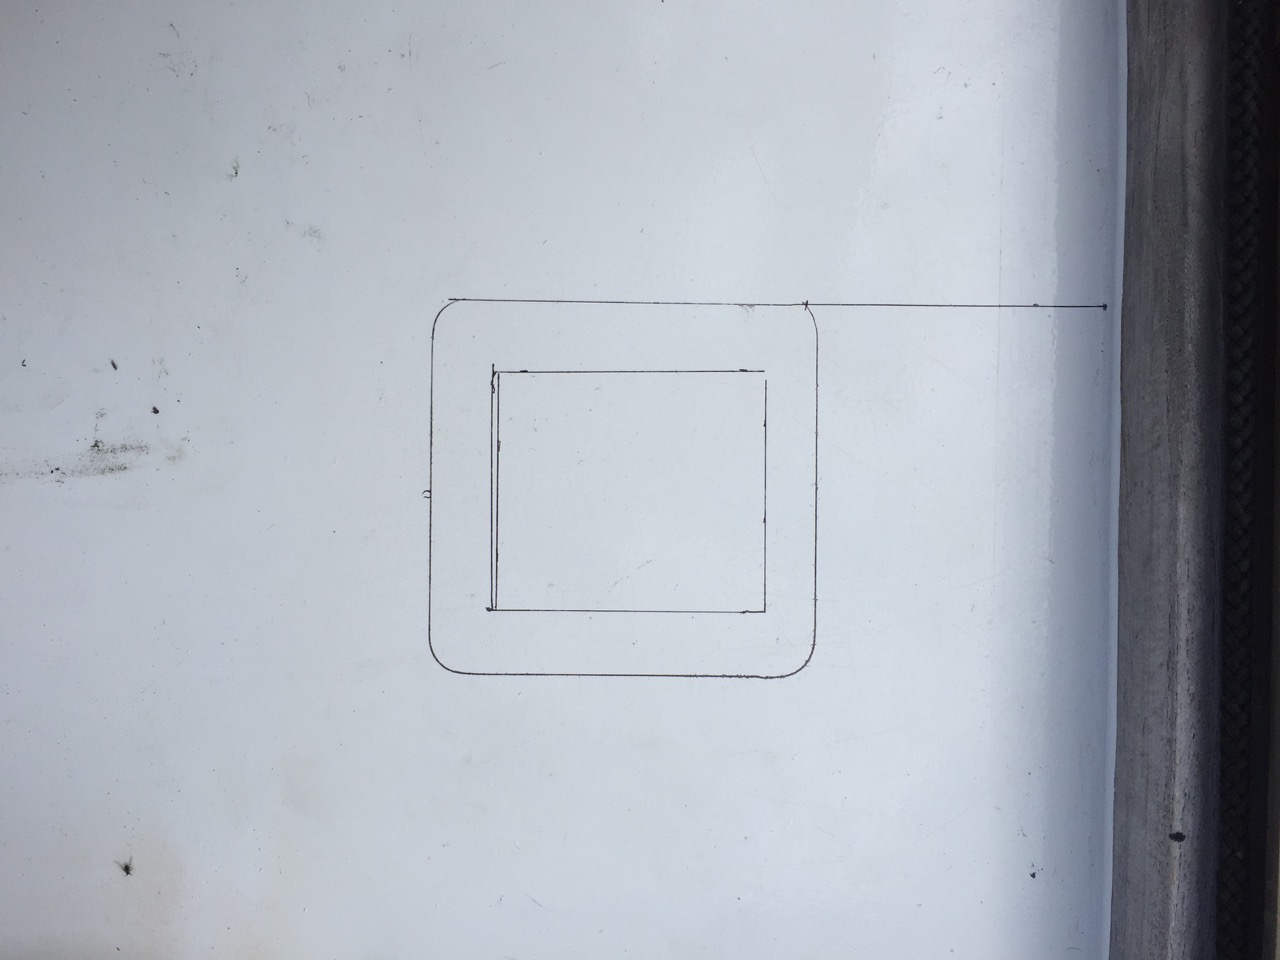
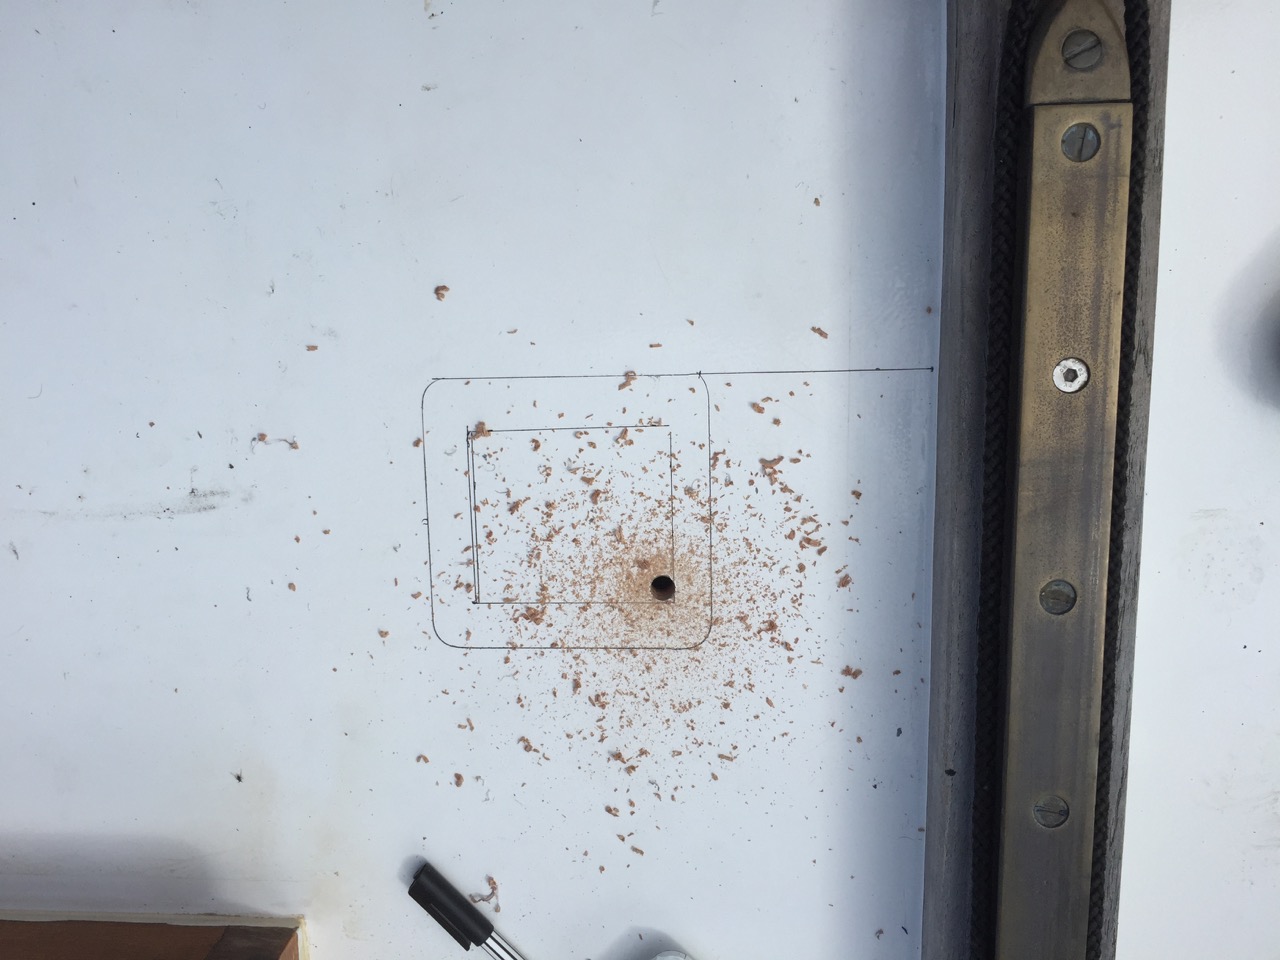
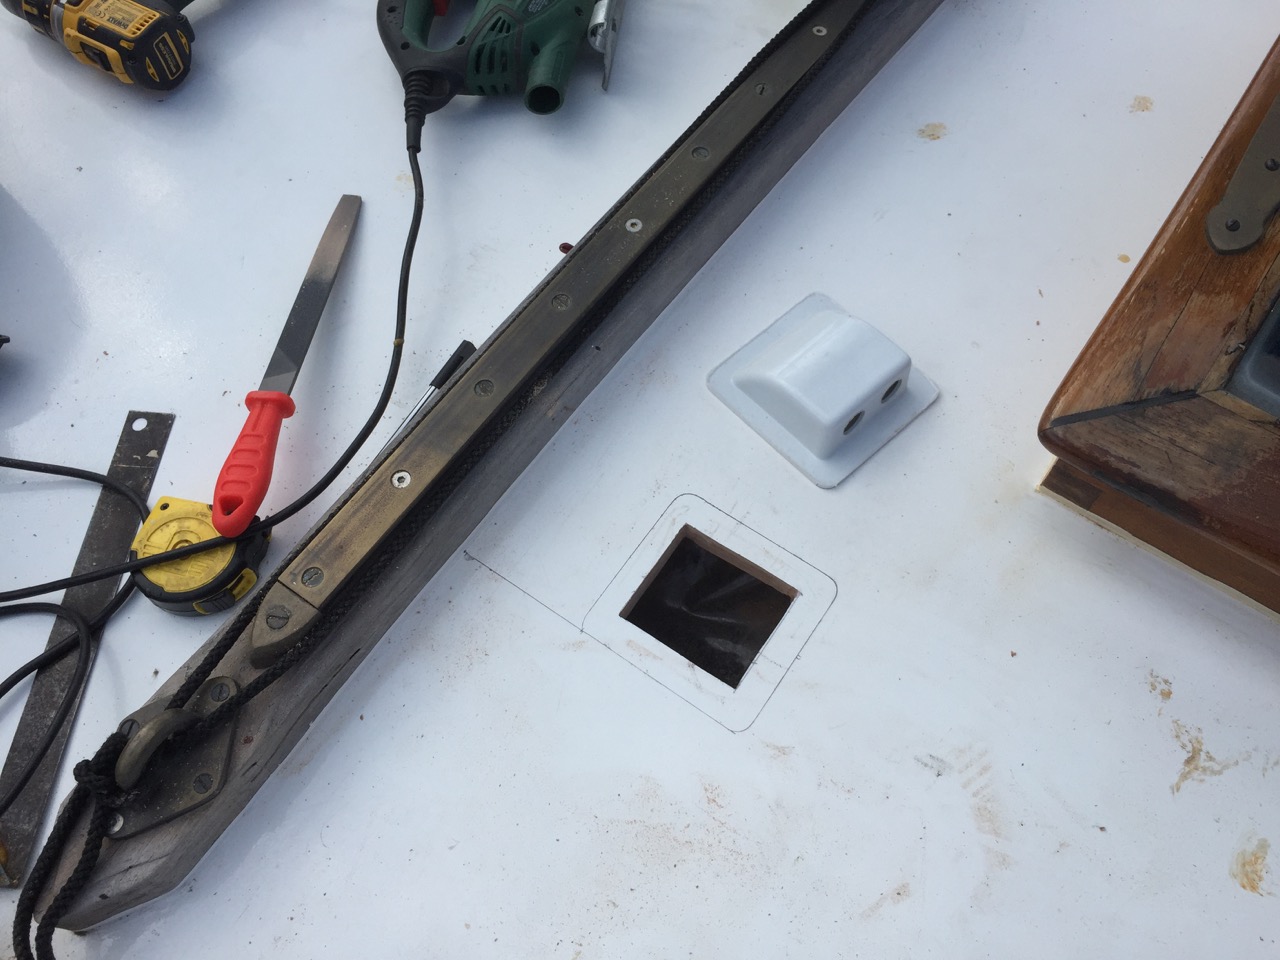
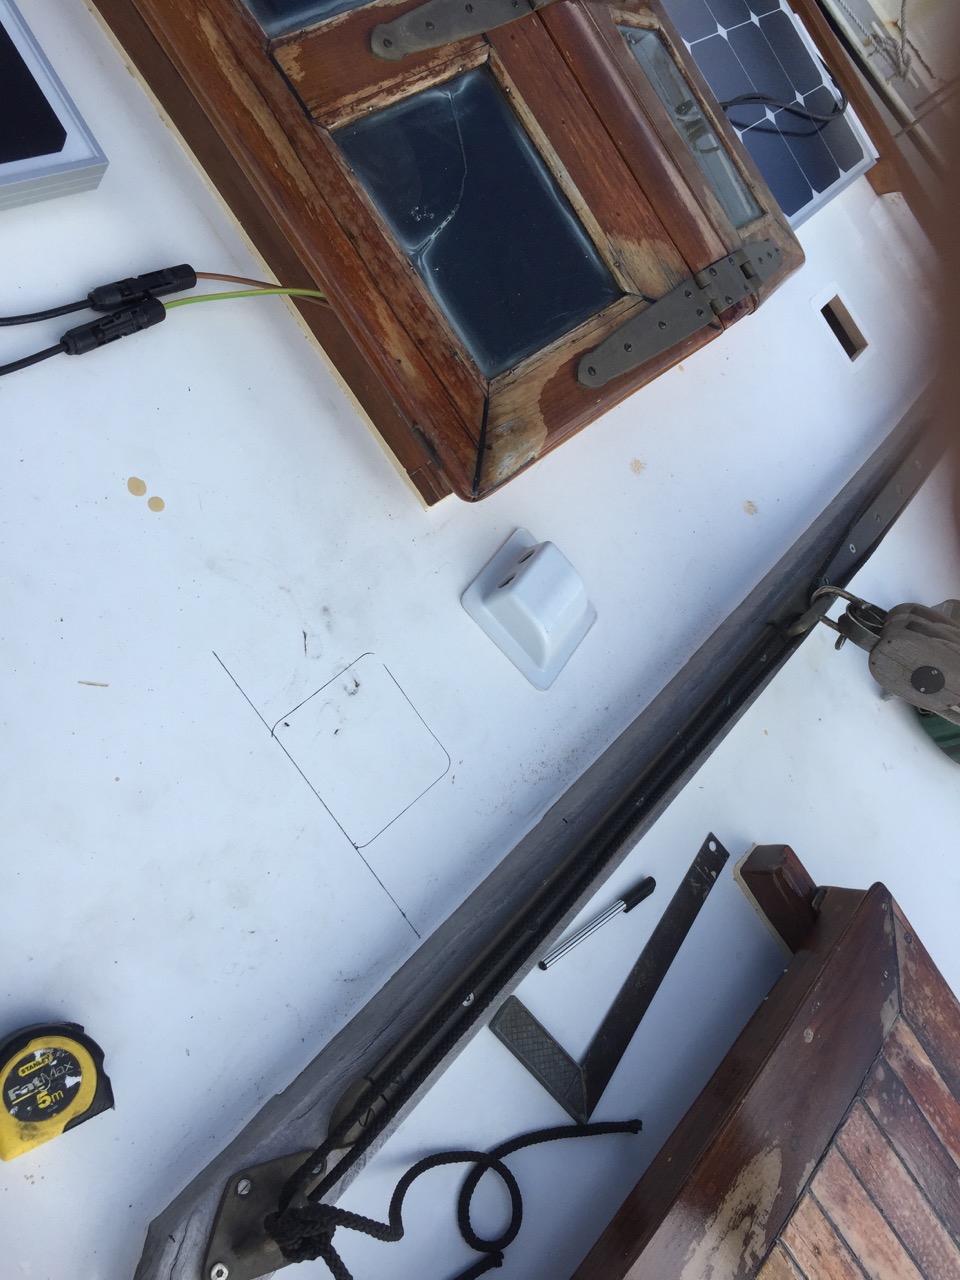
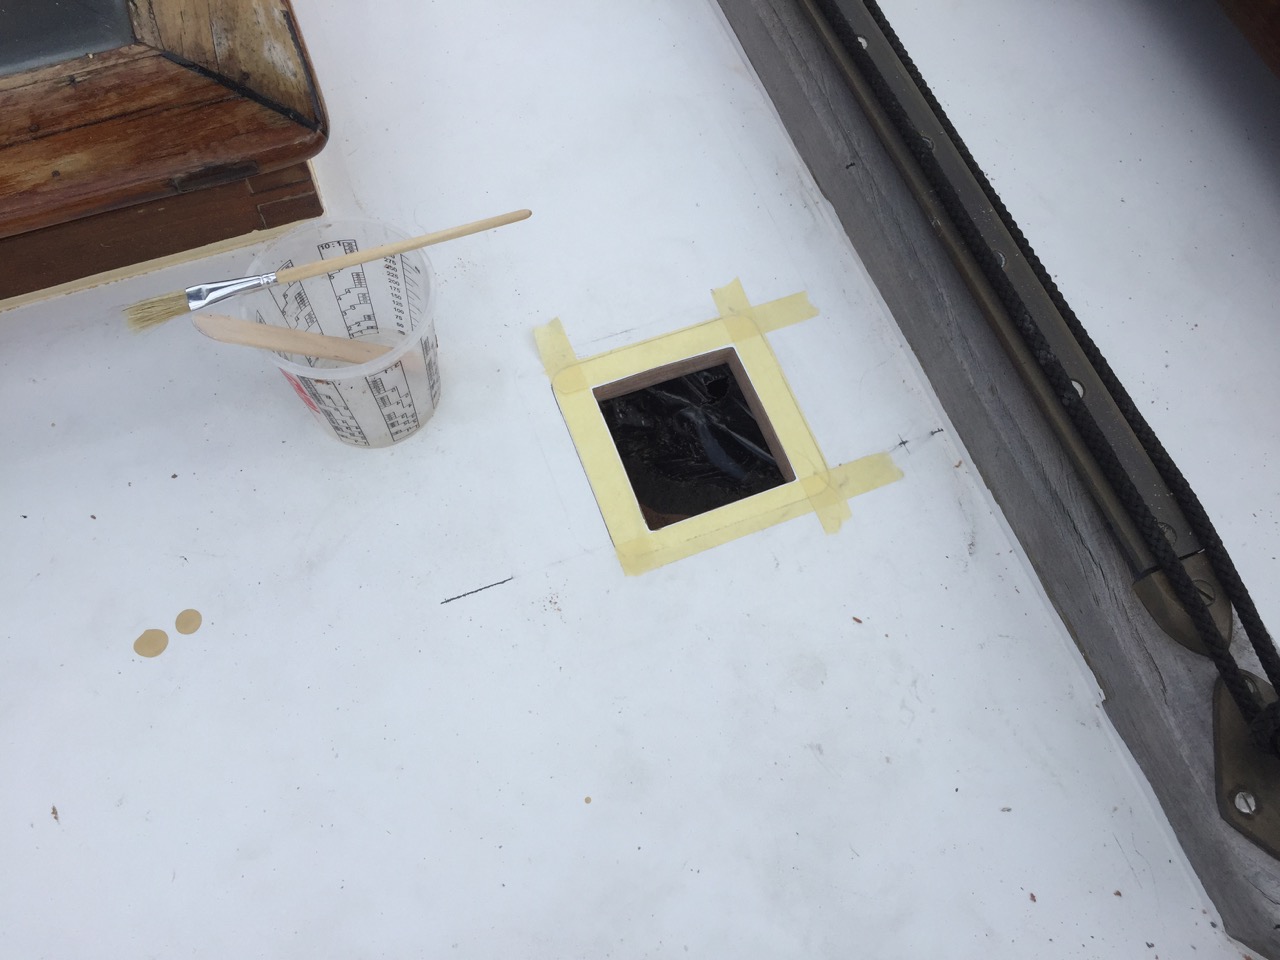
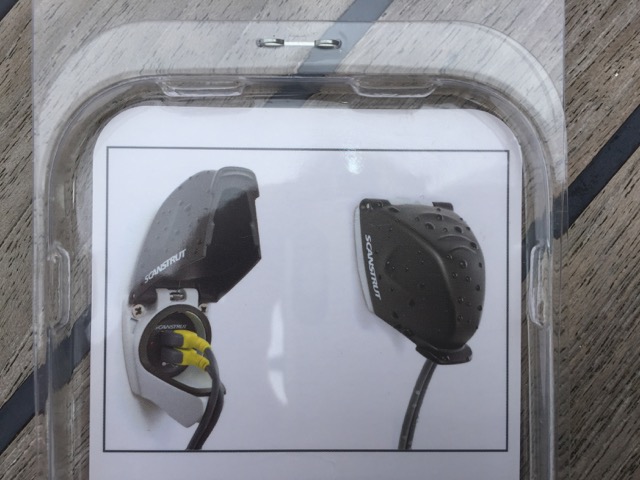
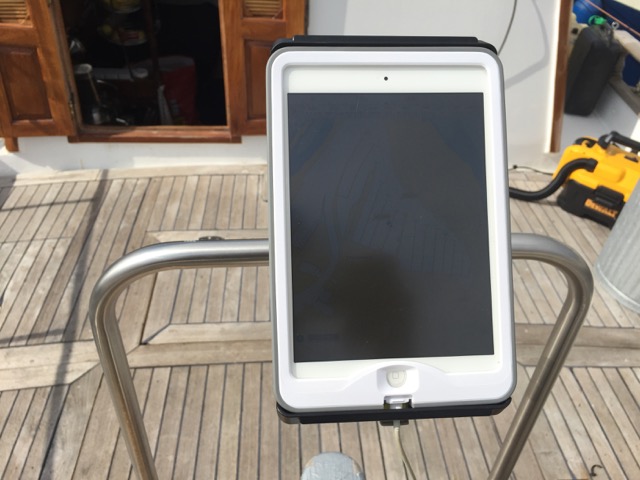
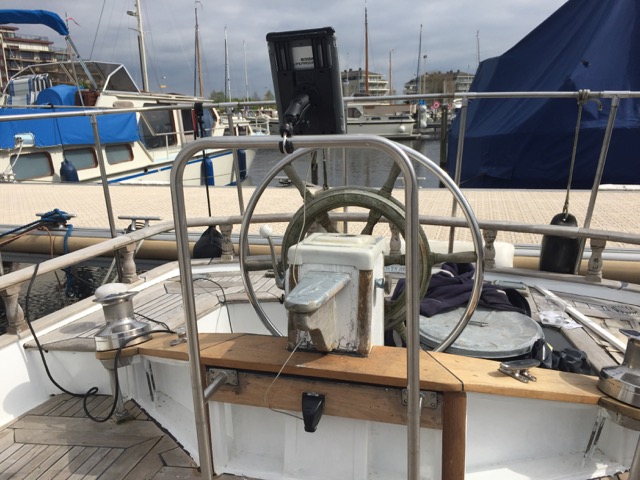
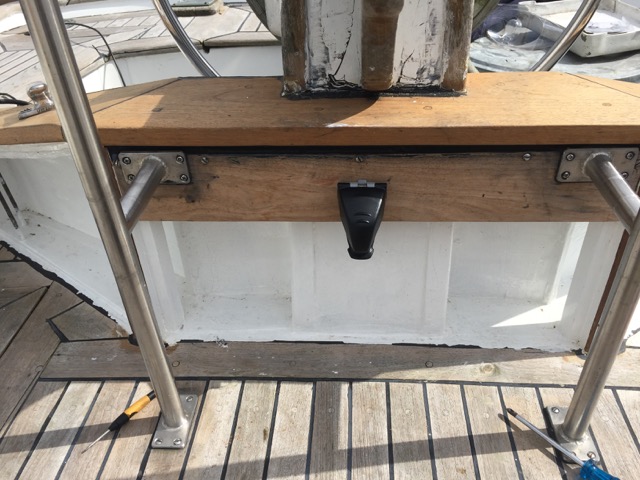
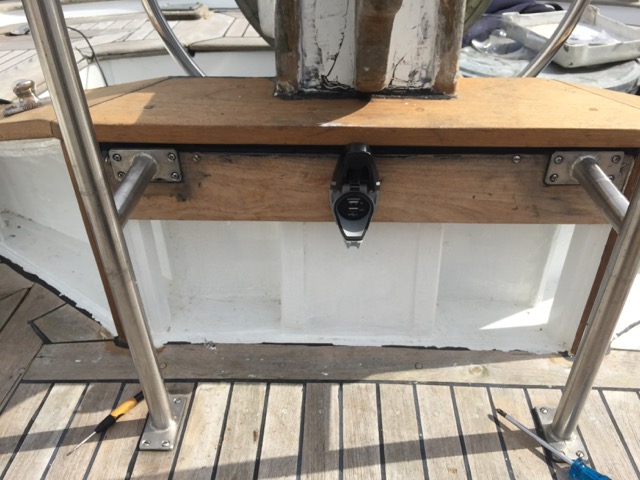
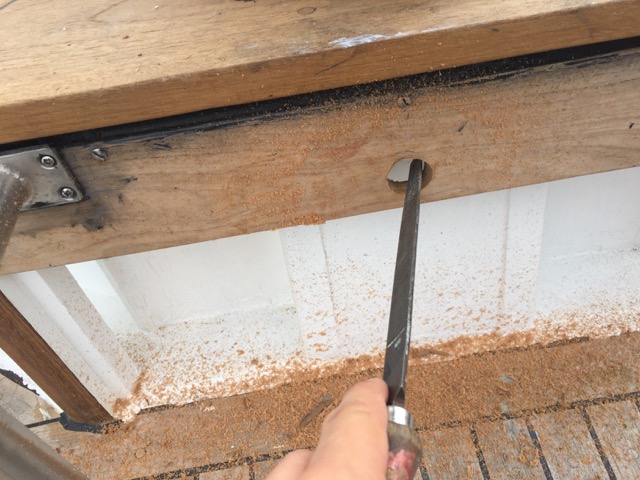
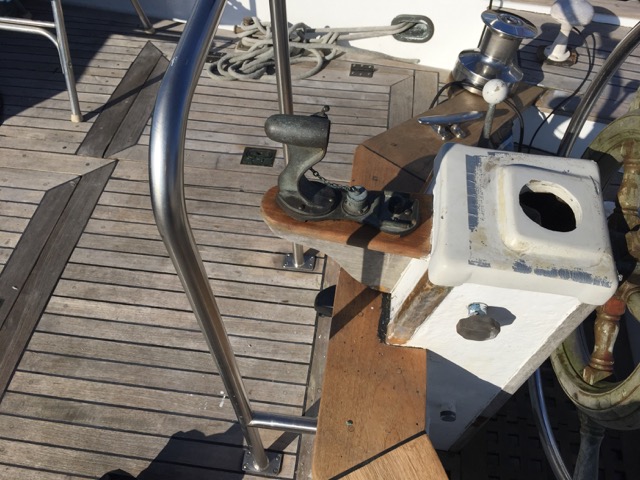
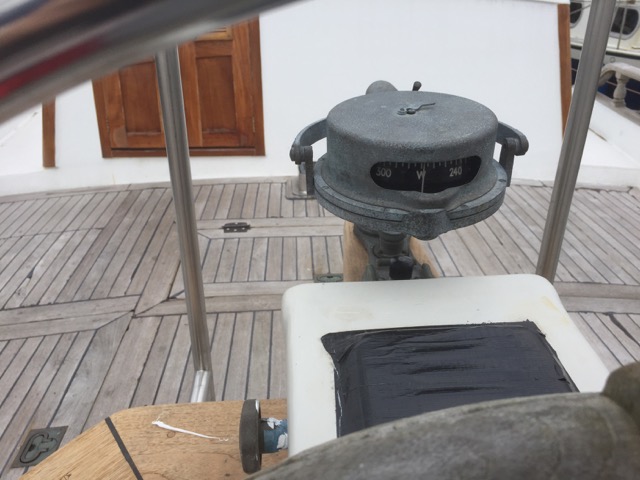
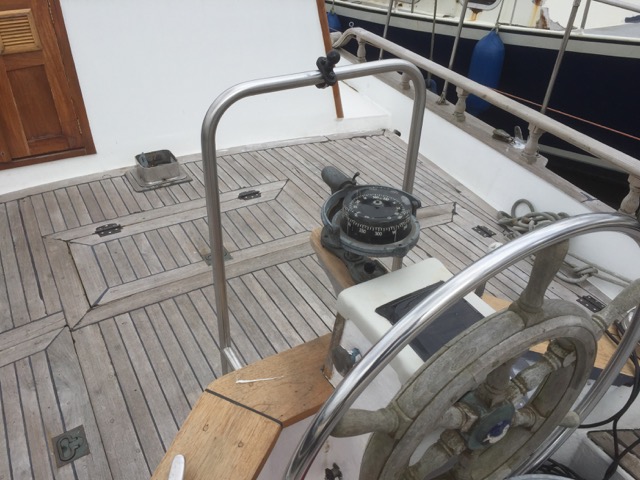
I also bought and installed a waterproof USB socket that converts 12V to 5V to up to 2+ amps, so it can be used to power the iPad from the cockpit. The iPad also has a waterproof casing now, so navigation can be done from the cockpit on the iPad even in the pouring rain (let’s hope that does not happen to often). And if the iPad ever fails, it’s not to big a problem, because the beautiful Sestrel Moore compass is now also installed back into place.