A new diesel tank

Now that the engine is fully refurbish it was time to check out the diesel tank.
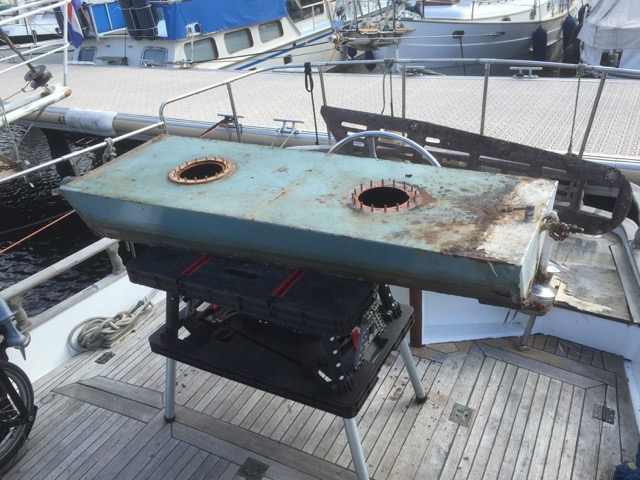
The Seadog still had the original steel tank from 1974 which turned out to be in a really bad shape.

Old tank corrosion
Old tank corrosion

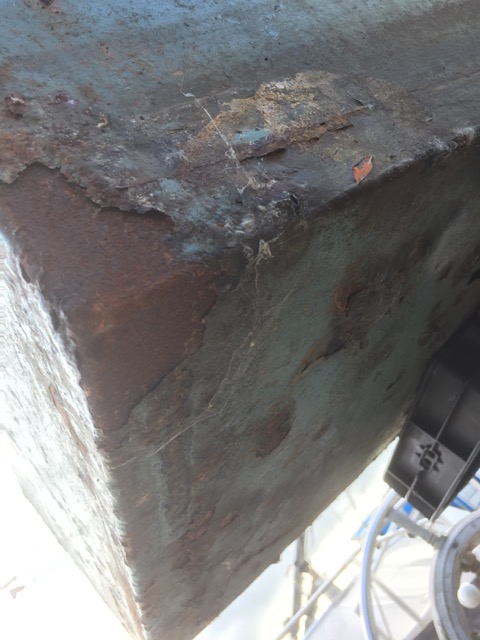
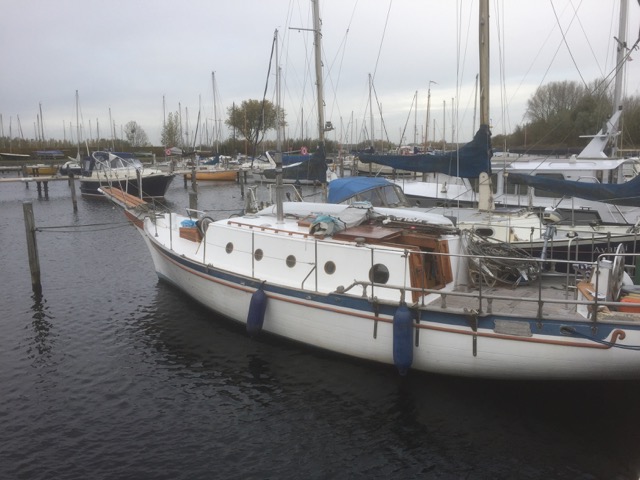
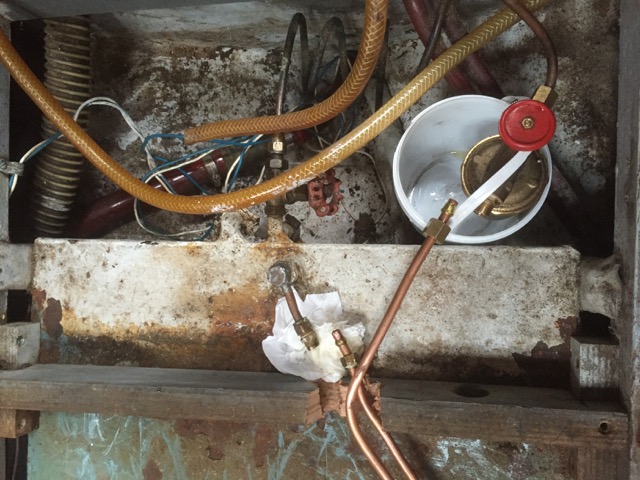
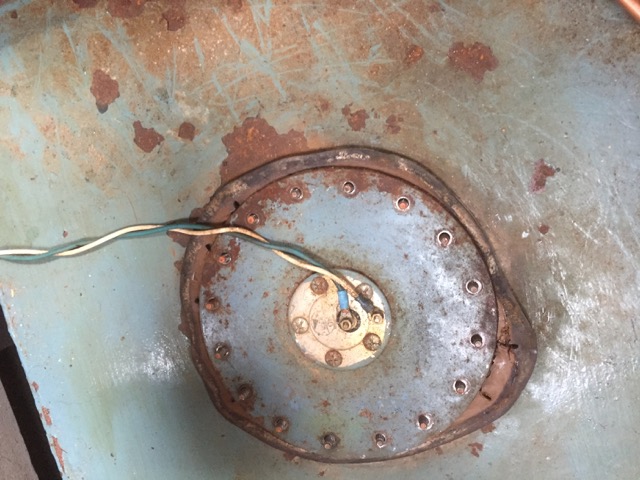
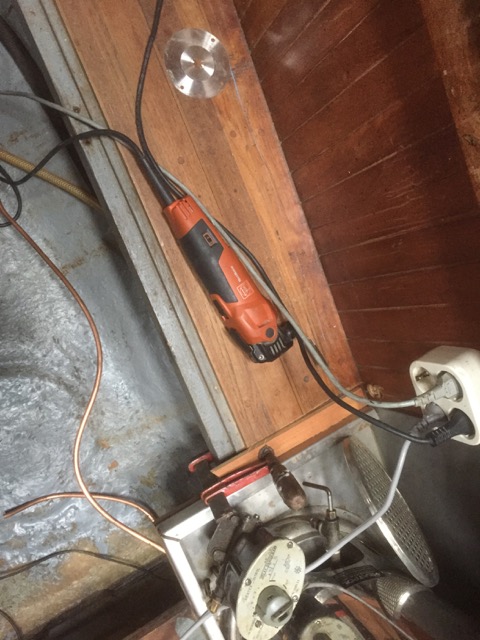
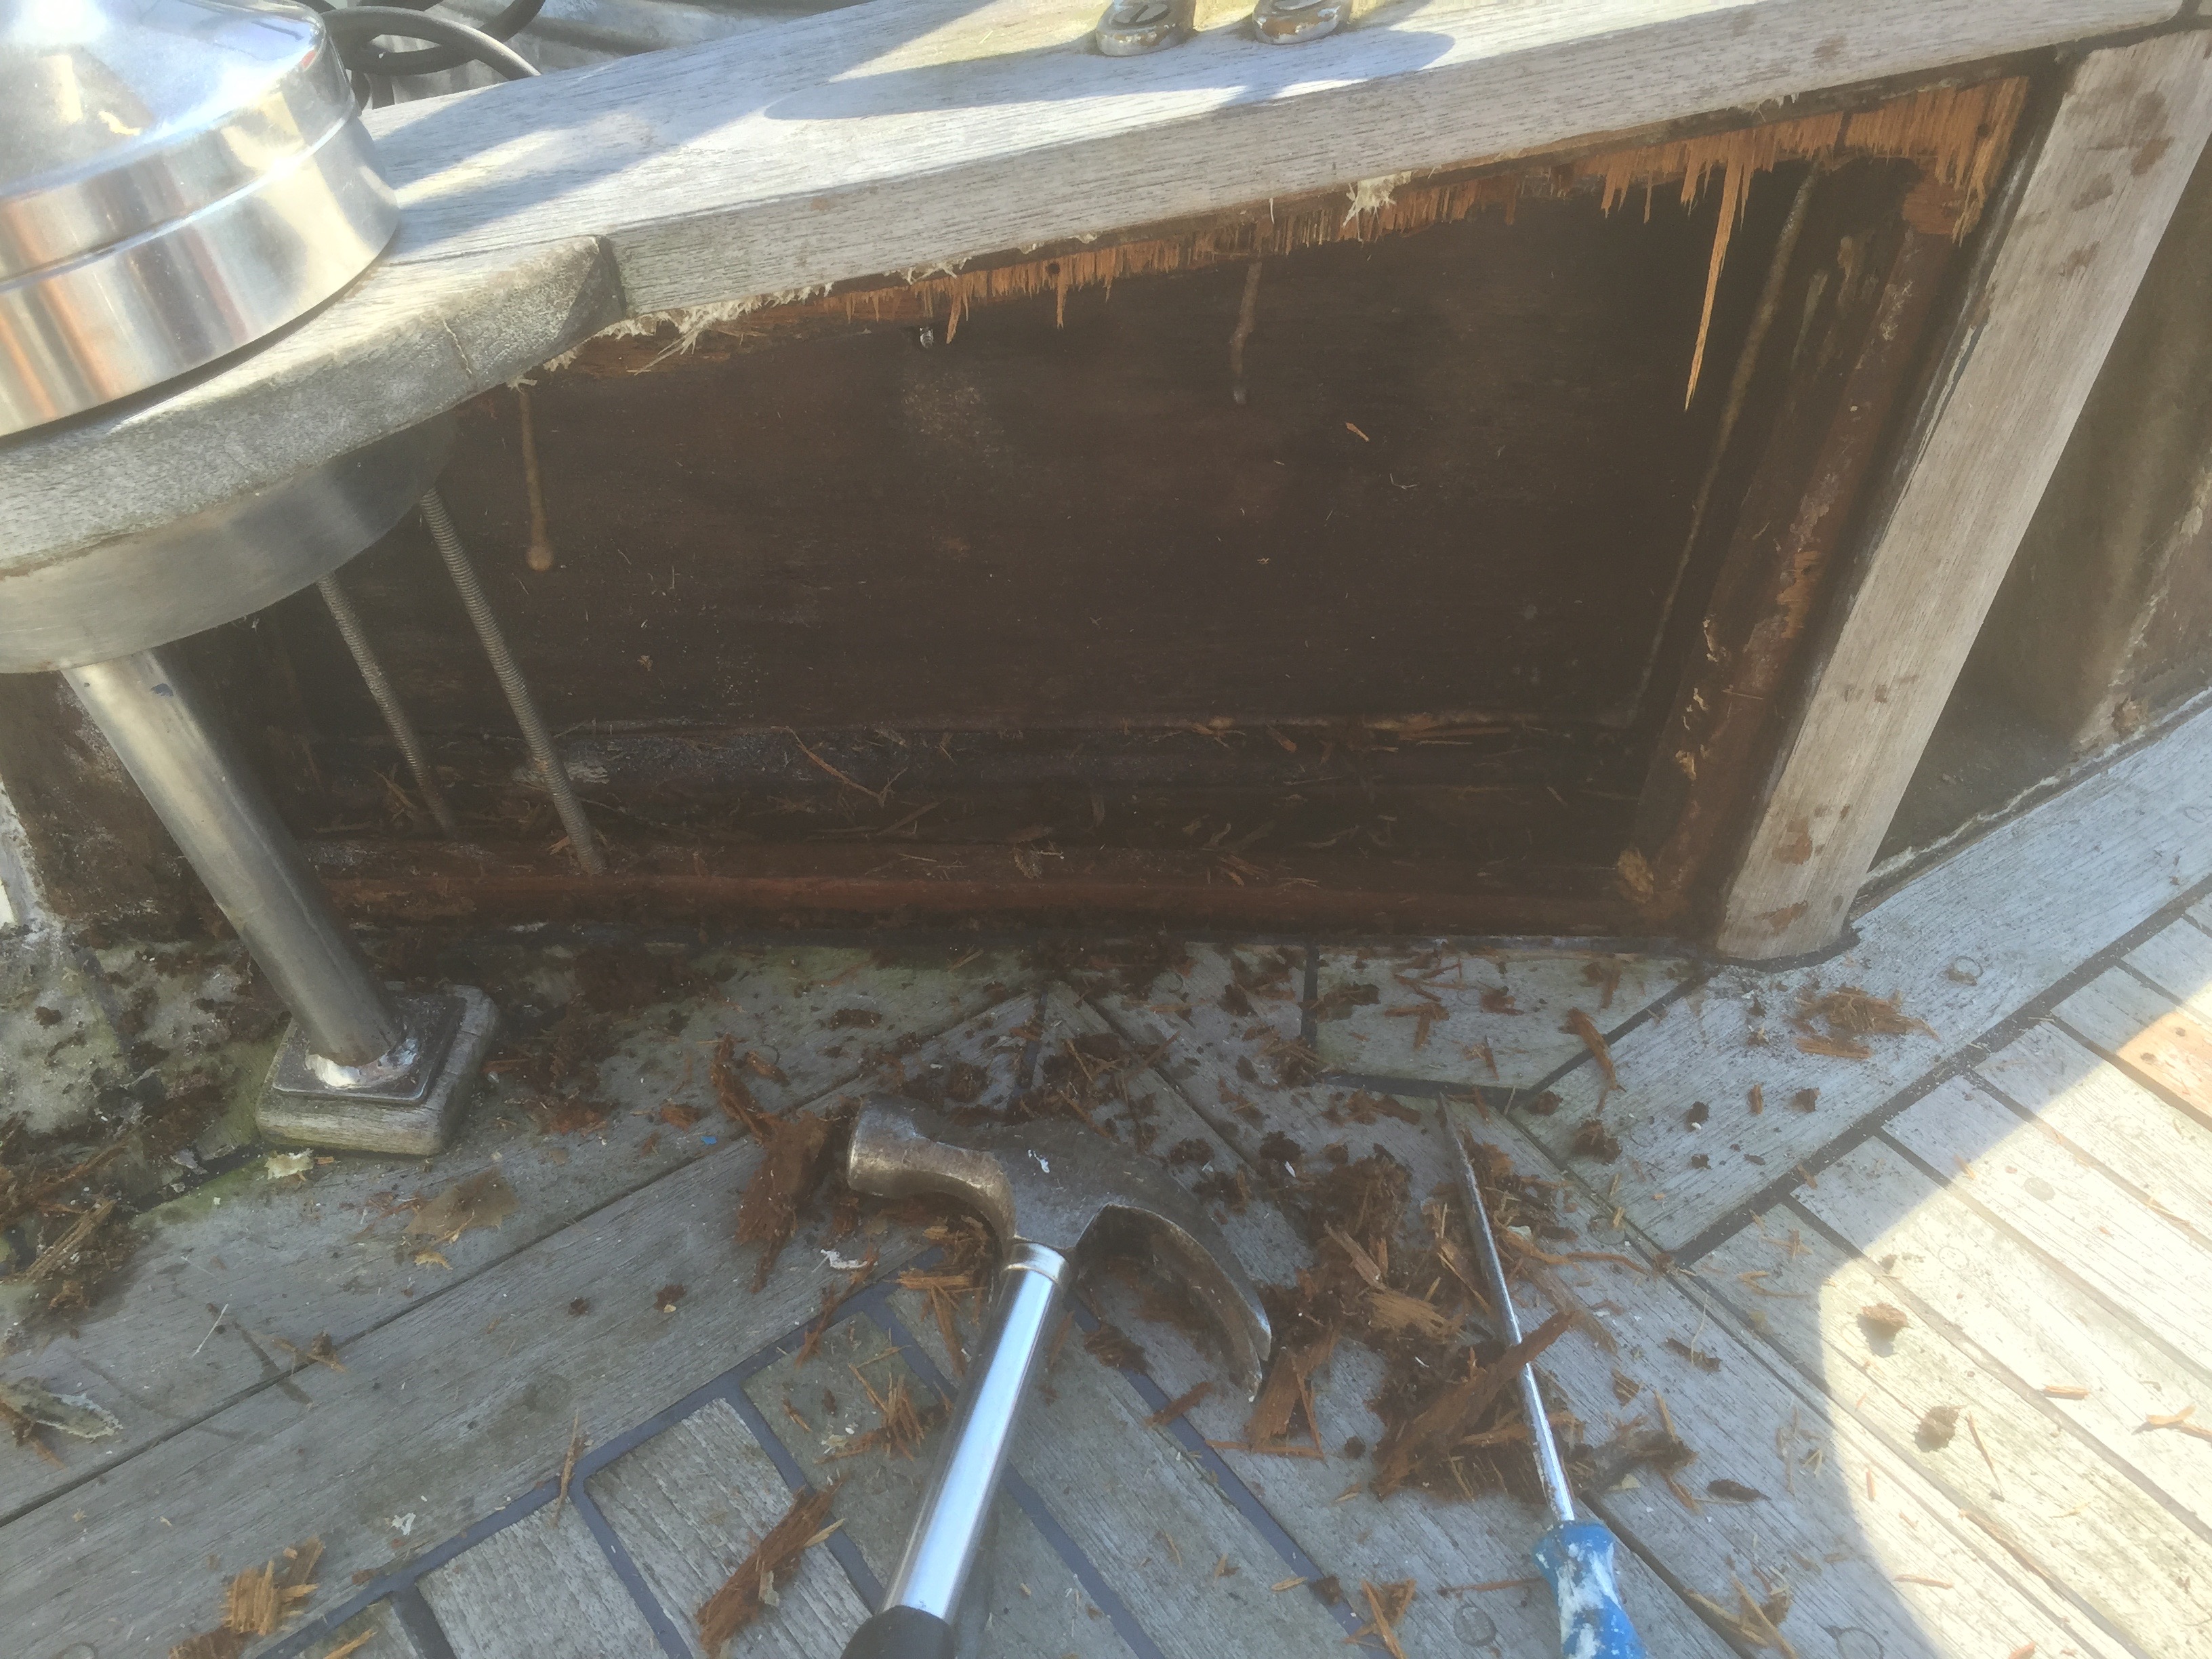
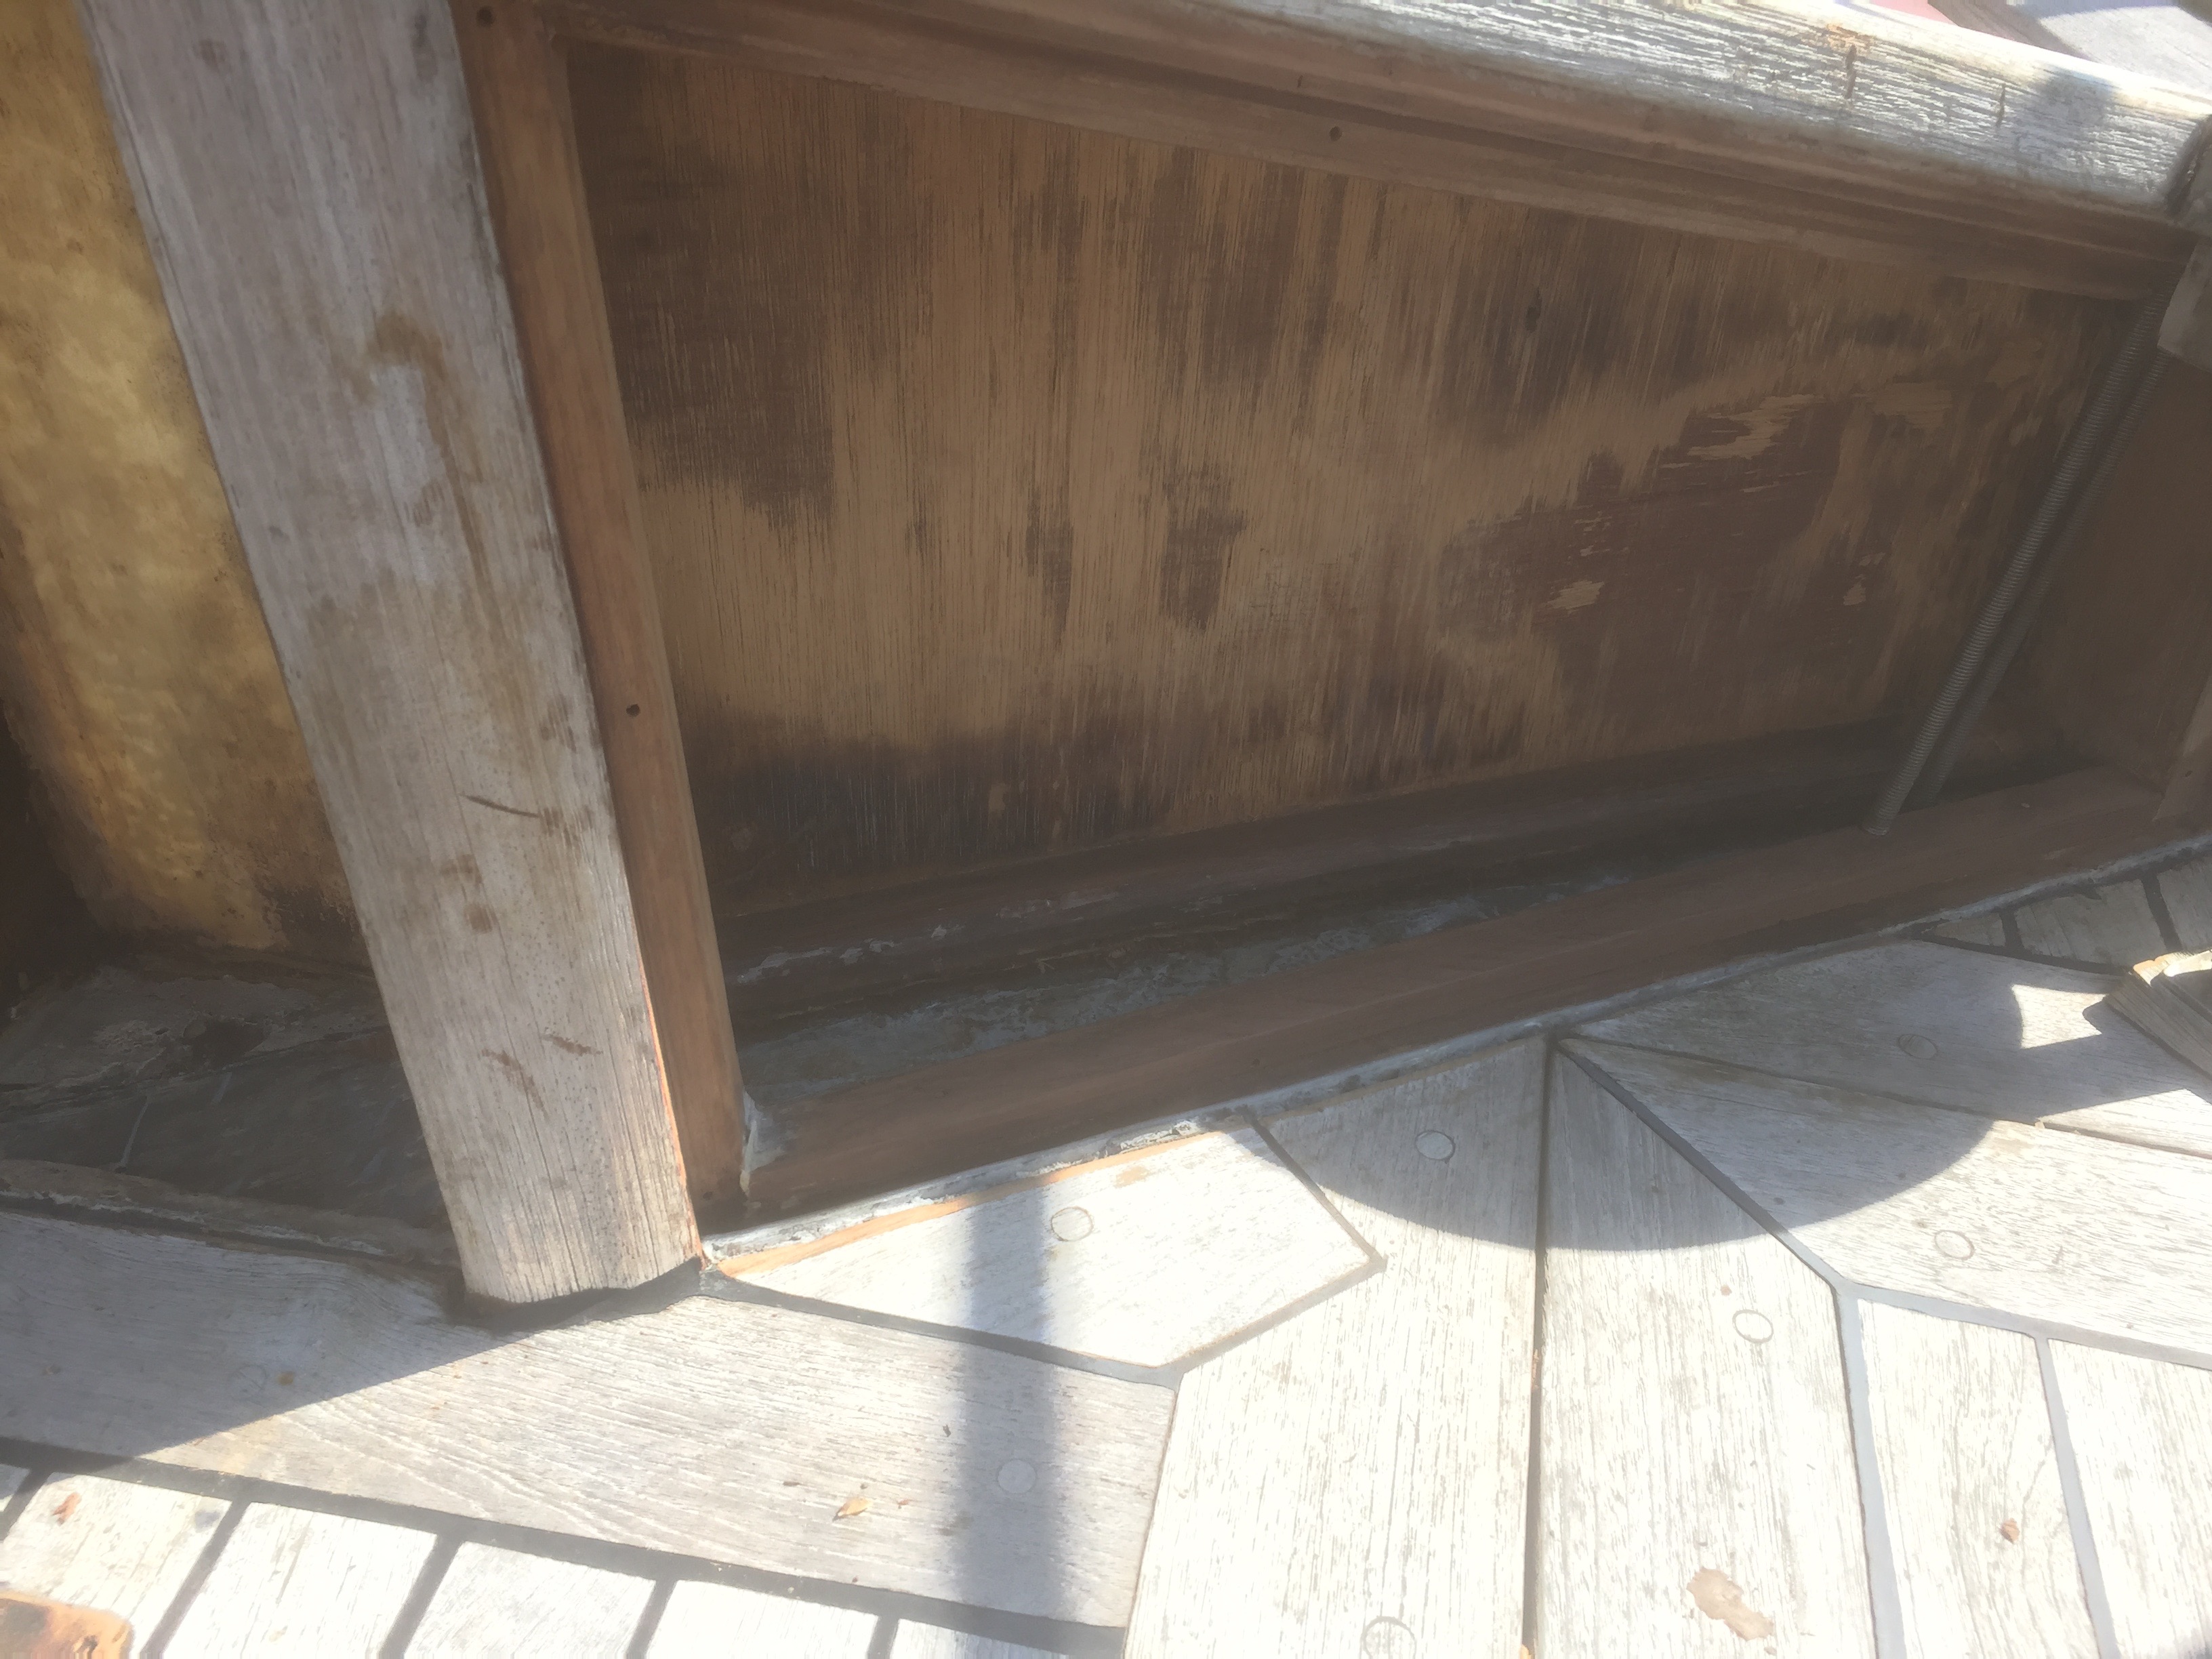
The tank had two inspection holes on the top to check out the inside, so at first we inspected the tank through those holes. Strangely enough the tank was filled to the top with diesel, which appeared to have come out of nowhere. Two years ago the tank was completely empty and no extra diesel was added since then. The only way that diesel could have gotten inside the tank was through the overflow pipe of the diesel heater, which is connected to the diesel tank of the engine. Which means the regulator of diesel heater is malfunctioning.
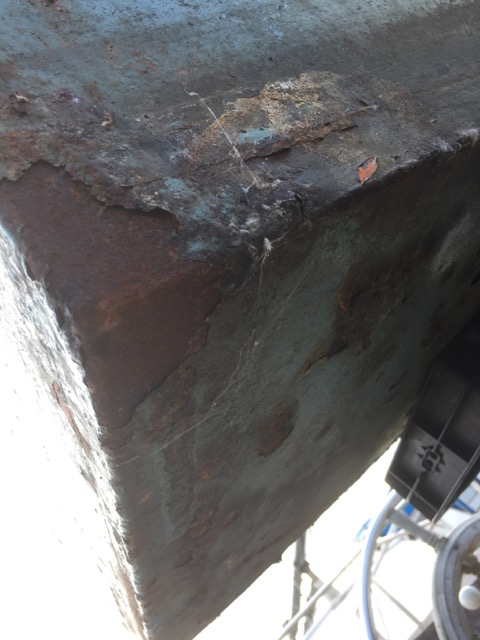
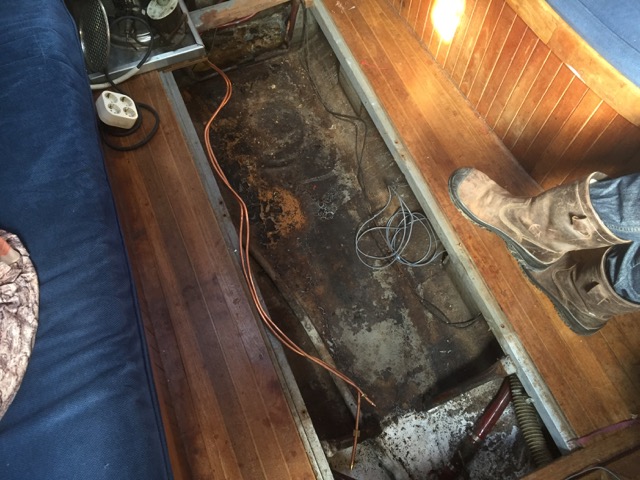
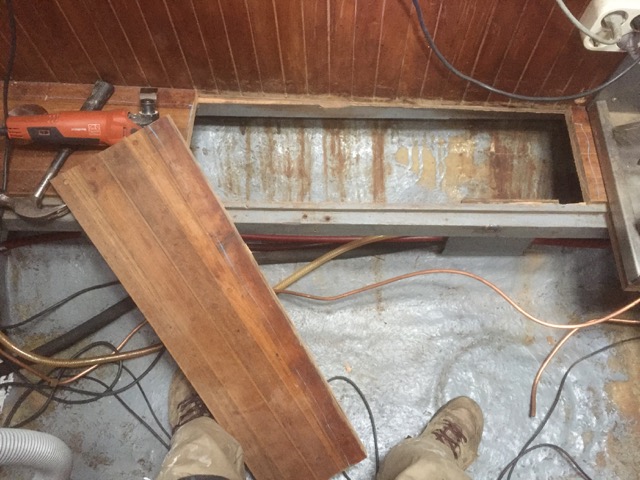
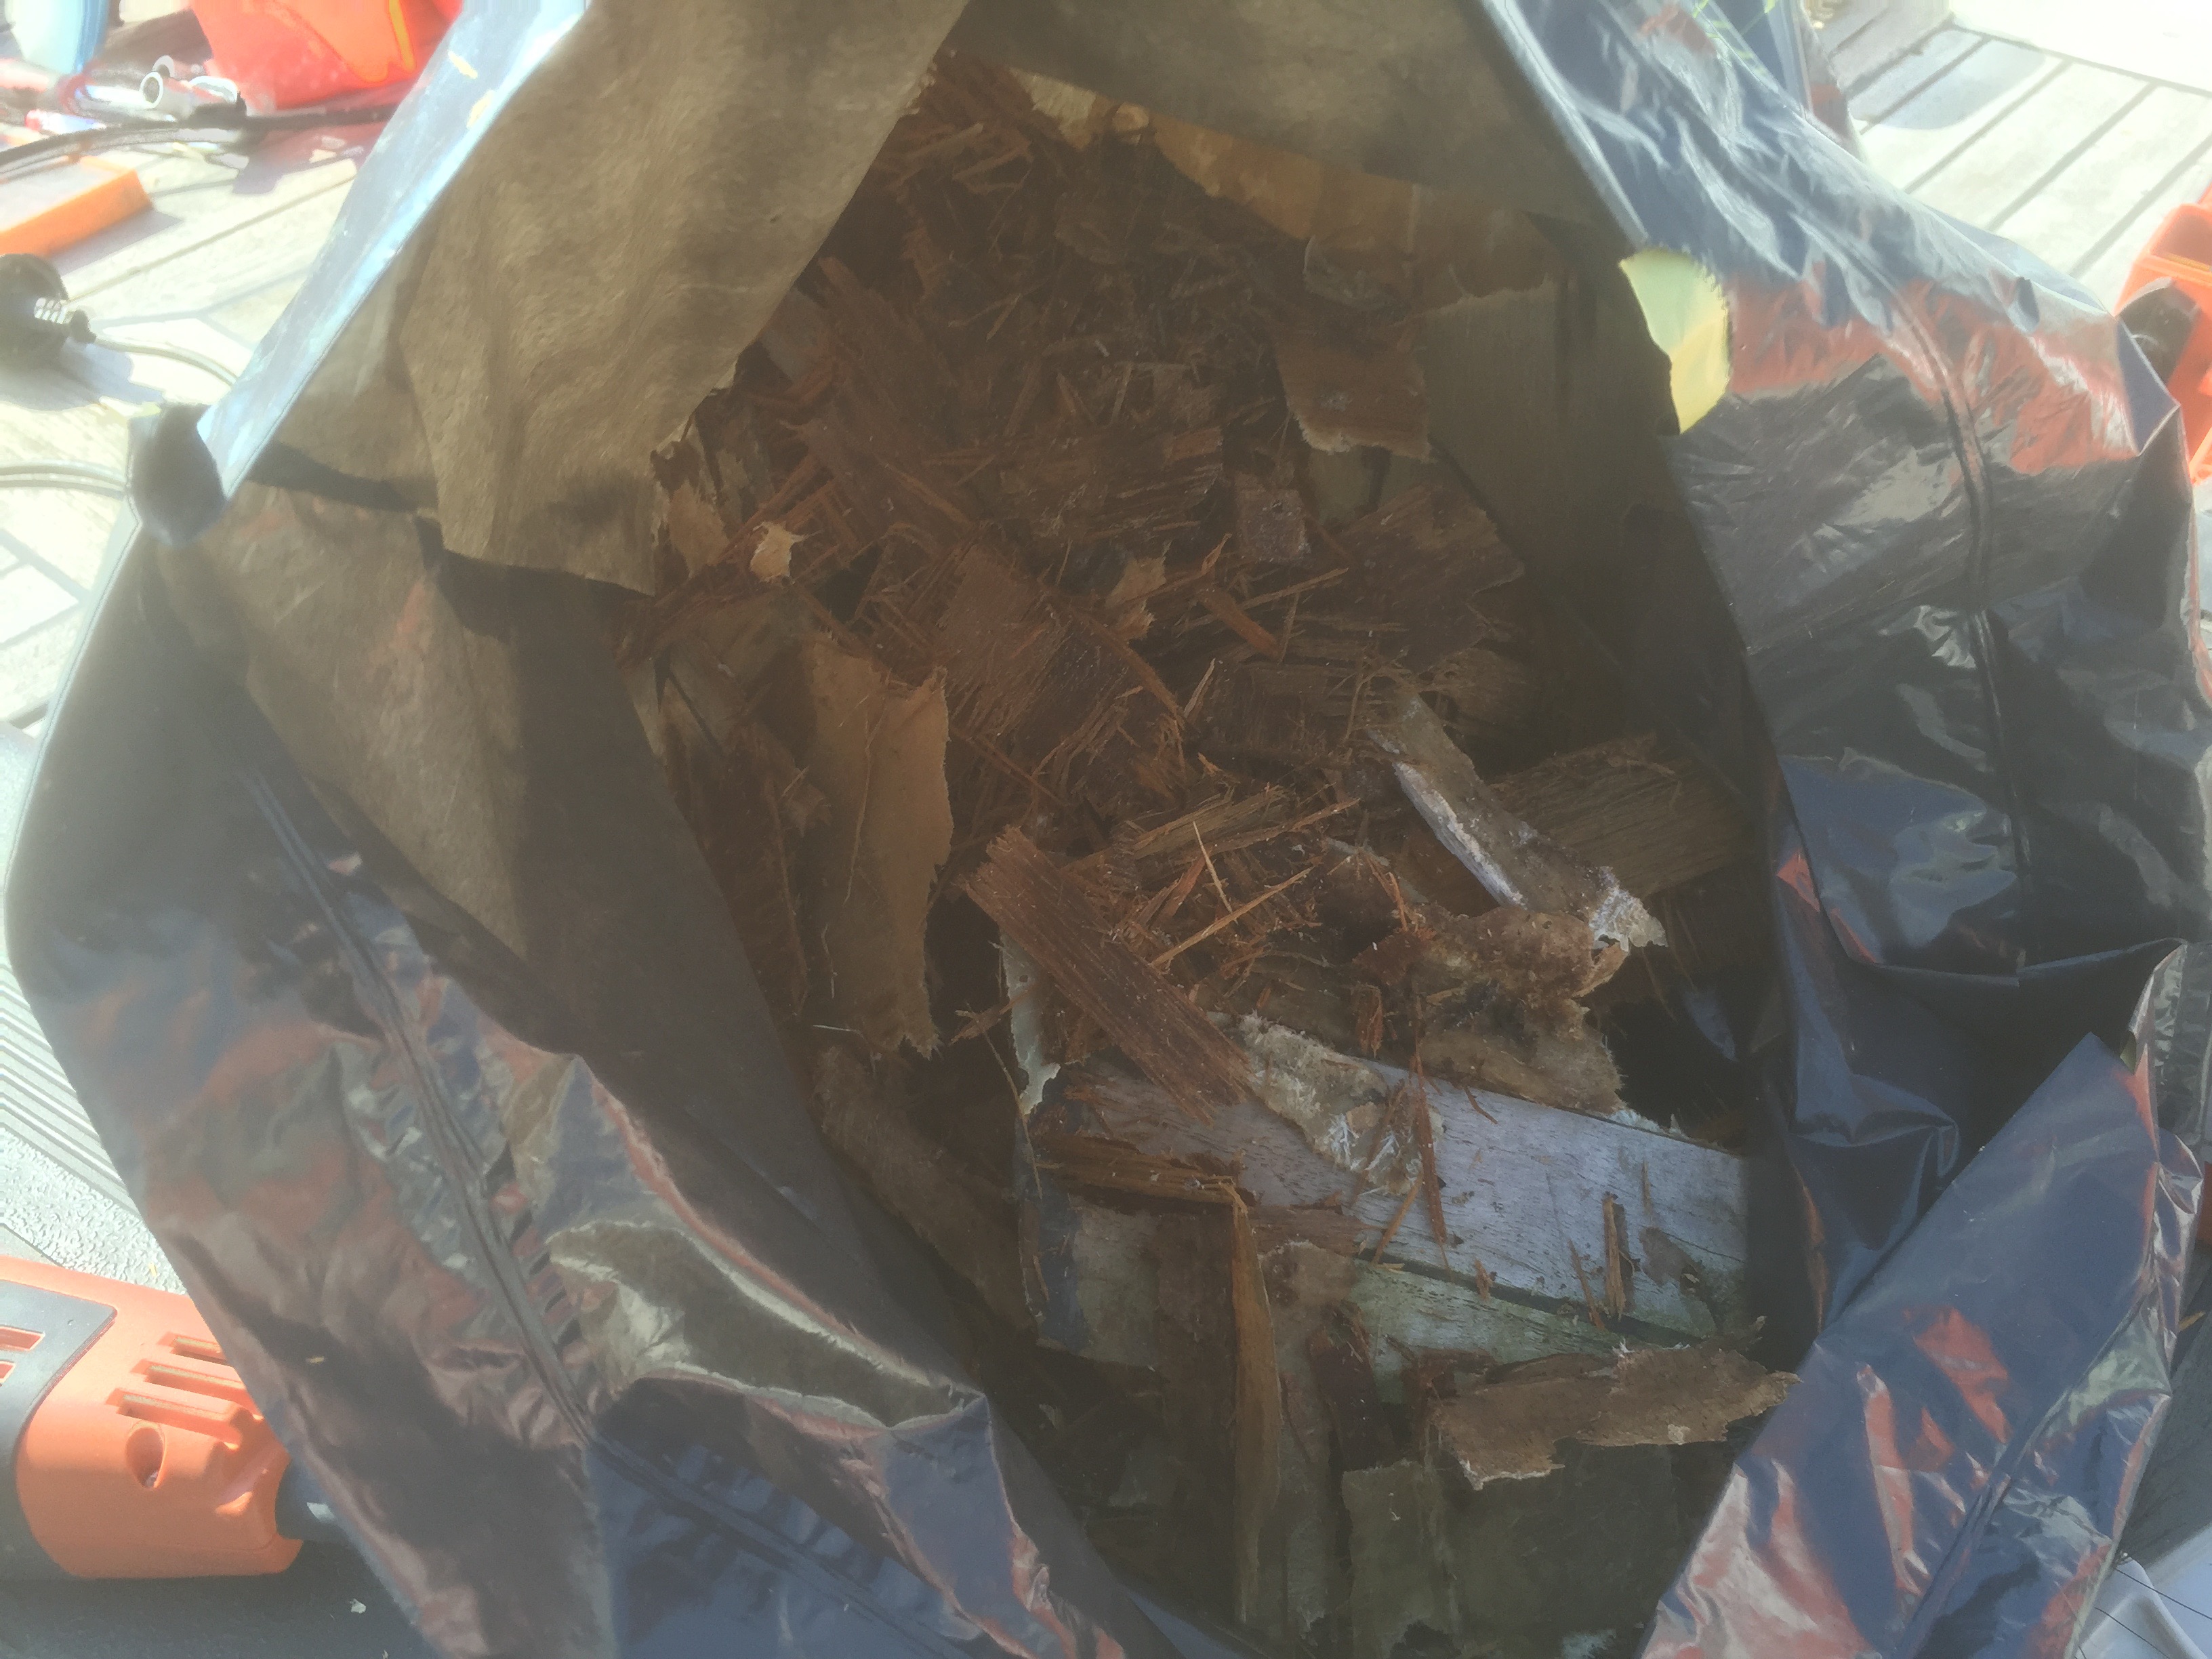
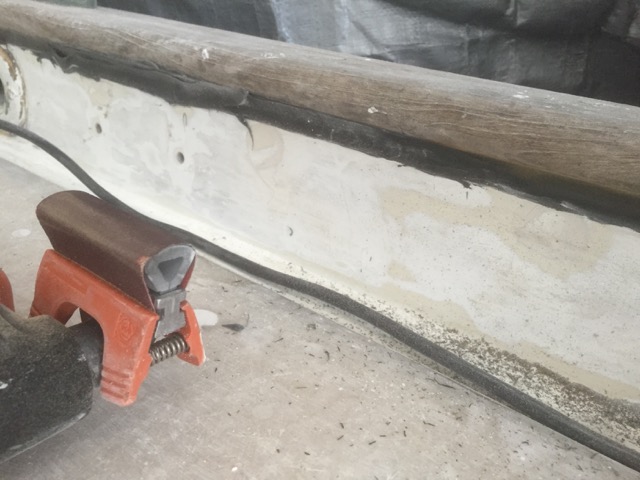
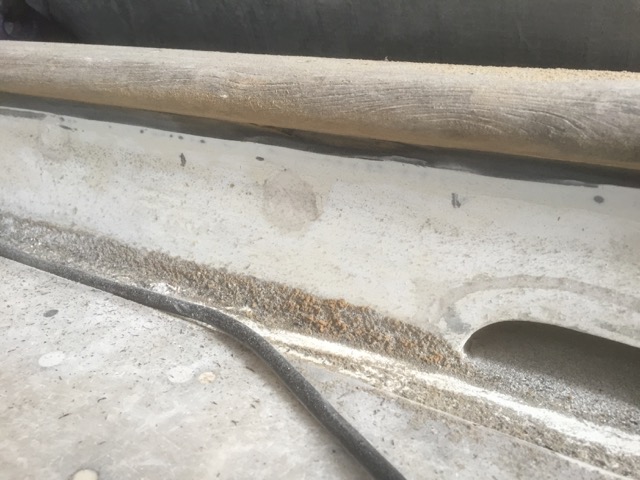
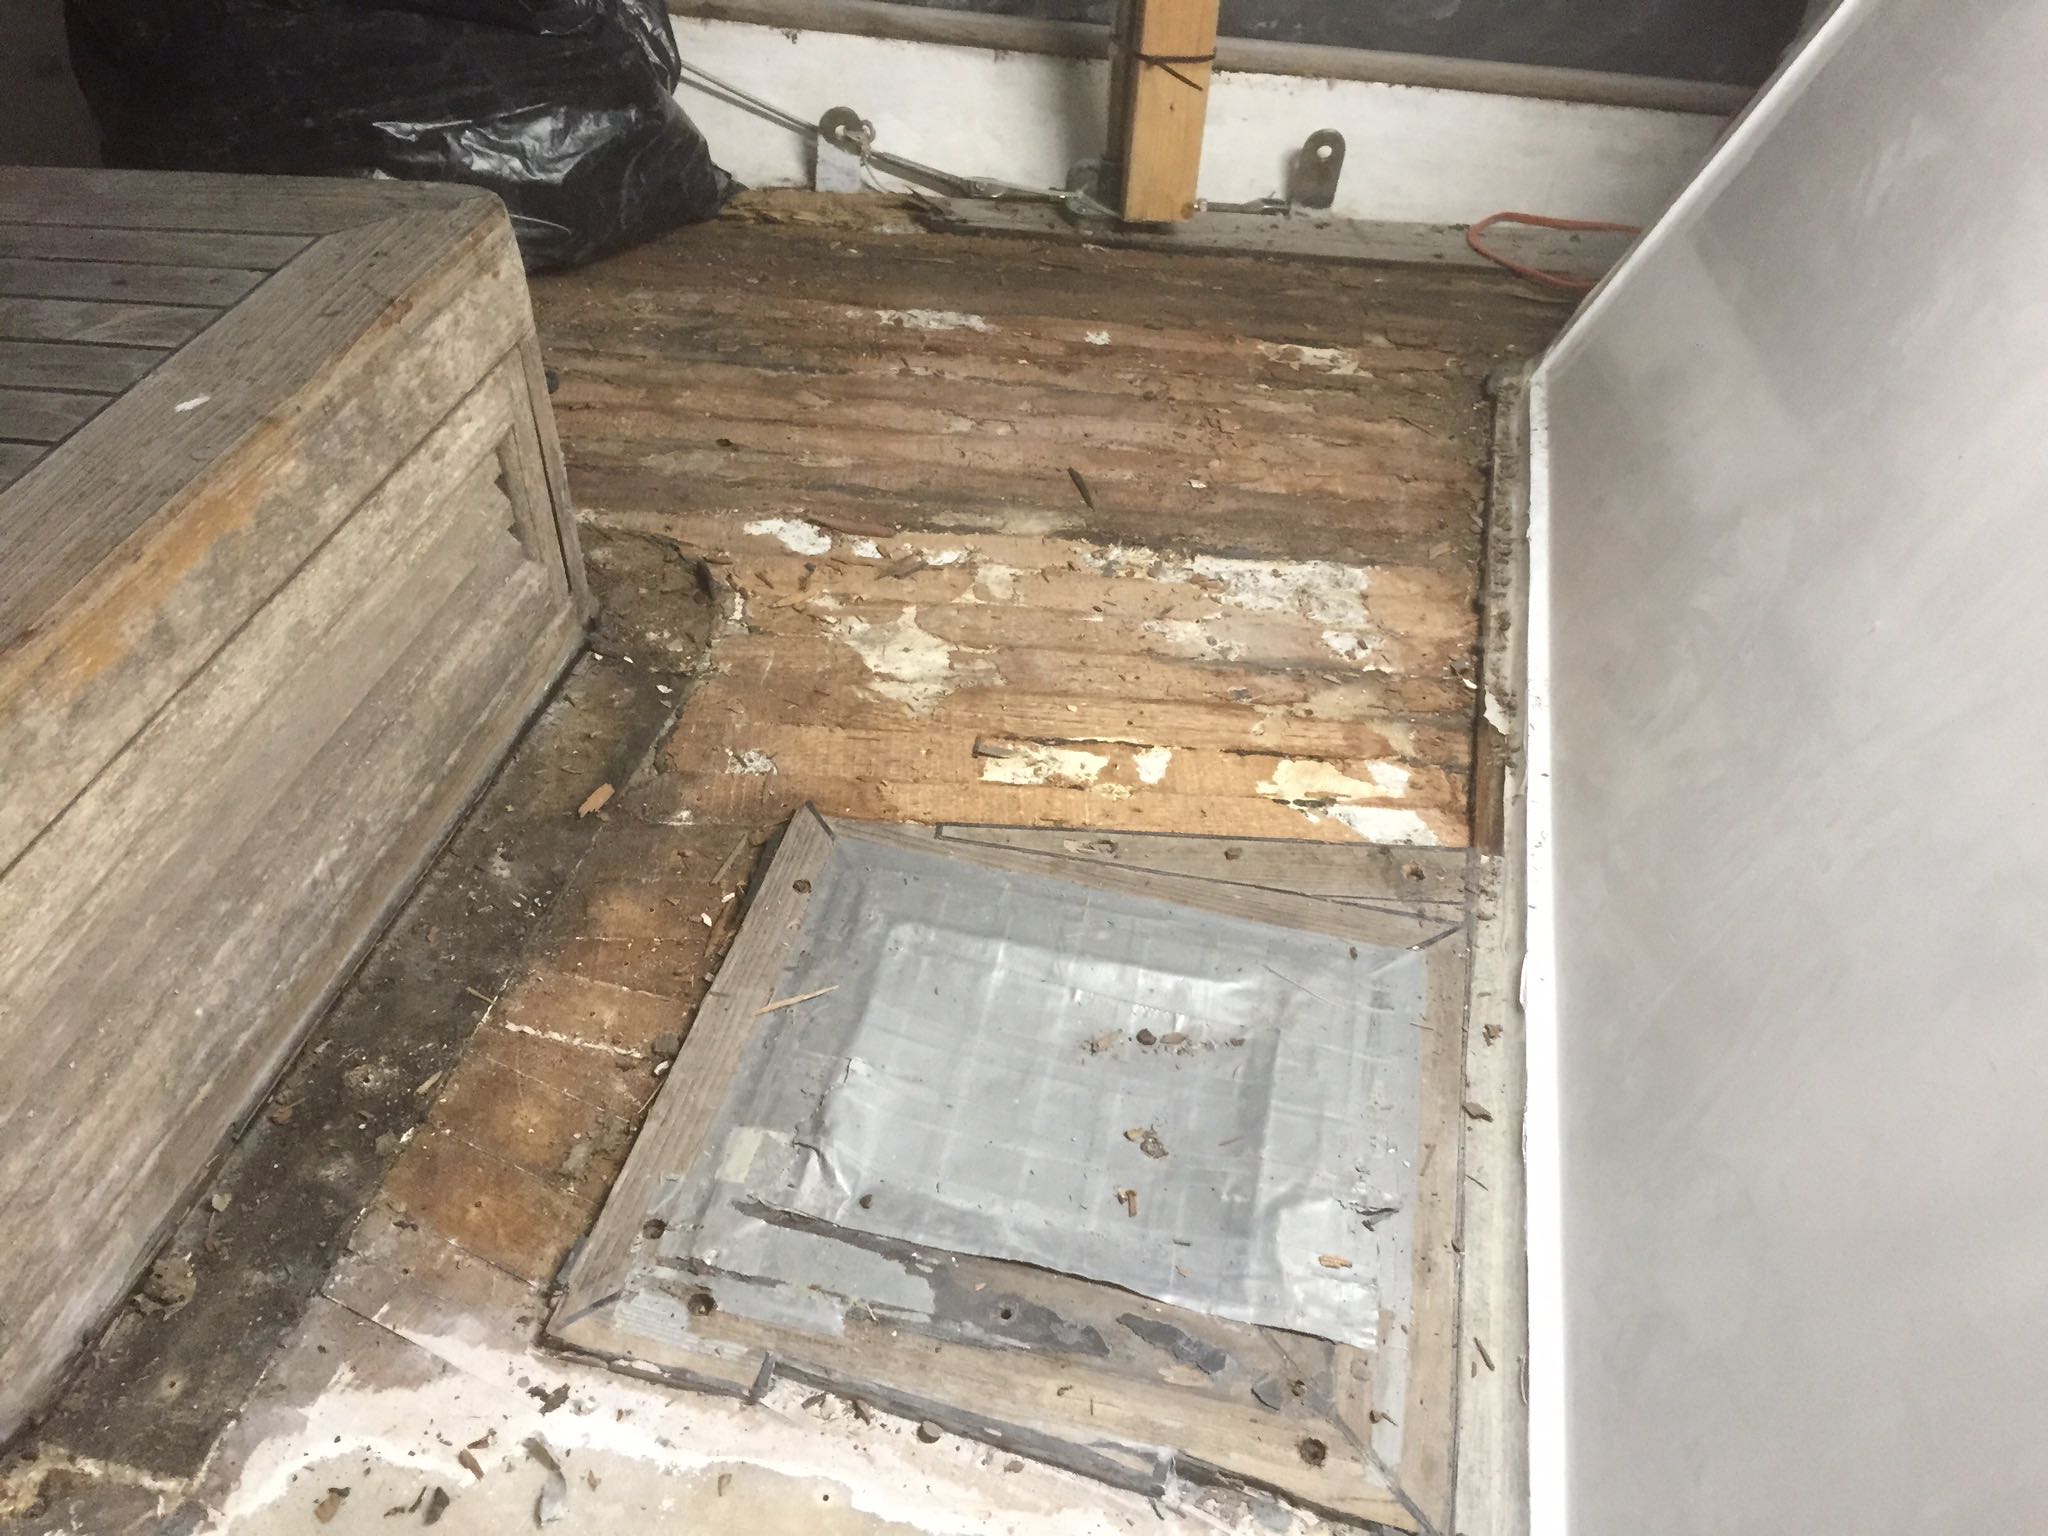
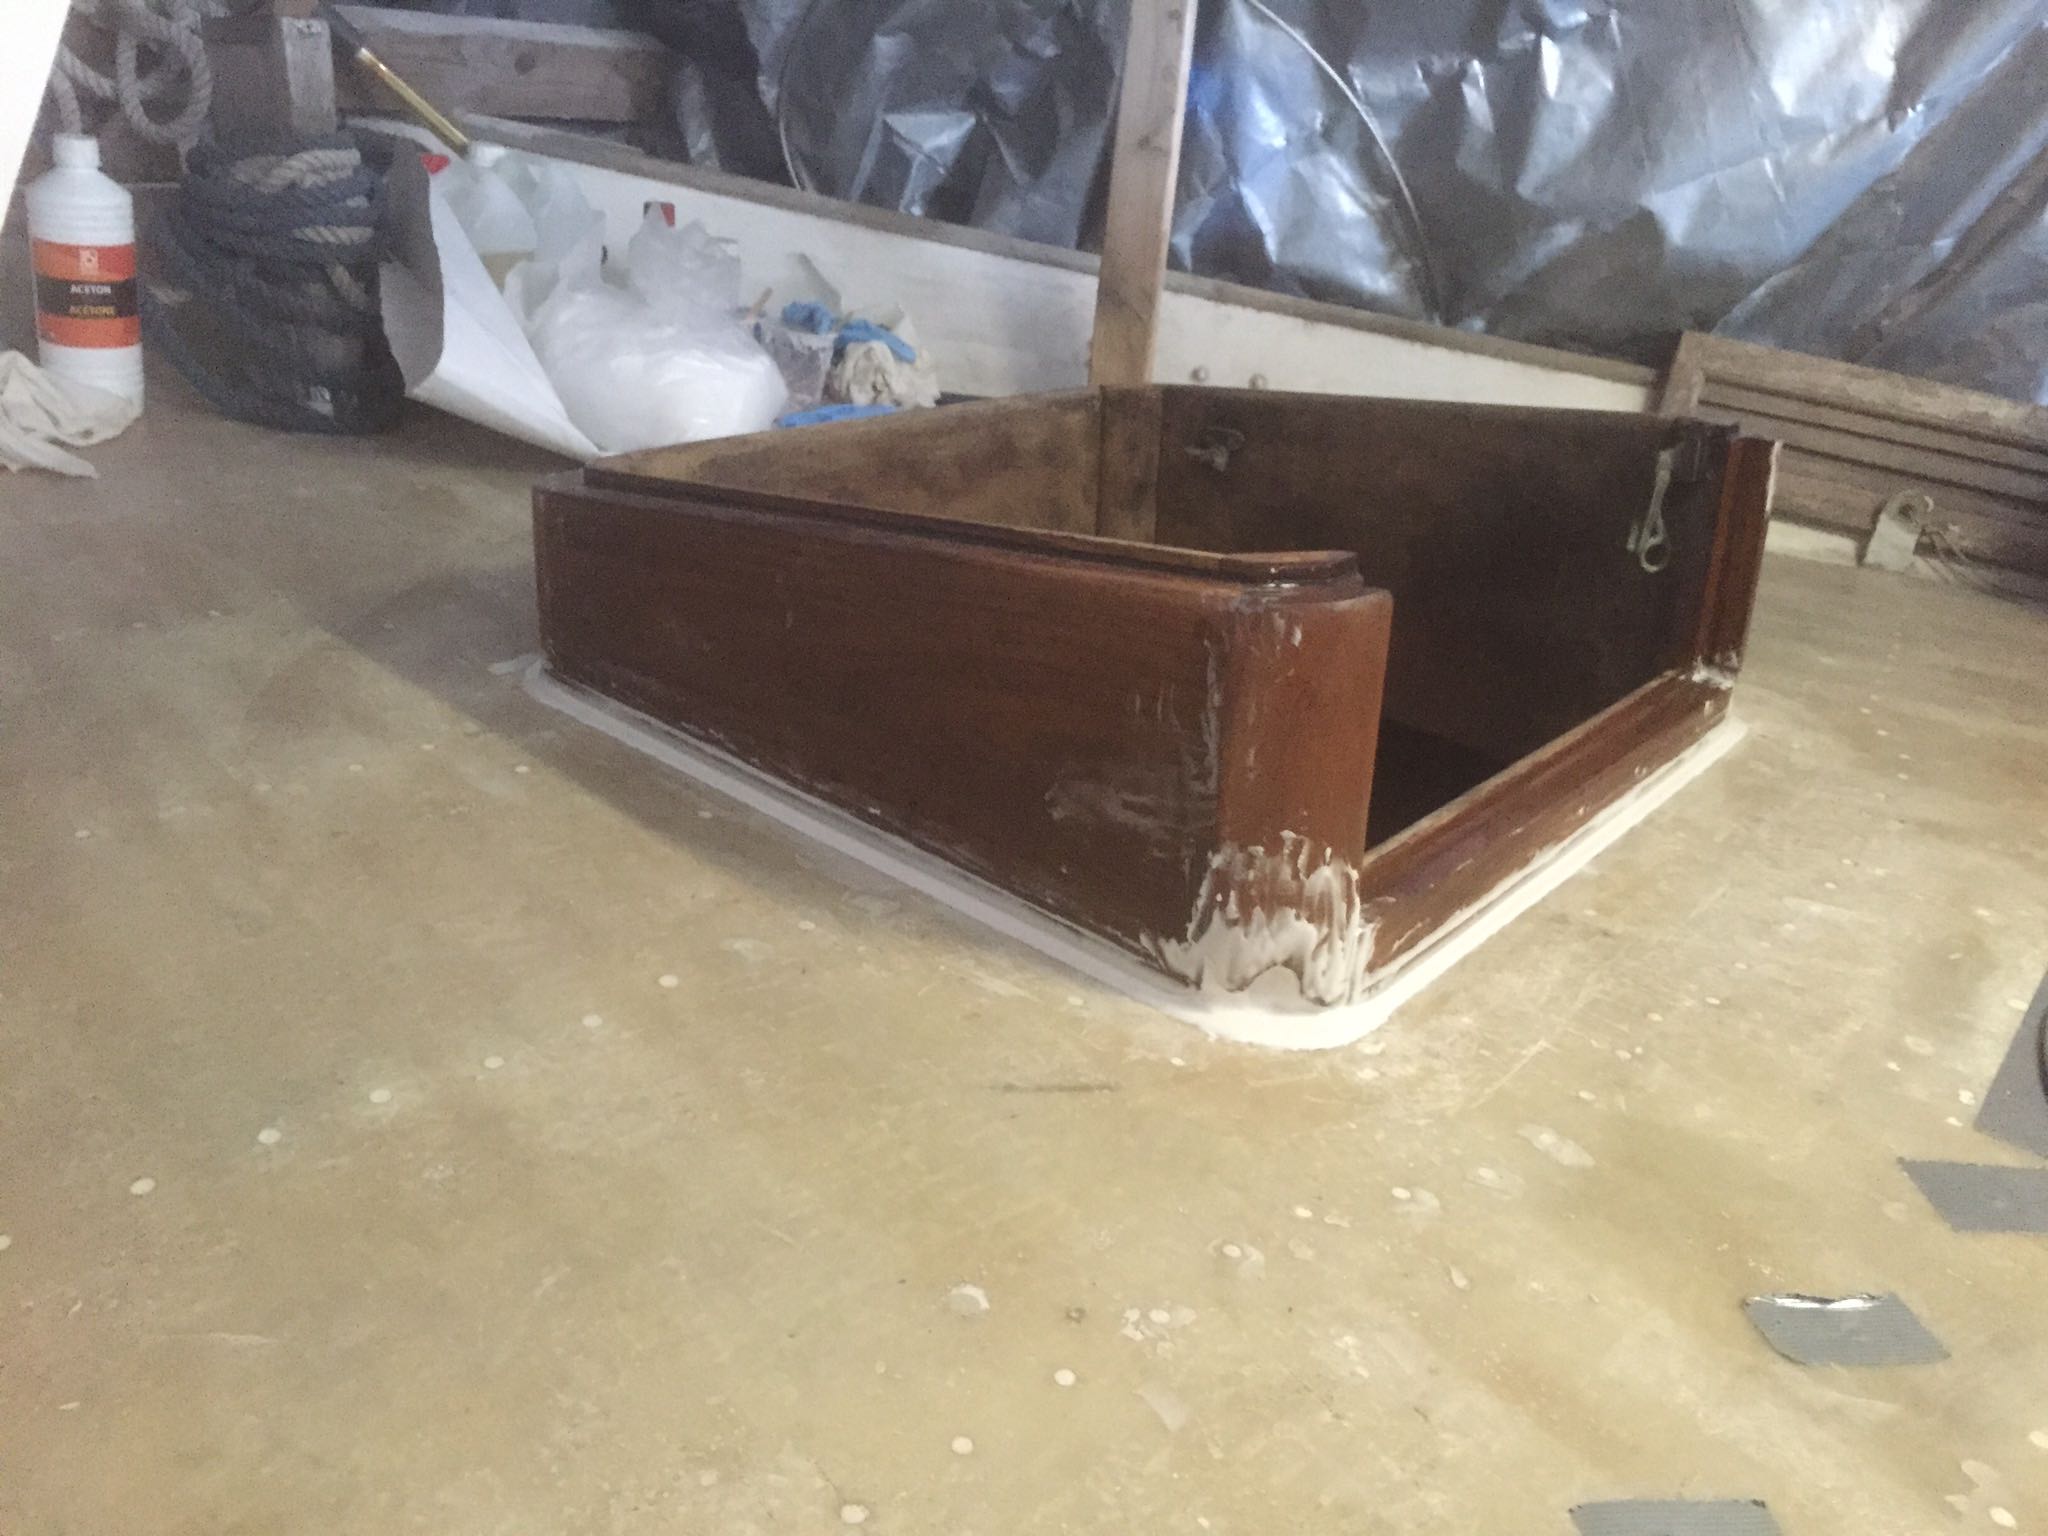
After pumping out nearly 160 liters of diesel it was clear that the diesel inside the tank was contaminated. The diesel was more murky and darker than usual, plus there was a lot of sludge left after draining the tank, which indicates diesel bacteria. Now that the tank was empty we could lift it out of the floor and take it outside for further inspection. After cleaning the tank from the inside and the outside it became clear how badly corroded the steel was. When cleaning the outside to the tank with a vacuum cleaner for a second time the suction even broke a hole inside the bottom of the tank. In one way I was very lucky the tank did not leak all of it’s 160 liters of diesel inside of the boat, but the sad part is of course the tank was beginning to look beyond repair. It would have been a lot of work to repair and clean this tank. And even if it was fully restored it still would have been a steel tank (not stainless steel), which would eventually start to have the same issues all over again.
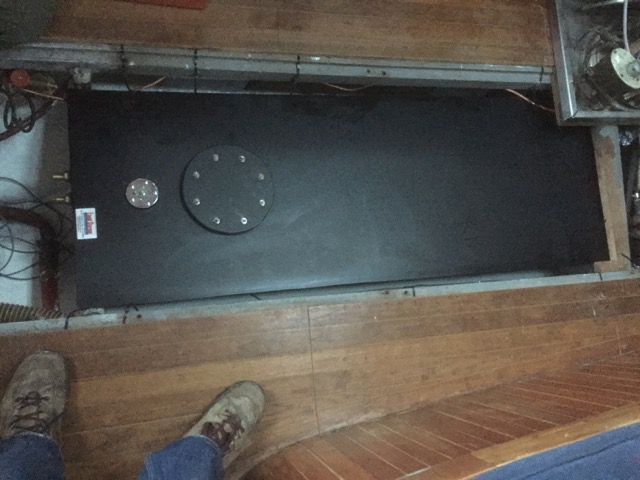
So the decision was made to get a new diesel tank. One problem though, I could not buy a regular tank from a marine shop. The tank needed to have a custom shape in the form of the hull of the Seadog. After some research I also decided not to go for a stainless steel tank, but a special kind of plastic tank. These plastic tanks seem to have some superior characteristics over their steel counterparts. For one, there is less change of diesel bacteria forming, because the plastic parts have less change of forming condensation inside the tank. There are a few companies in The Netherlands that can build these custom diesel tanks for marine purposes, and after shopping around I found a company in Koudekerk aan de Rijn which came with the best offer. The company is named Liquid Storage (http://www.liquidstorage.nl) and they make all kinds of storage tanks. There service was impeccable and I can really recommend them to anyone who needs new tanks aboard their ship (also for drinking and wastewater tanks).
We brought the old thank to this company where they used it as a mold to create the new one.
The new (and old) tank

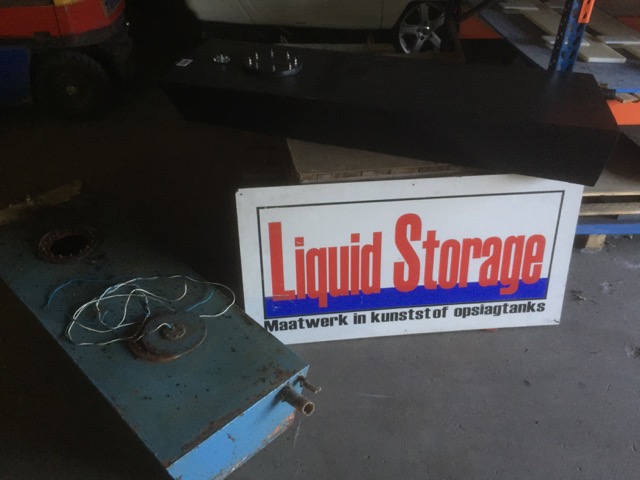
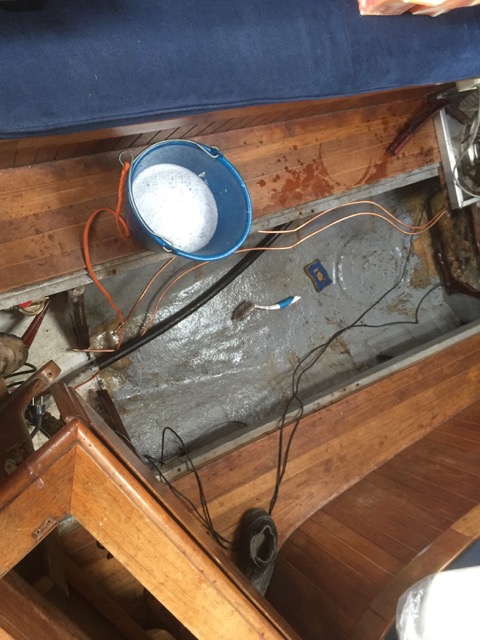
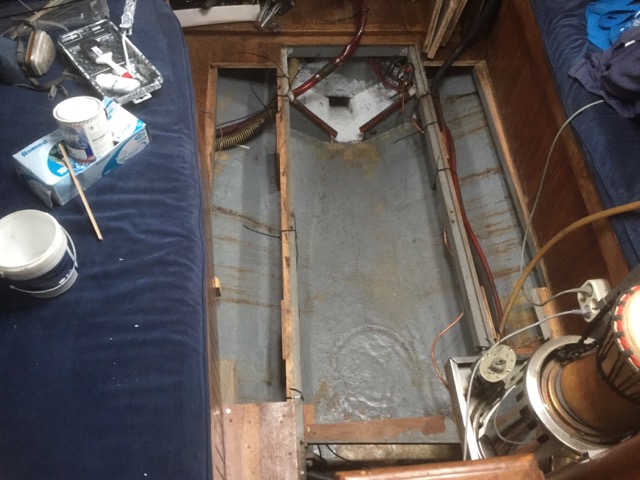
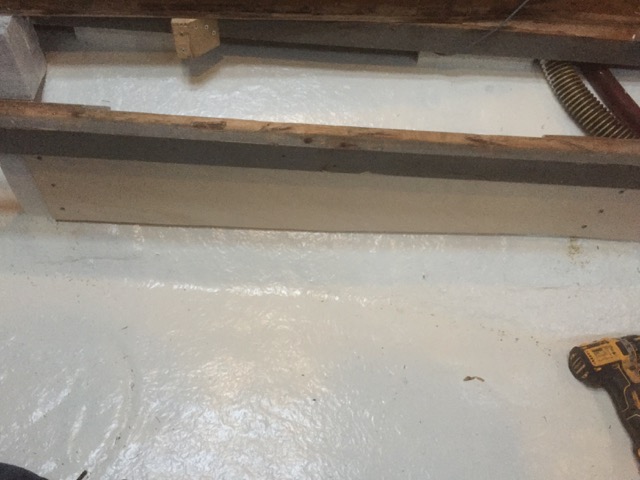
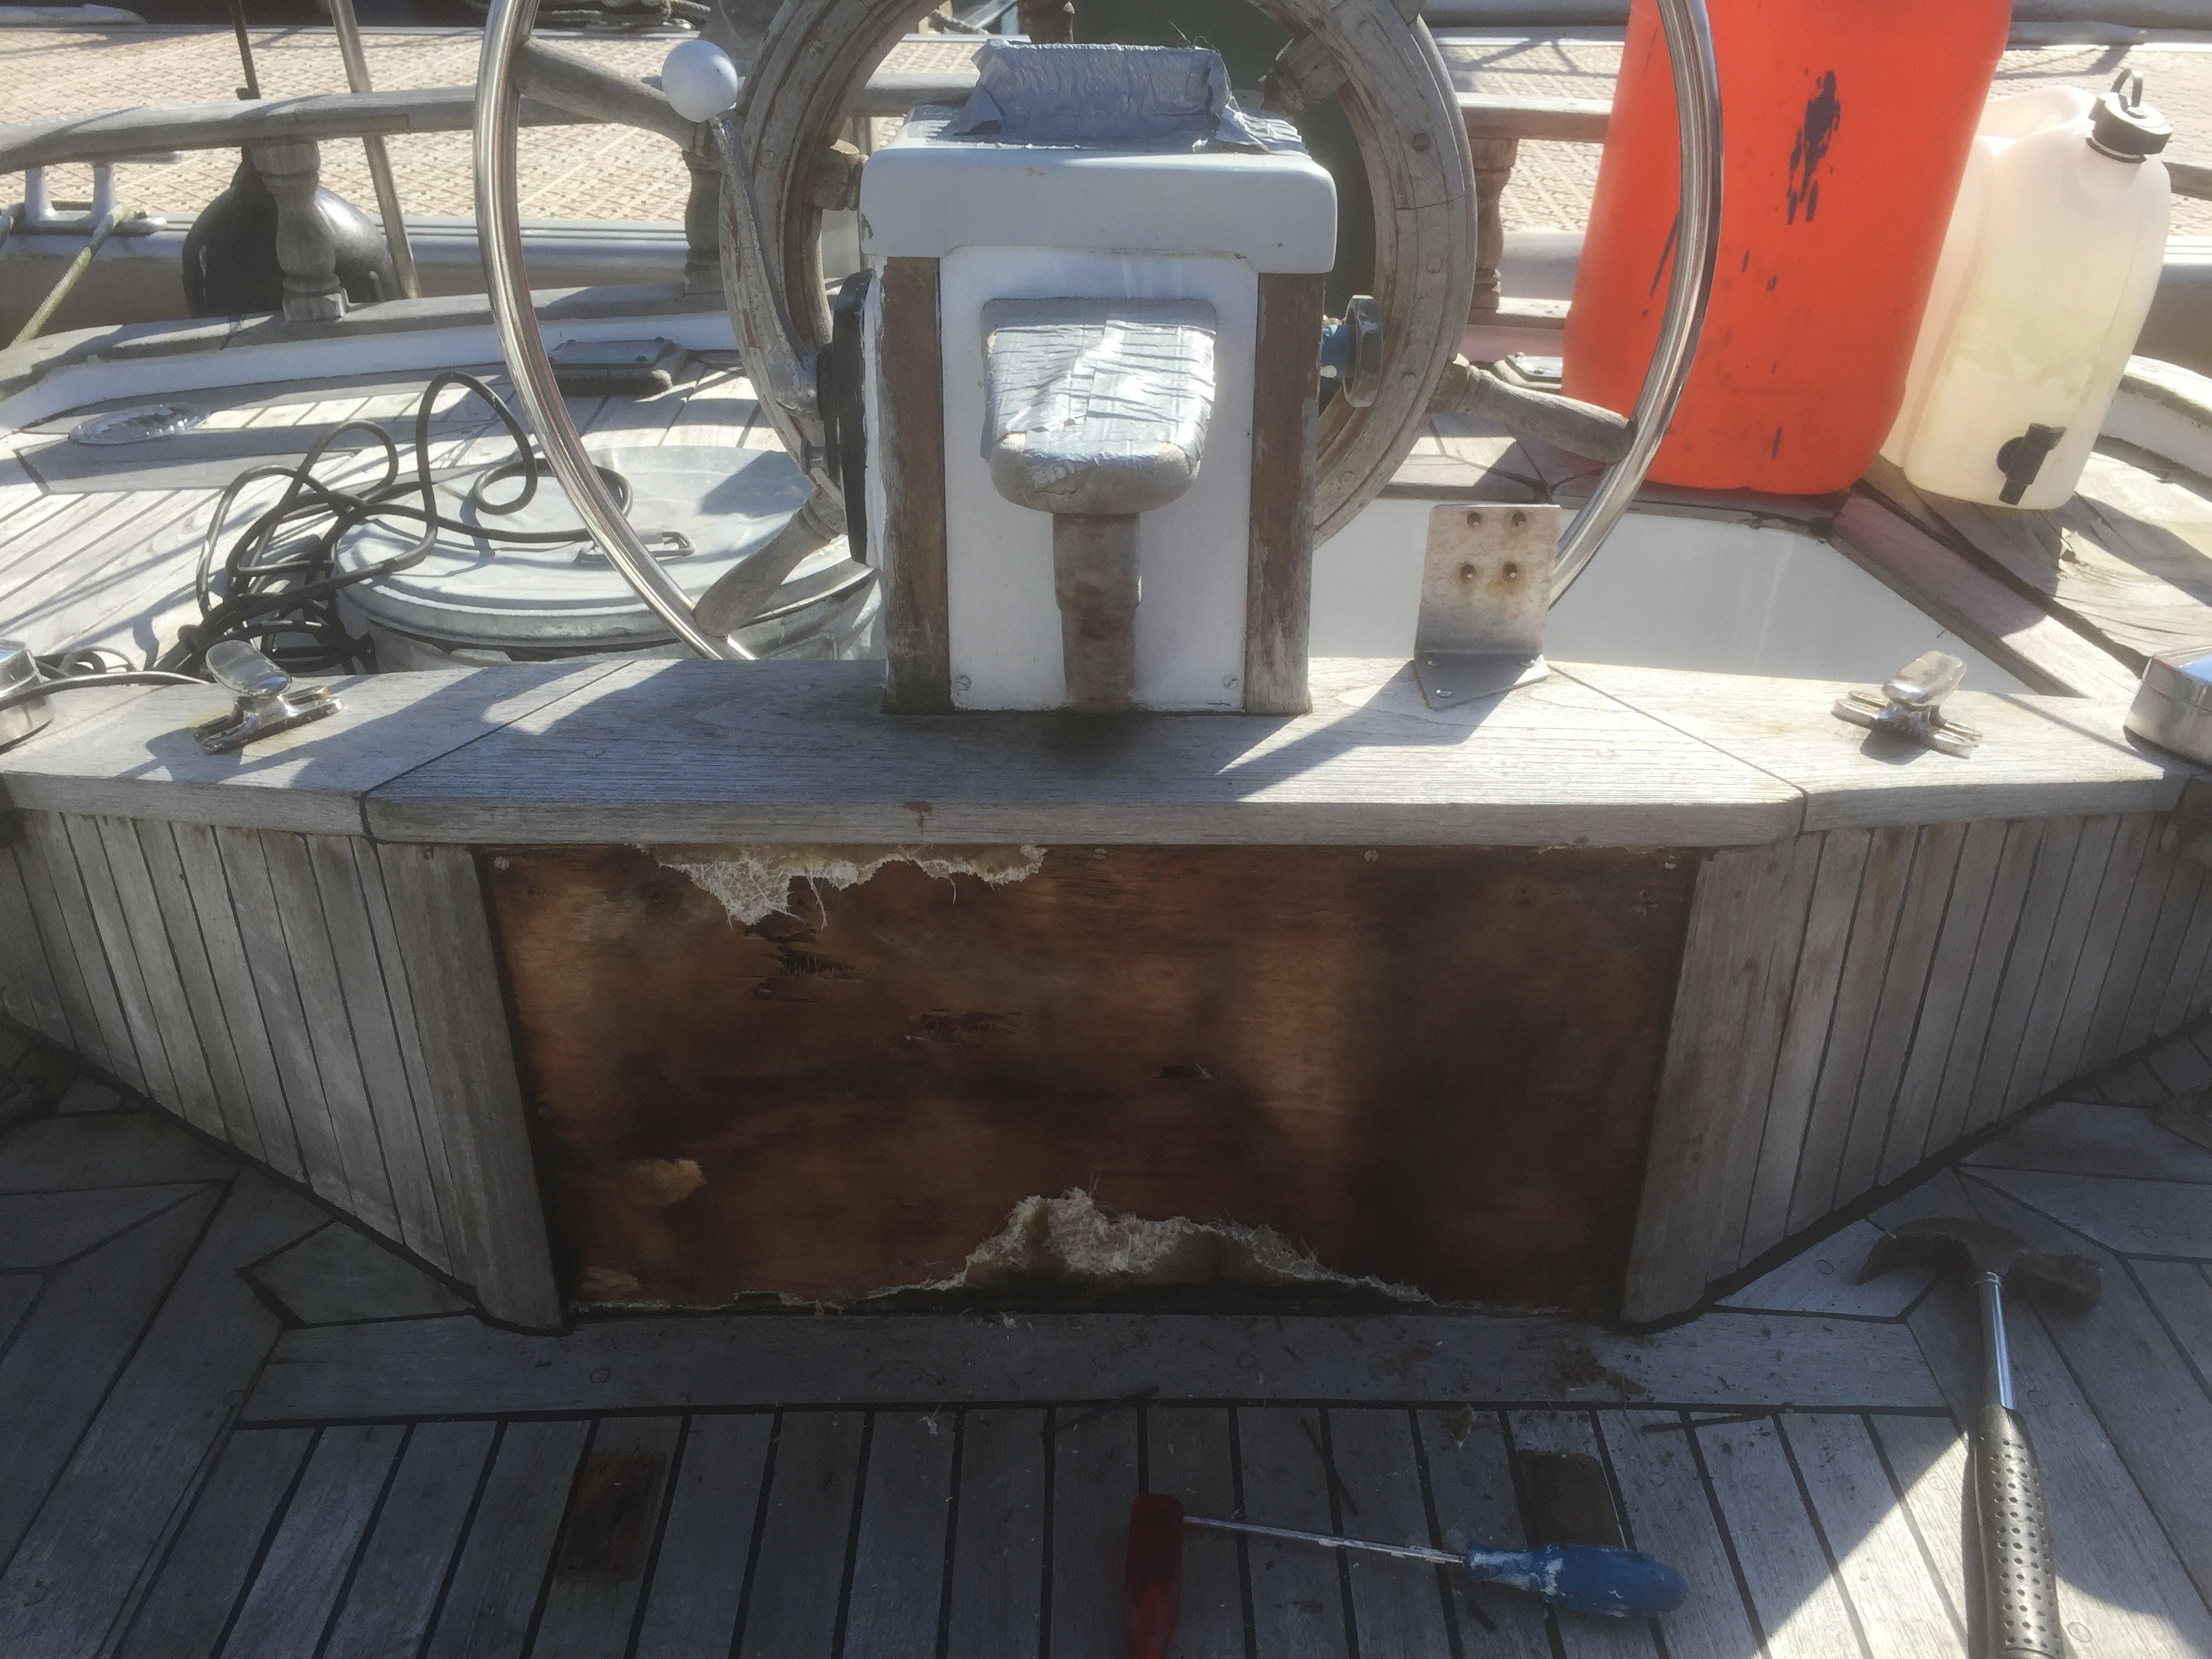
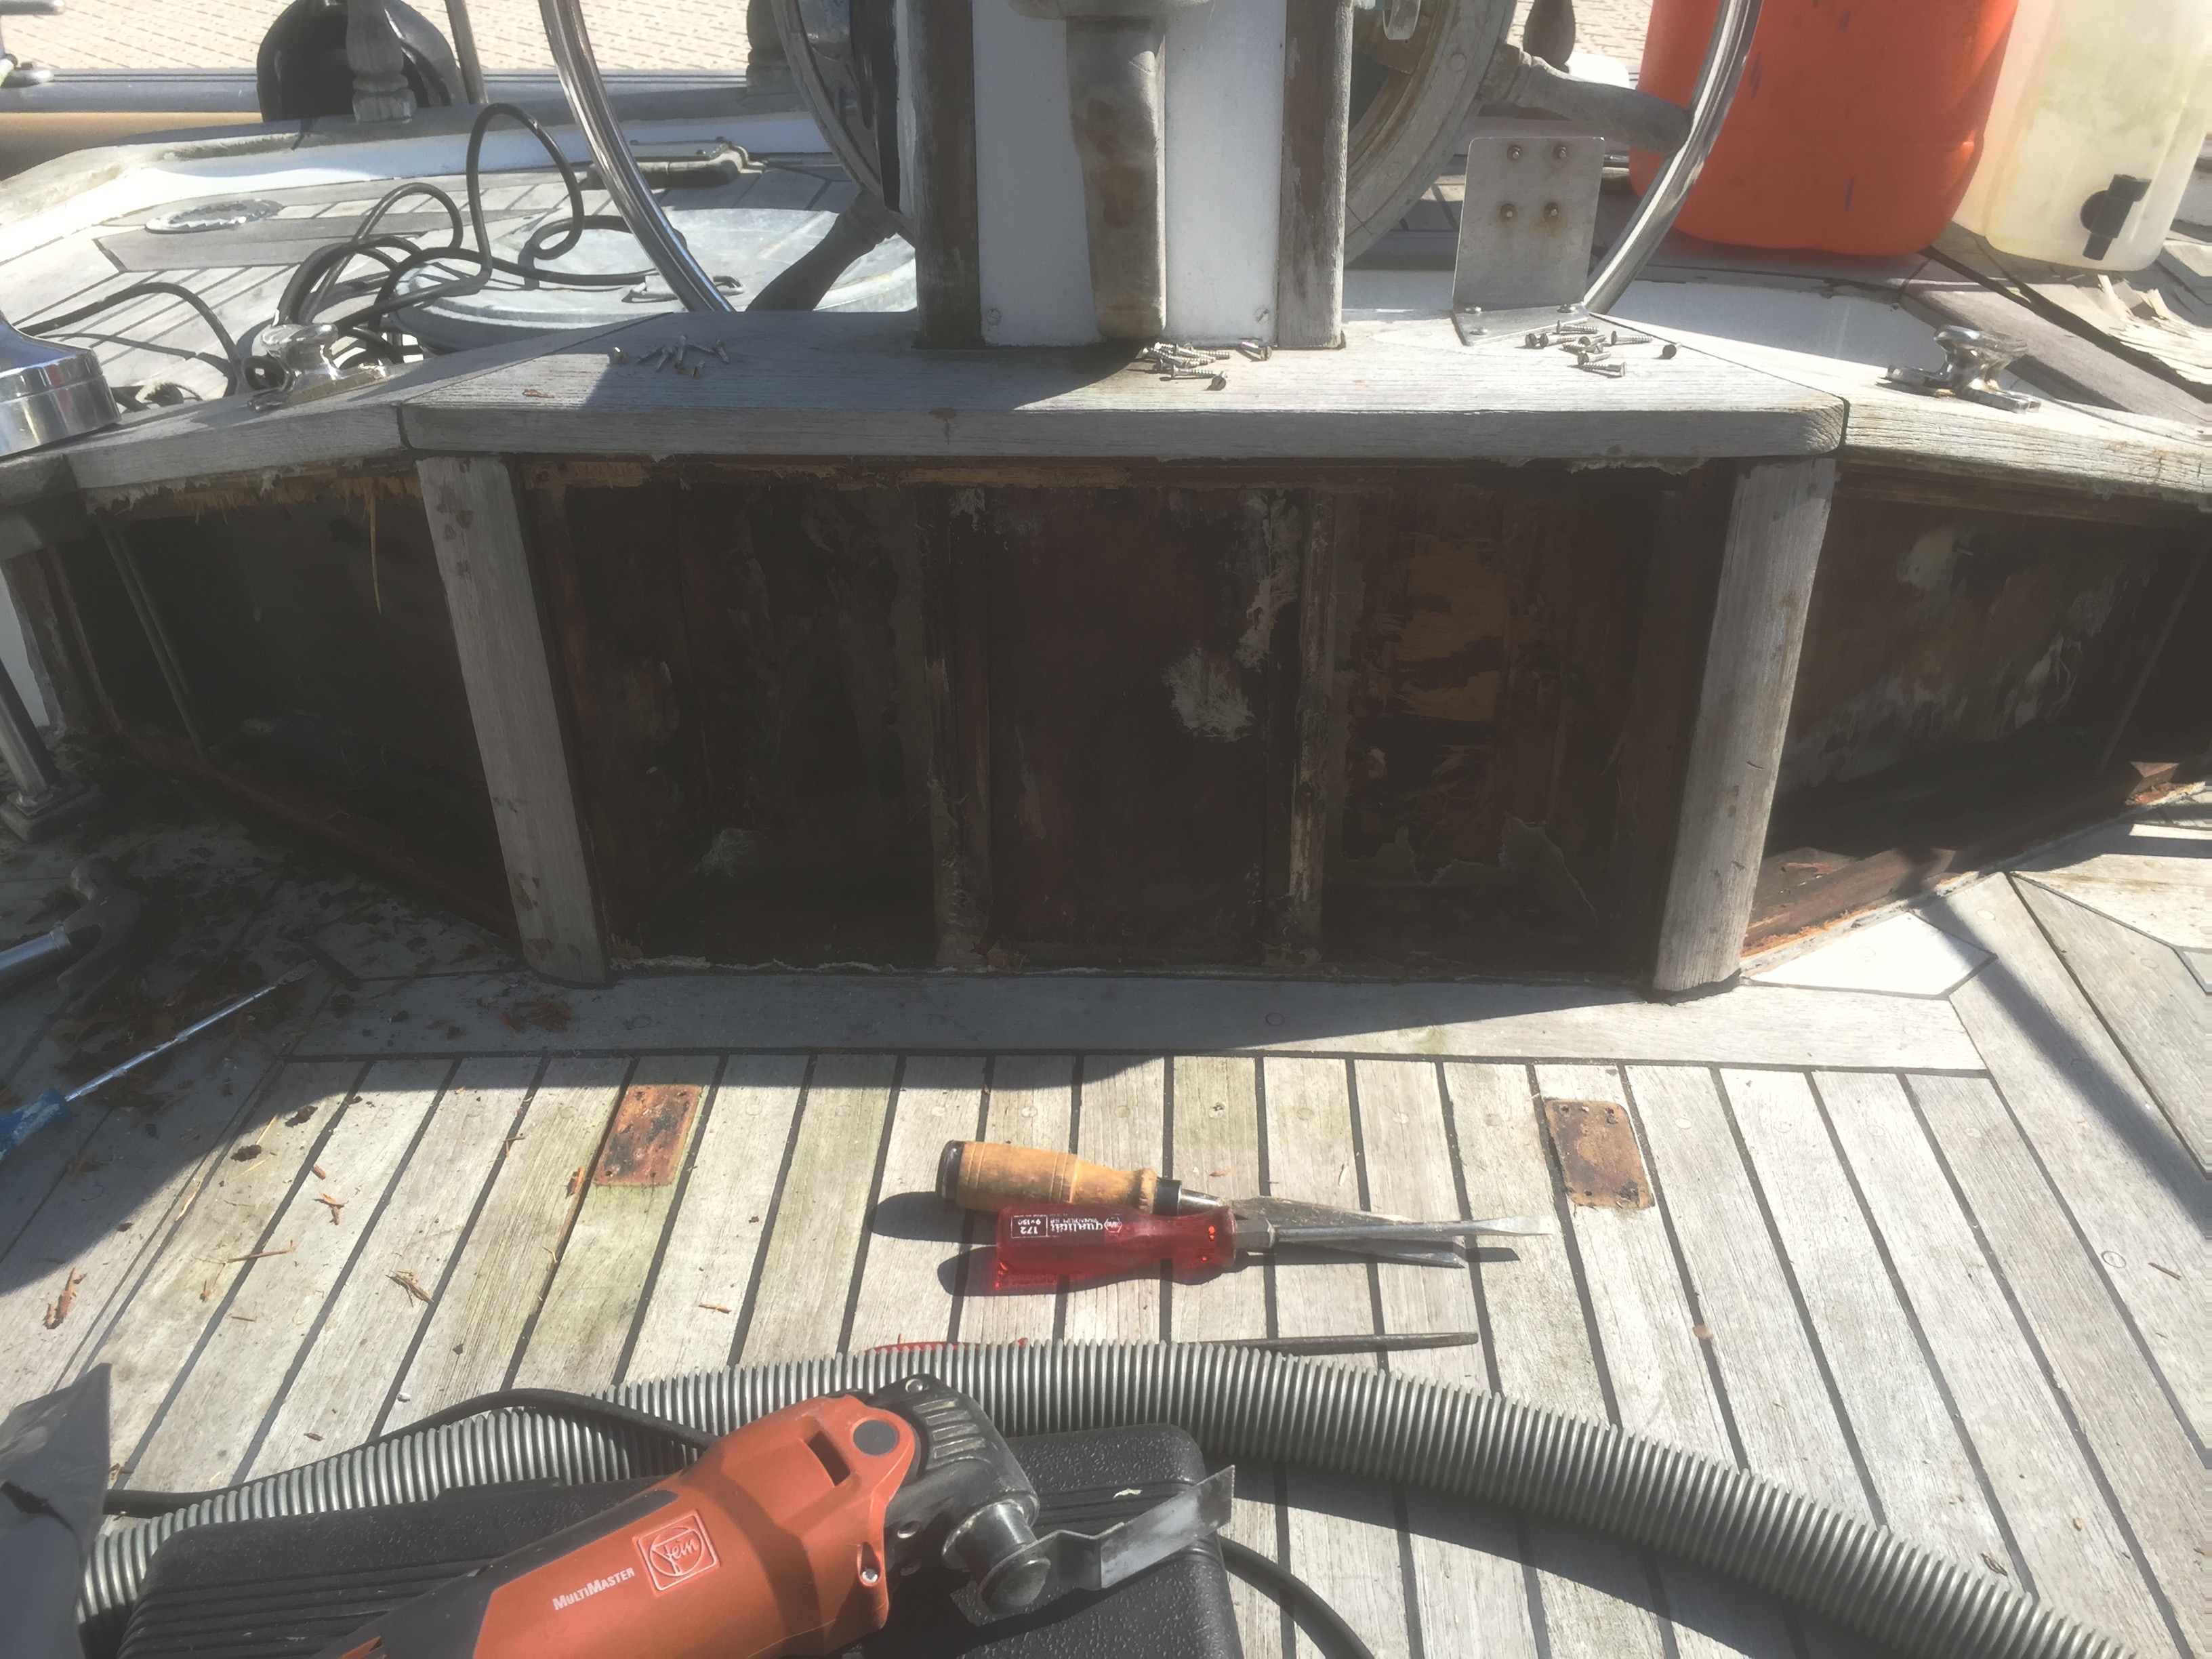
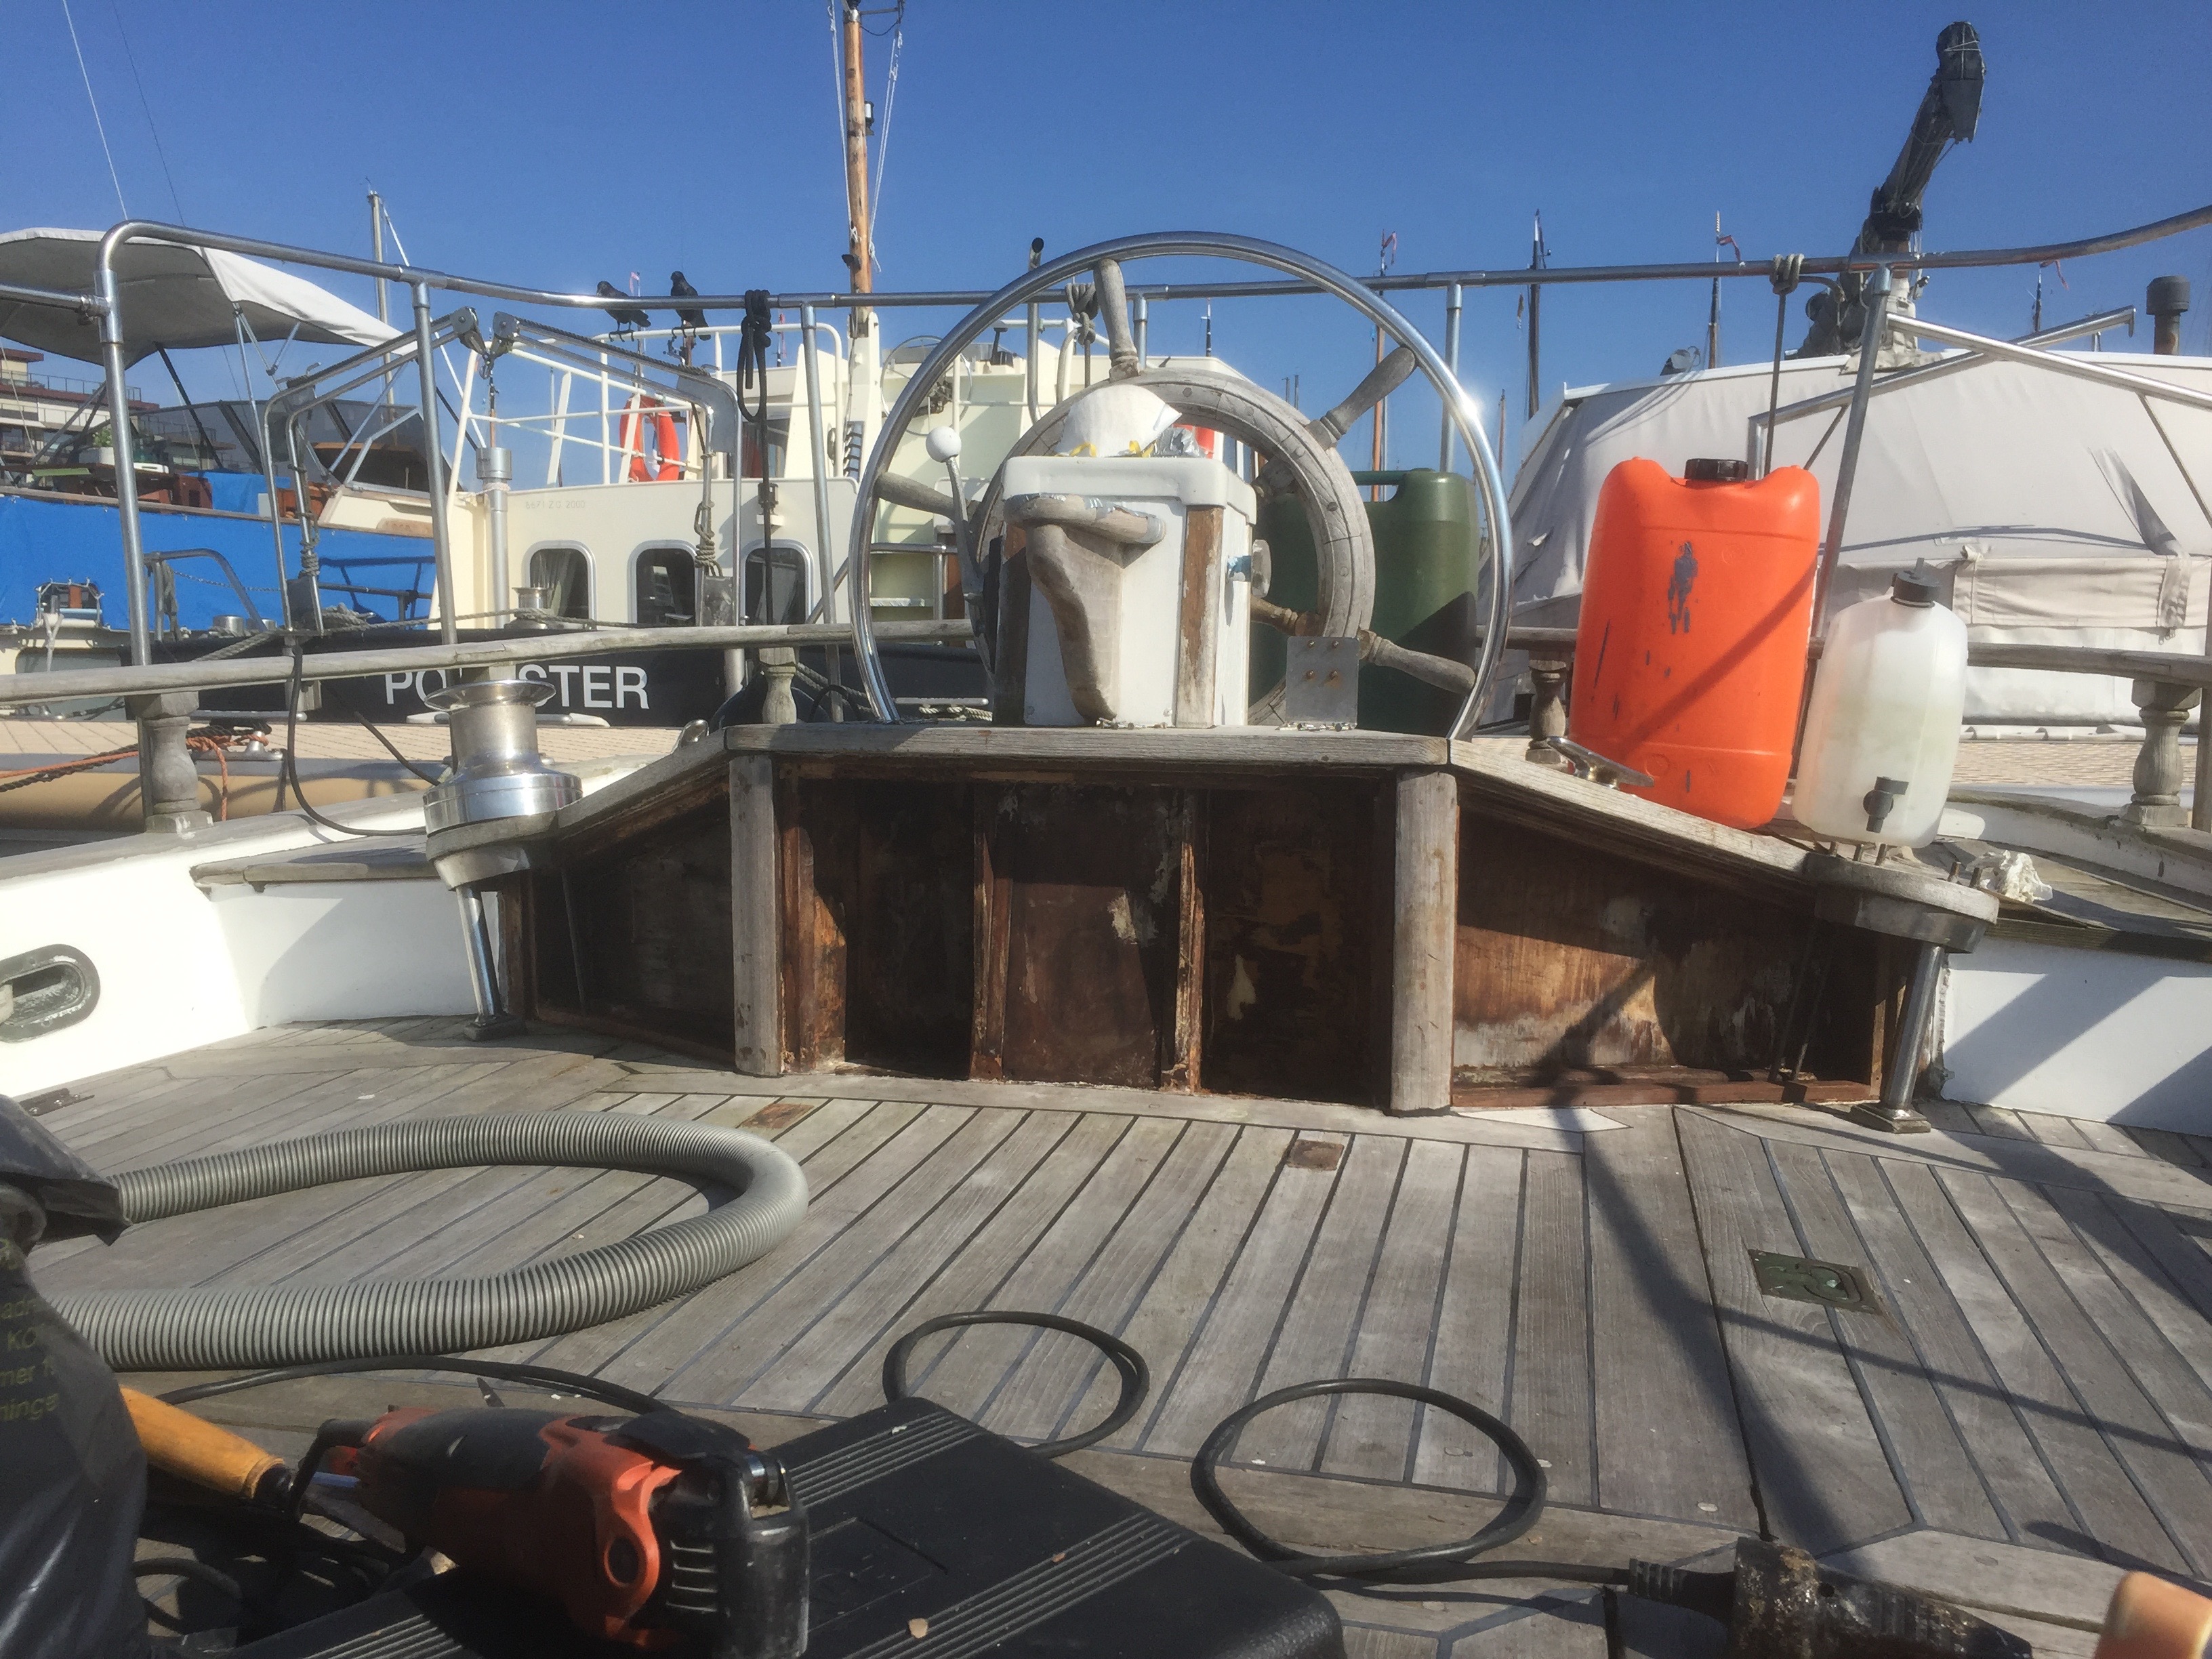
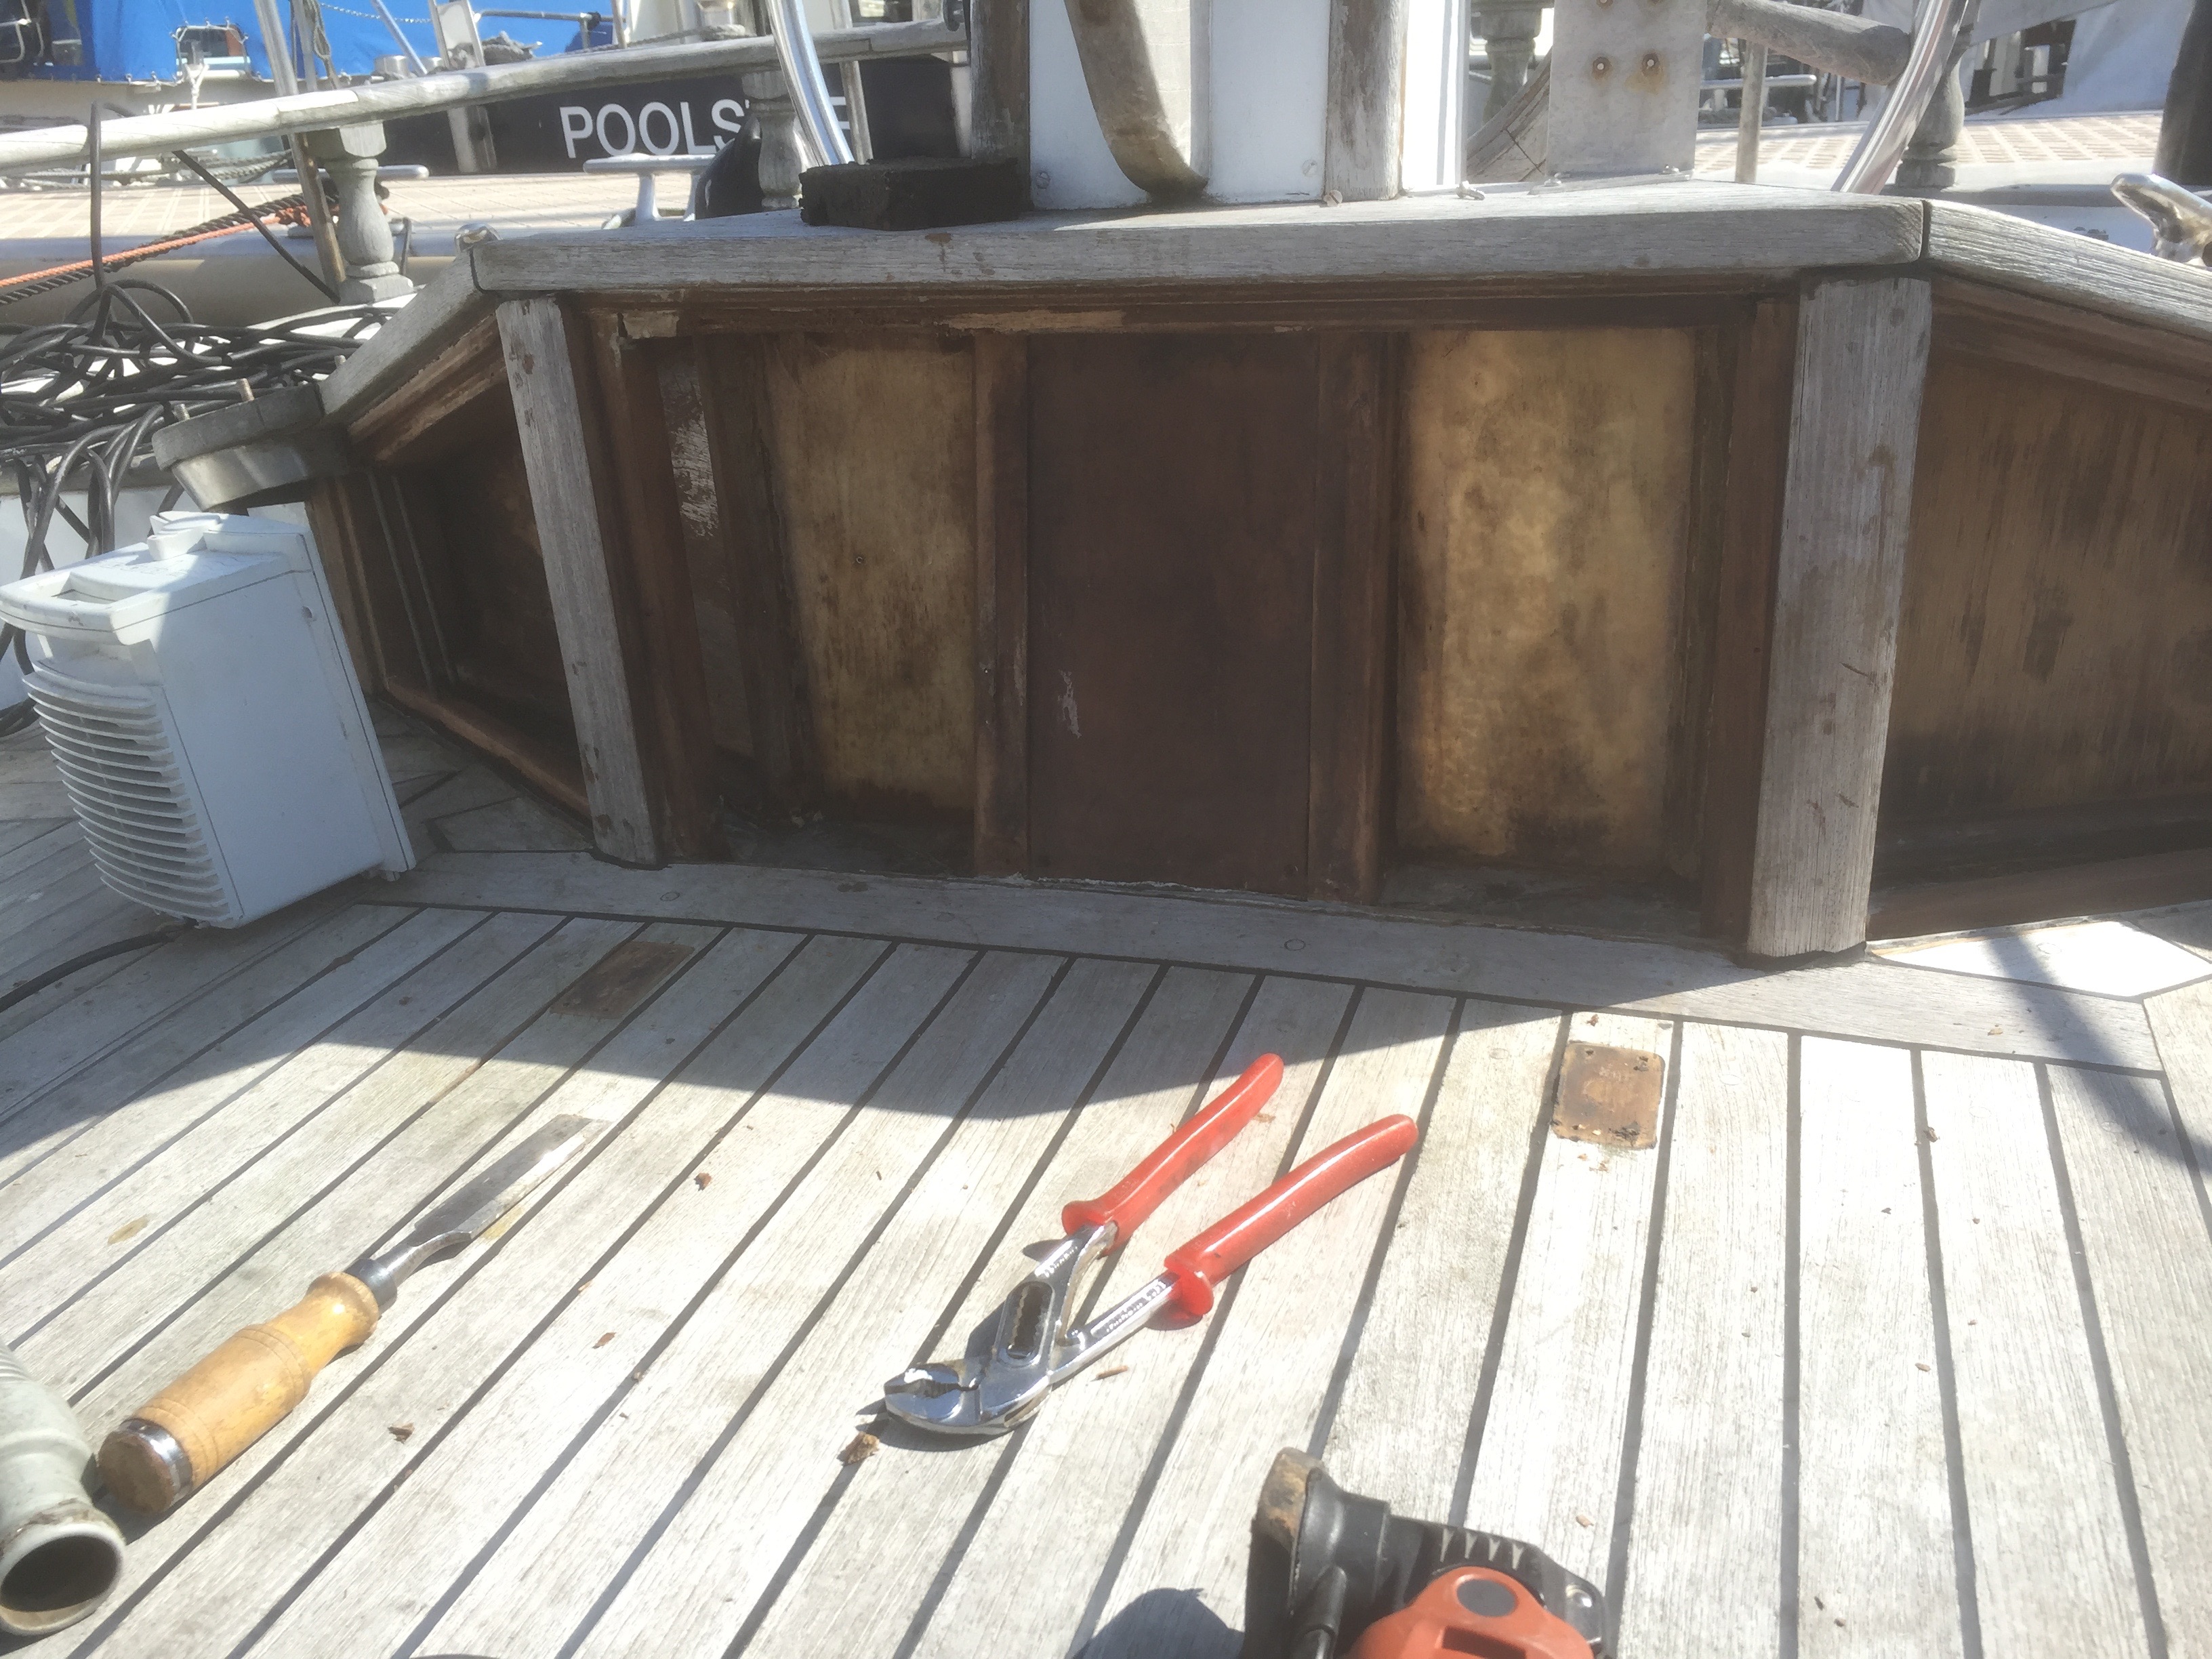
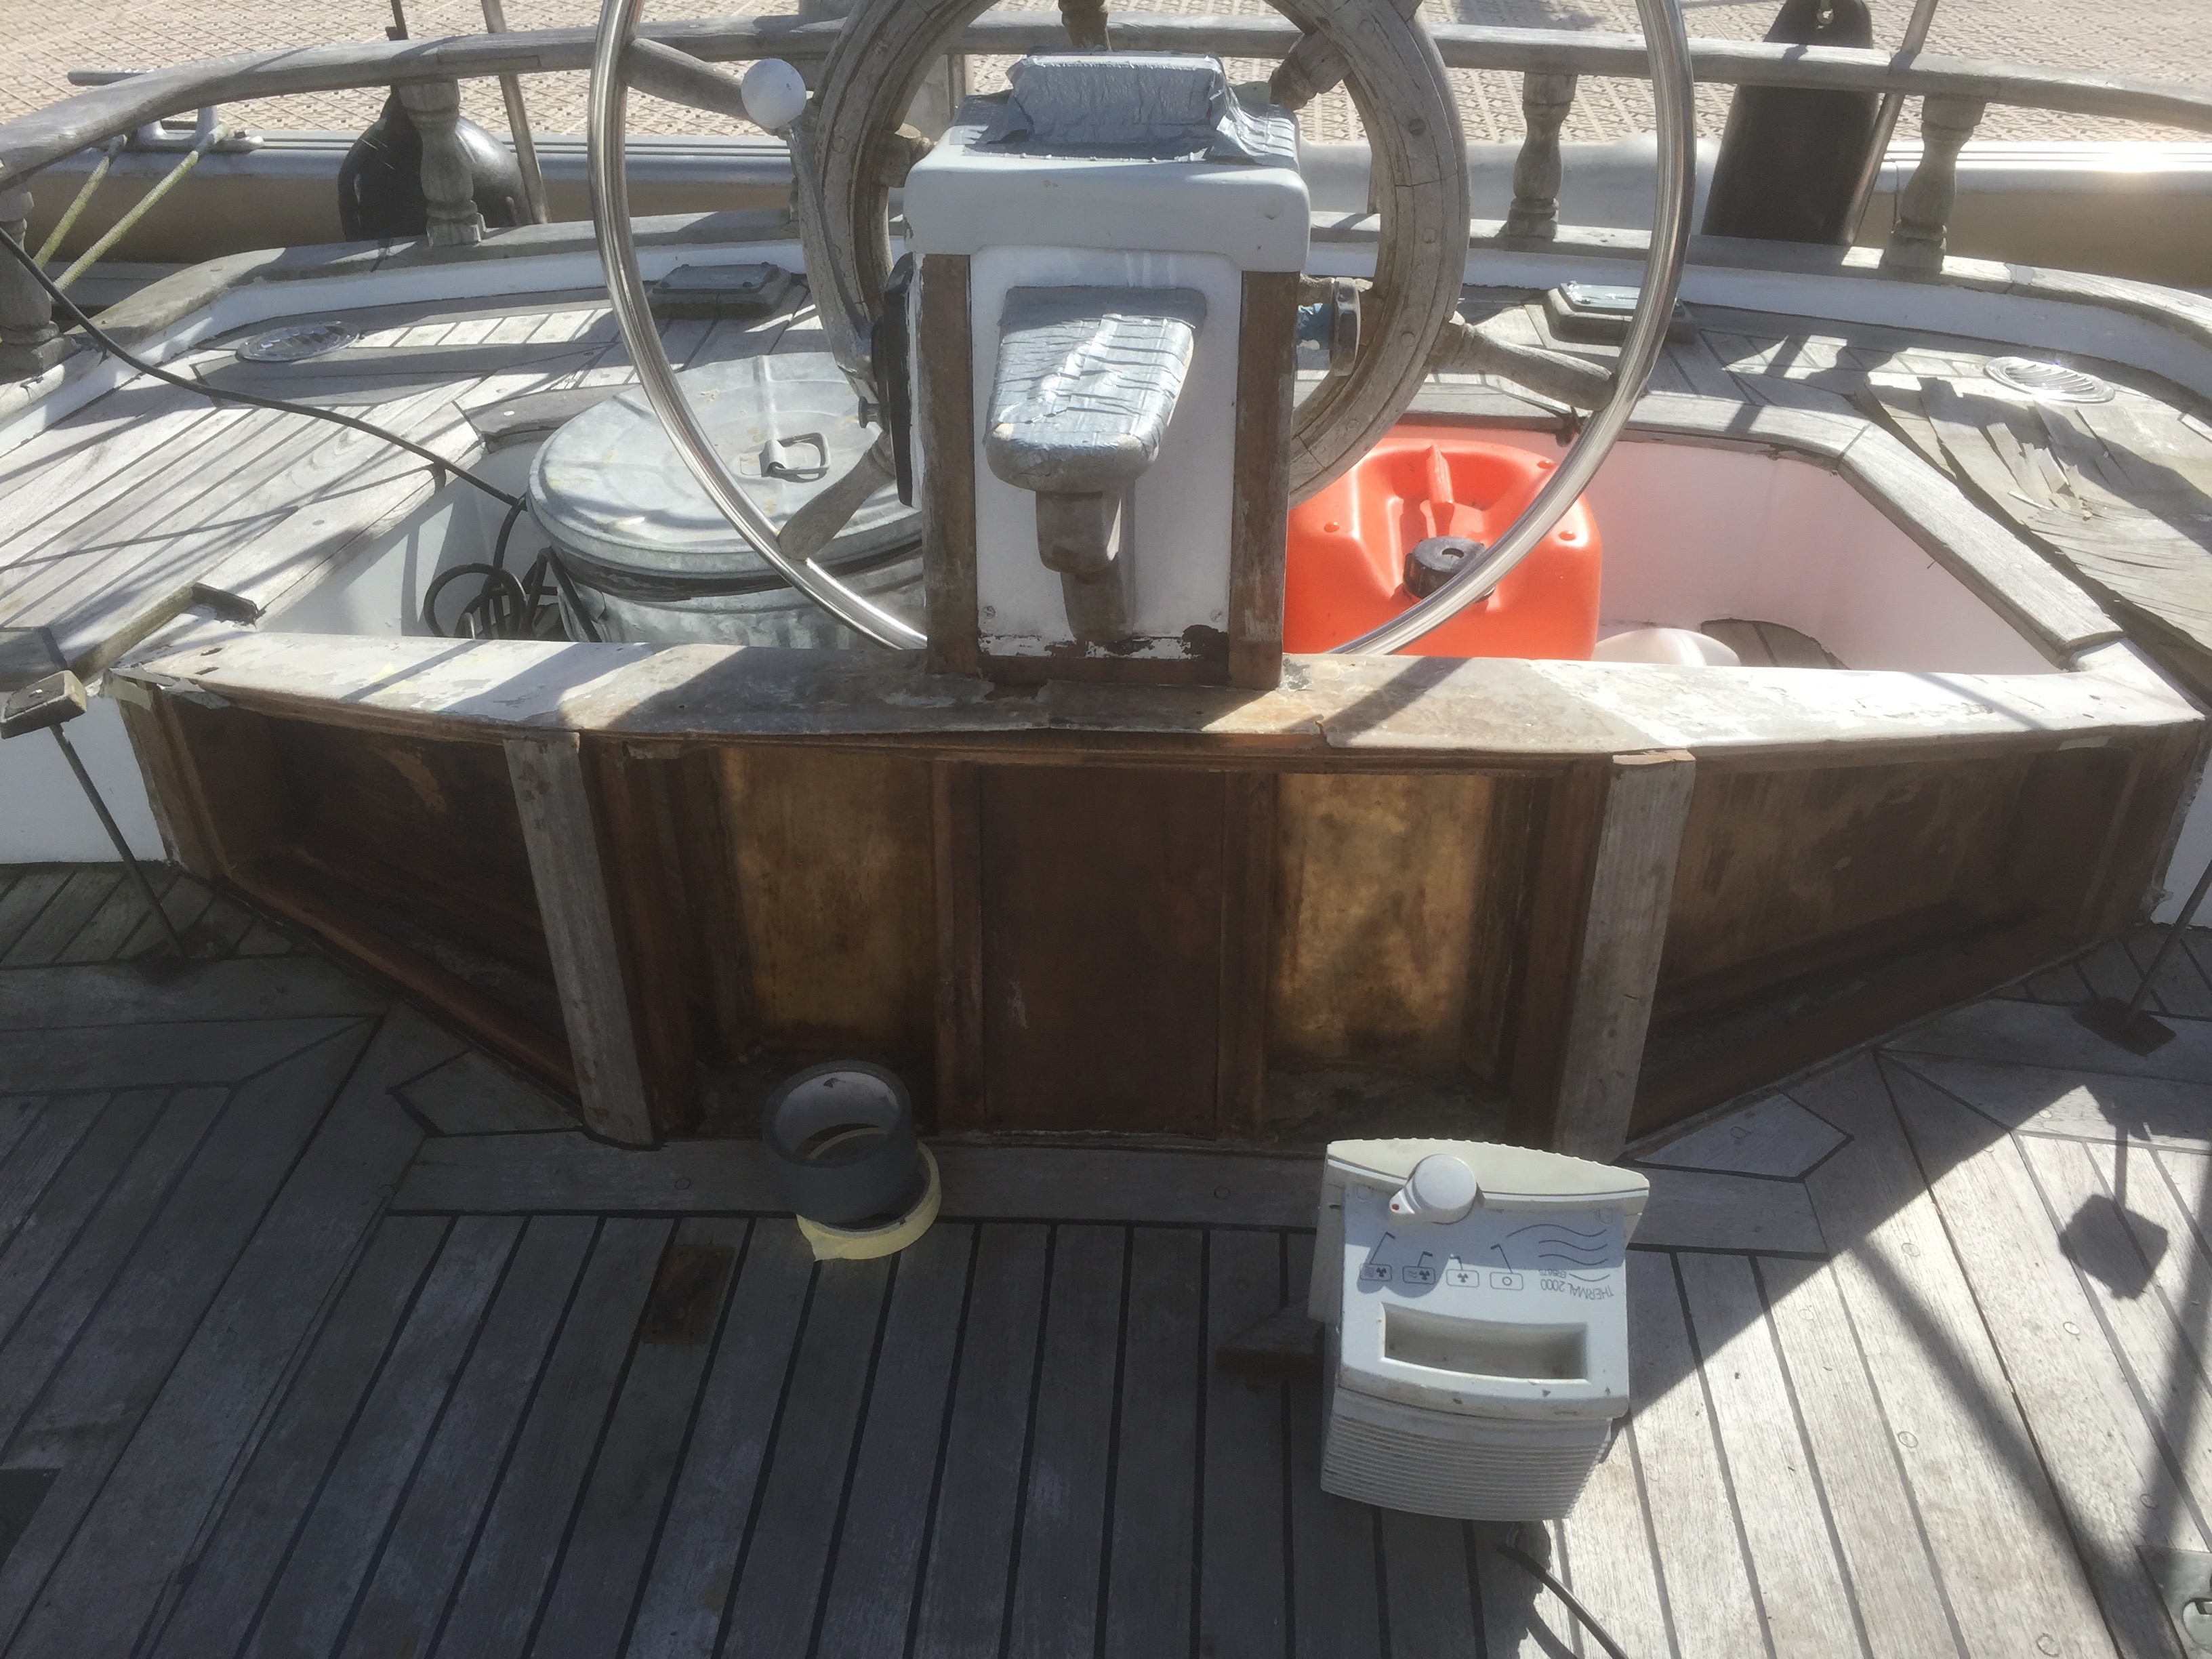
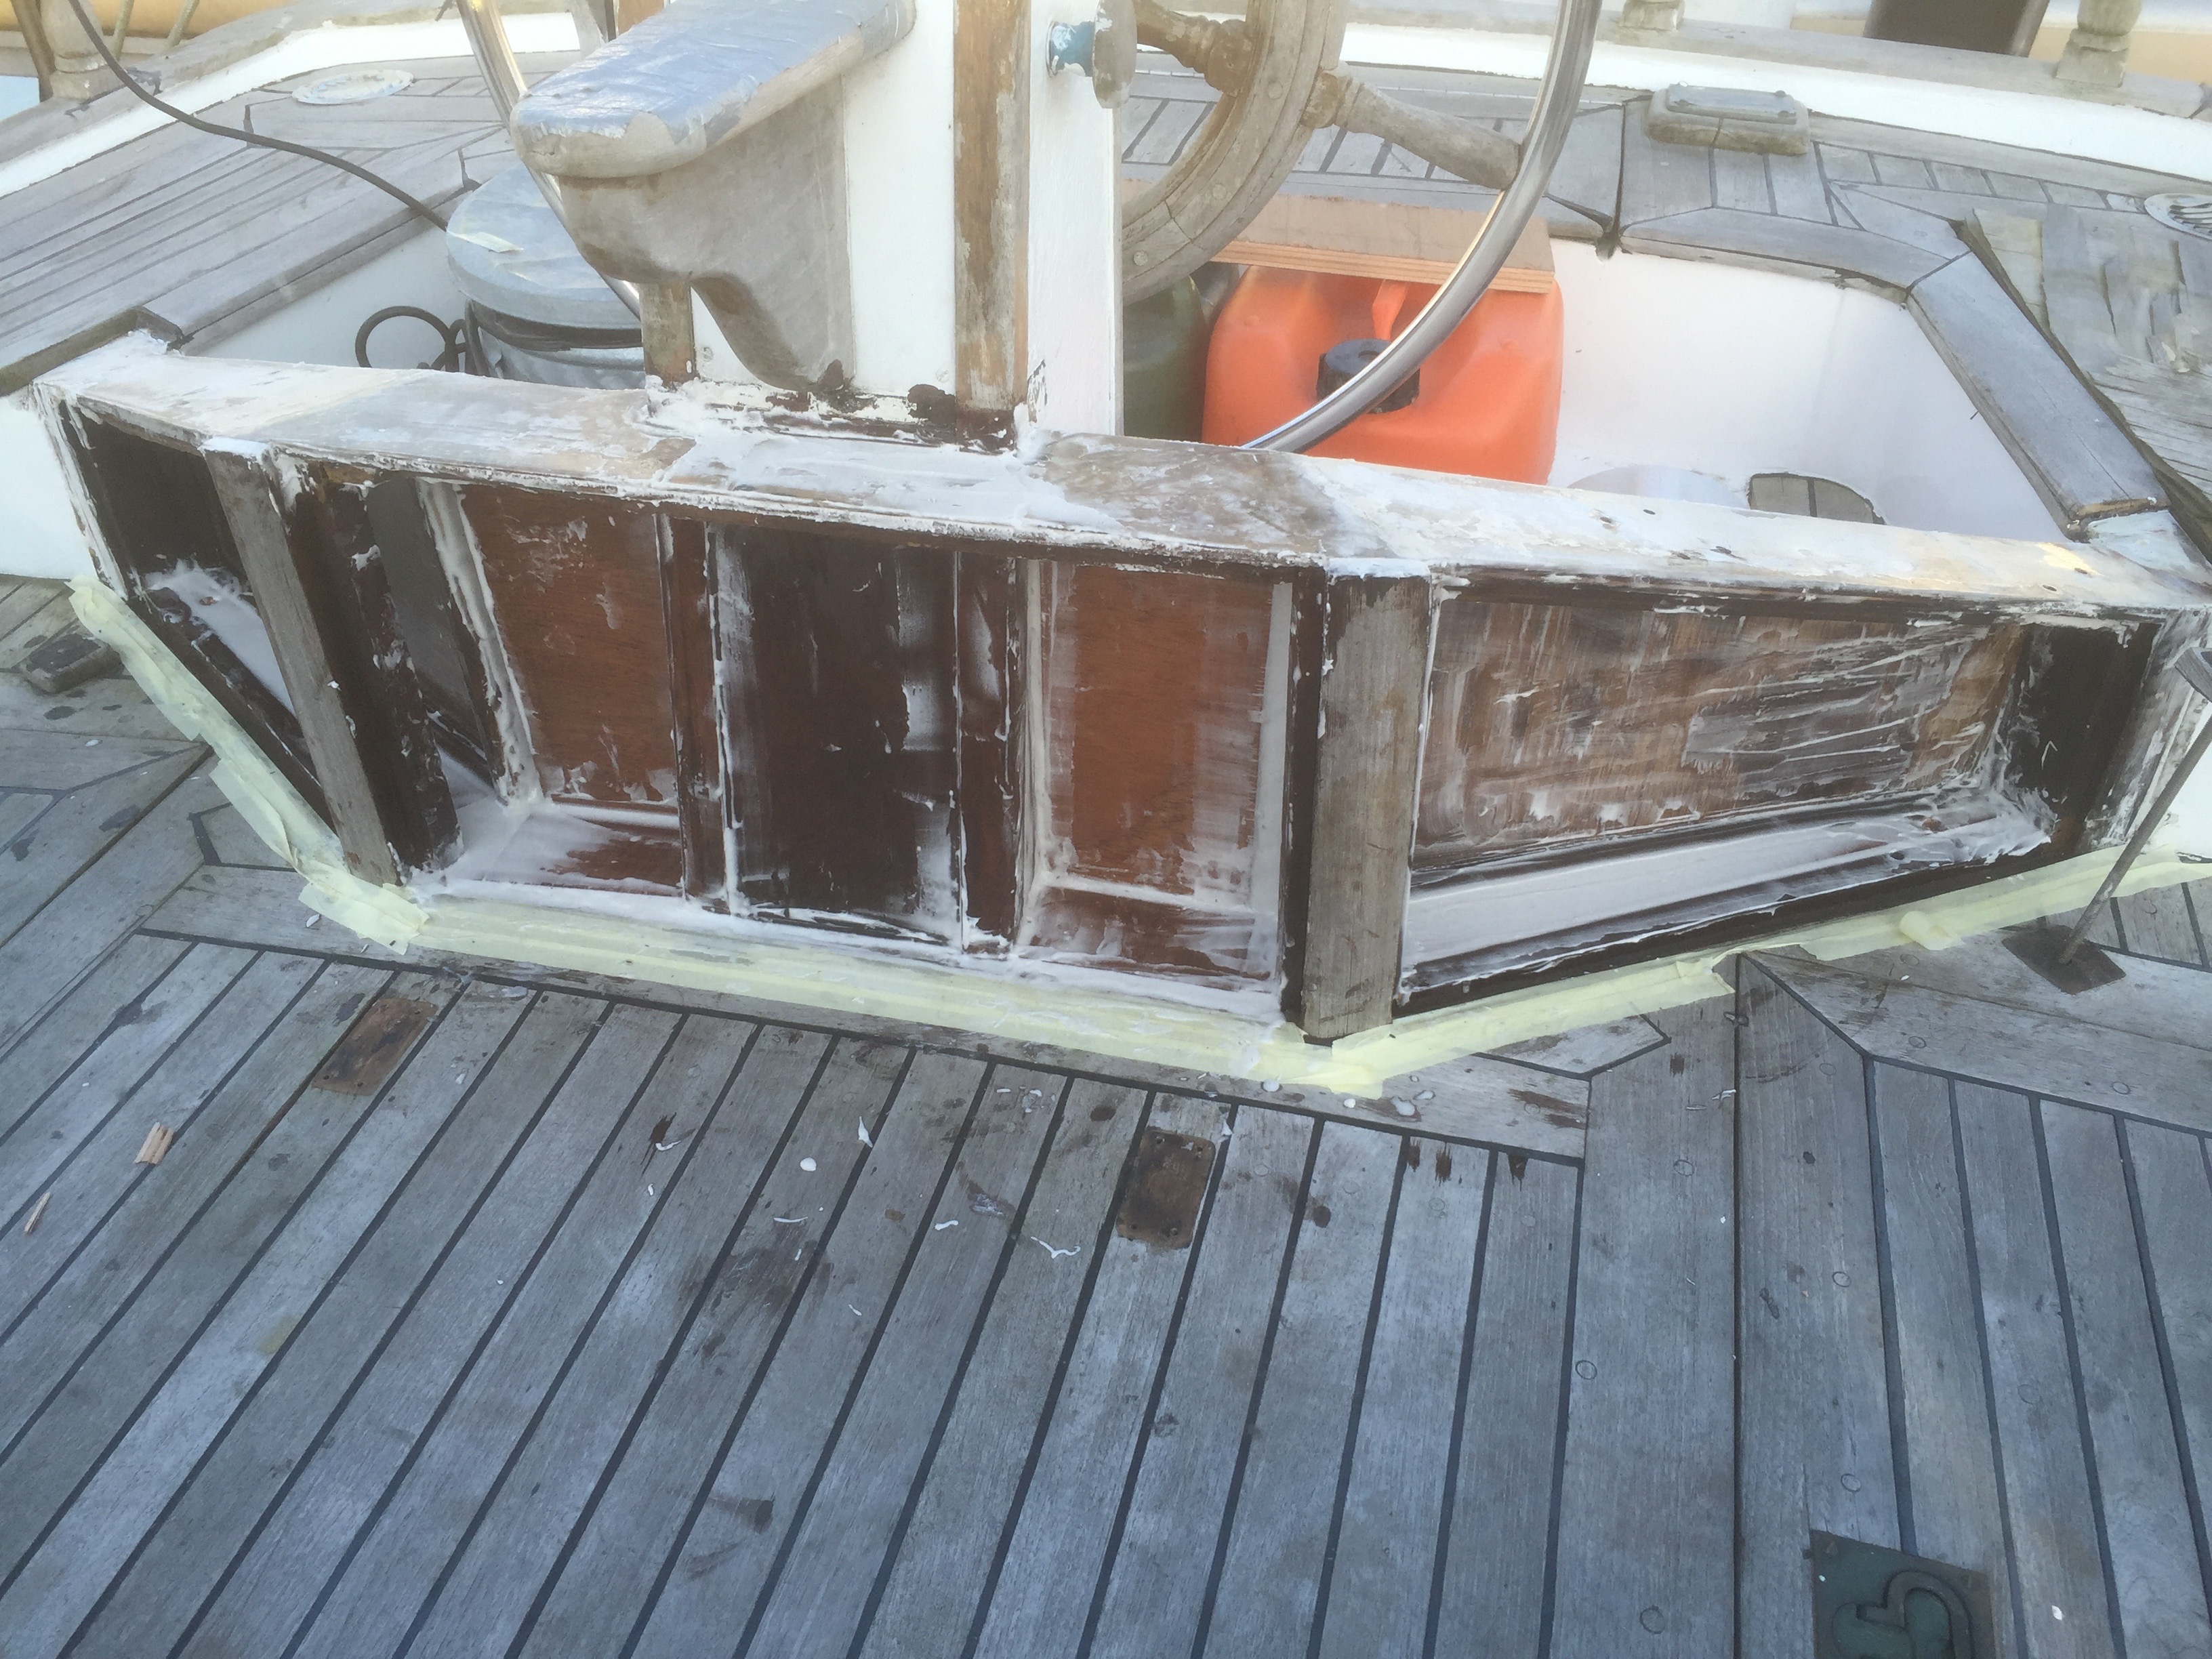
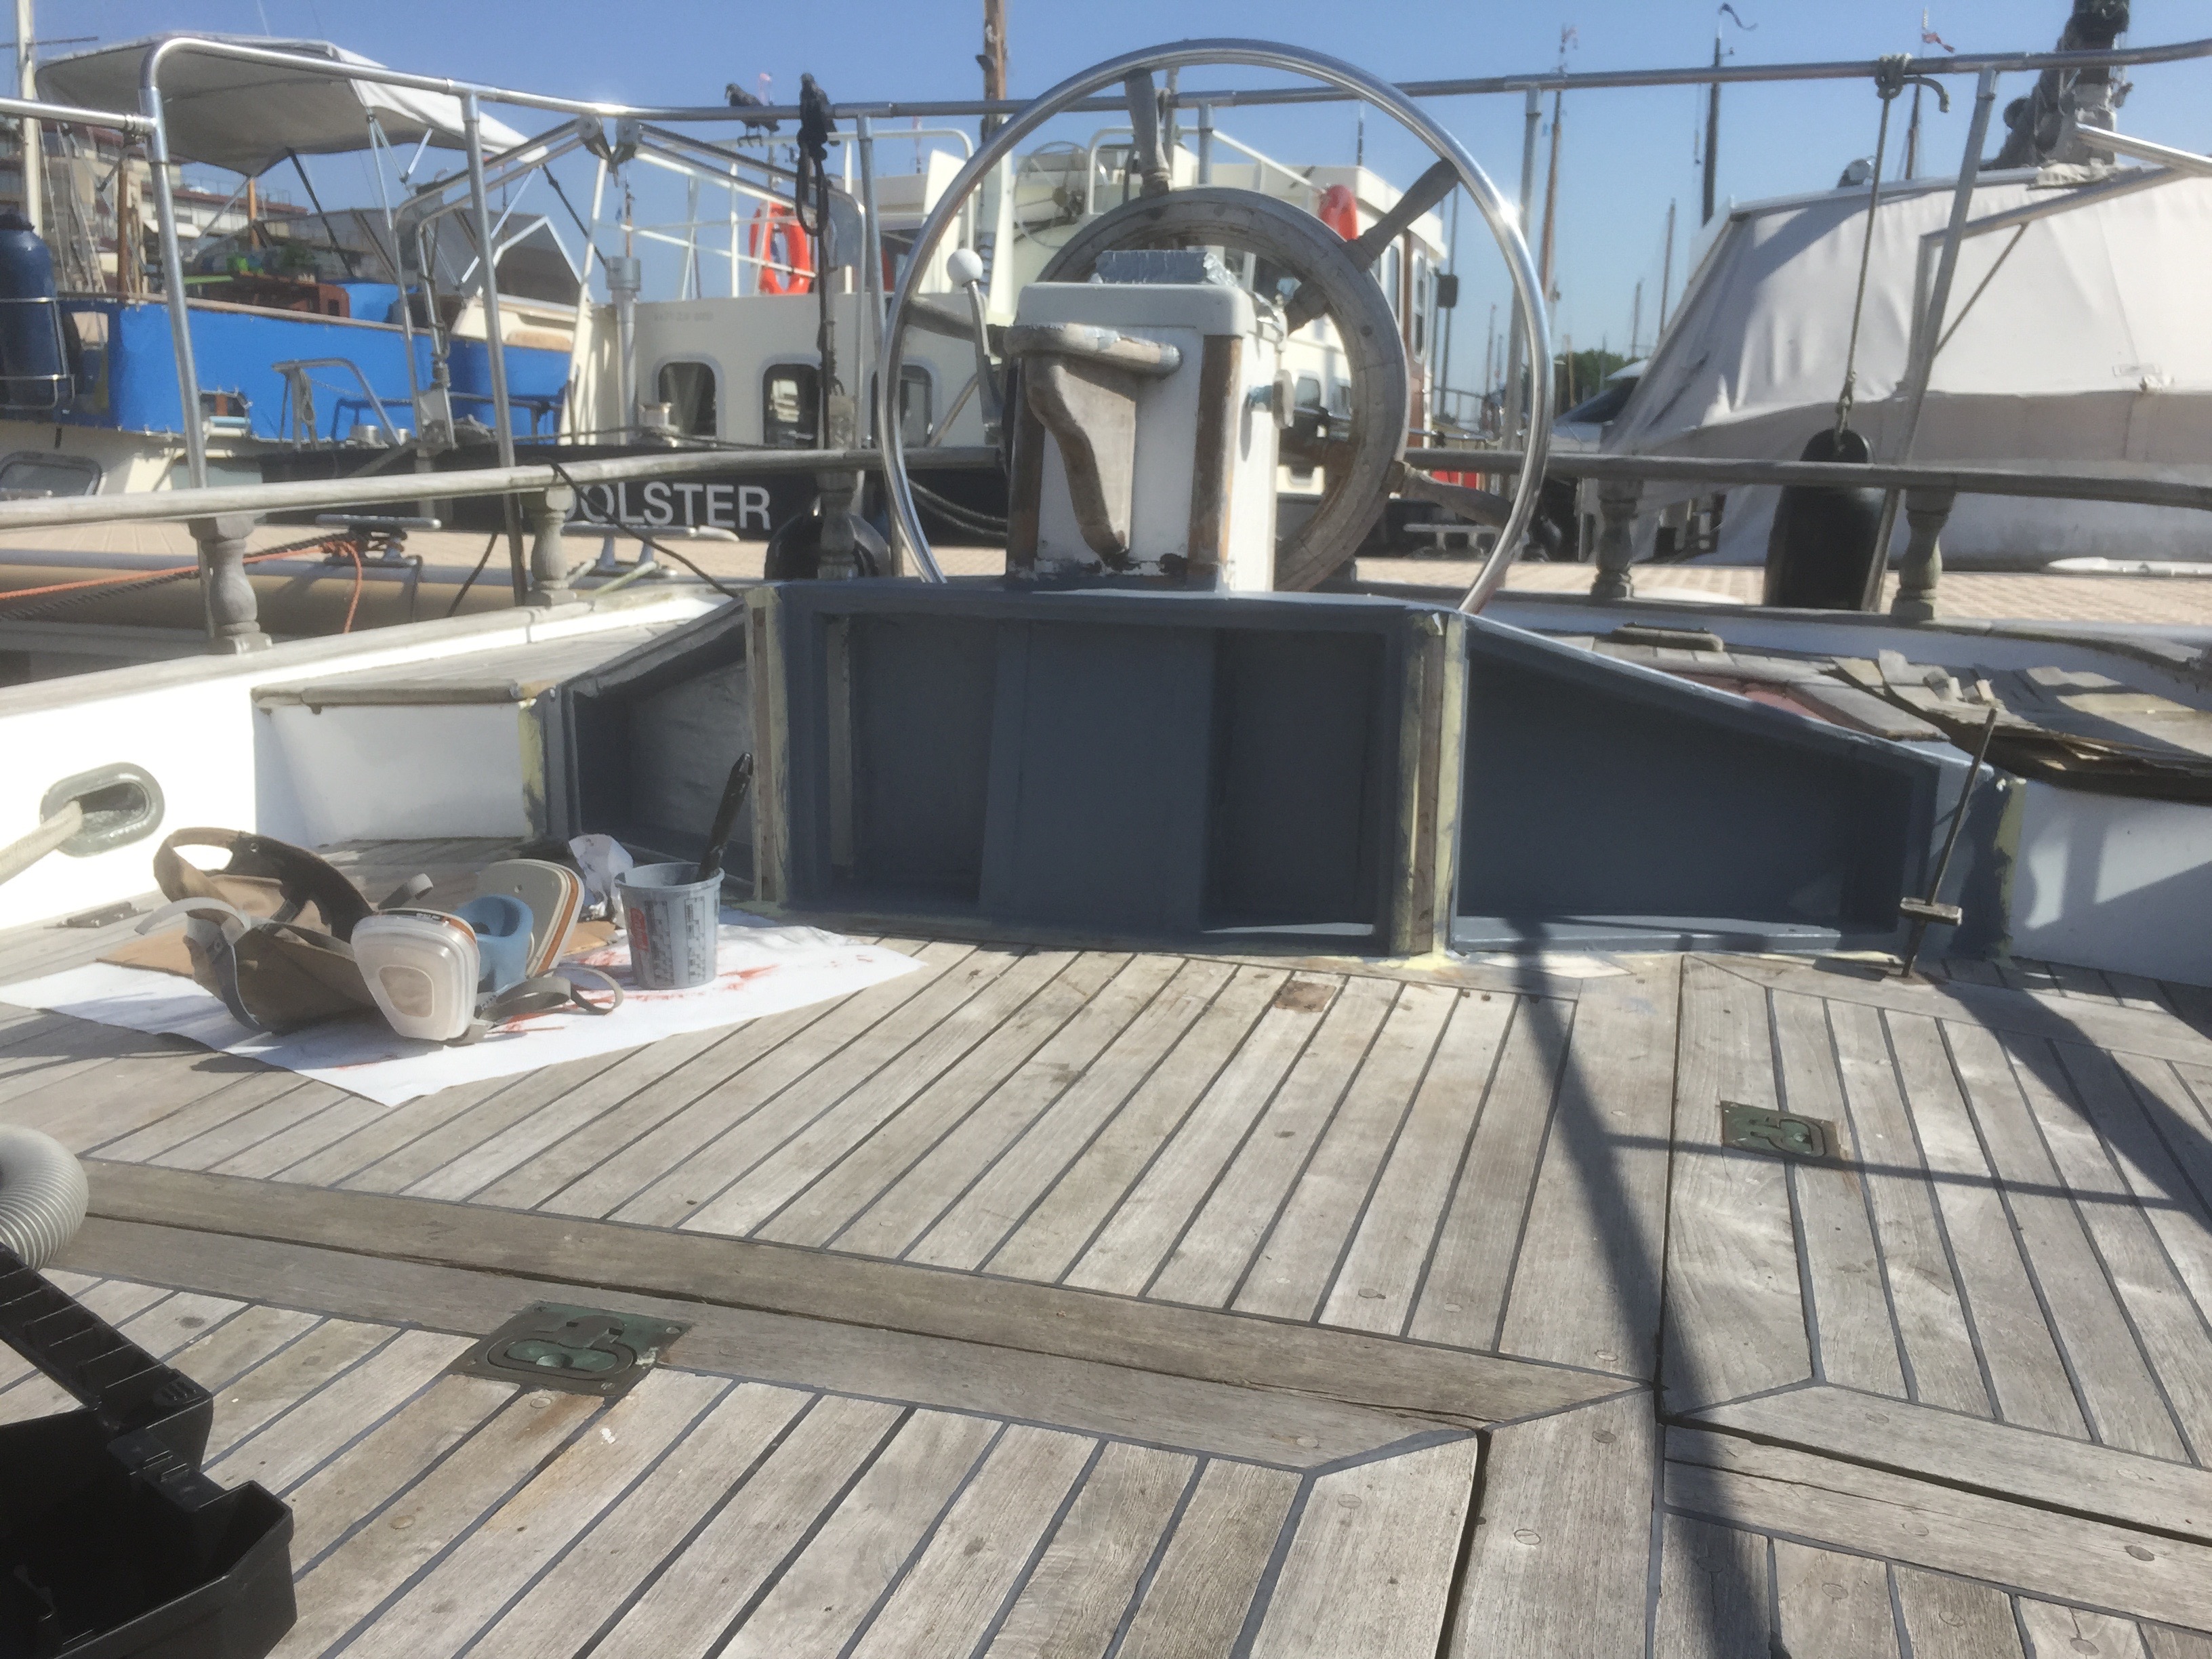
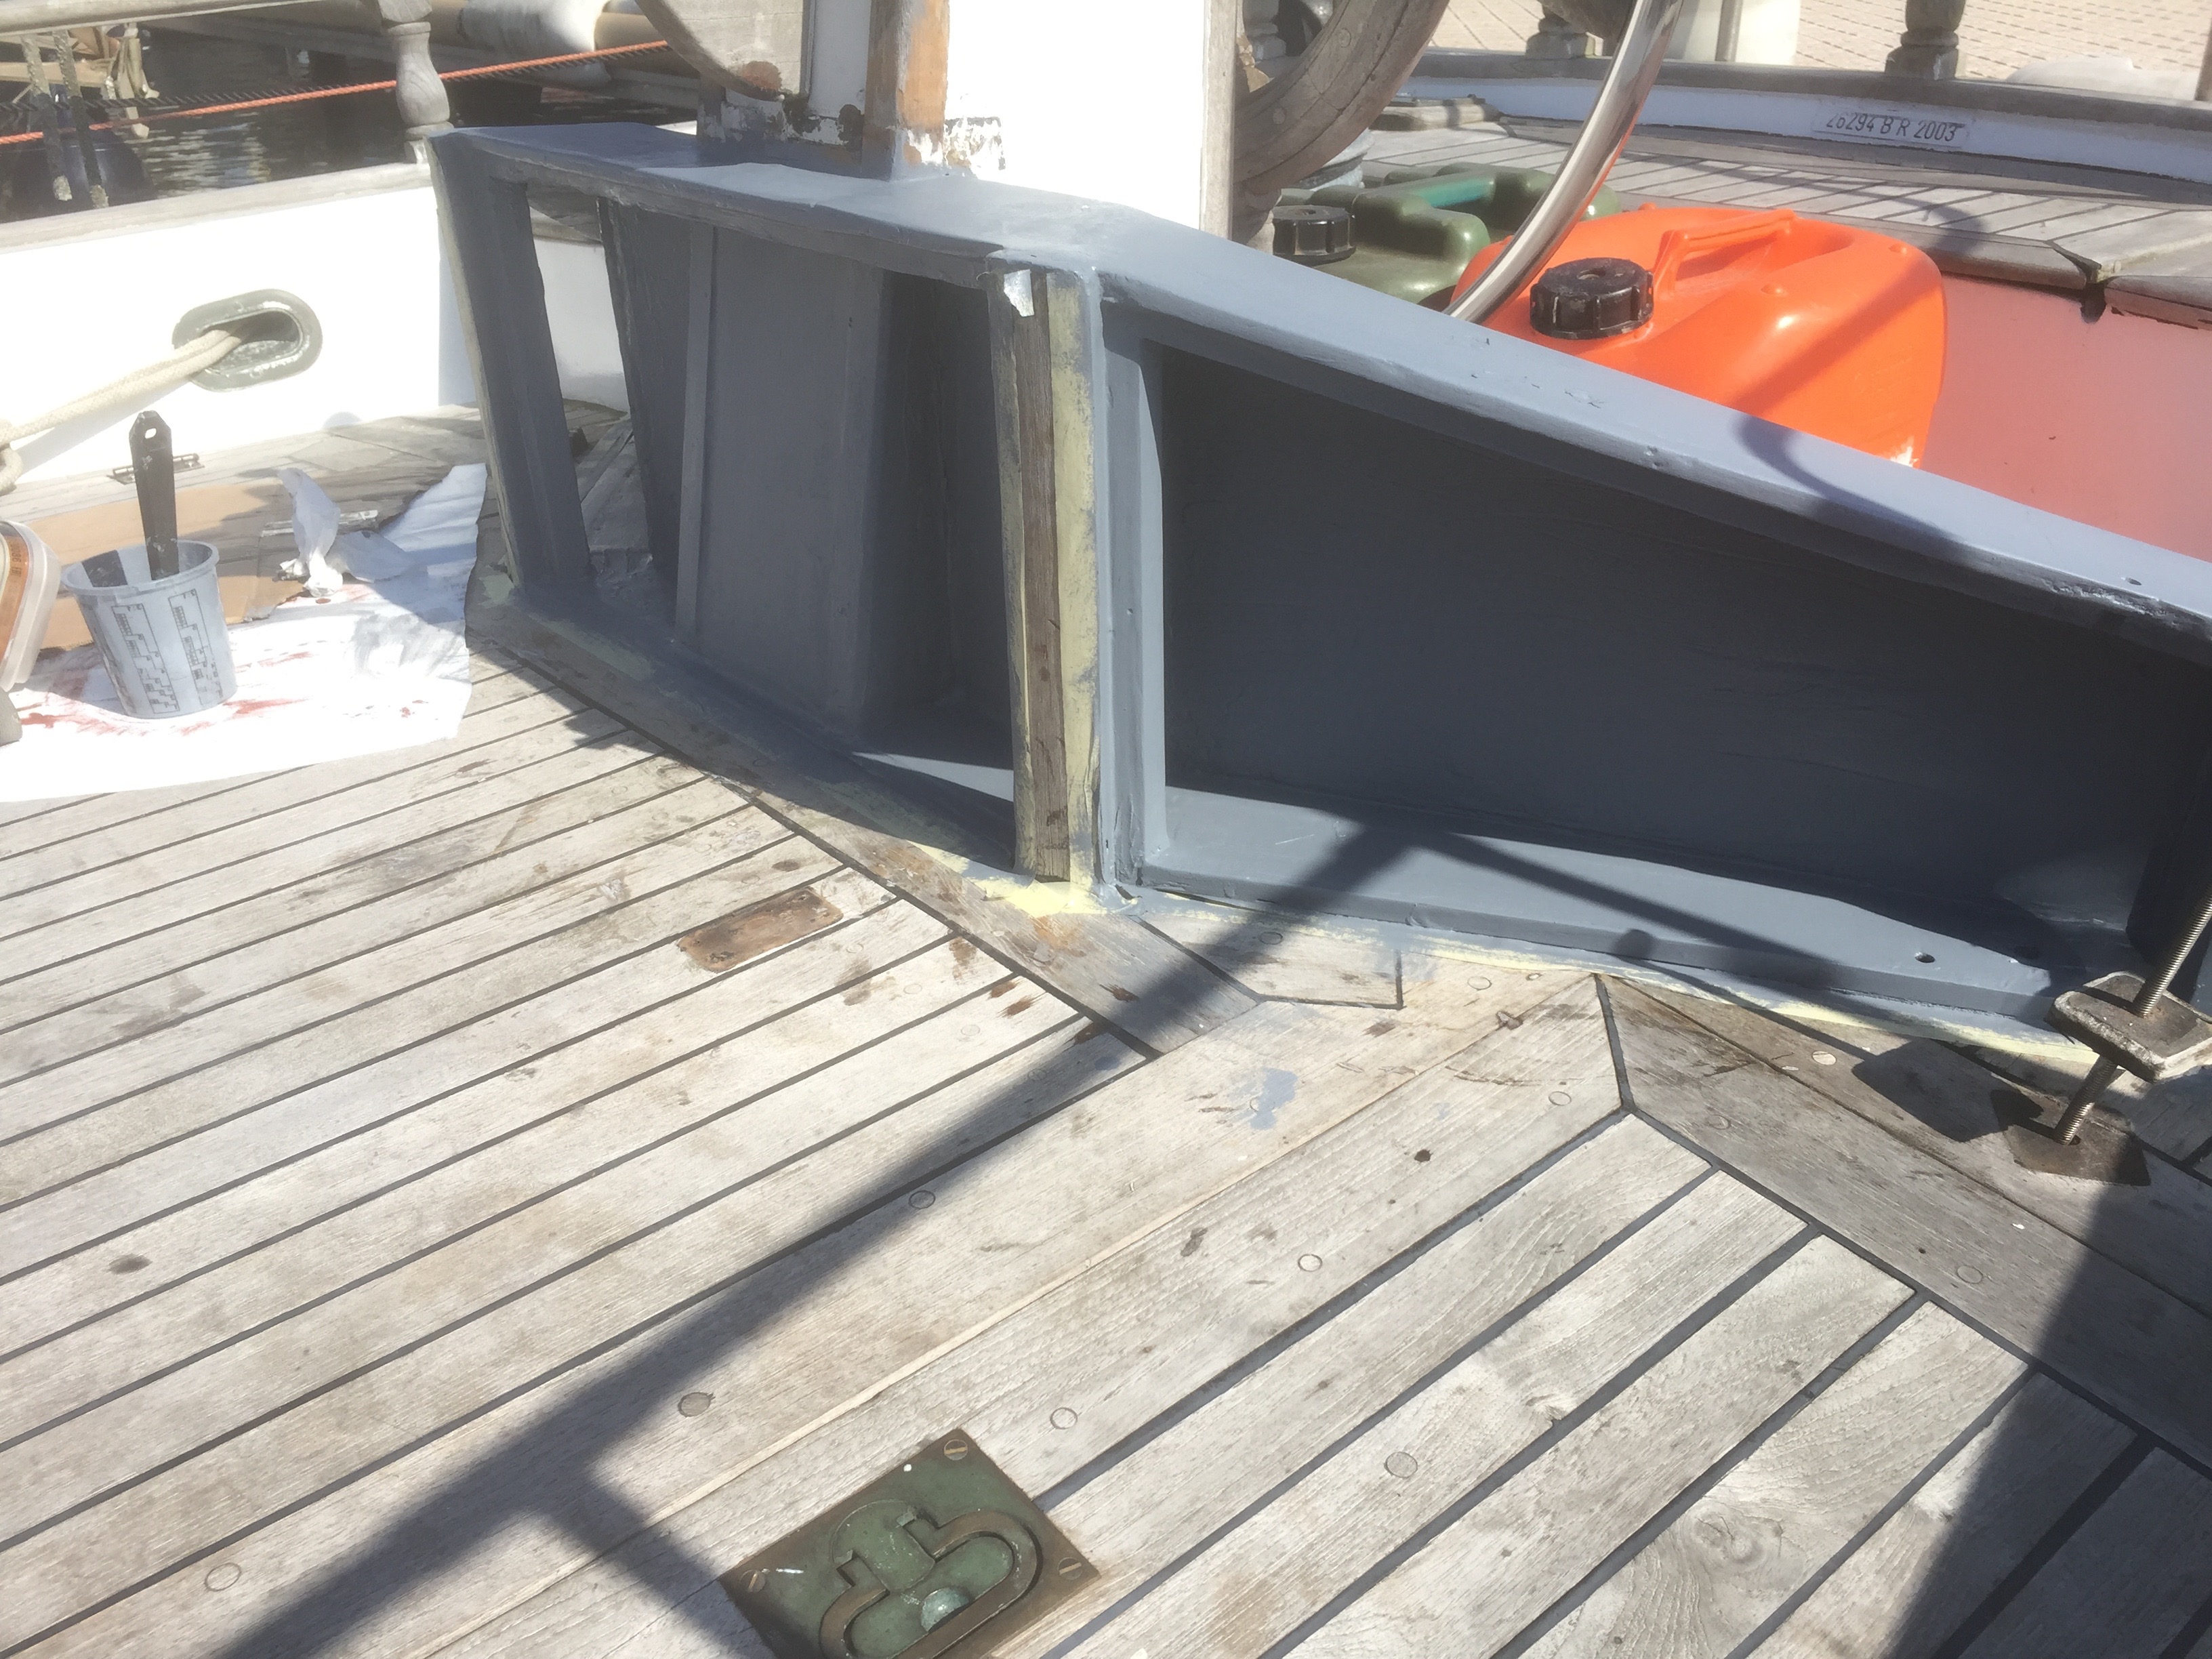
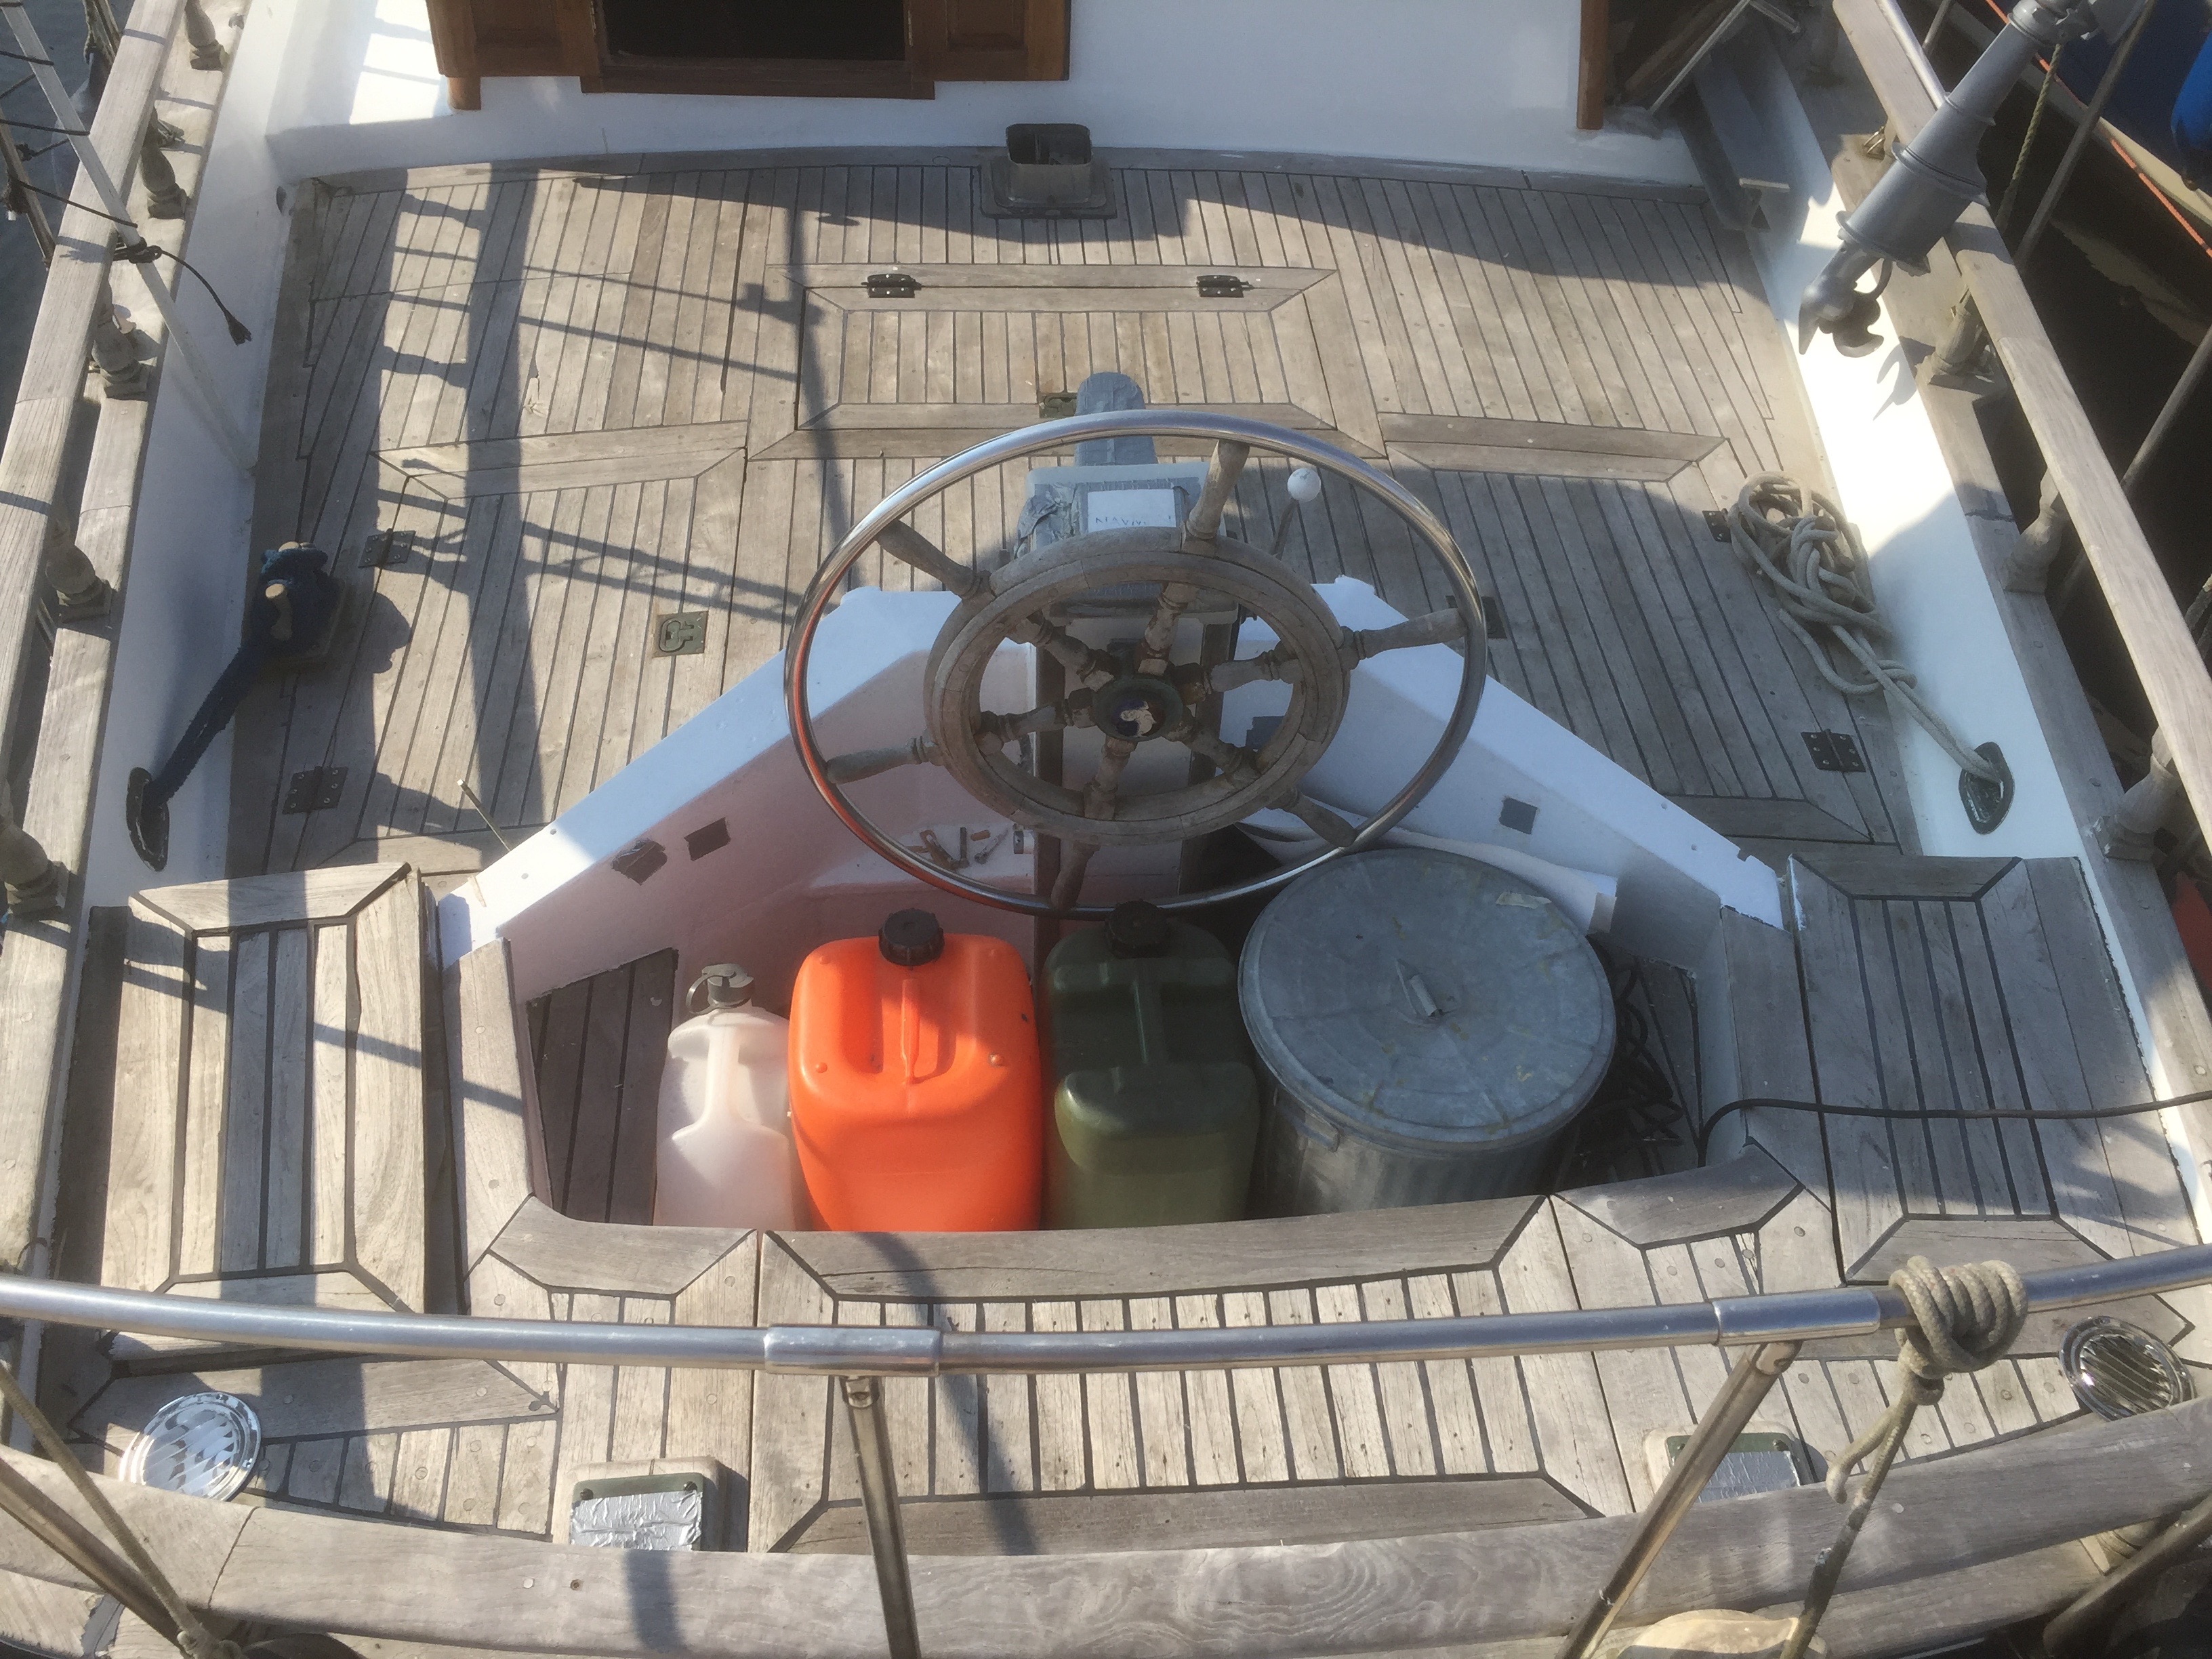
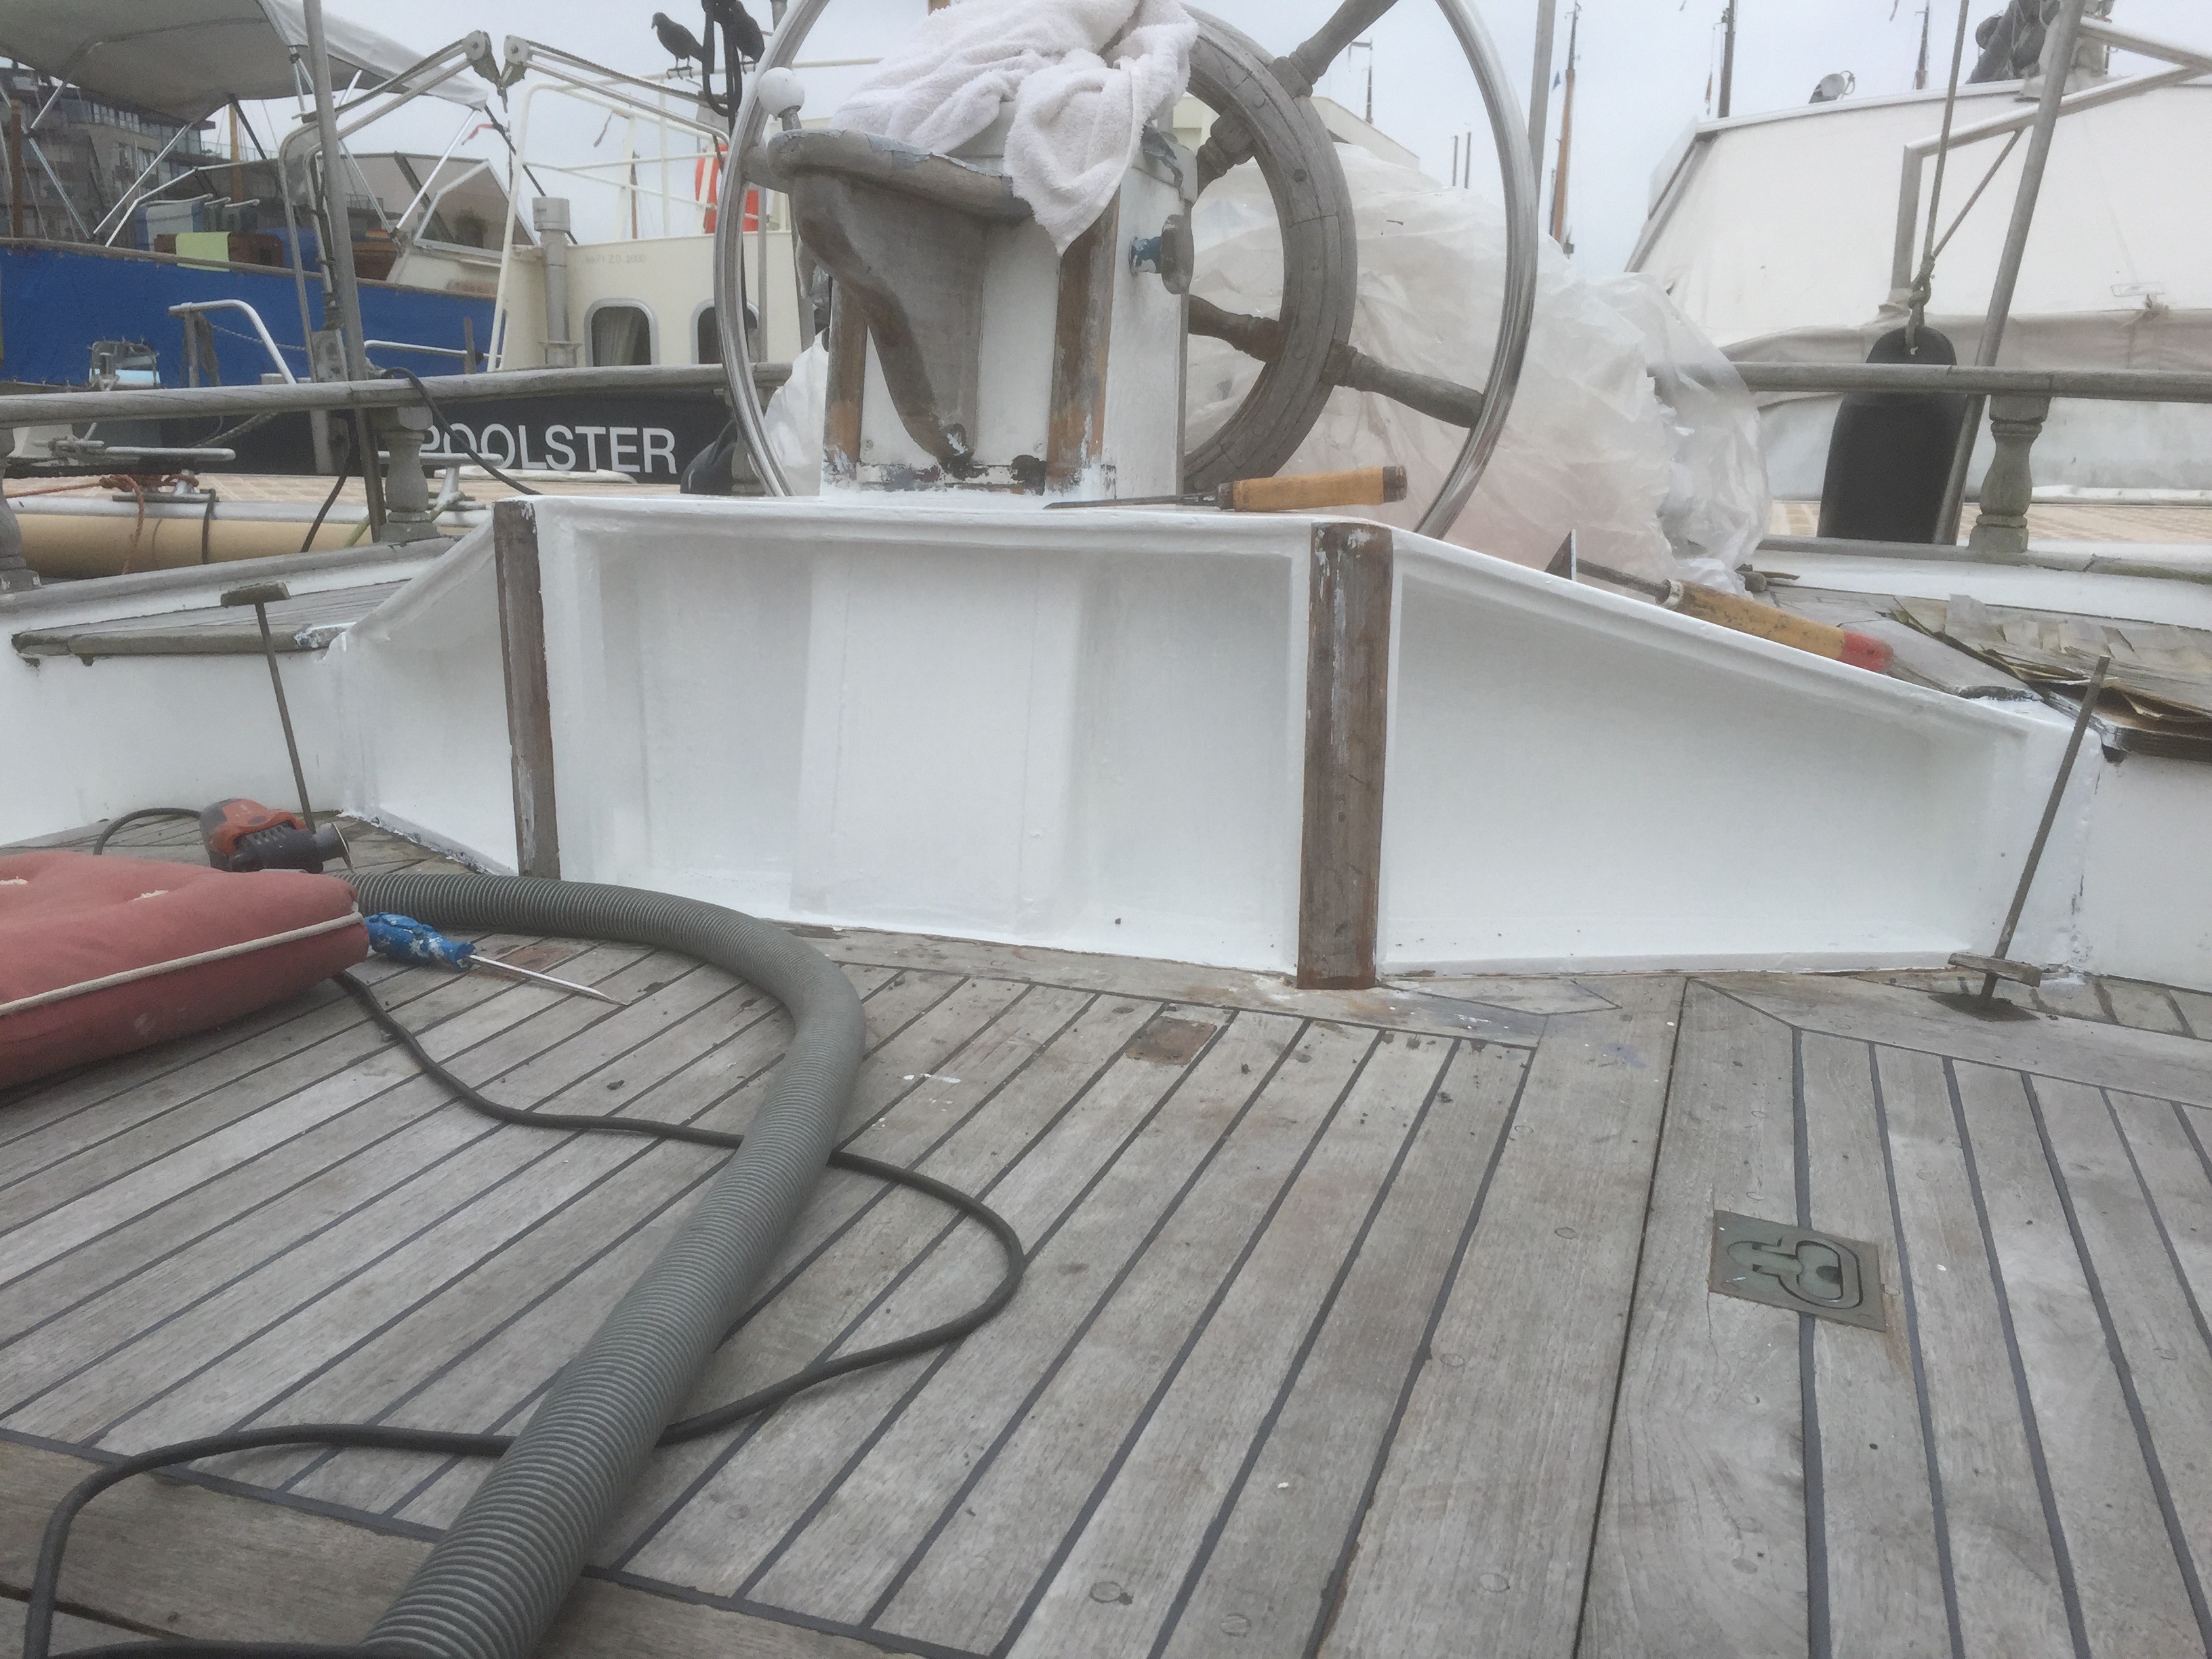
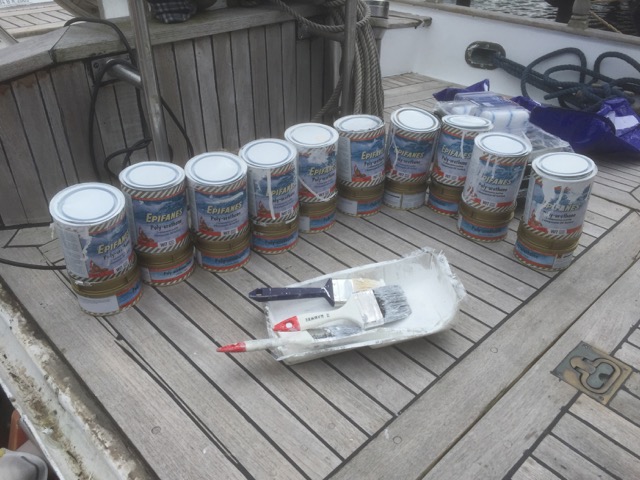
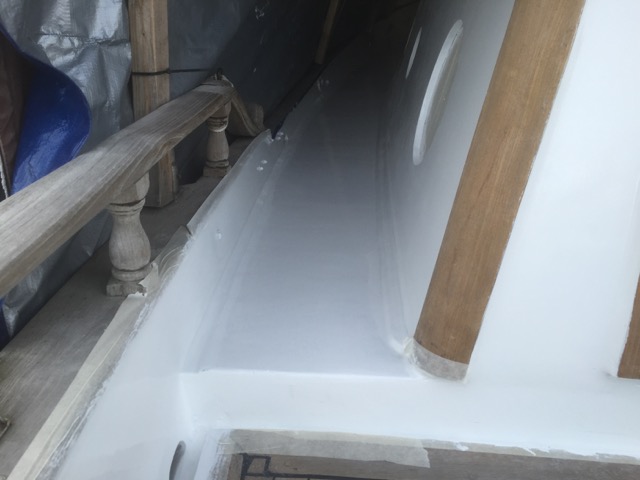
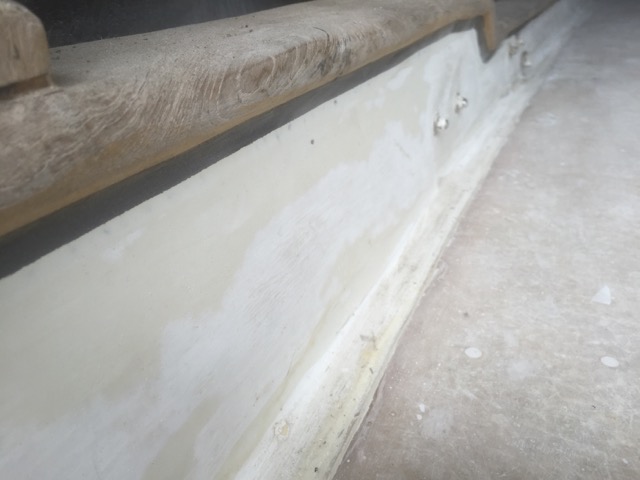
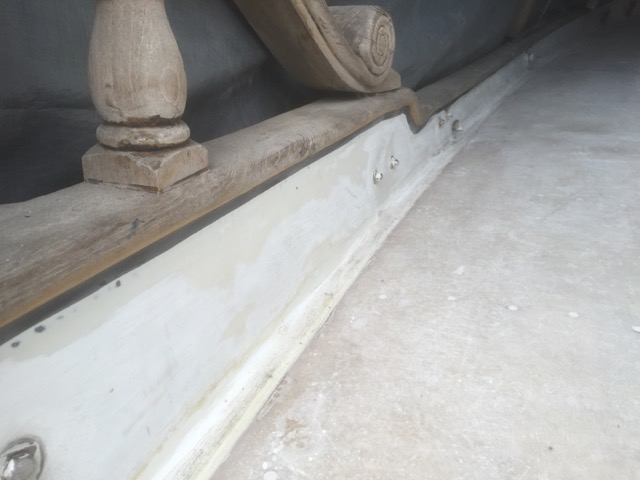
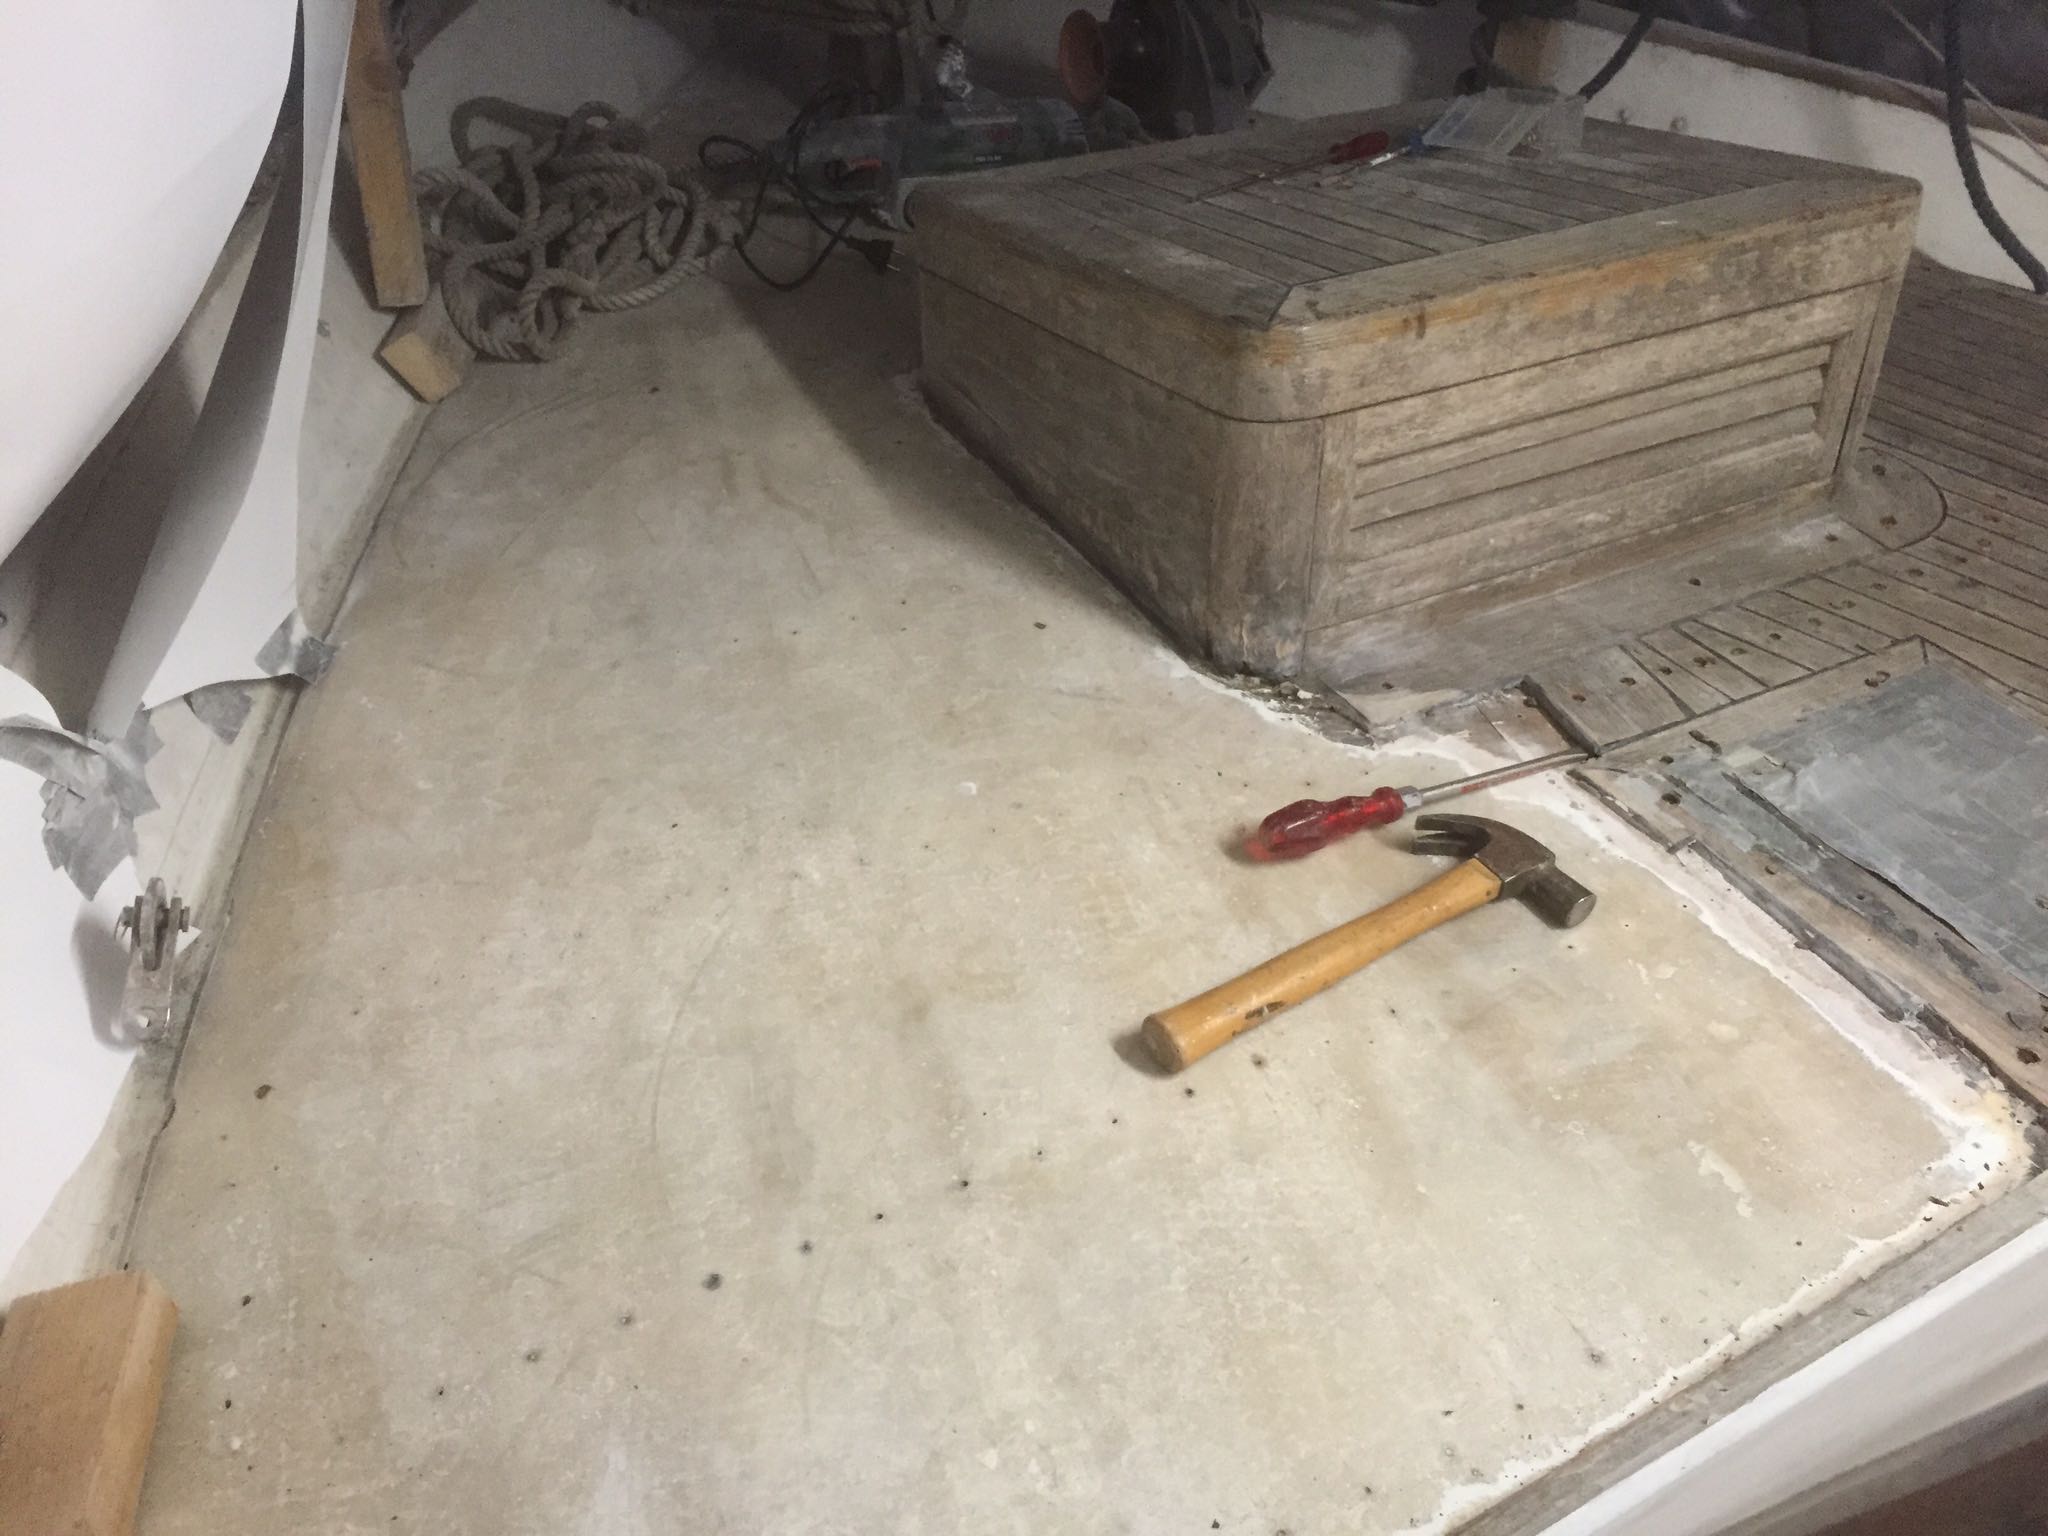
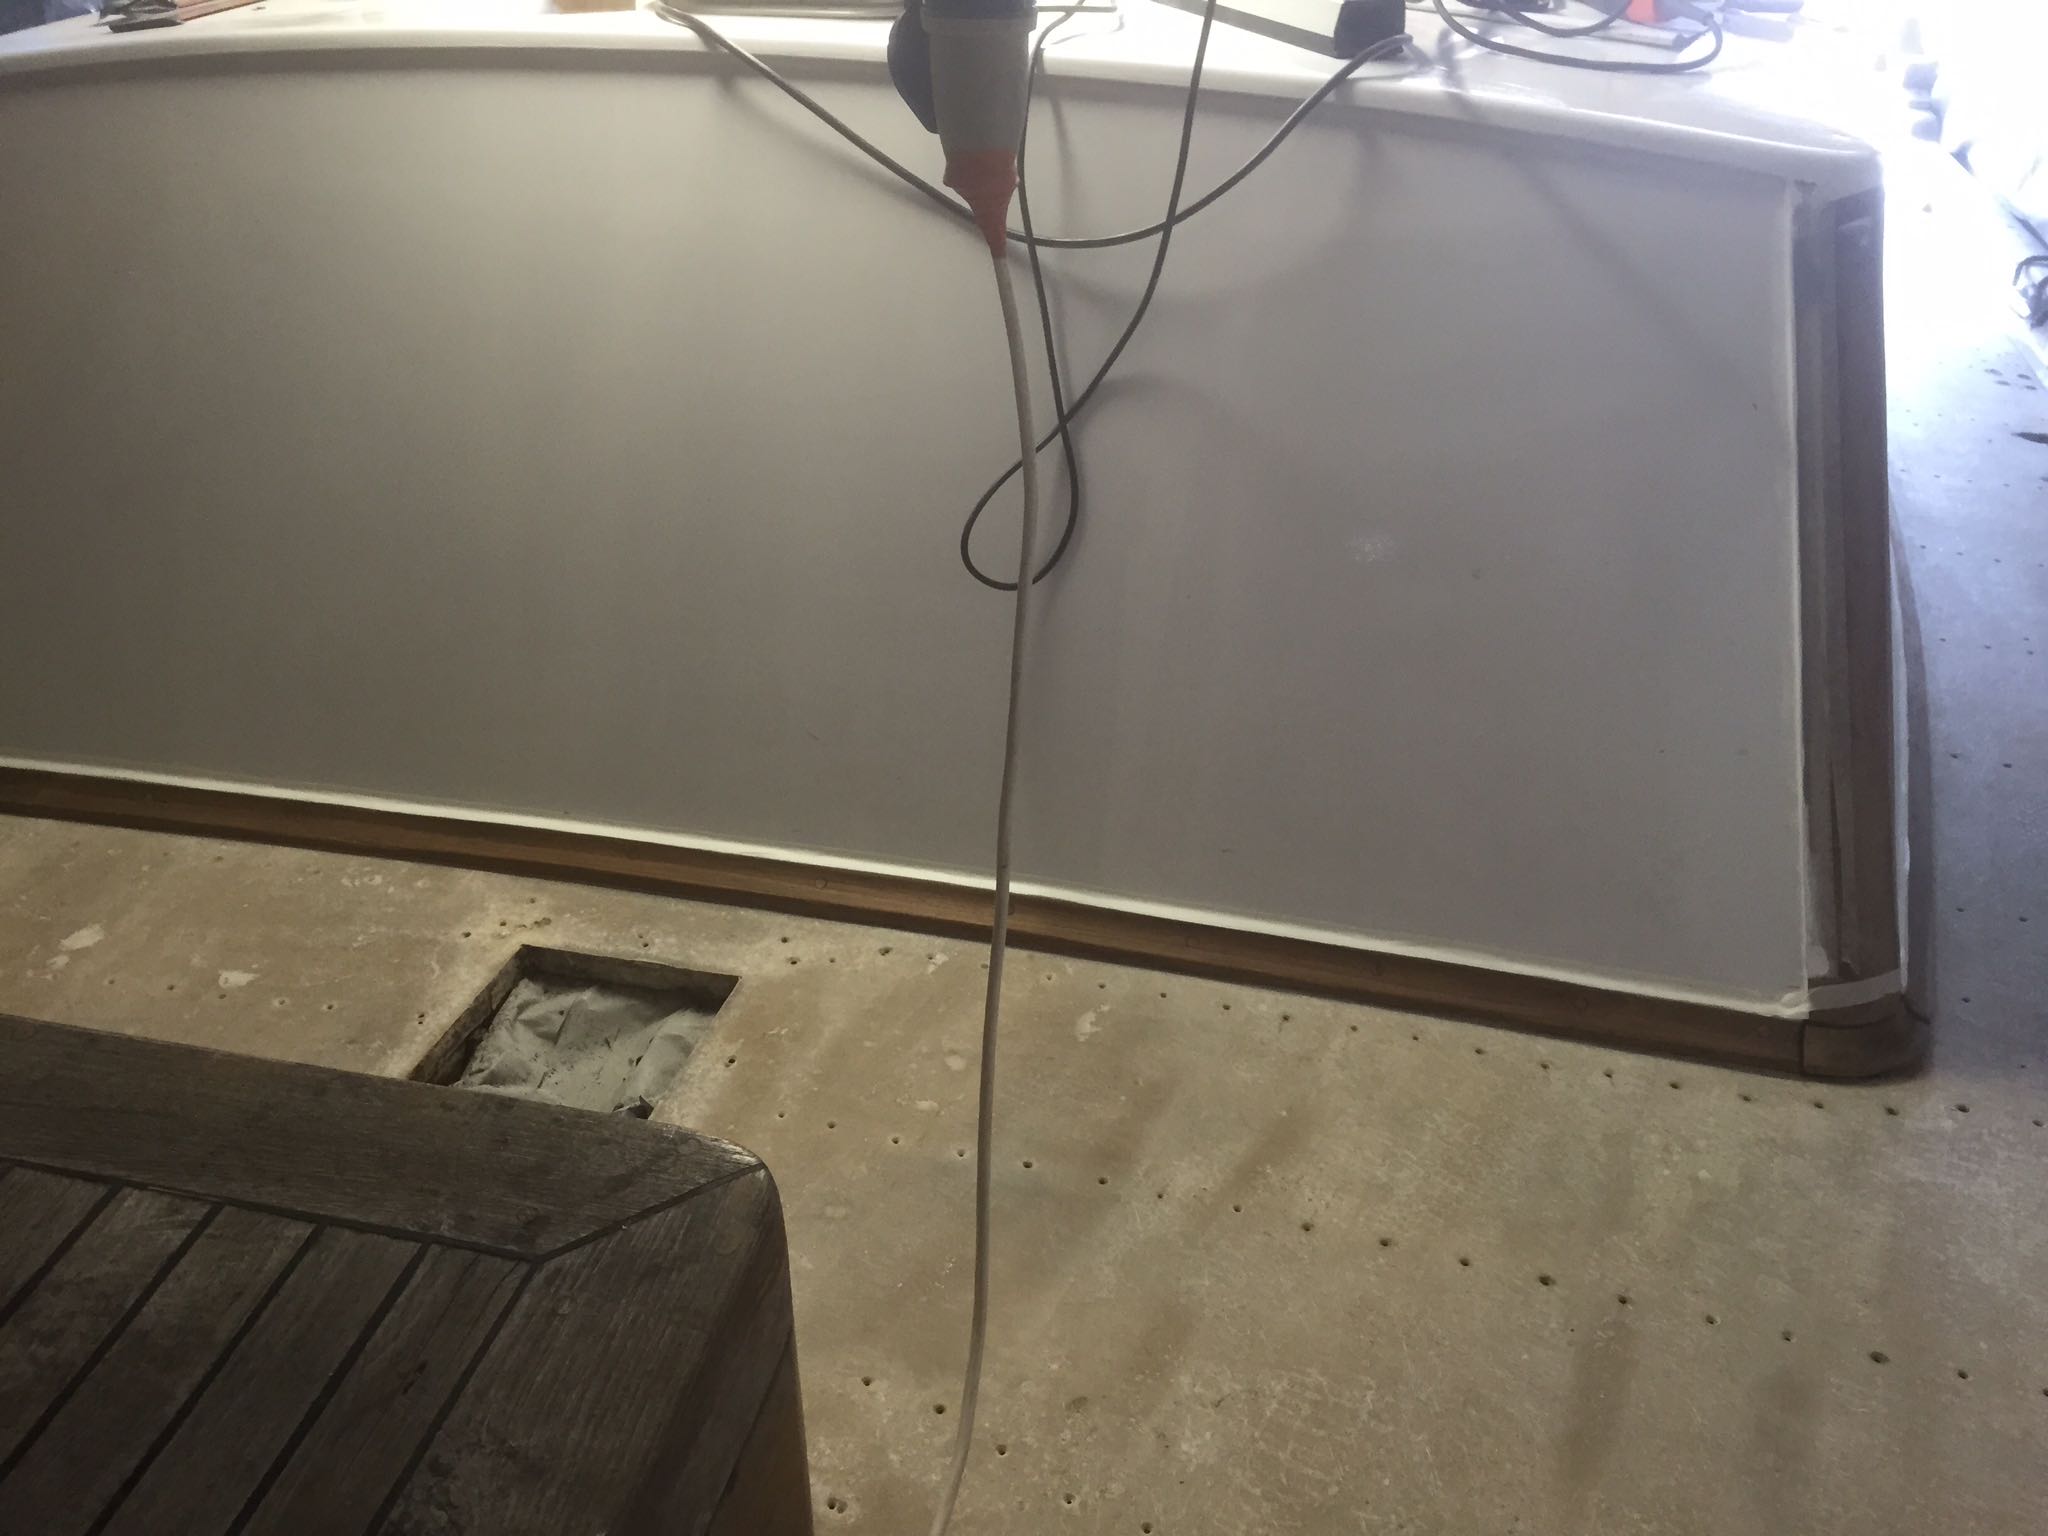
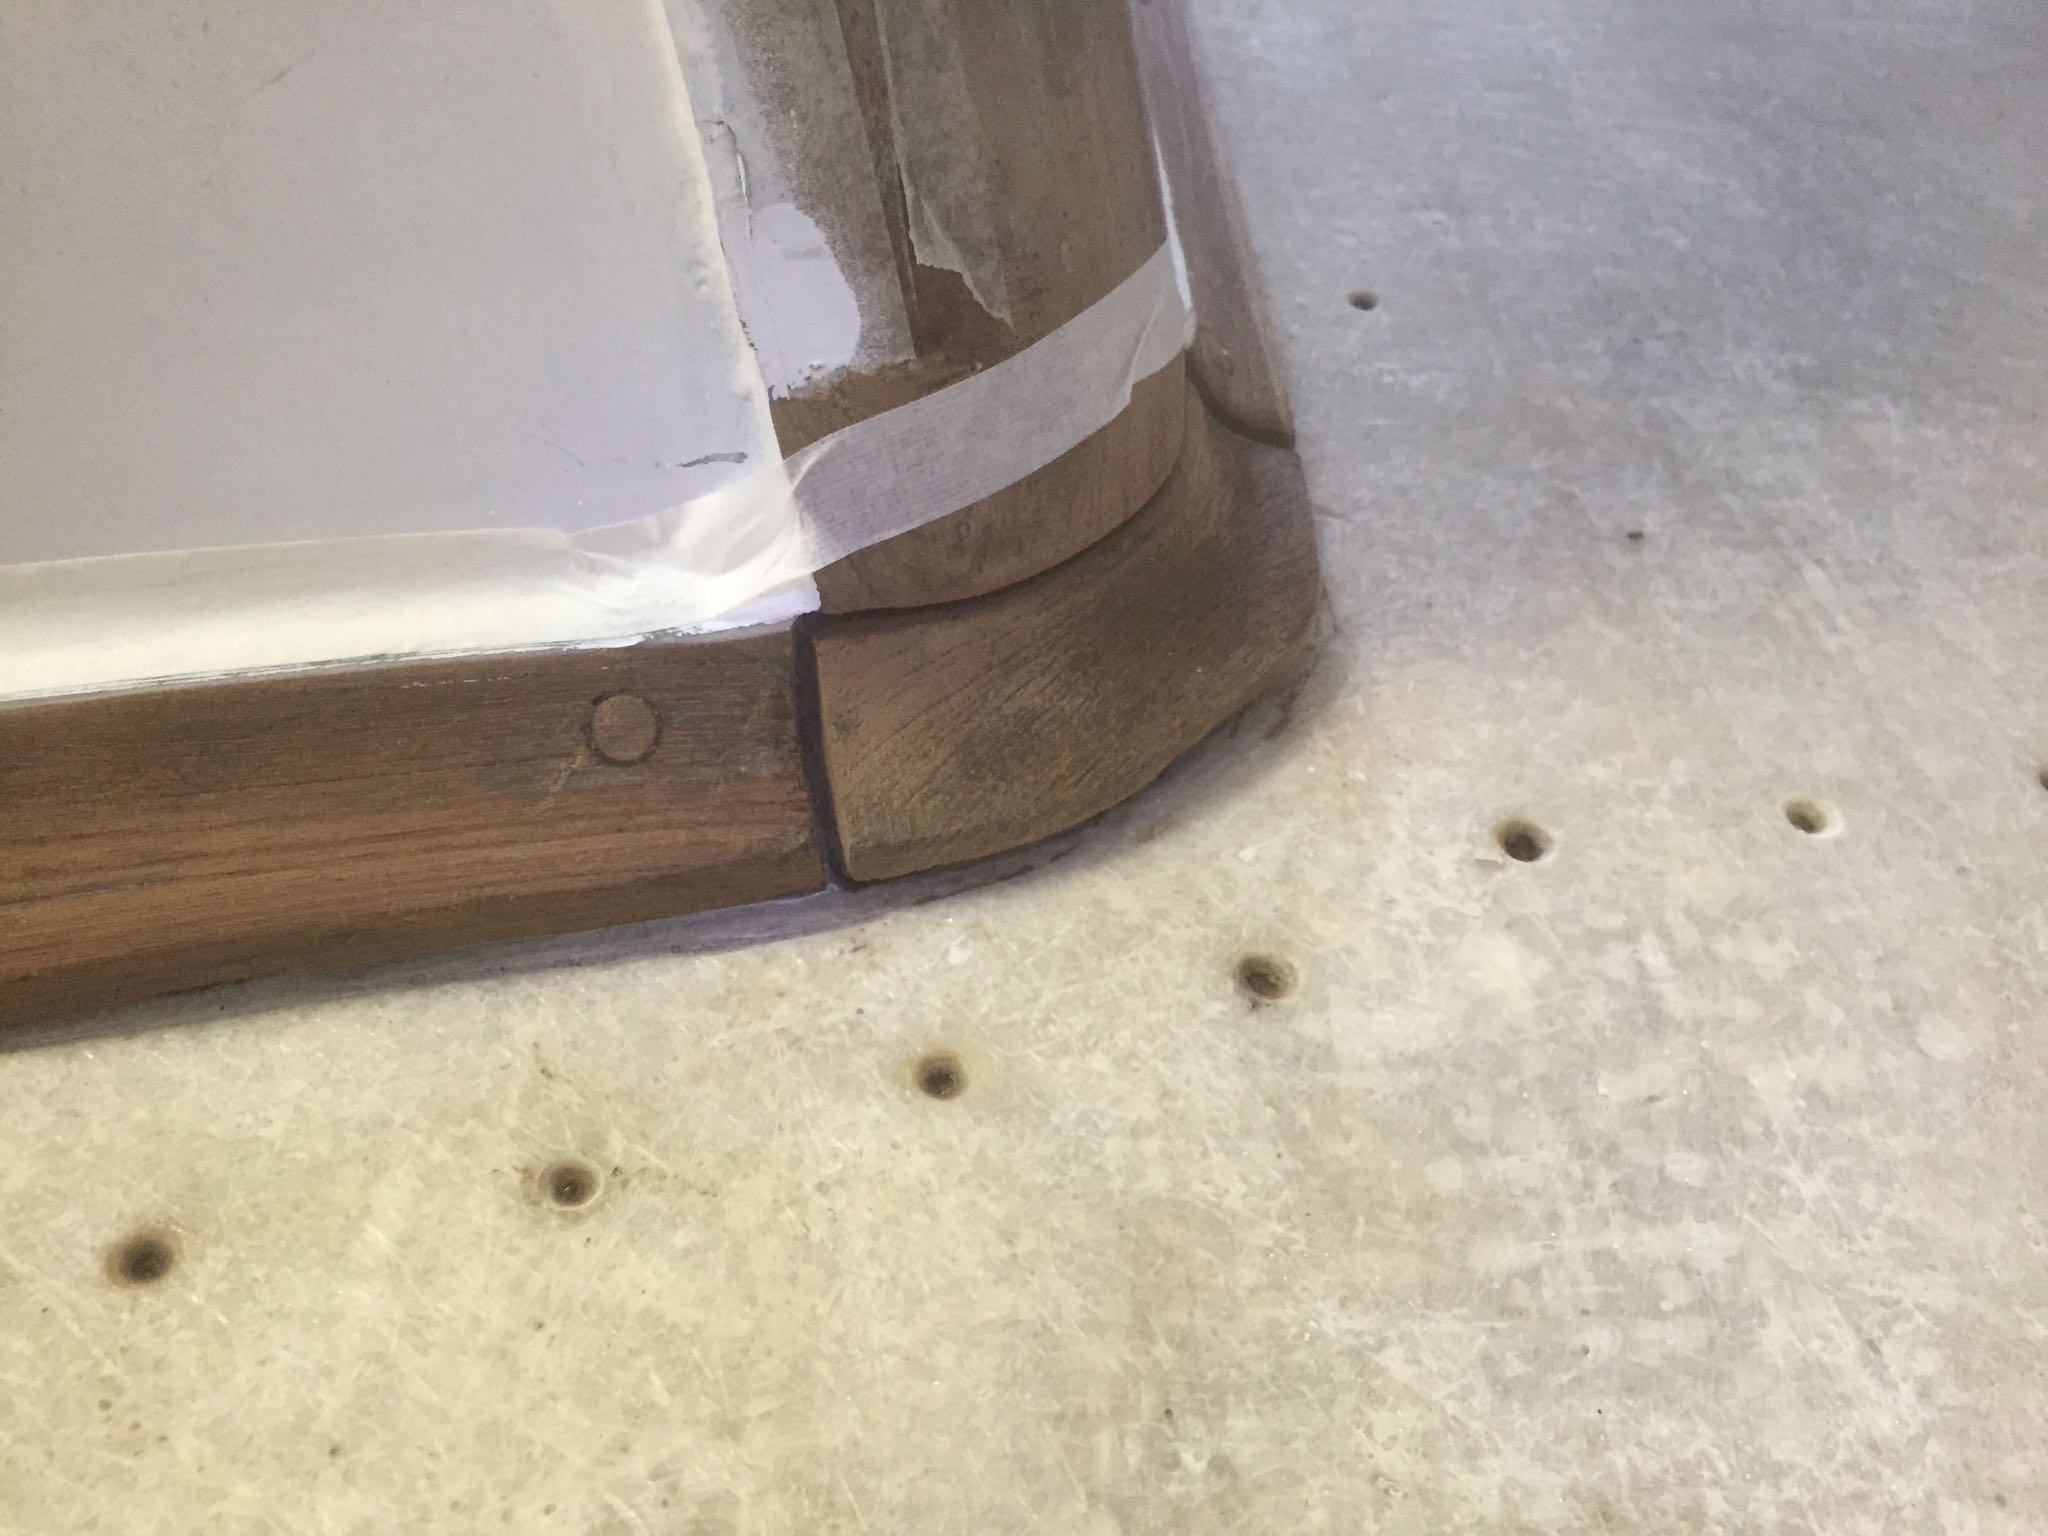
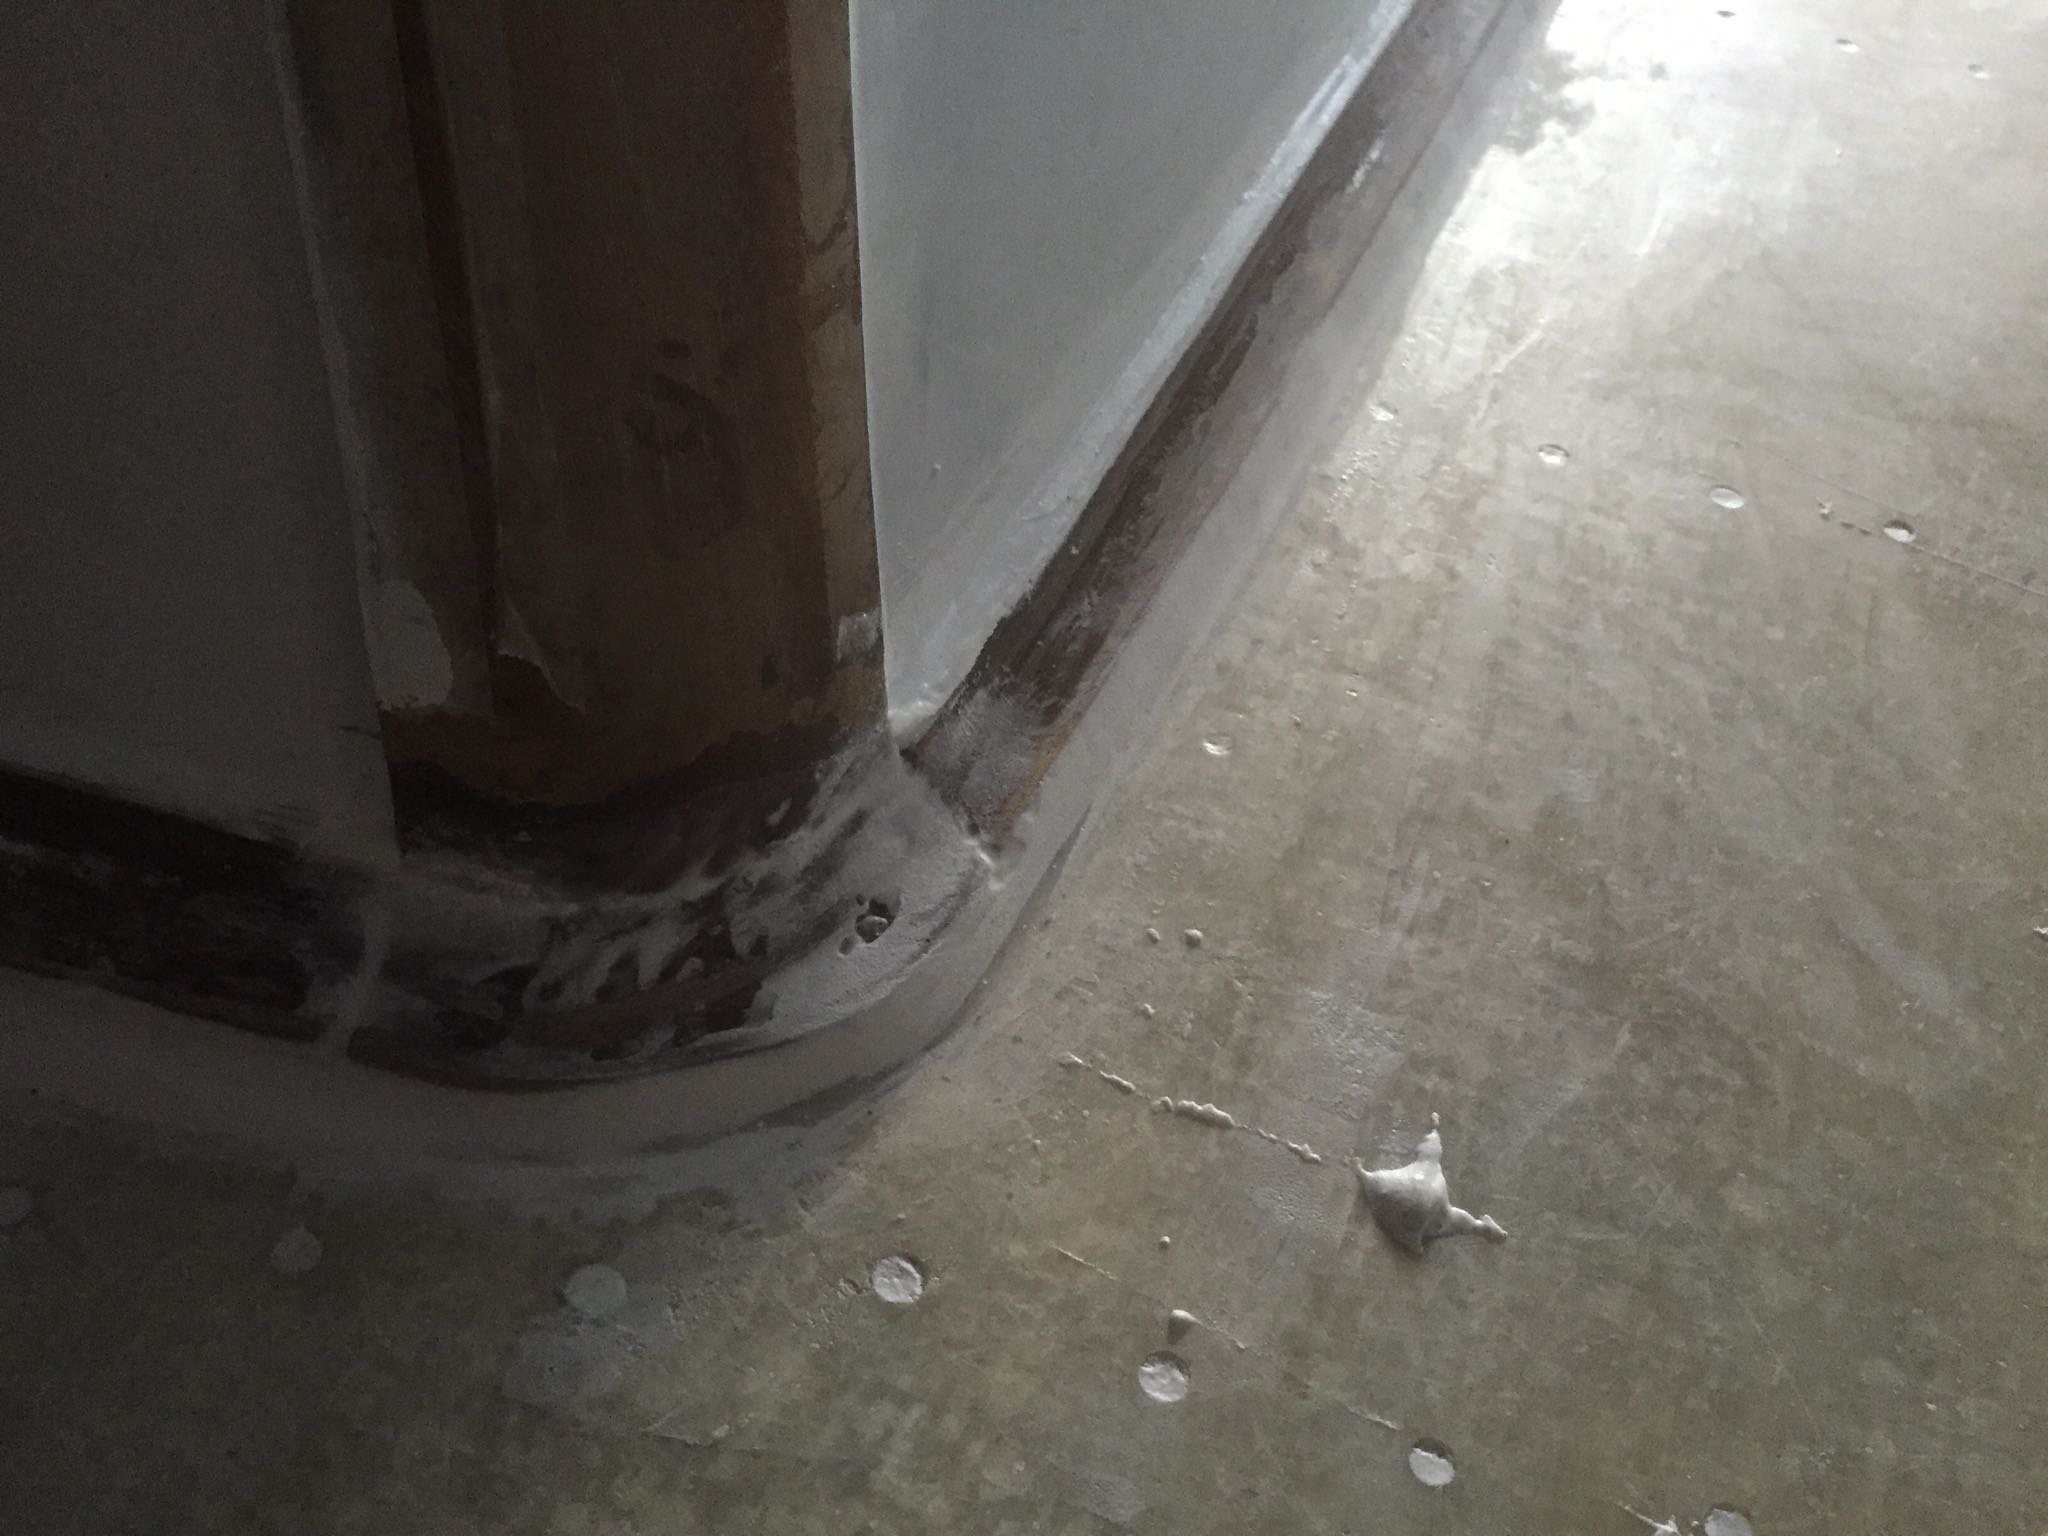
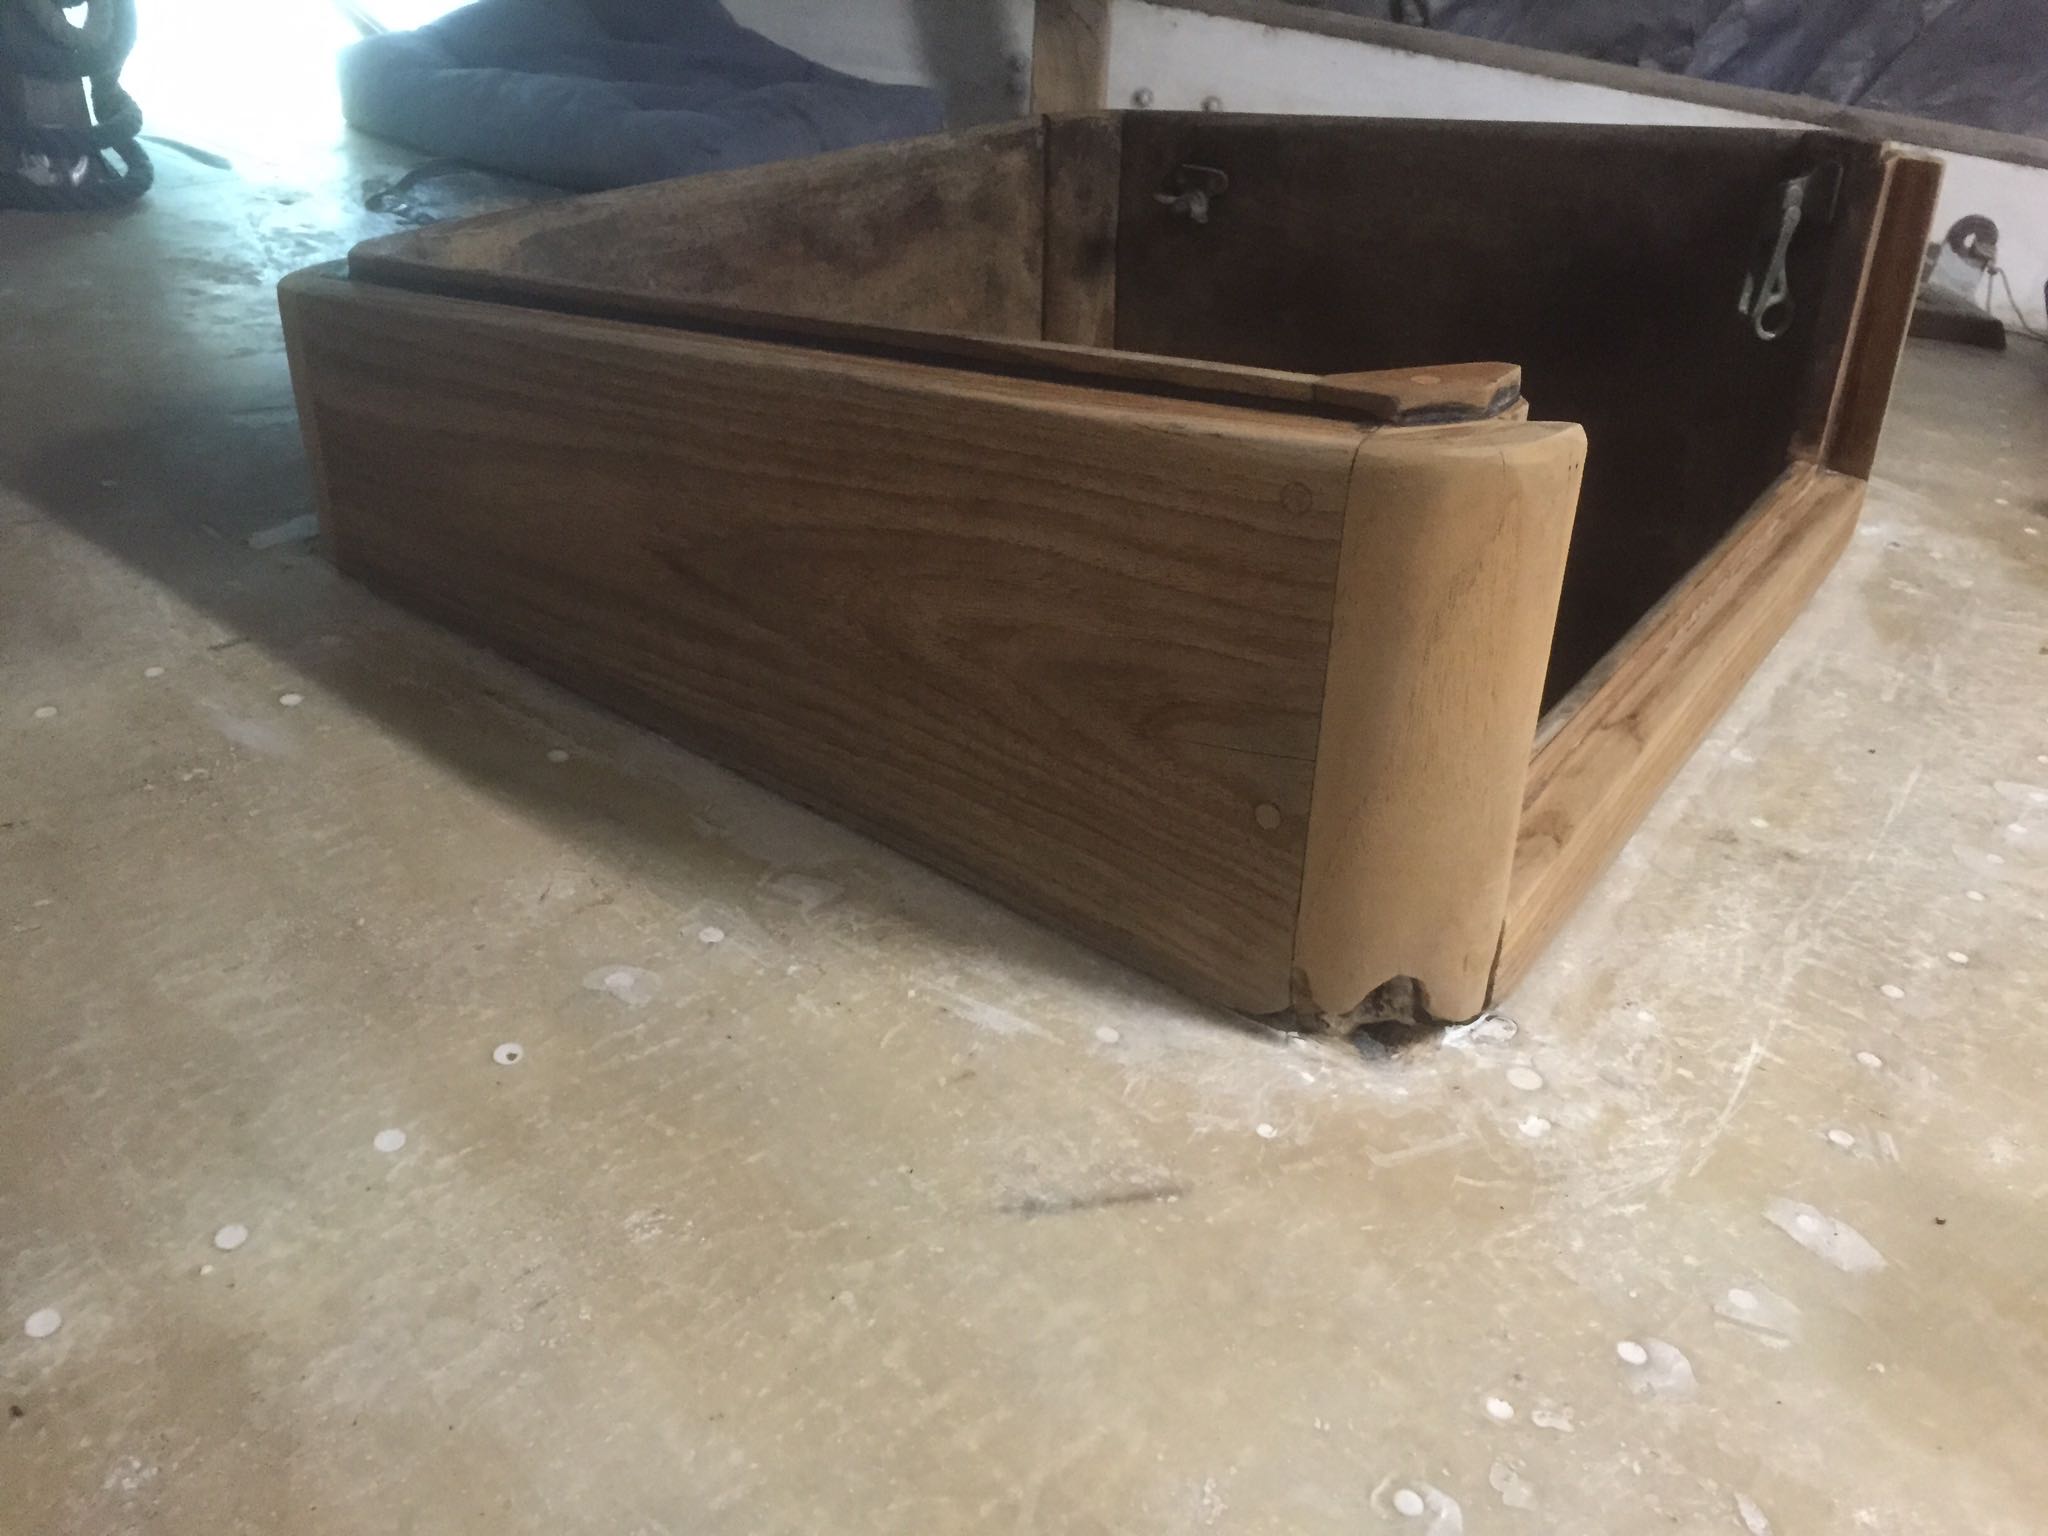
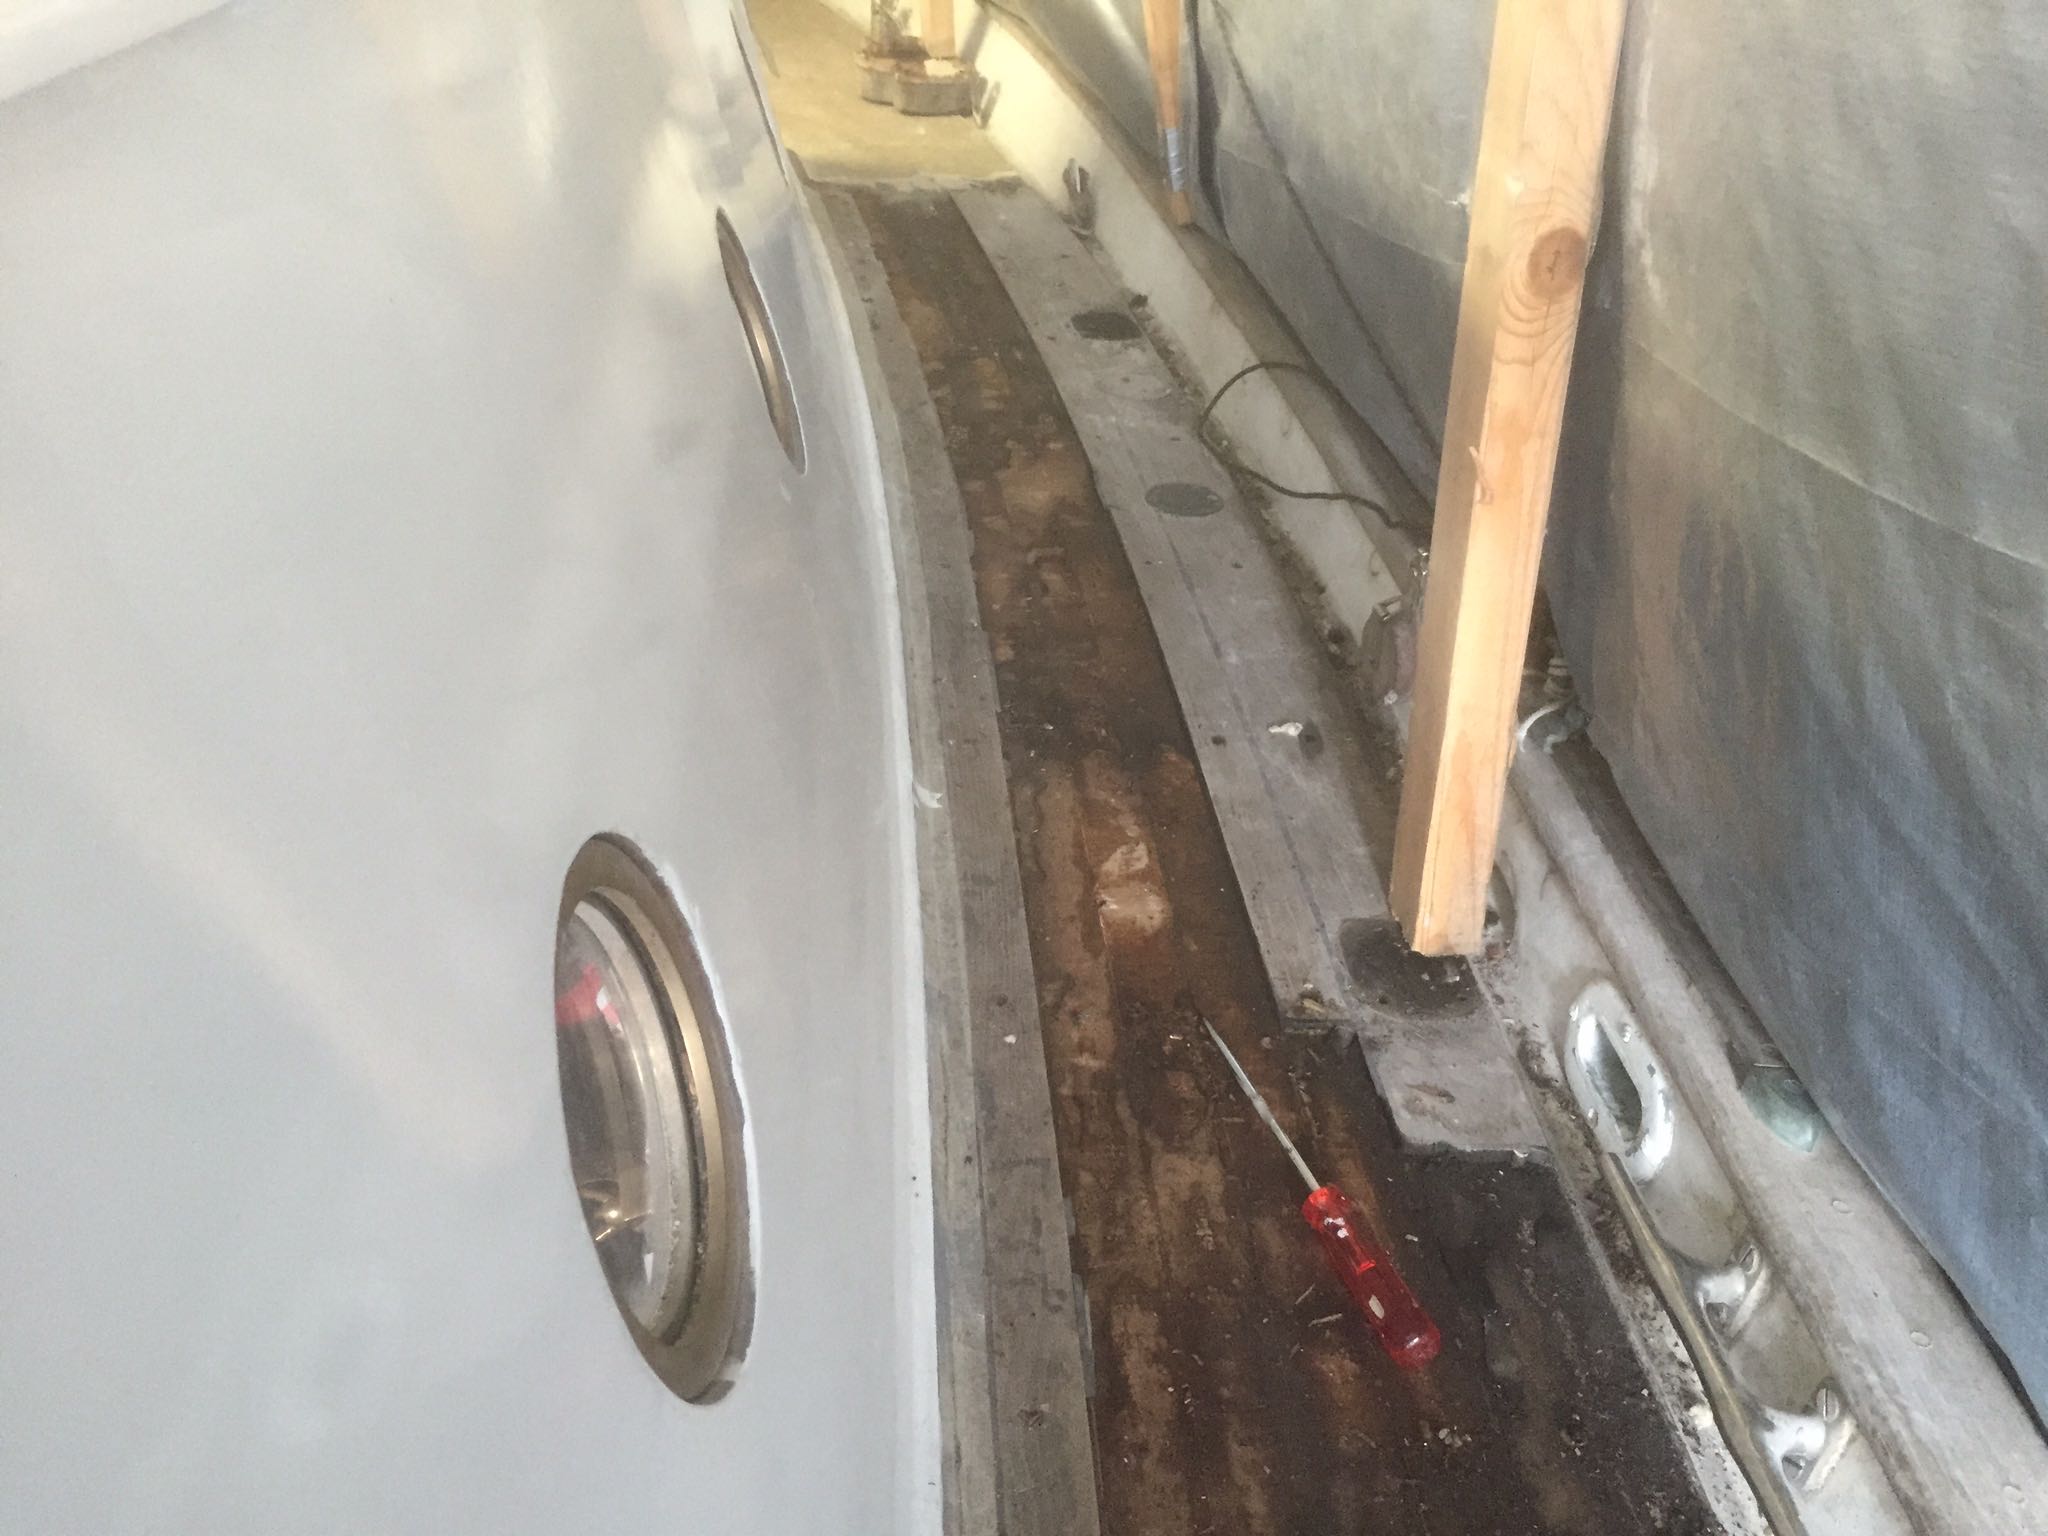
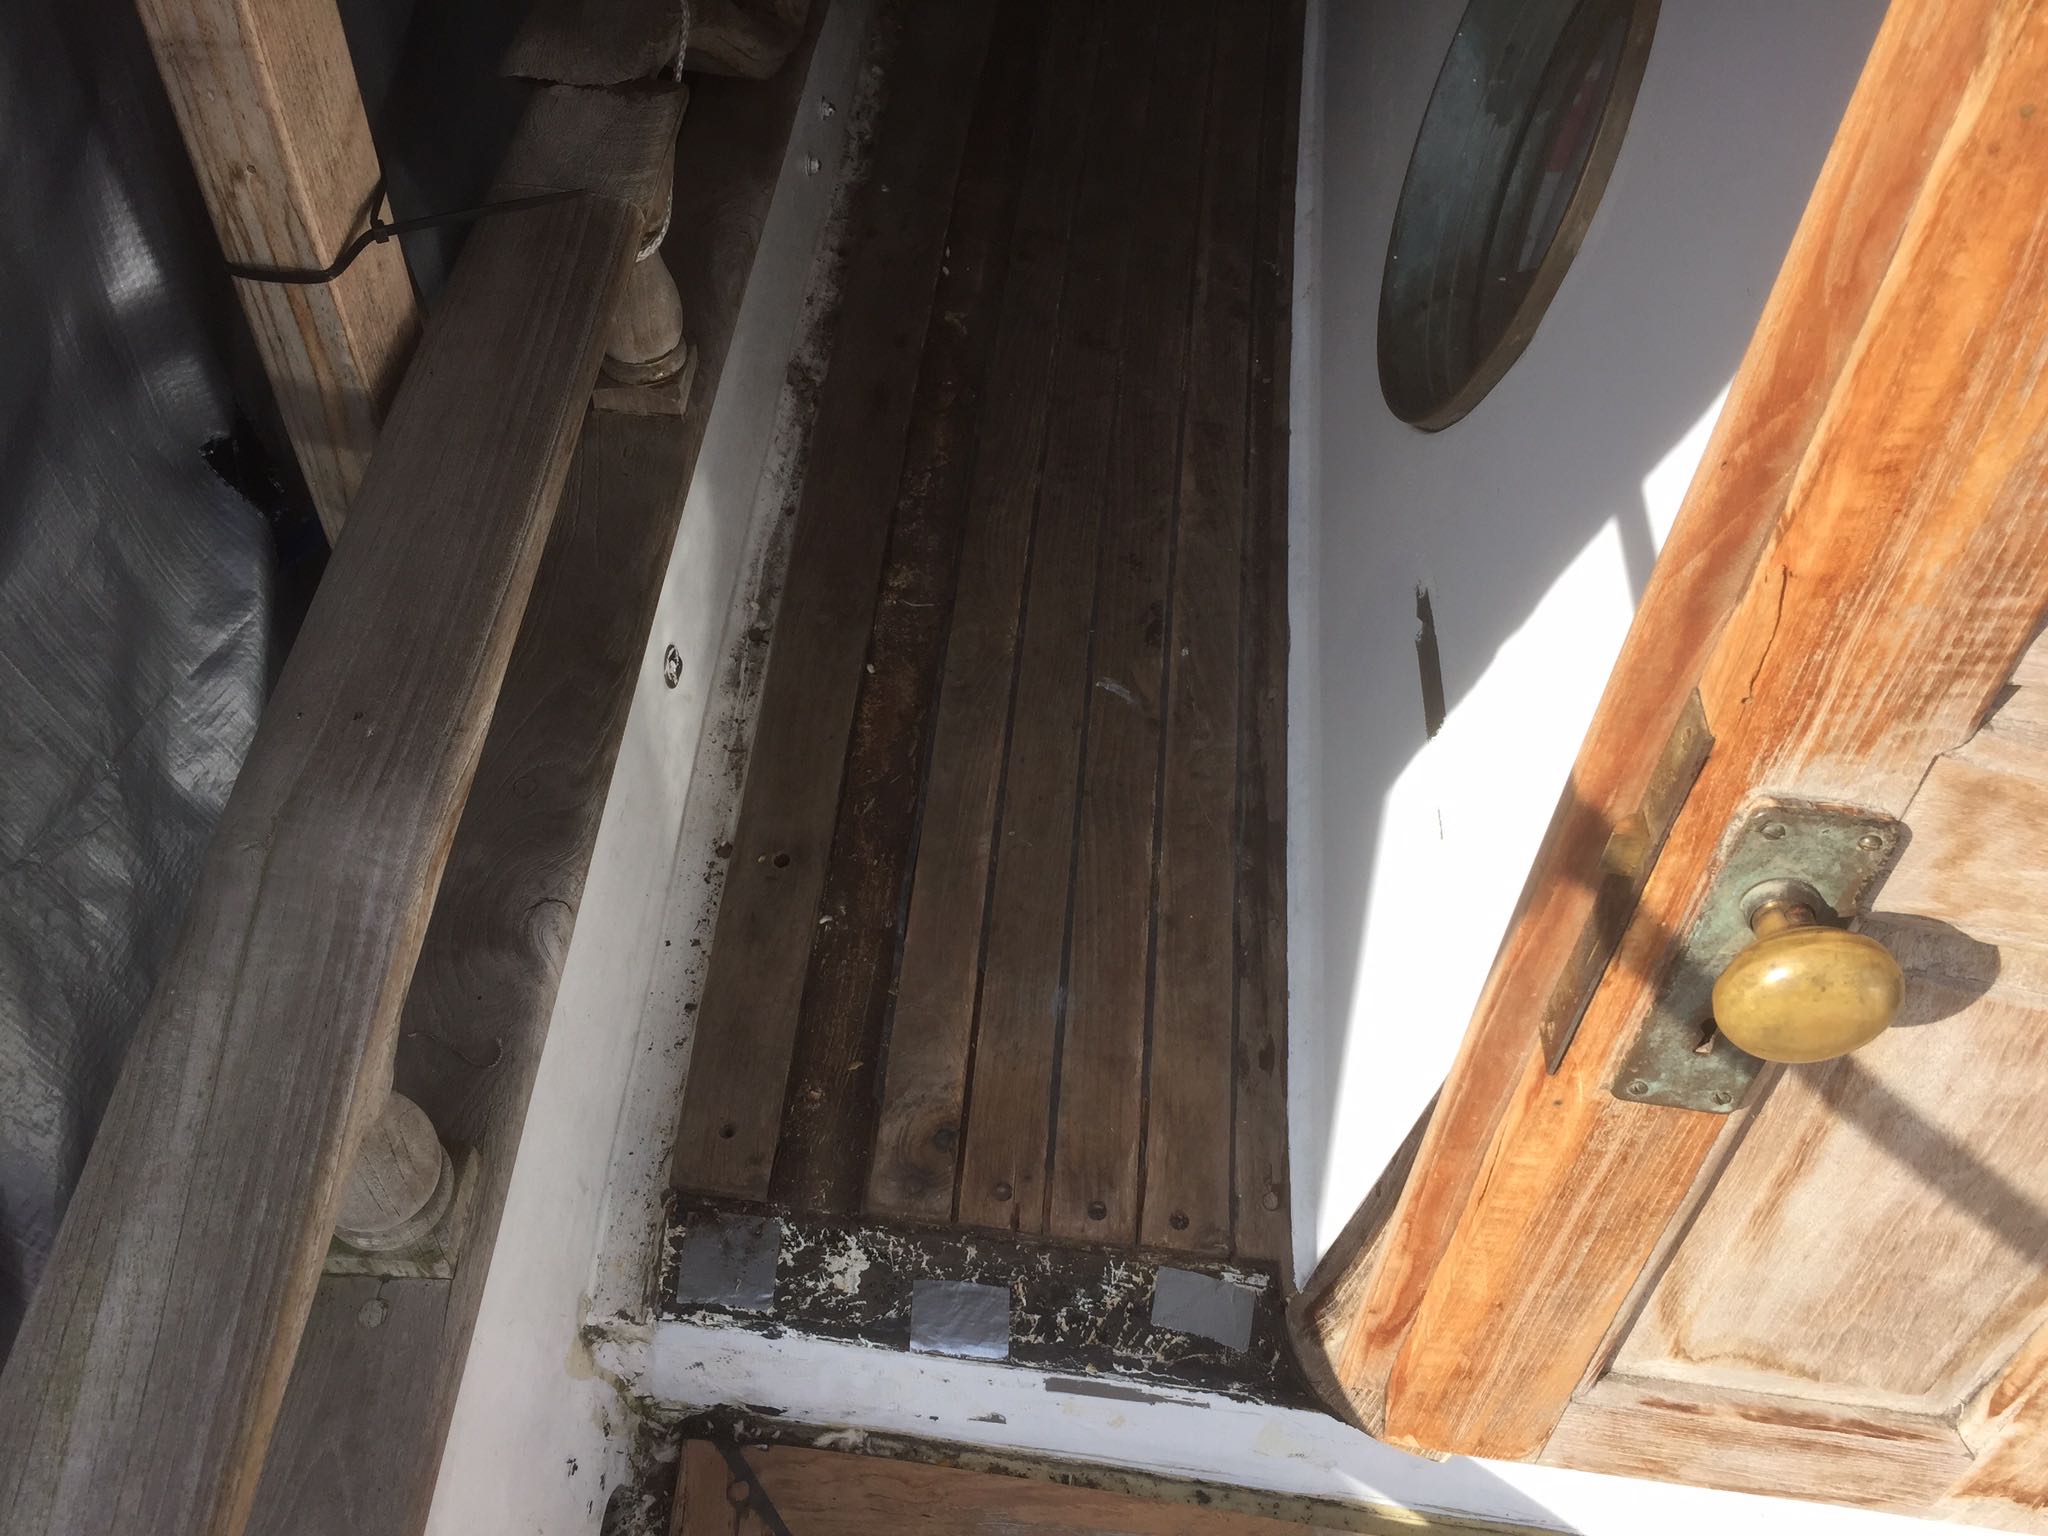
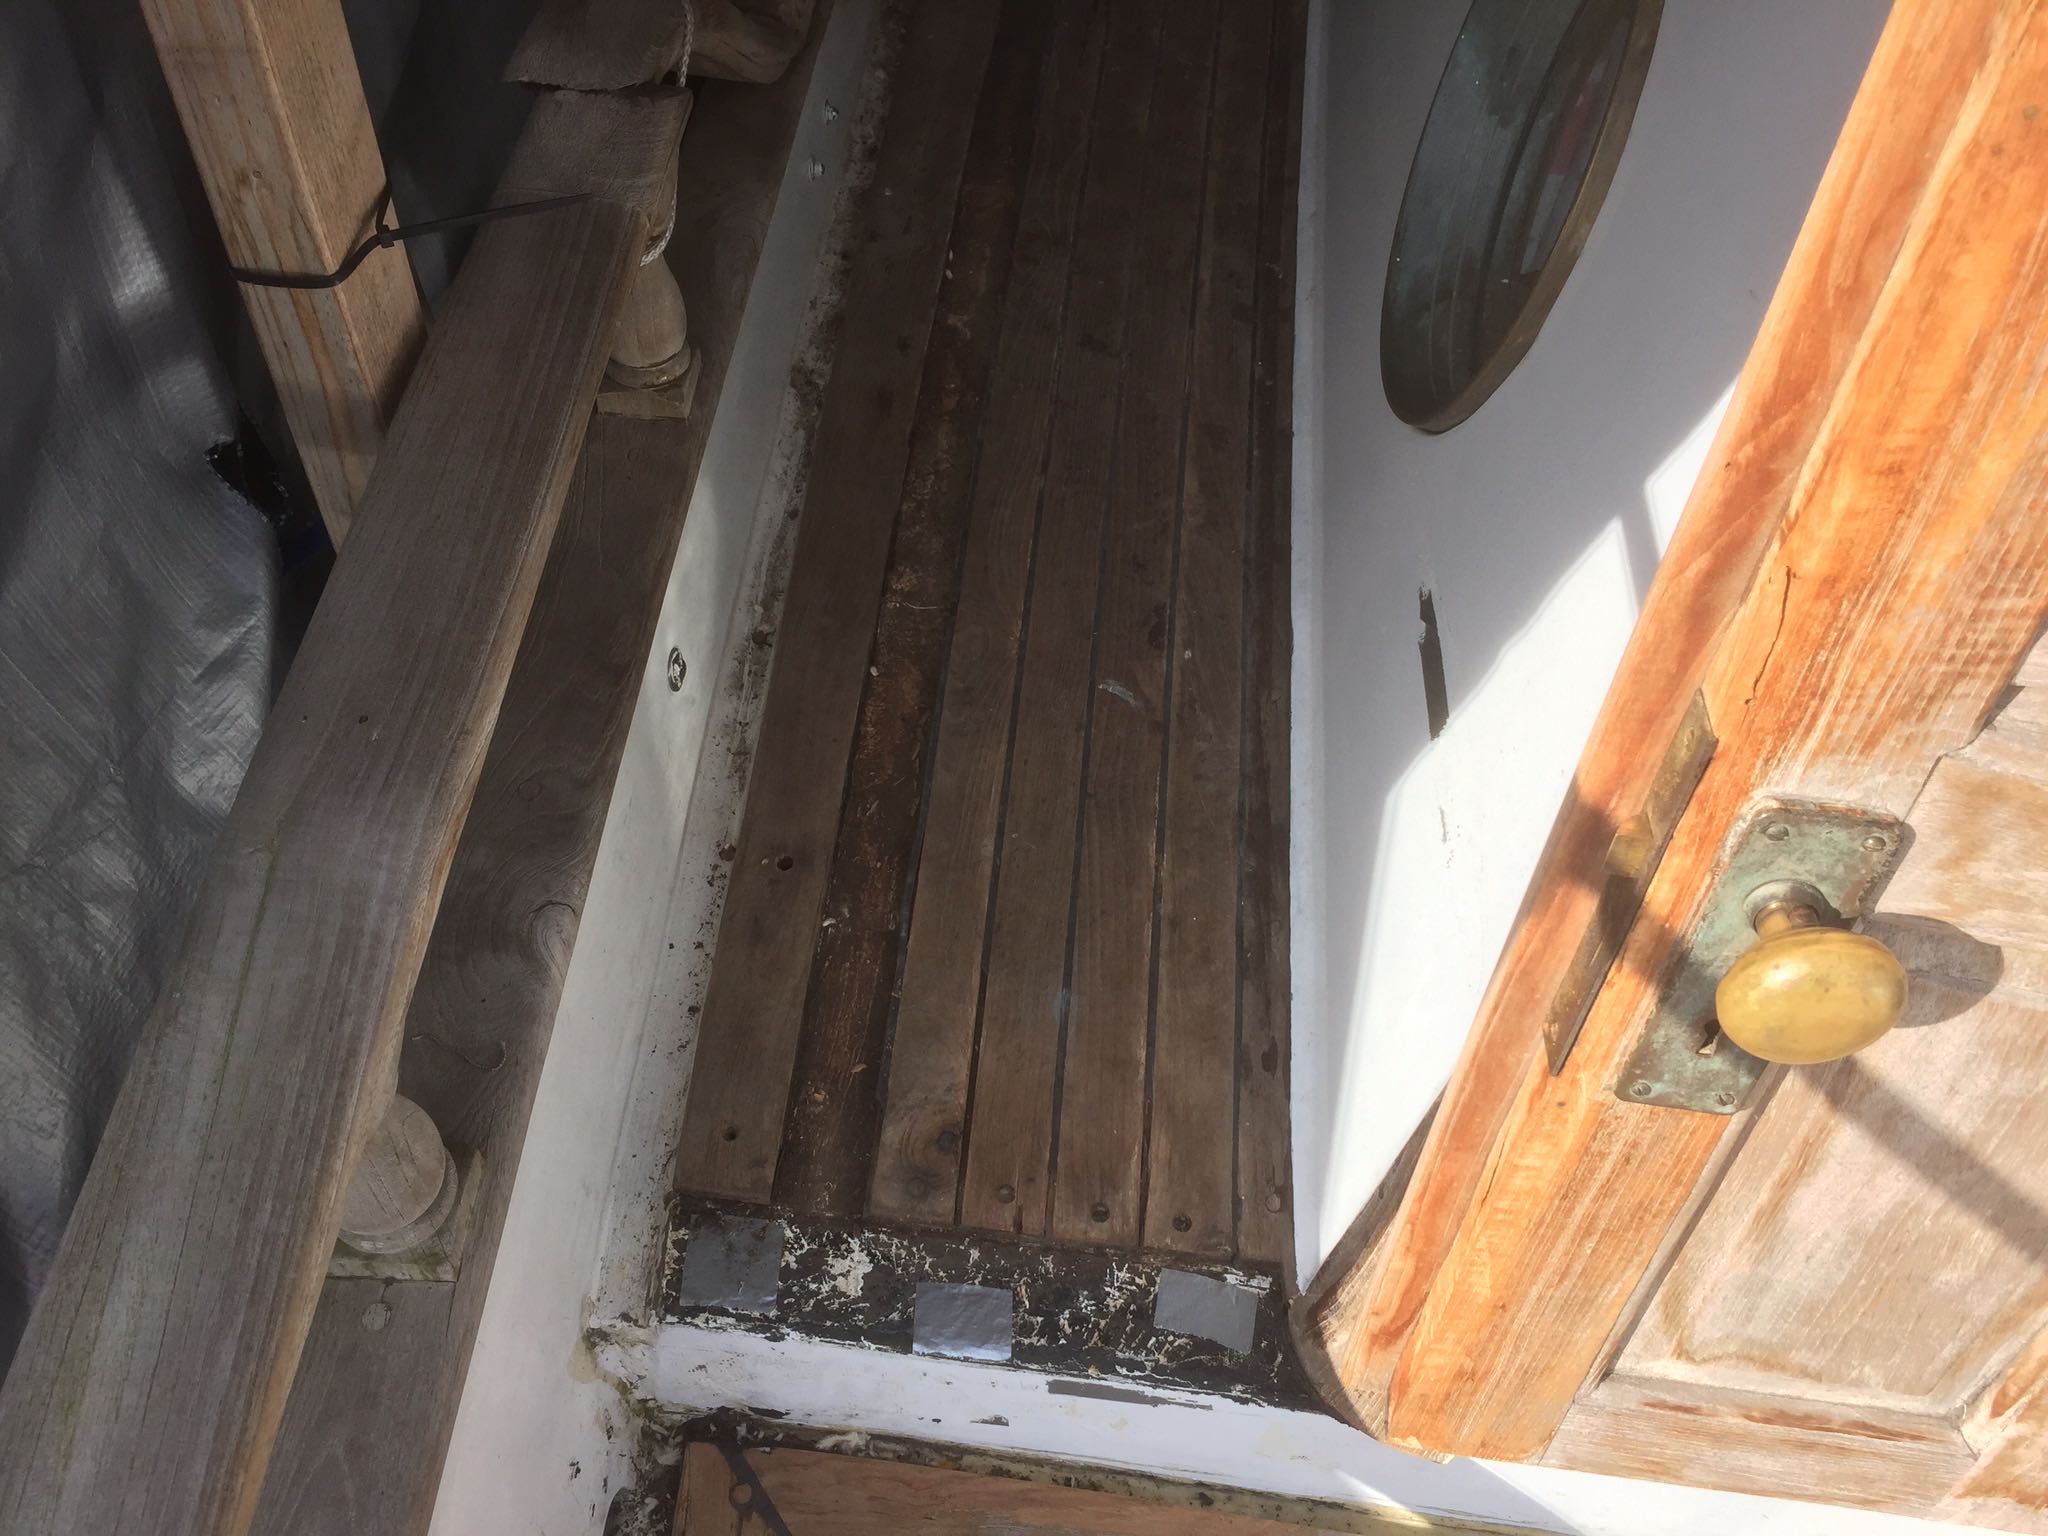
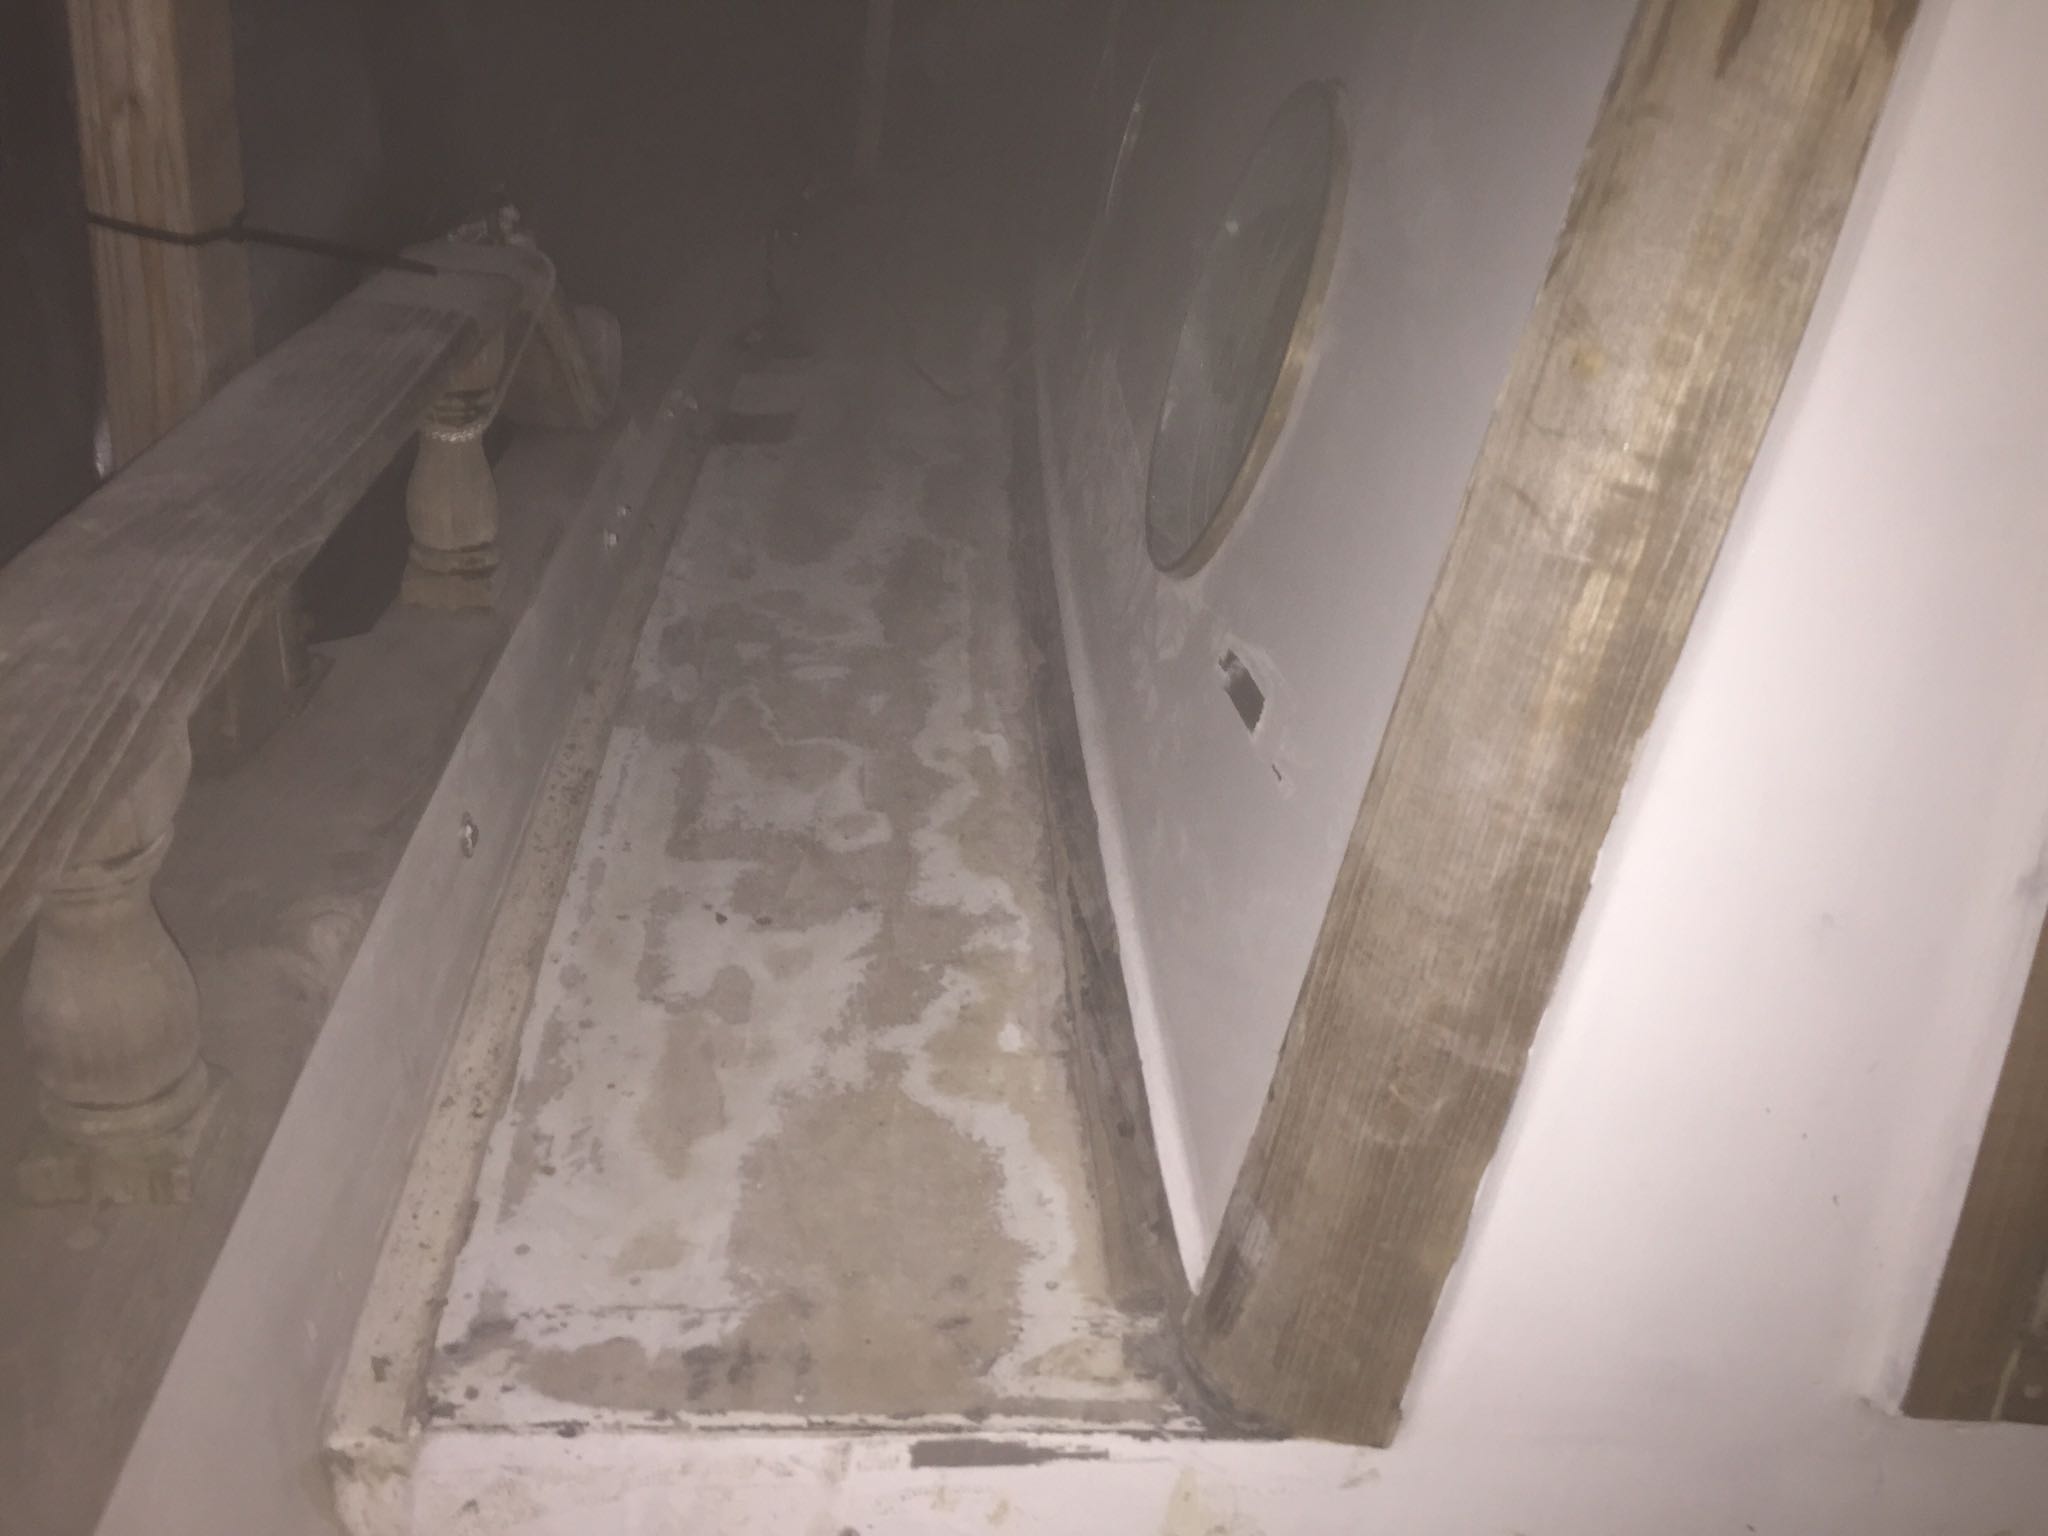
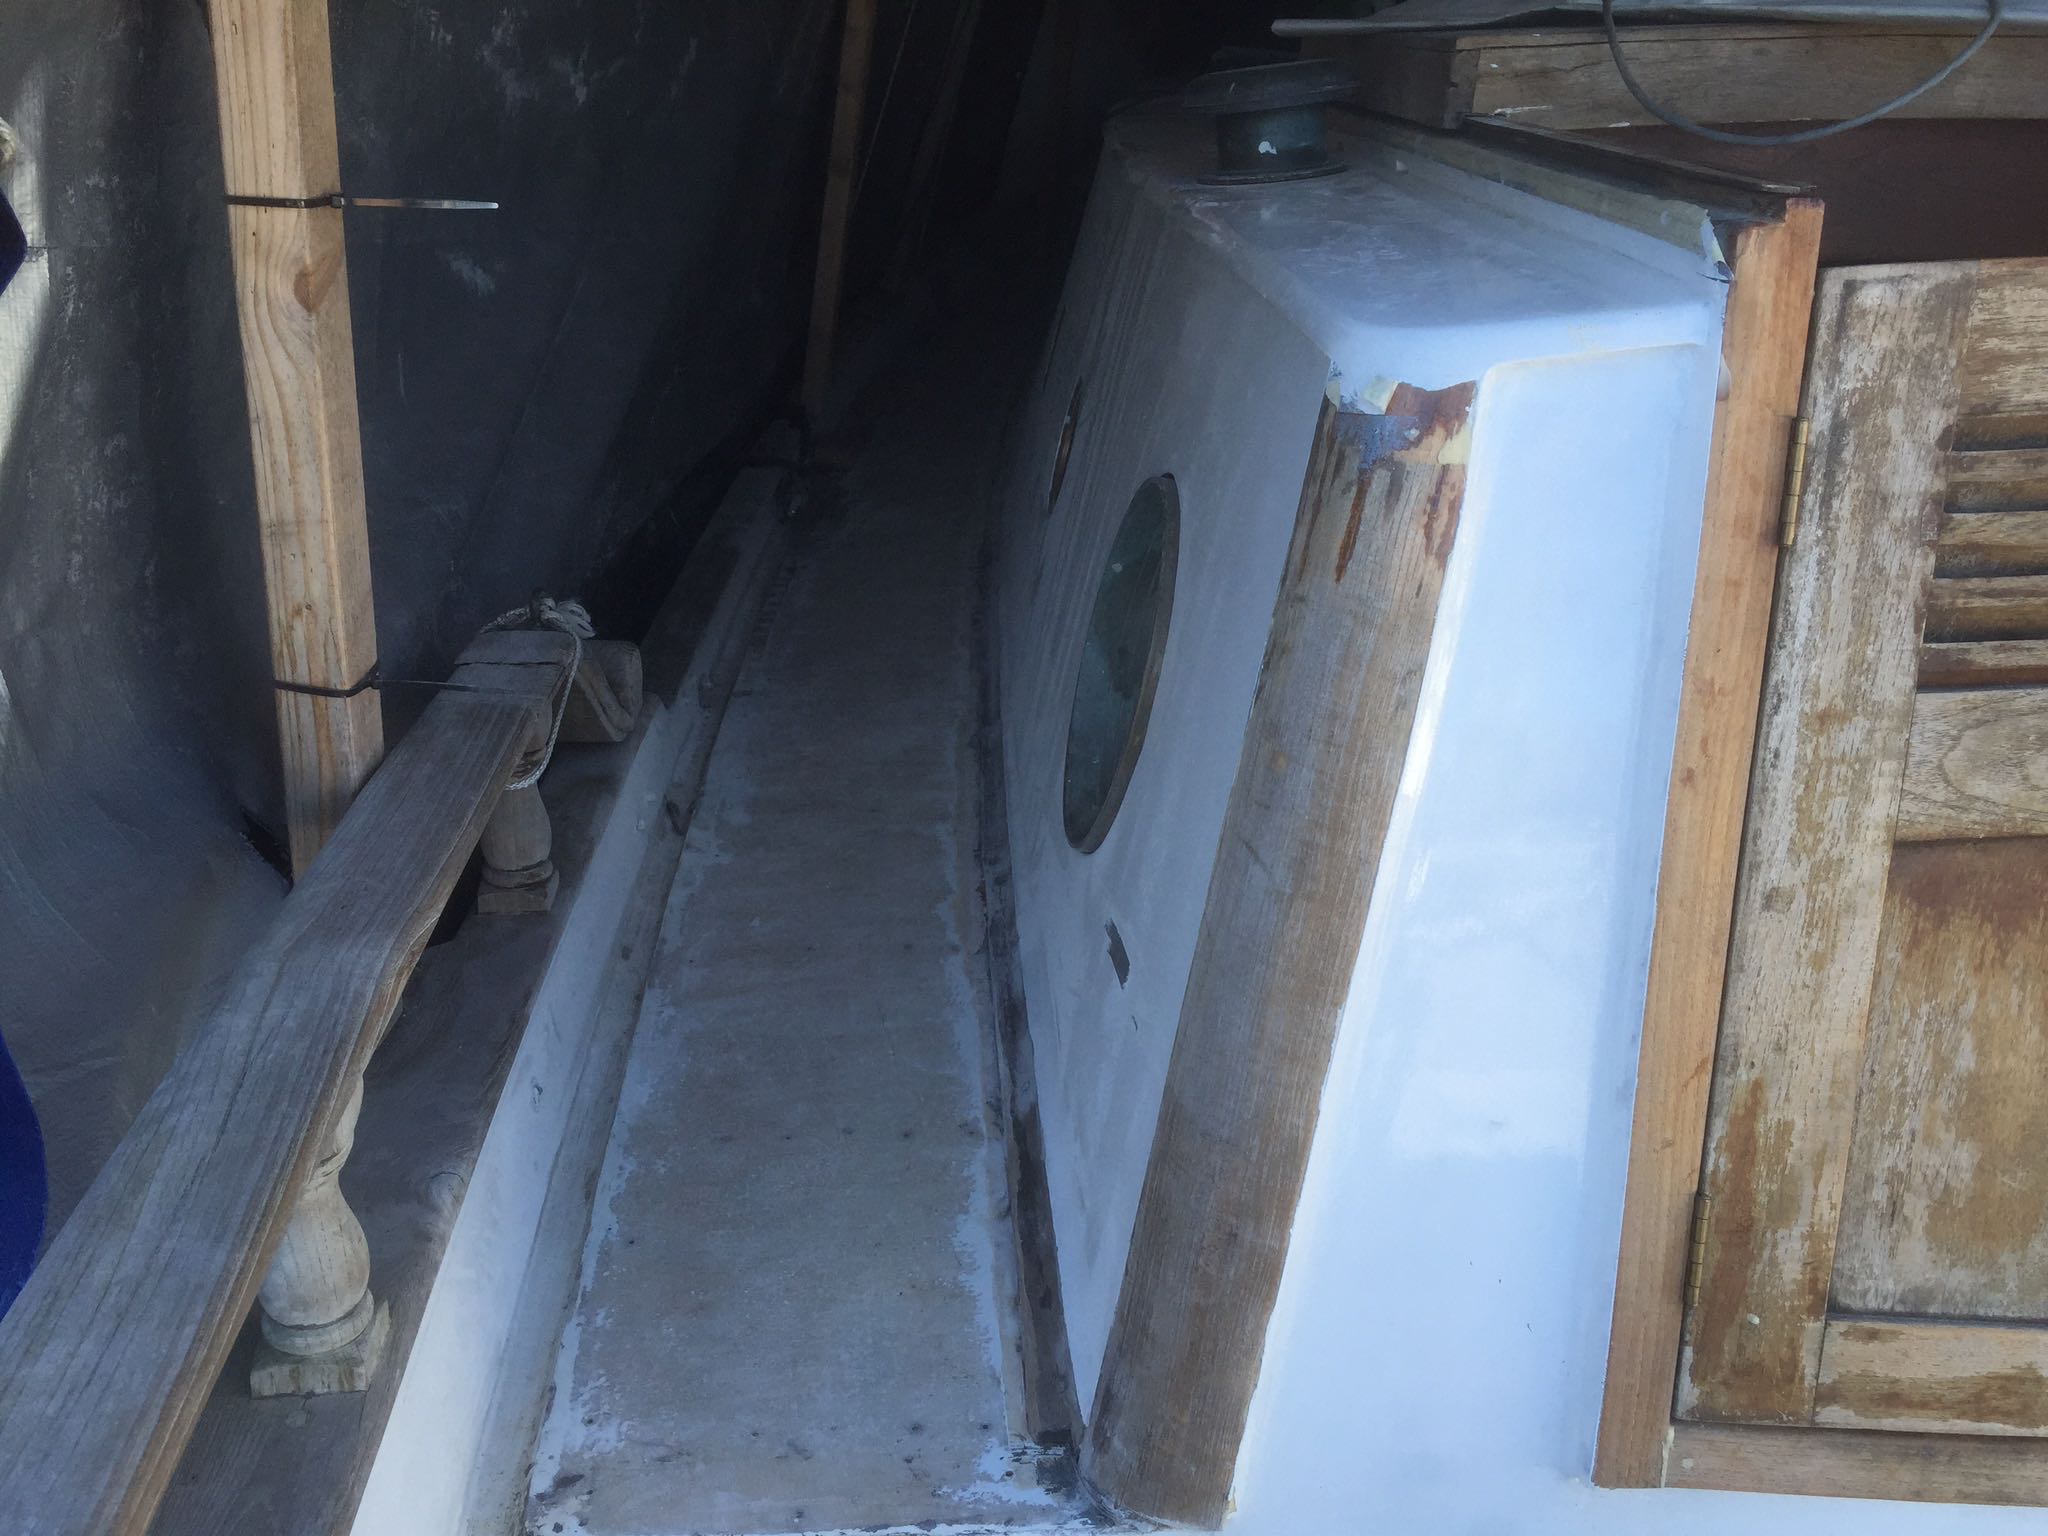
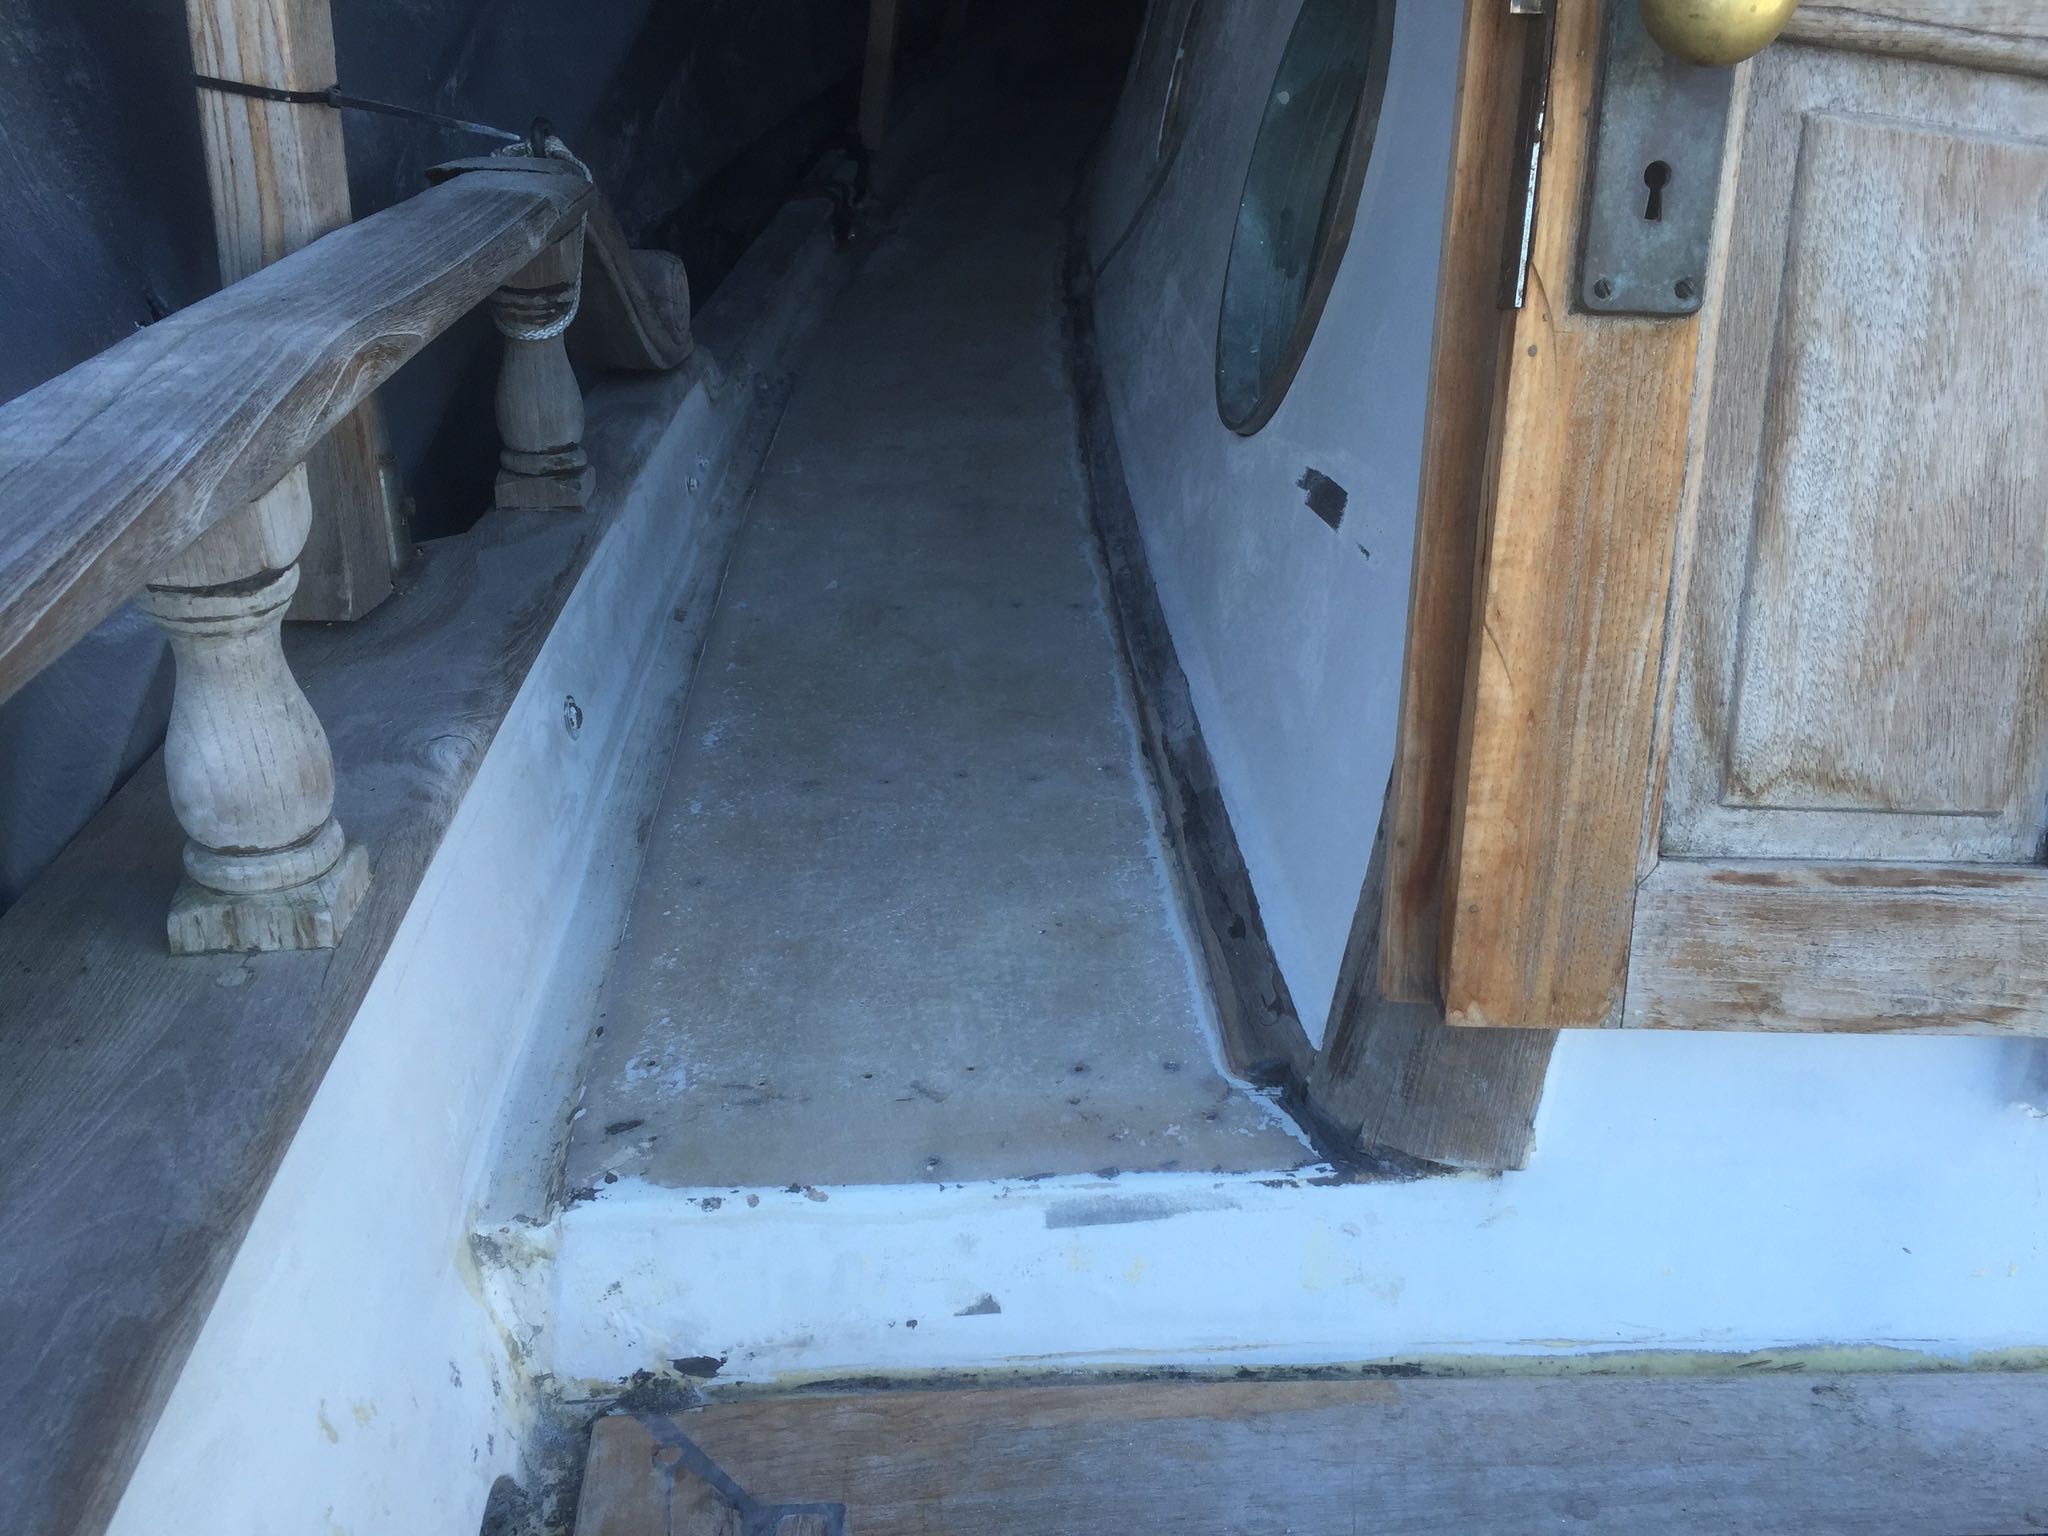
While waiting on the new diesel tank I cleaned the bilge underneath the floor where the tank used to be. While cleaning there I found out there was a lot of wasted space besides the diesel tank that was unacceptable before (with the tank in its place). When living aboard even a little extra storage space is always welcome. To make this space accessible I needed to saw the floor up into pieces to create hatches and add some bulkheads to divide the space up. After that was done I painted the bilge and the new storage spaces with two layers of bilge paint.
Painting bilge
Painting bilge

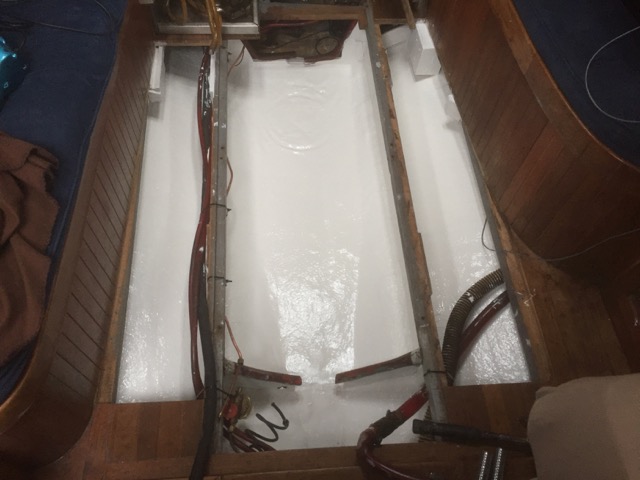
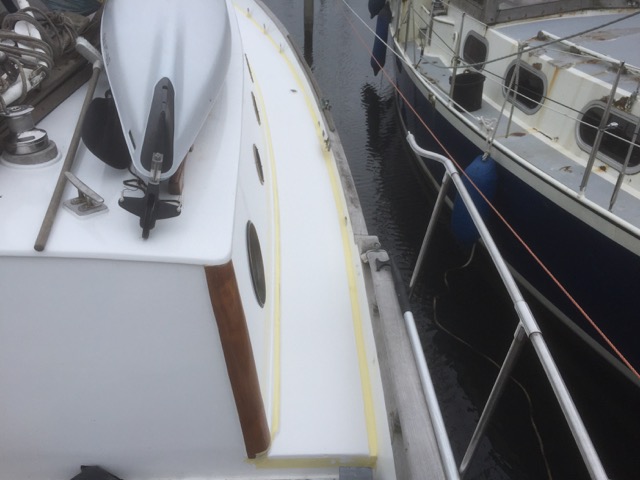
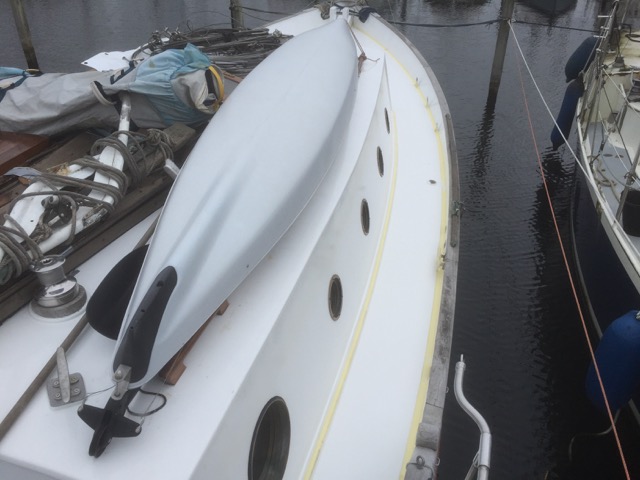
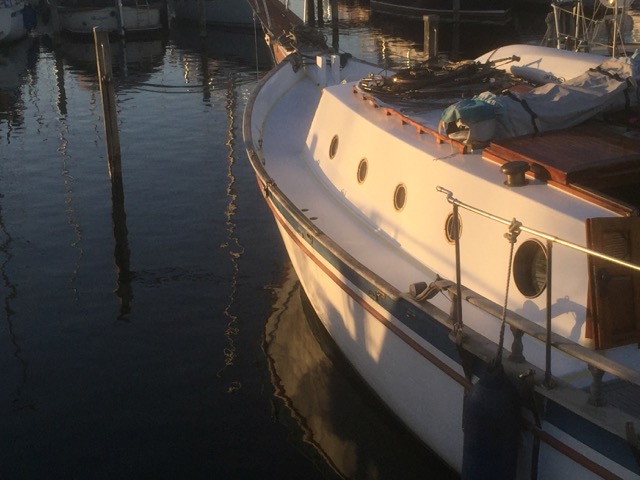
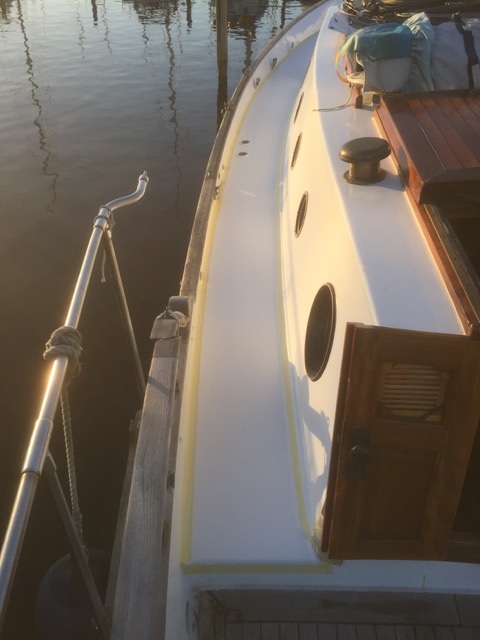
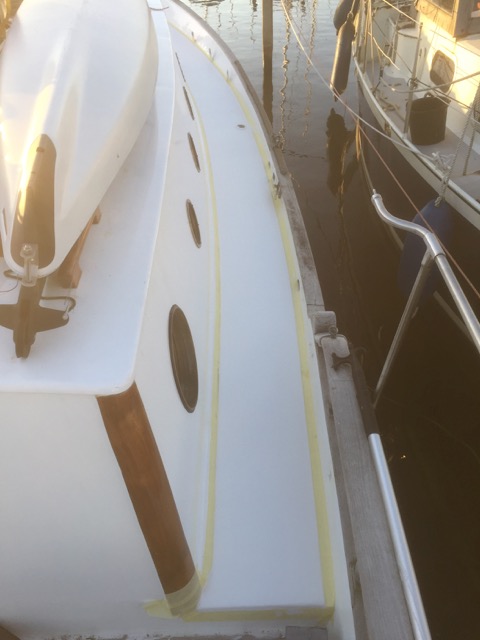
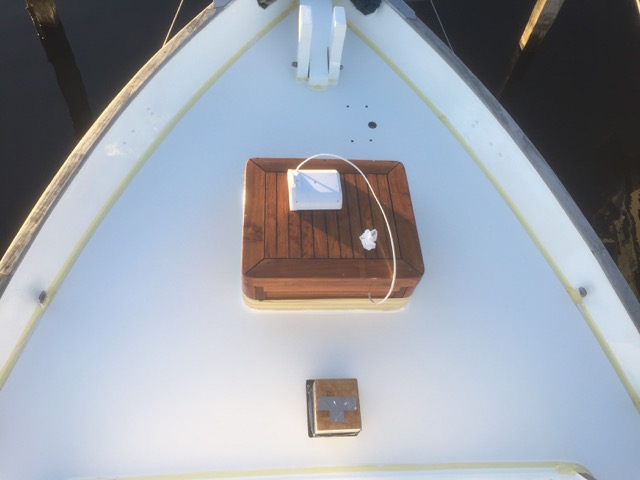
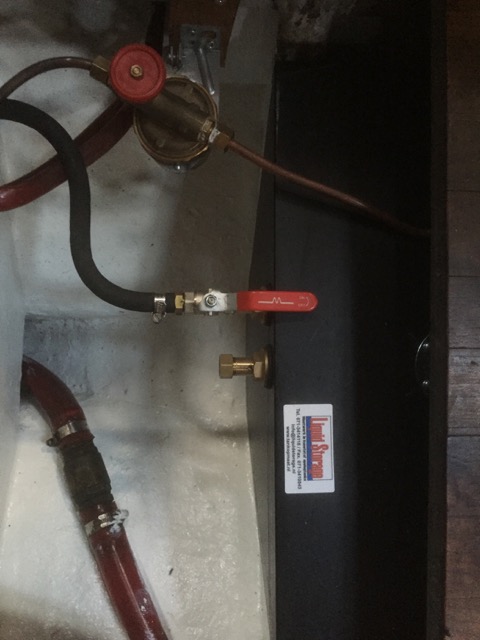
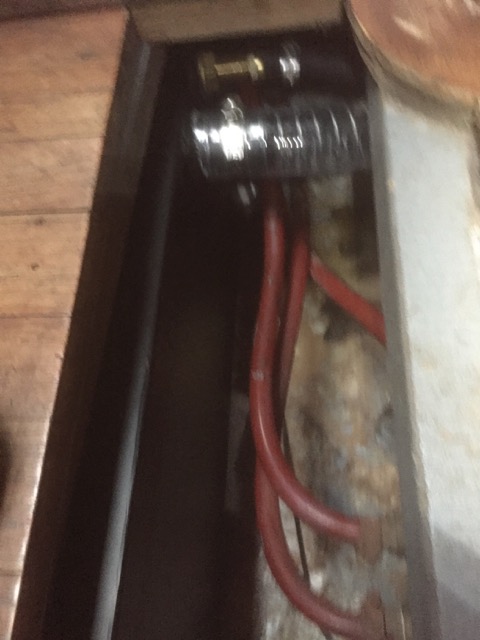
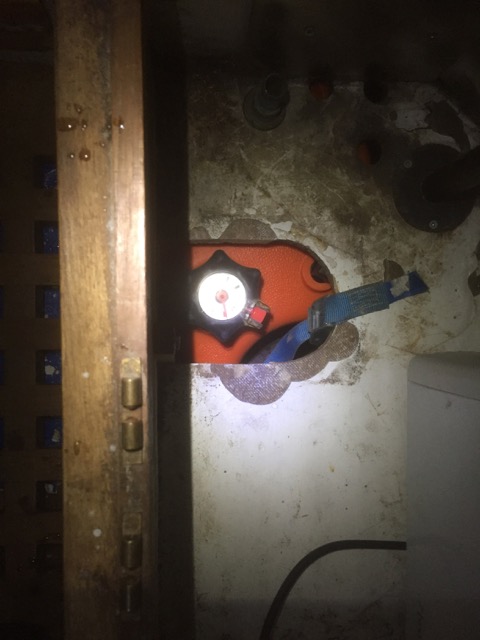
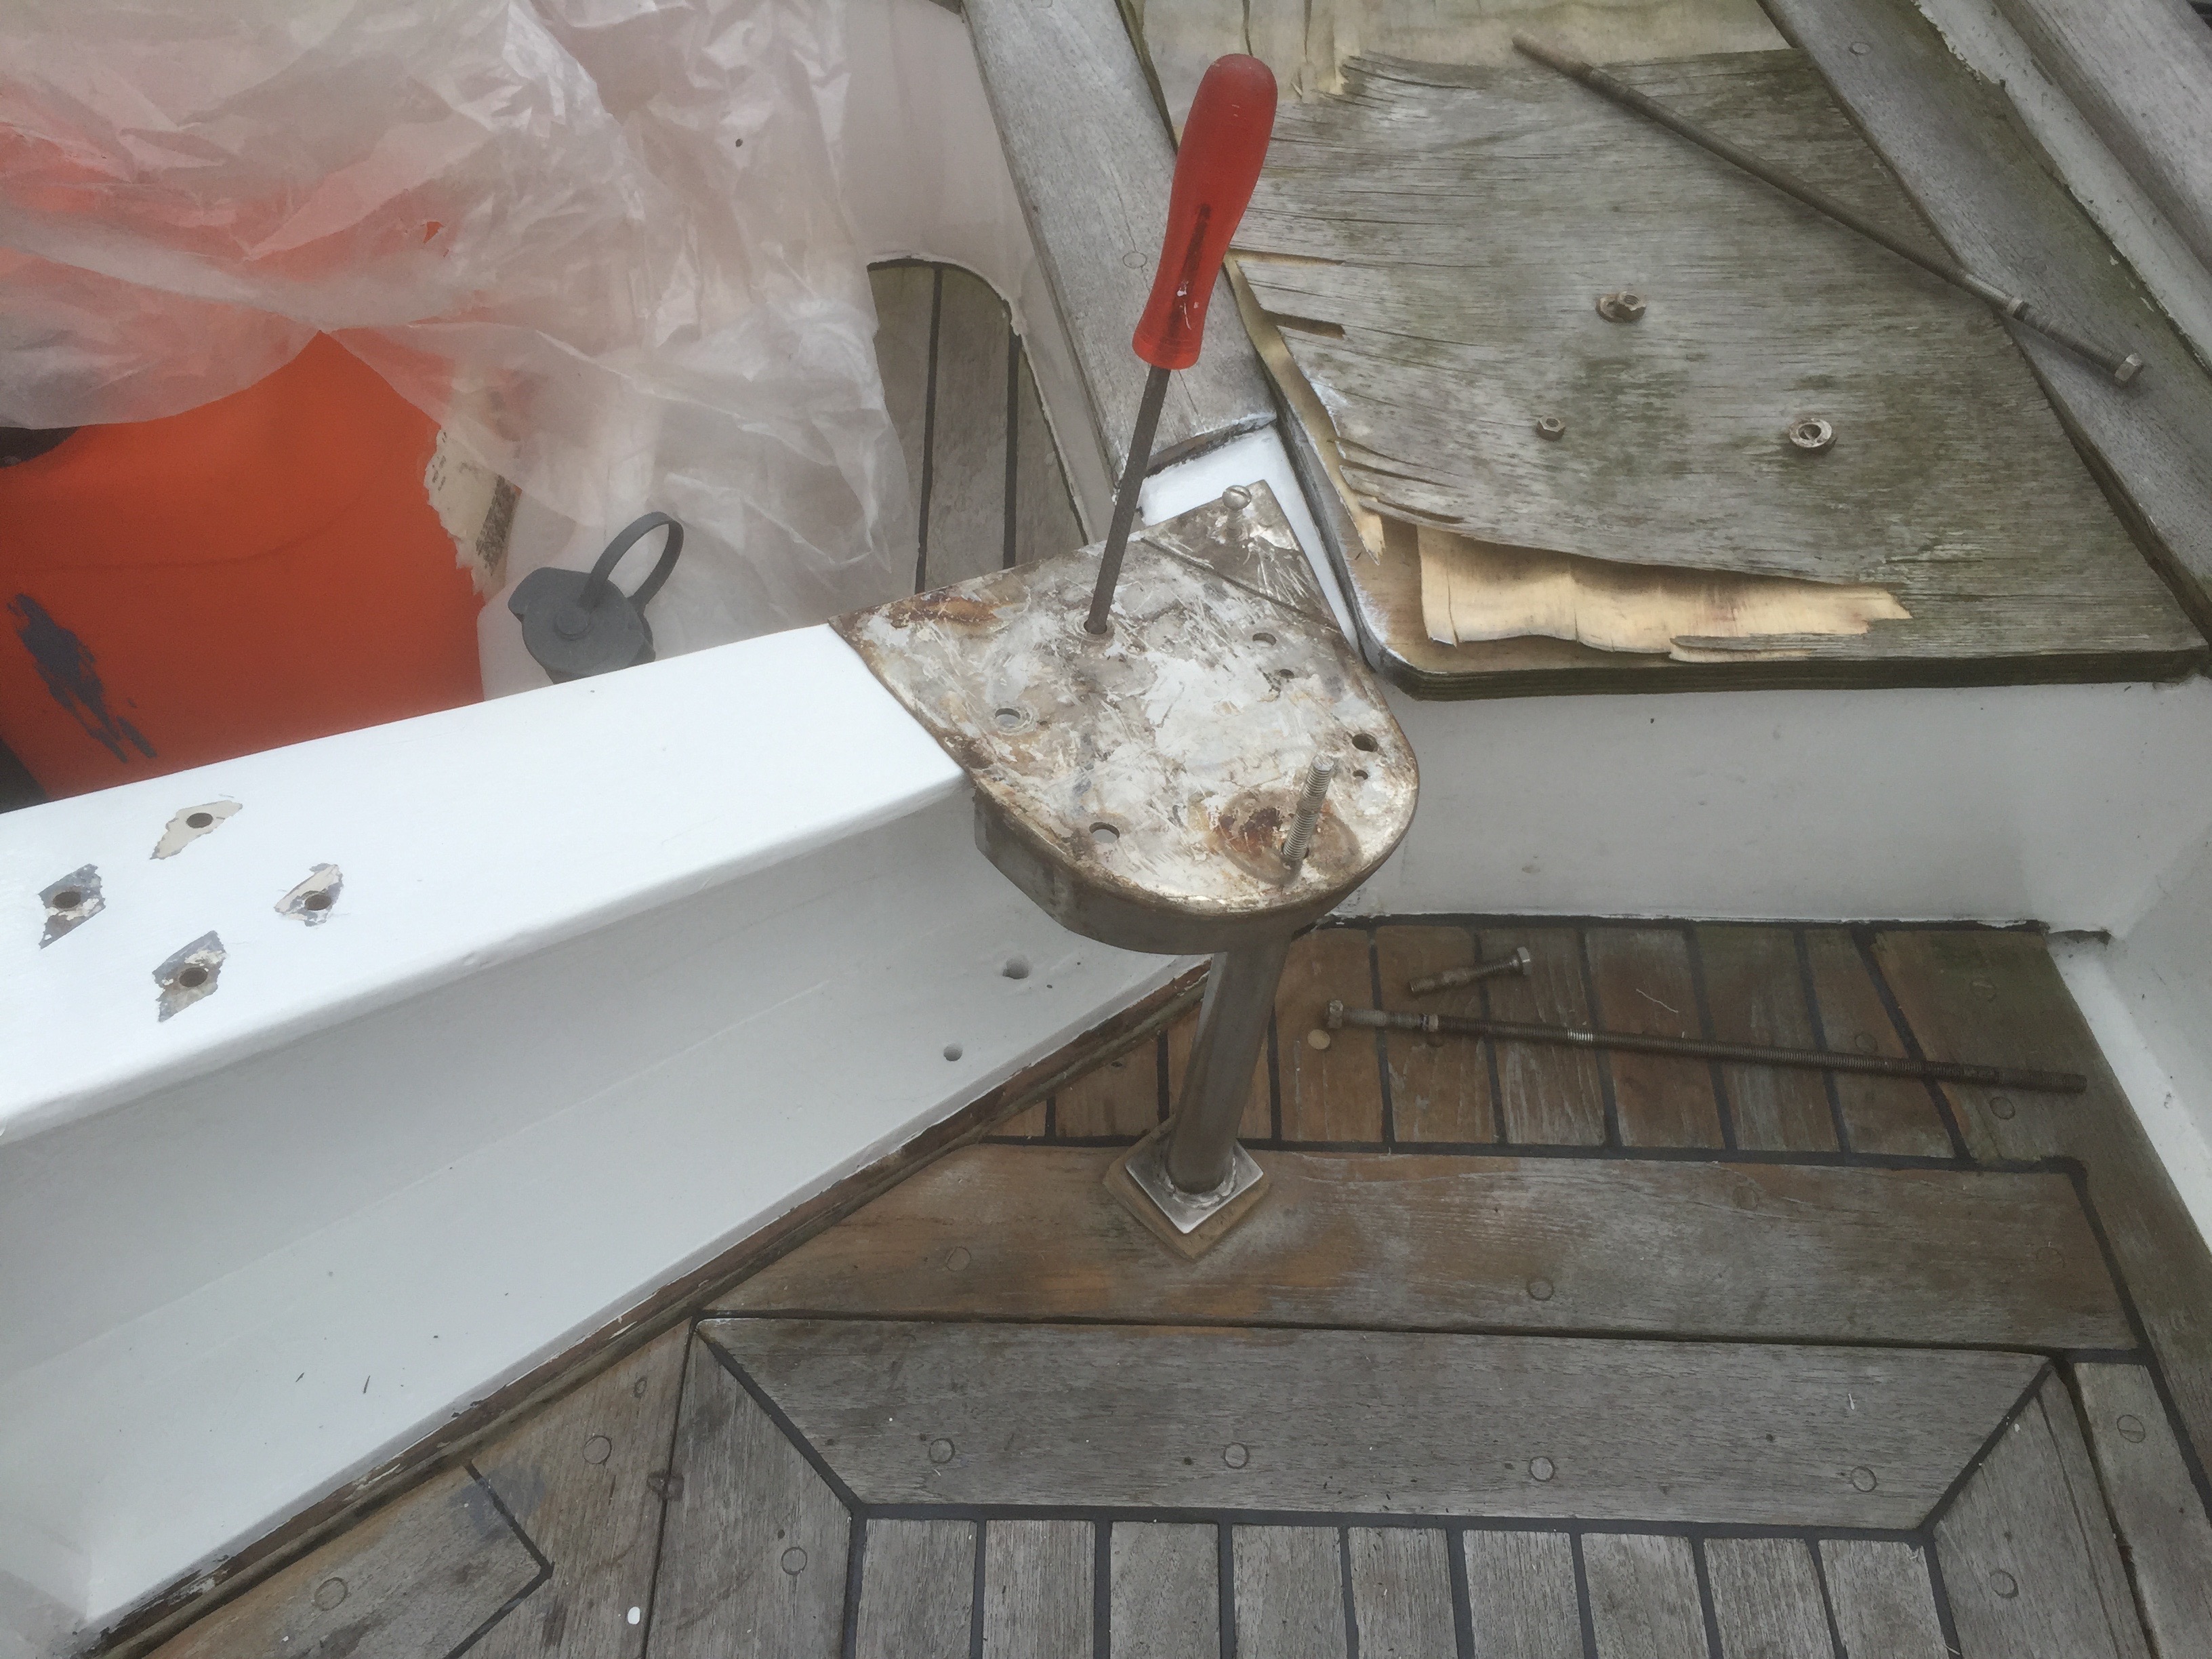
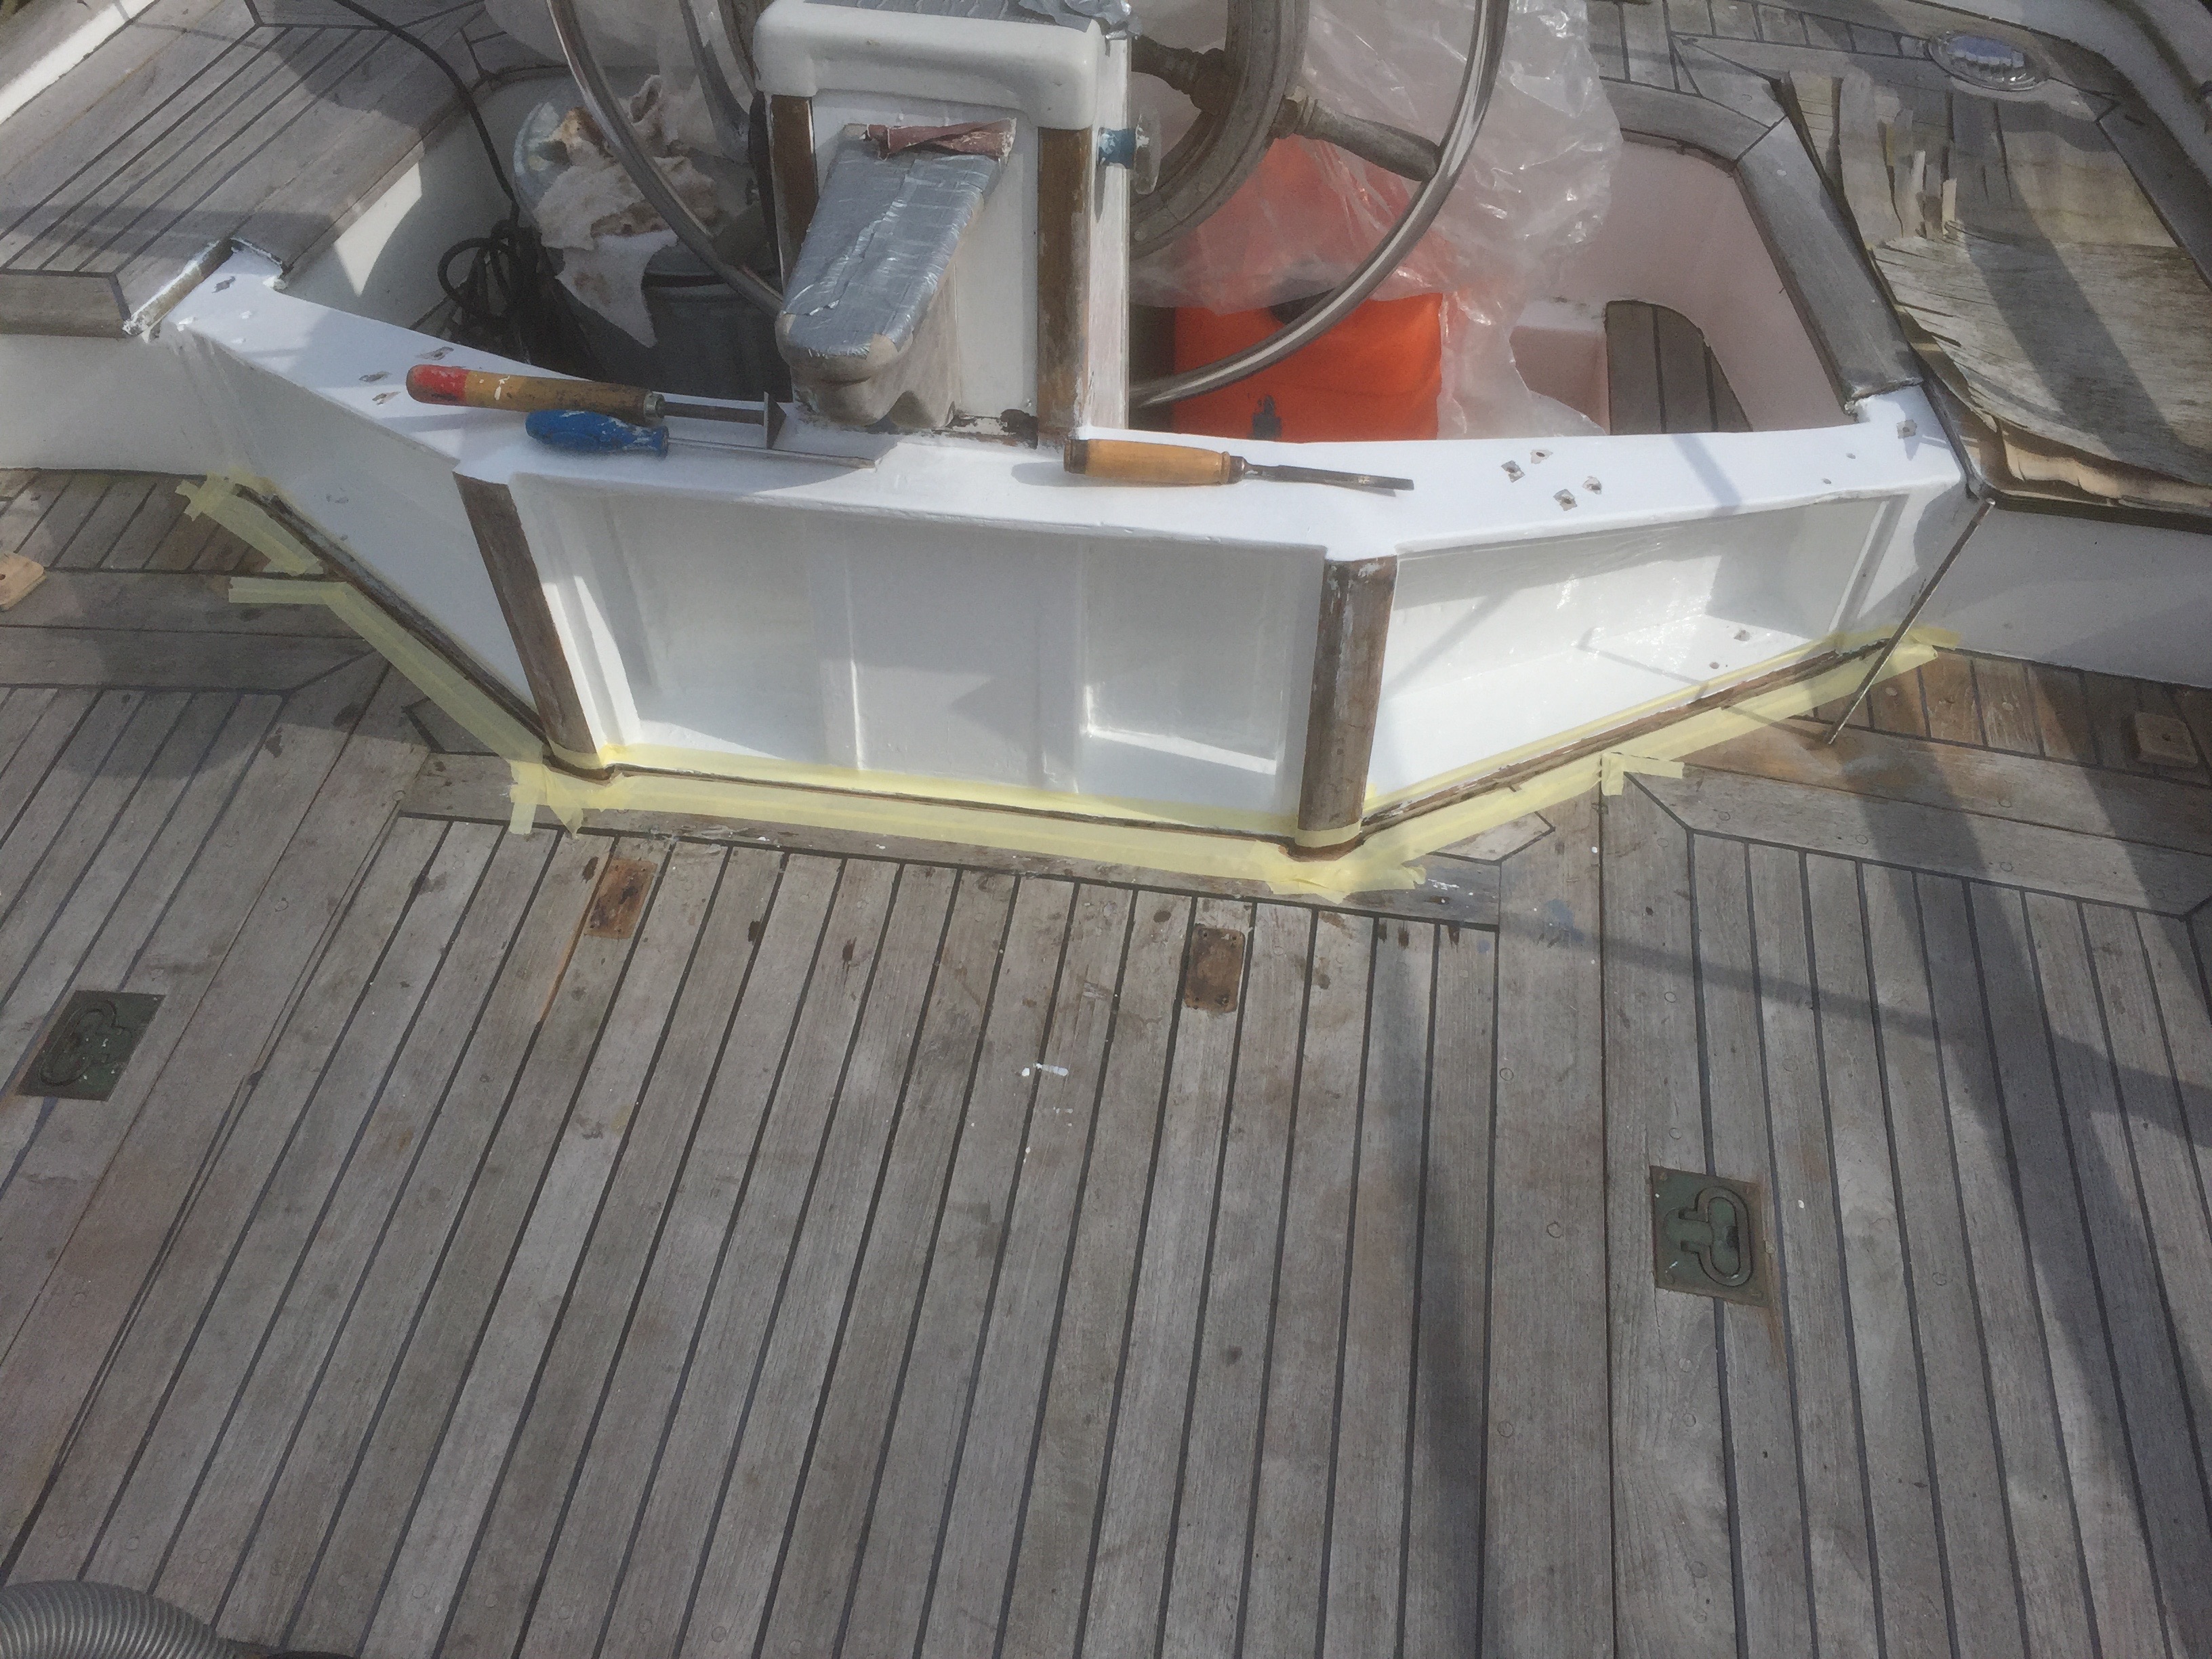
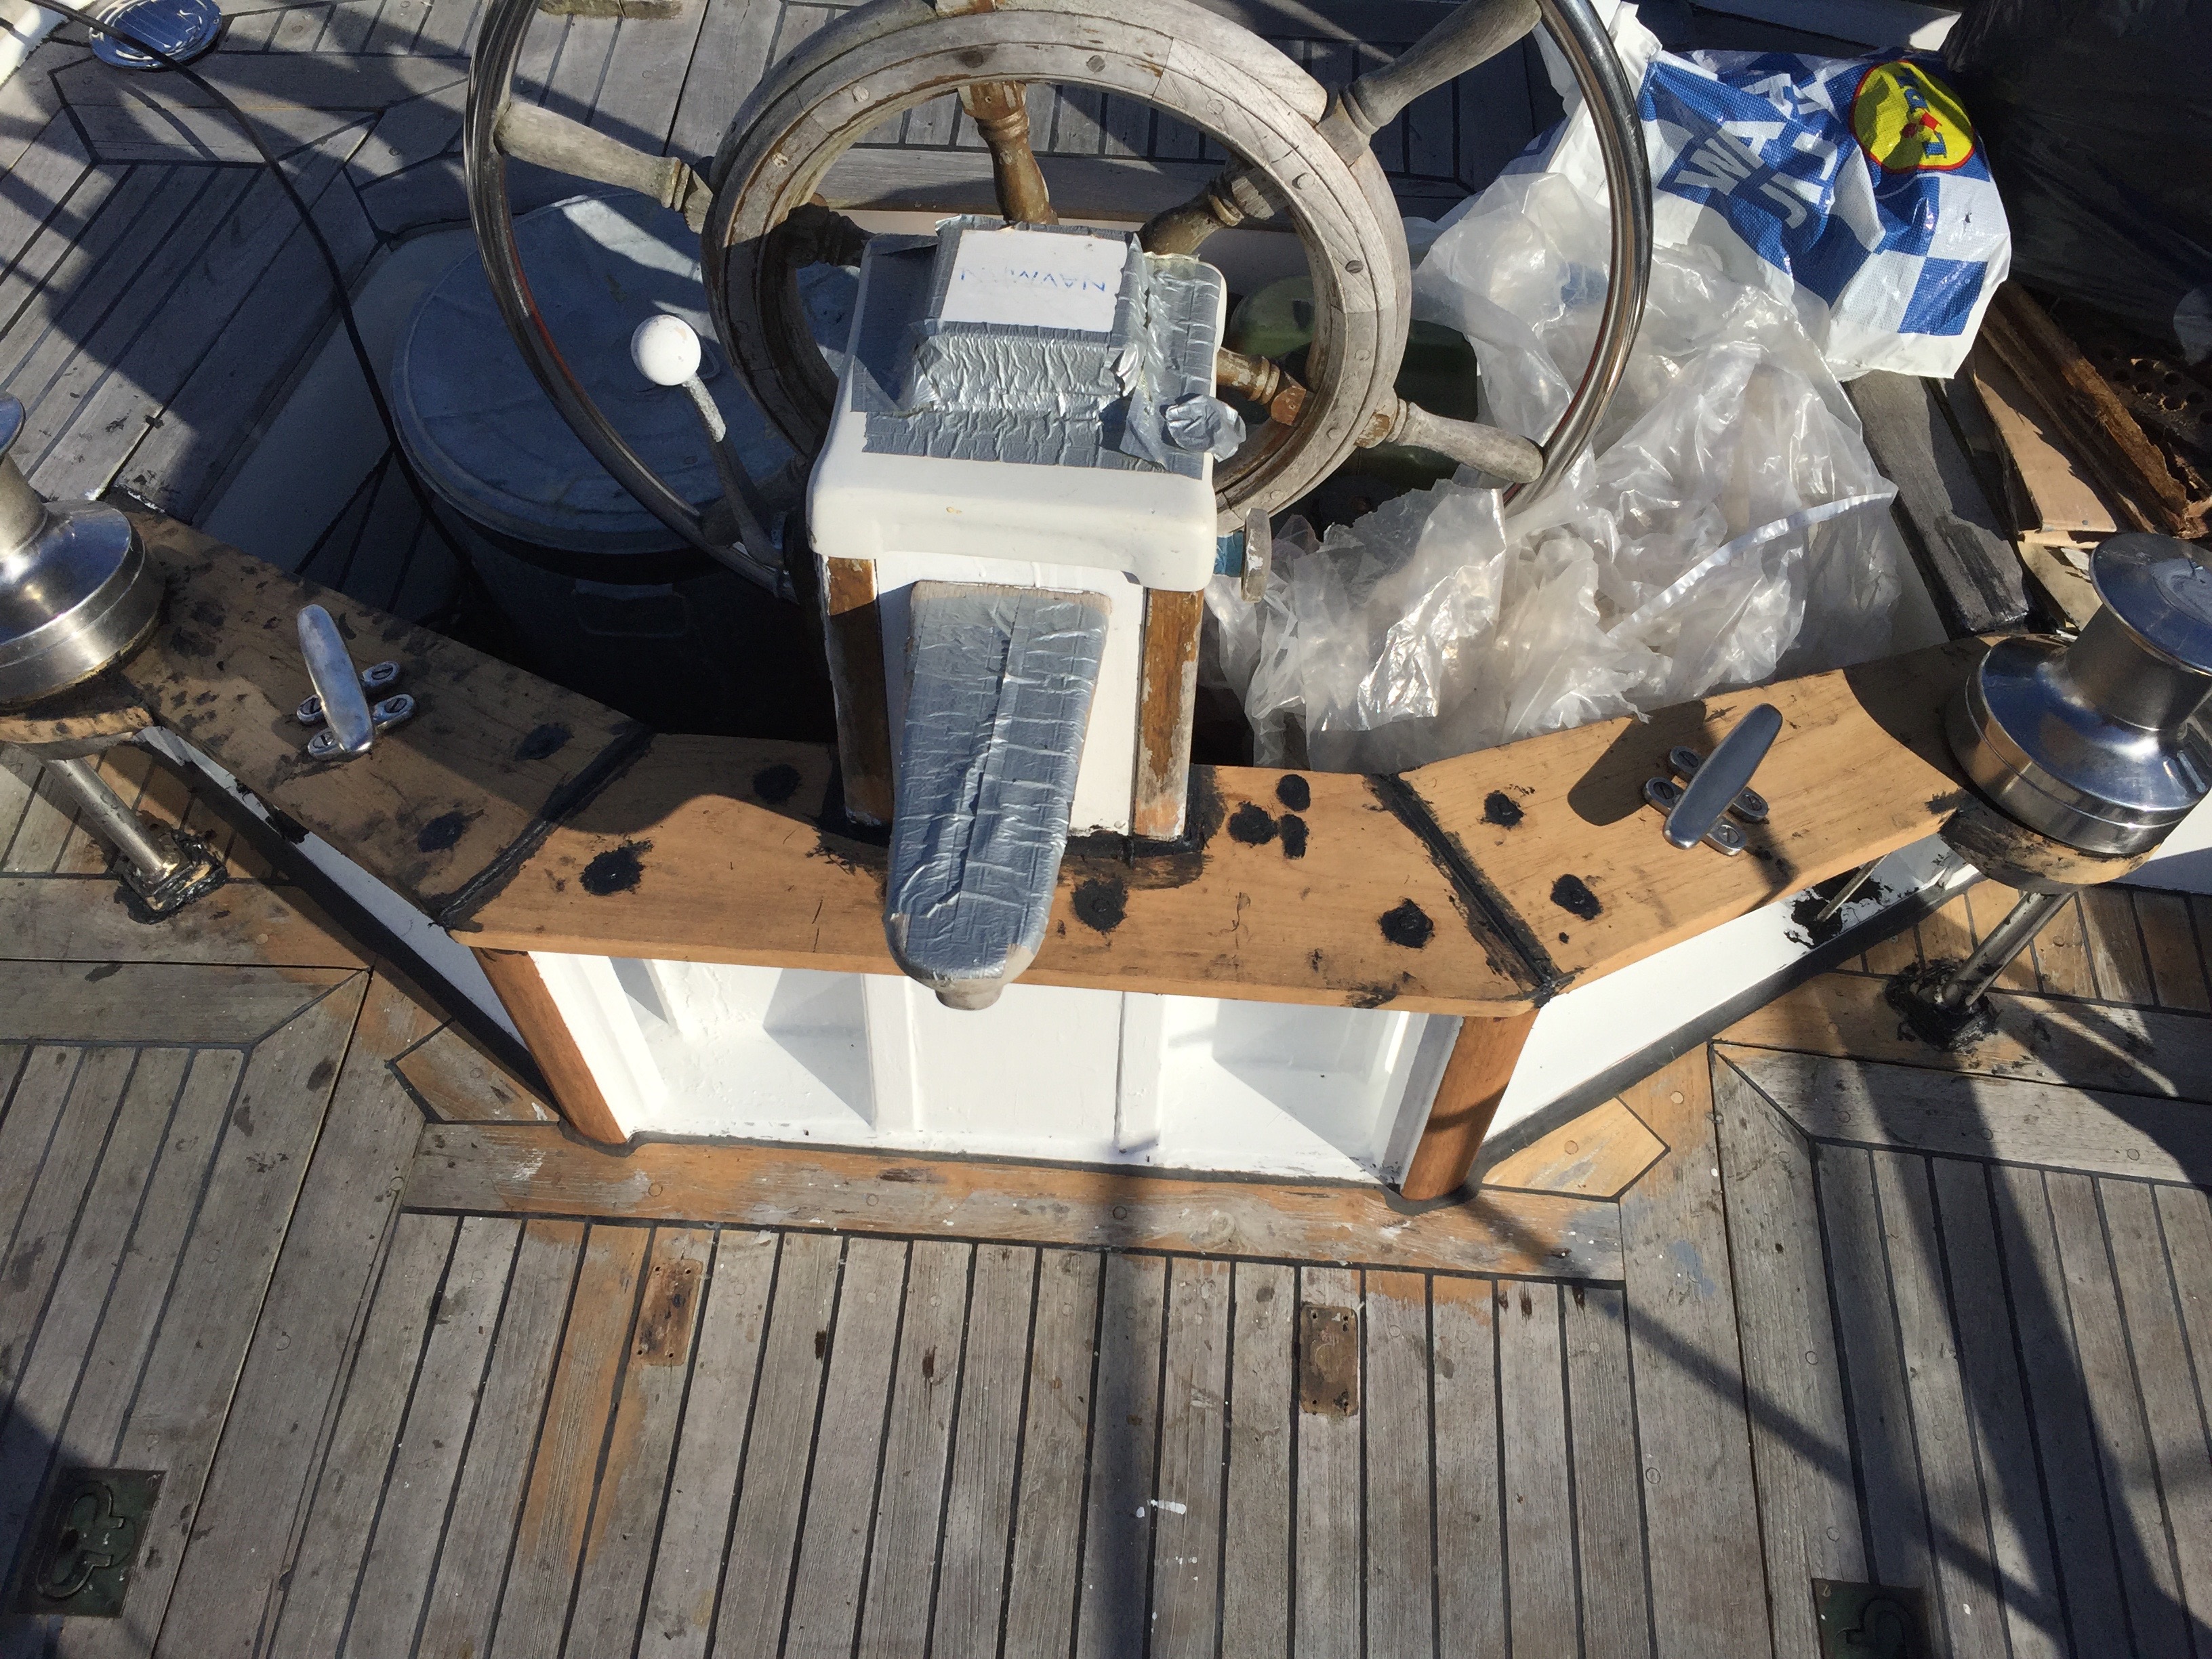
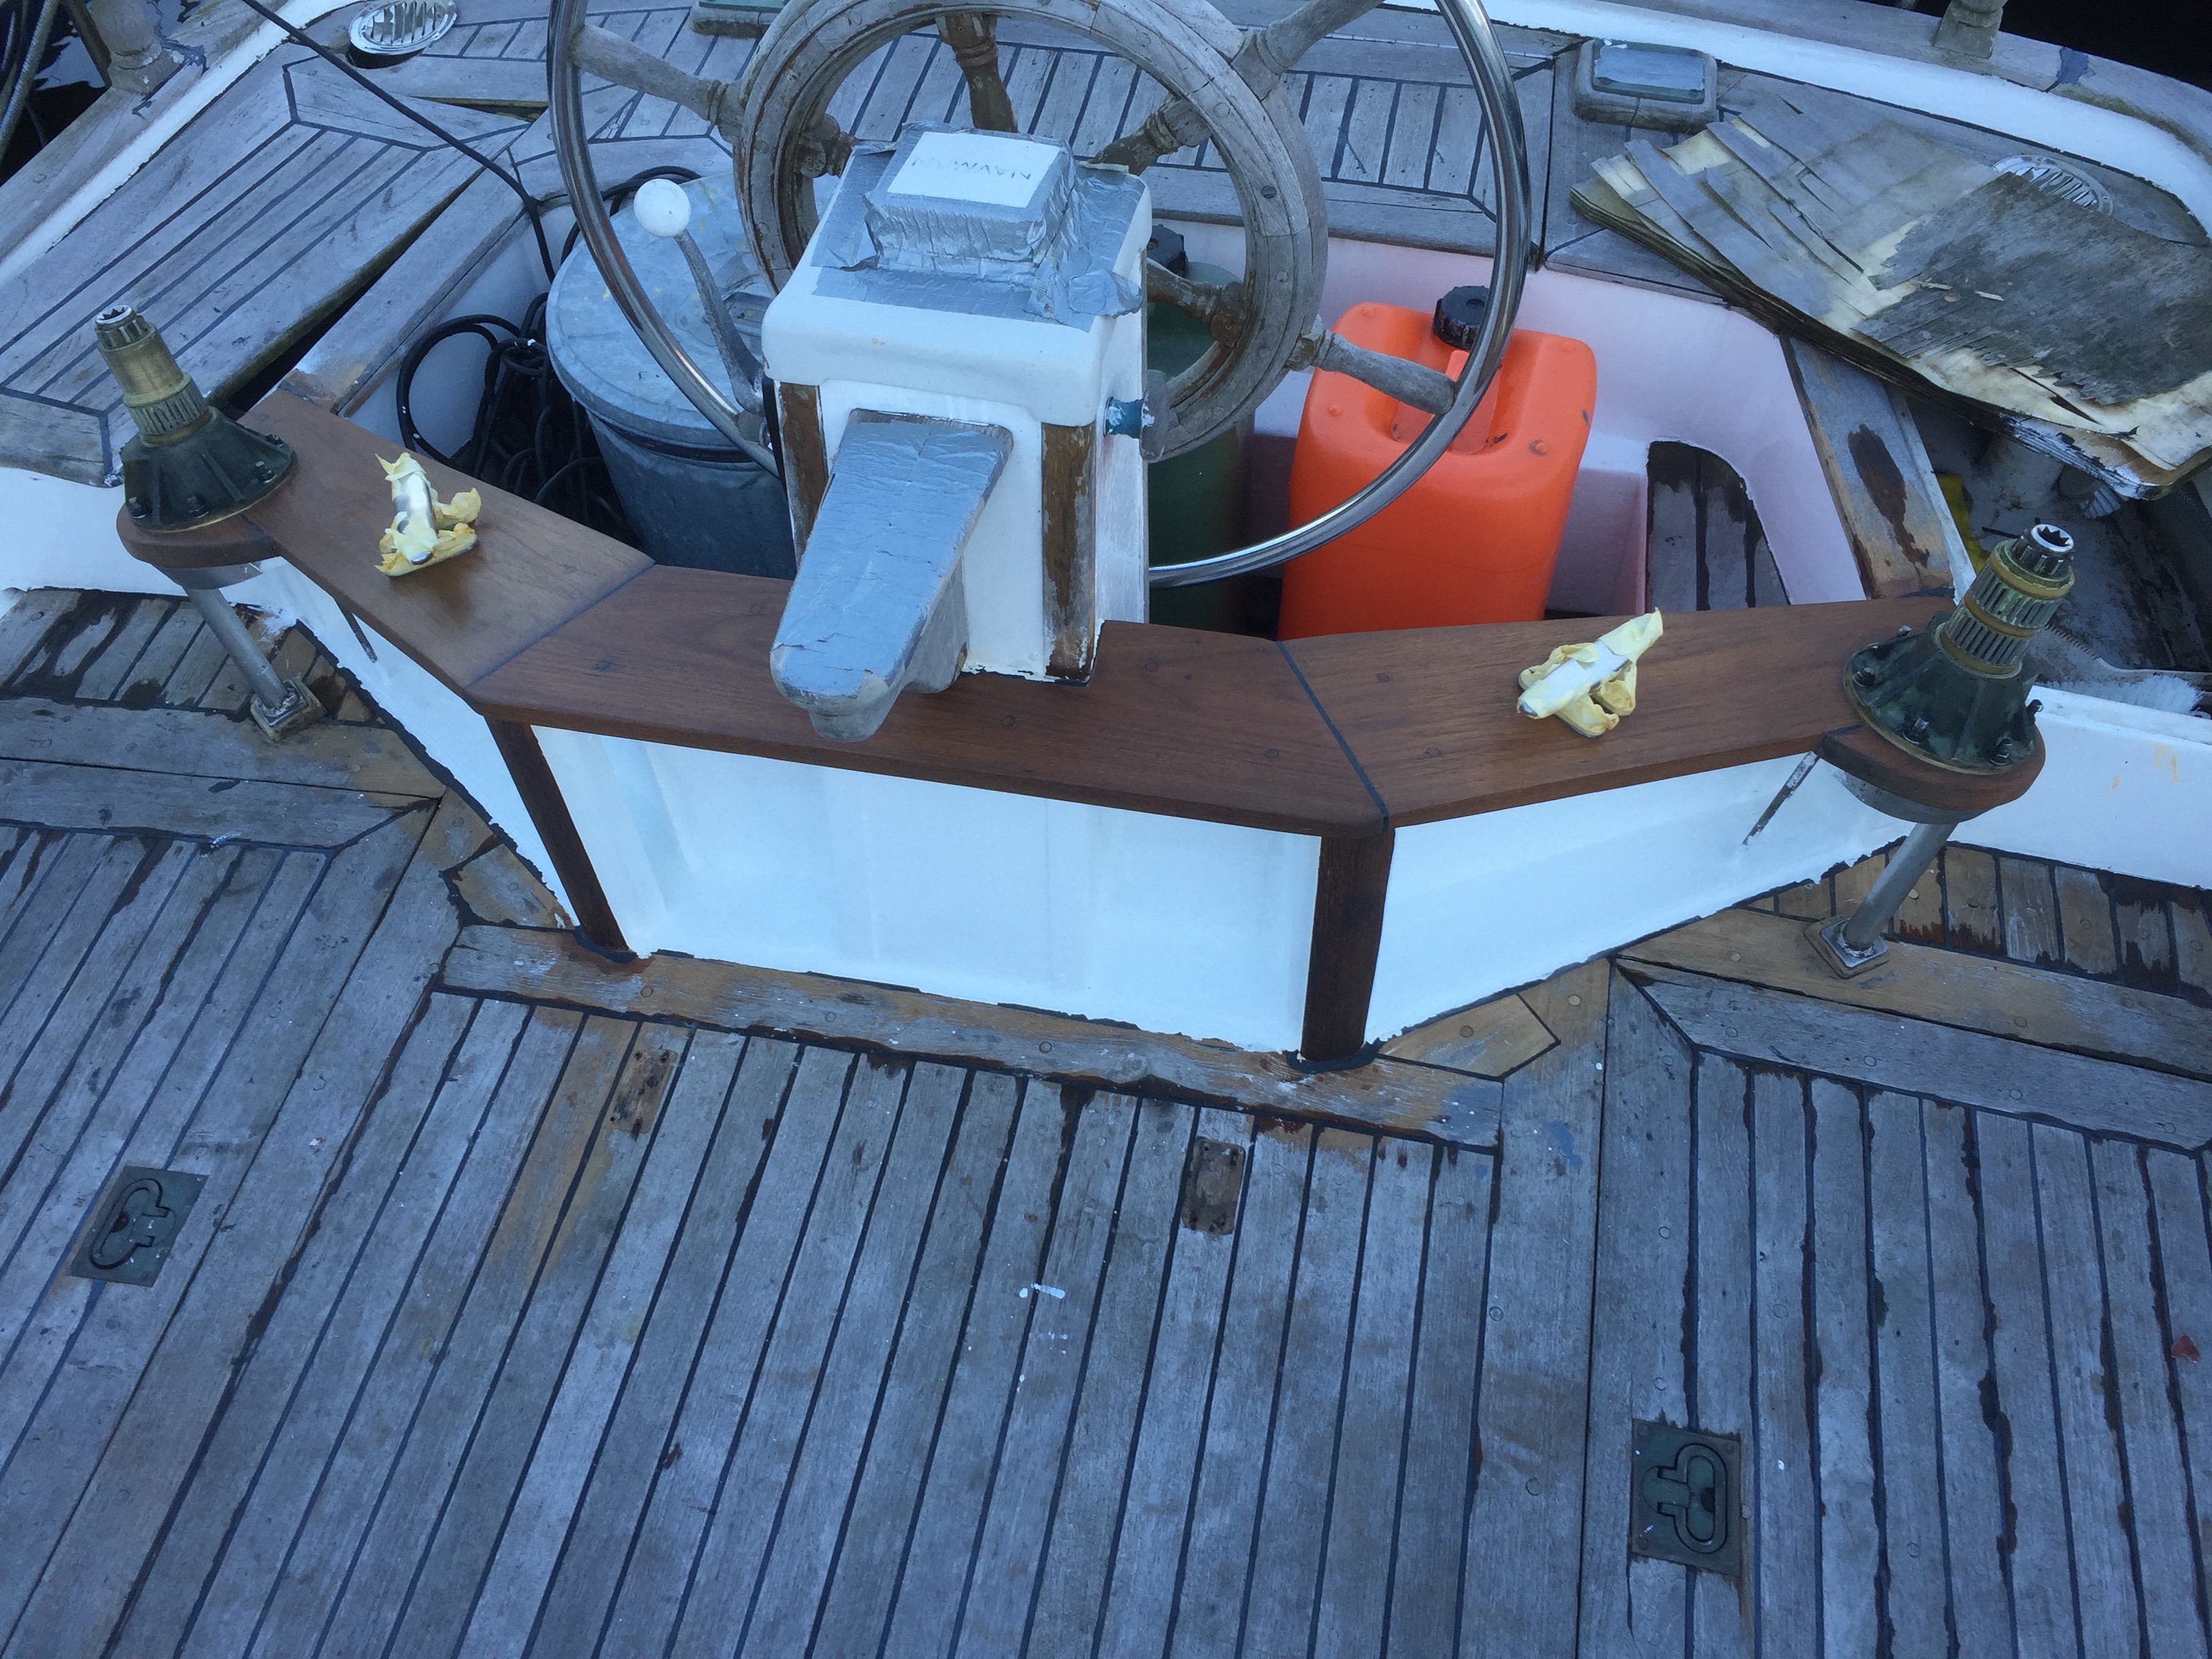
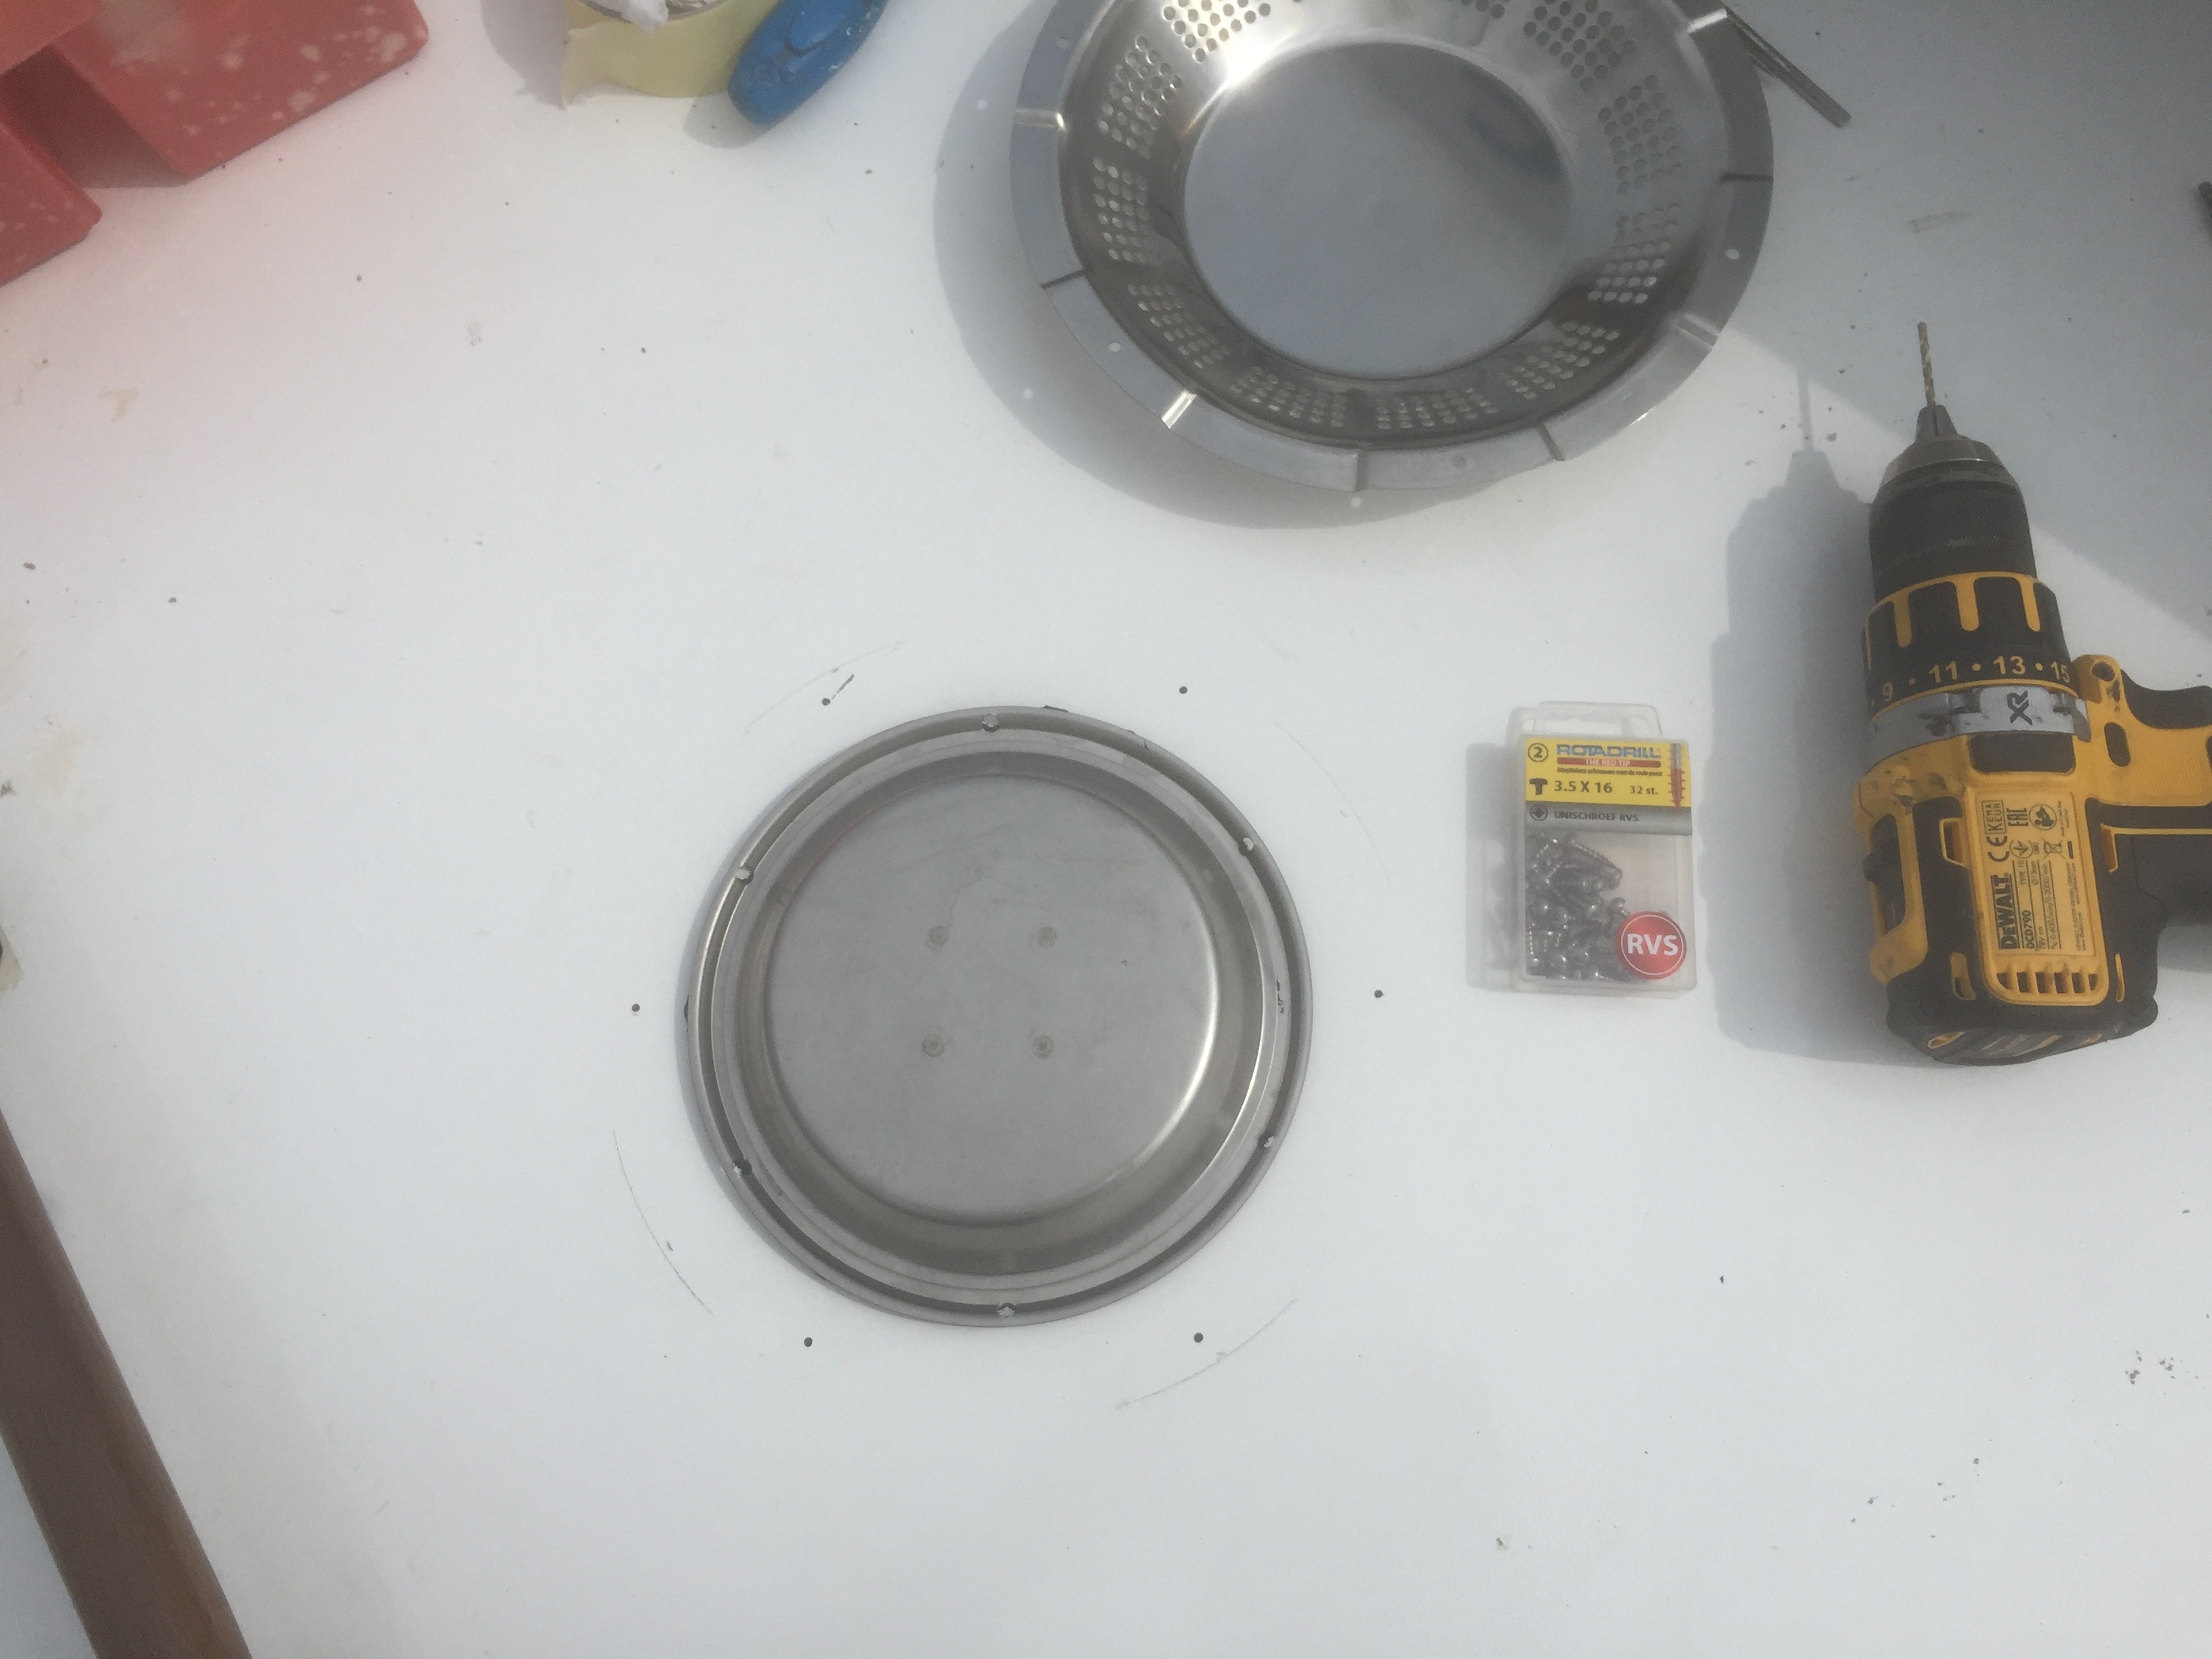
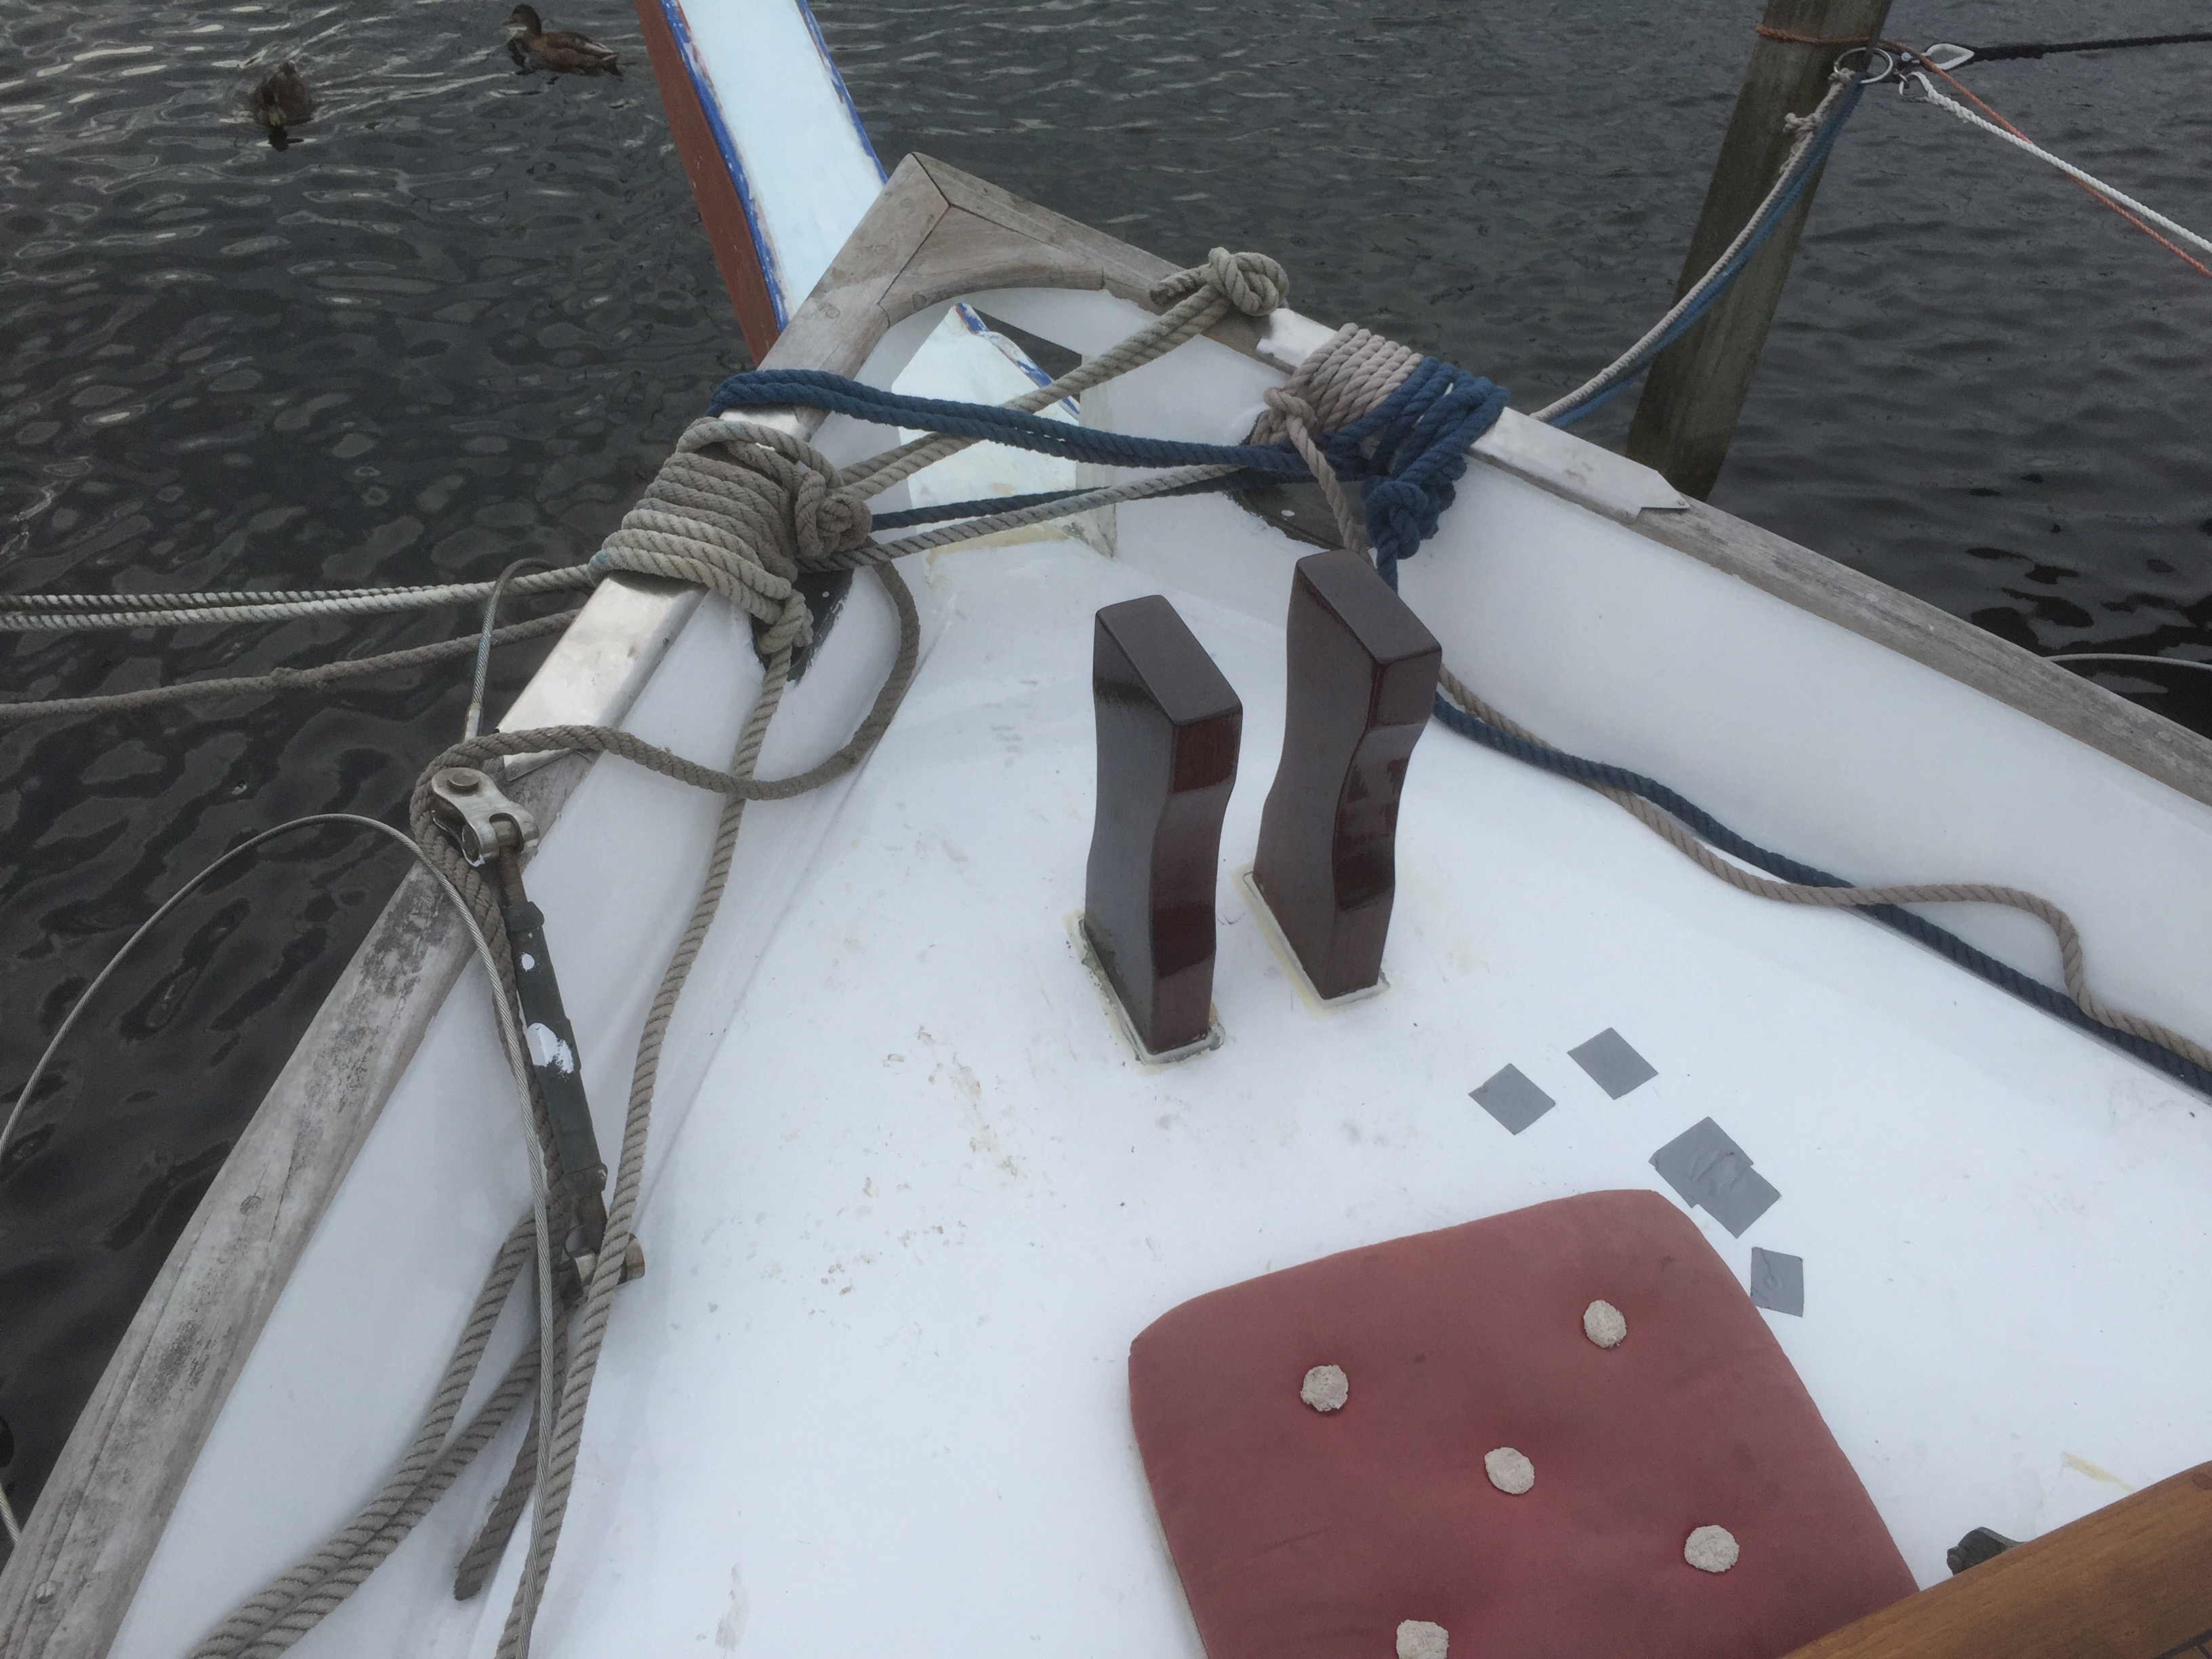
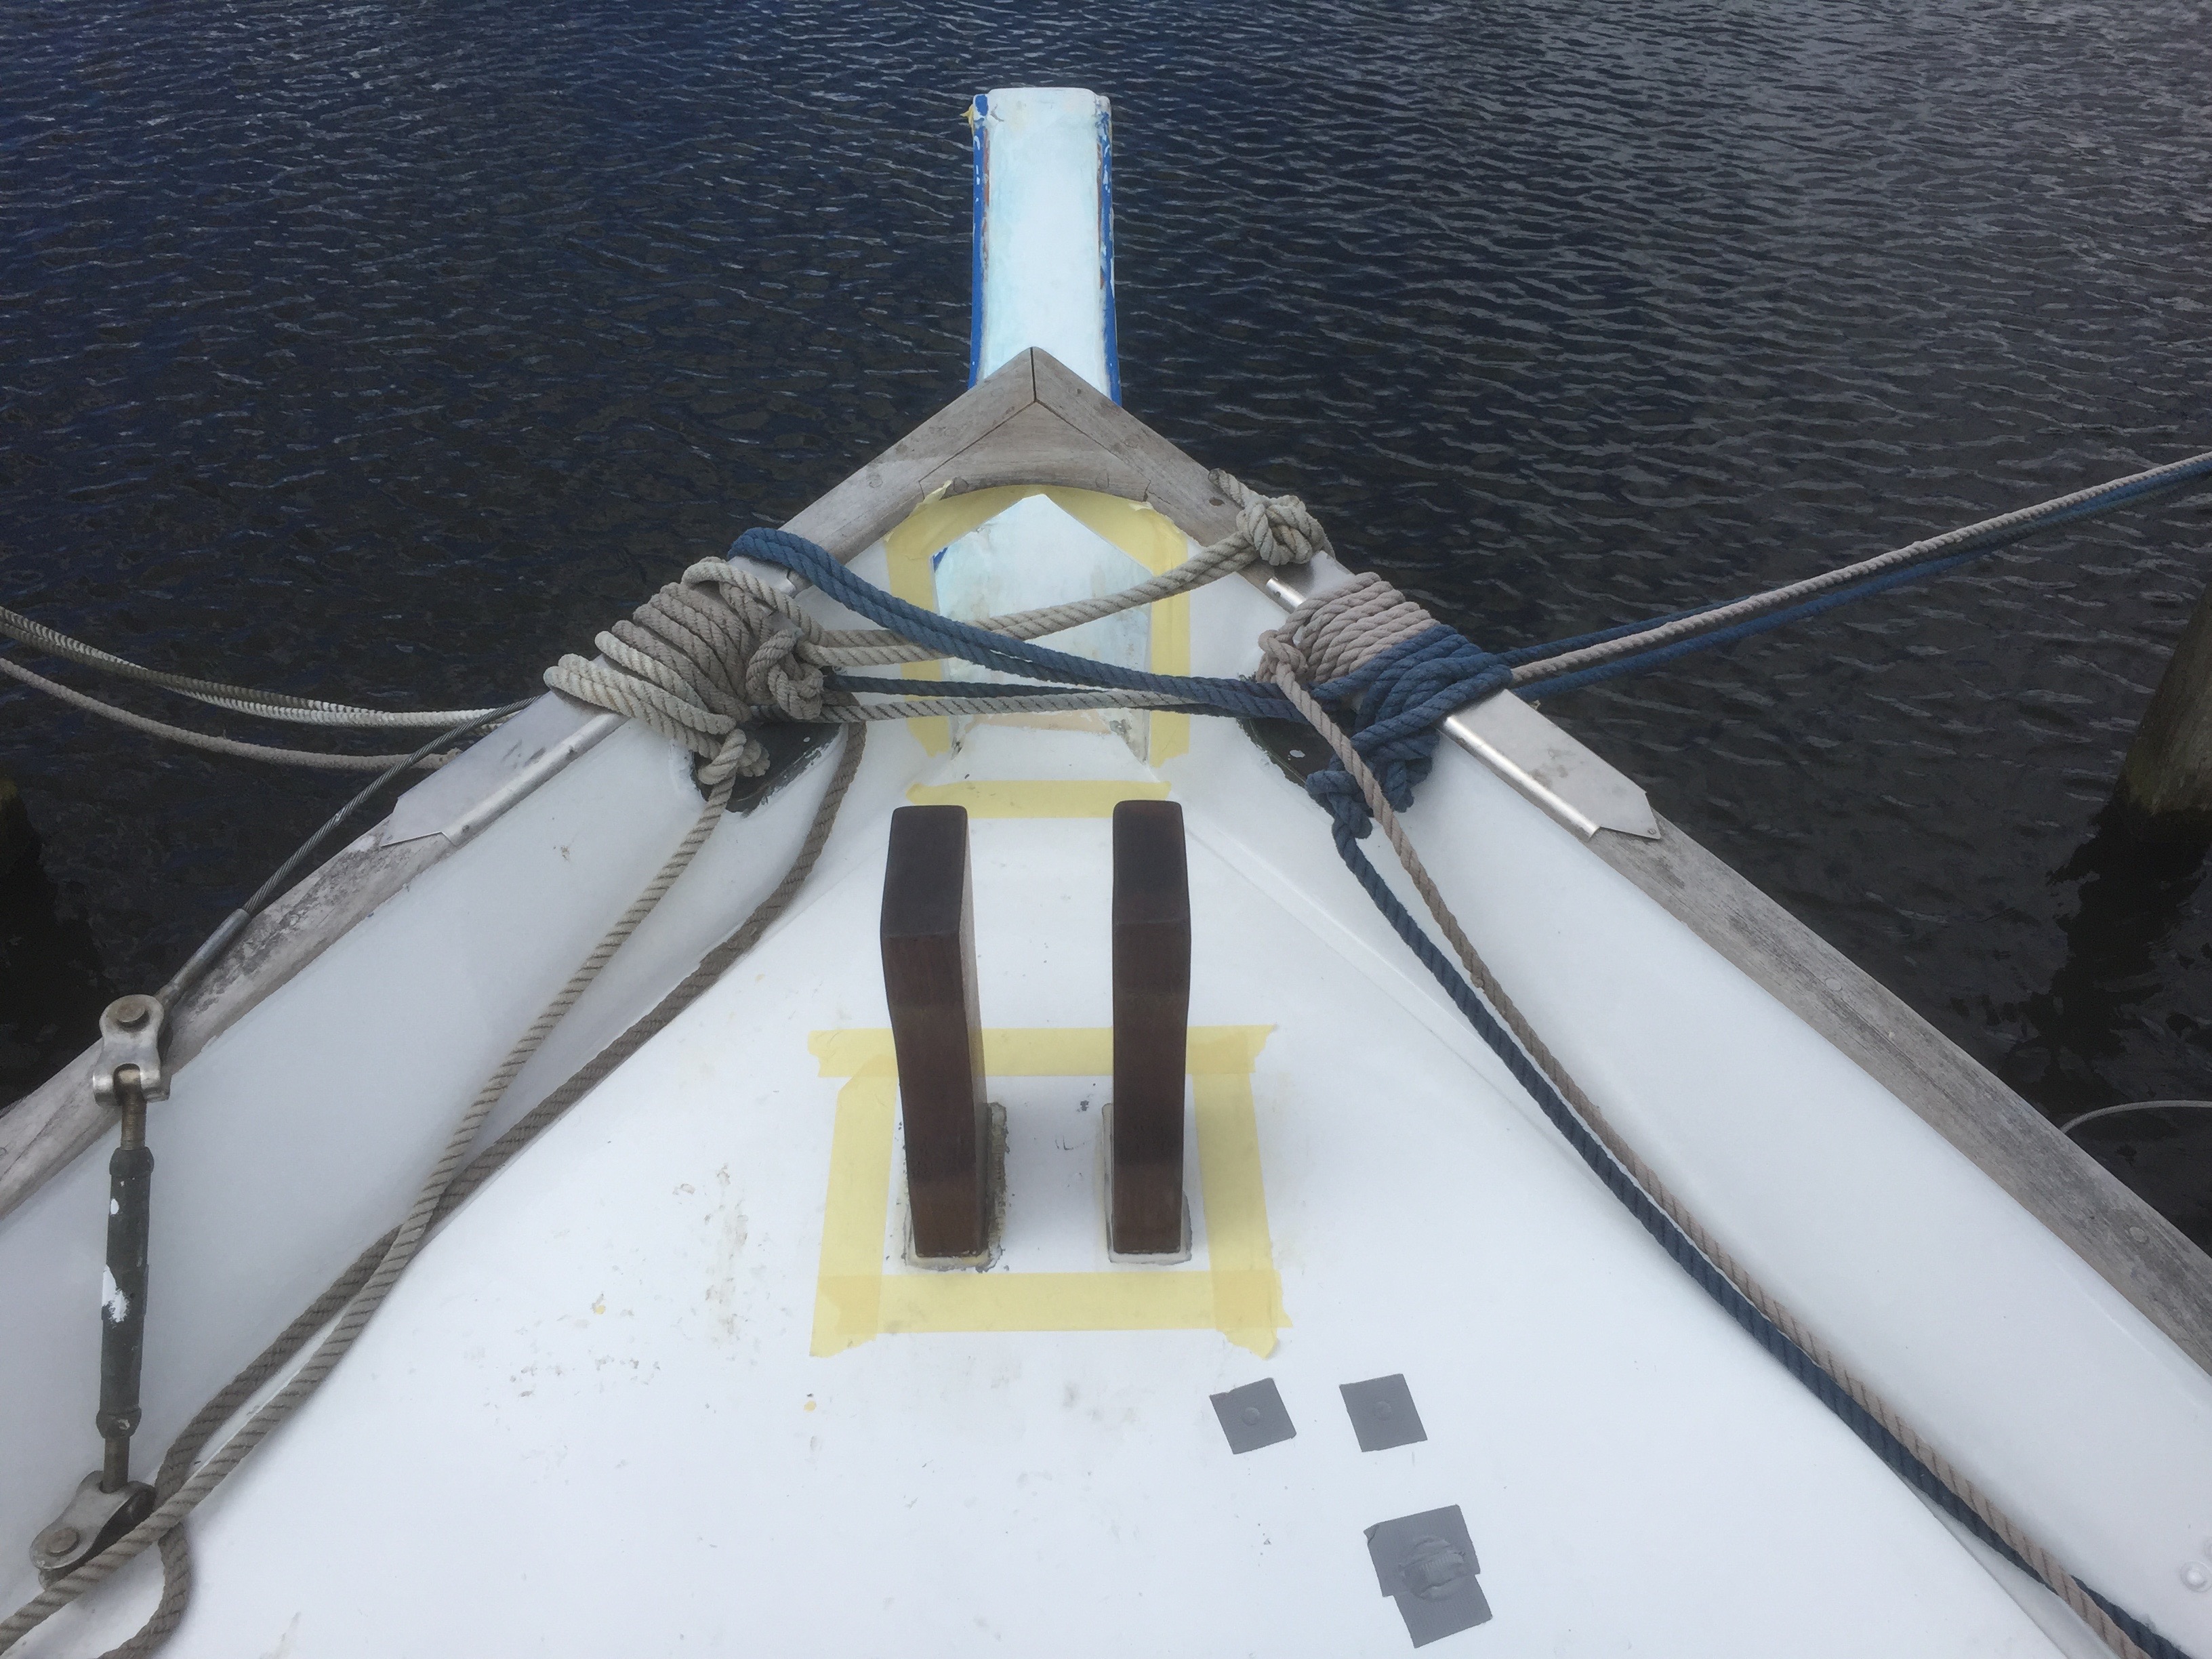
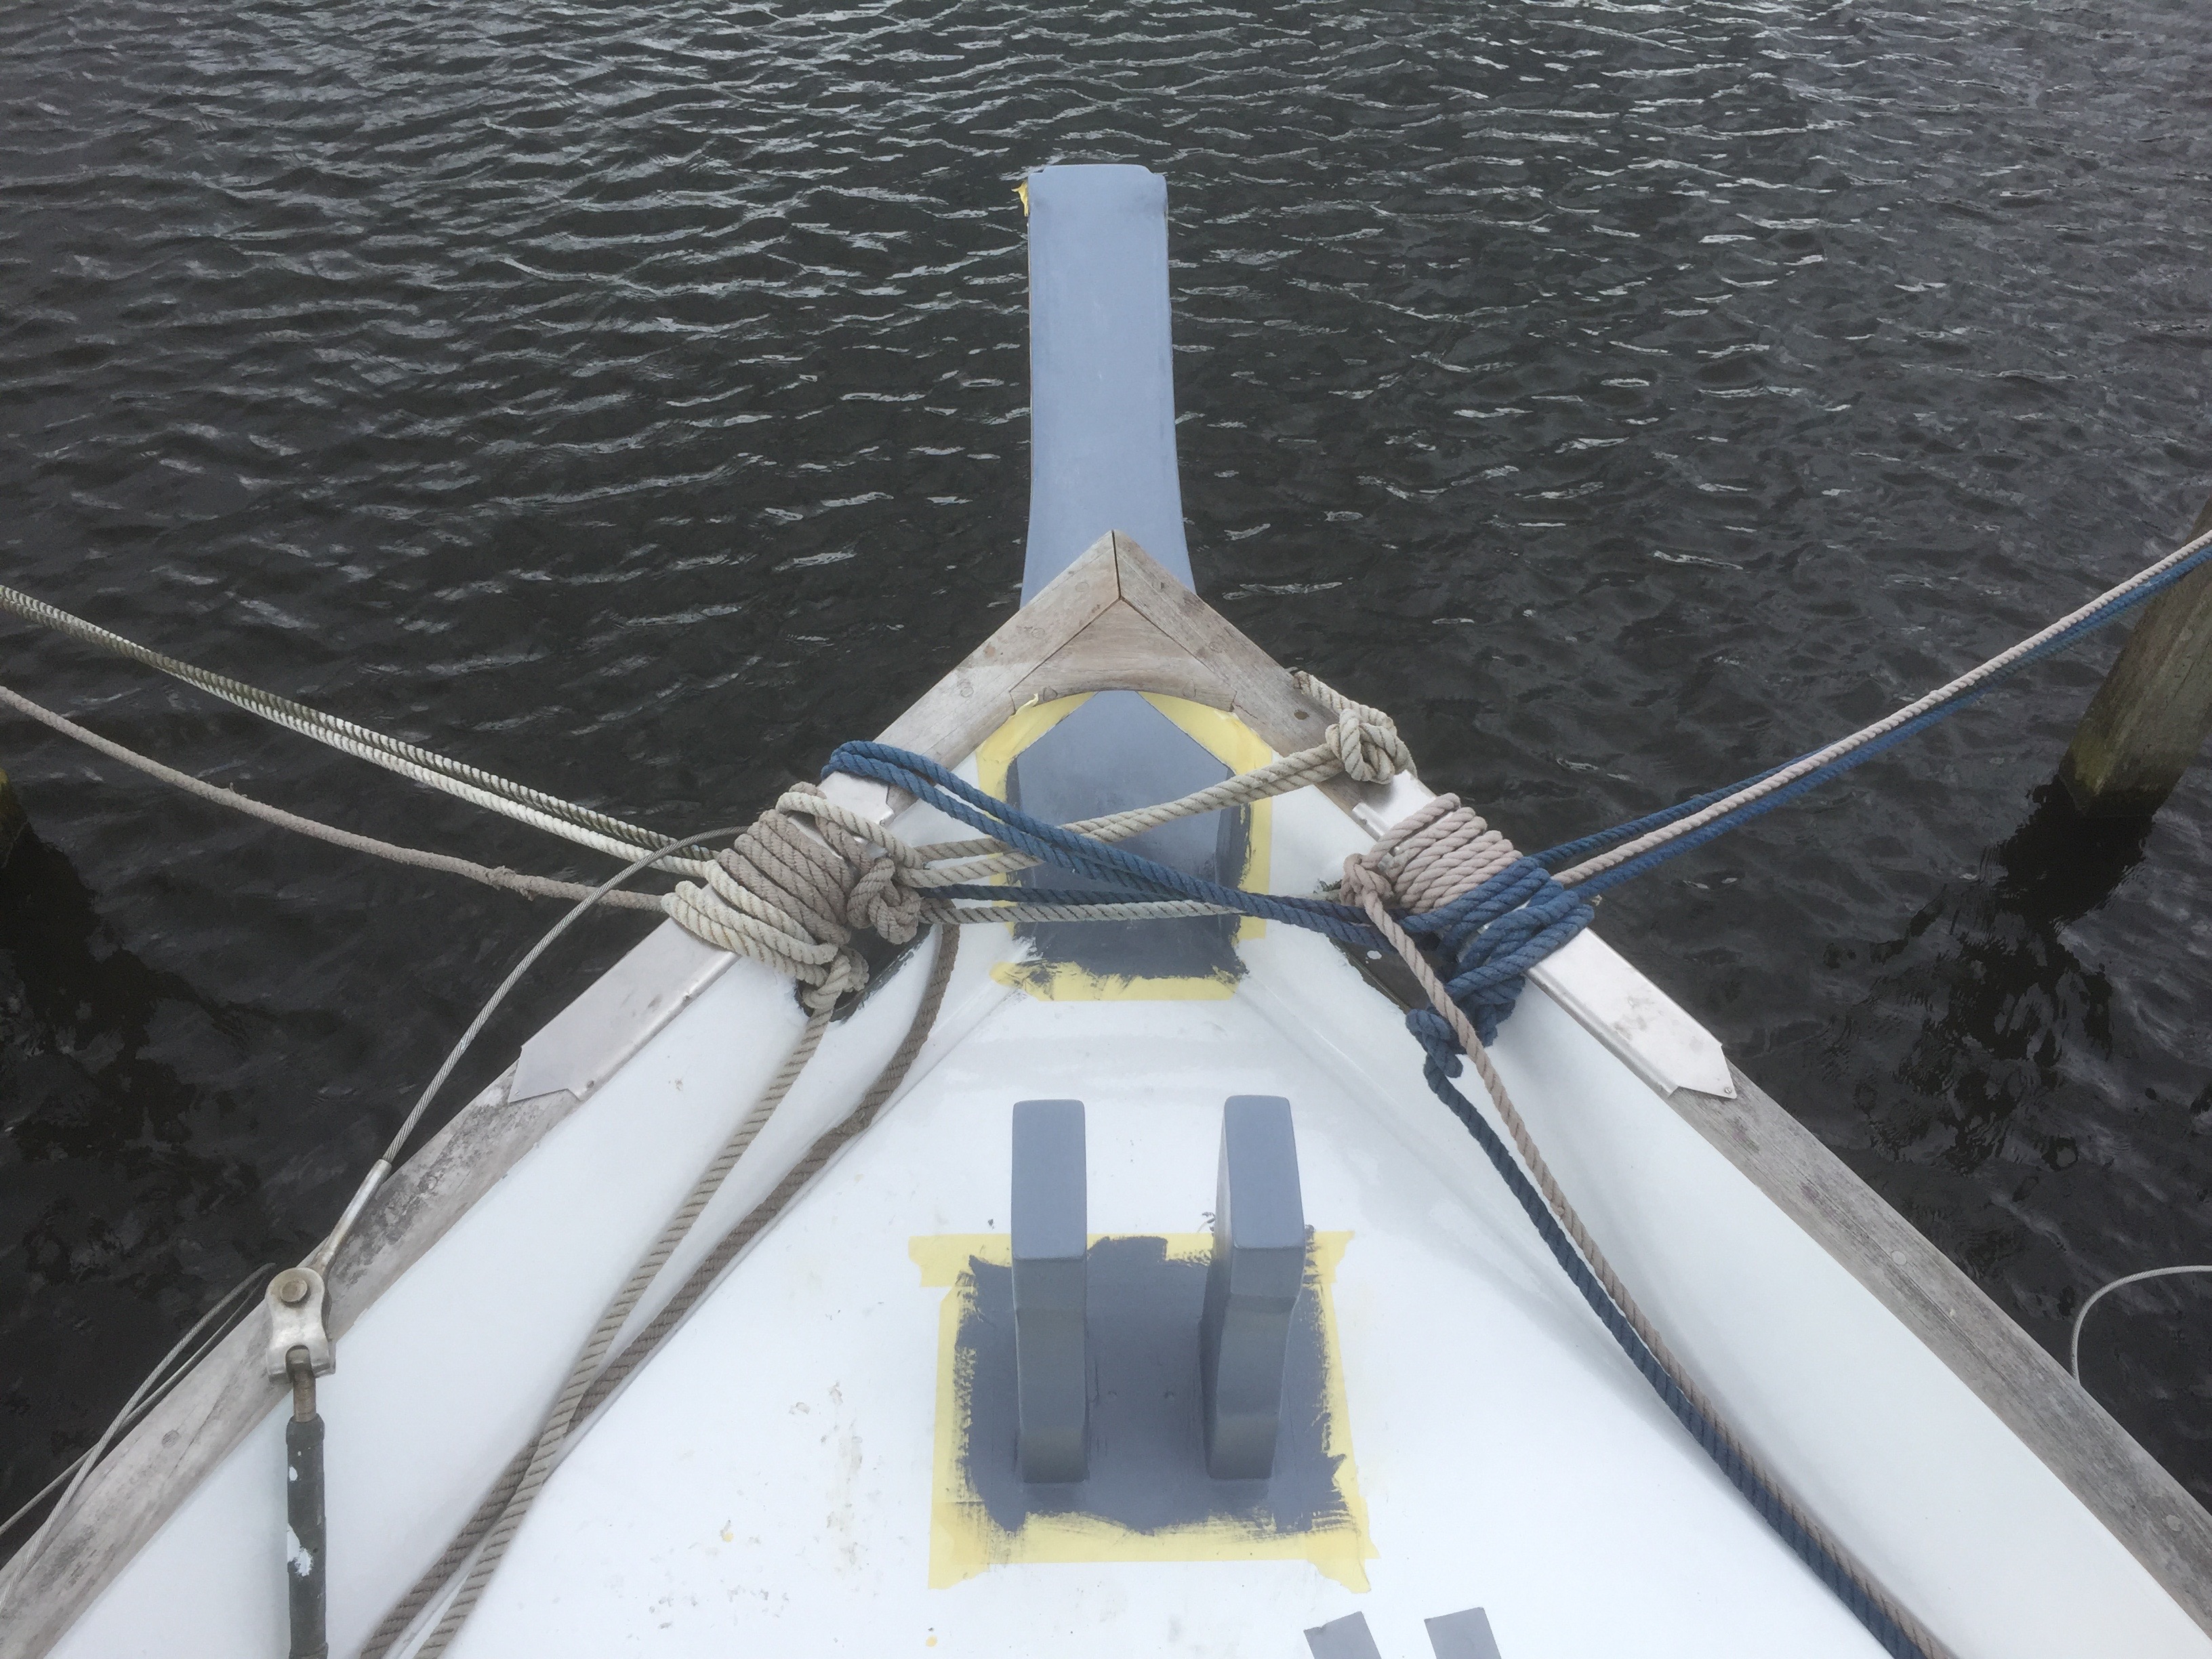
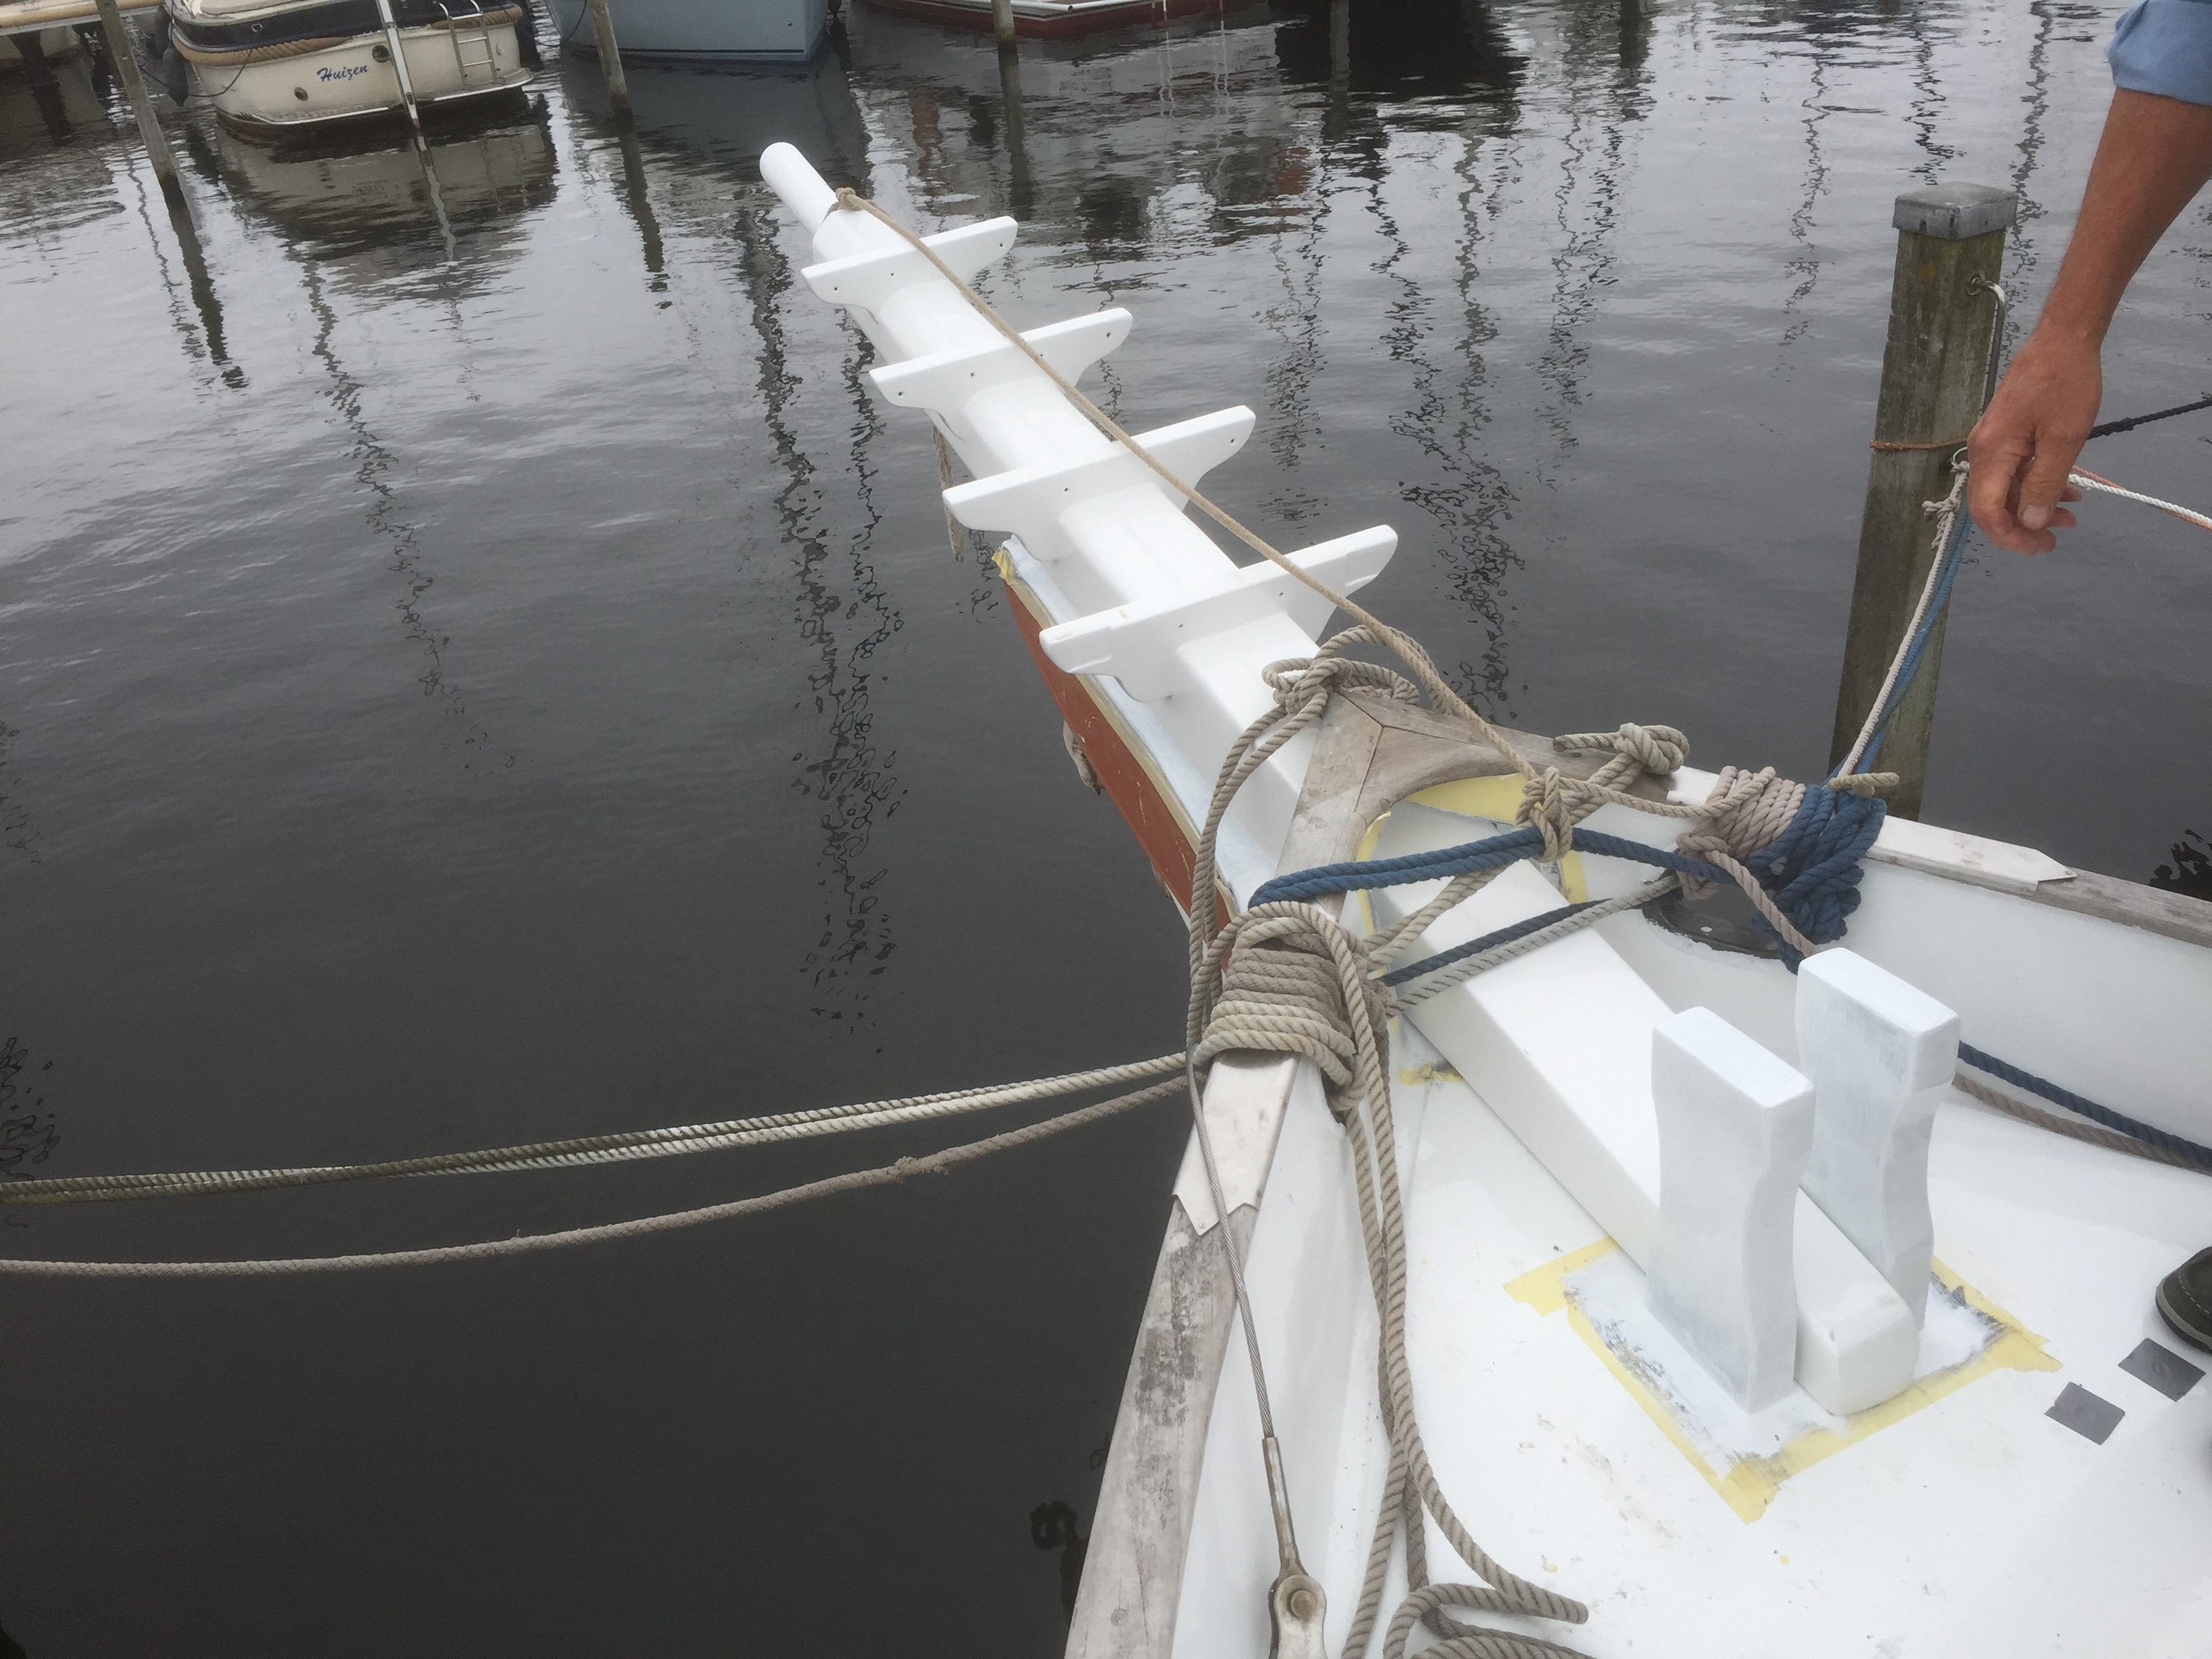
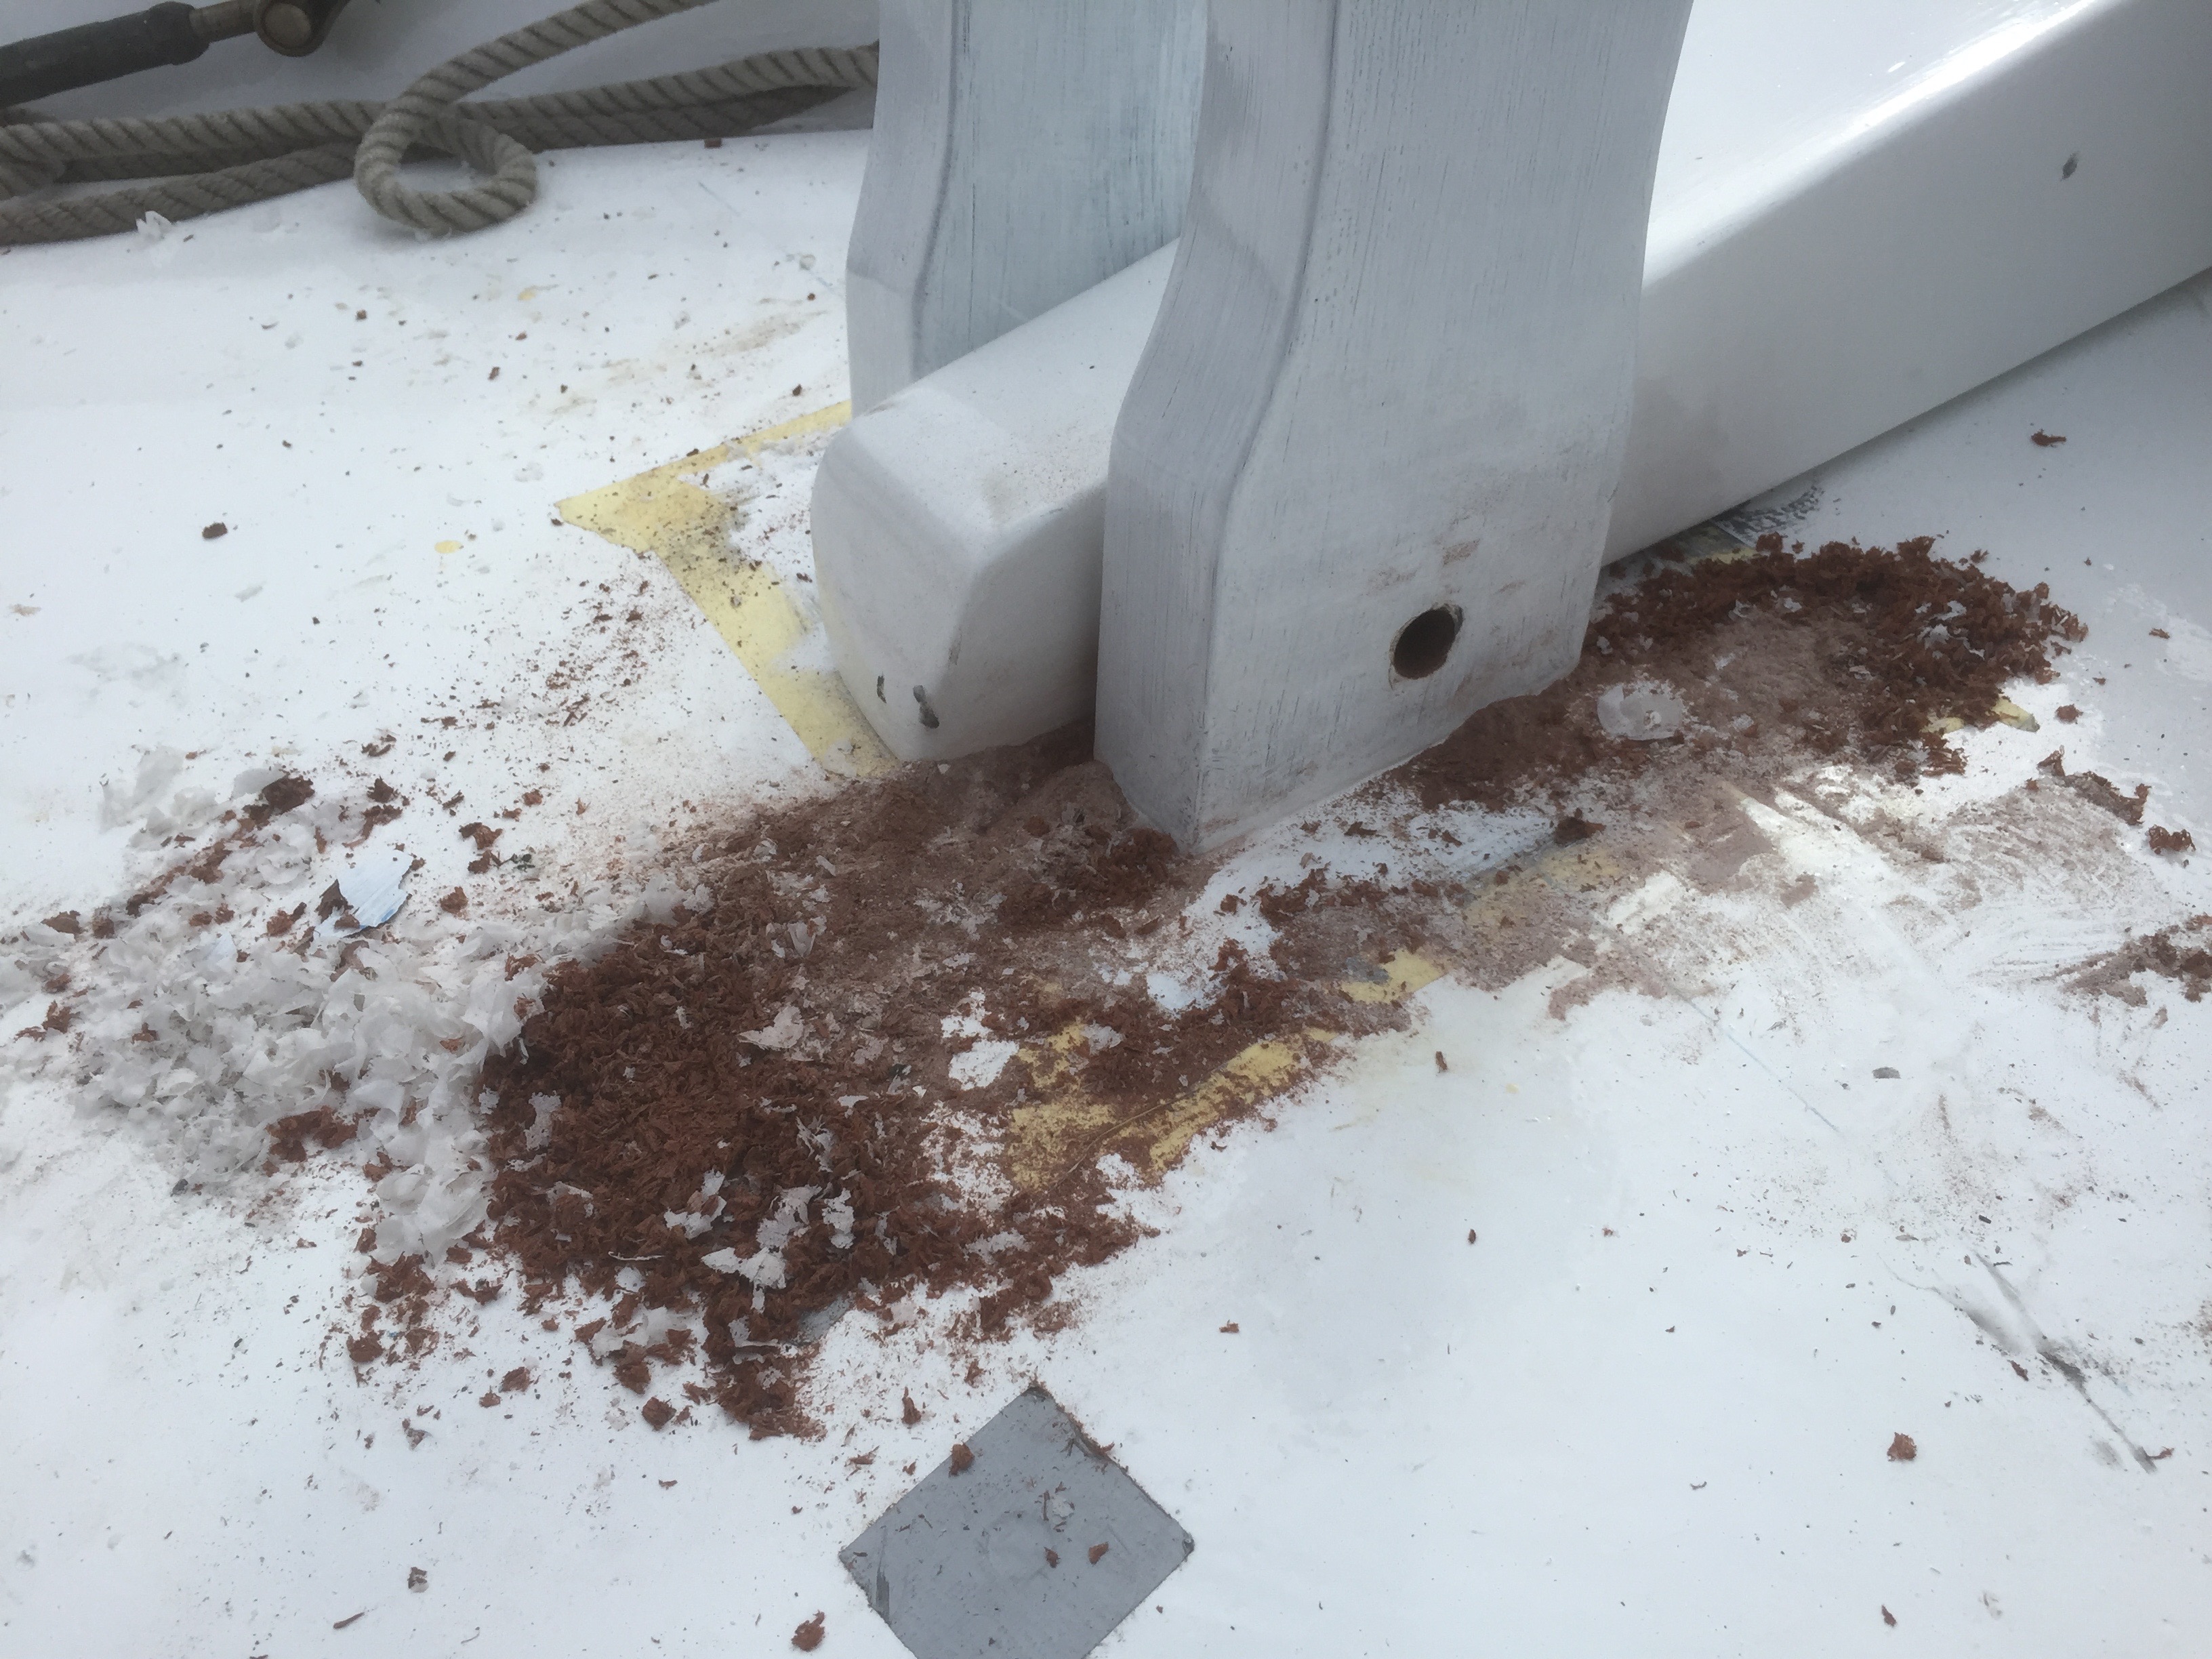
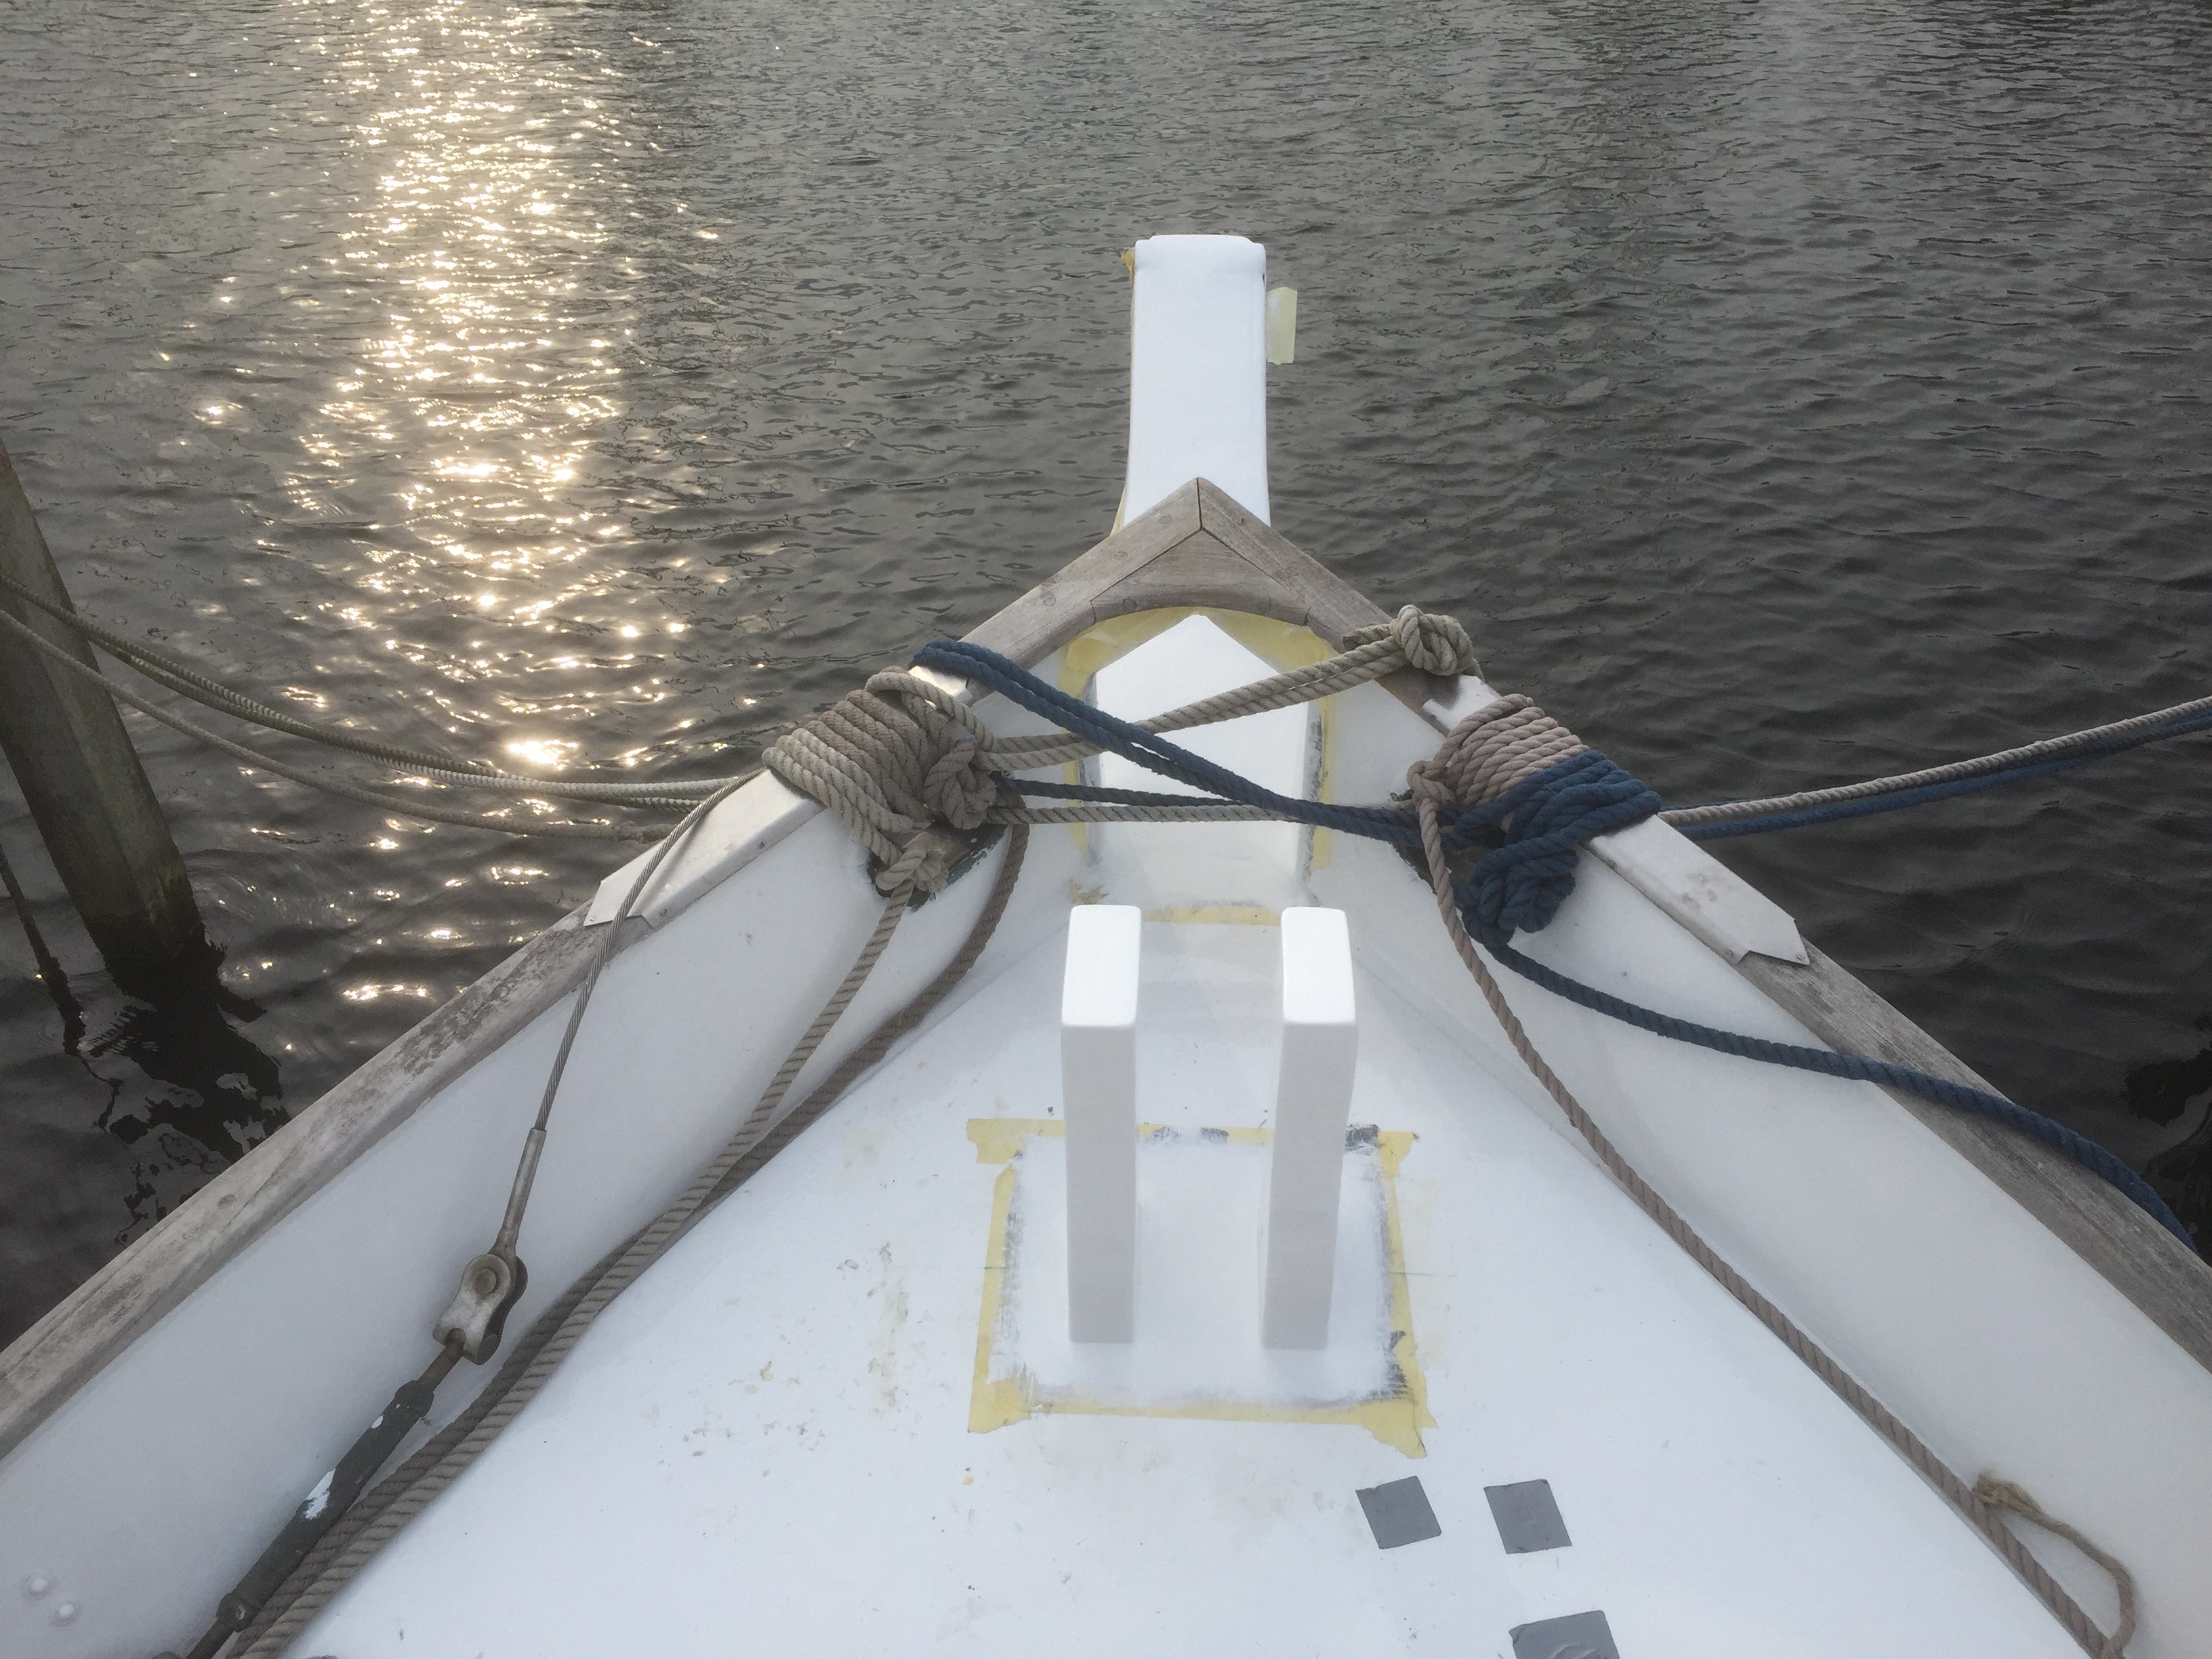
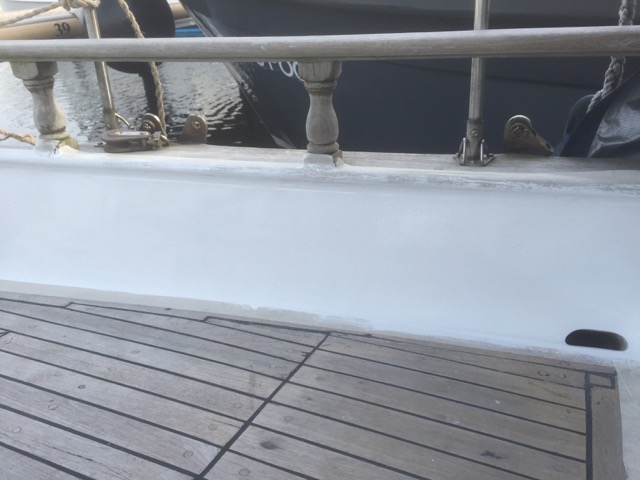
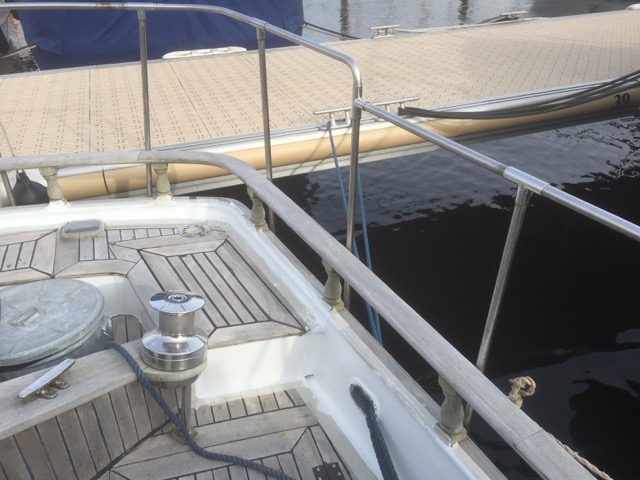
Because there was some more time before the tank was finished we also painted the deck with special non-skid paint and mounted the windlass, plus the guard rail. The diesel heater has also gotten its own overflow tank (with its own gauge), so that the old contaminated diesel can be burned in the diesel heater this winter without any of that nasty stuff getting inside the new tank. The issue with the diesel heater regulator was also solved so it should not be overflowing anymore.
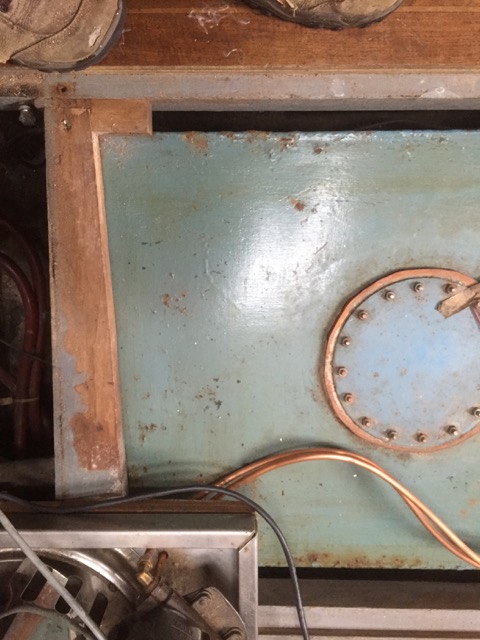
All the hoses to and from the tank (plus all the filters) where also replaced, so everything connected to the engine is now brand new.
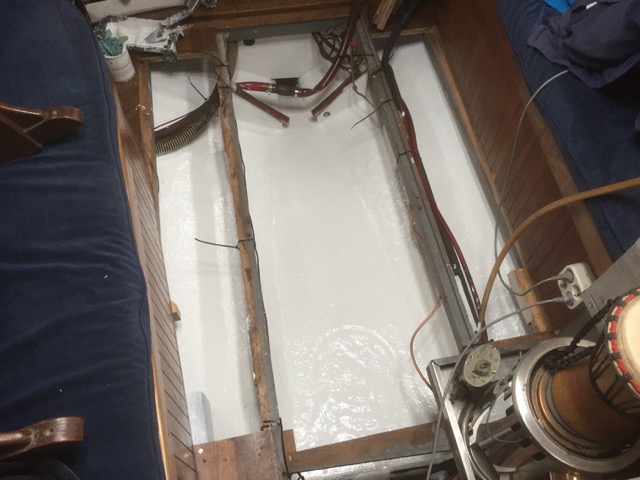
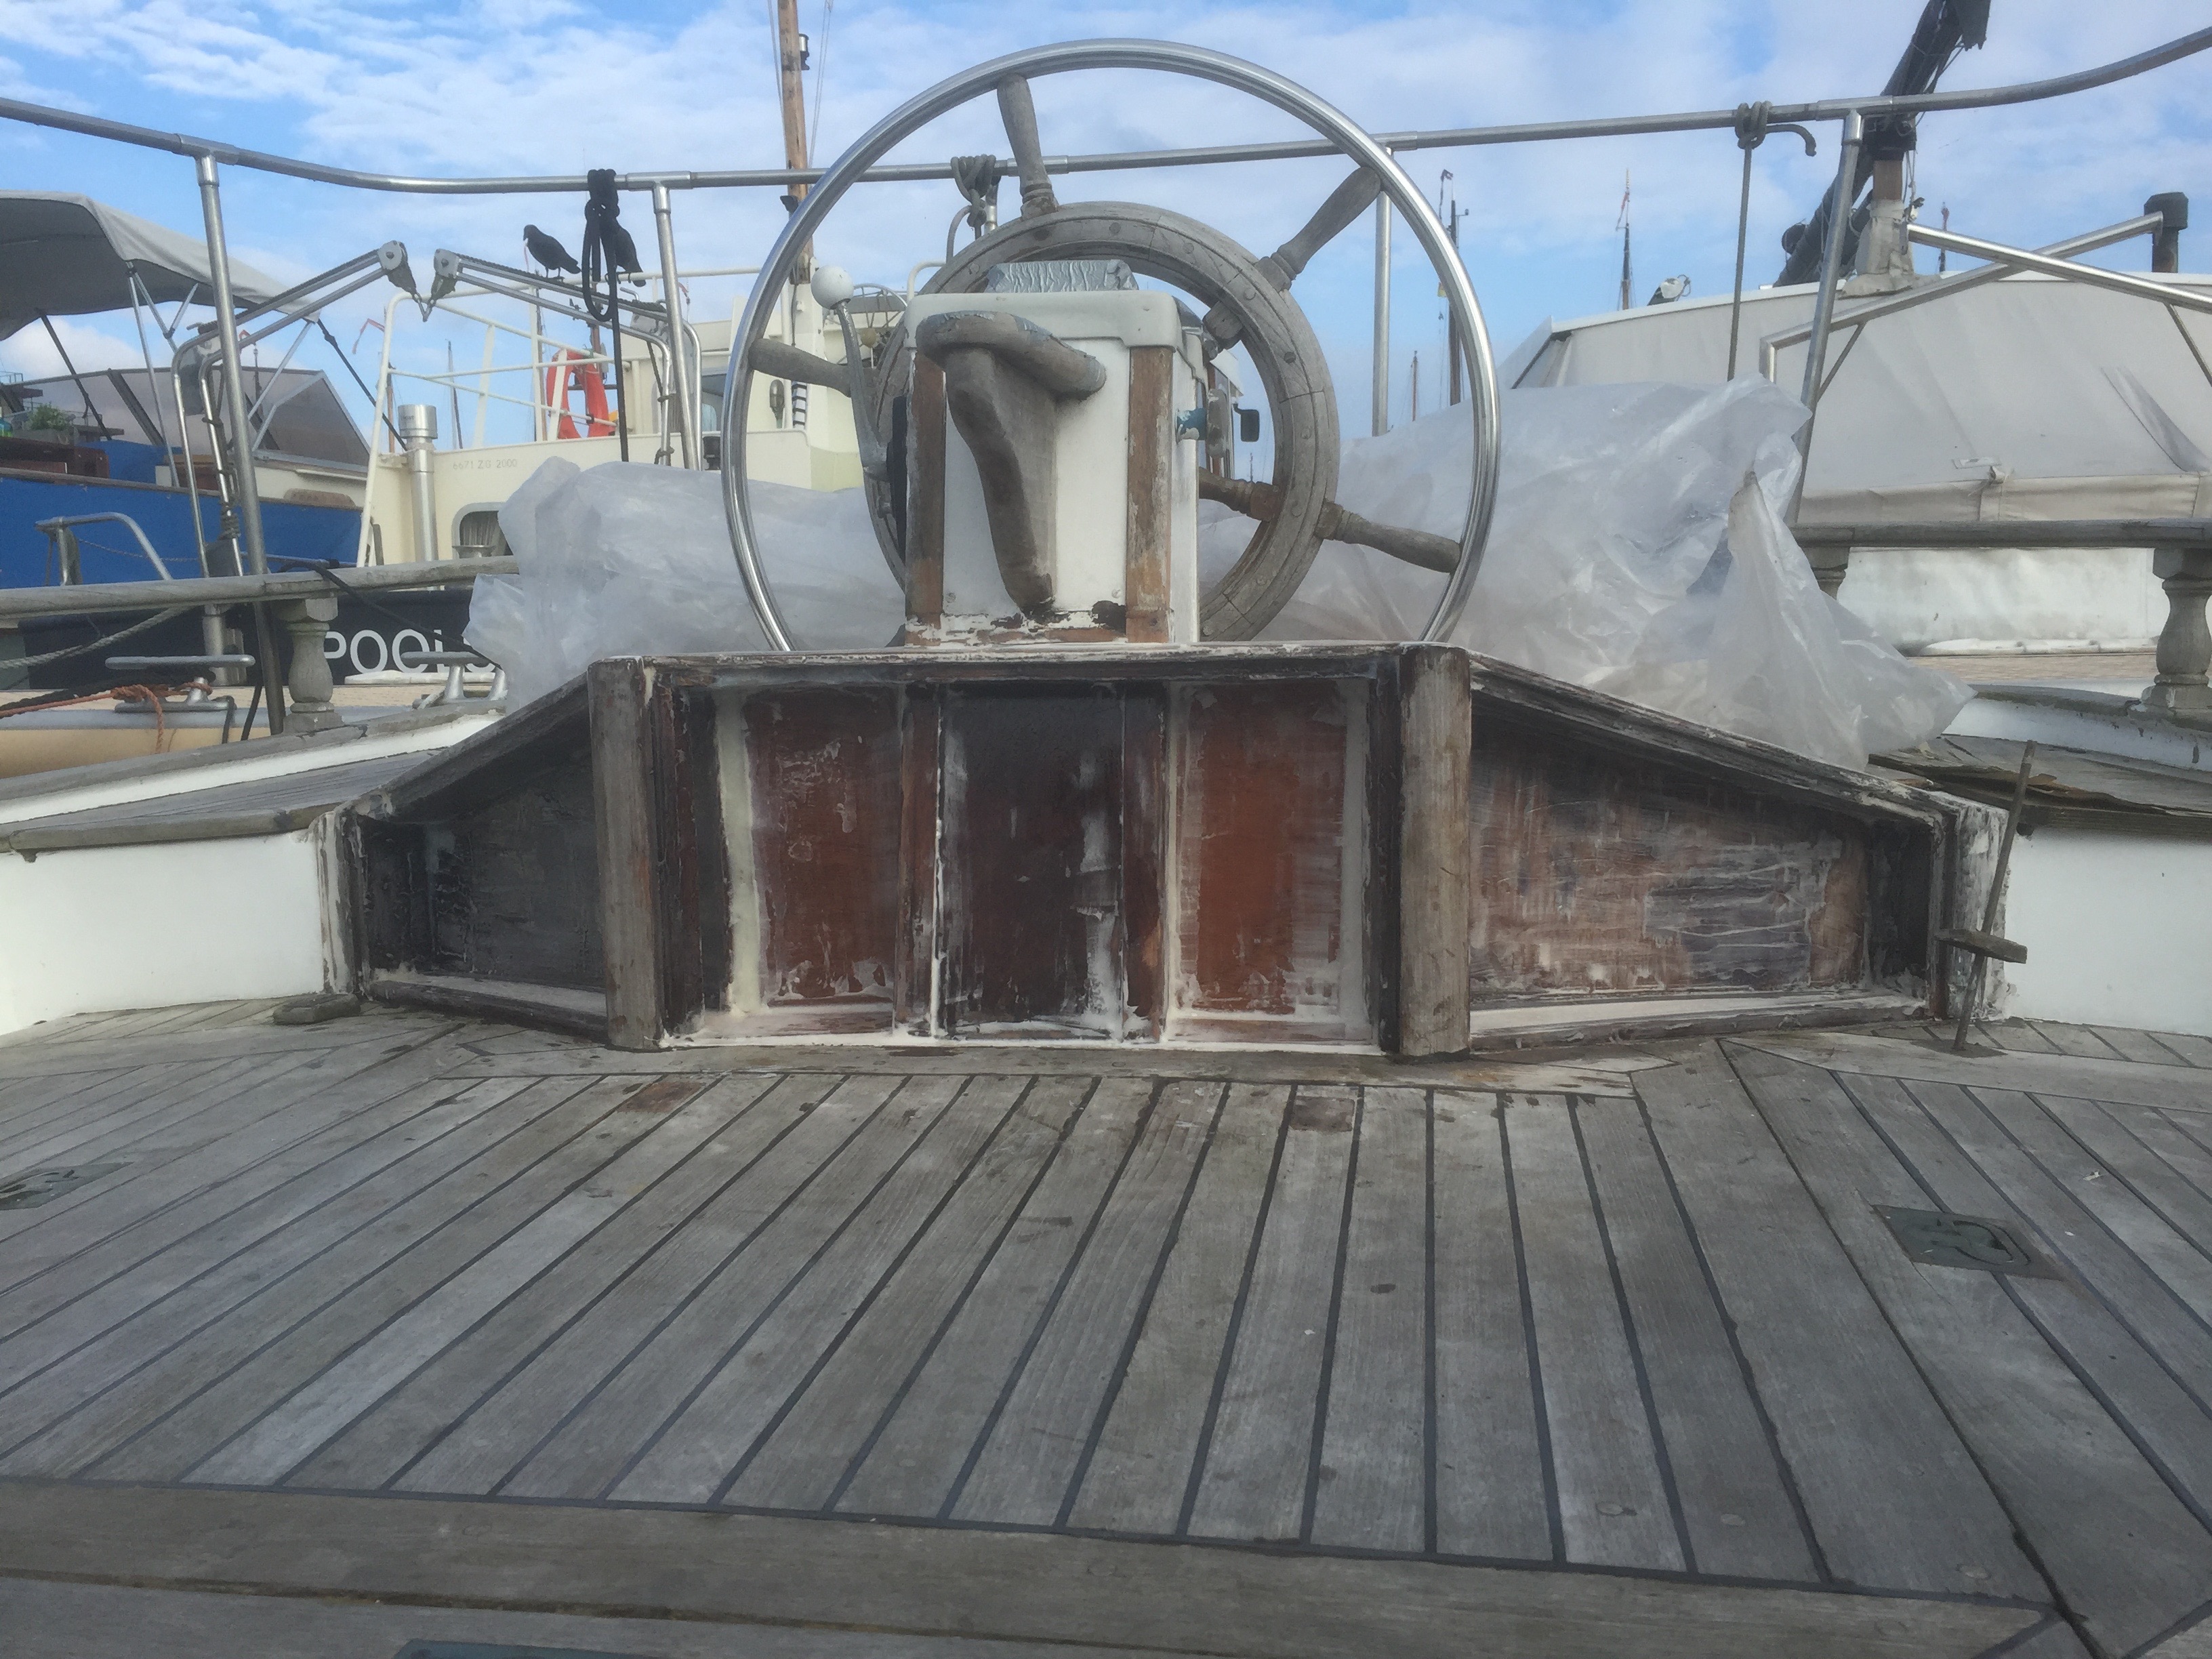
And voila, new storage spaces, clean bilge, new overflow tank, new diesel tank, and a freshly painted deck.
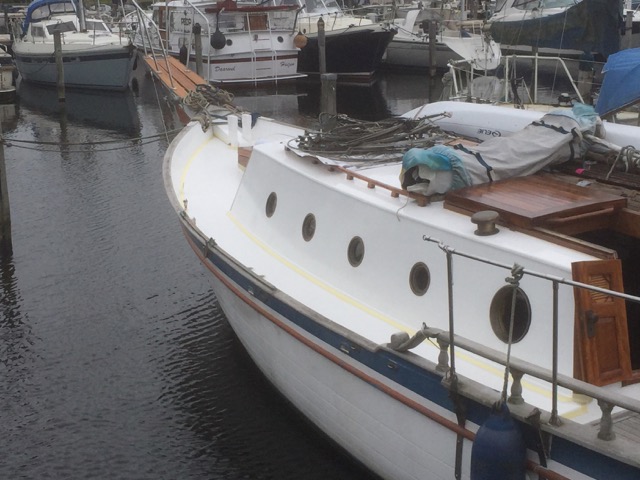
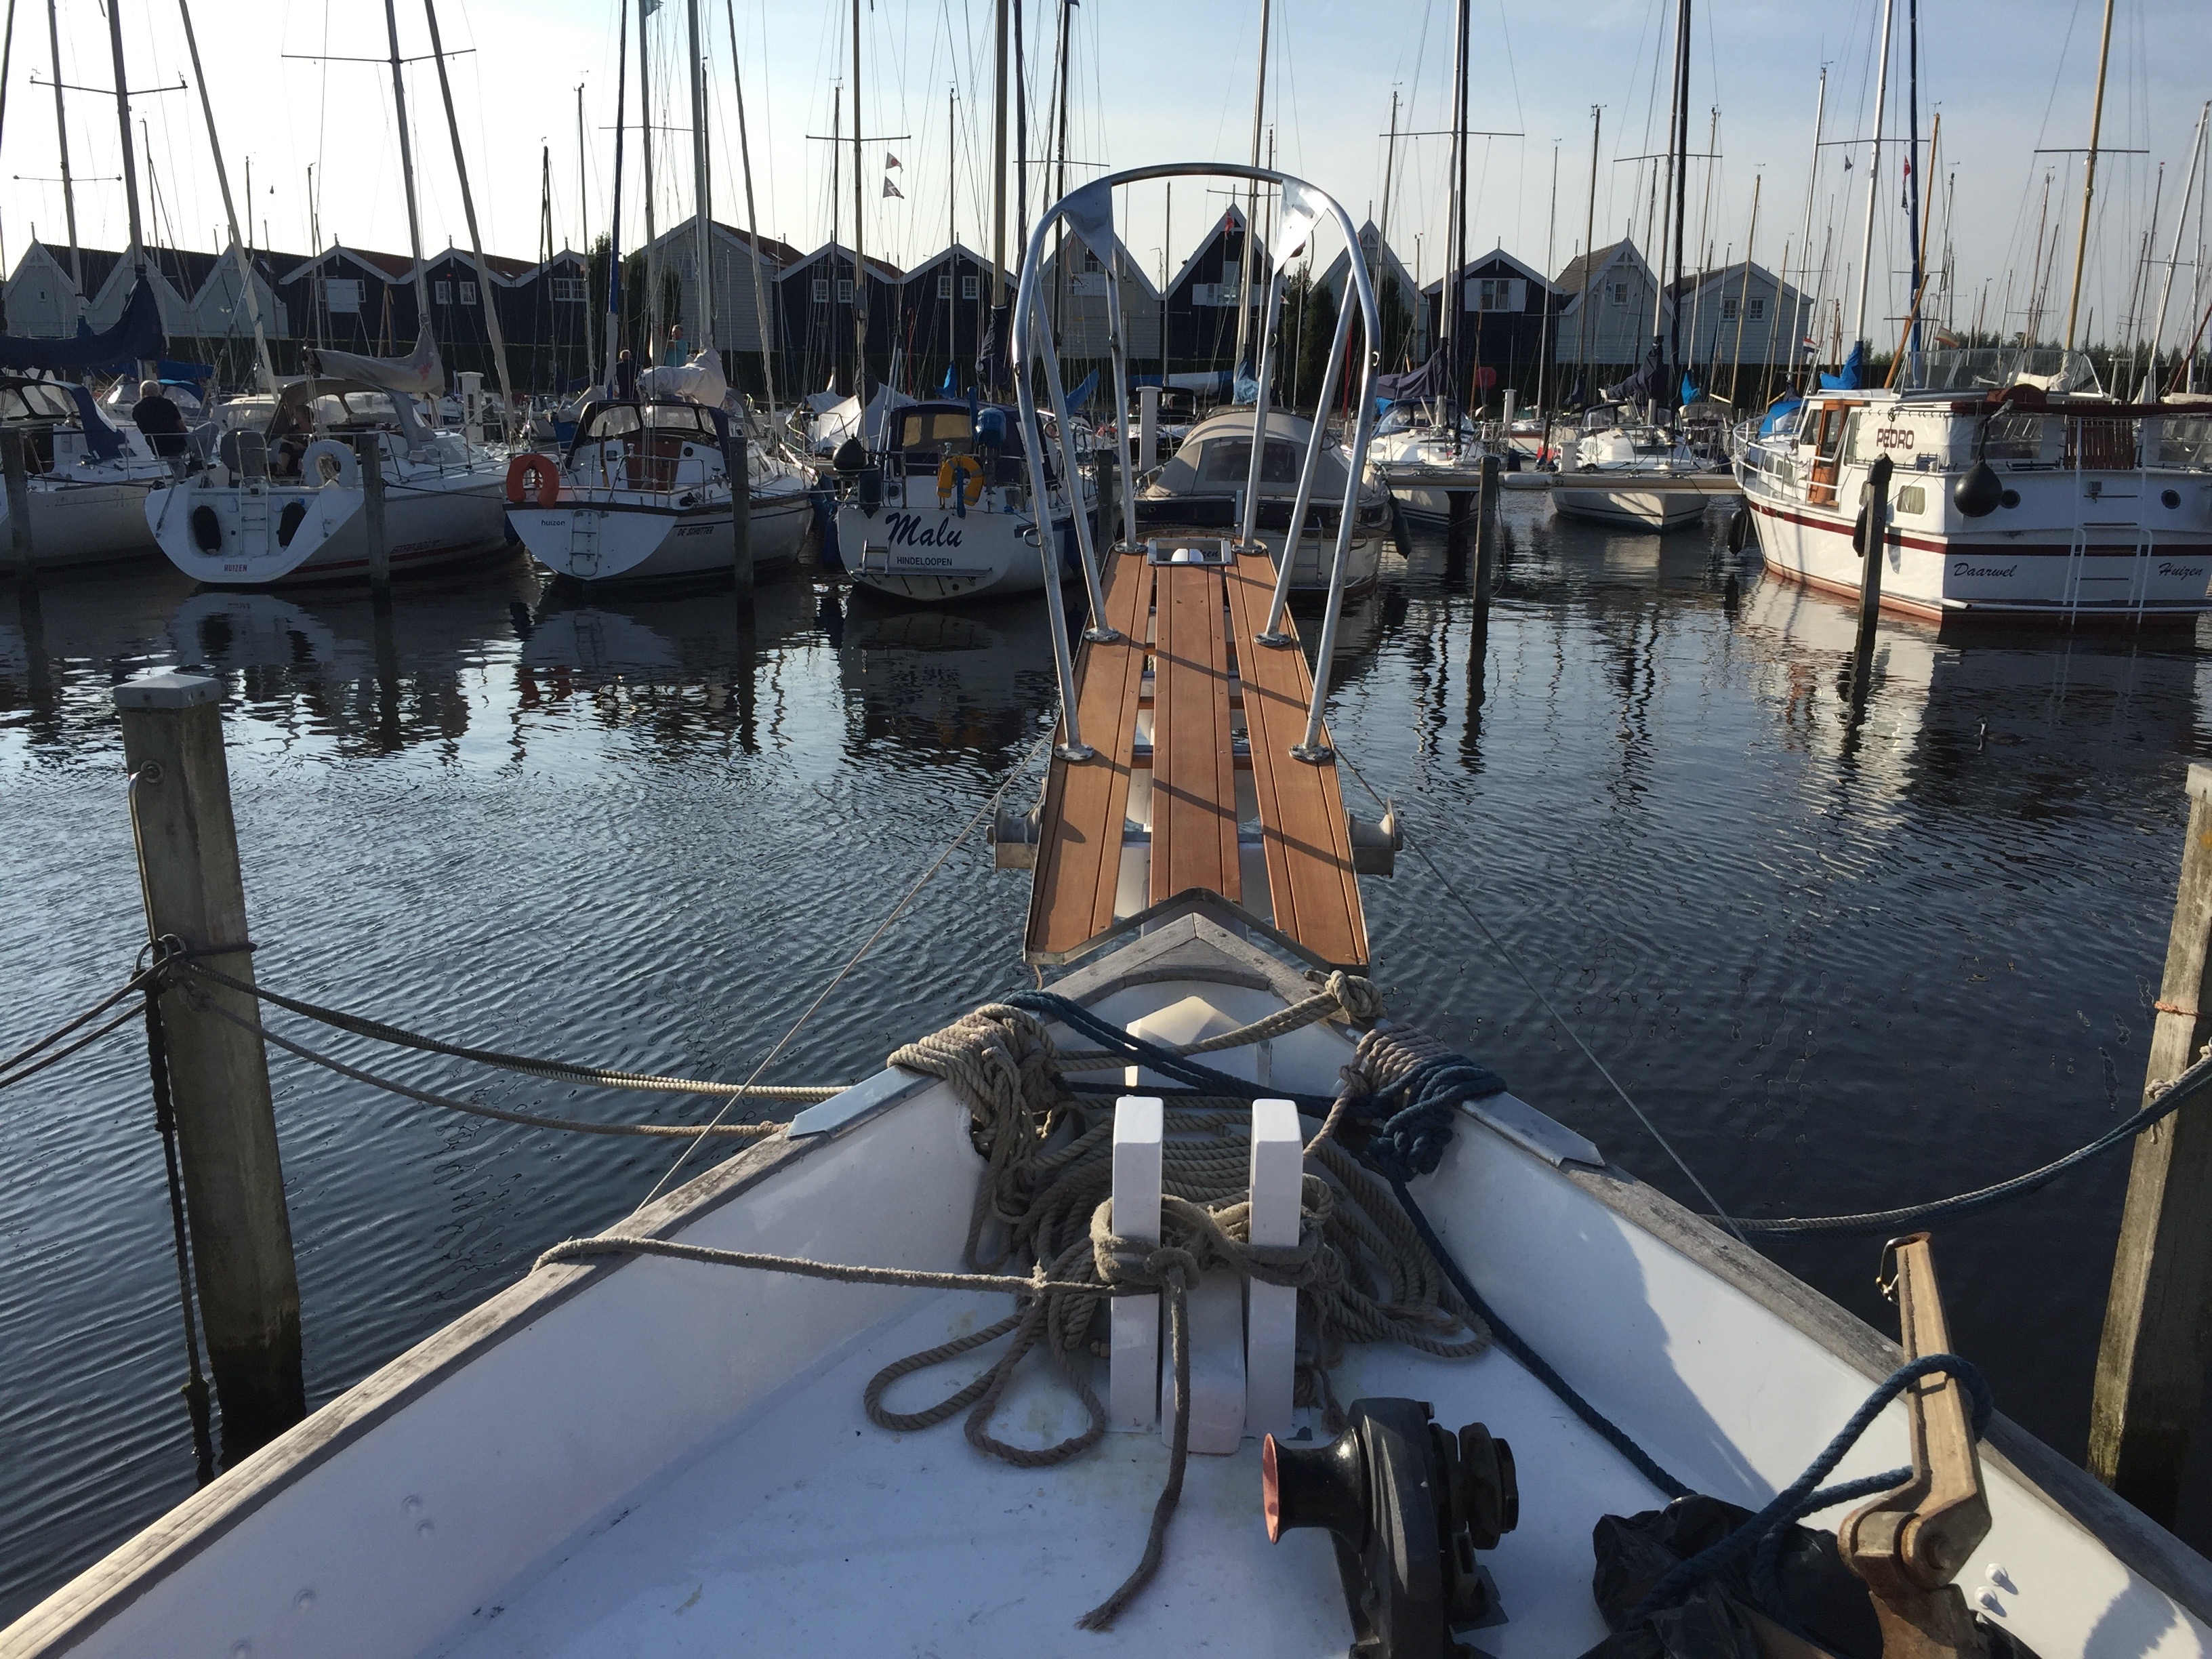
With the guard rail back in place the Seadog is starting to look more and more like a real sailboat again. After more than 5 years inside the harbour, the first trip is almost becoming a reality.
The next step will be connecting all the wiring, hooking up the battery and if all goes well starting the engine for the first time.
Guard rail back in place

Restoration of the cockpit

While waiting for the necessary parts to be delivered to finish the motor revision I decided to start further restoration of the cockpit. For some time now it was apparent that rainwater was leaking from somewhere around the cockpit. I had an idea of where this leak might be, so got out the multitool, hammer and chisel and started hacking away. Lo and behold behind the first few layers of dry wood there was more than a full trash bag of rotten wood. There even was a puddle of water lying around there behind the wood, so it was definitely time for some restoration work.
After most of the rotten wood was removed and the rest of the wood was well and dry, it was time for some layers of epoxy, together with some new pieces of wood here and there. When everything was filled up and watertight the first layer of two component primer was applied, were after 4 more layers of two component white paint finished the job. Of course some caulk was also applied to make all the seams watertight.
After that the teak boards on top were sanded, cleaned and set in teak oil for a beautiful finish. As always the whole process took much more time than was expected, but the end result was satisfying none the less.

Finishing the main cabin and the bowsprit

Back in August some final touches to the bowsprit and the main cabin where done.
Mainly, the air vents where permanently placed on top of the cabin and some small paint touch ups.
The beams that supports the bowsprit also still needed some layers of paint before the bowsprit could go into position.
Plus, the walking boards that go on top of the bowsprit also needed to be replaced.
Many thanks to my dad for helping, because placing and mounting the bowsprit would have been impossible on my own.
When the bowsprit was in position we still had to drill an enormously long hole into the beams and bowsprit to fix it in position with a stainless steel bolt. Luckily my dad had the tools to get the job done. After that the stainless steel cables could be hooked up, to fix the bowsprit further into position. The last step was placing the walking boards including the guard rail onto the bowsprit and bolting the whole thing down.

Painting the side of the deck

Epifanes Poly-urethane 2-component DD high gloss

Finished result
Finished result

After the cabin was fully painted, it was time for the sides of the deck to get its layers of paint. First the teak lit on the side of the deck needed to be repaired. There where holes underneath the lid where water could get in and of course that’s no good. So after some work with the multitool those holes under the lit could be sealed with caulk very nicely. The 10MM carbide rasp for the Fein Multimaster was used to open and clean the holes under the lit, so the caulk could easily applied and also would adhere to the polyester and teak better. After a few days the excess caulk could also be easily removed with the profile sanding set accessory for the Fein Multimaster. The right tools really make all the difference. After decreasing the deck the painting job could finally begin.

Removing parts of the teak deck


With pain in my heart I decided to get rid of the teak deck on the left and right of the cabin, plus the teak that was on the front deck of the boat. After some breaking and hammering I found out it was definitely the right thing to do. Under the teak boards was still a lot of moisture and there was no way of really making that part of the deck waterproof because I could not excess the sides (and there where huge holes where water could get under the deck). Also I was not entirely sure that by re-caulking this part of the deck, the new walls of the cabin would be safe from water damage which could risk them getting rotten once again (which would mean a lot of work done for nothing).
It was way to easy to remove the teak boards. Just unscrew the screws and one could easily pick them up from the deck (the glue that was used to hold them was corroded away). So all, in all a good decision. One problem though, the stuff underneath the boards. My god, that was some heavy-duty (almost cement like) substance!
So I got a powerful belt sander with high-grade, large grain sandpaper to battle that nasty stuff. Still it took almost two hours to sand one cubic meter of deck, but it got the job done beautifully.
After that, some other parts that where connected to the deck (like the hatch) needed to be repaired, to be absolutely sure that water could not get to those as well.
The screw holes that where in the deck to hold the teak boards also needed to be made a little bigger, so those could be easily filled with epoxy. The end result will be a completely waterproof deck, which will be completely sealed to the cabin with an epoxy layer. After that this part of the deck will be painted and treated with anti-slip inside the last layers of paint.